When you click on links to various merchants on this site and make a purchase, this can result in this site earning a commission. Affiliate programs and affiliations include, but are not limited to, the eBay Partner Network.
Power tools or by hand? Any tips or products you suggest?
Came out great. My hazy headlights are starting to take their toll on me�
I took the extended approach with clear.
320grit wet sanded horizontally, then red scotchbrite across both, then used scotchbrite on both, dried then a single medium coat of rustoleum clear.
The trick is to use some mineral spirits to clean the lens as you finish sanding, this wipe will show what the clear would "look" like if you were to lay it.
The spirit wipe will let you know if you're done with sanding or it needs more, horizontal sanding will ensure the clear doesnt run as much.
My wife's truck lasted about 1 year with clear which is fine for me. Better clear would have yielded longer results
Power tools or by hand? Any tips or products you suggest?
Came out great. My hazy headlights are starting to take their toll on me�
I bought a simple attachment for my drill off Amazon that came with a bunch of pads for $35 cdn, so less USD (I'll see if I can find the link or a picture). I was quite impressed with it. Not sure if I would use it on paint but for the headlights it worked quite well. First I wet sanded it with some 1500 grit sand paper I got from the local hardware store. I cut the 1500 grit in a circle to fit the drill attachment and went to town. Then I did the same with 2000 grit. After that was done I used two rounds of generic meguiars compound in the black bottle and then two rounds of similar meguiars polish. That made it pretty clear and I was quite happy with the results. I had some left over ceramic coating from the ceracote kit I used before (which didn't really work) to clear it up even more and seal it in. Of course I used painters tape around the headlights to protect the paint from any scratches during the whole process.
Generally, I think a couple of rounds of really good wet sanding, compounding, and polishing will do the job and then some sort of sealer to make it last, whether ceramic coating or decent wax, just something to protect it will do wonders.
Again, I would not recommend the drill attachment for paint but for headlights it worked just fine. Wetsand, compound, polish to your liking and seal it in with something. Hopefully my ceracote lasts...they still look brand new but its only been two weeks or so
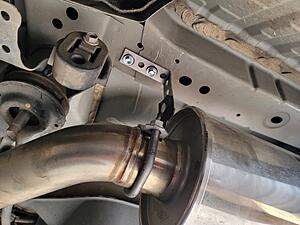
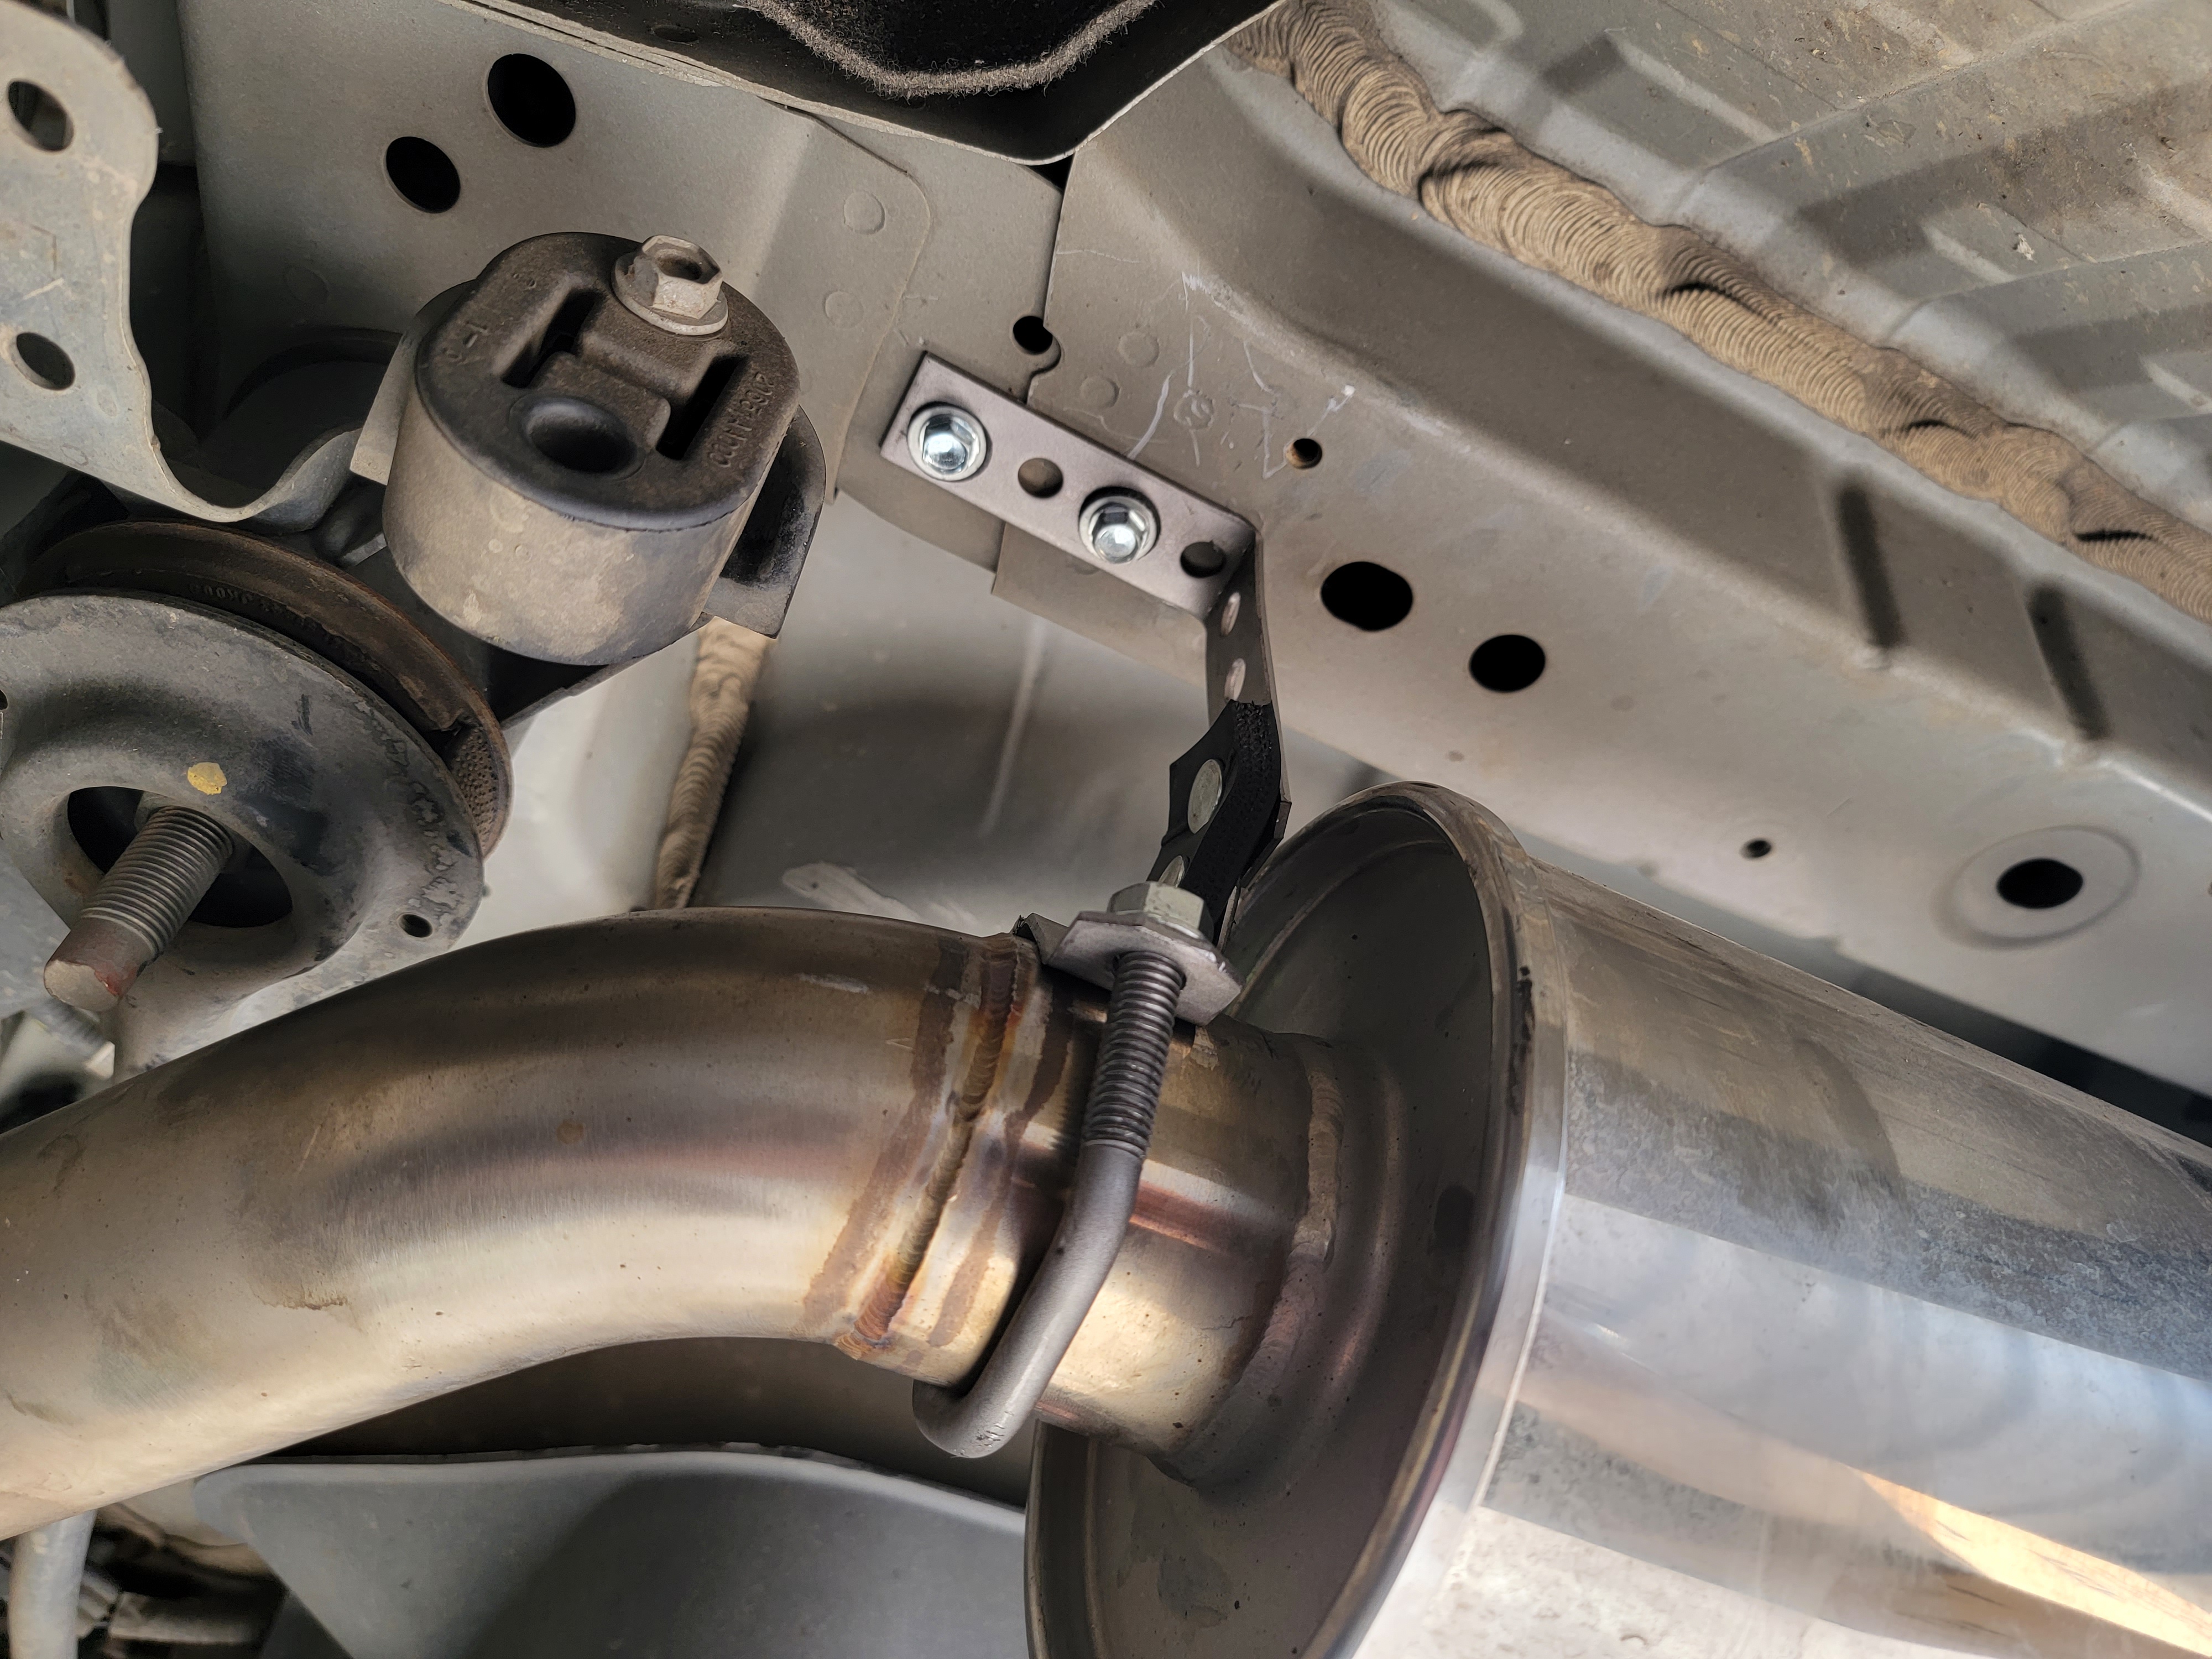
As I continue to try to resolve the rattling noise from the SOHO exhaust I've got these universal hangers setup to hopefully resolve it.
So far, for the most part, it seems to have gone away (FINALLY), with no thanks to "deal with our problem yourself" SOHO. It did rattle some when going up an incline over some bridge thing but I went back across that road the other way and it didn't happen again. It wasn't happening where it usually happens on this bad patch of road in my city, either. If it's just barely rattling only under some inclines, that may be managable since I intend on stopping my mods and switching to another vehicle in a couple years.
I'm currently in the process of a re-retune because HMR apparently became ill and disappeared before my tune was done. Eugene Turkov is now tuning my G.
Installed z1 2-piece front and rear rotors along with Posi-Quiet pads and weighed the car afterward with 1/4 tank of gas. I absolutely love the rotors and pads. The weight loss makes the car feel so much lighter, feel less impact of bumps, the steering feel isn't so heavy, and even a slight acceleration increase! And of course the brakes feel much better.
Very happy with the weight I was able to hit on the scale!
that's nuts, I didn't notice so many differences when I switched lol. I'm definitely loving the rotors though.
that's nuts, I didn't notice so many differences when I switched lol. I'm definitely loving the rotors though.
Same. Unless you auto-x the car, you'd be hard pressed to observe gains in daily driving. You really have to push it hard in low speed, quick turn-in situations. Beautiful brake setup, however. Fantastic bragging rights.
Love those wheels. At an angle in photos the stepped appearance of the spokes doesn't float my boat, but straight on (and seeing them in person on another car) they look amazing. What are they?
That's pretty insane.
If I may ask was stock with a full tank?
It's kind off funny you have lost about the same weight as a G looses when it goes from full tank to empty.
I find since living in the city that carrying more than 1/2 a tank is useless for me. a full tank weights about 140lbs in gas alone.
I have 3 extra oem pumps incase mines burns up. The soot/dirt theory doesnt apply for vehicles with a pre pump and post pump filter like our cars have. The worst thing that happens is the fuel doesnt cool the pump as it would do if you filled up(not a concern)