When you click on links to various merchants on this site and make a purchase, this can result in this site earning a commission. Affiliate programs and affiliations include, but are not limited to, the eBay Partner Network.
After a few false starts, started on replacing front wheel bearings. Had to get some Grade 8 bolts/nuts/spacers to be able to reverse-press the bearing out of the knuckle, but once I had that, it came out easy enough.
Notes: darn these brakes are enormous. Makes me smile every time. No pics yet; need to finish the other side before I head down to ATL for the weekend.
Are you talking about the Akebono's?
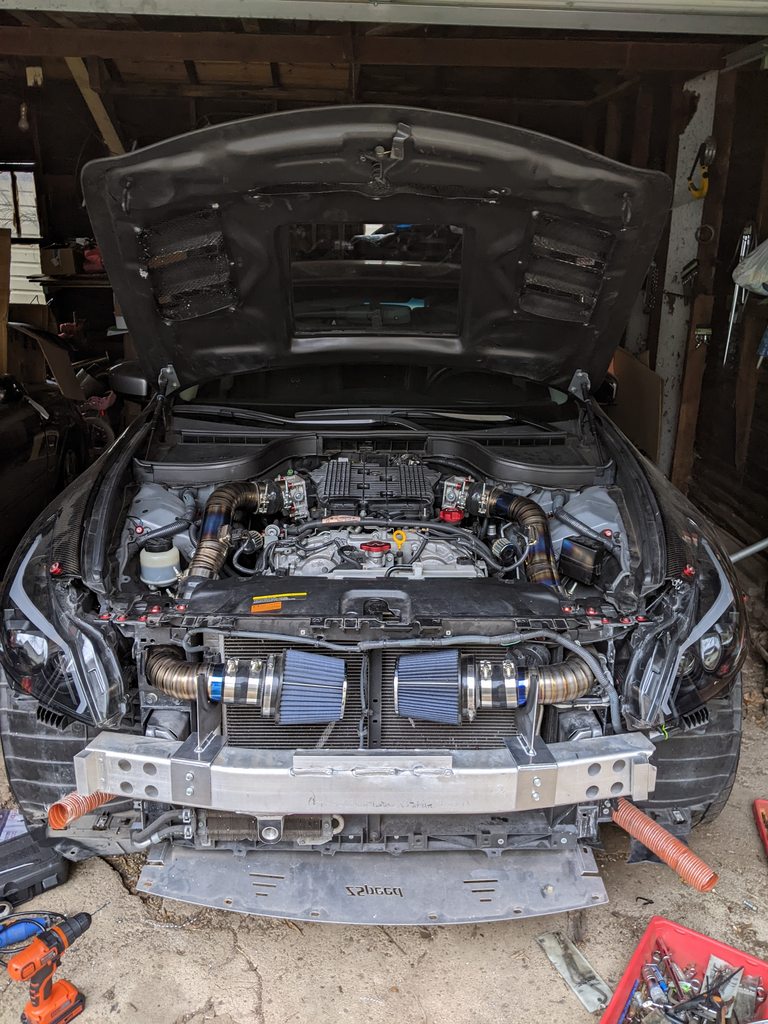
Anyway, for those who have 3" intakes or other not stillen/takeda intakes, and have issues with sagging, I bought the limp kit v2 from KC James (Tig welding creations) and here's what they look like installed. You can use them basically anywhere on your crash bar you please. Mine aren't perfectly spaced but that's because neither are my intakes (prototypes).
After a few false starts, started on replacing front wheel bearings. Had to get some Grade 8 bolts/nuts/spacers to be able to reverse-press the bearing out of the knuckle, but once I had that, it came out easy enough.
Notes: darn these brakes are enormous. Makes me smile every time. No pics yet; need to finish the other side before I head down to ATL for the weekend.
Funny story as we were swapping the rear end on my buddys coupe.
I backed off the bolts and with the socket started hitting the back of the socket.
My buddy laughs and takes 2 big swings to the hub and out they go.......
I was speechless as I came up with a justification
I was trying to press them out with bolts through the wheel stud holes, but kept destroying the threads of the bolt (normal house hardware from the misc bin). Needed Grade 8 to make a difference - and then out they popped, no muss, no fuss. Needless to say, everything got a thin layer of antiseize putting it back together. And AFAIKT with 8 miles on it, the twitch *might* be gone.
Yep. 355mm rotors are just massive - they look like they belong on a truck. And the calipers (while by size they should be 6-pots) are mighty impressive too.
Yep. 355mm rotors are just massive - they look like they belong on a truck. And the calipers (while by size they should be 6-pots) are mighty impressive too.
I just painted my rotors inside and out to prevent the rust. Man can I tell you these fockers were heavy.
Brake job time.
Went ahead and pulled the plug on the OEM shims ($100+) part of the brake job many are not prepared for. The kit comes with 8 shims and two metal pad holders.
Upon dissasembly I found the metal pad holder was bit different than the one that came off the car(possibly superceeded part) the shims themselves are beautiful.
The original shims on the pads are glued to the pad and per Infiniti/Nissan upon assembly you must grease the pad and shim then the shim surface that meets the caliper pistons. The inner shim is coated in this rubber/compound that I believe is the noise reducer. Having 2 shims per side also creates a barrier between the pad and pistons and should yield in lower brake fluid temps (important note for those who track)
I did discover the inside of the old rotor and hub appeared to have experienced some shaffing, I did notice rusty/dirt on the face of the spacer as well. The only thing I can compare this to is flywheel to crank surfaces when the flywheel is loose. I have 20mm spacers and though they're not torqued, they received multiple uga duggas from a 1/2 in Makita LXT impact I want to believe they're tight or right tightness.
I cleaned up the hub surface really well, installed the new rotors and wire wheeled the back of the spacer.
Greased up the pads, cleaned up the pins and off I went.
Discovered I have a bad tire which explains some of my vibrations. After this whole cleaning process I feel like some of the vibrations went away, I attribute the tire to the rest of the vibrations.
Took the car out did a couple of stops, no more vibrations, called it a night.
Today on my way to work I started some of the break in process however was a bit let down once I started receiving vibrations again upon harder breaking.
I'm now starting to look into rotor to pad bedding to make sure I bed these correctly since I'm not liking what I'm seeing.
They are the cheapest sport brake combo you can buy and I dont want to think they would be this ****ty. 3rd time I've done brakes in the car, first time I kind of see this.
I have 20mm spacers and though they're not torqued, they received multiple uga duggas from a 1/2 in Makita LXT impact I want to believe they're tight or right tightness.
Today on my way to work I started some of the break in process however was a bit let down once I started receiving vibrations again upon harder breaking.
They are the cheapest sport brake combo you can buy and I dont want to think they would be this ****ty. 3rd time I've done brakes in the car, first time I kind of see this.
Which pads and rotors? Vibration under braking is generally caused by your pad if everything else is good but when it starts you either need to get your rotors turned or get new rotors.
First thing I'd do is to get your yourself a 1/2" torque wrench, they are $12 at harbor freight, uneven torque on your lug nuts and spacer could cause vibration issues.
New rotors, Pads, Shims.
I'll be be torque them down tonight and see if that makes any difference. Blank replacement rotors/ Ceramic pads. From the research I've done I might need a longer bedding in process.
Originally Posted by Rochester
The gold shims without the slots are OEM, and they cost over $100 for 8?
It's a whole kit. 5 pieces perside, 2 metal H Pad holder, 4 double shims. If you look at my old ones they were Centric ones with just one shim.
I just might be worrying too much and need to try bedding them in more before anything else. Though I've seen this before on regular brakes, It's a new one for me with Akebonos
Yep. 355mm rotors are just massive - they look like they belong on a truck. And the calipers (while by size they should be 6-pots) are mighty impressive too.
Just because we are on this topic here is a Akebono Pad next to a GTR pad.