G37 Sedan

What did you do to your Sedan today?

Thread Tools
 
Search this Thread
 
Old May 1, 2022 | 09:58 PM
  #9031  
SupraOfDoom's Avatar
SupraOfDoom
Registered Member
 
Joined: Jun 2016
Posts: 1,071
Likes: 254
From: Milwaukee WI
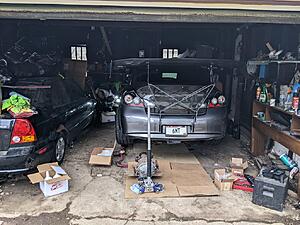
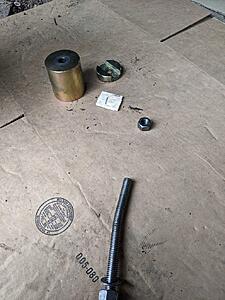
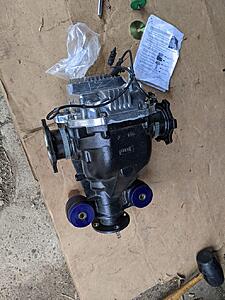
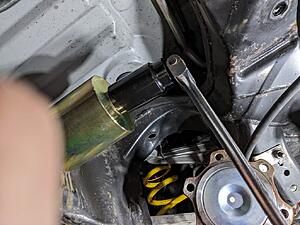
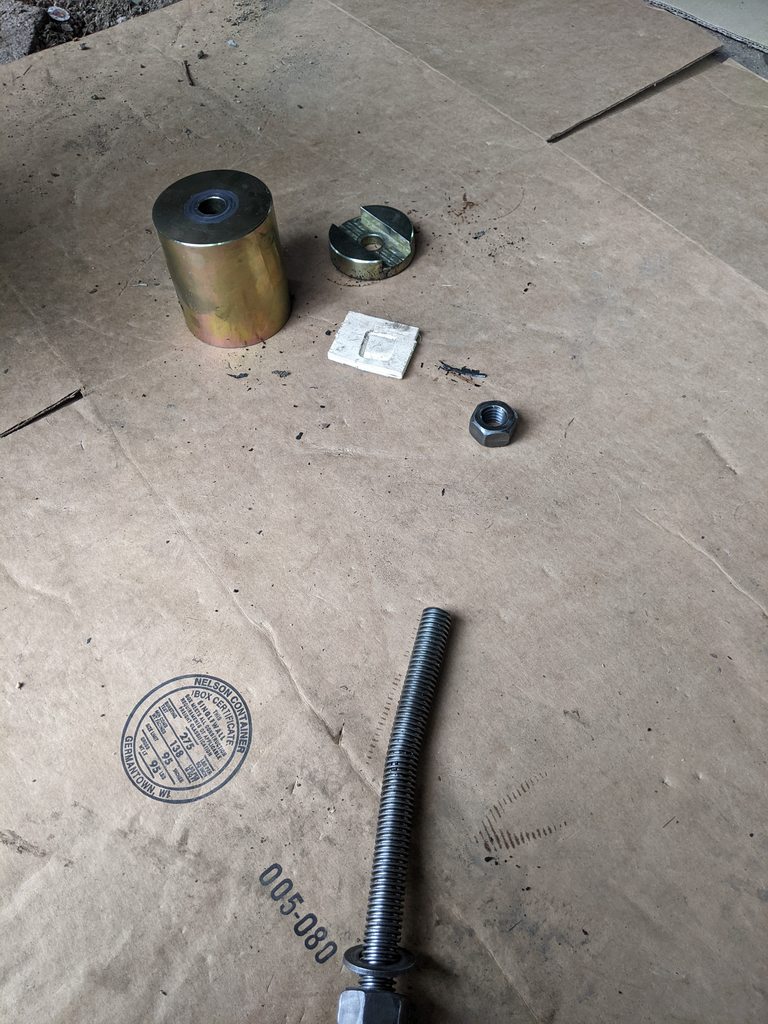
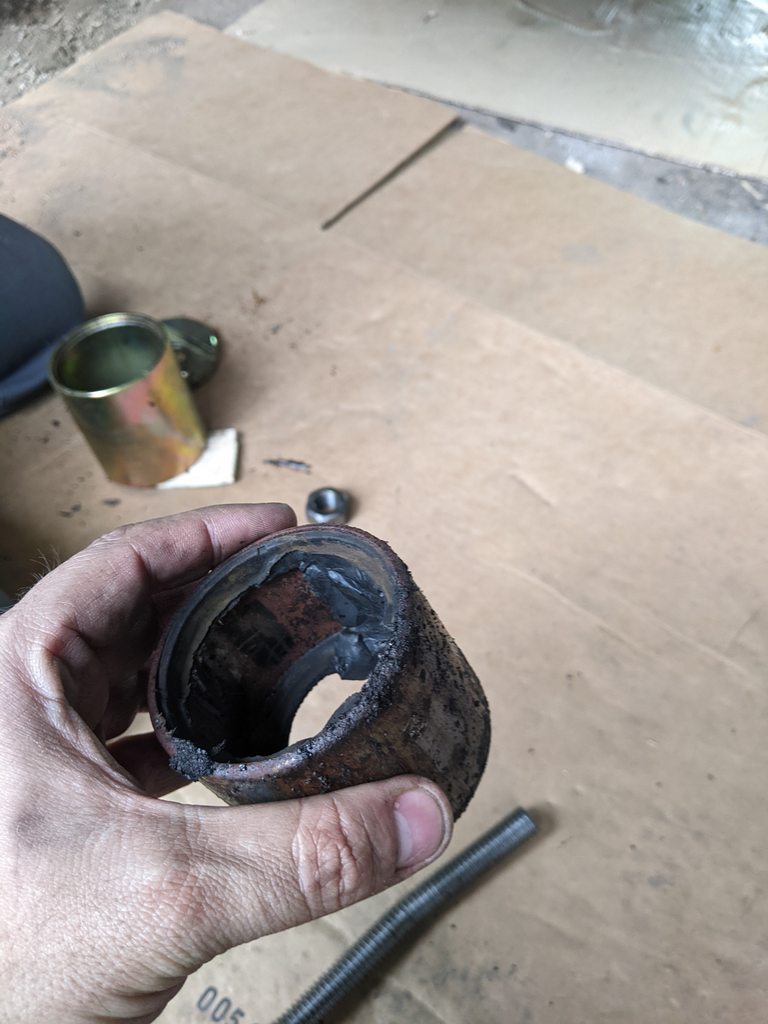
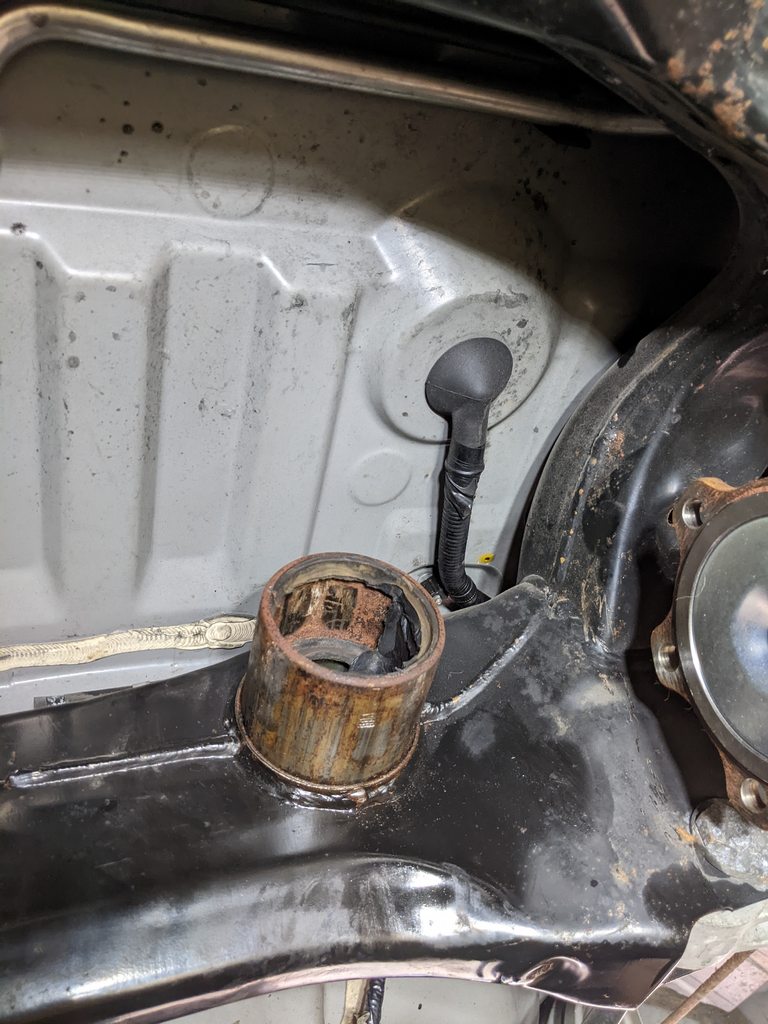
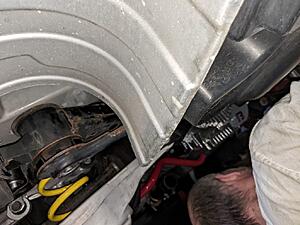
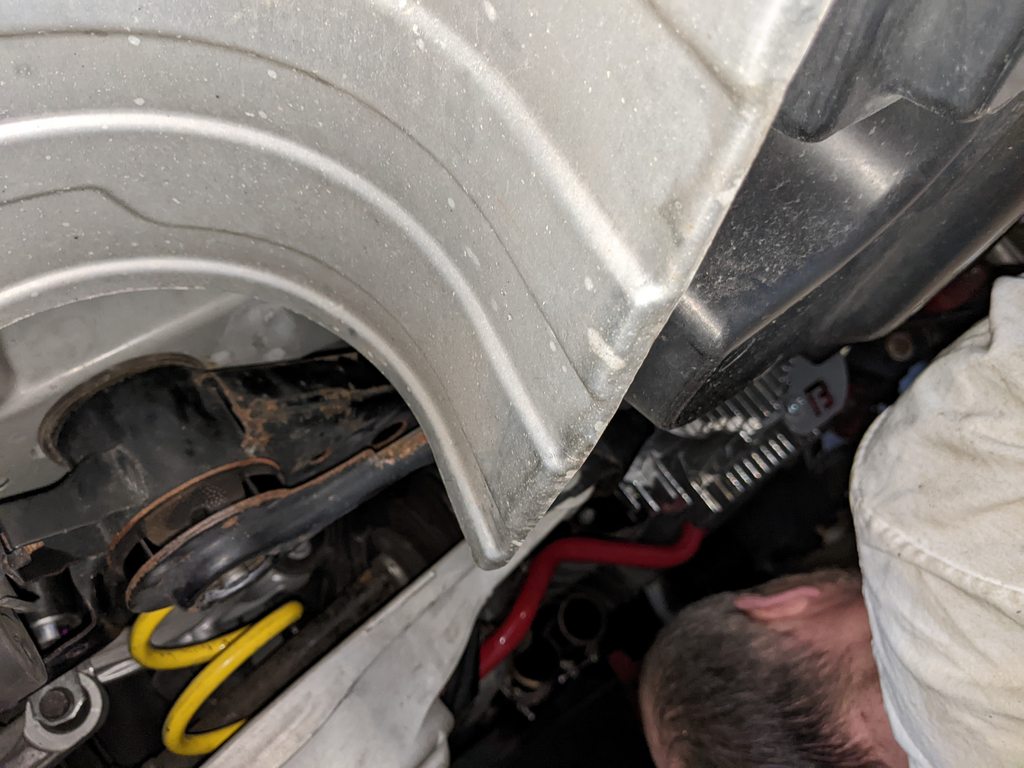
Had a big couple days. Let me tell you even with Z1's specialty tool for the rear diff bush removal that thing is NO JOKE. Especially if you are just on stands. It took 3 hours of me cranking on it while my bud kicked the breaker bar to free this. We some how managed to bend the ARP bolt but it made it out so I'm not complaining. I recommend paying someone lol! The diff itself was easy as hell in comparison. Takes 1 hour or so to take out, and about the same to put back in. 4.08 z1 lsd incase anyone is wondering.

What did you do to your Sedan today?-7tbzczhh.jpg
What did you do to your Sedan today?-ewoqaprh.jpg
What did you do to your Sedan today?-yl99edph.jpg
What did you do to your Sedan today?-l1yv4cdh.jpg
What did you do to your Sedan today?-gll5prmh.jpg
What did you do to your Sedan today?-2kgeu0qh.jpg
What did you do to your Sedan today?-ahs3nibh.jpg
What did you do to your Sedan today?-qt6nidah.jpg
Reply
Old May 1, 2022 | 10:09 PM
  #9032  
2.2Lude's Avatar
2.2Lude
Registered Member
iTrader: (1)
 
Joined: May 2020
Posts: 511
Likes: 184
I couldn't imagine doing that job with a breaker bar on the ground.
I wouldn't even consider it a DIY without the press tool and, more importantly, AIR!

Props to you for getting it done though!
Reply
Old May 2, 2022 | 08:12 AM
  #9033  
BULL's Avatar
BULL
Moderador
5 Year Member
Liked
Loved
Community Favorite
 
Joined: Jun 2019
Posts: 2,626
Likes: 765
From: South Florida
Helped a buddy do one on a base coupe. Undermined how much more difficult it will be on my 4WAS sedan.
Rear rack has to come out (Toe arms/buckets bolt to the rear rack)

Mine has been leaking for a minute now, have been contemplating sealing it.

My buddy's tool is a master kit and will slice through it then air hammer the collar.

It's the taking the rack out my issue since my rear bushing install will require an alignment afterwards.
Reply
Old May 2, 2022 | 09:44 AM
  #9034  
RobC7's Avatar
RobC7
Registered Member
5 Year Member
 
Joined: Dec 2019
Posts: 761
Likes: 361
From: Chicago, IL
This was going to be my Spring project and I was planning on doing it on jack stands but now I am having second thoughts. Sounds like with no air tools it may be a nightmare.
Reply
Old May 2, 2022 | 09:56 AM
  #9035  
thescreensavers's Avatar
thescreensavers
Registered Member
Liked
Loved
Community Favorite
 
Joined: Oct 2021
Posts: 212
Likes: 95
From: WPB
Originally Posted by RobC7
This was going to be my Spring project and I was planning on doing it on jack stands but now I am having second thoughts. Sounds like with no air tools it may be a nightmare.
​​​​​A ratcheting breaker bar and a lubed up Grade 8 All-thread can get the job done, I've done it on two cars. The rear steering job sound terrible lol.

I have mine filled with epoxy and if I get the diff brace probably good enough
Reply
Old May 2, 2022 | 10:12 AM
  #9036  
Rochester's Avatar
Rochester
Administrator
15 Year Member
Loved
Community Favorite
Top Answer: 1
iTrader: (9)
 
Joined: Nov 2010
Posts: 19,829
Likes: 5,137
From: Rochester, NY
I had my new rear TPMS sensors synced up with the ECU this weekend, and I clay bar'd and sealed the passenger side of the car.


So much less than these other hard core projects you guys are working on, but at this point with the car all I'm doing is cleaning it.

And with that in mind, I've been using Seal & Squeal from Lithium Auto Care for a few years now. It's awesome.

Reply
Old May 2, 2022 | 11:47 AM
  #9037  
SupraOfDoom's Avatar
SupraOfDoom
Registered Member
 
Joined: Jun 2016
Posts: 1,071
Likes: 254
From: Milwaukee WI
Originally Posted by RobC7
This was going to be my Spring project and I was planning on doing it on jack stands but now I am having second thoughts. Sounds like with no air tools it may be a nightmare.
Nothing a few hours of misery and some pain and bruises can't get by. I'm hurting that's for sure. Have a friend for this project.
Reply
Old May 4, 2022 | 10:49 AM
  #9038  
rotarymike's Avatar
rotarymike
Moderator in Moderation
5 Year Member
Liked
Loved
Community Favorite
iTrader: (5)
 
Joined: Feb 2017
Posts: 2,936
Likes: 589
From: Charleston
I did mine on jackstands with no air tools... drill out rubber enough to get sawzall blade in there, zip around the bushing to get the middle out, then at 90* to cut the collar. A sharp cold punch started the cut end curling in and once I got that most of the way through the crossmember width the sleeve came out.


I think about 4 hours (after the diff was out). There were mechanic-type words said.
Reply
Old May 5, 2022 | 02:56 PM
  #9039  
SupraOfDoom's Avatar
SupraOfDoom
Registered Member
 
Joined: Jun 2016
Posts: 1,071
Likes: 254
From: Milwaukee WI
I didn't want to risk damaging the housing with a cutter. It seems like there is no easy way DIY no matter what.

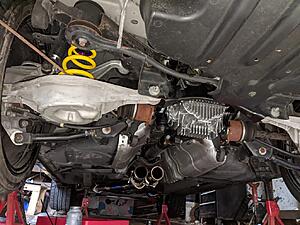
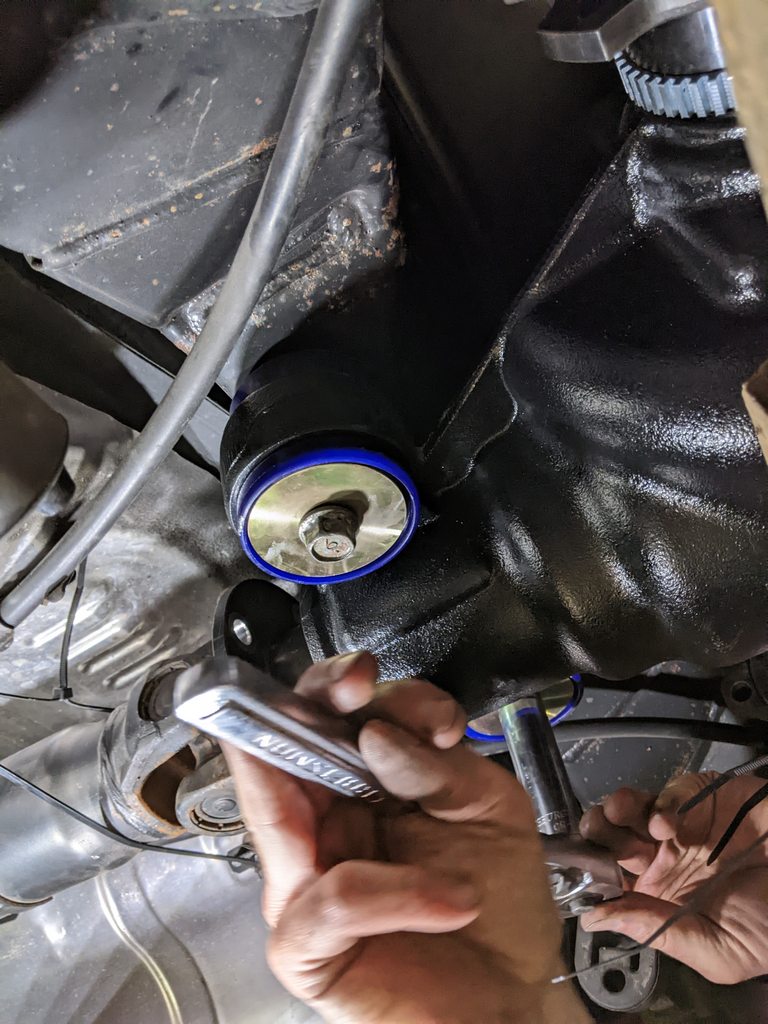
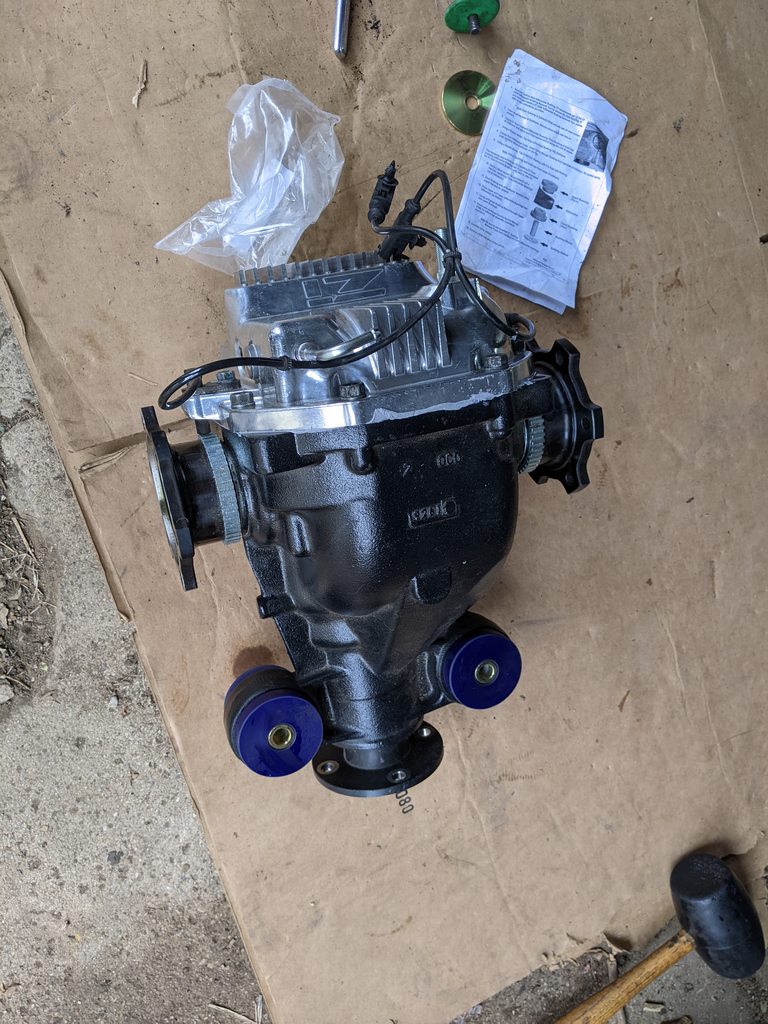
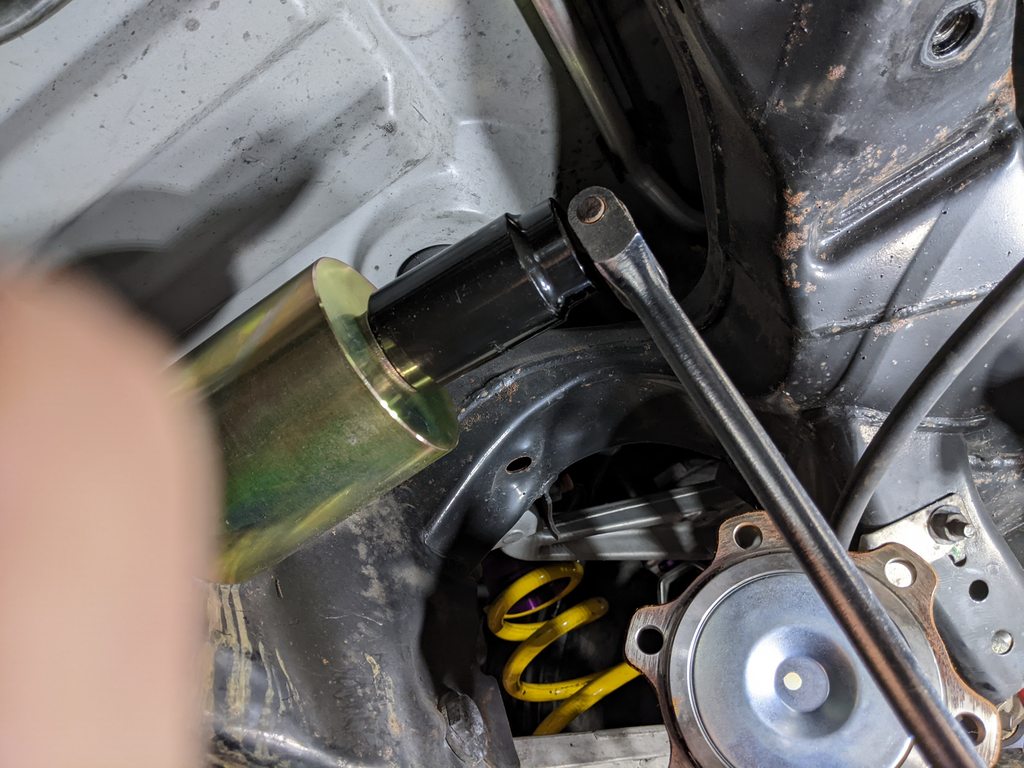
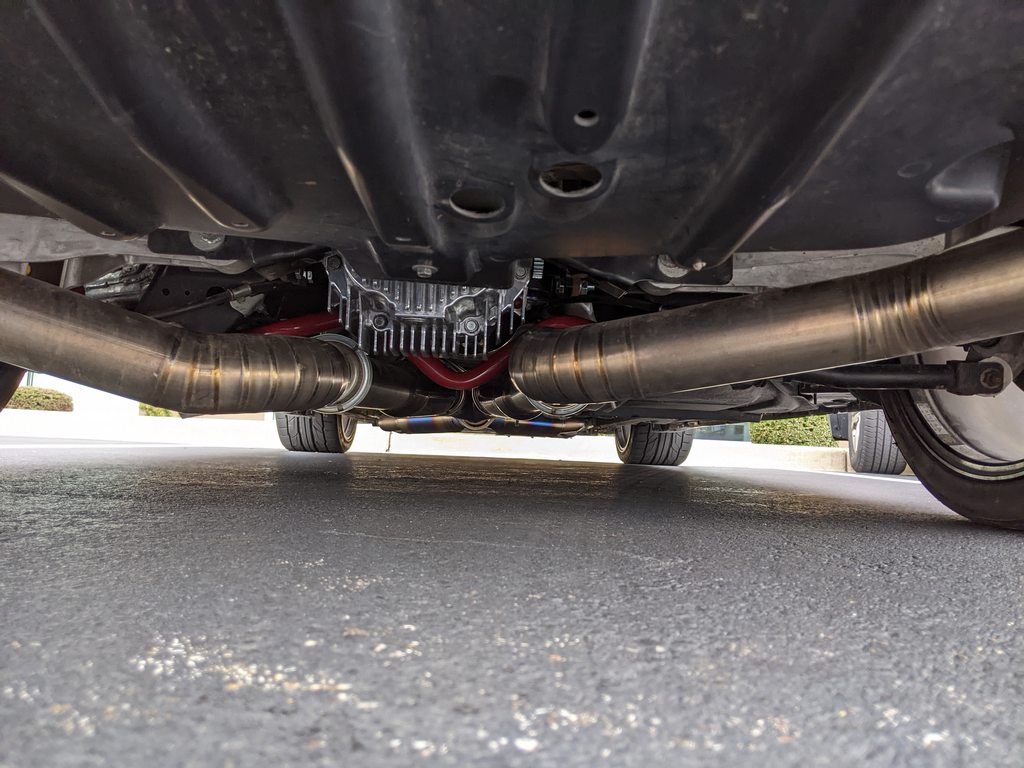
Anyway, today it's all back together with the Z1 subframe collars on as well! Z1 4.08 LSD and the Z1 diff bushings. WOW what a difference. I'm still going easy on it to break it in but this is how the car should have been geared from the factory in an ideal world! It's how it should feel.

What did you do to your Sedan today?-ncsbzdjh.jpg
What did you do to your Sedan today?-bdci8fwh.jpg
Reply
Old May 5, 2022 | 03:12 PM
  #9040  
rotarymike's Avatar
rotarymike
Moderator in Moderation
5 Year Member
Liked
Loved
Community Favorite
iTrader: (5)
 
Joined: Feb 2017
Posts: 2,936
Likes: 589
From: Charleston
Originally Posted by SupraOfDoom
I didn't want to risk damaging the housing with a cutter.
I didn't either... at first. I got over it.

Turned out that I didn't even score the subframe with the saw blade.
Reply
Old May 7, 2022 | 03:08 PM
  #9041  
thescreensavers's Avatar
thescreensavers
Registered Member
Liked
Loved
Community Favorite
 
Joined: Oct 2021
Posts: 212
Likes: 95
From: WPB
Replaced the cooling module as my fans were on all the time, went with another OEM one as the aftermarket ones apparently fail off which I was not happy with.


The 3x100µF caps read 92.5(small) 91,91. I expected worse for being original part from 2011! But they are 125C rated. that was going to be my guess why the module broke but 🤷‍♂️

The PCB is also conformal coated and the whole thing is sealed up tight!

Reply
Old May 8, 2022 | 07:42 PM
  #9042  
Muck_Man's Avatar
Muck_Man
Registered Member
5 Year Member
Liked
Loved
 
Joined: May 2020
Posts: 139
Likes: 59
From: Saskatchewan

Carnuba wax and coffee on a sunday afternoon. Now to put the duckfeet in the basement until next winter.
Reply
Old May 8, 2022 | 09:17 PM
  #9043  
Epiphany's Avatar
Epiphany
Registered Member
10 Year Member
Liked
Loved
Community Favorite
 
Joined: May 2015
Posts: 1,732
Likes: 244
From: Alberta
Originally Posted by Muck_Man
Carnuba wax and coffee on a sunday afternoon. Now to put the duckfeet in the basement until next winter.
That you, @Rochester ?
Reply
Old May 9, 2022 | 06:56 AM
  #9044  
Rochester's Avatar
Rochester
Administrator
15 Year Member
Loved
Community Favorite
Top Answer: 1
iTrader: (9)
 
Joined: Nov 2010
Posts: 19,829
Likes: 5,137
From: Rochester, NY
Originally Posted by Epiphany
That you, @Rochester ?
LOL, no. I noticed that, too. My duckfeet and snows are also cleaned and tucked away in the basement.
Reply
Old May 9, 2022 | 11:40 AM
  #9045  
FrogmanKouki's Avatar
FrogmanKouki
Registered Member
iTrader: (1)
 
Joined: Jun 2020
Posts: 212
Likes: 136
From: Nashville, TN
Installed the Illusion Blueberry Akebonos, it was a successful weekend.

Reply


All times are GMT -4. The time now is 04:44 AM.