
And so it begins

Thread Starter
Premier Member
iTrader: (7)
Joined: Jun 2013
Posts: 1,795
Likes: 164
From: Pittsburgh, PA
It worked out okay really, and I got to do some leaf looking and the smoky mountains. I drove it a couple times last year after one of my aunts was murdered and some other family issues. I fly a lot for work and sometimes just don't want to be in a plane anymore.
The caps - They don't have them advertised but I got them all from zeetoyz and had them machine in the logos. I am in agreement with you, I am liking the dipstick cover logo as well but the others are a bit too much. I'll keep them on for now I think just because I have them but I don't think they'll stay long term. The washer fluid cap is from zeetoyz as well, very snug fit but it's metal and machined also. I'm wondering if having them coated would tone down the logos... ?
Thread Starter
Premier Member
iTrader: (7)
Joined: Jun 2013
Posts: 1,795
Likes: 164
From: Pittsburgh, PA
Thank you Bota, much appreciated! Definitely needs a good polish but I'm not sure I can get the depth you have in yours. I may be reaching out if I pick one up. It's been a lot of years since I've run one and I don't have wrecks to test on any longer... Hopefully I'll be less dangerous with a polisher than a dremel or file.


Yikes. A big box of personal info, and a murder.  I'm sorry, man. Didn't mean to dredge up unpleasant stuff. Glad you could work in some happy time within all that.
So... the washer cap is metallic, which explains the laser-etching. And ZeeToyz is selling them even though they've not updated their website. (IIRC, ZeeToyz is up in Hamilton, Ontario CA.) Is that a cap that goes *over* the plastic cap, or replaces it? It looks like a replacement.
I'd like to swap out the gray washer fluid cap for something black, so this may be an option. Funny thing is, when you search on Infiniti Washer Cap, places are showing the OEM cap in black:
...which would be just fine by me. I'm wondering now if Infiniti/Nissan has a different set of caps for their parts inventory than they do for their manufacturing line? That's plausible.
Suppose I should check with my local parts department first. Whatever happens, thanks for the heads-up on the ZeeToyz option.

I'm sorry, man. Didn't mean to dredge up unpleasant stuff. Glad you could work in some happy time within all that.So... the washer cap is metallic, which explains the laser-etching. And ZeeToyz is selling them even though they've not updated their website. (IIRC, ZeeToyz is up in Hamilton, Ontario CA.) Is that a cap that goes *over* the plastic cap, or replaces it? It looks like a replacement.
I'd like to swap out the gray washer fluid cap for something black, so this may be an option. Funny thing is, when you search on Infiniti Washer Cap, places are showing the OEM cap in black:
...which would be just fine by me. I'm wondering now if Infiniti/Nissan has a different set of caps for their parts inventory than they do for their manufacturing line? That's plausible.
Suppose I should check with my local parts department first. Whatever happens, thanks for the heads-up on the ZeeToyz option.
Thread Starter
Premier Member
iTrader: (7)
Joined: Jun 2013
Posts: 1,795
Likes: 164
From: Pittsburgh, PA
Yikes. A big box of personal info, and a murder. I'm sorry, man. Didn't mean to dredge up unpleasant stuff. Glad you could work in some happy time within all that.
So... the washer cap is metallic, which explains the laser-etching. And ZeeToyz is selling them even though they've not updated their website. (IIRC, ZeeToyz is up in Hamilton, Ontario CA.) Is that a cap that goes *over* the plastic cap, or replaces it? It looks like a replacement.
I'd like to swap out the gray washer fluid cap for something black, so this may be an option. Funny thing is, when you search on Infiniti Washer Cap, places are showing the OEM cap in black:
...which would be just fine by me. I'm wondering now if Infiniti/Nissan has a different set of caps for their parts inventory than they do for their manufacturing line? That's plausible.
Suppose I should check with my local parts department first. Whatever happens, thanks for the heads-up on the ZeeToyz option.
I'm sorry, man. Didn't mean to dredge up unpleasant stuff. Glad you could work in some happy time within all that.So... the washer cap is metallic, which explains the laser-etching. And ZeeToyz is selling them even though they've not updated their website. (IIRC, ZeeToyz is up in Hamilton, Ontario CA.) Is that a cap that goes *over* the plastic cap, or replaces it? It looks like a replacement.
I'd like to swap out the gray washer fluid cap for something black, so this may be an option. Funny thing is, when you search on Infiniti Washer Cap, places are showing the OEM cap in black:
...which would be just fine by me. I'm wondering now if Infiniti/Nissan has a different set of caps for their parts inventory than they do for their manufacturing line? That's plausible.
Suppose I should check with my local parts department first. Whatever happens, thanks for the heads-up on the ZeeToyz option.

It's a direct replacement cap, I removed the OEM one and am using the metal one now but it is snug. You have to maneuver it a bit to get it on then I used trimmed down bead chain from a set of dog tags to secure it in case it flies off or when I lose grip on it after removing. I'll try and get some pics today.
They may make a black replacement cap even though they deliver the car with grey? My pleasure on the heads up, Terry got them to me pretty quick despite the additional machining and international shipping.
Thread Starter
Premier Member
iTrader: (7)
Joined: Jun 2013
Posts: 1,795
Likes: 164
From: Pittsburgh, PA
Any question I can answer I'll be happy to! I've learned a lot reading the forum and I'm happy to share any anything I am able to.
I've seen pics of your engine bay, the little bits really add up! The radiator fluid bin cap is a replacement also. The only cover is the power steering cap which I haven't installed yet. I need to find my dremel, I hid it lest I be tempted to "improve" the feed ramp on a custom 1911 I built earlier this year. But I imagine it's probably the same design as the one you have? You need to dremel or file down the side tabs and then it screws over and on that cap?
Any question I can answer I'll be happy to! I've learned a lot reading the forum and I'm happy to share any anything I am able to.
Any question I can answer I'll be happy to! I've learned a lot reading the forum and I'm happy to share any anything I am able to.
I appreciate the engine bay compliment. Been wanting to do something about that gray washer fluid cap for a long time now. It really bugs me. Suppose it shouldn't, but it does. And now it looks like I have two options: ZeeToyz, and (potentially) a $6 OEM replacement in black.

Thank you Bota, much appreciated! Definitely needs a good polish but I'm not sure I can get the depth you have in yours. I may be reaching out if I pick one up. It's been a lot of years since I've run one and I don't have wrecks to test on any longer... Hopefully I'll be less dangerous with a polisher than a dremel or file.
Just make sure to pick up the Portal Cable 7424. It's a dual action polisher and you won't damage your paint. You'll want to follow some steps and if you ever need help with it, PM me.
until then, try using some Blackfire Wet Diamond. It's a really good sealant that will give some shine and it lasts a long time. I use 2 coats (1 would be fine too) and then top it off with Bouncer's Vanilla Ice Wax but P21S would be a great wax option. Lastly, use a good detailer like Chemical Guys V07...I really like it.
LOL...lots of crap.

Okay, I feel almost human again. That was a longer drive than I thought (or I'm just getting old), working out with a pro strongman the day before I left was not the best idea I've ever had either... Here are a couple quick pics using the phone.
Before - No complaints
After - No complaints but I like it a little more. Still have some work to do, bumper plugs until I decide if I really want a new nose and which one. Good wash and polish etc.
I think it's a bit of a difference, glad I didn't go darker with the rear lenses though I originally was thinking to do so. Lost one of the caps for my license plate cover, need to get that replaced and also need to find the new stickers...

Thanks for the fresh pics Chris, that trunk is so sweet, nice little details you're adding too. Agree about the Porter Cable, those RO buffers w/ a good pad assortment is really all you need to get that G to really demand attention. Hopefully your tire issue is behind you now as well. Keep the pics coming, your car really is moving along at a rate that's making all of us a bit jealous (or at least most of us, lol)
Thread Starter
Premier Member
iTrader: (7)
Joined: Jun 2013
Posts: 1,795
Likes: 164
From: Pittsburgh, PA
Thank you Brad!
Things are definitely moving quickly. More quickly than I planned, not as quickly as I would like... Tires are good for now (again, thank you!) but I'm looking forward to getting the 19s on.
I did a couple odds and ends today and am planning on getting the intake on next weekend, I hope. Found a small chip which I now see every time I'm near the car so I need to get that fixed too or it will drive me nuts. But I'm loving the change, can't thank you guys enough!
I hate those stupid chips. I know what you mean that every time you walk by your G, your eyes gravitate towards it. Get it taken care of or it'll drive you insane. Try using a magic marker on it til you get it fixed (getto but temporary). I kinda want to try that dr. Color chip on one that I have but I'm still looking into it.
 I tried a couple different application methods but the result was a matte black fill in my gloss black paint
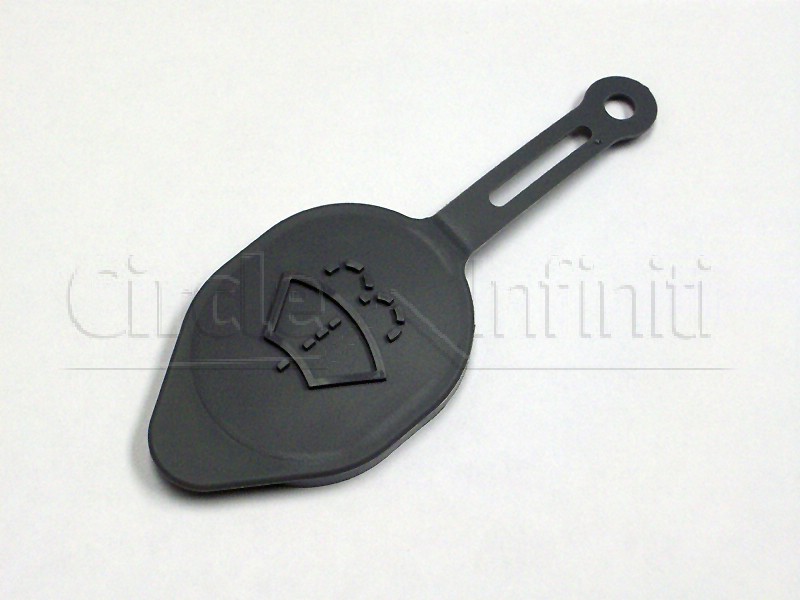
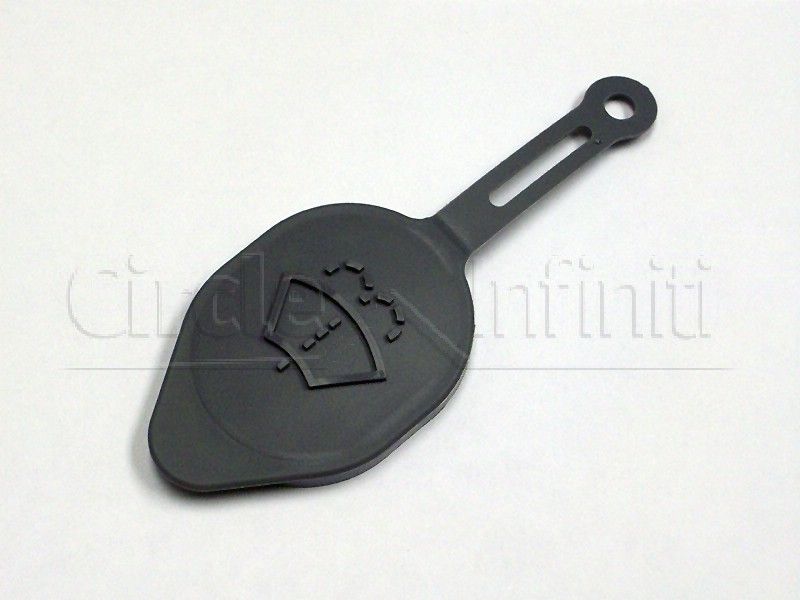
Getting back to issues of grave importance... what the heck car is that washer cap from? Circle Infiniti just wrote me back and told me the cap is actually gray, not black like in that photo.
Dammit.
Dammit.
Thread Starter
Premier Member
iTrader: (7)
Joined: Jun 2013
Posts: 1,795
Likes: 164
From: Pittsburgh, PA
Rochester - I can't figure out how to quote multiple comments on the iPad sorry. I got the washer cap from zeetoyz as well for the G. Like I said, it's snug but it fits on, maybe tight is a better term.... If you don't want it machined if imagine
Terry could get it to you awfully quickly. OTOH, if you do want the logo have I got a deal for you.... Lol