When you click on links to various merchants on this site and make a purchase, this can result in this site earning a commission. Affiliate programs and affiliations include, but are not limited to, the eBay Partner Network.
All of the joints thread in and out and have lock nuts behind them to hold them in place. If you look close at the back of the 1st picture you can see the silver lock nuts for the arms that adjust caster. The lock nut for the ball joint that adjusts camber is behind it and not visible in the pics.
so you have to unbolt all 3 mounting points from the car to make the adjustments?
The camber (the one you would probably adjust more often) simply requires unbolting the front ball joint- about as simple as any other set of adjustable control arms.
The caster requires unbolting one of the rear ball joints (depending on which way you are trying to change it). Some much more expensive adjustable control arms allow you to adjust this without having to unbolt the ball joint, but you usually still have to unbolt a few other attachment points to adjust. I can see how that could possibly save time if you were at the track and were changing the alignment there and you were in a hurry between sessions. Otherwise, the time saving is pretty negligible. Once I get this set, I really don't plan to change it.
When I installed my arms for the first time I thought i was being smart and preset the camber to positive Max and when I tried to get the ball joint rod? into the lower arm hole? For the life of me couldn't get it in. I sat there pounding away wasting my time and it wouldn't go in. Then I realized the only way to get it in was either move the camber plate to the stock position or remove plate from camber arm and it slipped right in. I chose to make life easier and remove plate from arm.
but urs the ball joint went in when it was out of stock range?
Yes, the ball joint went in easily, but probably because I am trying to reduce negative camber up front after lowering to save the inner edges of my front tires from getting cupped. However, when trying to take the "ball joint rod" out the 1st time I thought I just needed to remove the nut. Little did I realize the ball joint had a groove in it so it would not come out until you remove the bolt completely. Whoops!
Originally Posted by saywat?
Oh also installing the 2 back bolts is not fun ,if like me being lazy, didn't want to unbolt anything else. I never want to do that again lol
Originally Posted by guy from norcal
Haha,I tried that when i installed mine. Was just easier to take out the strut assembly.
The back bolts were no issue and you should not have to take out the strut assembly. I am assuming you ran into an issue with the bolt coming out, but running into the spring? I just had to use a pry bar to spread the spring slightly and the bolt slid right between the spring and out. Maybe I am lucky with the placement of the Tein springs in my Basis coilovers being in the right spot?
actually it was easier to get the bolts out since i was able to bang it out using a screw driver. i was able to manipulate the spring a little by raising the spring up and down to make what room i could. i was kinda lucky maybe the bolt was just touching the spring coil just a little. getting the bolt back in was a lot harder i had to bang bolt back in, scratch up the coil, and touch up painted where ever i scratched.
actually it was easier to get the bolts out since i was able to bang it out using a screw driver. i was able to manipulate the spring a little by raising the spring up and down to make what room i could. i was kinda lucky maybe the bolt was just touching the spring coil just a little. getting the bolt back in was a lot harder i had to bang bolt back in, scratch up the coil, and touch up painted where ever i scratched.
That's a bummer. I just used a pry bar to separate the spring a little and slid the bolts right in and out.
so underneath the rubber shield thats over the ball joint is a ring around the ball joint (hopefully I'm making sense). On the installation sheet that you get from Z1 its says how the ring around the ball joint should properly sit. The ring should sit vertically on the ball joint according to the Z1 manual. Im having a hard time adjusting that ring to the proper specs that Z1 calls for. Do I need to adjust the caster as well in order to get that ring vertically to the balljoint ?
so underneath the rubber shield thats over the ball joint is a ring around the ball joint (hopefully I'm making sense). On the installation sheet that you get from Z1 its says how the ring around the ball joint should properly sit. The ring should sit vertically on the ball joint according to the Z1 manual. Im having a hard time adjusting that ring to the proper specs that Z1 calls for. Do I need to adjust the caster as well in order to get that ring vertically to the balljoint ?
That's a good question and exactly what I thought too. But no, you do not need to do anything with the caster to change the orientation of the ball joint. Once you loosen the lock nut on the back of the ball joint you will see that it is easy to move the ball joint to the right position. Make sure you hold the ball joint level when you tighten the lock nut as it has a tendency to turn the same direction as the lock nut when you tighten it.
You could try spraying some liquid teflon grease on the ball joints if they are level and your are still getting some noise. There is not really any other maintenance on these control arms. I have not had any noise issues with mine.
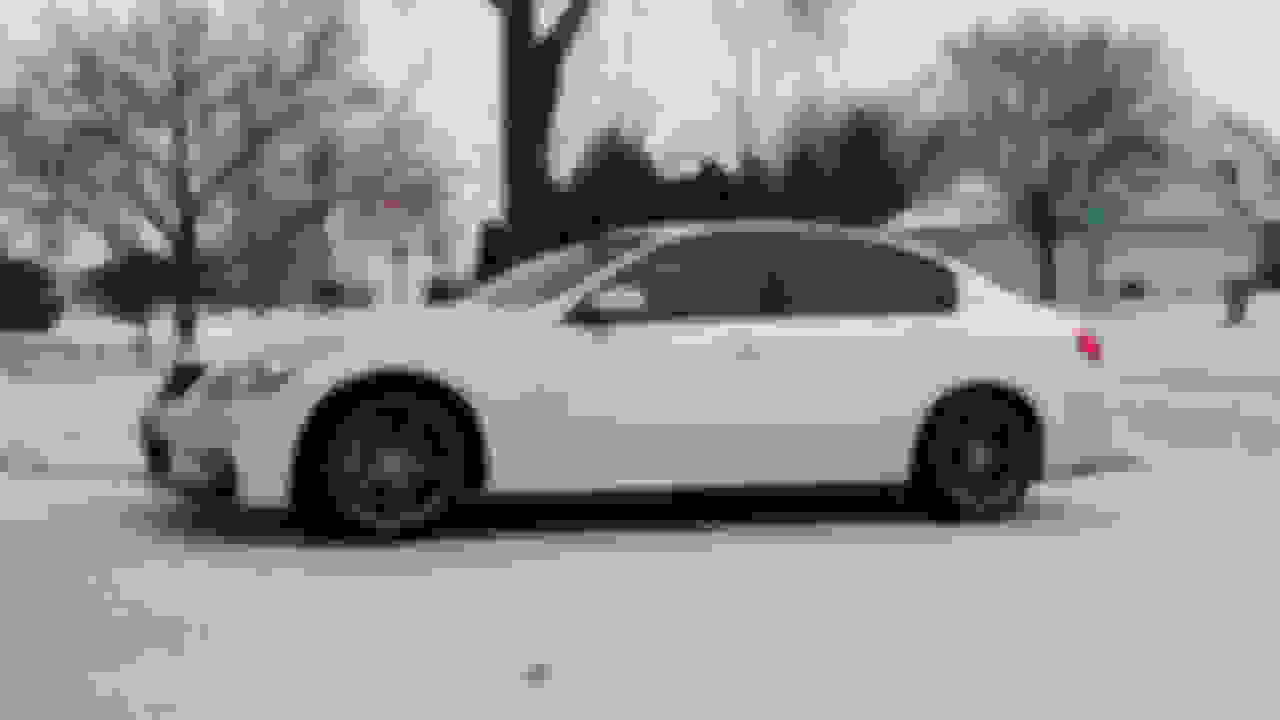
I bolted up my new hyper black Drag DR-73 winter wheels and Blizzak WS-80 tires from Discount Tire Direct. Wow, are they close to the front calipers. You cannot fit a fingernail between them, but a sheet of paper clears the gap. I ordered 3mm spacers, but then took them off and they seem to work ok without them.
The tires are extremely soft, to the point that the ride is actually noticeably smoother. The tread blocks are pretty squirmy. You can shimmy the steering wheel left and right and get the car to move side to side just from the tire squirm. I feel like I am driving a Jeep Wrangler with big knobby tires. They are also so soft that I can get the traction light to come on in the first 5 gears when accelerating on the highway. Now I am just looking forward to a snow storm to see if they handle any better than the old blizzak tires.


 Now I am just looking forward to a snow storm to see if they handle any better than the old blizzak tires.