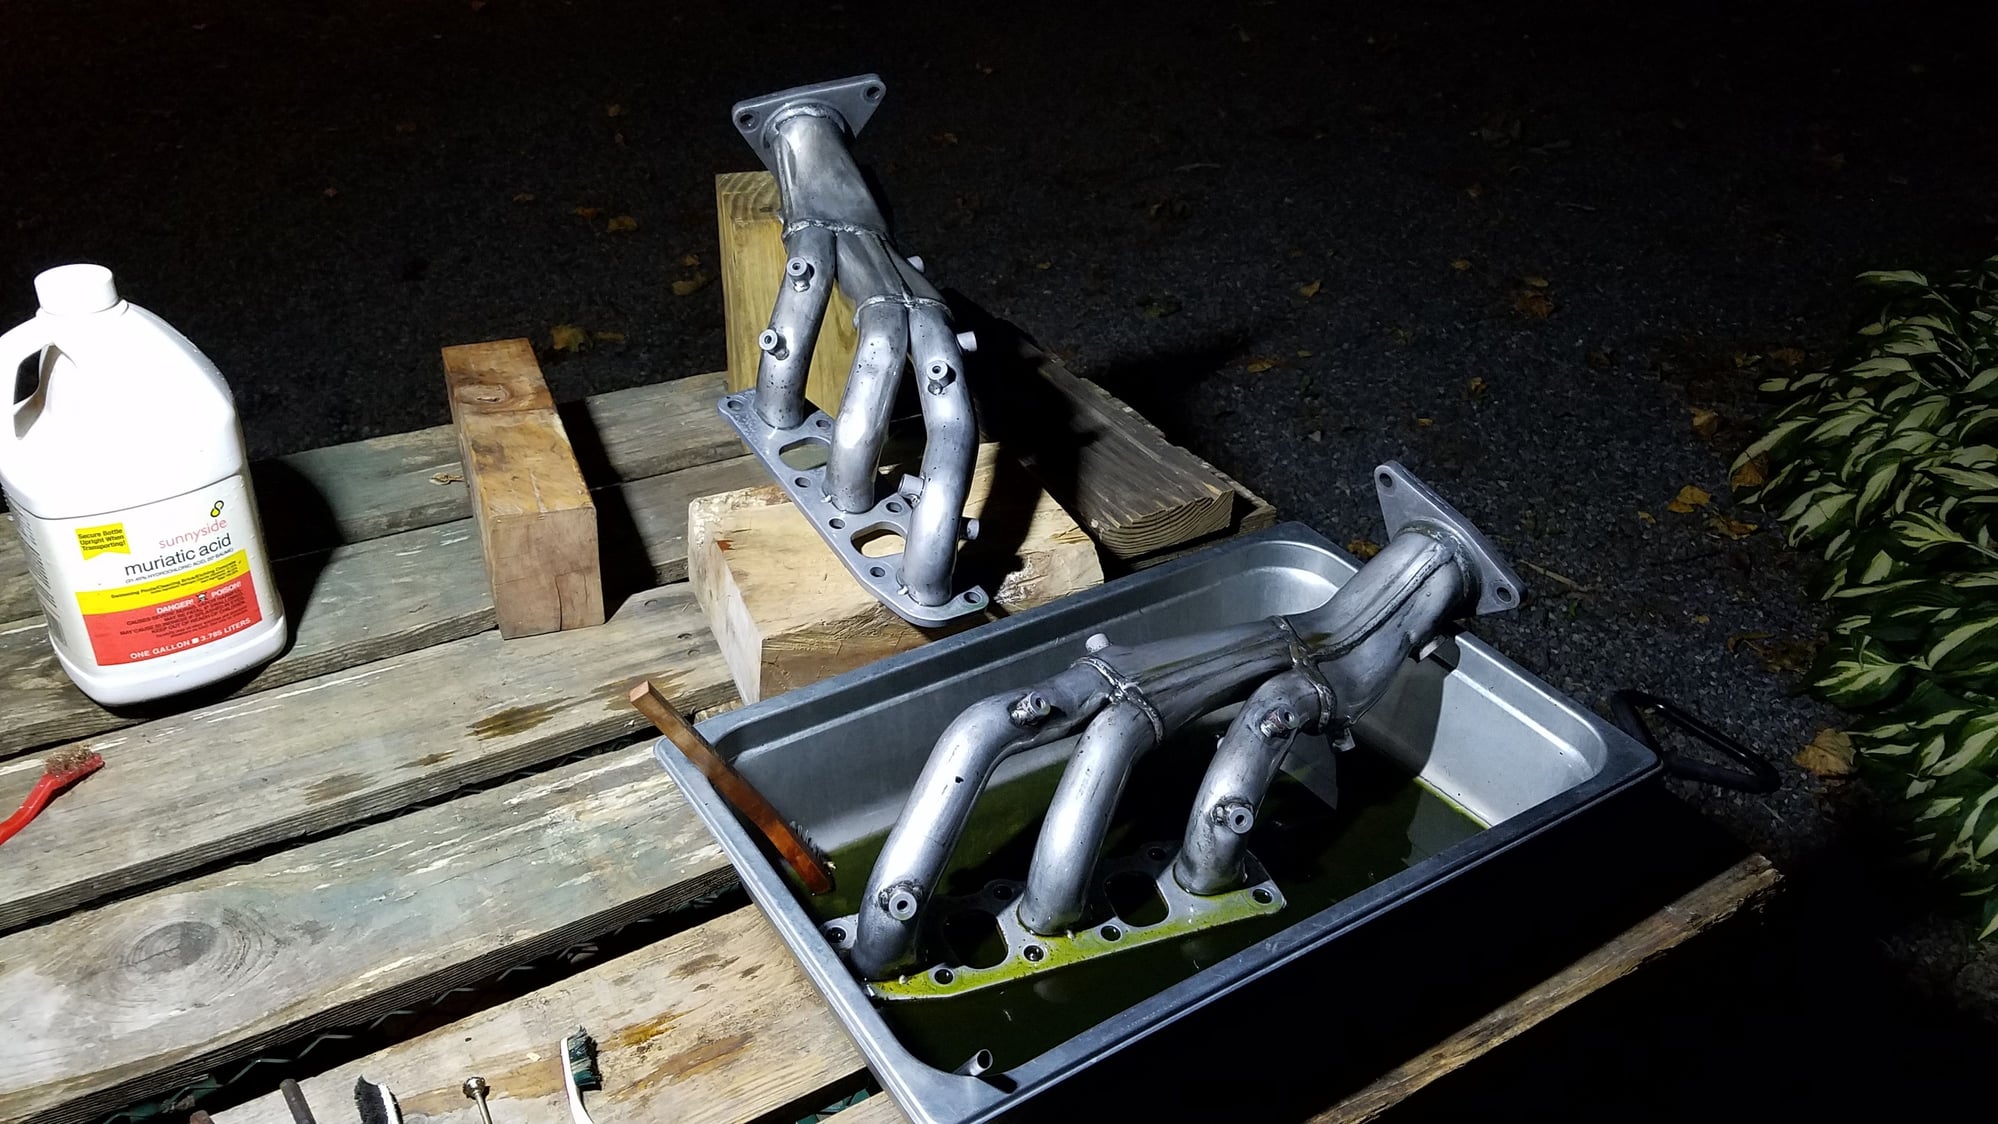
OE Exhaust painting & new fasteners recreation
#1
Registered Member
Thread Starter
Hi everyone, I have a 2015 G body coupe (rebadged G) "Q60S" AWD w Auto, and it has the sport brakes. I've had for 2 years and just wanted to paint my entire exhaust system to prevent rust because I live in the NE. I'm having fun with it so far, just wanted to share it here.
Last edited by Justin Bailey; 07-31-2018 at 11:16 PM.
#2
Registered Member
Thread Starter
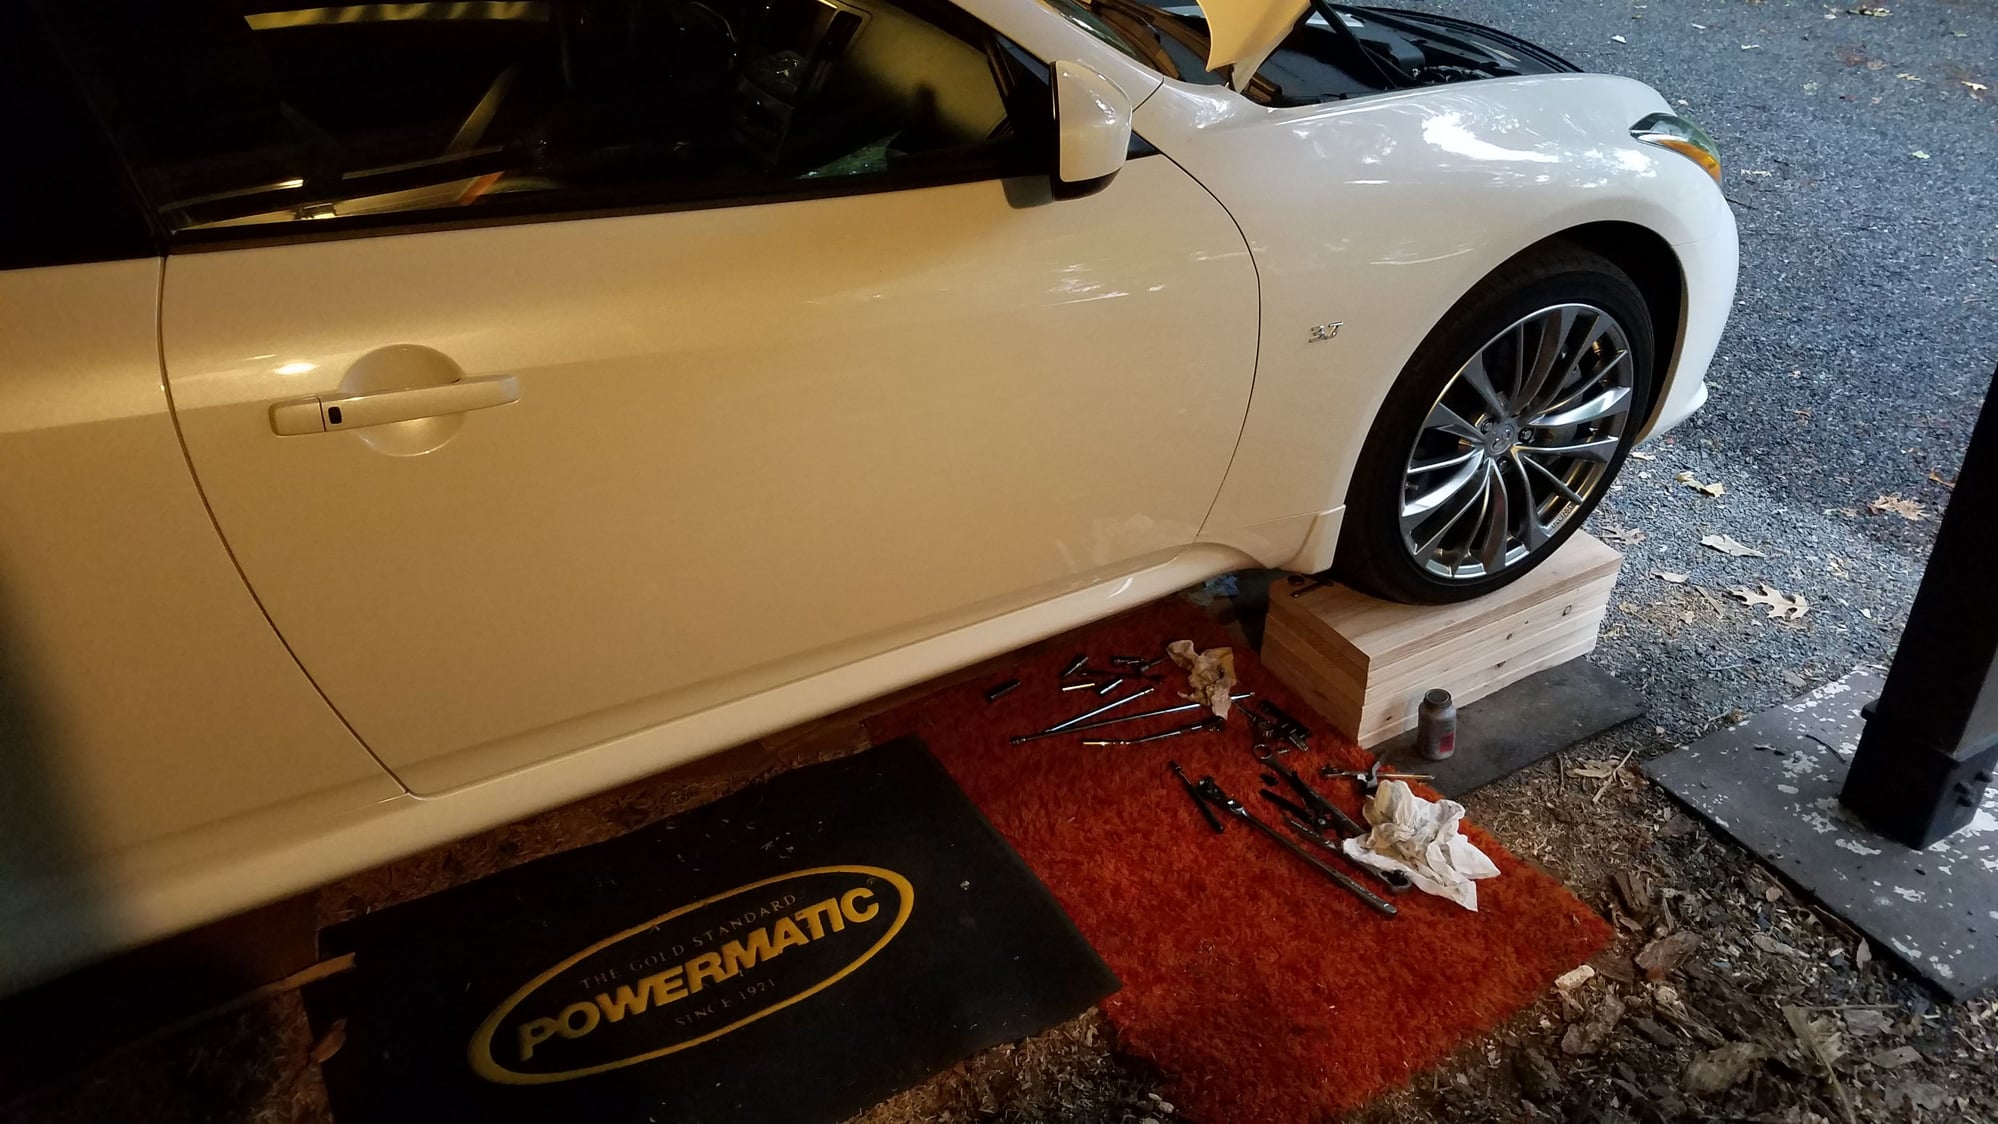
Had this car from new and am financing after leasing for 2 years. I am a truck driver and do not drive it a lot. Right now it has almost 12k miles.
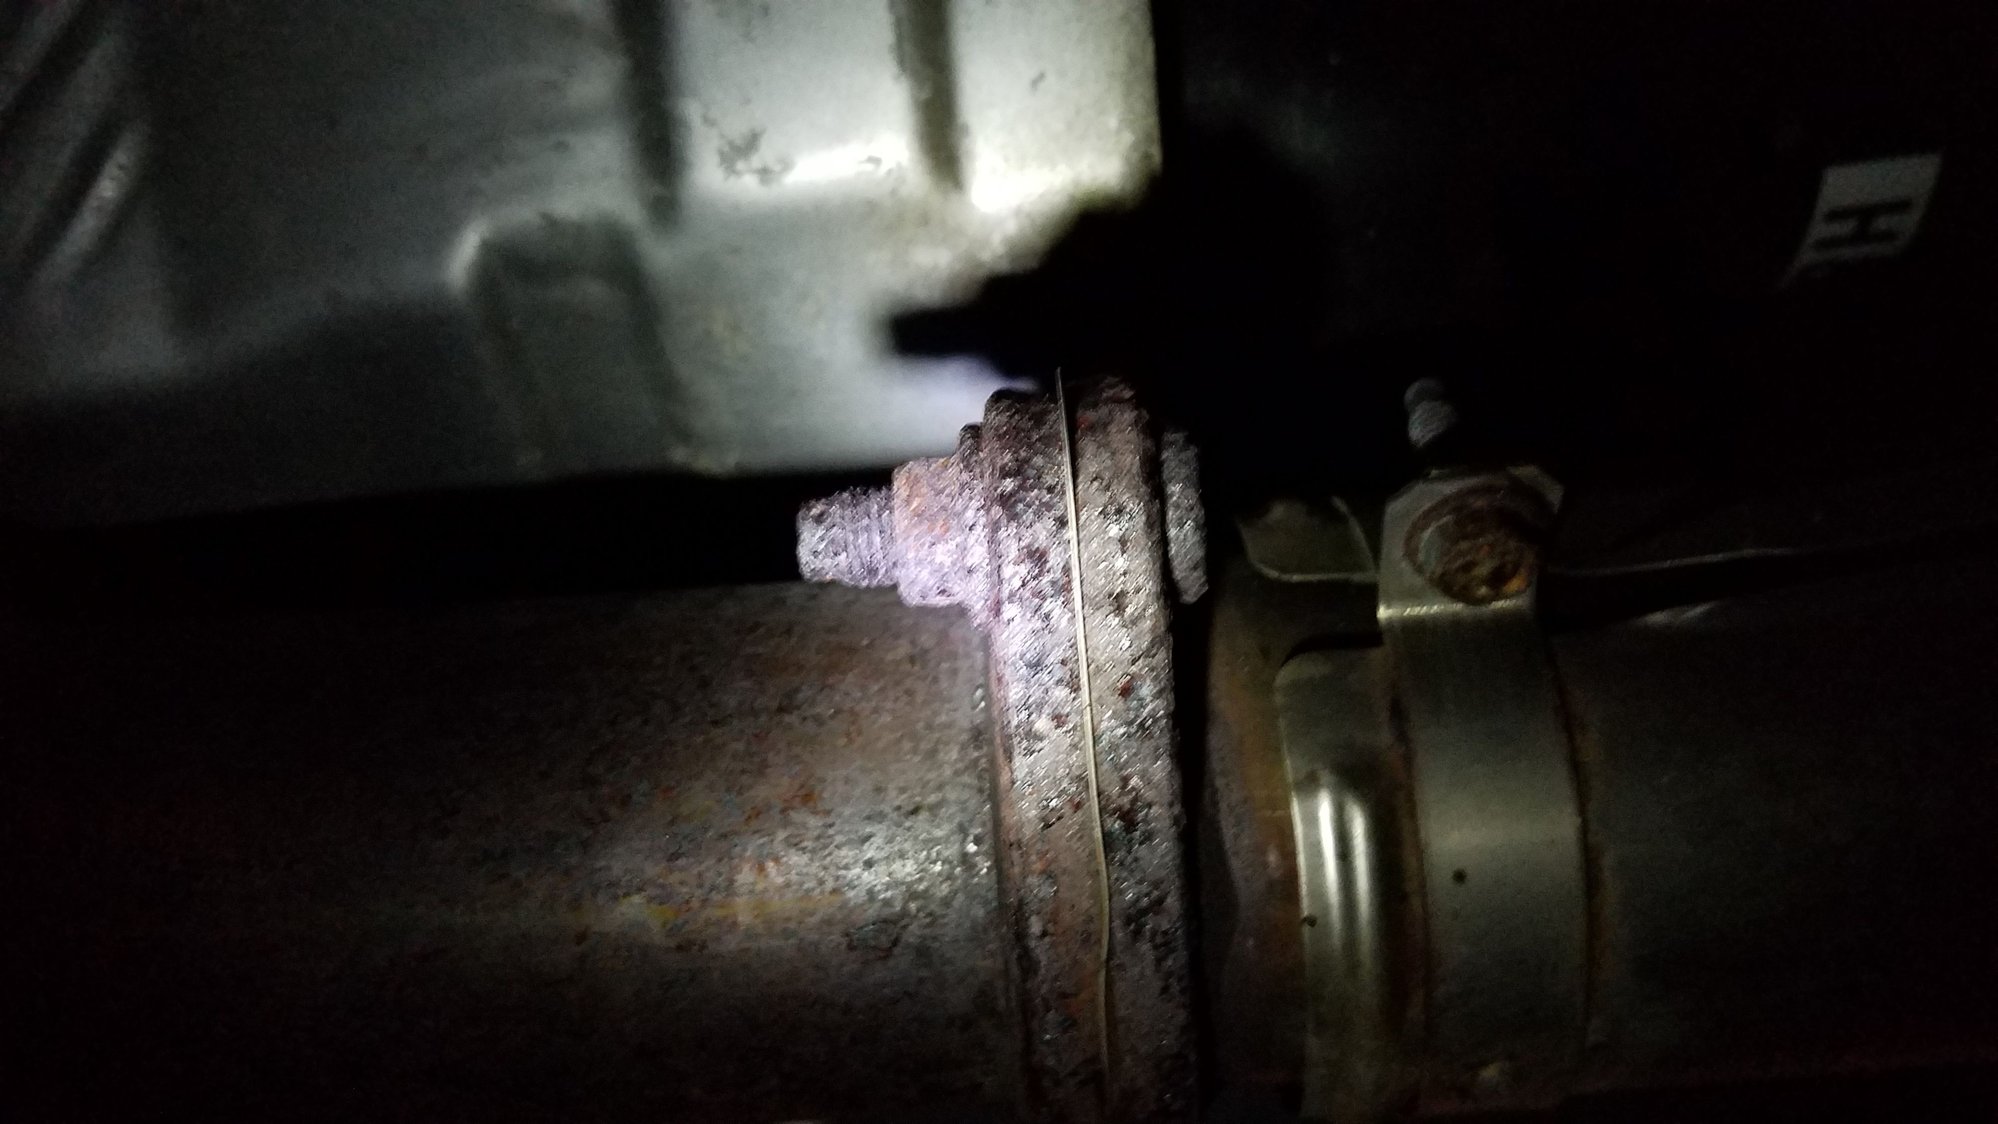
So you can see here around the flange joints as well as the fasteners or studs rust has begun.
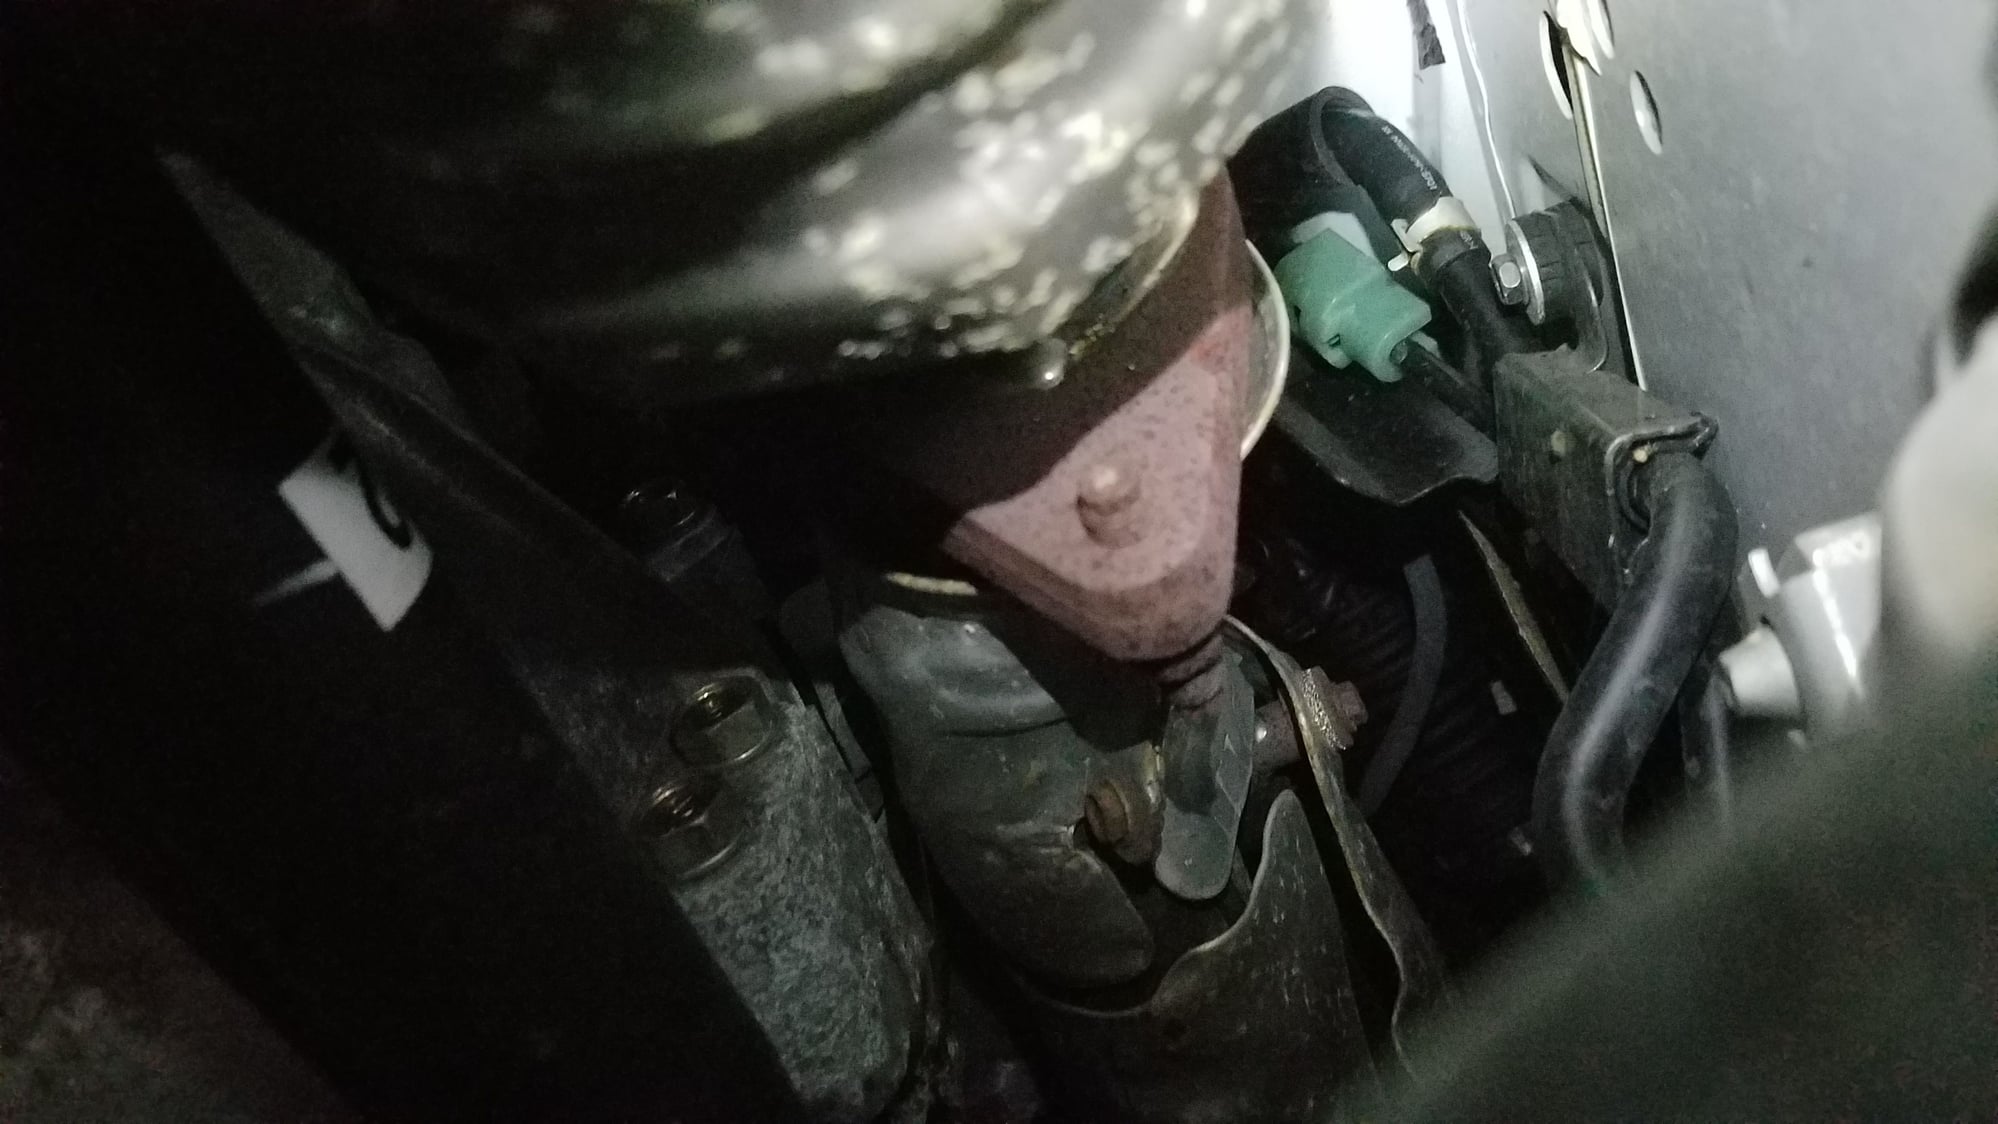
It's typical, I know, but figured I'd make it a project to do something about it. At first I just freed all the nuts, never seized the threads and re-tightened, but was unsatisfied.
Thanks to sbowden99, providing a good example of rust that can occur on a G37 in this Feb 2018 thread:
https://www.myg37.com/forums/body-in...2012-g37x.html
Link directly to the photos: https://imgur.com/a/pmxf4
I will try to do some things to prevent against this if possible.
Last edited by Justin Bailey; 02-13-2019 at 10:10 PM.
#3
Registered Member
Thread Starter
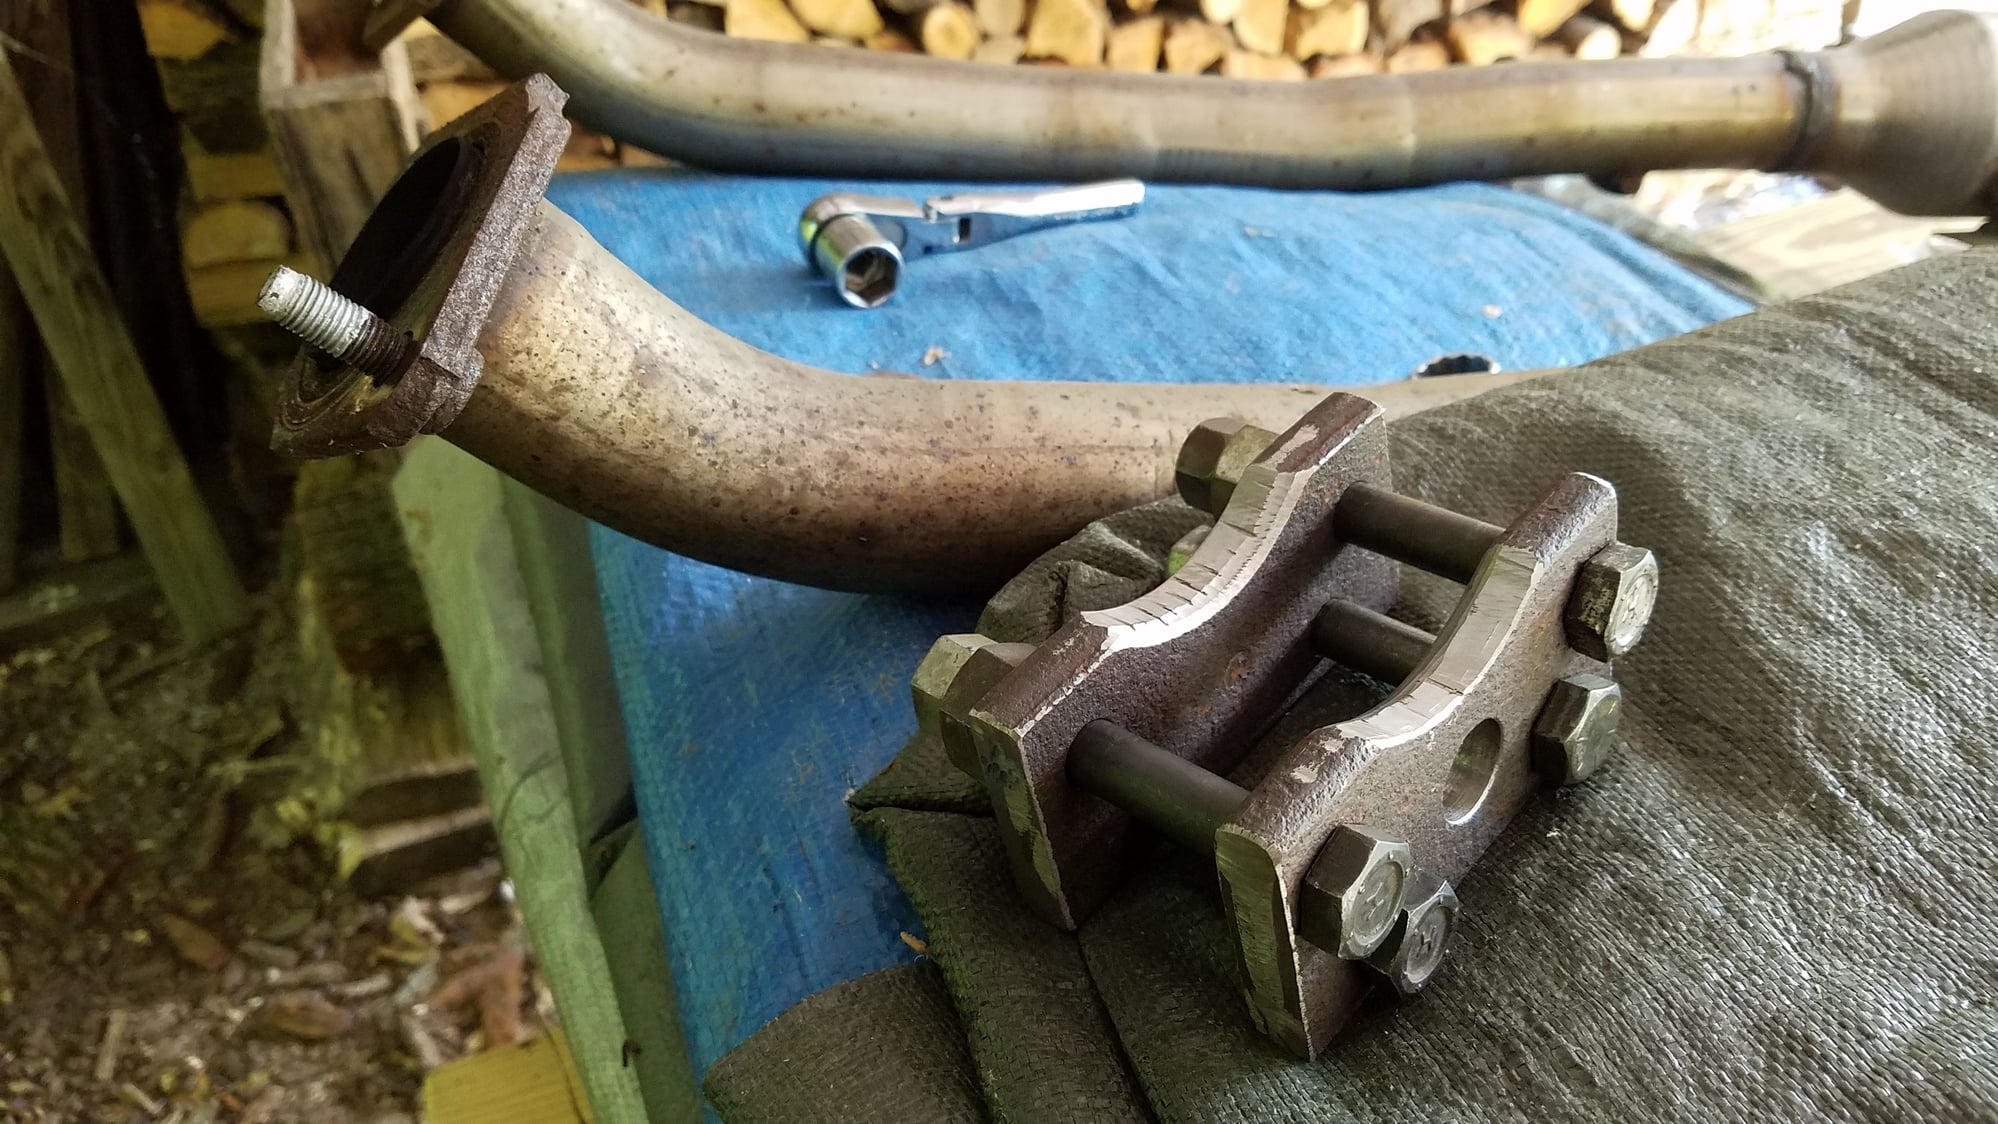
Decided to replace the studs with stainless bolts and had a tough time getting them out and did not want to use a hammer so I made this press from some old 1/2" leaf spring. This worked without heat.
Last edited by Justin Bailey; 08-01-2018 at 01:43 AM.
#4
Registered Member
Thread Starter
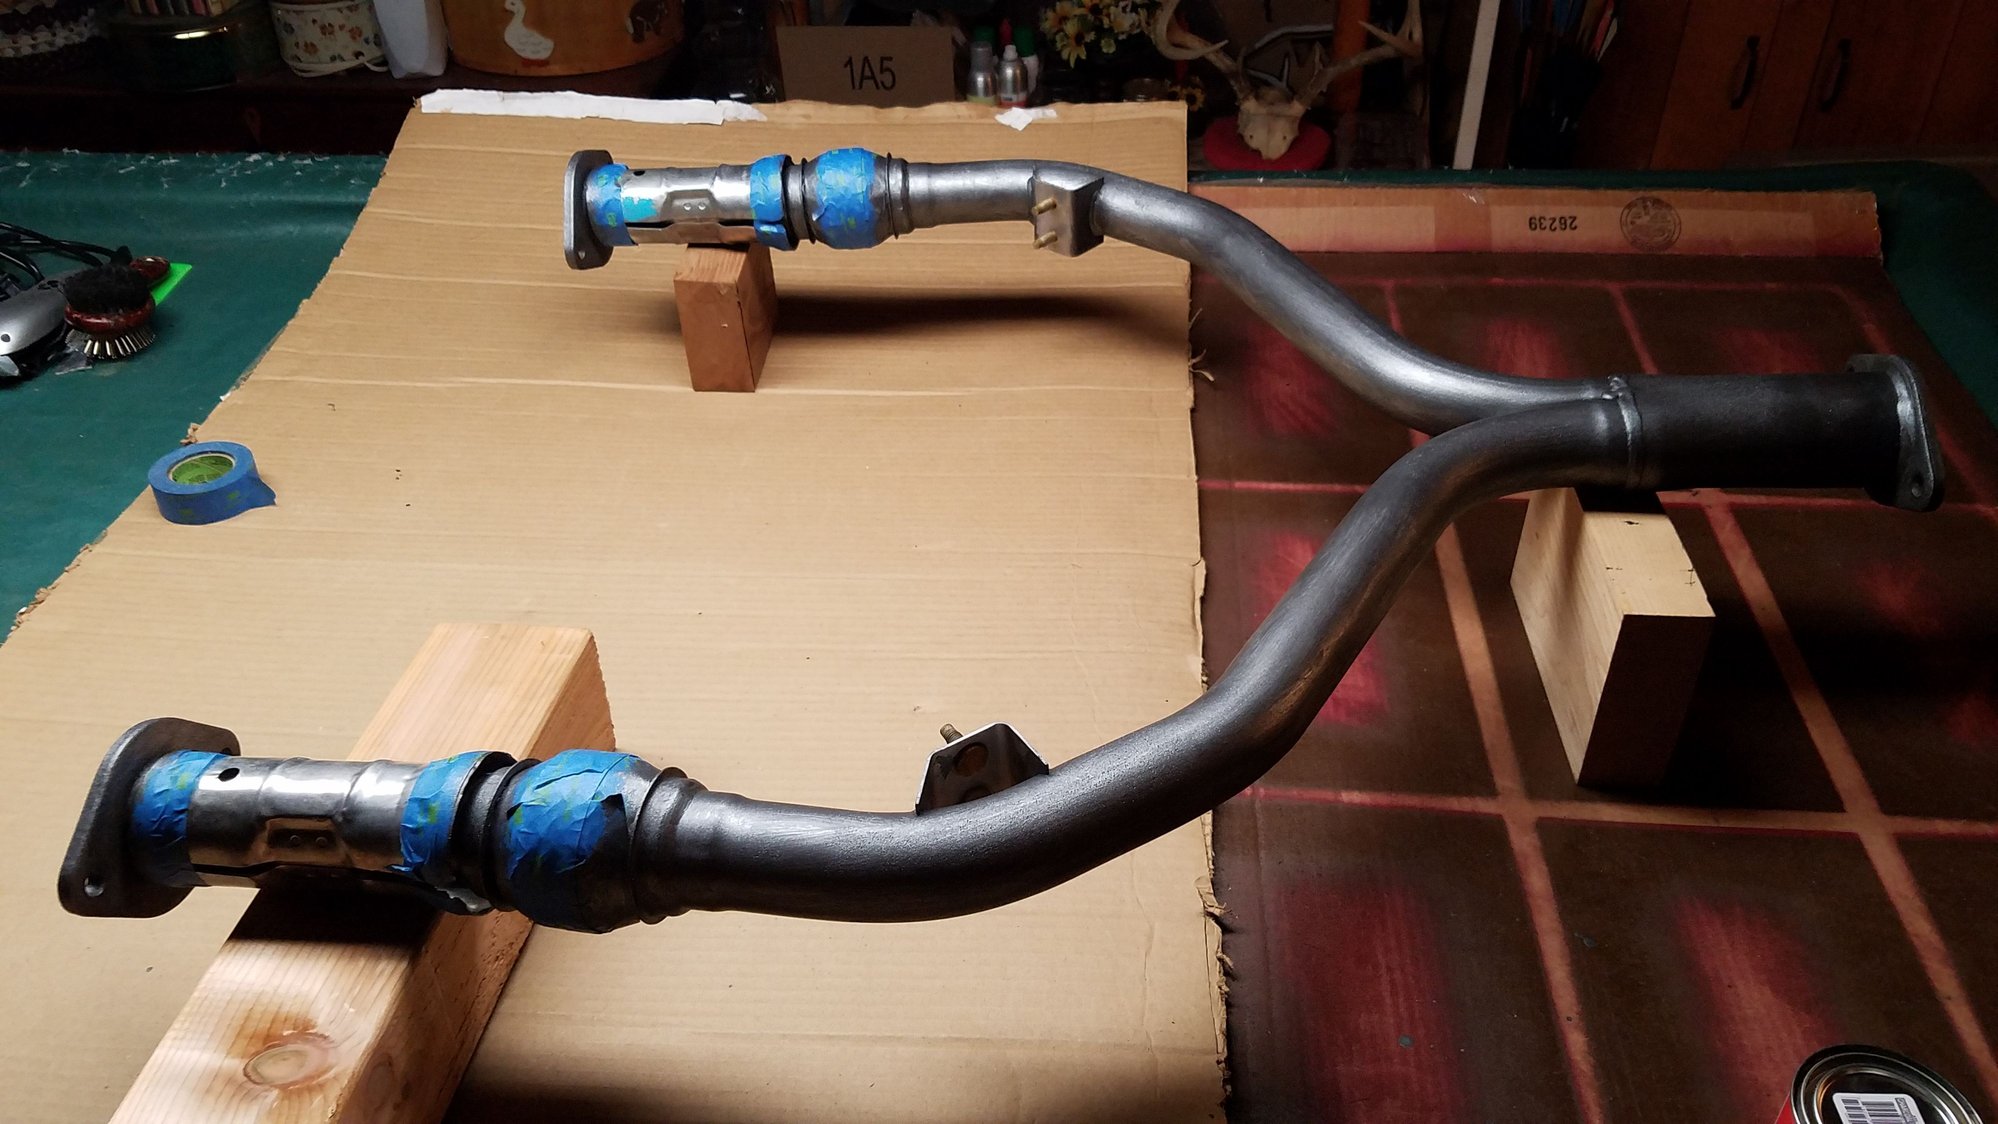
The y pipe came out first. I separated the heat shield with some clamp pieces that held it on , took off the little dampeners also. There is a white insulation material in places that I guess would allow moisture to build and there was a good deal of rust occurring there. Big flakes of rust at those areas.
After chipping and sanding, I moved on to muriatic acid soaking and scrubbing. This removed all the rust completely, then neutralized it with some ammonia/ baking soda/ simple green mix. Washed again with awesome, thoroughly rinsed, then quickly dried inside with towels and a heat gun. I used nitrile gloves throughout the process to keep it as clean as possible.
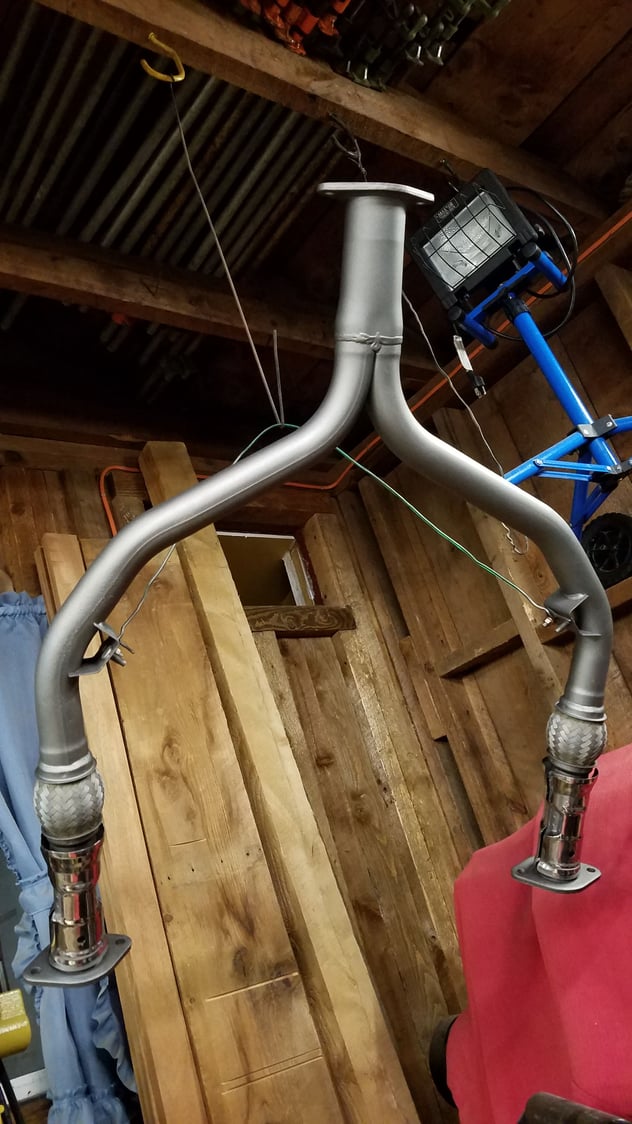
Used a brush-on KBS extreme coating in charcoal metallic (3 coats) and (1 coat) vht spray cast iron over that. No primer. Taped off the spot welded heat shield and flex joint and polished the shields later. Kept the original dampener studs, which I think are welded in. This piece was done first.
Last edited by Justin Bailey; 08-05-2018 at 02:13 PM.
The following 2 users liked this post by saywat?:
juan goose (08-21-2019),
Justin Bailey (07-31-2018)
#7
Registered Member
Thread Starter
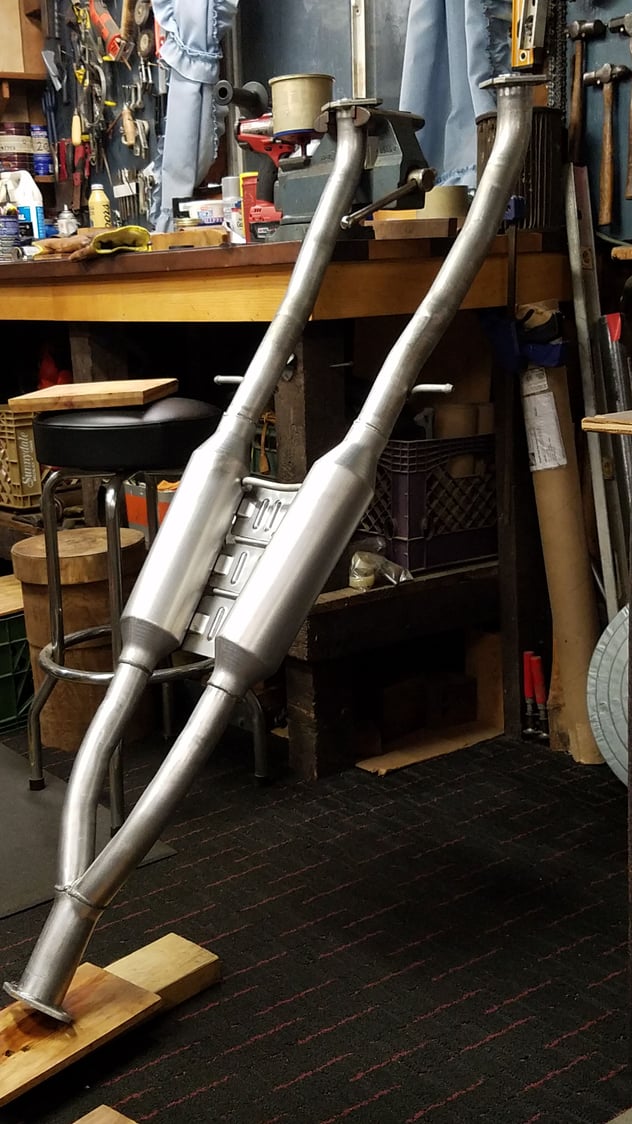
With this mid pipe, the rust was mostly only around the flanges and welds, so I gently soaked this for days while I was away, in CLR / coca cola mix. That got rid of most of the rust, but gave this a final session in muriatic also for around the steel hangars and there is a curved support rod welded between the resonators that was hard to get at by soaking. I was careful not to get acid inside anywhere.

The rear split path flange surfaces to the muffler were pitted kind of bad. I used a howitzer blank casing to make this sanding grinder to drive with a drill slowly to improve the surface for the gaskets, the muffler side was not as bad.
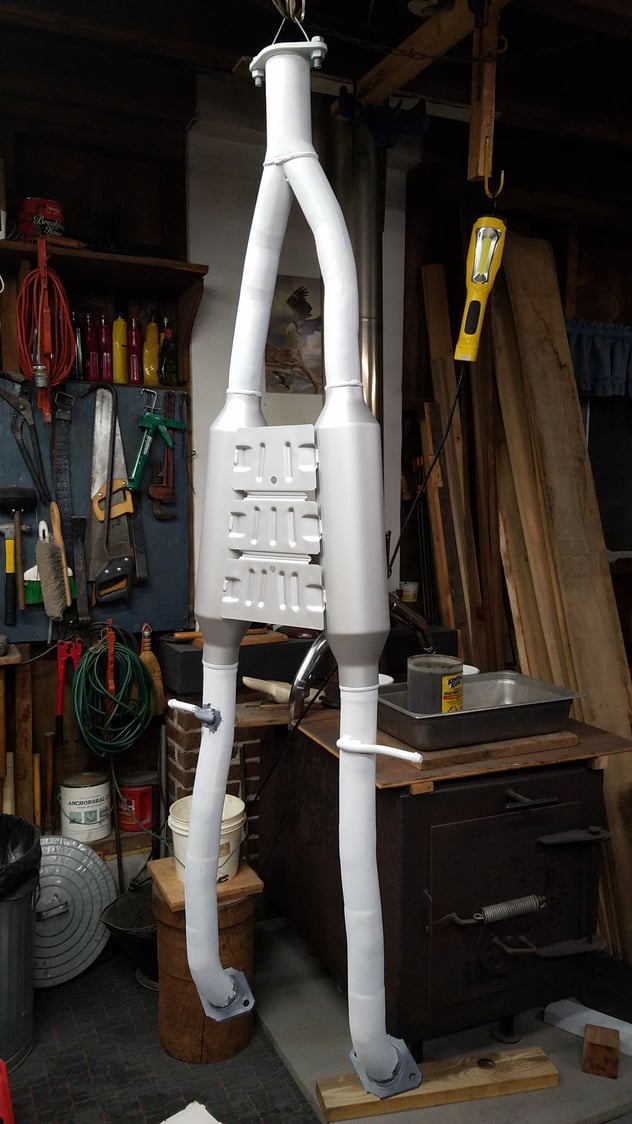
I had some white vht primer I decided to use up on this to build some thickness quickly. This is the only piece (at this point) where I used a primer. Then used an aluminum kbs spray on the resonator area, these were kind of aluminized originally so wanted to replicate the appearance there. The rest of the pipe will get the darker grey metallic color, brush on two coats kbs charcoal metallic and final coat of vht cast iron spray.
I don't know but vht makes a satin clear, and kbs a gloss clear, could go over it all with one of those, I'm leaning toward the gloss, I read that vht clear has turned yellow for some people for some reason but I don't know why. Maybe surface contamination was to blame, or trying to clear coat really smooth and shiny bare metal, that the paint can't stick to very well, or if it was not dry enough and they went to heat cure it before it was ready.
Last edited by Justin Bailey; 08-12-2018 at 06:23 PM.
Trending Topics
#8
Registered Member
Thread Starter

This is just a first coat of brush-on kbs pontiac blue metallic. I will probably give them at least 4 coats, it is a kind of pale blue-green or is it green-blue? Idk, looks cool and calming.
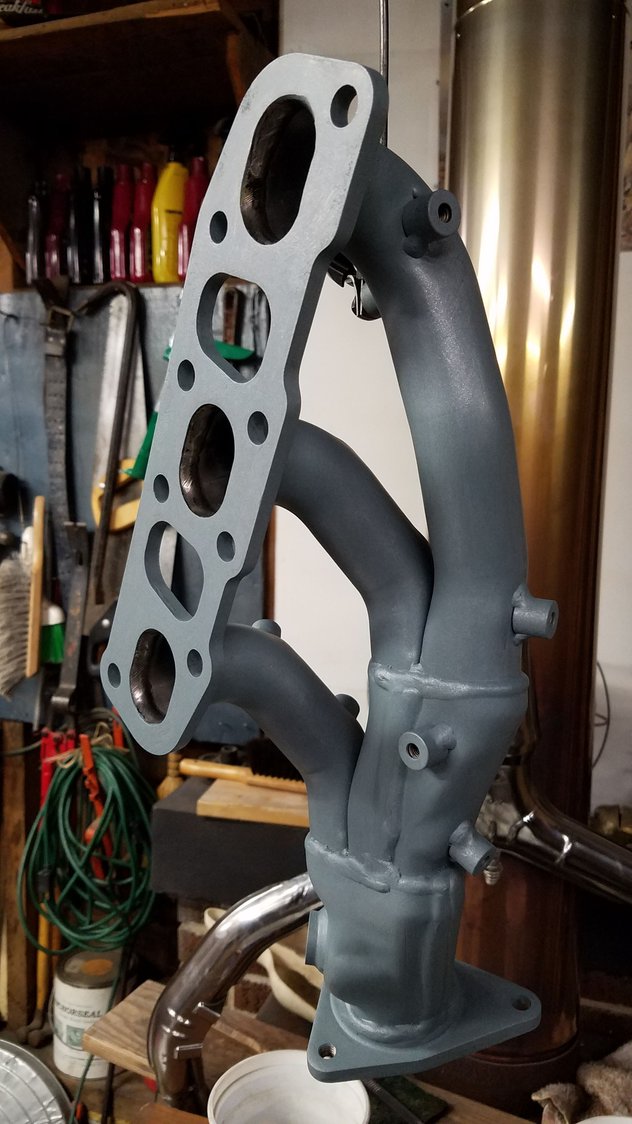
I went right over the back surface, maybe will only coat this part lightly a second time. The instructions say not to worry about brush marks because it will self level upon heat curing, so I imagine it will seal up fine.
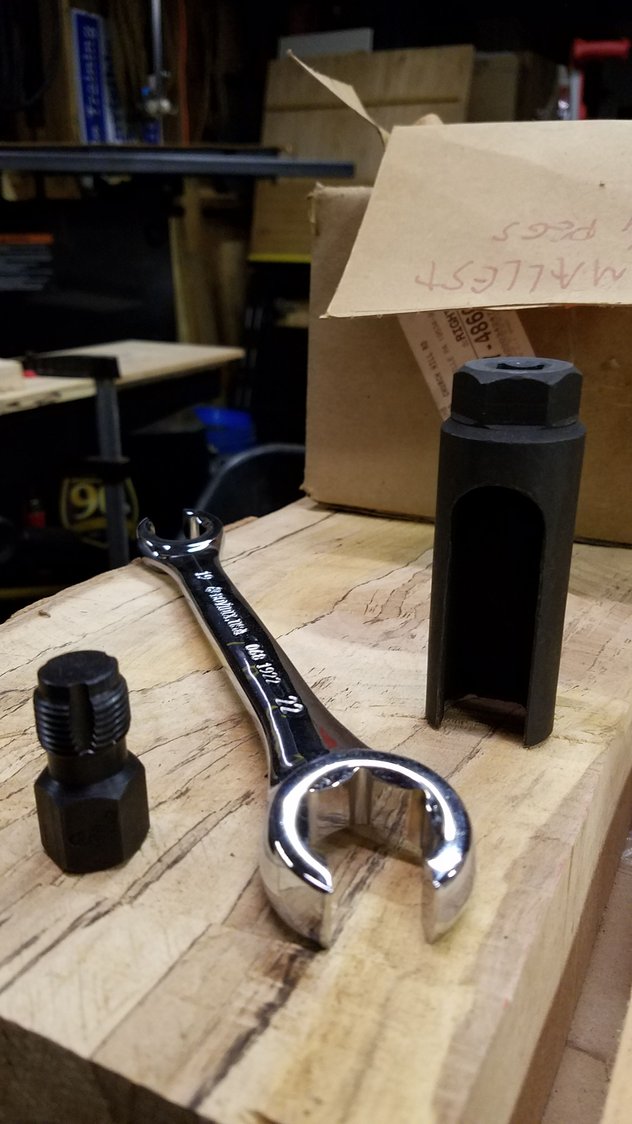
I got a 22mm flare nut wrench for under $20 that I used to get the upstream O2 sensors off while on the car using a cheater wrench method, and took the DS ones off the cats out of the car, but opted for a socket to help if I need it later with reinstalling. Picked up the 18mm 1.5 pitch thread cleaner and gave it a gentle run through.
Last edited by Justin Bailey; 08-01-2018 at 01:41 AM.
#9
Registered Member
Thread Starter
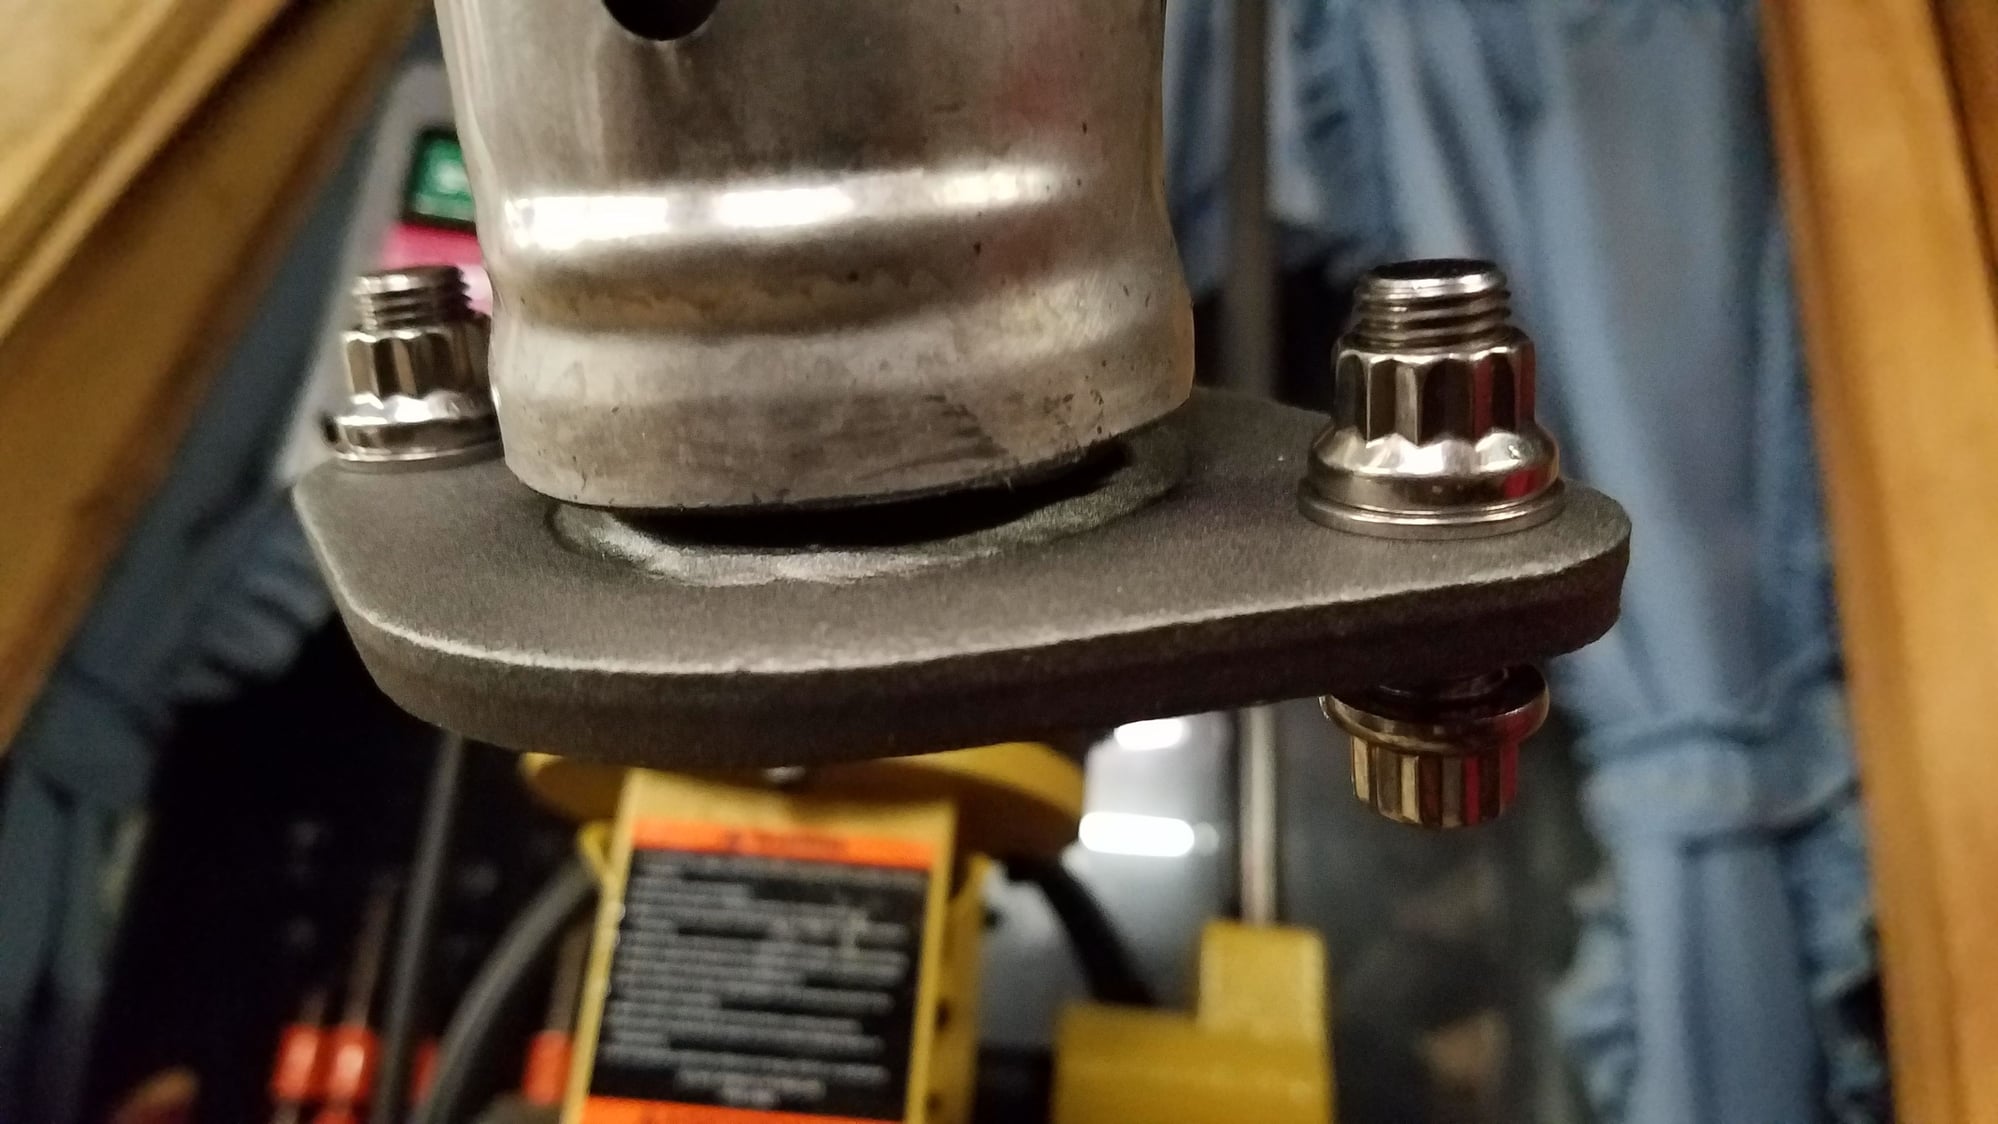
To replace the pressed-in joint fastening studs, 1 option would have been using identical M10 ATV wheel studs and press those in, but I could not find any stainless ones in that size. So I found the holes in the flanges to be perfect for 7/16" bolts. I choose an ARP bolt because they claim a high strength rating in stainless.
These are 20 tpi a fine thread about a thousanth per thread difference to a 1.25 metric pitch.

To get my press on the one side of the cat to remove the stud, I snipped some of the heat shield away, kind of parallel to the flange.
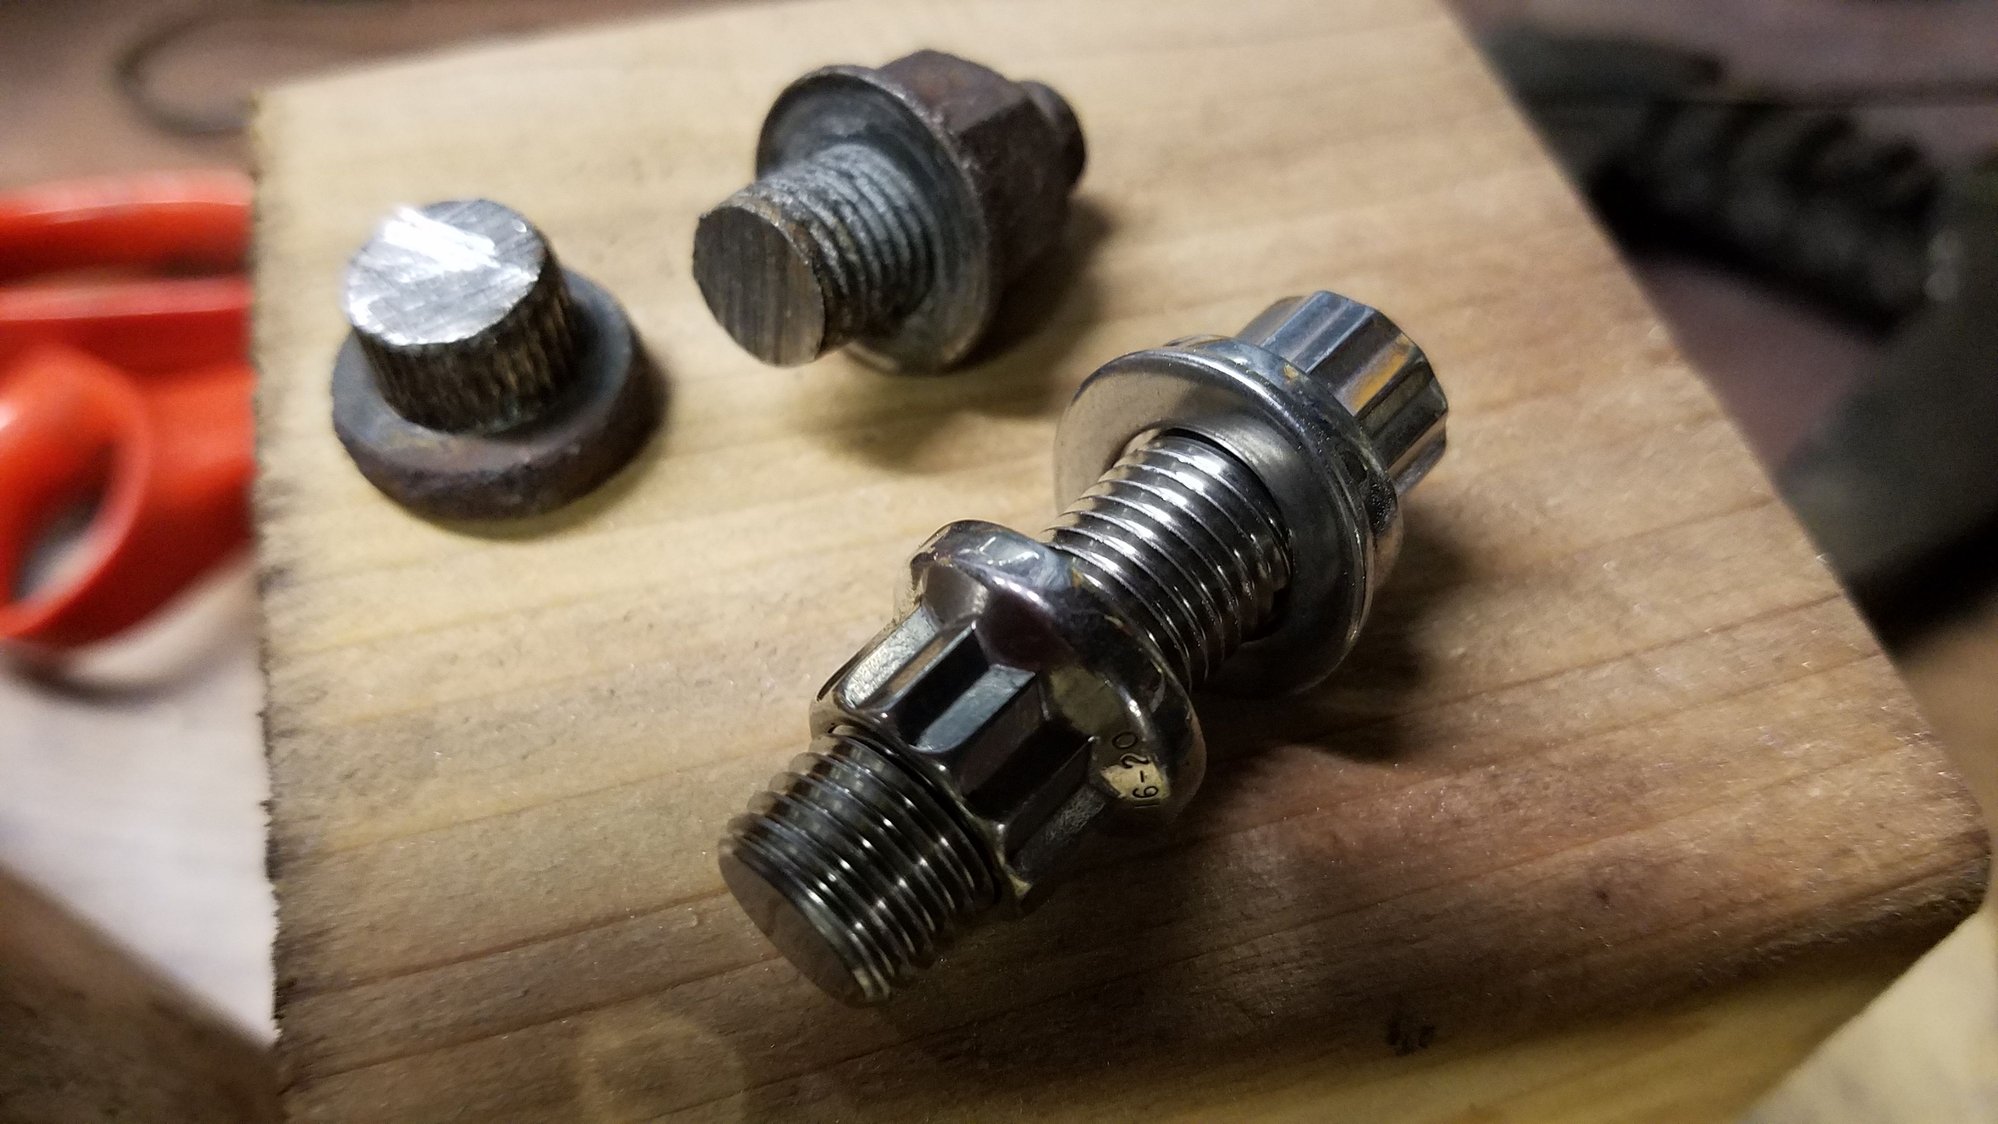
There is a problem with trying to go with 7/16 for the DS side of the cat flanges, or any bolt vs. the factory stud, really. Had to cut the stud after it was driven out to get it out. The 30mm long or even a 25 will also not fit in there to have the nut downstream like the rest.
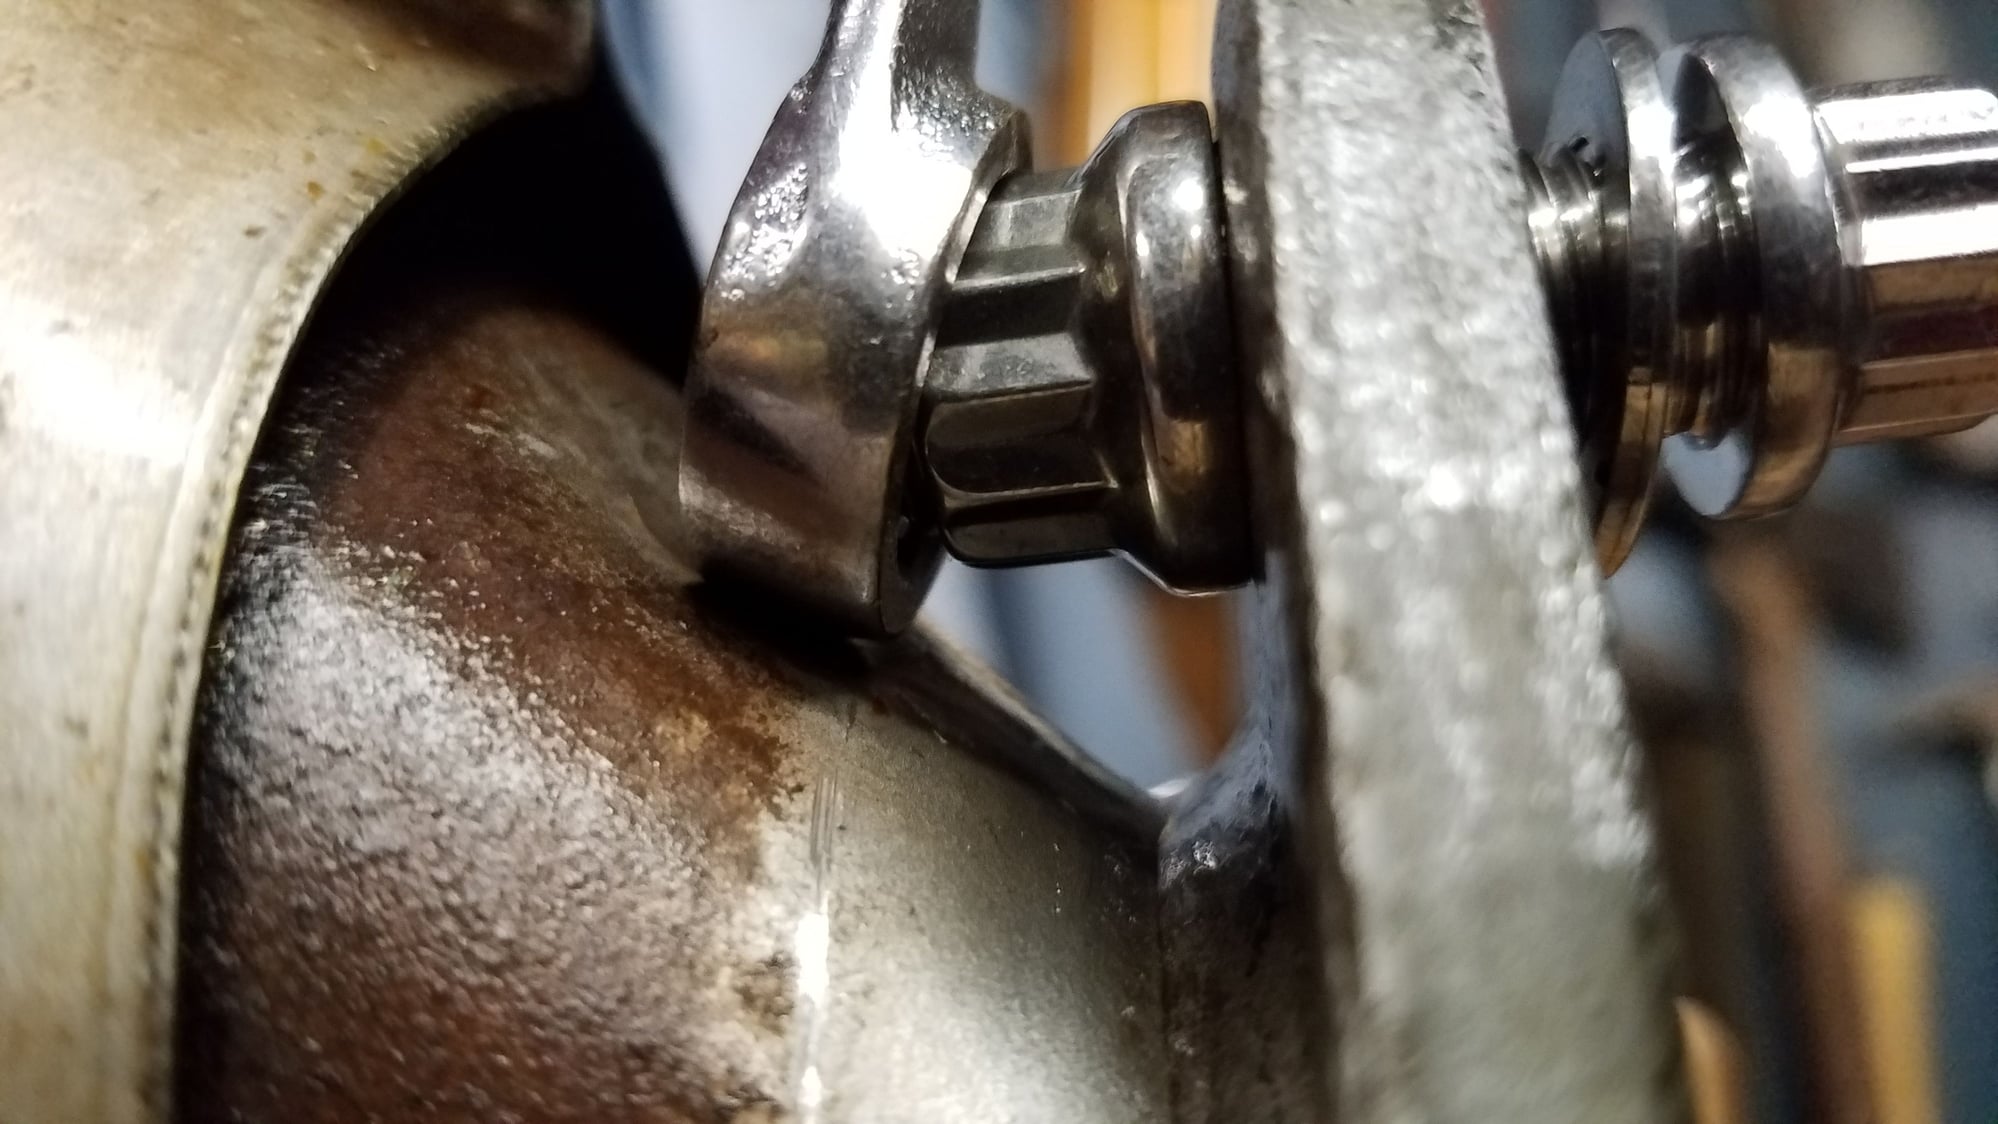
In turning the bolt around so the nut is in the front, still, you can't use 12 point without maybe a flare nut so I made a rounded punch and with the cat bolted down by the flange in a vise, punched a small dimple just enough to pass the 1/2" box end 12 pt wrench on the nut and still be able to remove it after tightening/ torquing.
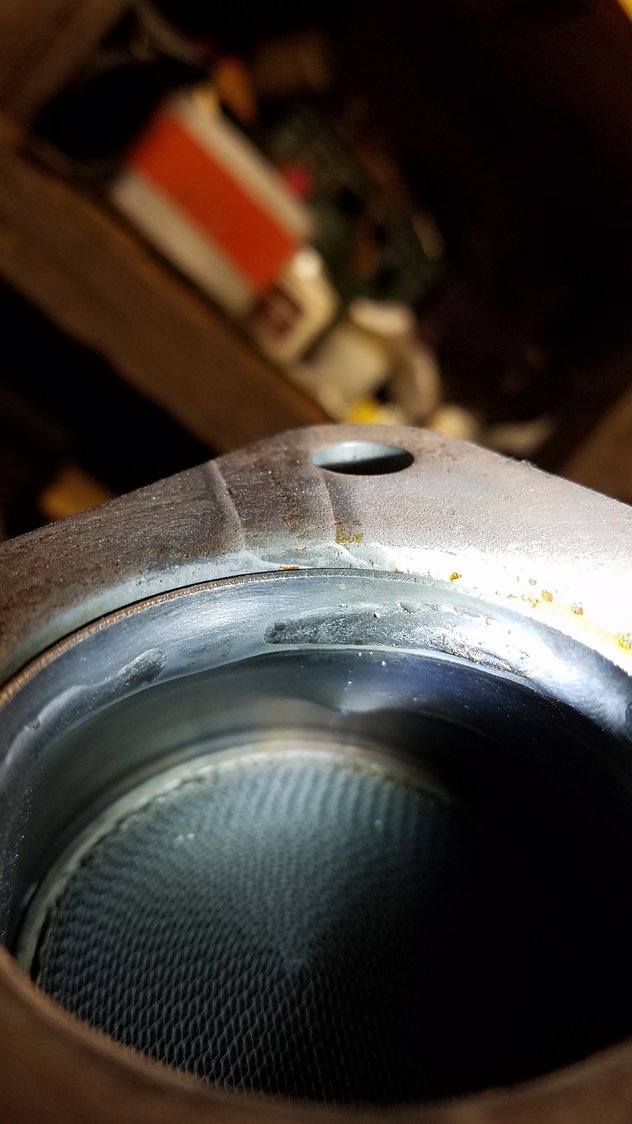
The dimple is only about half the width and size of a small M&M so I doubt it will affect very much. Most people myself included would cringe at this but there was no other way to use these lovely bolts. (Unless I tried a flare nut wrench)

These cats are metal core and 99% of the shock of punching it was held rigid in the vise through the flange 1" away from this area. I don't beleive it cracked or weakened anything.
Last edited by Justin Bailey; 08-05-2018 at 10:48 AM.
The following users liked this post:
Justin Bailey (08-01-2018)
#11
Registered Member
Thread Starter
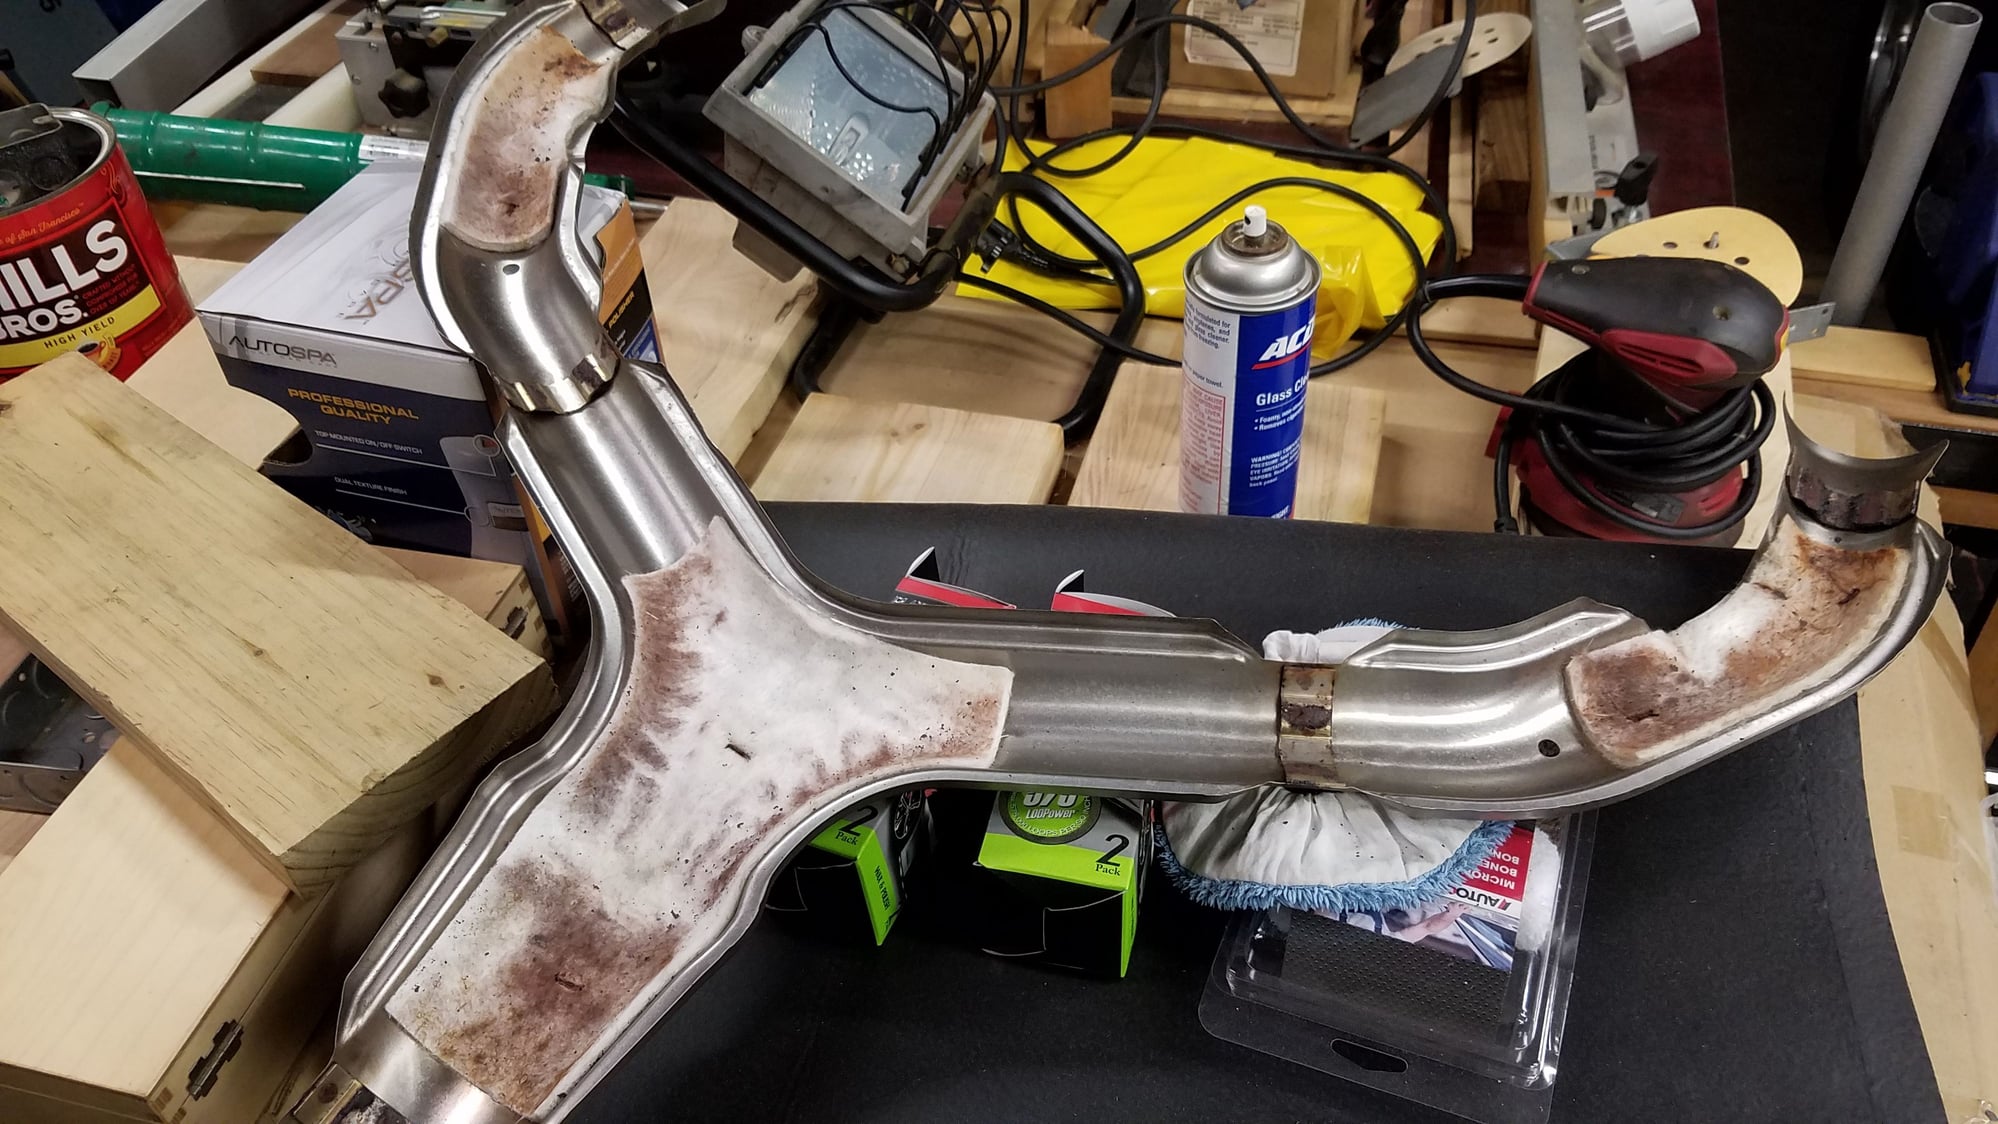
You can see where the rust occurred on the y-pipe on this heat shield/insulator. There was also pitting at the standoff areas that contact the pipe. I will dab a bit of high temp RTV to the pipe standoff contact points when re-assembling.
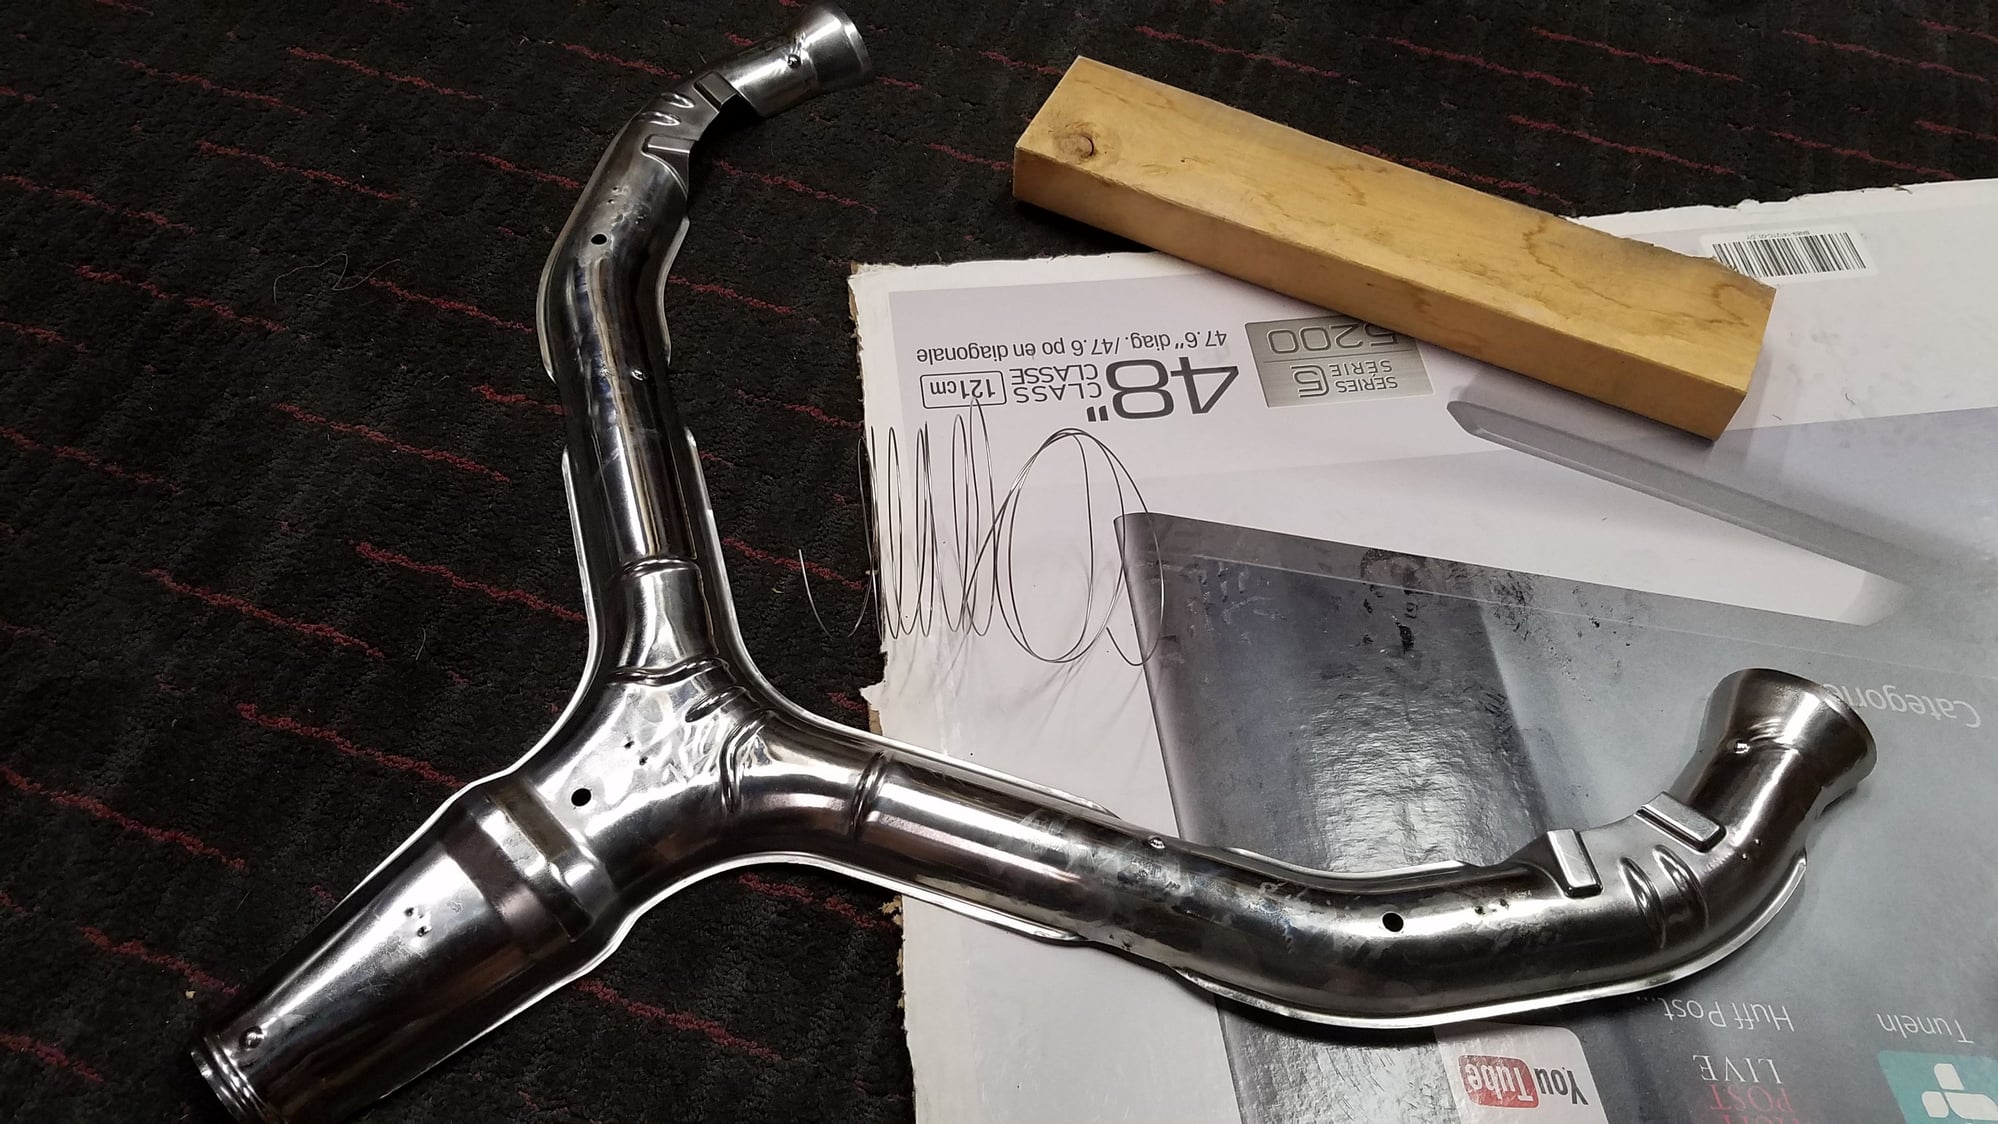
I used a buffing wheel in a bench grinder to clean and gleam this bottom side, still have the top to do. I also filed & sanded the edges smooth so you can't cut yourself on them anymore.
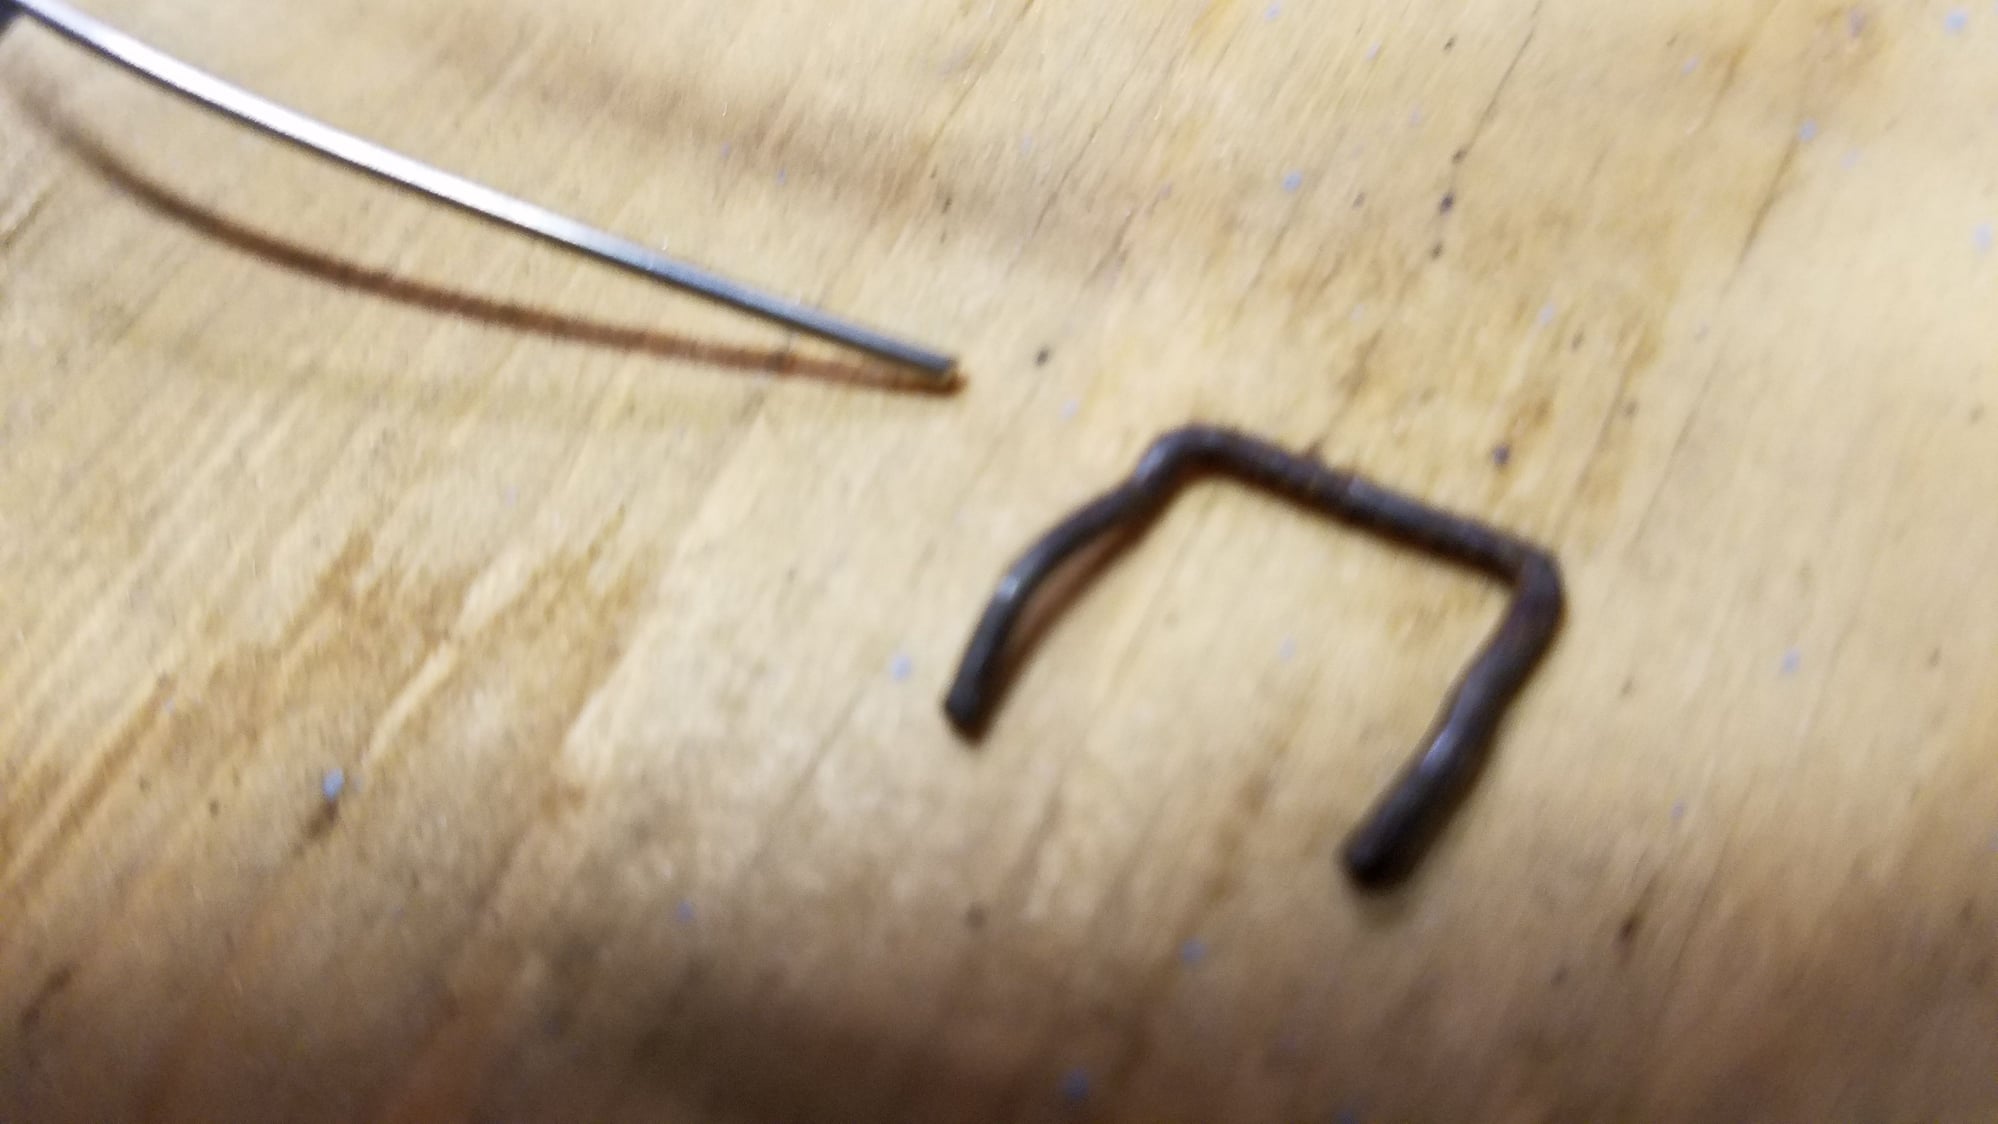
The insulation looks like it was spray adhered to the shield, but also had 2 staples in each of the 6 pieces. There was only one staple that had not rotted away to nothing in the lower half. I obtained some 304 stainless wire the same 16 gauge (1.25mm) to try to duplicate replacing them.
Last edited by Justin Bailey; 08-12-2018 at 06:08 PM.
#12
Registered Member
Thread Starter
Quote:
Originally Posted by slartibartfast
Have you thought of extrude honing the headers for a bit more flow?
I read up on it briefly, not going that far as of now, but might be some benefit. It seems like a much more drastic improvement on a cast iron manifold that has rough casting protrusions and tight angle paths. I'm also concerned that the weld seams could be weakened in these pieces, like how much material would be removed or if there are critical areas where improvement in one way could jeopardize the strength or life of the part. Voids could be exposed so maybe ultrasound scanning the part to see how solid everything is first may be important. I'm sure there is a balance that can be sought and is something to think about.
I looked inside a lot when cleaning, looking for catches and things of that nature and there are some weld blobs where the heat shield bolts thread into, but other than that, didn't seem to have a lot of rough or restrictive areas to me.
Last edited by Justin Bailey; 08-12-2018 at 12:27 PM.
The following users liked this post:
Justin Bailey (08-01-2018)
#14
Registered Member
Thread Starter
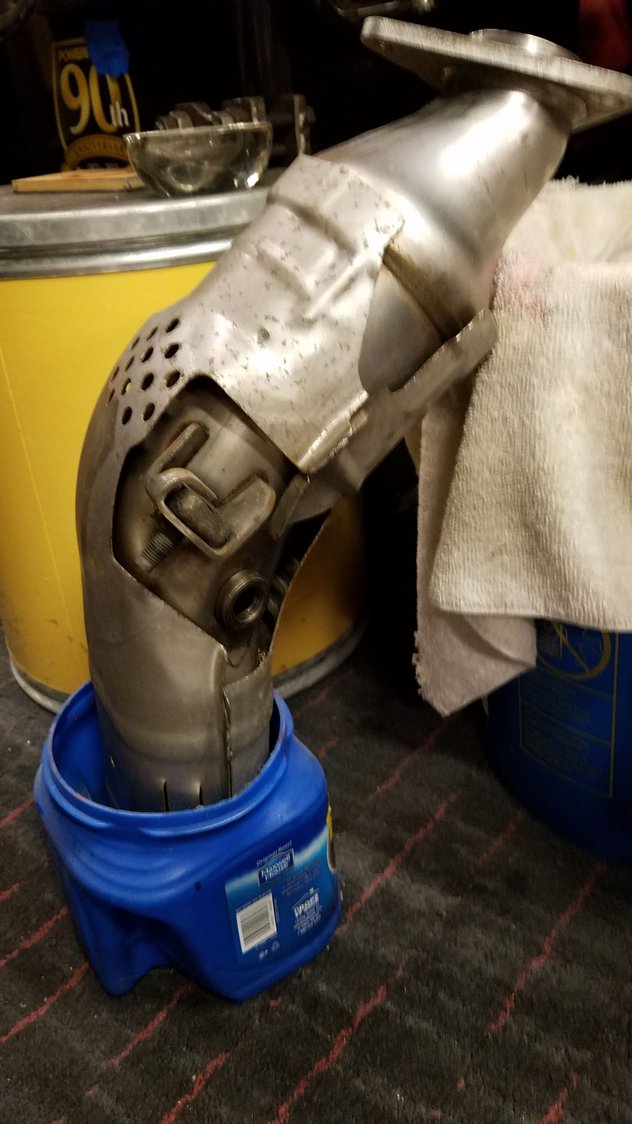
Those demon bolts broke loose with a snap that I had thought may have broken them, but they just came loose, notoriously tight and difficult. I intend to paint the cats as well, but in order to clean them for this I used a non-acid rust remover. The flanges were the most rusty, so I started that standing them in a shallow amount of solution. I'm going to keep the original support bracket captive bolt because it is handy, and relocate two manifold nuts that are heftier than those were.

It takes a while but with periodic wire brushing, chipping, and changing out the solution those parts of them got nice. It gets black as it is used and looses it's affect. That round punch I made to dimple the cat is in the foreground.
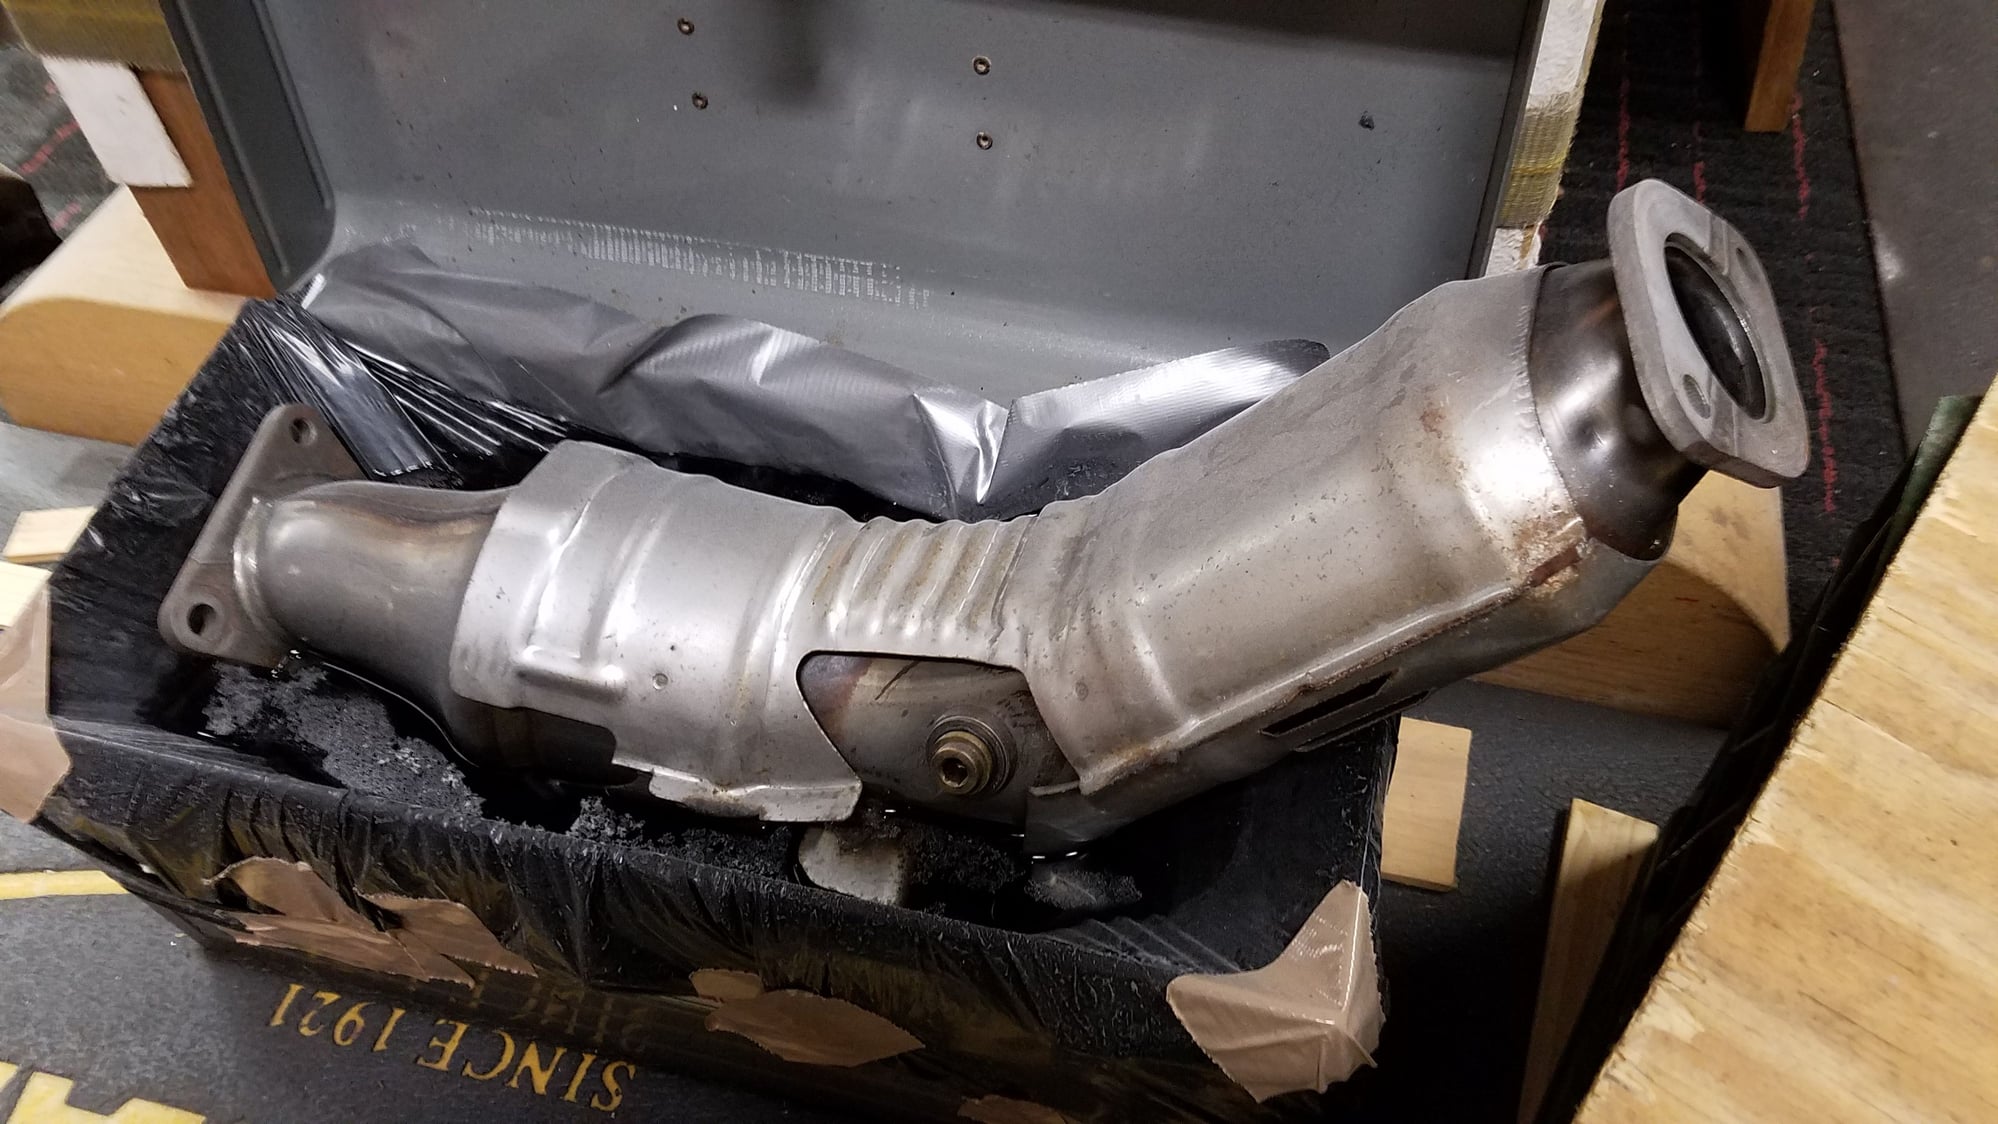
Taped a trash bag in an old toolbox to soak further up the sides. By pluging the O2 hole with some identical thread brass pieces lying around and an o-ring, I thought it would seal, but the liquid seeped inside anyway, oh well. I got braver and was later just submerging the open ends. I'm trusting this not to harm the core, but you can see it left residue lines at the level of liquid, but by turning frequently that was minimized.
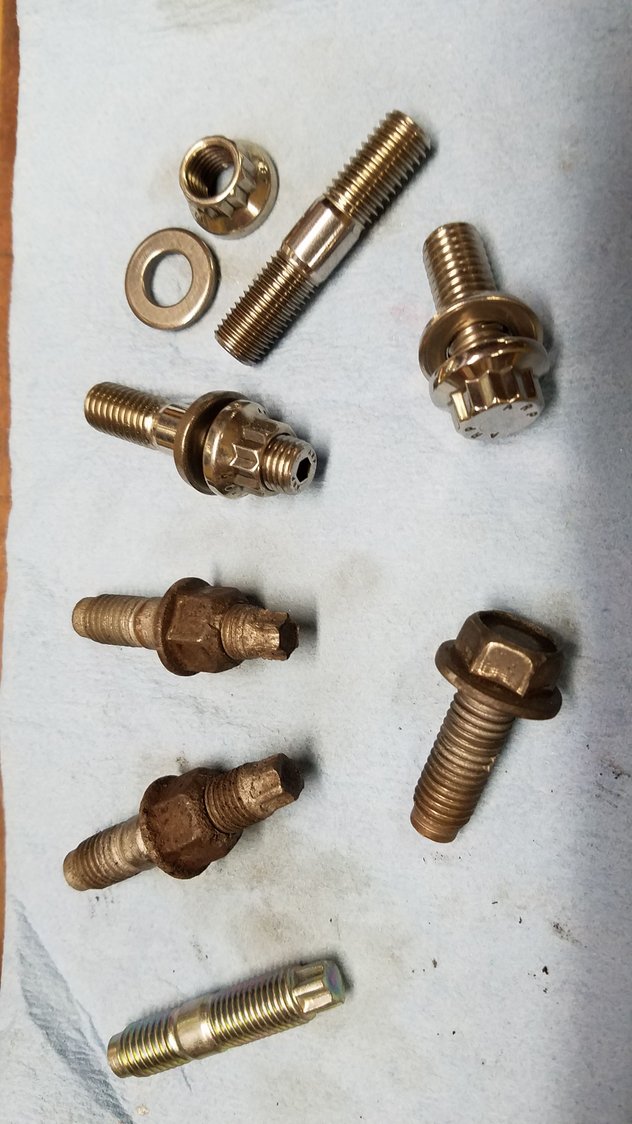
Cat-to-collector comparison of the original fasteners vs. their replacements. 2 studs and the demon bolt. There is a new Nissan stud shown, that I was going to use, it is actually some kind of turbo stud, decided on all ARP stainless. With the originals, one stud is 55m long and the other 48, I guess to ease assembly. Both of the new ones are 48mm. The flange threads are 1.5 pitch and the nuts are 1.25, all M10. The old studs used an E10 E-torx, the new, a 4mm hex key or allen. The unthreaded part of the new stud is longer, but does not protrude or interfere, even without the washer. I think I will still use the washer.
Last edited by Justin Bailey; 08-12-2018 at 06:33 PM.
The following users liked this post:
blnewt (08-01-2018)
The following users liked this post:
Justin Bailey (08-01-2018)


