When you click on links to various merchants on this site and make a purchase, this can result in this site earning a commission. Affiliate programs and affiliations include, but are not limited to, the eBay Partner Network.
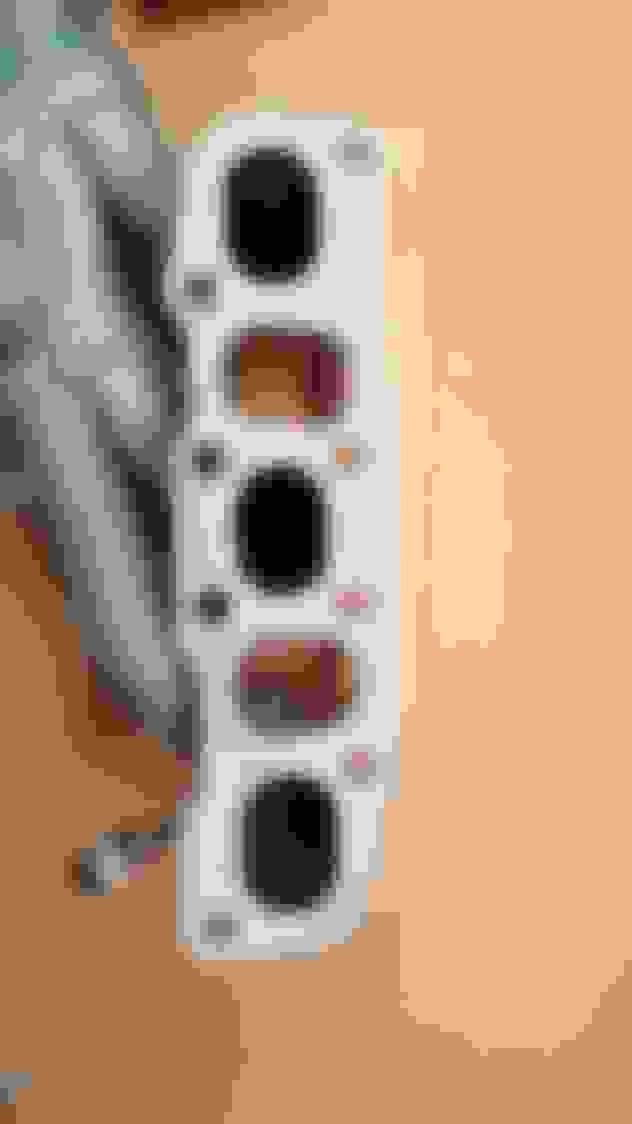
One mod would involve welding a fillet on the outside of all of the port tube/plate joints to reinforce them and then removing some of the weld material inside the port area so that it's straight and parallel, without the weld bead hump all the way around. I could have taken it to a good welder I know to do this, then ground it down myself, probably should have, but didn't. It's painted now.
Perhaps I could smooth them out a little as it is without weakening the part. Idk. I have the gaskets to line them up against and make sure I am not removing more material then I should.
Not sure if painting the ring gasket surface will be a problem or not. There is only one coat on there, could scrape it off with brass or aluminum maybe.
Added a few more after getting a better light.
Last edited by Justin Bailey; Sep 22, 2018 at 05:10 AM.
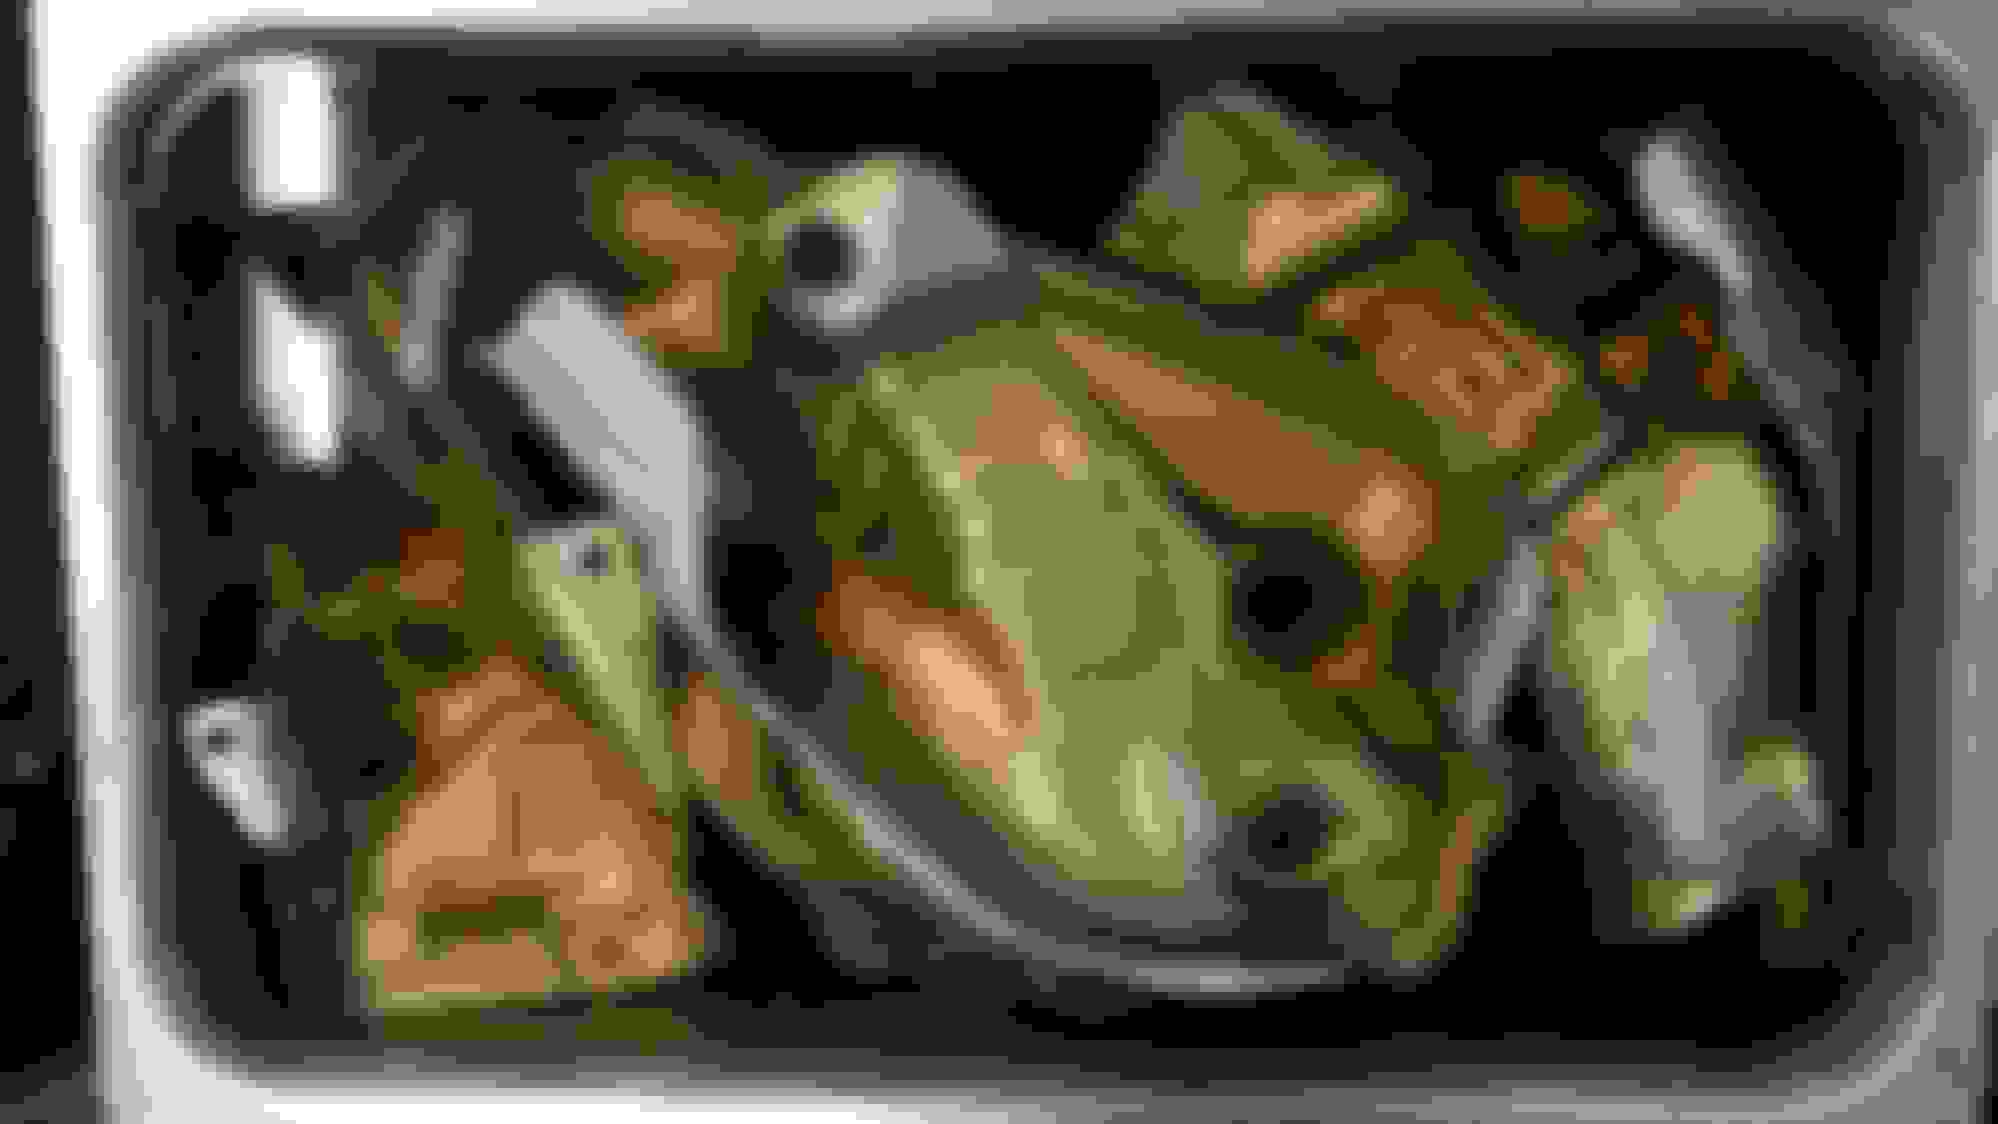
Had the cats soaking for like 10 days, took them out and started washing them in a large cement mixing tub. Used some Zep pressure washer concentrate and awesome. Will triple rinse and dry with heat either in oven or with my heat guns or both.
The rust remover was not totally spent so am filtering and rejugging it for use again on something else.
Last edited by Justin Bailey; Aug 15, 2018 at 12:47 AM.
They look nice enough to just leave this way, but will give them some paint after they dry. May use that oven to cure this before continuing. A lot of people might think this is a bad or useless project and sometimes I wonder myself, but I'm enjoying it.
Last edited by Justin Bailey; Aug 15, 2018 at 06:58 PM.
"Your next project, Mr. Bailey, should you choose to accept it, is to remove and refresh the front cross member."
Right on. I removed it in the beginning, and got some VHT epoxy satin black spray just for this. I will touch it up, mostly around the edges is where rust is starting.
Now I am thinking about Yamaha marine engine paints, they have a blue silver, blue grey metallic, and a dark blue met., I'd like to do do this in the blue grey, the cat and mid pipe bracket in the silver blue and the drive shaft and rear diff in the dark blue met, along with cold galvanizing and zinc phosphate primers. They make a lot of good claims for underwater use and marine use for those kinds of paints and could be wise for the underparts that may as well be in the sea come winter, often times.
At first I thought you meant the engine cradle. Yipes, I don't want to remove steering and AC fluid/lines or refrigerant. Hehe.
Last edited by Justin Bailey; Aug 15, 2018 at 04:28 PM.
I only brought it up because quit a few of the Rust Belt AWD owners ask how to get rid of the cross member rust. You'll find several threads in the Interior, Exterior, Body forum.
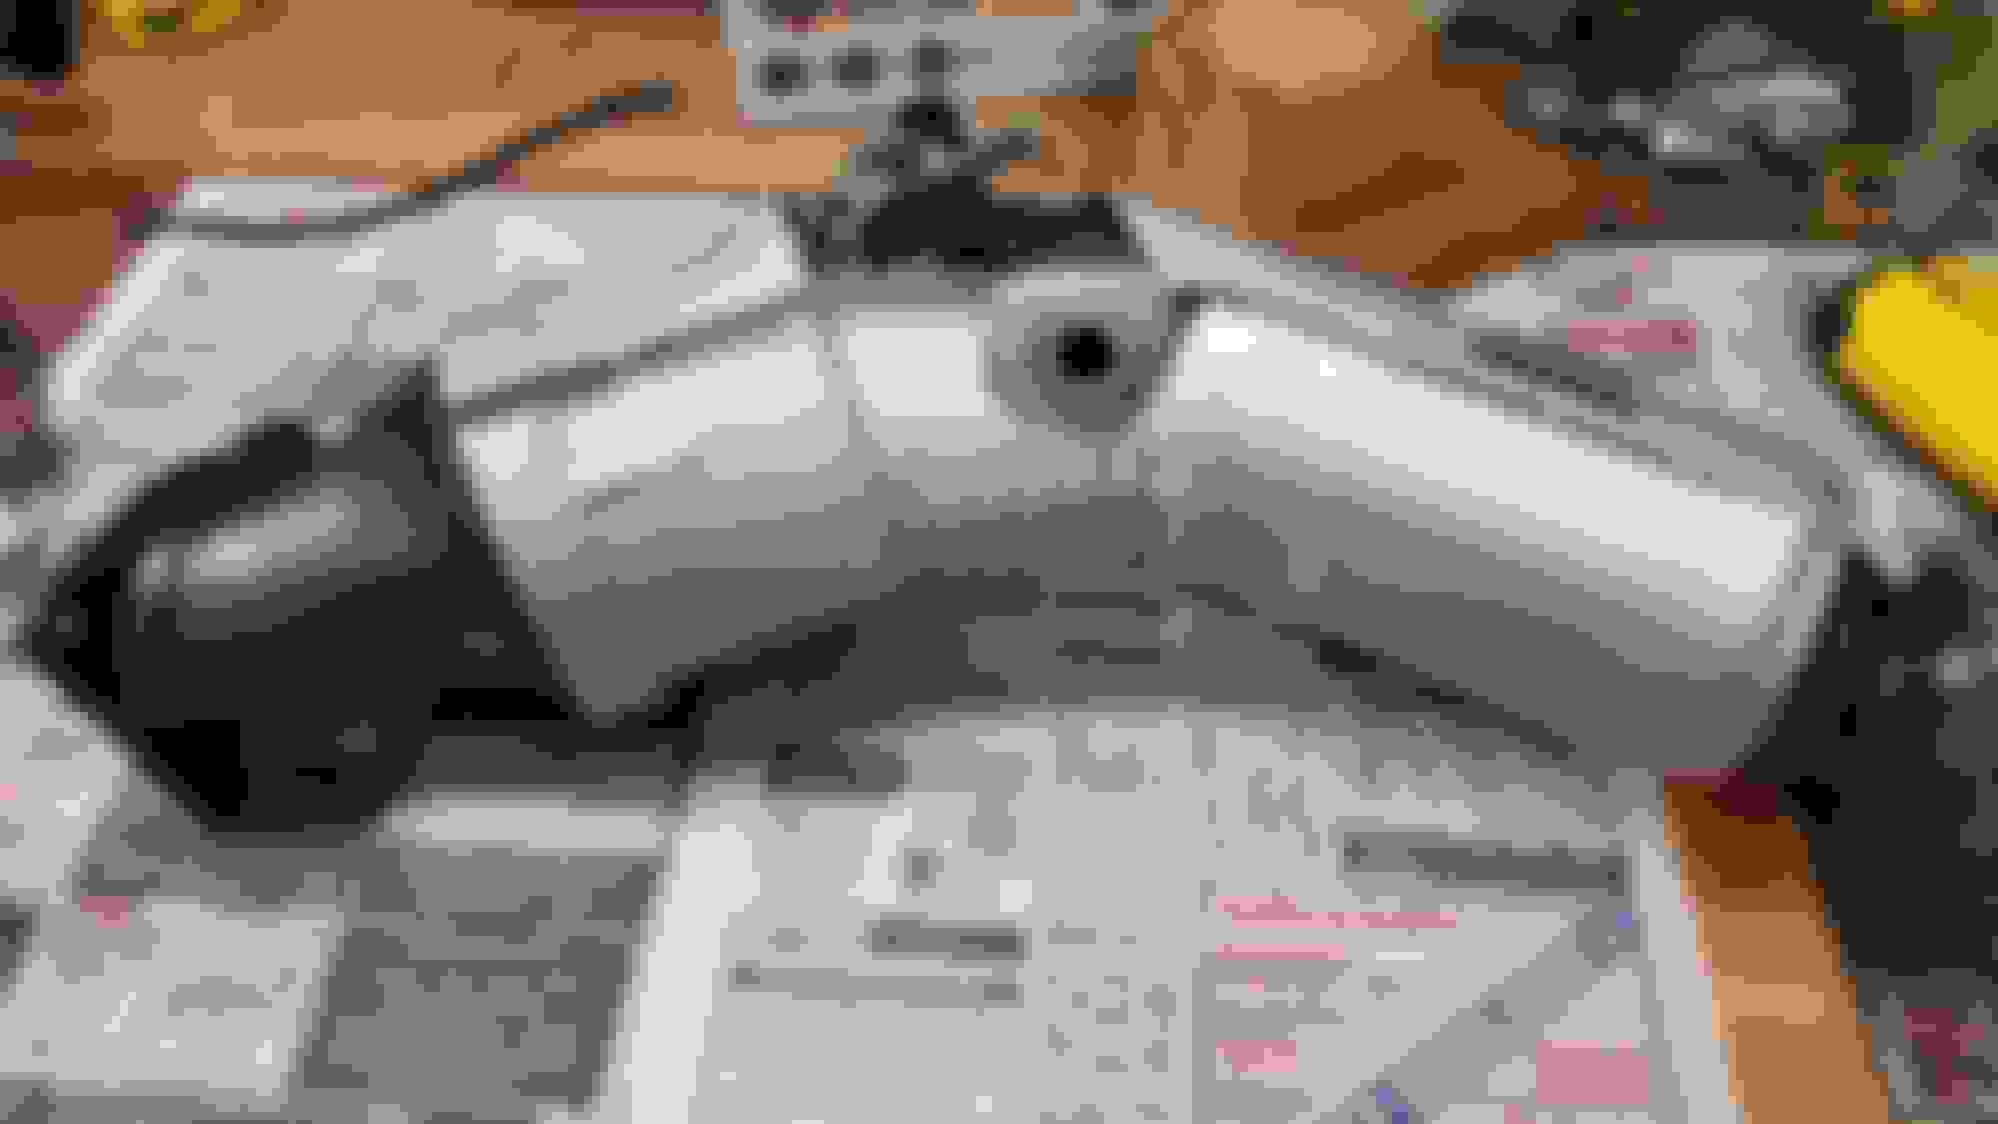
Clear coated the muffler with kbs xtreme clear (gloss), used 2 whole cans.
I will buff out the tips a lot better later after it's dry and I can then tape off the painted part.
The large sections of metal are a little wavy compared to some aftermarket products, spot welds are not in a straight perfect line, so it was not made to be a showpiece to begin with.
A lot of people might think this is a bad or useless project and sometimes I wonder myself, but I'm enjoying it.
Man, i'm loving these posts, don't listen to those people, the quality of your work alone speaks to the worthiness of the time spent... that paint on the muffler is better than I've seem on some body panels that are meant to be centerpieces...looking forward to the cross-member sequel too.
Thank you for doing this. Not only for the exhaust, but for rust control, you have given us so many ideas that I never thought to do. The Northeast is not very forgiving on rust and at least I have some better ways to fight back.
Now Im dreaming of a place where I can pay for this sort of thing. I do not have space to odo something so intensive. The G hits 5 years in the NE this winter, needs rust repair + proofing for its next winter.
Am monitoring closely for anything that I could pull off.
There comes a point where the cost and time of doing something like this are outweighed by the simplicity and practicality of "If it ain't broke, don't fix it" - stands to reason
Just for suggestion, a low mileage or good condition used system or any particular part could be purchased and restored like this yourself and have a mechanic replace it, and you wouldn't have the downtime that I am having. You can get brush on high temp paints that you could do anywhere with no overspray issue, or use an airbrush. The rust removal soak has no odor and could be used anywhere indoors as well.
There are companies that you could ship an item to for them to professionally sandblast and ceramic coat, but would be too costly for many people including myself and for many reasons.
Since I got this vehicle brand new, I already ate that "roll off the lot" depreciation, and felt like the enjoyment of doing this will fill that void during my ownership of it, but that is sentimental, not practical.
This was from one coat of charcoal met. brush-on , and vht flat silver spray on the shield. Oven was at 350 for 20 min to cure the primer, but after this used 375 to cure it better. Color still was 'blending' into the primer here and there. To spray the shield, I masked off the body by using some index card like paper between the places I didn't want paint to land.
Then a second coat, this was the driver's side. Color got darker and more metallic, first coat was cured better than the primer coat. I used a very small brush - like a 1/8" bundle of bristles, to work in the small areas and reach as far under the shield as possible.
The heavy clear coat was dry to the touch from a few days sitting, but went ahead pre-curing it with the heat guns. The surface softens again and gets very sticky, a bug landing on it is like fly paper but can easily be picked out and any resulting flaw flowed out with heat. It needs a few heat cycles to harden it. Did not want to start off curing it by idling the car for a few reasons, it may get scratched too easily when installing, and if the muffler doesn't reach a hot enough temp to cure it and it just stays sticky, dirt from the road will stick into it. I was not sure how hot it would really get running the car at idle or driving.
I can get the body of it over 350 everywhere, with most of it exceeding that to over 400, but the hangers had to be heated by going over them with the heat gun from the outside. If I leave the heat on longer I believe it would reach over 450. I used some wood to prop it up by the back of the tips, in case the heat would cause the taped hanging wire to release under the full weight of it to prevent it from falling.
The 11.2 oz. can's size fit into the pipe nicely, the labeling starts smoking and burning, but the high temp paint does not.
Last edited by Justin Bailey; Aug 20, 2018 at 11:22 PM.
In addition to the manifold & cat ring gaskets there are these 6 others.
The black one is for the water pipe, the others are basically the same, just a different part # for the y-pipe/mid rear resonator joint, it seems like the only difference is the rounded ends.
Using the rust remover on the heat shields for the manifolds, still going to use them. There is just some rust around the bolt standoffs.
Last edited by Justin Bailey; Aug 27, 2018 at 11:45 PM.
Gone all week, but got these shields painted today. Same vht flat silver and charcoal met. on the standoffs.
These are actually two layers with some insulation inside, so some of the water and rust soak solution steamed out while oven curing and there was more smell than just the paint but went ok. - did not set off smoke alarm.
The original header/manifold heat shield screws are M6 thread. There are fourteen 20mm and five 10mm lengths, the 20mm are flange bolts and the 10mm had captive washers. The new ones are three 5 packs of 20mm with equal diameter washers (one extra). The 10mm are actually 16mm and cut three of them off and ground the starting ends in a drill against a fine file. The upstream, bigger heat shields (top & bottom each side) get the 20mm and the downstream collector area get the short ones. The 16mm works fine for two placed in the downstream shield so just did not cut them shorter.
Last edited by Justin Bailey; Aug 25, 2018 at 10:32 PM.