When you click on links to various merchants on this site and make a purchase, this can result in this site earning a commission. Affiliate programs and affiliations include, but are not limited to, the eBay Partner Network.
Well that got the pipes' paint really hard, but not the body, you could still dig a nail into it, so a yet even better oven was constructed.
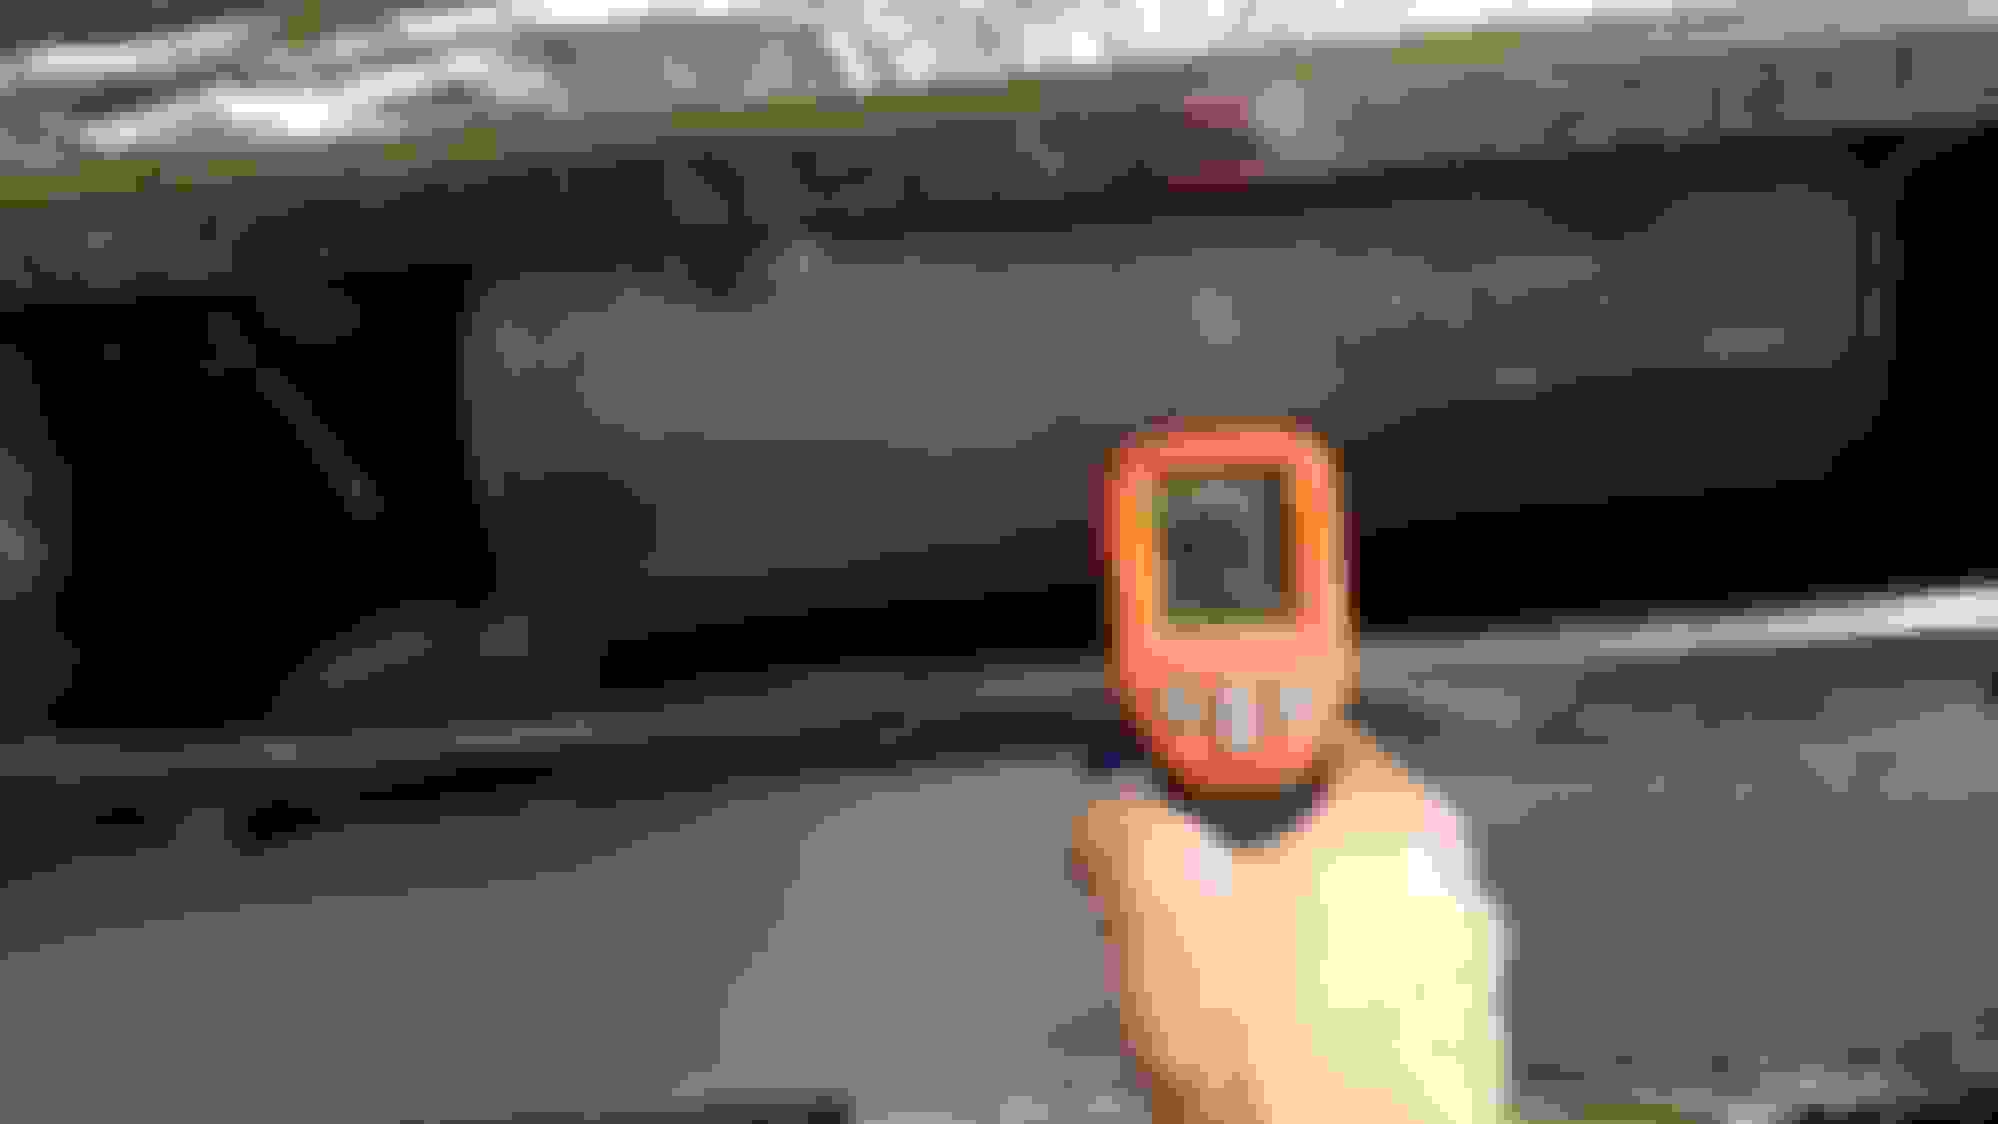
This was with the "door" open for half a minute.
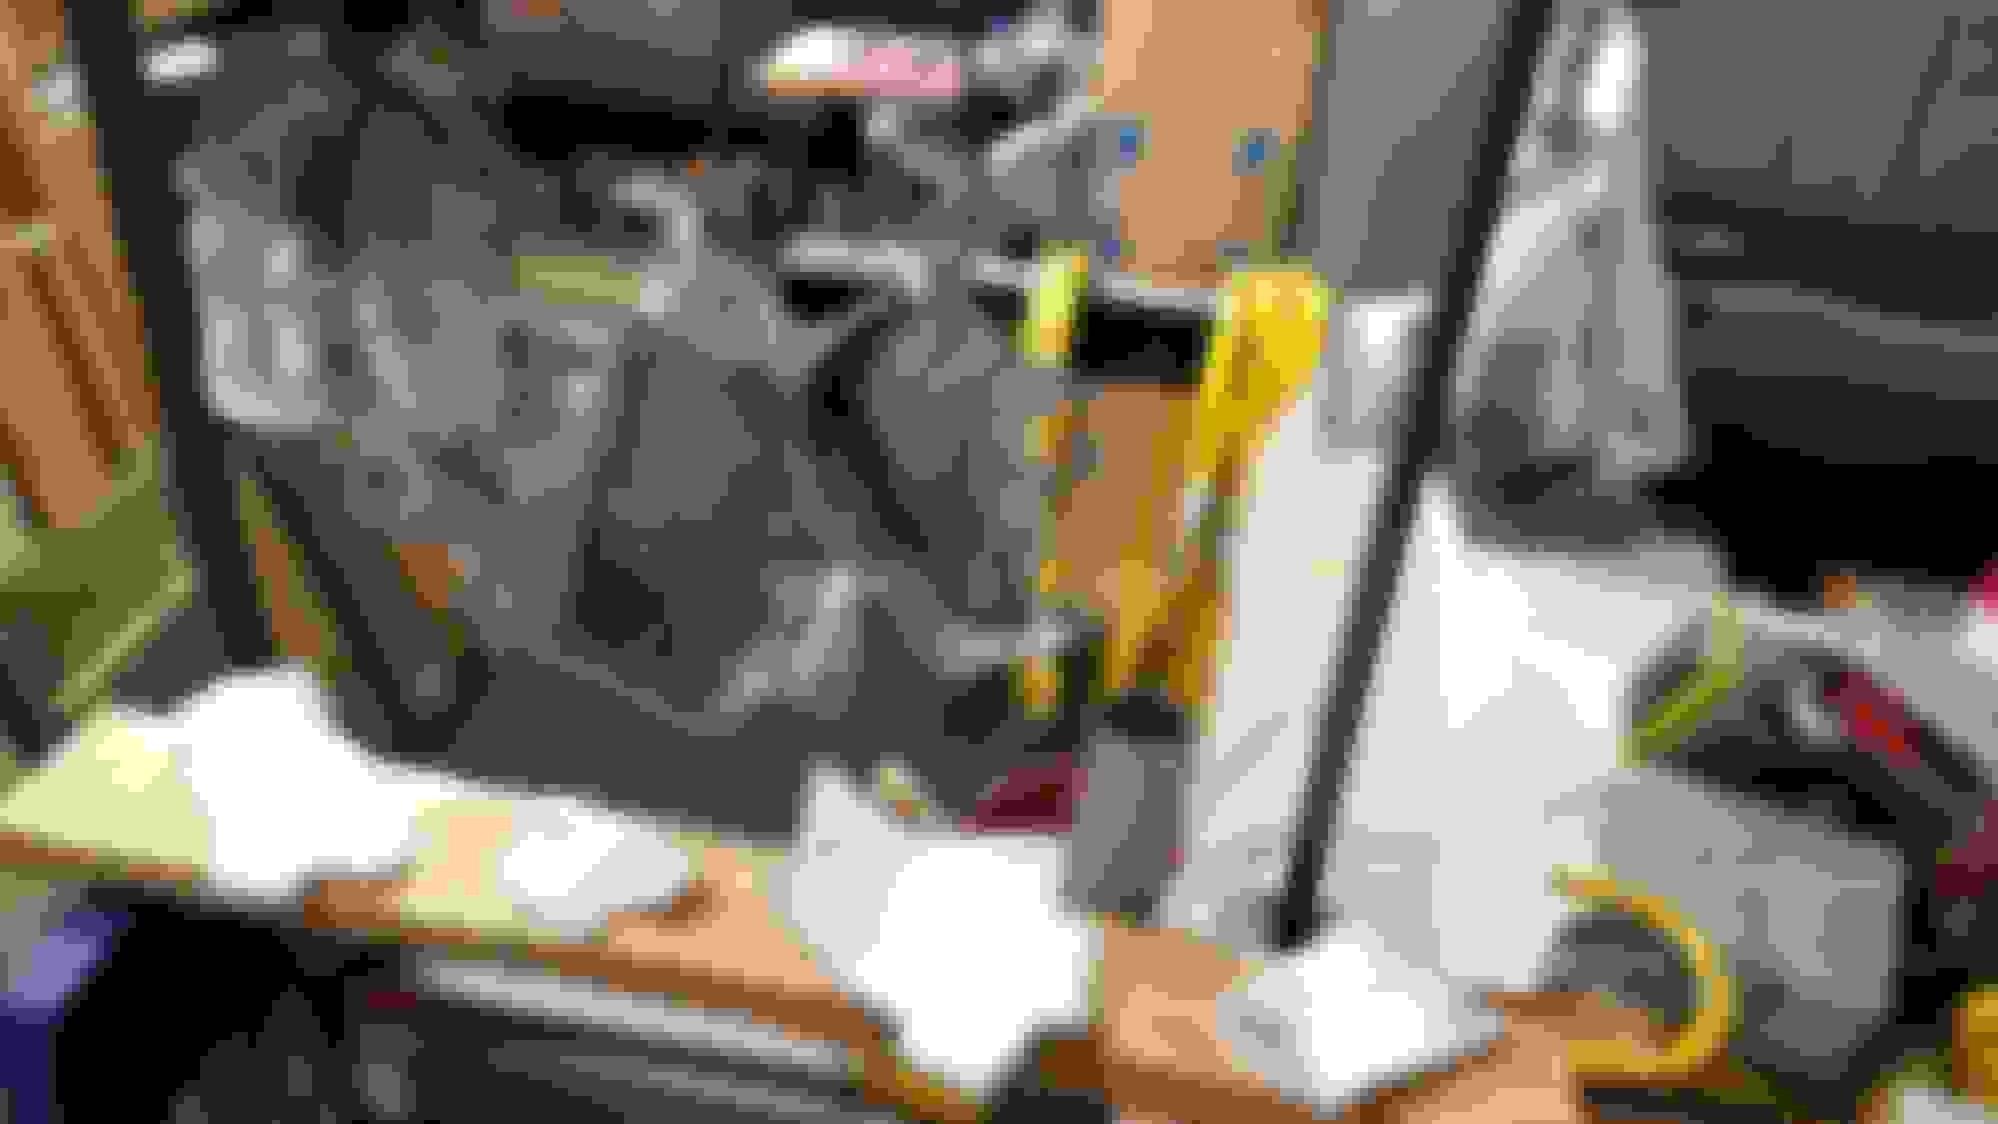
Used two roller stands, a trac vac door, some small sheets of metal and drywall and foil.
Door sets onto and closes it up, the air escapes through some small gaps.
The ambient temps inside this setup are looking more like 550-600, which is really needed to get the coating hard enough to wet sand, which I may do and follow with another moderate coat of clear, but may just buff it with a compound to see if it can be made shinier- the full heat curing kind of made it semi gloss.
In hindsight, the majority of the "engine enamels" out there that are good to at least 500 and cure for the most part on their own would be a good choice for something this far downstream like this muffler and would be a lot easier to mess with. I had not really realized this but wonder if this high temp paint/coating is better for salt/chemical resistance if it can be cured properly. I can't say for certain, but I hope so.
Last edited by Justin Bailey; Sep 3, 2018 at 03:27 PM.
Three brush coats and also a spray layer to try and hide the brush marks a bit. Now I am able to blast them in here also, it gets hotter than a kitchen oven. Had sprayed a little too thick in spots and it skinned and blistered, so wet sanded that and resprayed. Waiting for more clear coat in the mail.
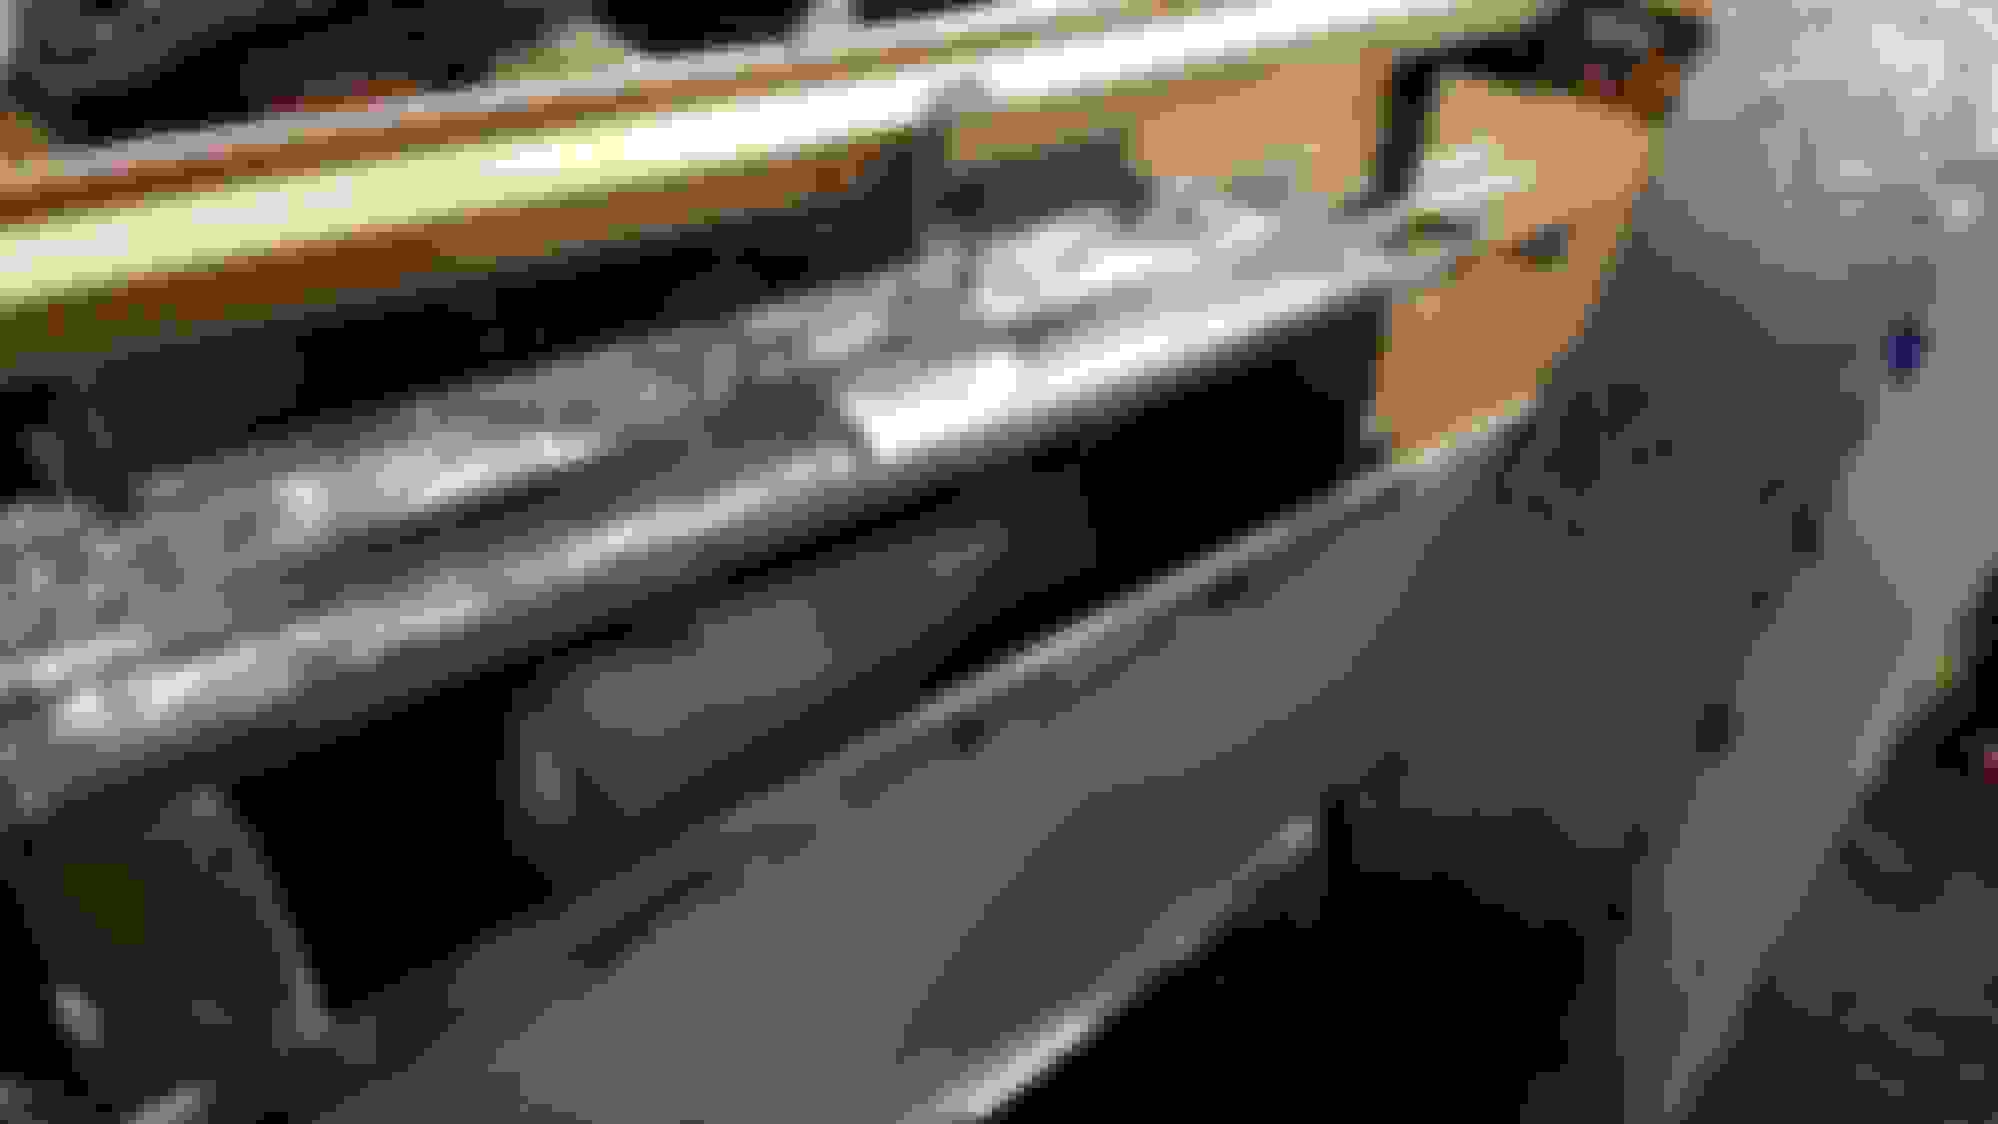
You can see in the bottom the three heat guns protrude through.
3 coats on the pipe sections here. Color is full. Now am contemplating lengthening the oven to heat this also. Should not be a problem or can just run hot air through it, but the resonators won't get hot enough that way.
Had not thought to pre heat the y-pipe, but may detatch the heat shield and blast it also, that will not be possible to oven, so will just heat through it. When heating the paint softens and don't want it to get mushed under the isulation.
400 grit wet sanded the muffler with simple green and just rinsed, too many bugs and specks got into it with my 1st poorer oven attempt. Will lightly mist some SS color to hide some defects and top it with more clear, then I can cure it enclosed from dirt and bugs, so it should turn out better.
I definitely have a reliable way to harden the paint most effectively now, and it doesn't take forever, so for that I'm happy right now.
Do you have an estimate on how many man hours you�re putting into this? Between removal and install of parts, then this amazing treatment of those parts? You definitely have it down to a science.
Do you have an estimate on how many man hours you’re putting into this? Between removal and install of parts, then this amazing treatment of those parts? You definitely have it down to a science.
Well, no. I just began this with a few basic steps in my head, like rust removal, painting, and buying bolts. Then the more I got into it, the details reveal decisions and steps I needed to make here and there. I'm always thinking how the long term result will be and how it will last. I spend a ton of time just thinking about how I can manage what time I am spending productively. That doesn't really seem the same as the hands on work time but is necessary for me to take a step back and examine what's happened between efforts. It may not be 1000 hrs, but more than a few hundred, that's a vauge guess.
Last edited by Justin Bailey; Dec 26, 2018 at 04:46 AM.
As I was kind of saying earlier, many engine enamels could be used for all but the headers and cats. VHT has sprays that are 650 rated that would be fine for the y-pipe and maybe just using a 500 degree engine enamel for this and the muffler would probably work as well. That would eliminate heat curing all these big pieces like this. The small headers and cats can fit both l+r in a kitchen oven if you don't mind some minor offgassing odor, that's if anyone wants to go through with something similar to this project.
If yours is badly rusted, it'd be wiser to just replace the parts when needed for inspection or noticed leak or failure. Again, this system only has 12k on it so lots of good metal to put this kind of effort into.
Last edited by Justin Bailey; Sep 10, 2018 at 01:01 AM.
I'm revisiting the y-pipe with shield removed to heat cycle it also. Will need to either forget about or add another layer of the mica tape on the standoffs because much of the contact point while just sitting tightened around there cold kind of attatched itself to the paint and had to scrape it off of the pipe for curing.
Got some kbs charcoal met spray. It is a richer color than the cast iron vht and want to clear coat it also. After seeing another thread where this was the failing part due to rust I feel it is worth more coating/layers.
This was the 1st part I cleaned using the muriatic acid and had just used baking soda at the time and no ammonia to neutralize, and had not heated it yet so this flex area has tiny rust bubbles. Will douse it with ammonia and use a new phosphoric acid etch product I just got (kbs rust blast) along with soapy water wet sanding the pipe for further coating.
Here is a side-by-side comparison of vht cast iron and kbs charcoal metallic colors. The y-pipe is the cast iron. It is kind of plain compared to the charcoal which has metallic and a bit of sheen to it.
Last edited by Justin Bailey; Dec 26, 2018 at 04:50 AM.
I agree and thought so too, but I think ammonia is a little more volatile and may penetrate the flex joint cup there better. Might be just because it was not totally dry in that cup that it was bubbleing rust out of, it is a tight spot and I really had to scrape and soak the muriatic in there a while to get the old rust cleaned away from there. The kbs rust blast is the phosphoric acid prep I want to get in there also.
So after curing what was there already, I cleaned more of the flex joint area better with some naval jelly then used up the rest of the vht cast iron, followed by a few coats of kbs charcoal met. and clear.
Two lighting angles:
After curing this , I'm thinking about either running a small bead of high temp rtv (700 degree) tight around where the lip and braid meet or spreading anti seize around the same way and heating it up and let it melt into the joint to stop rust from road chemicals soaking/spaying in there, (and clean up any excess so you can't really see any of it) might be good.
I introduce the heat sparingly at first to try to prevent the paint from bubbling on and off on low setting, especially when doing thick coats. I don't want to melt the wire I am using to hang it from that runs inside right here. I like this color better, it has more depth than the cast iron, and is richer looking.
Last edited by Justin Bailey; Sep 15, 2018 at 11:17 PM.
All the high temp painting/ coating is done, just need to heat cure it sometime this week or next weekend.
The vht flat silver on the heat shields was ok, but had some SS spray left so applied some over it and then a few coats of clear over everything.
Did the same for these header/manifold shields, except only on the outside surfaces, that you might actually see when on the vehicle.
The little collector area shields had some small insulation pieces I replaced with the pyrogel material also, the originals were adhered with a brittle white ceramic like hard cement, but I used high temp rtv instead, could have used rutland stove gasket cement and that would have been equivalent, but is a black color. I don't think the rtv will burn or fail here + when you fasten the two halves together it kind of clamps down on the insulation, so it would even stay put with nothing else if you could assemble them in the right place that way.
Same deal on the outsides of them as well. Now all the shields match the muffler.
Last edited by Justin Bailey; Oct 9, 2018 at 10:03 PM.
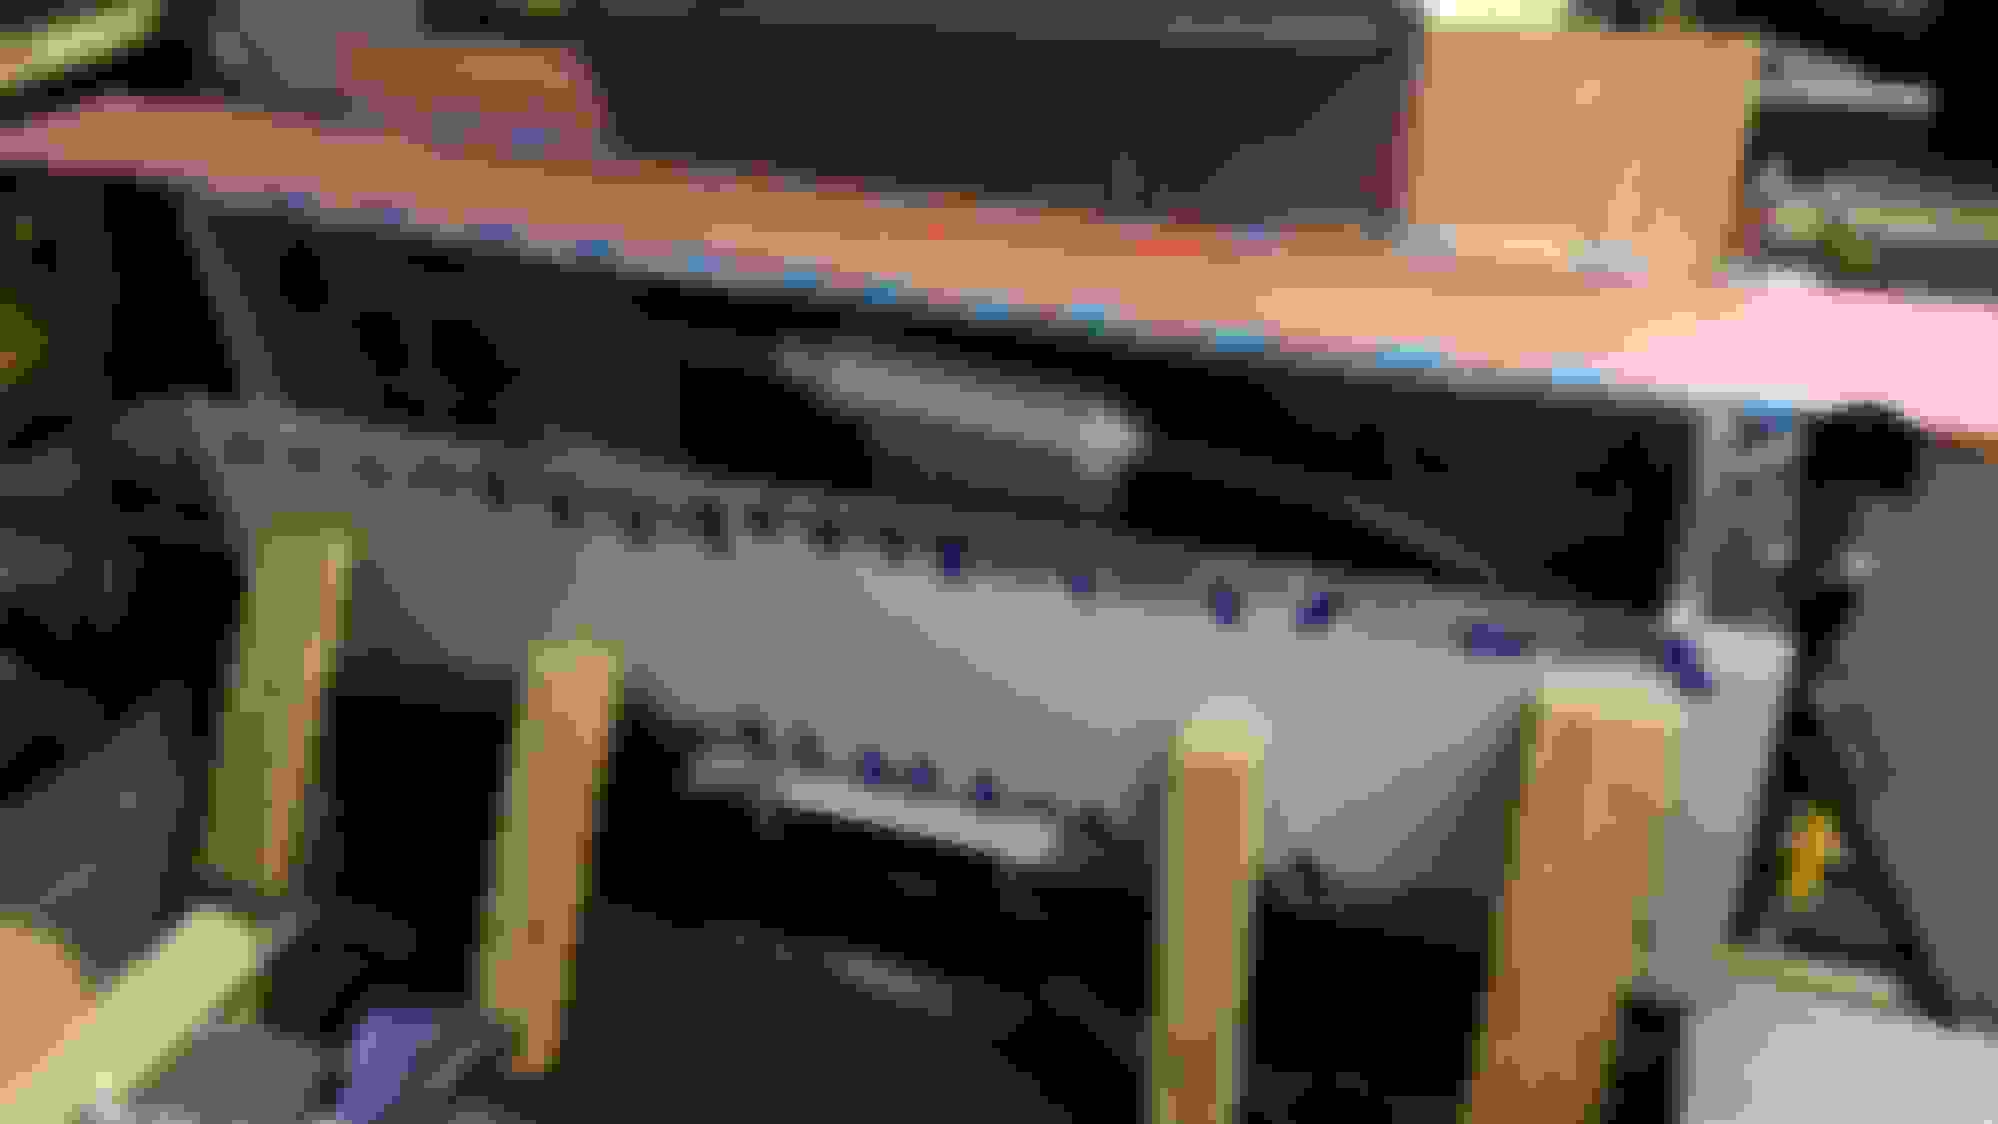
So I have to paint the cross member piece and the small bracket that is back near the resonators and while the exhaust is off the car I was going to clean and brush something around any of the black oem color rear diff, driveshaft, and any suspension rust I see, so it will still be a while to assembly of the exhaust. I thought of doing a mock up suspended from the ceiling around stomach height of the whole system bolted lightly together and get some pics that way, without any gaskets in, we'll see.