When you click on links to various merchants on this site and make a purchase, this can result in this site earning a commission. Affiliate programs and affiliations include, but are not limited to, the eBay Partner Network.
I'm in the Northeast and only have 18k on my q40 and don't drive much either. The rust is already getting significant. I've made a feeble at sanding and applying some paint on the underbody. Nothing close to your efforts!
Do whatever you can, use some fluid film on stuff, then it will put a lanolin kind of like sno-seal coating down that will help protect it from getting crusty. Then if you want to paint something but don't have time, you can come back later and degrease it and prep it easier.
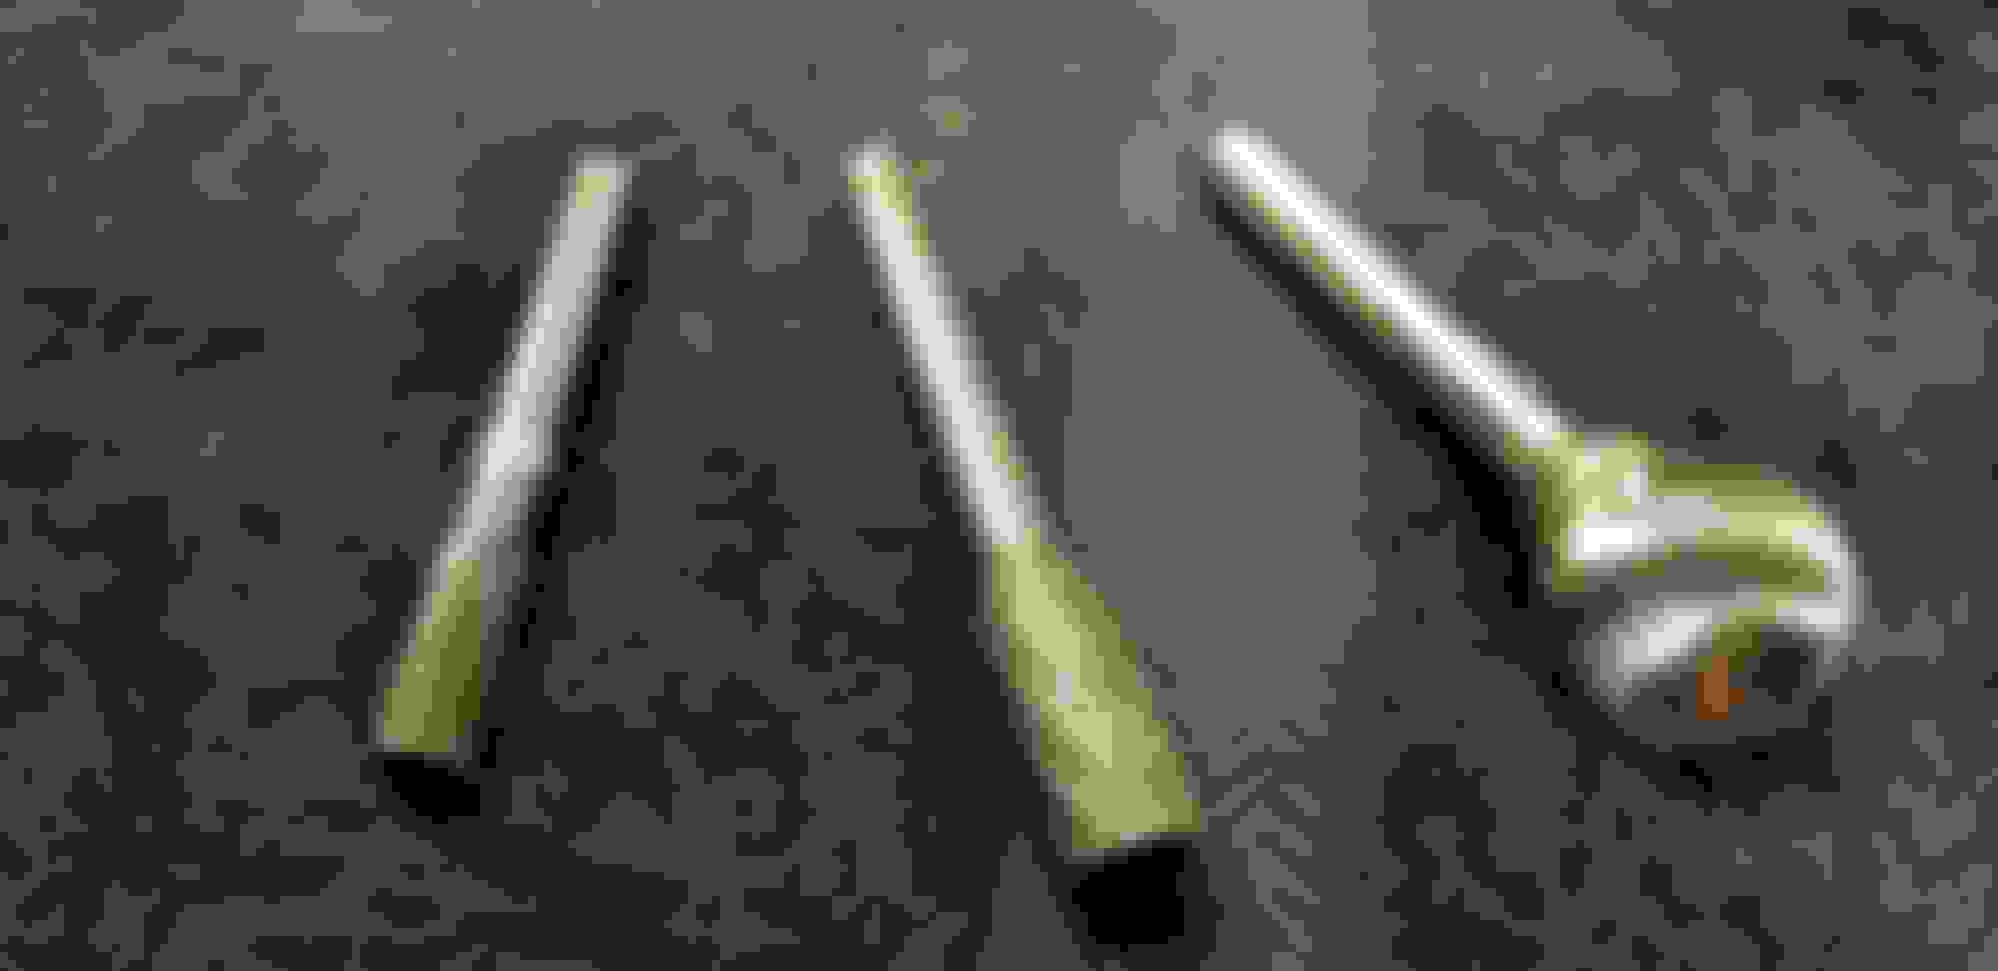
Sanded a couple successive random orbital pads, a few scotch brite dremel wheel grits, then held against some 8" buff wheels in the drill press. Didn't try to get it perfect, there are still traces of casting markings here and there. Did not want to weaken it.
The surface has a splotchy varience in the metal kind of un-noticable from a distance. Idk if that is characteristic of casting/forging, but to me just speaks for authenticity. I'll try that clear alodine on it Friday, idk if it will work the best for this type of alloy, hoping it will. I got the 1001 formulation. There is a 1201 that imparts a gold color, could have used that, too. That was cheaper and you can see how well it is covered, but wanted it natural here in case it doesn't work.
Last edited by Justin Bailey; 11-08-2018 at 03:03 AM.
This is a bit late, but have you looked at the galvanic potential between those SS bolts and the mild steel of the rear subframe stays? It took a bit of digging but I found a chart of potentials for various metals several years ago. Not sure where, maybe Wiki? Also, threaded fastener torque is specified with dry threads. Despite much searching, I could never find a rule of thumb for reducing torque to equal the same stretch as dry.
This is a bit late, but have you looked at the galvanic potential between those SS bolts and the mild steel of the rear subframe stays? It took a bit of digging but I found a chart of potentials for various metals several years ago. Not sure where, maybe Wiki? Also, threaded fastener torque is specified with dry threads. Despite much searching, I could never find a rule of thumb for reducing torque to equal the same stretch as dry.
You are not too late and I appreciate your awareness of these legitamate issues.
Torque coefficient value reduction with that rock 'n roll ceramic anti seize states .17, so I guess that means %17 less torque, or multiply by the book value by .83. I also read infiniti oem nuts new have a dry lube applied, so if you cleaned that off then had it totally dry it may get undertorqued, but I think it only pertains to nuts, not so sure. Idk what torque coefficient their lube is so as to be already factored into the FSM values.
I am not worried about the SS fasteners and here's why, In reading about galvanic corrosion, where the more noble metal becomes the cathode and the less noble the anode, the combination of metal to metal contact along with an electrolyte can cause the anode metal to corrode at a faster rate than by itself, however this is proportional to surface area ratio of anode/cathode. When the cathode is much smaller ( the SS fastener) than the anode ( the mild steel) virtually no galvanic accelerated corrosion will occur to the anode metal.
Conversely, if the less noble metal was the fastener it would corrode faster, for example if a stainless exhaust system was bolted up with non SS fasteners, which is exactly how most OEM systems are done, the fasteners corrode/rust very quickly, but they introduce sacrificial surface platings to the fasteners to prolong the life of the fasteners though. In many cases the threaded piece has no or very little like those black oxide pressed in exhaust studs. The nuts were plated at least, that helped ensure removal with a tool a little longer.
In the same regard, the factory gaskets are some kind of SS, albeit a non-magnetic kind, even more noble than the SS bolts I intend to use, have a rather large surface area, and also may lead to accelerate the corrosion of the flanges, but that is why I painted everything (except the fasteners and gaskets).
Furthermore the mild steel exhaust flanges are welded to the more noble 409 tubing, so that's factory design obsolescence right there.
I am more worried about correctly achieving the right torque and preventing galling between the nut and the thread by using the anti seize.
This site/page explained it to me pretty well I felt: www.ssina.com/corrosion/galvanic.html There should be a potential of metals chart on the page.
For some reason, when I try this link, it throws the word architect into the address and leads to a page with less info, so if you cut and paste or manually type it into your address bar exactly like it is here, it should work.
Last edited by Justin Bailey; 11-09-2018 at 06:21 AM.
Went over this rear member stiffener bracket thing.
Factory paint failing at the welds and other areas easily flake off.
Scrape, naval jelly, wire brush, sand all over 220 grit.
A wash then a rust blast spray prep.
2 coats of black satin rust seal, a bit heavier around the worn areas.
Then I used a kbs oem satin black top coat spray, the rust seal had a lot of brush marks that this hid well. This peice is well protected for a few years at least.
Got only 5g of the cotton candy blue, it took a while to get from England, but was not enough to pigment even a small amount, so got some paint with pearl cold blue steel.
The cotton candy had some green to it, this is mostly blue. Got 4 25g packs for no reason, was worried I would need a ton. I want to make it darker and more subtle.
Used clear and added the pearl, along with some silver and black. Tested it out on the cat bracket and trans mount. Also galvanized flat silver on the bolts.
Also had used the Alodine on the mount aluminum, seems simple to use. I used an aluminum brightener earlier this fall/ summer on the whole engine and trans and it looked great at first, but offered no protection. Just developed white powdery corrosion, not pitting though. I can just wash/ brighten again but use the alodine step following that. Then after a good rinse and drying it should be paintable and not start to corrode in the meantime, then try to brush what I can with this silver blue mix.
Will re-tape the exhaust ports beforehand on the cylinder head with a better plastic masking tape. I will just alodine the throttle bodies, maybe not paint them or do them next summer.
It is 35 outside so got some tarps to section off half the garage.
2 10 x 12 tarps, and sort of diagonally cut a 4x12 drop cloth into triangles and stapled them up in the roof truss above.
And a 220V 4000W heater. Works well and not too loud.
At first I was only using this one, removed the thermostat so it just runs non stop, but wasn't enough.
I can use the woodstove but it's another chore to keep it going and you have to build a fire every day, so electric is handier.
When I go at painting under the car, I will enclose the pavilion it's under with tarps, and throw some sheets and tarps right over the car and put the heaters under there with me.
Last edited by Justin Bailey; 11-14-2018 at 04:34 AM.
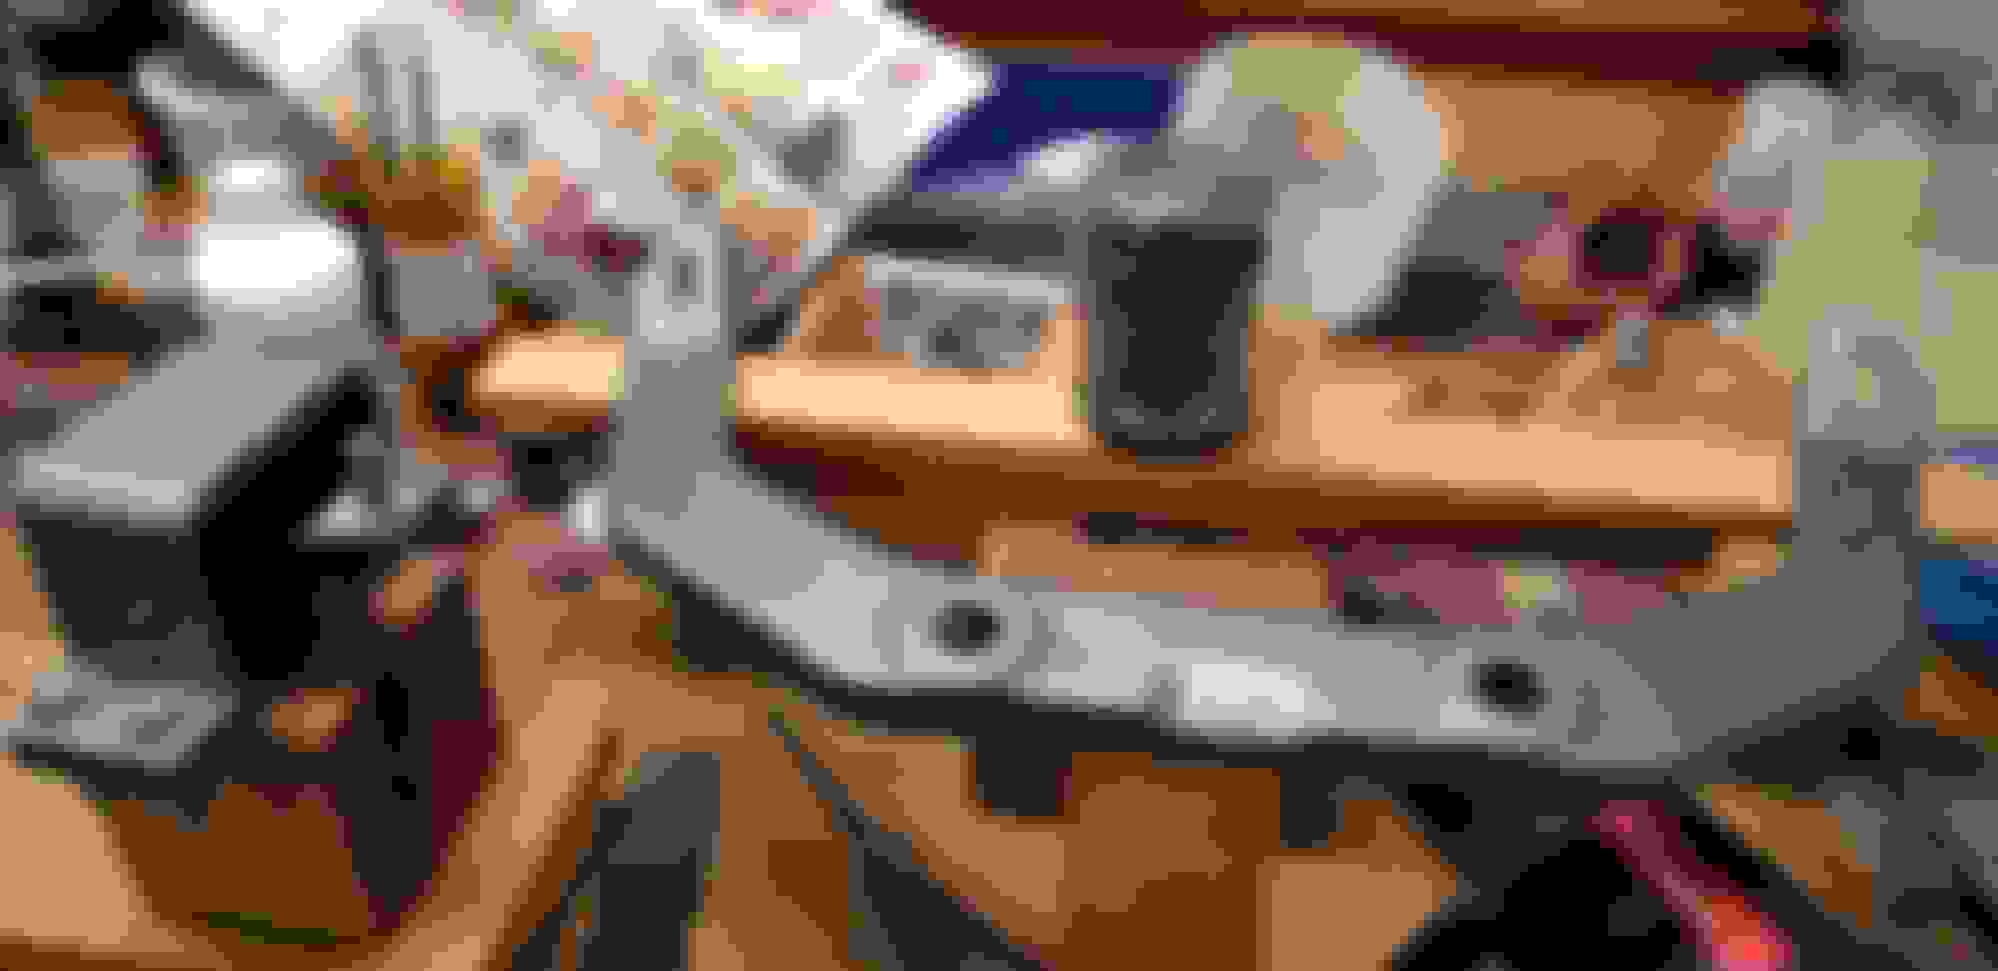
Now am doing the long awaited front crossmember. Had already given it a wash and rinsed the inside out earlier. Started out here with the end of a small file and scraped the loose material off from along the edges. Sorry the first picture is not horizontal.
Lots of edge rust and weld spatter, kind of a dirt/ rust magnet. This part has through holes in the depressions on the top as a drainage feature, but it takes a lot of abuse anyway.
Random orbital sanded and thought it would be aesthetically pleasing to angle grind some of these large welds that joint the 2 halves around the center- flat.
The welds have a natural void in the center of each hole, so thought it would also look nice to produce a concave, dimple or a divot with a 3/4" sphere burr there without weakening things much, but the voids were too deep to completely hide or remove the voids. Went to about a 12mm across concave circle. Tried to stay in the center of the weld even though the void sometimes wasn't concentric.
Some burrs cleaned up the welds. I know it's good practice to overlap the finished bead puddle when welding, but I'm not afraid to smoothen them out with some cold grinding.
Mixed some PC-8 epoxy to fill the bottom of the weld voids solid, may remove to show a dimple/ divot on the bottom side.
Can leave the top ones filled in and just sand flat.
Takes like 12 hrs to harden, doing this right now. Got some more resin kits like I used on the rear member stays coming to attempt to fill this in solid. I believe it will only add about 2-3 lb to the weight. The depression drain through holes will remain.
Was out in the cold under the car daunted by attempting to satisfactorily prep the trans for painting, then after a quick reference to the FSM decided to at least to get it better I pulled the transmission with the transfer case attatched.
Devised a way to use a floor jack along with a bottle as a spotter under the transfer case. Set up a runway of plywood to shimmy it out.
Had to position to find the balance piont. Used some extra long M12 bolts that I stuck one on each side that allowed the bell to rest on them stabilizing it as I moved it away clear of the alignment pins.
So here is a typical rust belt aluminum trans with 12k miles. Tried tape on the fluid entry/exits, but I may look for rubber stoppers. It took me like 2 hrs to get it out, more or less. Now I can restore the metal with much more ease. Whatever I decide to do around the engine is also more accessible now.
 11-07-2018, 06:02 PM