
What did you do to your Sedan today?


Yes, but... some perspective on that is appropriate.
For one, your main bushing was leaking goopy fluid and compromising the suspension of your rear end. So fixing that problem is certainly going to be an improvement, whether you fix it with OEM parts or aftermarket.
And for another, the main bushing carries the brunt of suspension for the rear diff, while the two smaller bushings affect whatever rocking or twisting is going on, loosely analogous to the side mounts at the engine. 4DRZ installed his rear bushings in a two-step process (because cutting out the main bushing is a royal PITA), and his take-away was that the smaller pairs of bushings have a more significant impact than the main bushing does.
Having had this done to my car a few weeks ago, I share your enthusiasm... they do make a positive change to the car, no doubt. Even though that change is difficult to put into words. There's a stiffness to the rear end that you can feel in throttle response and quick, low-speed turns. It's a welcome change.
Sport Sedan
Last edited by Rochester; May 26, 2017 at 09:31 AM.

Registered Member
Joined: Apr 2015
Posts: 294
Likes: 47
From: Indiana
Last edited by Dembflyr; May 26, 2017 at 11:07 AM.

Registered Member
Joined: Jan 2017
Posts: 228
Likes: 38
From: Trinity, FL
Registered Member
Joined: Apr 2015
Posts: 294
Likes: 47
From: Indiana
Watching this video gives a pretty good idea of how to replace the center diff bushing and about how long it will take. Doesn't look terribly difficult to do. Best video I've found so far though. This guy has a home made tool to pull the new one in also shows how to get the old one out pretty easily. Hope it helps.
https://www.youtube.com/watch?v=PZZA1bGpa9I
https://www.youtube.com/watch?v=PZZA1bGpa9I
Premier Member
Joined: Mar 2017
Posts: 275
Likes: 46
From: Seatown


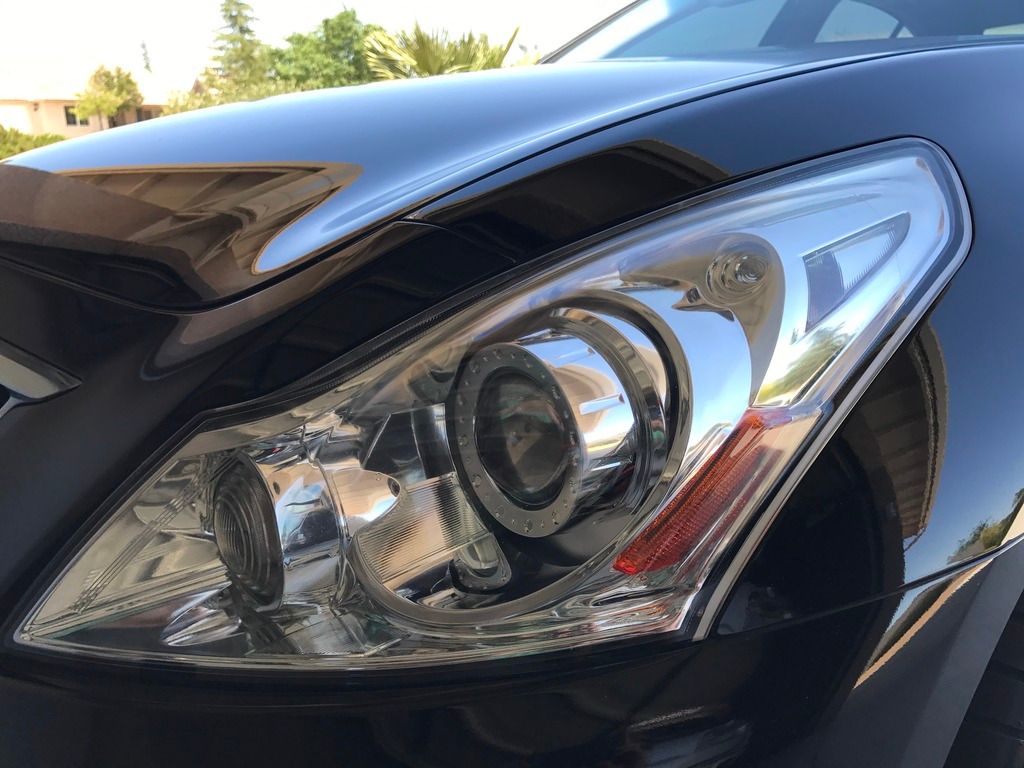
Thanks Brother. I used Aerospace 404 on the engine bay. I use that for a lot of my detailing. The headlights had to be done. That fogged white discoloration crap started so I just had to kill it.
I moved from Oceanside to live in the high desert in Apple Valley about 10 years ago, but I'm originally from the I.E. (Redlands). Where in So Cal are you from?
I moved from Oceanside to live in the high desert in Apple Valley about 10 years ago, but I'm originally from the I.E. (Redlands). Where in So Cal are you from?
I'm in Corona. But we also have a Jeep and get out to Apple Valley and Johnson Valley on occasion. We were also just up near Barstow a few weeks ago Jeeping.


Nice. Corona's a great city. I've got a buddy off the 15 at Magnolia up in the hills. I'm down there about every other month for meetings. Cheers Brother.

Registered Member
Joined: Nov 2016
Posts: 65
Likes: 4
From: Asgard, Valhalla
Watching this video gives a pretty good idea of how to replace the center diff bushing and about how long it will take. Doesn't look terribly difficult to do. Best video I've found so far though. This guy has a home made tool to pull the new one in also shows how to get the old one out pretty easily. Hope it helps.
https://www.youtube.com/watch?v=PZZA1bGpa9I
https://www.youtube.com/watch?v=PZZA1bGpa9I

Registered Member
Joined: Nov 2016
Posts: 65
Likes: 4
From: Asgard, Valhalla
Premier Member
Joined: Mar 2017
Posts: 275
Likes: 46
From: Seatown
 [/URL]
Hey Coltrane, It was actually pretty simple. I used a Porter Cable DA polisher with Maguire's 105 for the bulk of the headlights. With the polisher I used a 5" orange (med/heavy) cutting pad. For the edges, I used a cut piece of an older pad to hand polish. Take your time in order to do it right. Don't push hard but be firm (my wife would agree). Because the lights are plastic, before I started, I noticed scratches on the headlights but the polisher was able to get them out. After I was done, I applied 1 coat of Aerospace 303. I never used it on my headlights before but I think I'll try using it every time I wash my car and see if it keeps any of the haze away. I garage my G but when I'm at the office 5 days a week it sits out in the sun. I pretty much use 303 on everything, seats, dash, steering wheel, inside doors, foam/rubber door trim above the windows, engine bay and tires. It's been fantastic and it's water based so I'm not worried about drying out any of those items. I'm just hoping it will protect the headlights which I'm sure it will.