When you click on links to various merchants on this site and make a purchase, this can result in this site earning a commission. Affiliate programs and affiliations include, but are not limited to, the eBay Partner Network.
Hi! New to the forum, but had my car for a couple years now. I still love it haha.
It's a 2009 convertible. Recently the back right "flipper" has had issues. When putting the top down, it raises halfway up and then falls back down. This causes a "trunk open" error. I can turn the car off, get out and put the flipper in the open position manually, turn the car back on and it'll work. At least, I could for a while. Now it seems that the flipper will always fall down. Oddly enough, it works in the other direction. When I put the top up, it snaps into the closed position easily. (albeit loosely)
I took it to the local nissan dealership to get looked at. They quoted me $1600 to replace the entire mechanism. However, they also said my trunk support shocks are starting to fail, and that would be almost $500 to replace, which seems insane for parts that cost less than $50 each.
I figured this would be the place to ask for advice. I'll take any tips I can get to lower that cost to something a college guy like me can handle. I love my convertible, so the next step is strapping it in the open position and just putting a tarp over the car if it rains.
I had the same part replaced and they told me it would be at least a $1000 part. Don't know anything really about the trunk shocks. That may be a diy job.
Are you referring to the air struts that holds the trunk lid up when opened? If so, I replaced mine with replacement struts from Amazon. Let me know if this is what u r looking for and I'll dig up the part number I bought.
Are you referring to the air struts that holds the trunk lid up when opened? If so, I replaced mine with replacement struts from Amazon. Let me know if this is what u r looking for and I'll dig up the part number I bought.
my struts on my trunk lid are starting to get weak. could you look up the part number please?
I think the flipper door should be an easy part to replace. But there is a cable that opens and closes it which sounds like it may be the issue. You may try to just get the cable replaced. Ask for that specifically. The dealership may respond that they cannot warranty their work unless the entire mechanism is replaced but if you can perhaps save a few hundred dollars and it works properly, I would not care about that.
Or maybe there is another repair shop that can get in there and replace the cable.
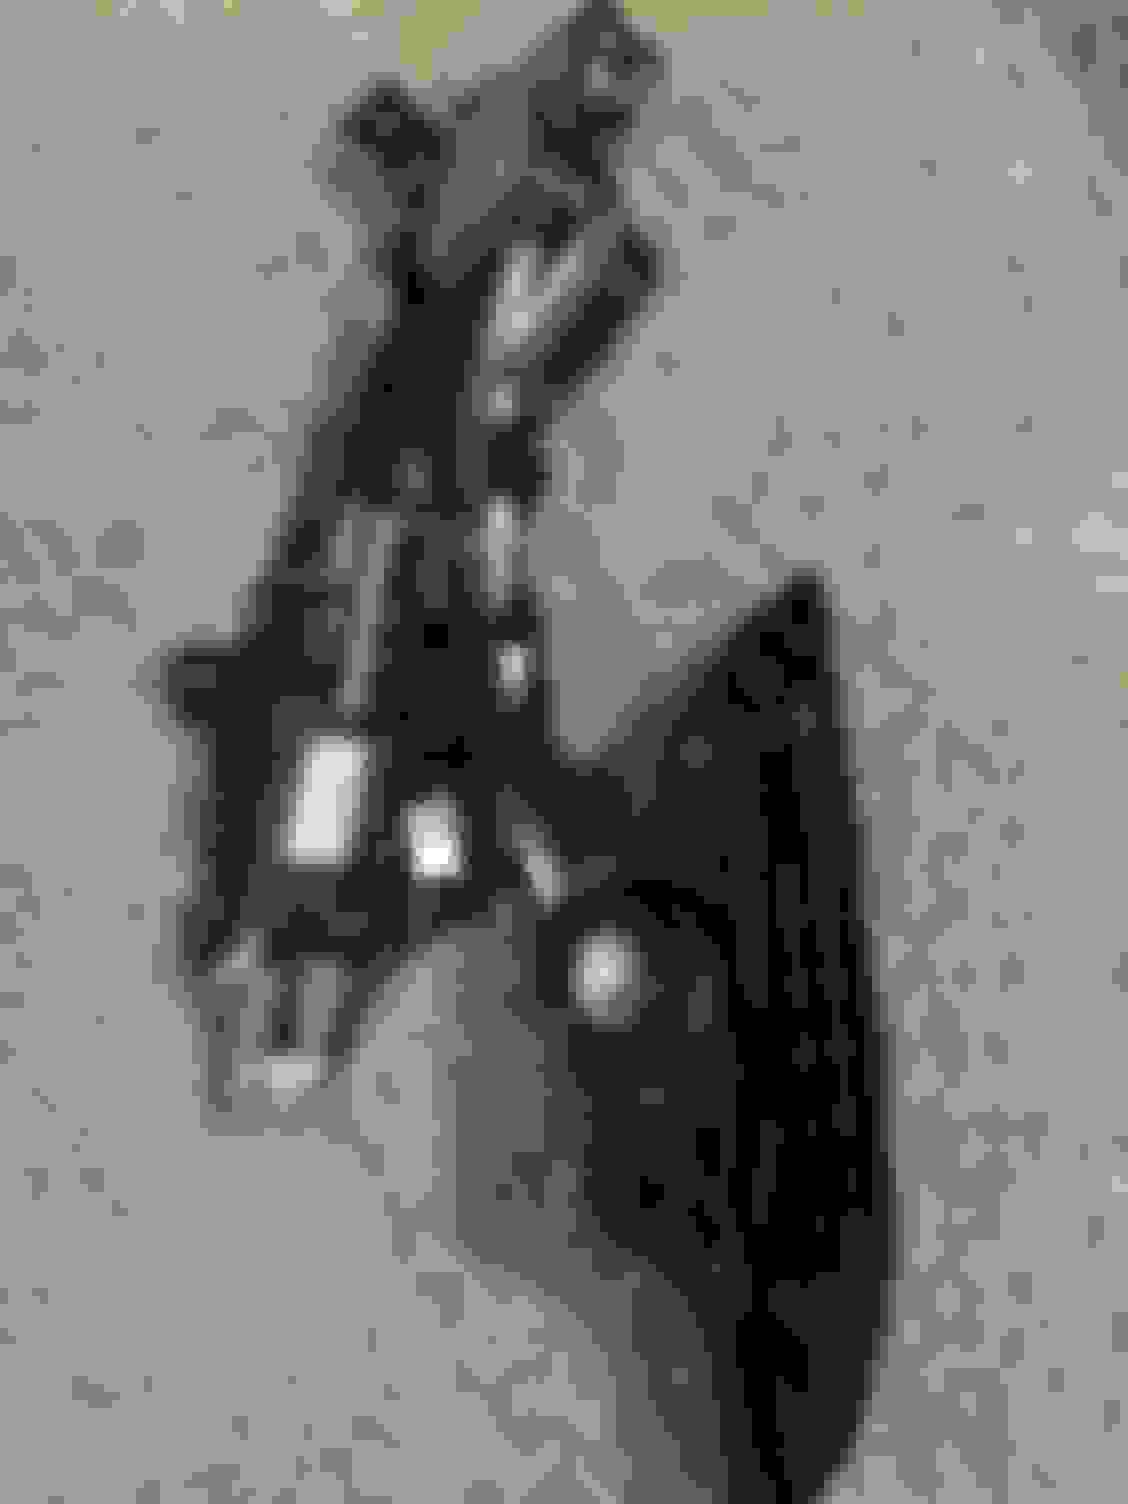
The left flipper door was hanging down. I held the flipper up against the truck lid so the top could be fully raised.
Now, how to fix it.
I found the manufacture sticker;
Manga Steyr Japan,
Supplier BROSE
Designation Flap Assy PShelf Side LH
Part-no, 79915JJ51A
Index BFE
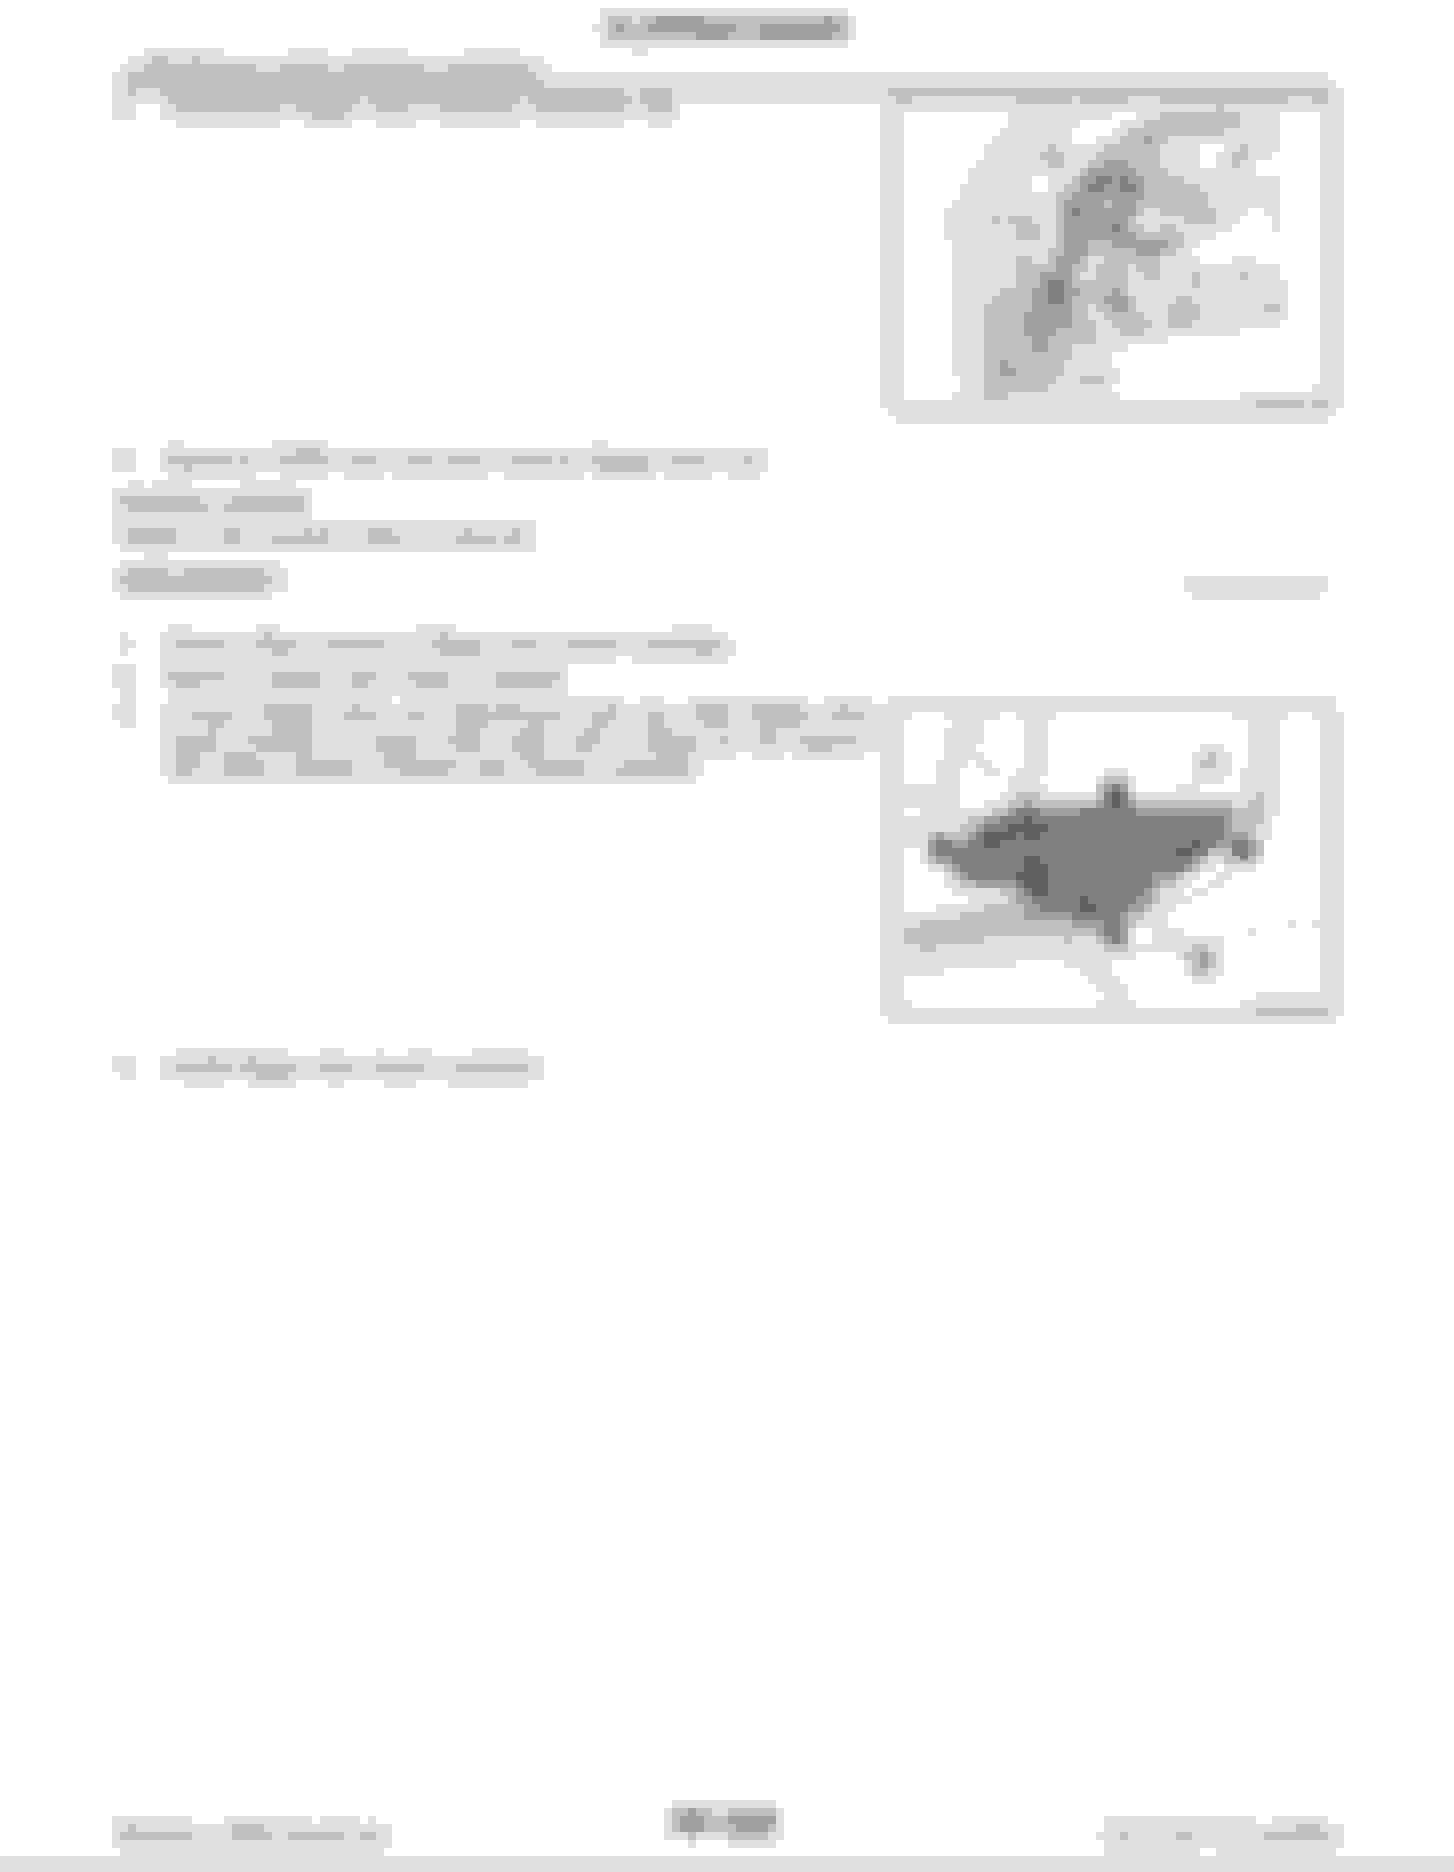
I disassembled the actuator. It works with a small motor driving a worm gear. The worm appears to be metal but the gear is plastic. To make the build more complicated, the arm is driven through a planetary gear system attached to the main gear.
So, has anyone had luck sourcing the plastic gear? Or the whole actuator?
To repair the worm wheel, I made pins to fit in the spline "teeth". The pin is large enough to engage good material in the center of the gear. I used epoxy to fix the worm gear, the center, and the pins together.
Once assembled, the actuator works smoothly.
I don't know how long this fix will work but it seems solid.
Scott, I got my assembly off of the car, but can you detail how you got the assembly apart and back together? I can't figure out how to access the worm and planetary gear.
Thanks, this is a huge step forward! I will detail how to remove the assembly for others as well.
A few items of help for anyone who is attempting this.
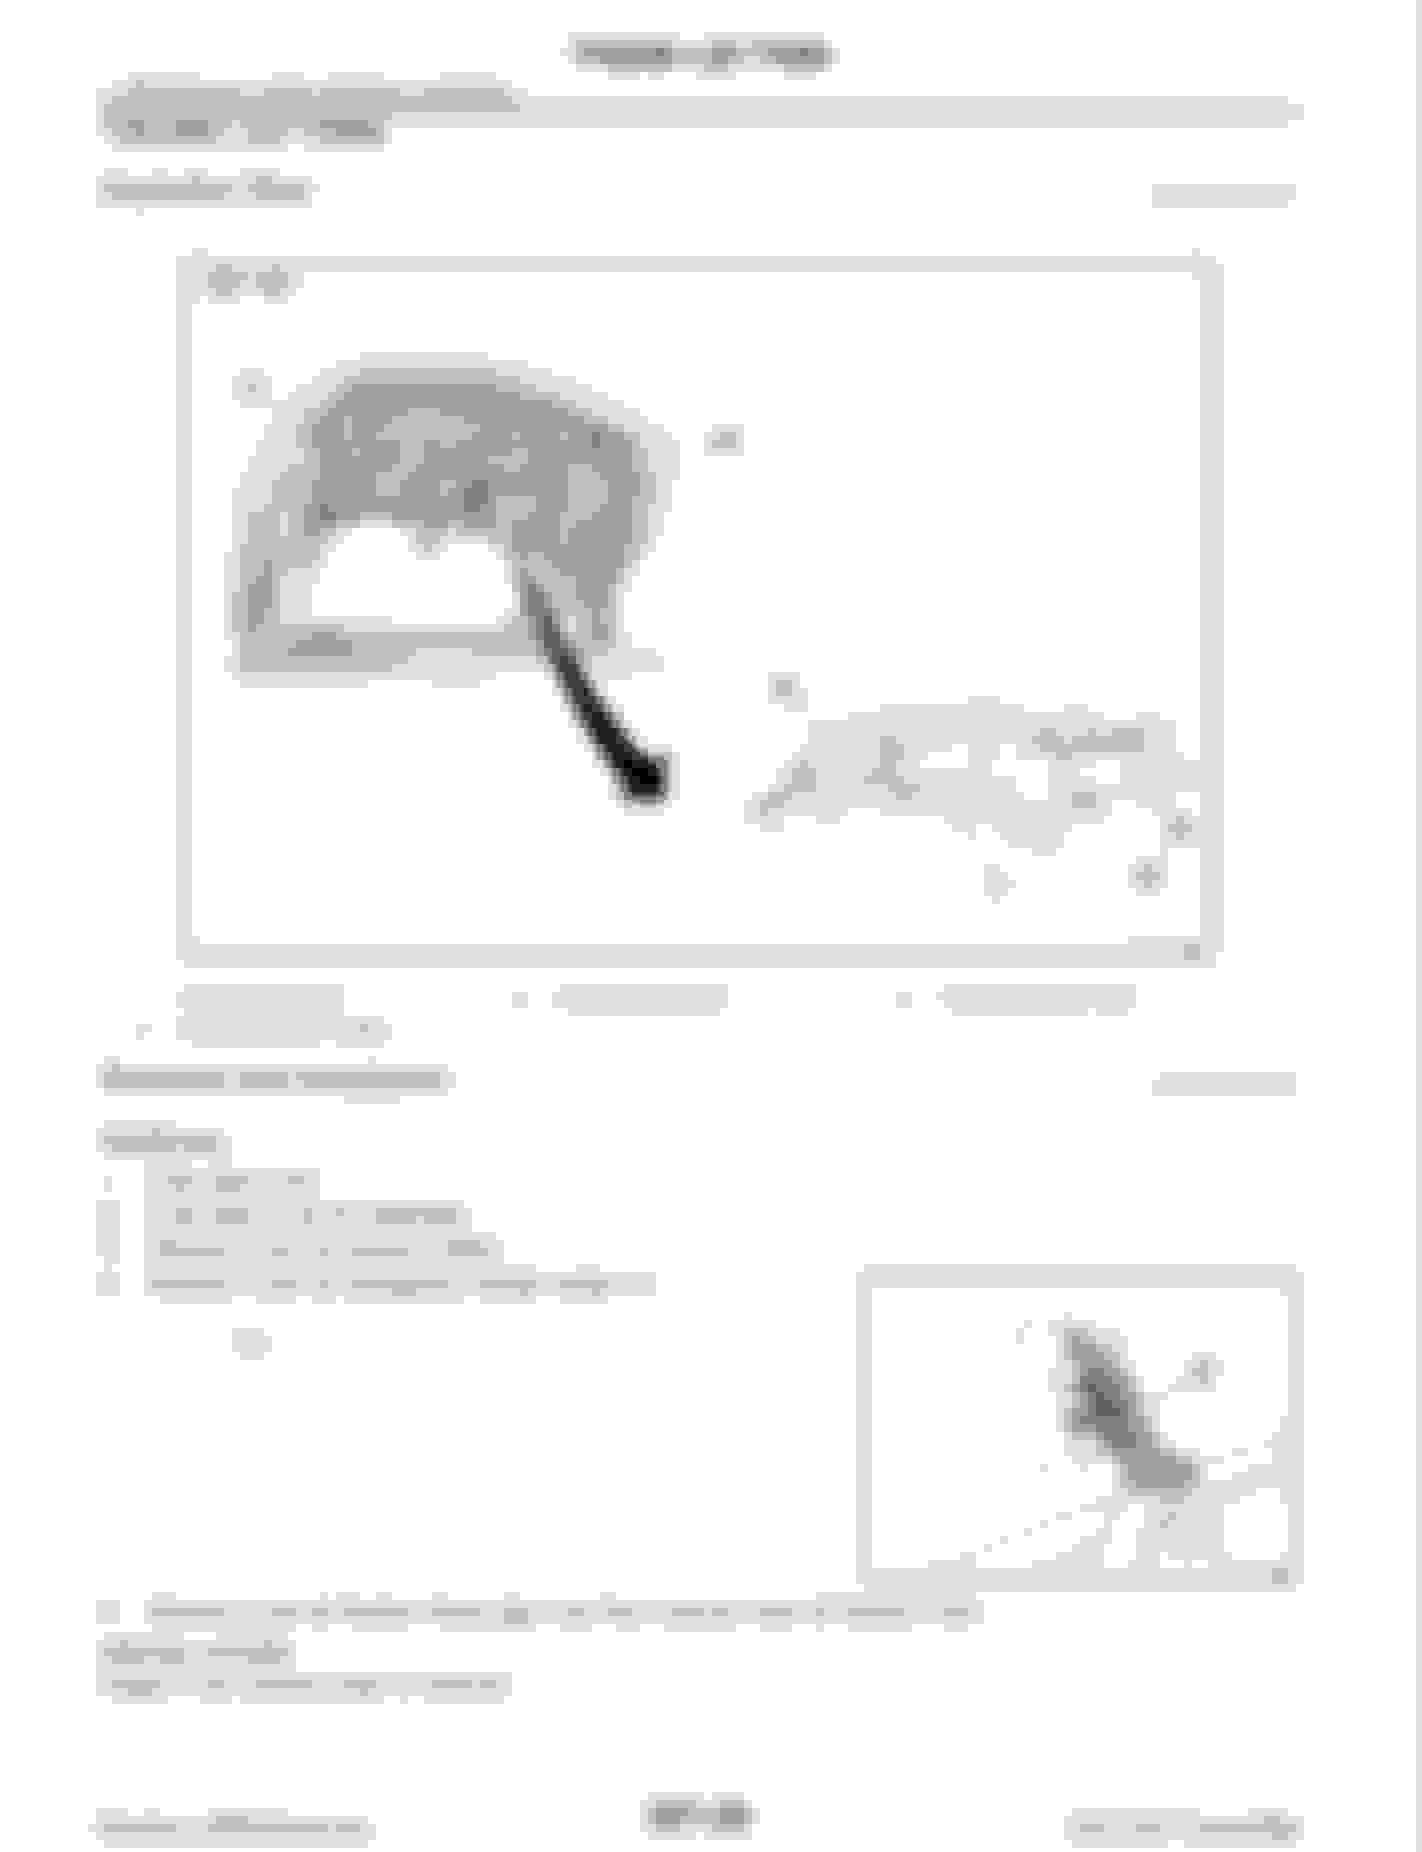
To remove the "flipper door", as this is referred to in the manual, you first have to remove the trunk lid trim.
1. If you can, get the convertible top all the way open.
2. Remove the rubber lid bumpers, the plastic clips, and the trunk lid emergency handle holder
-- To remove the clips and bumpers without breaking, use a small screwdriver to pull the clip out, then slip needle nose pliers around the shaft of the clip, and pull down which squeezing. It will take some force.
3. Remove the trunk lid trim after all are removed
Once the trim is removed, you are ready to remove the flipper door mechanism. You will need a phillips head screwsdriver, a T30 Torx bit, a socket wrench, and some elbow grease (I had to put my Torx bit into a socket wrench to get some loose) to remove the assembly
First, remove the three screws that hold the flipper door cover. This isn't really necessary, but it's easier to remove this now and now damage it during removal of the rest of the assembly.
Next, loosen the "trunk hinge harness clamp". This is an s-shaped plastic piece that holds the cables running from the trunk hinge to the electric components on the trunk lid. It's a PITA to get loose, but essentially there's two clips, one on each end of the assembly, that attach it to the metal lid. You have to slide a screwdriver into the clip to loosen it, then pull the whole harness toward the rear of the car. Again, lots of elbow grease and swearing go a long way. You don't want to remove this, just loosen it so it hangs down slightly from the lid.
After this, disconnect the large white electrical connector that connects the flipper door to the electrical system.
There are 4 Torx screws, and two metric bolts that need to be removed. One Torx screw is recessed, and you may have trouble removing it because it can bind on the washer that is above it inside the recessed cavity. Good luck not losing the washer, you're going to need it (the luck and the washer).
Remove the last two standard hex bolts that are holding the assembly to the lid, and remove the assembly.
If you bought a new replacement flipper door, you can install that one by following these directions in reverse. If you want to attempt to repair your flipper arm, I hope to get some guidance from Scott (MarthaG) on details for that procedure.
The little gearbox is held together with four plastic rivets and clips. To release the rivets, push out the center with a small punch. ( I don't know the proper name for these clips but they sorta work like pop rivets) Then I used four pieces of vinyl tubing to collapse the rivet's prongs. It took a lot of trials to collapse all four rivets at the same time. By gently prying the housing apart while working on the prongs, the halves can be split without breaking anything.
If/ when I have to do this again, I plan to "fit" the pins into to the the spline teeth better. The epoxy I used (JB Weld for plastic) did not seem to adhere to the plastic gear well. So, the epoxy simple holds the pins in place but does not add much to the strength. For the next repair, I will look at one of the stronger (more compressive strength and solid filler) epoxy,
Great job on the pictures! I started taking it apart out of curiosity. I did not expect to attempt a fix.
For a long term fix, I think the actuator is damaged by holding the door up, with the top up, while driving. Every bump causes a load on the gear. So, I looking at ways to support the door when the top is up and the trunk is closed. While your working under there, think it over. Be glade to hear ideas.
Hey Scott, so for the rivets that hold the gearbox and motor in the assembly, did you do the same thing to remove the pop rivets? Or did you drill them out?
I was planning on just drilling them out, but based on what you are saying, they could be removable?
I drilled the rivets out. I used 1/4" steel pop rivets during the reassembly. Only the one holding the plastic cover was any problem. The nose of the rivet gun would not fit so I tapped it for 1/4-28.
The plastic "rivets" I referred to are on the on the plastic gearbox housing. If you look at the picture of a black plastic housing with the worm in it and sitting a Dewalt case, you can just make out the tips of the plastic "rivets". The other half of the housing has holes for the tips to go through.
Sorry I didn't take pictures but I figured taking it apart was a one way trip.