When you click on links to various merchants on this site and make a purchase, this can result in this site earning a commission. Affiliate programs and affiliations include, but are not limited to, the eBay Partner Network.
Hey Fins and Scott - Thanks for the great collaboration here. My RH flipper failed in July 2018 and I could not find much info on removing the part. Yesterday, I decided to spend some time on the issue and I discovered your posts.
I had a lot of trouble removing the Torx fastener you have labeled as #4. In fact, it was complete hung up on the washer. After reading your posts, I decided to reattach all the fasteners and then remove #4 first (with force) - that worked better for me.
I decided to order the replacement assembly instead of attempting the gearbox repair. I went to https://parts.infinitiusa.com/ and found the part under Roof Open parts. The list price of the part is $1349, but after adding the part to my cart and searching for it locally, I found the two nearest Infiniti dealers would let me order it for around $920. It's still expensive, but much better than the $1349 list price.
glad and it was helpful. I had a problem with that same bolt. Good to know it should be removed first.
I have completed the repair on my flipper door, and am planning to install and test this weekend. If it works, I will share the details with lots of pictures!
When you get the flipper, can you let us know what position it comes in?
I would hope that it comes in the "Convertible Top Open" position, since that is what is indicated in the manual. If not, you would have to re-install the old flipper, close the top, remove it again, then install the new flipper.
So don't get rid of your old flipper until you make sure the new one is working :-)
It looked like a new assembly has the flipper in position for the hardtop up.
If the flipper is in the wrong position, it's not hard to jump 12vdc to the terminals in the connector. Have to careful because the arm moves fast but it is controllable.
I wired a momentary, normally open switch with a couple jumpers with alligator clips. I purchased the jumpers at Radio Shack. If I remember correctly, the electrical connector has 6 terminals. The four inline go tot he small limit switches. The two not inline is for the motor. You'll have to guess the polarity.
Tested my repair today, and through 2 full cycles it seems to have held up. Time will tell how long it lasts. I’ll make several posts detailing how to get to the gear, so maybe others can try their own fixes.
First, you will need to drill out the rivets around the gear box. Since your arm is likely loose, you should be able to reposition the arm manually to access each rivet. Be careful not to move it more than necessary so you don’t do further damage to the gear.
i believe I had a 3/16” drill bit, and I drilled each rivet until they came loose. If you haven’t done this before, search YouTube for some tips on rivet removal.
Once you remove the rivets, there are two TORX bolts that need to be removed to separate the housing. Once removed, you should be able to remove the brackets holding the gear assembly in place. The top bracket will slide off, then you will use a screwdriver to separate the motor drive from the housing. Note which way they go on, as they nest inside each other.
bracket
Use a screwdriver to loosen the gear assembly from the housing The cable from the motor will slide out of the gear assembly. It's a rectangular drive. Ensure there's no significant damage to this part. Gear assembly removed from housing
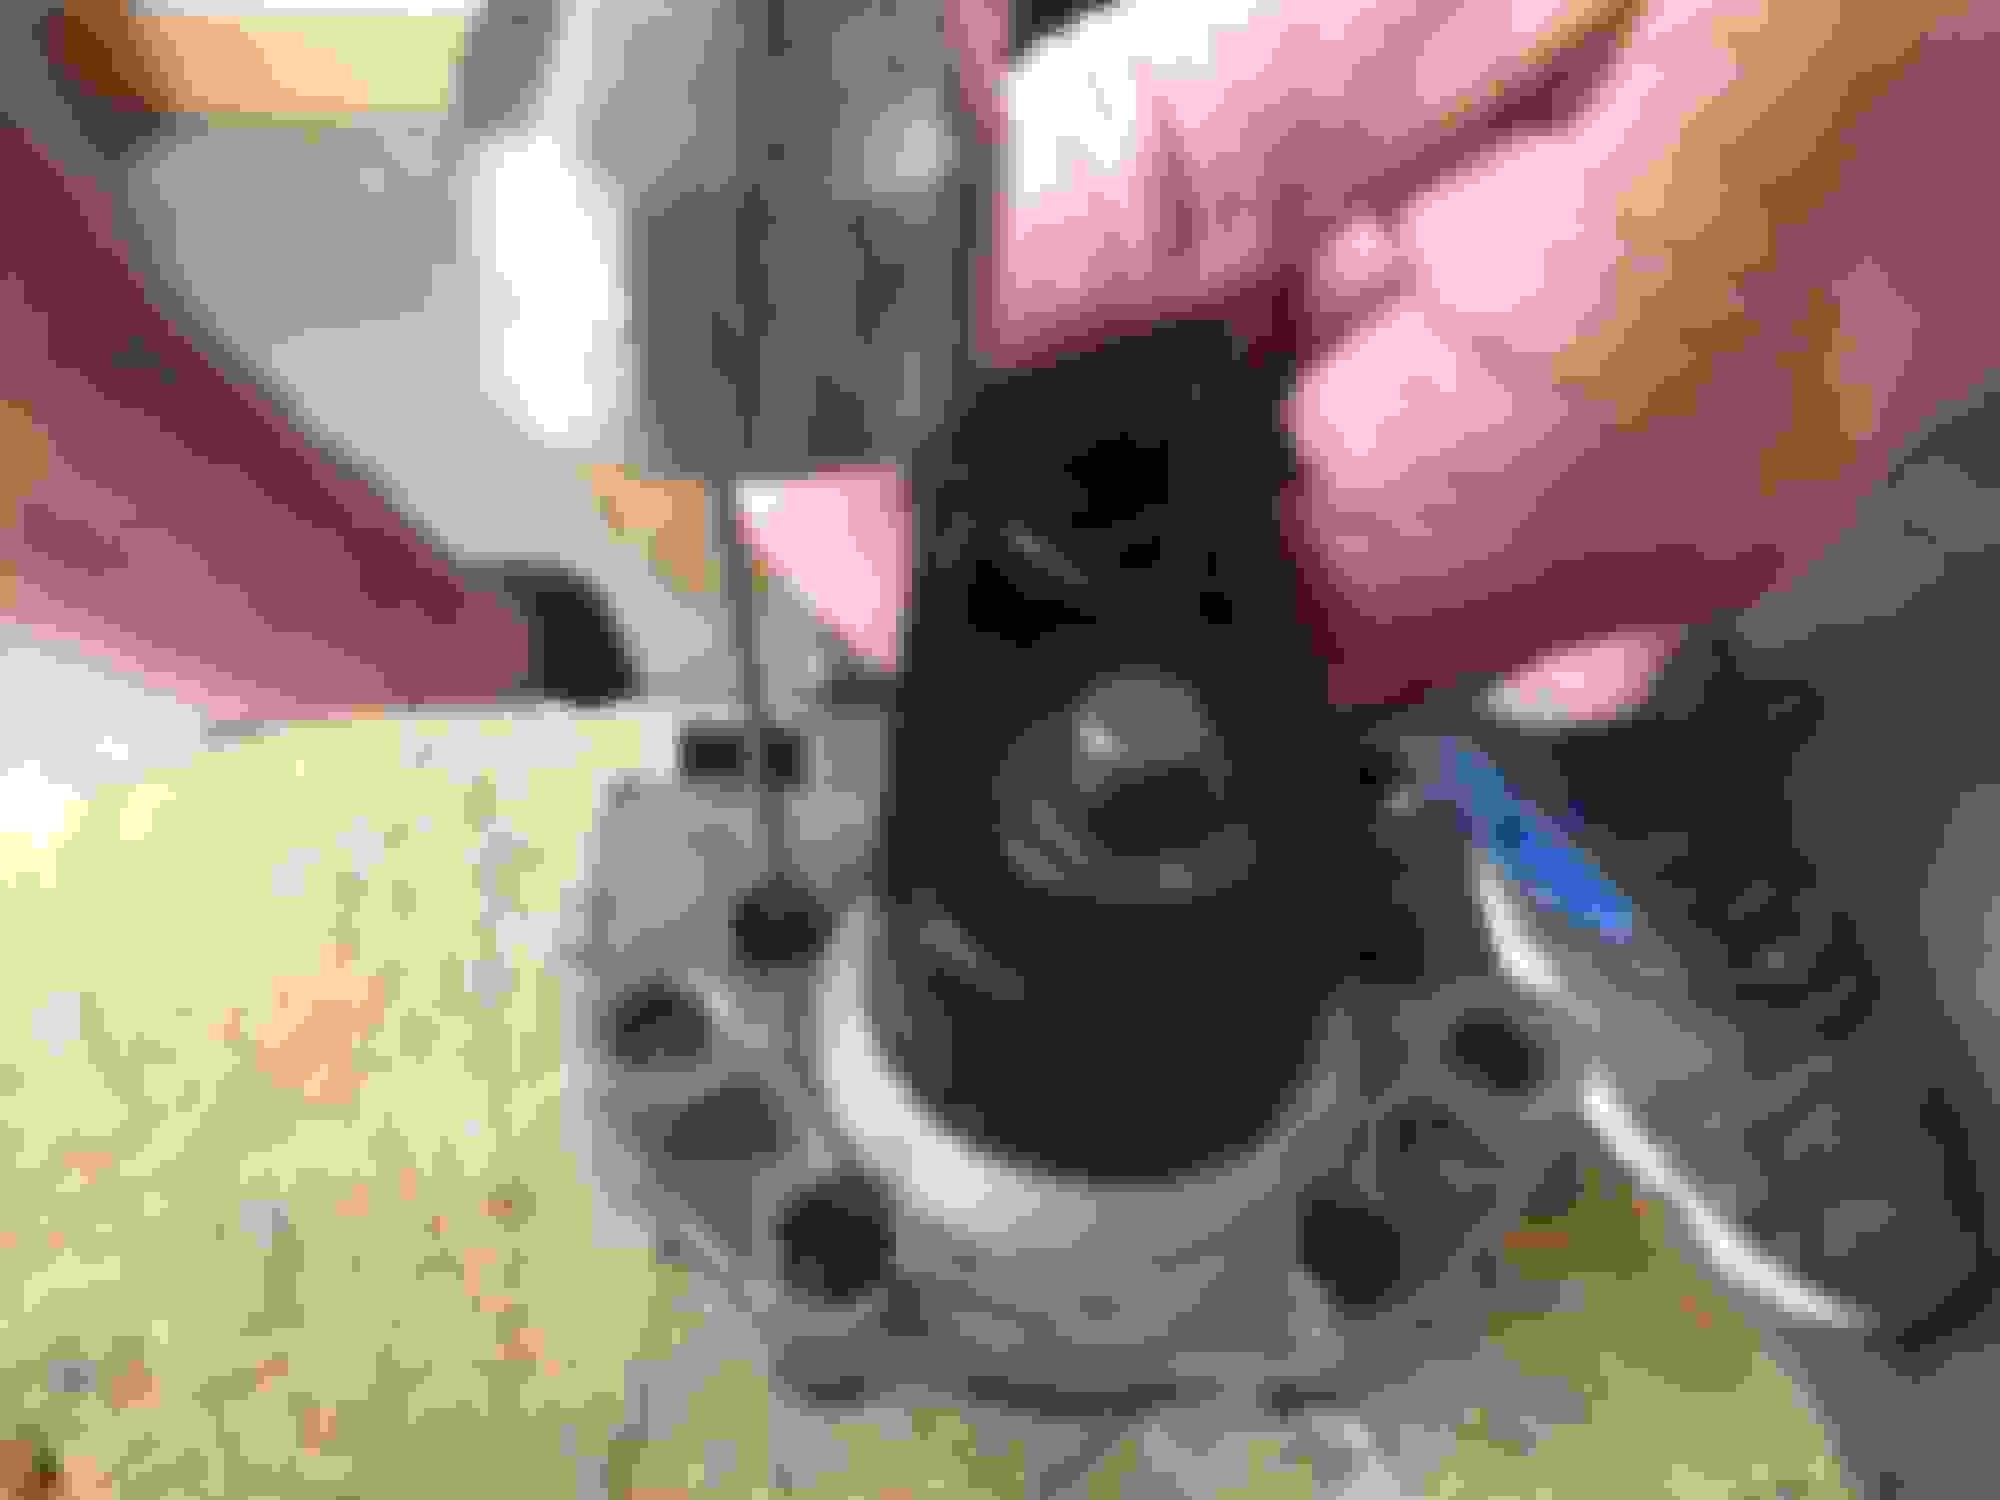
You are now able to access and remove the clips mentioned in an earlier post. You will remove the plastic center pins using a small nail or punch and gently tapping with a hammer. Two sets of hands are helpful here. Rotate the arm as needed to get to all four clip centers.
To remove the clips after the centers have been punched out, gently press the fingers of the clips in while separating the gear housing. It will take some finesse, go slow so you don't damage the clips.
Once the clips are separated, you will see the gear assembly illustrated by Scott in the previous post.
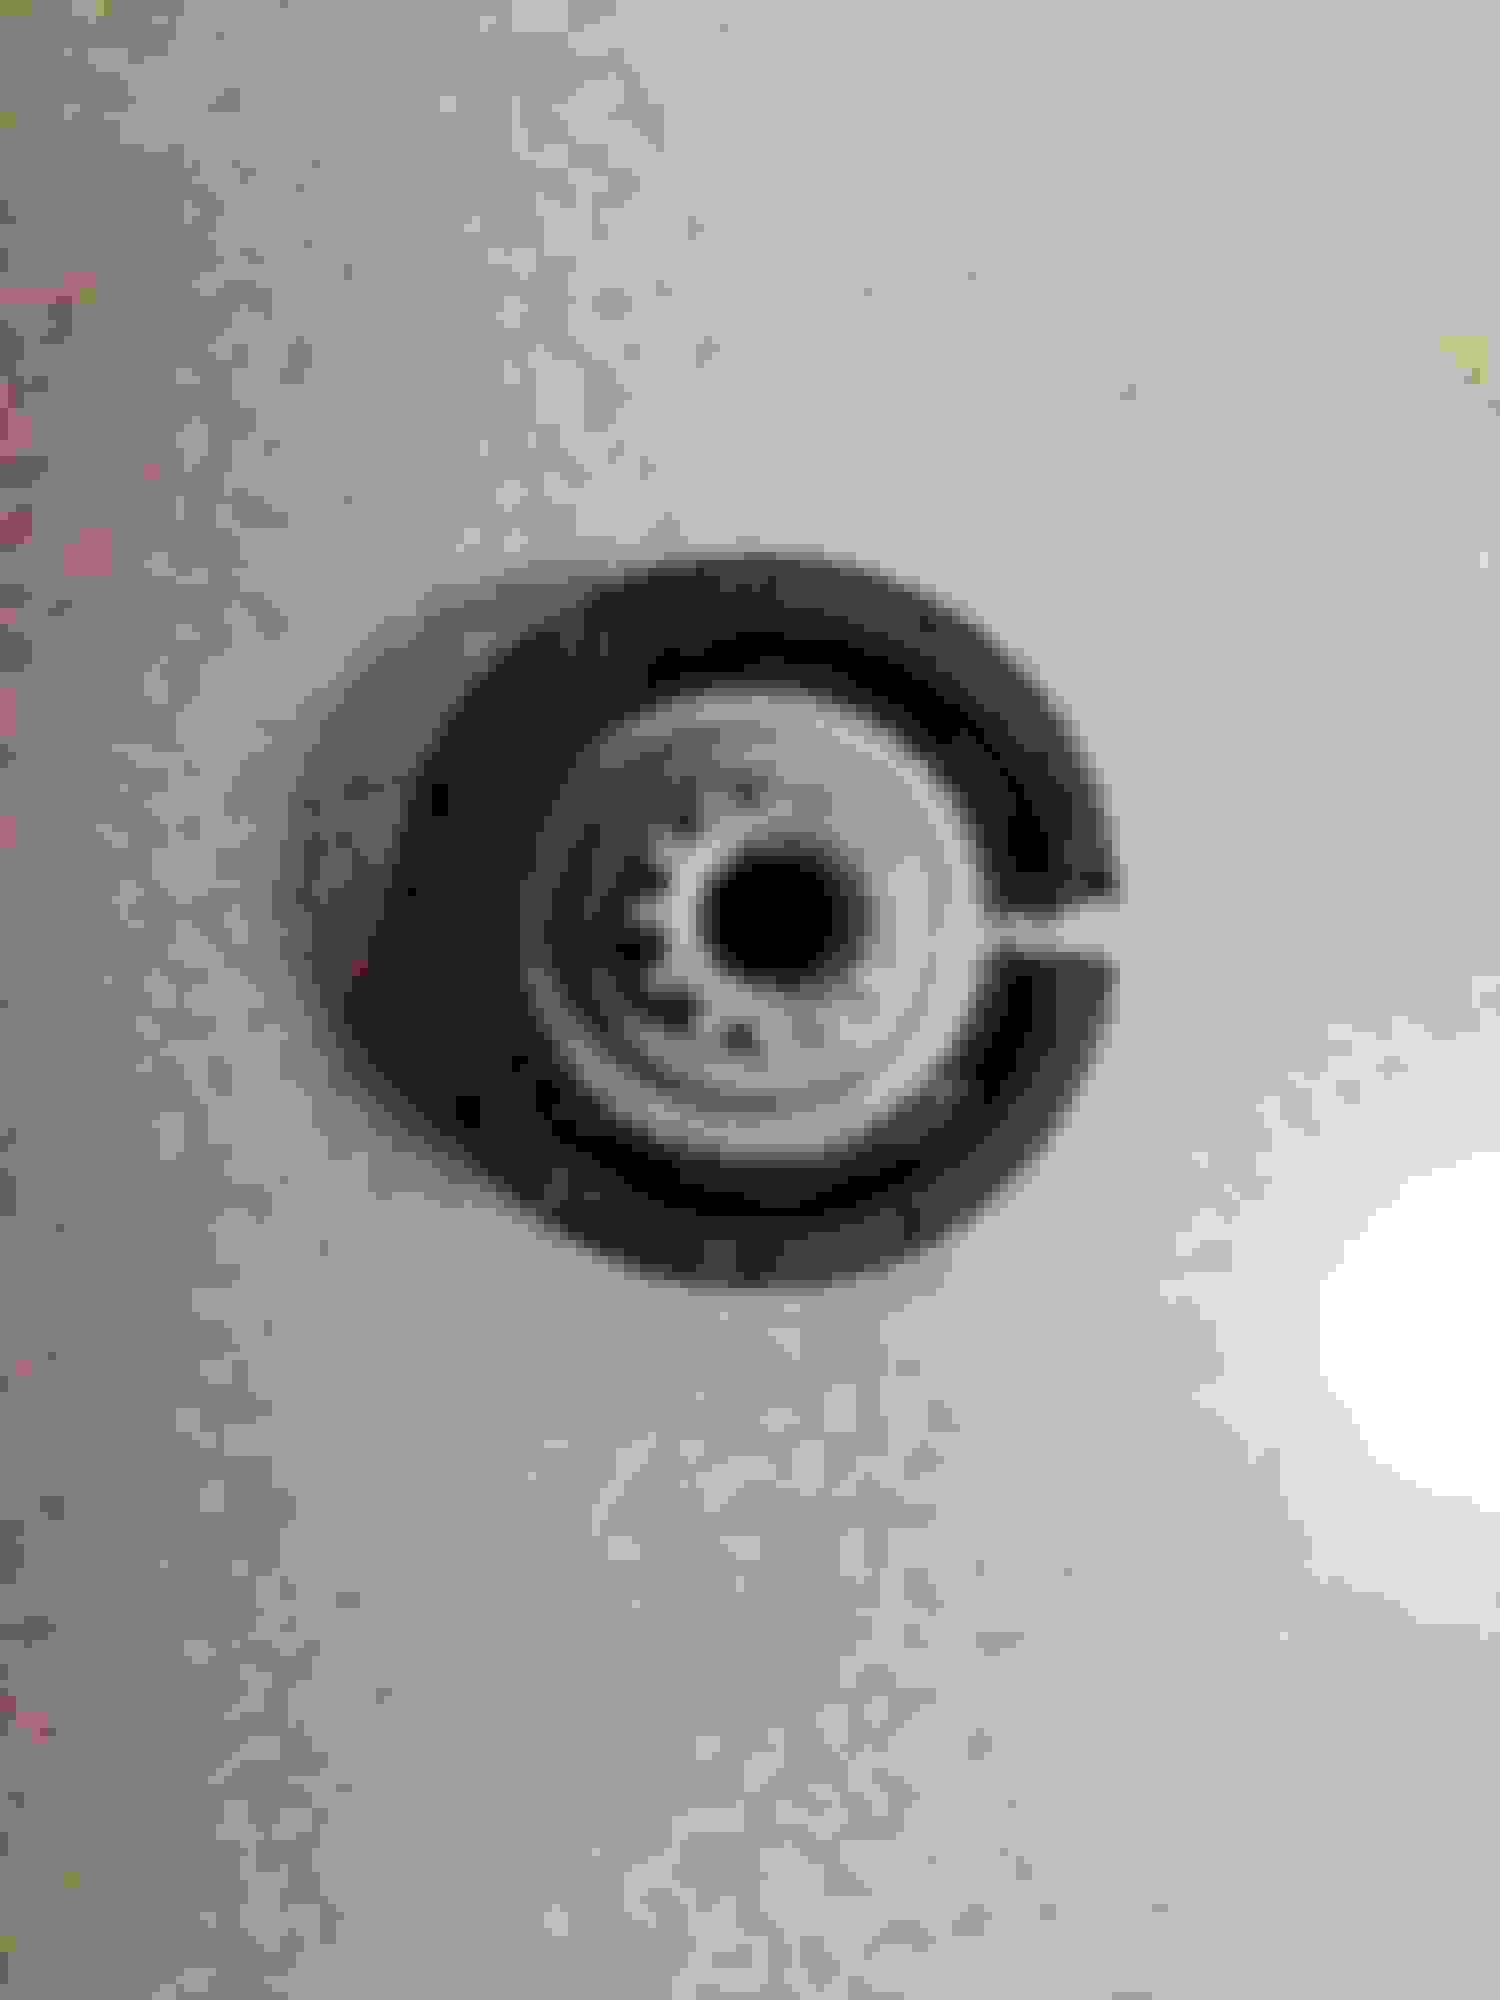
I tried to get good pictures of the gear assembly that needs repair. It's a plastic outer gear and metal inner gear. The failure mechanism is that the inner metal gear strips the interior of the outer gear. I assume it was designed this way to ensure the gearing failed in the case of a jam, as opposed to bending an arm or damaging the motor. Too bad they didn't make the gear a replacement part!
The gear assembly is filled with grease. You can scoop it out and save as much as possible (like I did) or replace with a similar grease upon reassembly.
I used some Wax and Tar remover with some shop towels to thoroughly clean the surface of the metal and plastic. THIS IS THE MOST IMPORTANT STEP! If you don't get a clean surface, your Epoxy will not hold!
Take your time to get this part right.
You can see i these pictures how the interior gear is stripped.
After reviewing Scott's post, I decided to go a slightly different direction with reinforcing the gear. I spliced open a spare stranded wire and use the internal threads to wind around the inner gear before I inserted it back into the outer gear.
I used some basic multi surface quick-set two-part epoxy for the repair. The thought process was that the wire and epoxy would create a composite structure that would help reinforce the interface between the gears.
I used applied the epoxy to the surface between the gears, and used a small screwdriver to push the wires into the interface as I inserted it.
I let this assembly dry for 24 hours. Even though it's a 5min drying epoxy, it's likely not at full strength until 24 hours exposure to air.
Somehow I forgot to take a picture of the dried assembly, but I made sure the two pieces were full inserted, and removed any excess Epoxy that was on the surface of the gears.
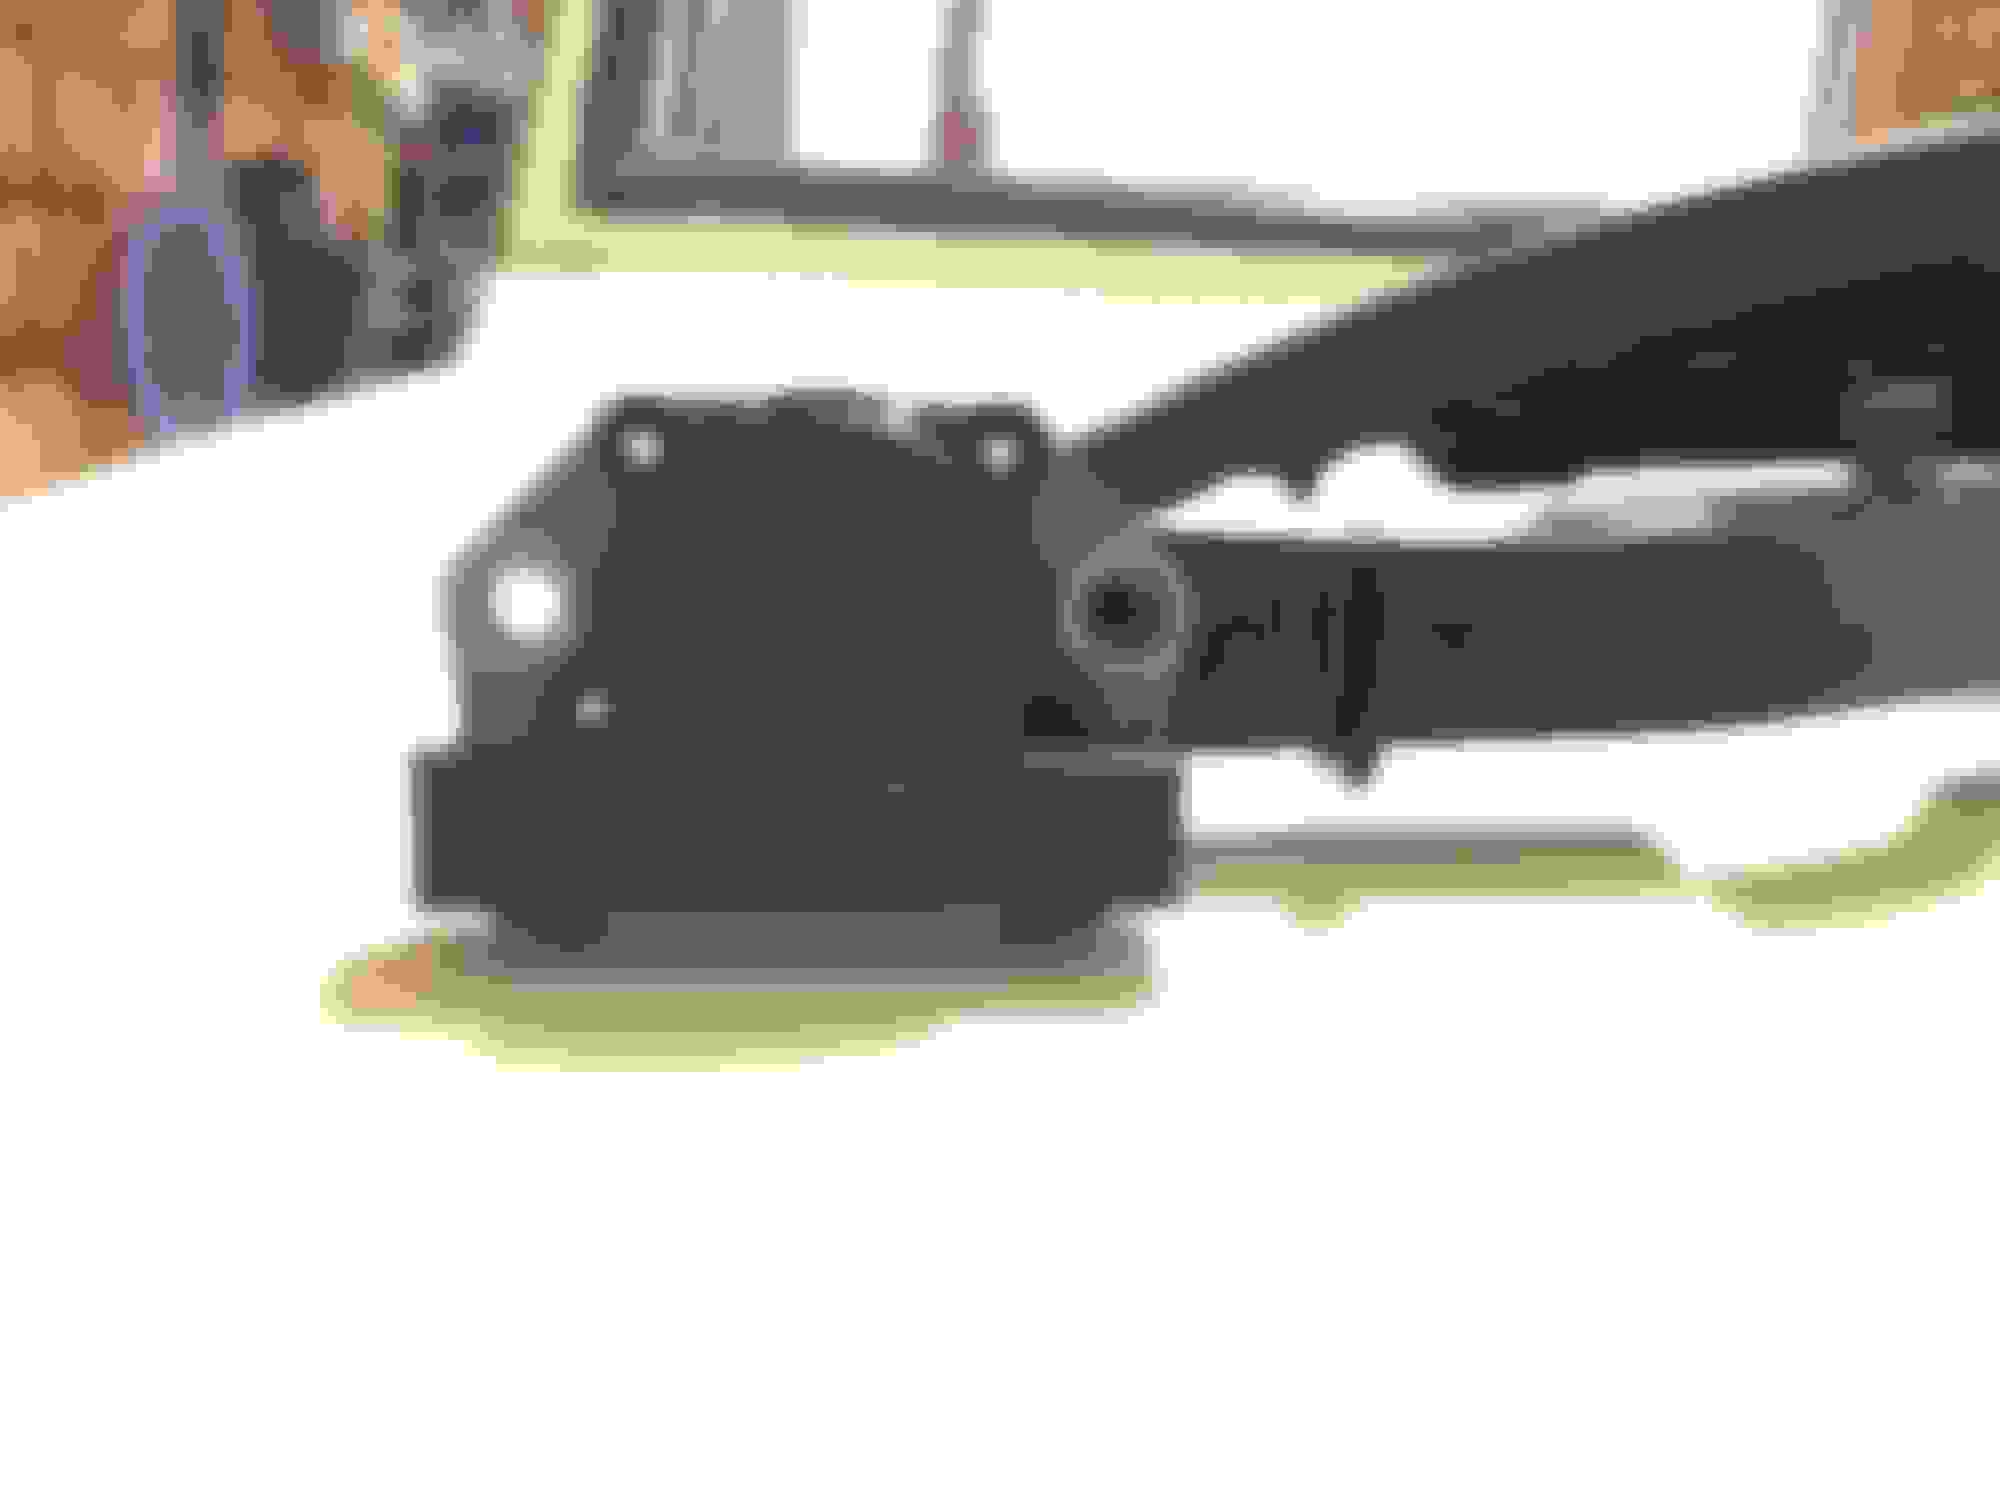
During reassembly, it's important to get the flipper arm into the position needed to reinstall in your vehicle. In this case, I was positioning for a roof that was CLOSED.
Starting point:
Re-assemble the gearbox with the arm in the position shown in the image below (for a CLOSED roof), but don't put the center pins into the plastic clips yet - you might not get this right the first time.
Nestle the gearbox into the assembly, re-insert the motor cable, and put the brackets back on. The trapezoidal protrusion on the flipper arm should be nestled into the proximity sensor on the assembly, and the metal contact sensor should be depressed close to the gearbox . If it's not aligned right, remove the gearbox, re-open it, realign your arm, and try again.
Once you are convinced you have the correct alignment, put the center pins back into the gearbox clips.
You will only be able to get one of the torx screws back into the gearbox assembly at this point. This is OK - you will put the other one back in once the whole assembly is reinstalled in your car, and the roof is in an OPEN position.
Once your assembly appears to fit correctly, you are ready to rivet!
I picked up a cheap hand riveter at Harbor Freight for $10 after coupons. Make sure you have 3/16" rivets ready.
At each location where you previously drilled, inset your rivet, set your rivet gun, and compress the rivet until it snaps off. If you need to, check out YouTube for some riveting how-to videos.
Make sure all your cables are located in the correct positions, and the plastic wire cover is re-seated properly.
Hope this is helpful to others dealing with this annoying problem.
In total, it cost about $25 (rivet gun, epoxy, odds and ends) and took 3 hours of time to complete the repair. A dealer will charge close to $2000 for installing a new part.
If you attempt this yourself, feel free to add pictures or notes to make it easier for the next person!
Hello everyone, let me start off by saying thank you for such a great post on how to address this issue. As far as my input I would suggest that to remove that # 4 bolt that is such a PIA you loosen the hinge bolts as the washer on bolt # 4 is meant to be stuck in between the threads and the head. That's why it is almost impossible to take it out that way. Once I loosened the bolts to where I could lift off the trunk and pull the bolt out I could see why it wouldn't come out and why the washer was stuck onto the threads.
Now my discovery after going throug all of this is that most likely since my car is a 2012 the gears are different. The teeth are not snapped but outer gear encases the metal gear and is cracked on one end. I am not sure how to go about fixing this. Any help or advice would be appreciated. Maybe someone has a pair of the ones on everyone's post which seem easier to fix?