When you click on links to various merchants on this site and make a purchase, this can result in this site earning a commission. Affiliate programs and affiliations include, but are not limited to, the eBay Partner Network.
I would test the ABS situation but I think I have a fuel pressure issue or boost leak currently so I'm taking it easy until the build.
Sorry to hear that. Are you having trouble making full boost or hitting fuel cut? If you aren't making full boost then you may want to check for possible leaks in the vacuum lines going to your wastegates...
Damn man that sucks. Got any leads ok what the issue is??
Originally Posted by 2GoRNot2G
Sorry to hear that. Are you having trouble making full boost or hitting fuel cut? If you aren't making full boost then you may want to check for possible leaks in the vacuum lines going to your wastegates...
Pretty sure I'm getting a fuel cut. I'll get it all ironed out soon. The G should be going in at the end of the month for the final build!
Pretty sure I'm getting a fuel cut. I'll get it all ironed out soon. The G should be going in at the end of the month for the final build!
Eek! Gotta love fuel cut (said with sarcasm)... Your full throttle, leaning forward slightly and BAM, fuel cut, and you lose all power as your whole body slams forward.
Last time this happened to me it ended up being a slightly clogged injector, but it could be a multitude of different things. Hopefully its a simple fix... But really excited to hear how your final build goes!
Yeah, not fun at all. Hopefully it's something simple and thanks!
Good stuff. Now everyone (7at and 6mt) has a good baseline on how to do this. Thanks!
Yeah glad to have have helped! Thanks for the initial write up. I'd have had no clue how to find it other wise!
Originally Posted by lobuzz311
Yup, super helpful. Thanks Jones!
No problem!
Originally Posted by Presto
How easy is it to take off the whole centre console
For MY car super simple. Maybe 10 min in total. Take your time the first time, and follow that pfd that is in the first post. It's from TWM for their short throw install (have to remove the center console).
Thanks for this. I haven't considered doing this but now will be doing it at the same time I install my custom shift gate since it will be torn apart anyway.
***Disabling Traction Control is a "Track Only" modification and liability for this modification is on the owner/operator. Do so at your own risk***
If you are going to track the G or the Z one huge problem that we run into is the traction control always trying to ruin our fun. This is felt by power being cut when the traction control/yaw sensor kicks in. In order to completely overcome the traction control issue you must disable the Bosch Module. The VDC button alone will not give you the same result as the computer will still kick in when it wants to.
The Bosch Module aka "yaw sensor" aka "traction control unit" is located underneath the center console, almost directly below the cup holders. (In front of the arm rest and storage area) Removing the center console area will provide the most working space in order to complete this modification. Tools required (trim removal tool/flathead screwdriver, phillips head screwdriver, needle nose pliers, soldering iron, heat shrink, extra wire, razor blade/wire cutter)
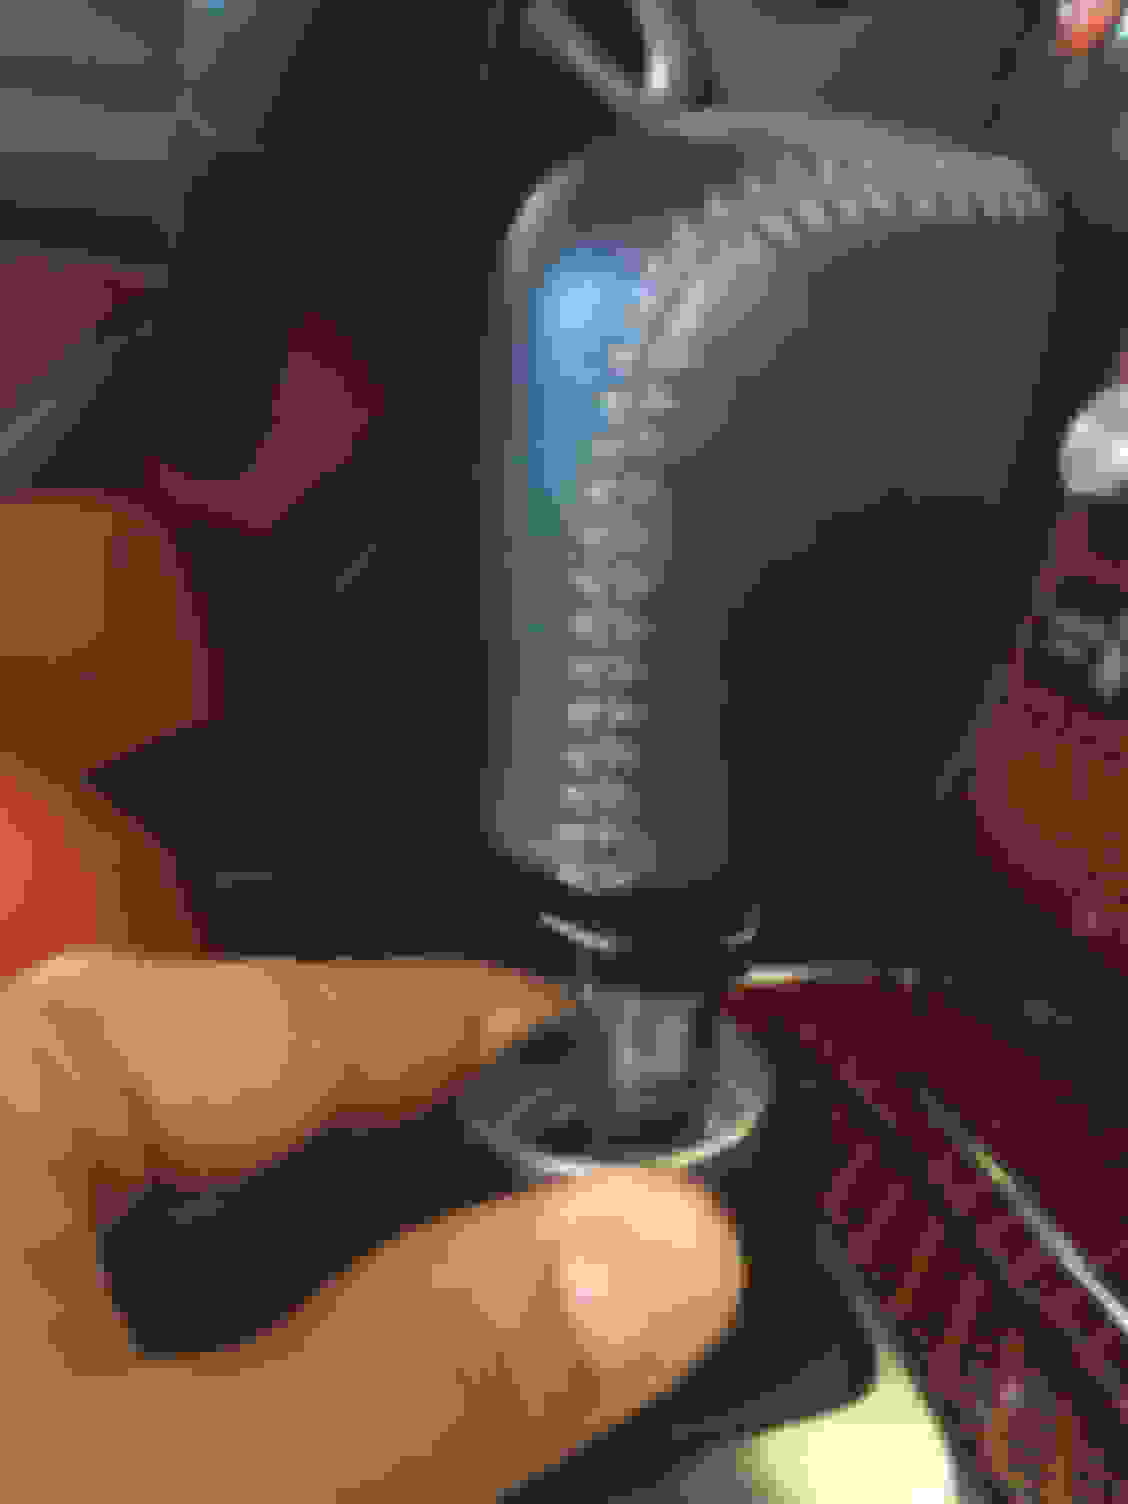
1: Remove your shift **** by pulling down on the metal collar and removing the retaining clip.
2: Remove the plastic cover above the shift assembly (pull down and it'll pop out)
3: Remove the two screws located underneath this cover.
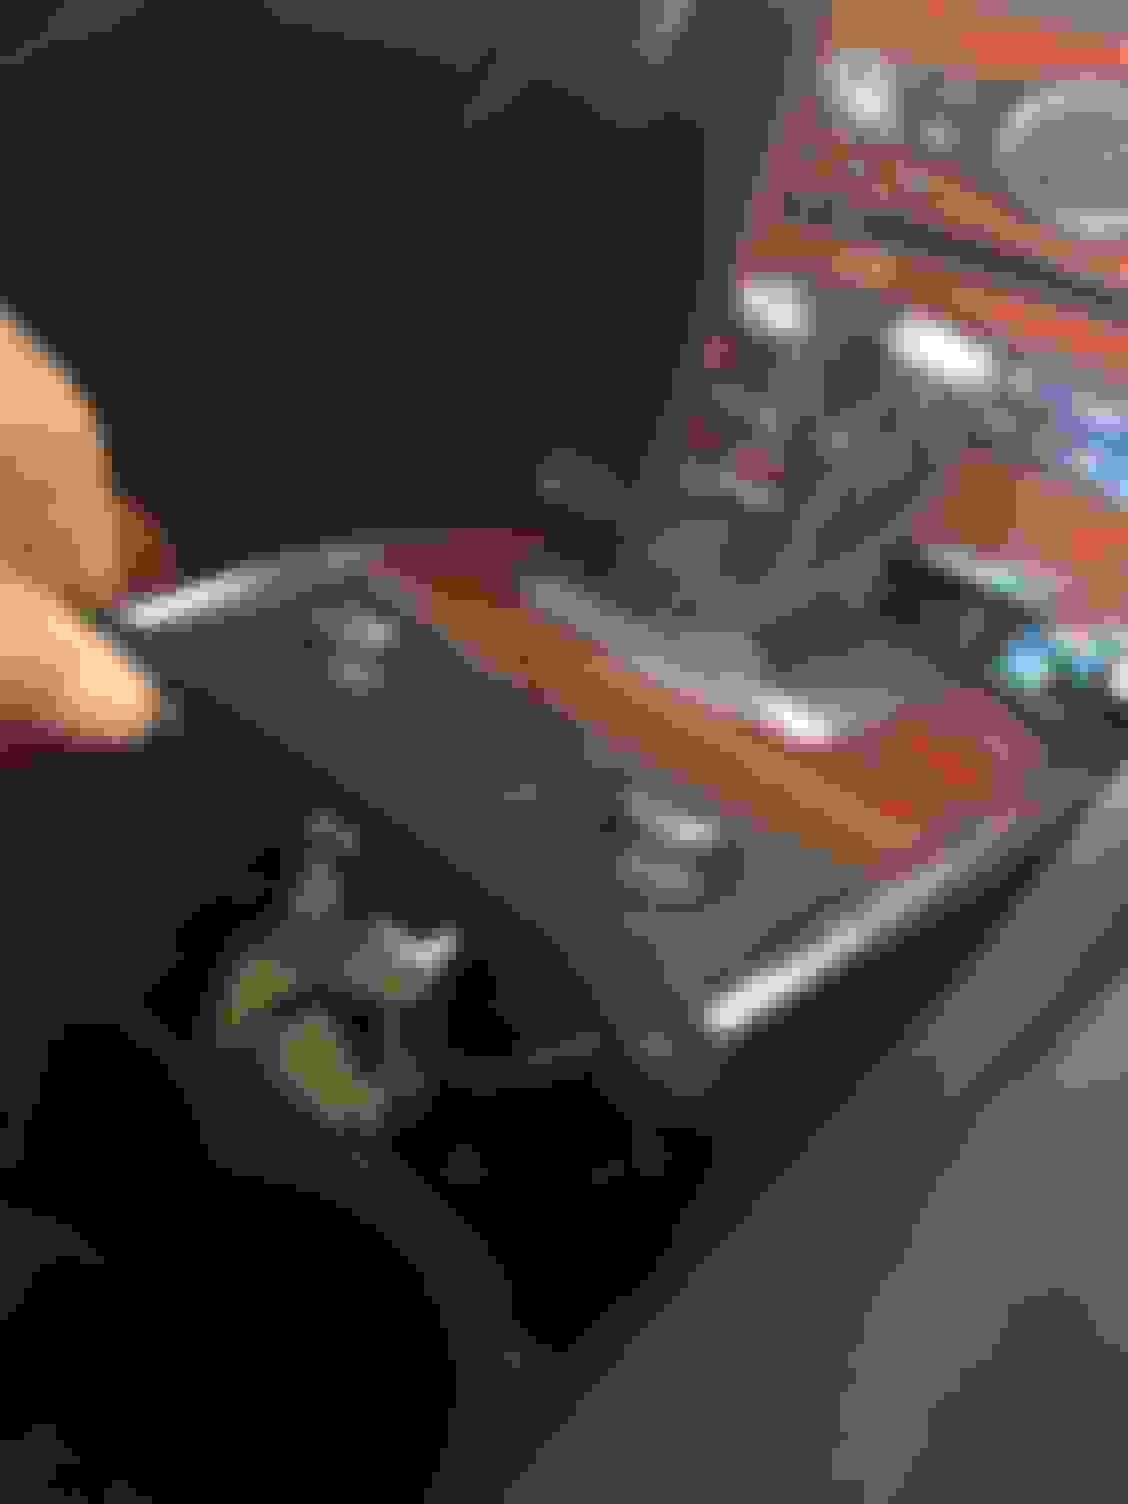
4: Open the center console are rest and remove the plastic middle piece by pulling up (it's clipped in pretty good). When that is done remove the wiring harnesses from the 12v and USB (or whatever is there, this is where my previous switch was)
5: Remove the armrest backing by pulling it straight out and disconnect the wire harness located in it.
6: Remove the two screws connecting the back of the armrest to the floor/frame (two black screws)
7: Pull up on the shift assembly and disconnect all of the attached harnesses. Mine were the seat heaters and snow button where I will be putting in my toggle switches. Also, be certain to unclip the shift harness and 12v harness in the front of the unit. After doing so you can remove the whole unit. Be sure to remove the two black screws located in the last picture as well.
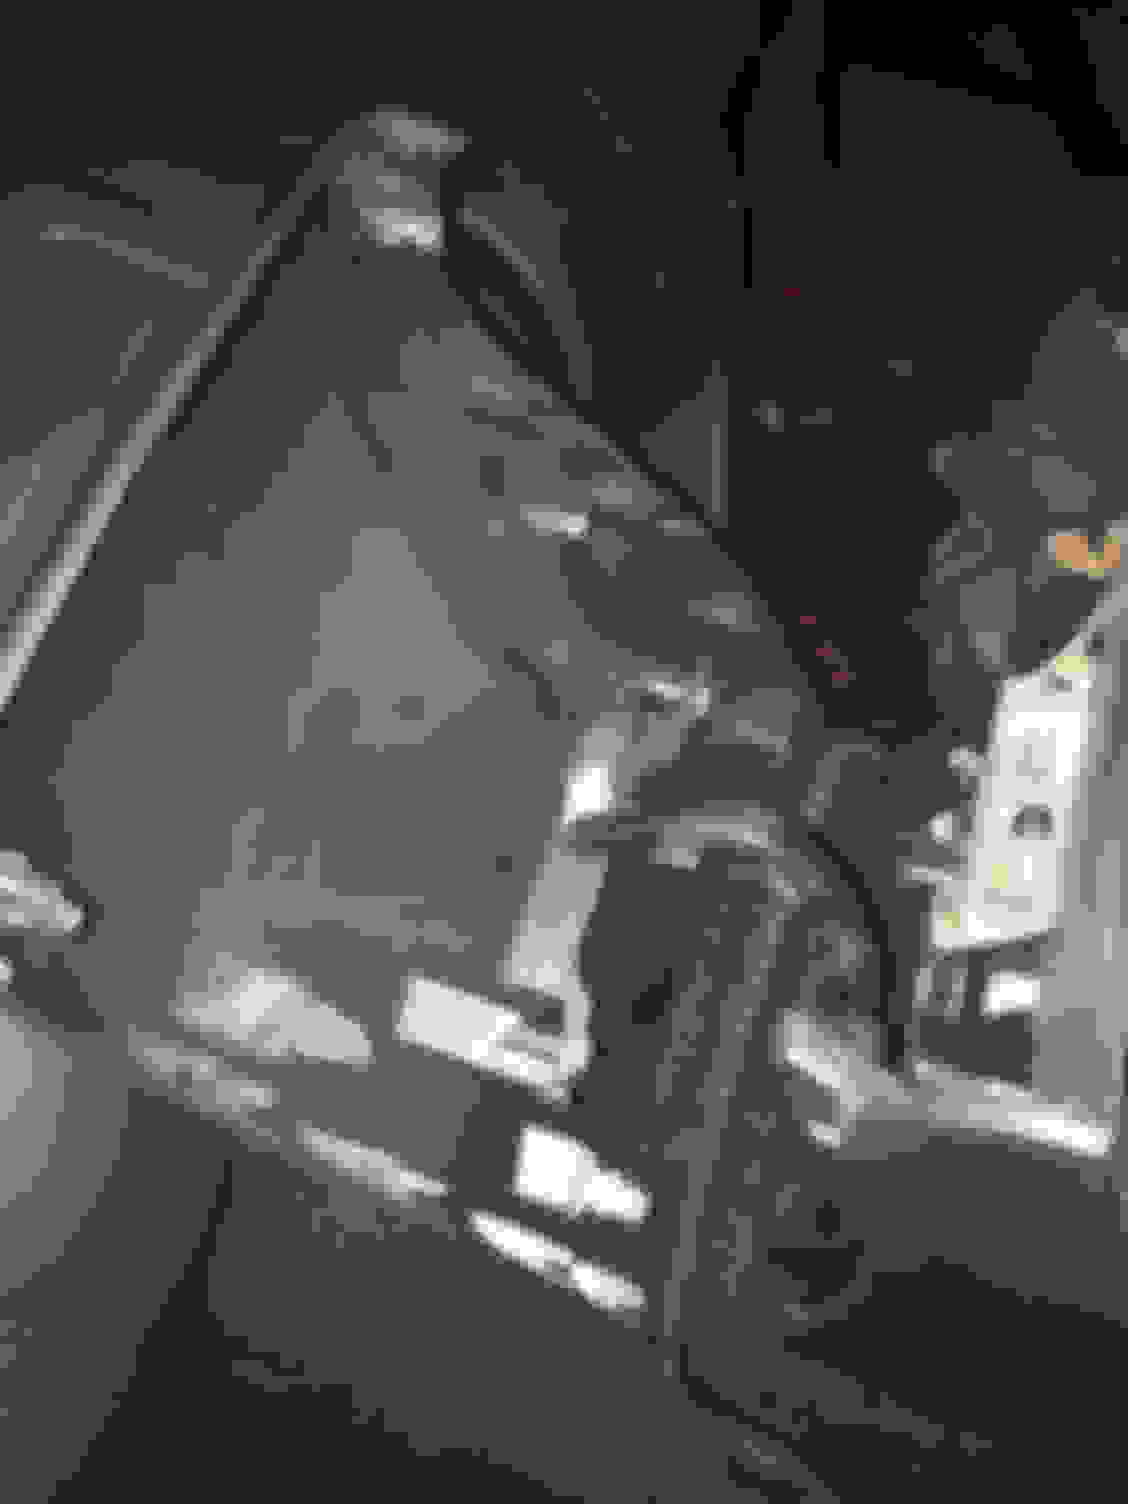
8: Lift upward and pull back on the center console to remove it. Leaving you with an open working area.
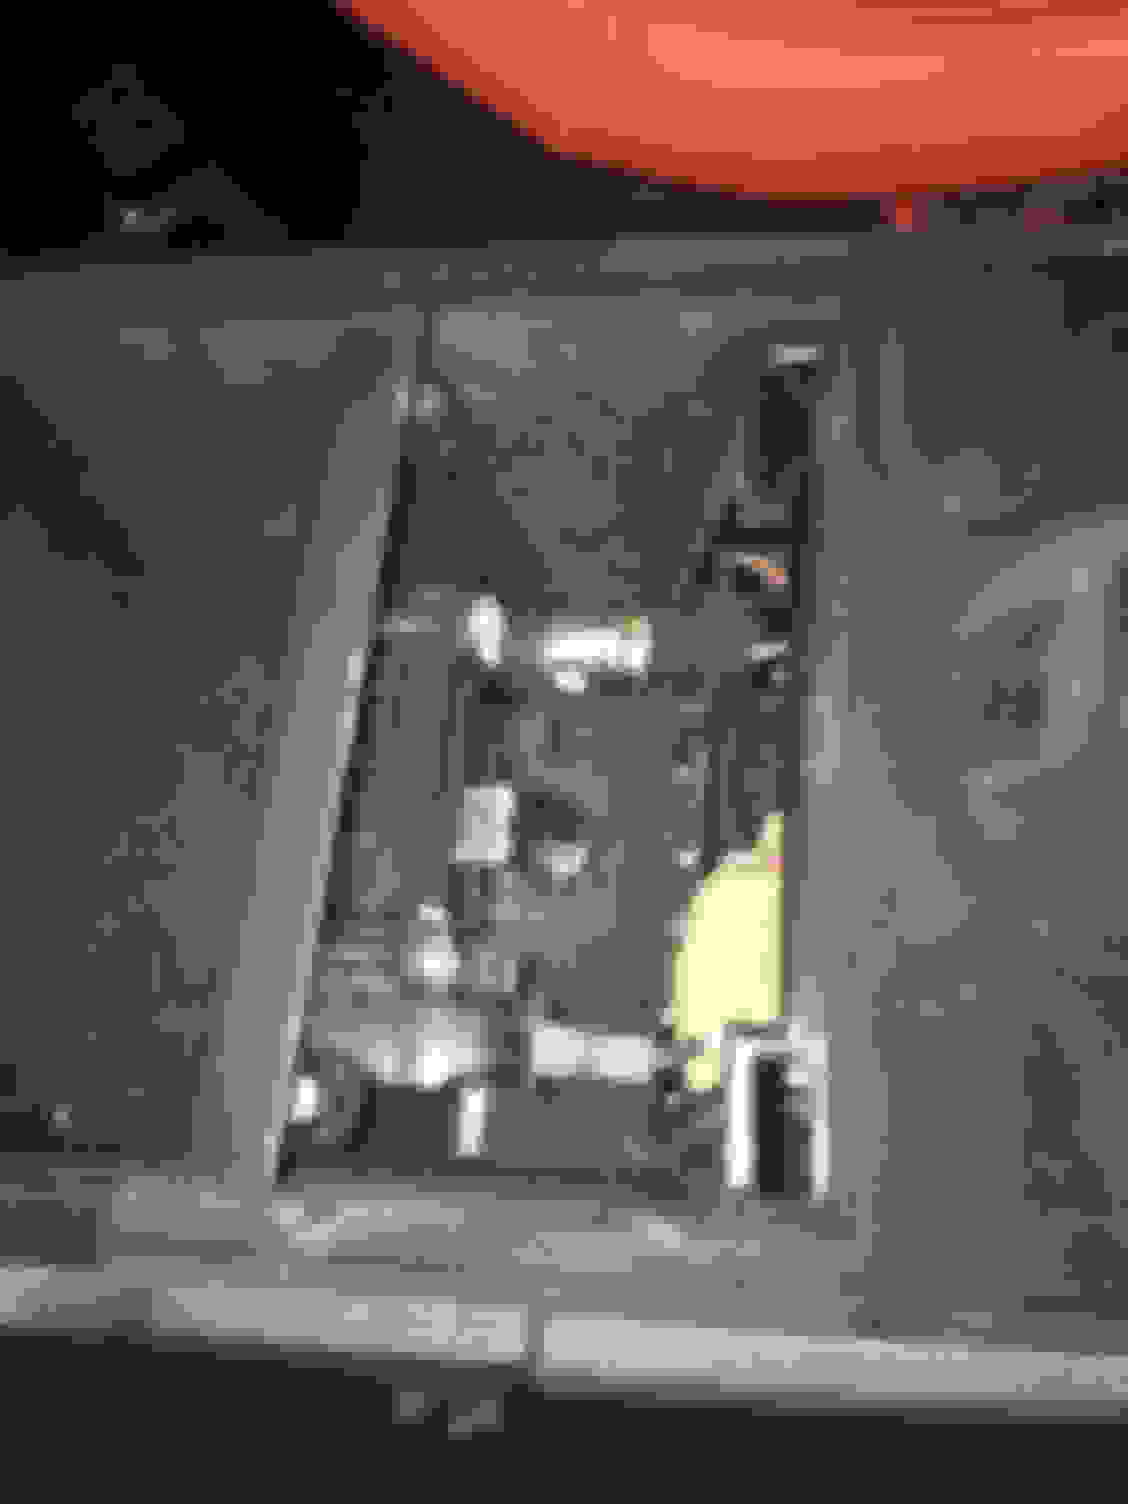
9: The module is the white box pictured labeled "bosch". This is where the traction control gremlin lives. In order to wire in a switch the green wire must be cut.
10: Solder your extra wiring used for the switch onto the two green sections cut and heat shrink to cover the connection. On the switch end of the wire connect a quick connector or solder it straight to the switch (I use quick connects as it allows me to disconnect it if needed)
11: Place your switch where you want it and connect it. My switch is set up when it is off the circuit loop is closed = traction control on. When it is on the circuit loop is open = traction control off.
Now whenever I am going to track the G I can open the switch, thus cutting off my traction control for real.
In order to regain traction control the switch must be closed and the power in the car cycled (shut off and back on again)
***UPDATE NOTES***
Different year models/transmission types... will have slightly different access to the module. Big thanks to Jonesmeister1 for finding a pretty good walkthrough on removing the console. Tools used list: trim removal tool, Phillips head screwdriver, needle nose pliers, soldering iron, heat shrink, extra wire, razor blade, wire cutter. http://www.twmperformance.com/manual...ion_manual.pdf
Would running an OEM traction control off switch such as this one below, be able to operate the one and off contols without being a toggle style switch work with this mod?
I think that may work. It really depends on the switch. If it cuts the signal between the wiring shown then yes.
Wouldn't it need to be one of those switches that you press, and the whole switch stays depressed. Press again and the switch returns to starting position? Not sure what that is called.
That maybe enough though. Once you kill the power to the moduel, you have to turn power back on, and restart the car for the module to come back on. So it might work, if you disupt the power temporarily.


 Gotta love fuel cut (said with sarcasm)... Your full throttle, leaning forward slightly and BAM, fuel cut, and you lose all power as your whole body slams forward.