When you click on links to various merchants on this site and make a purchase, this can result in this site earning a commission. Affiliate programs and affiliations include, but are not limited to, the eBay Partner Network.
Do I have to use a oven or can I use a heat gun and pry?
I'd just go w/ the oven. I found it was really pretty easy after a bit of a fail on my first light.
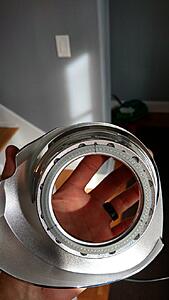
The first light I tried prying it up all around the housing edge, this left ugly gouges (can't be seen but I know they're there) all along the edge. The second light was a breeze. I heated the light and just applied force in one corner until I got it lifted enough so I could pull the entire cover off. Once I got the initial lift I put it back in the oven for one more heat cycle, this softened up the rest of the seal so pulling it off was SO much easier and left no marks on the light housing.
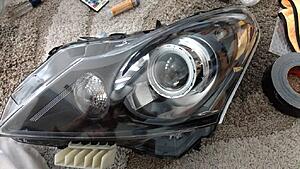
Spring is here so it's time for mods. Finally got around to doing this headlight modification and thought I would share. Thanks to everyone for for providing so much useful info! Got this done in a day with several beers and breaks.
I ended up bugging MaQG37 via PM about his process, which helped me a LOT.
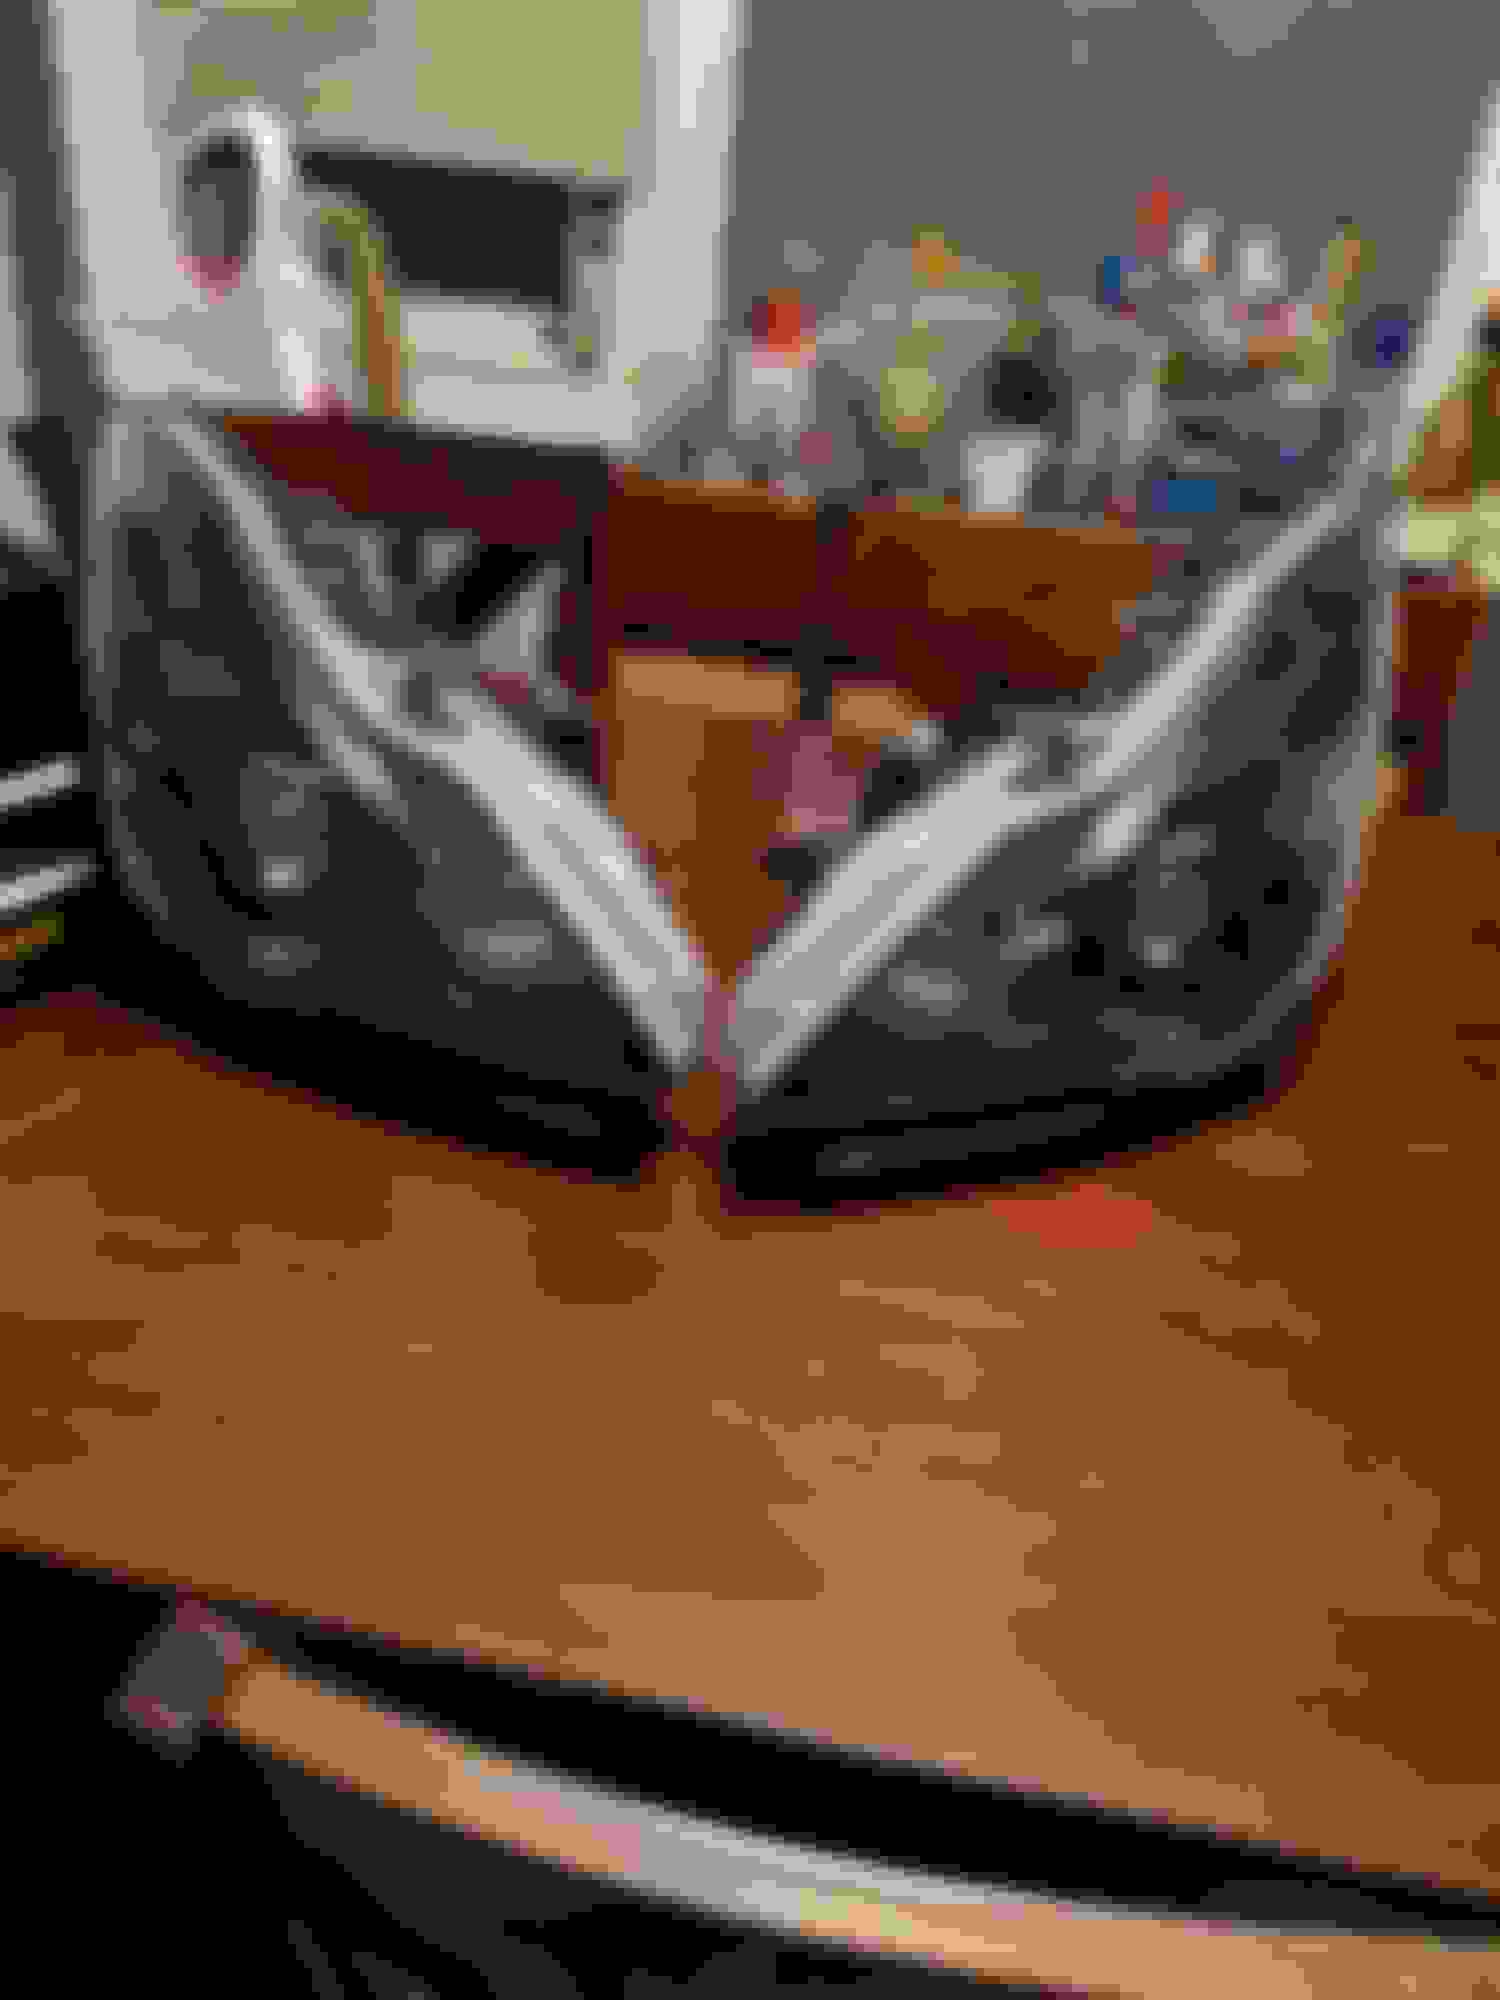
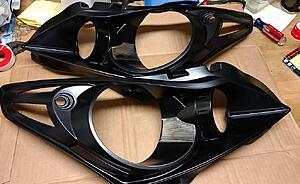
I wet sanded, then used plastic primer and satin black high temp paint. I didn't paint the chrome strip right near the projector, since that's where the bubbling issue is worst. I ended up painting the side reflector, because my trial with Nite-shadez was disasterous.
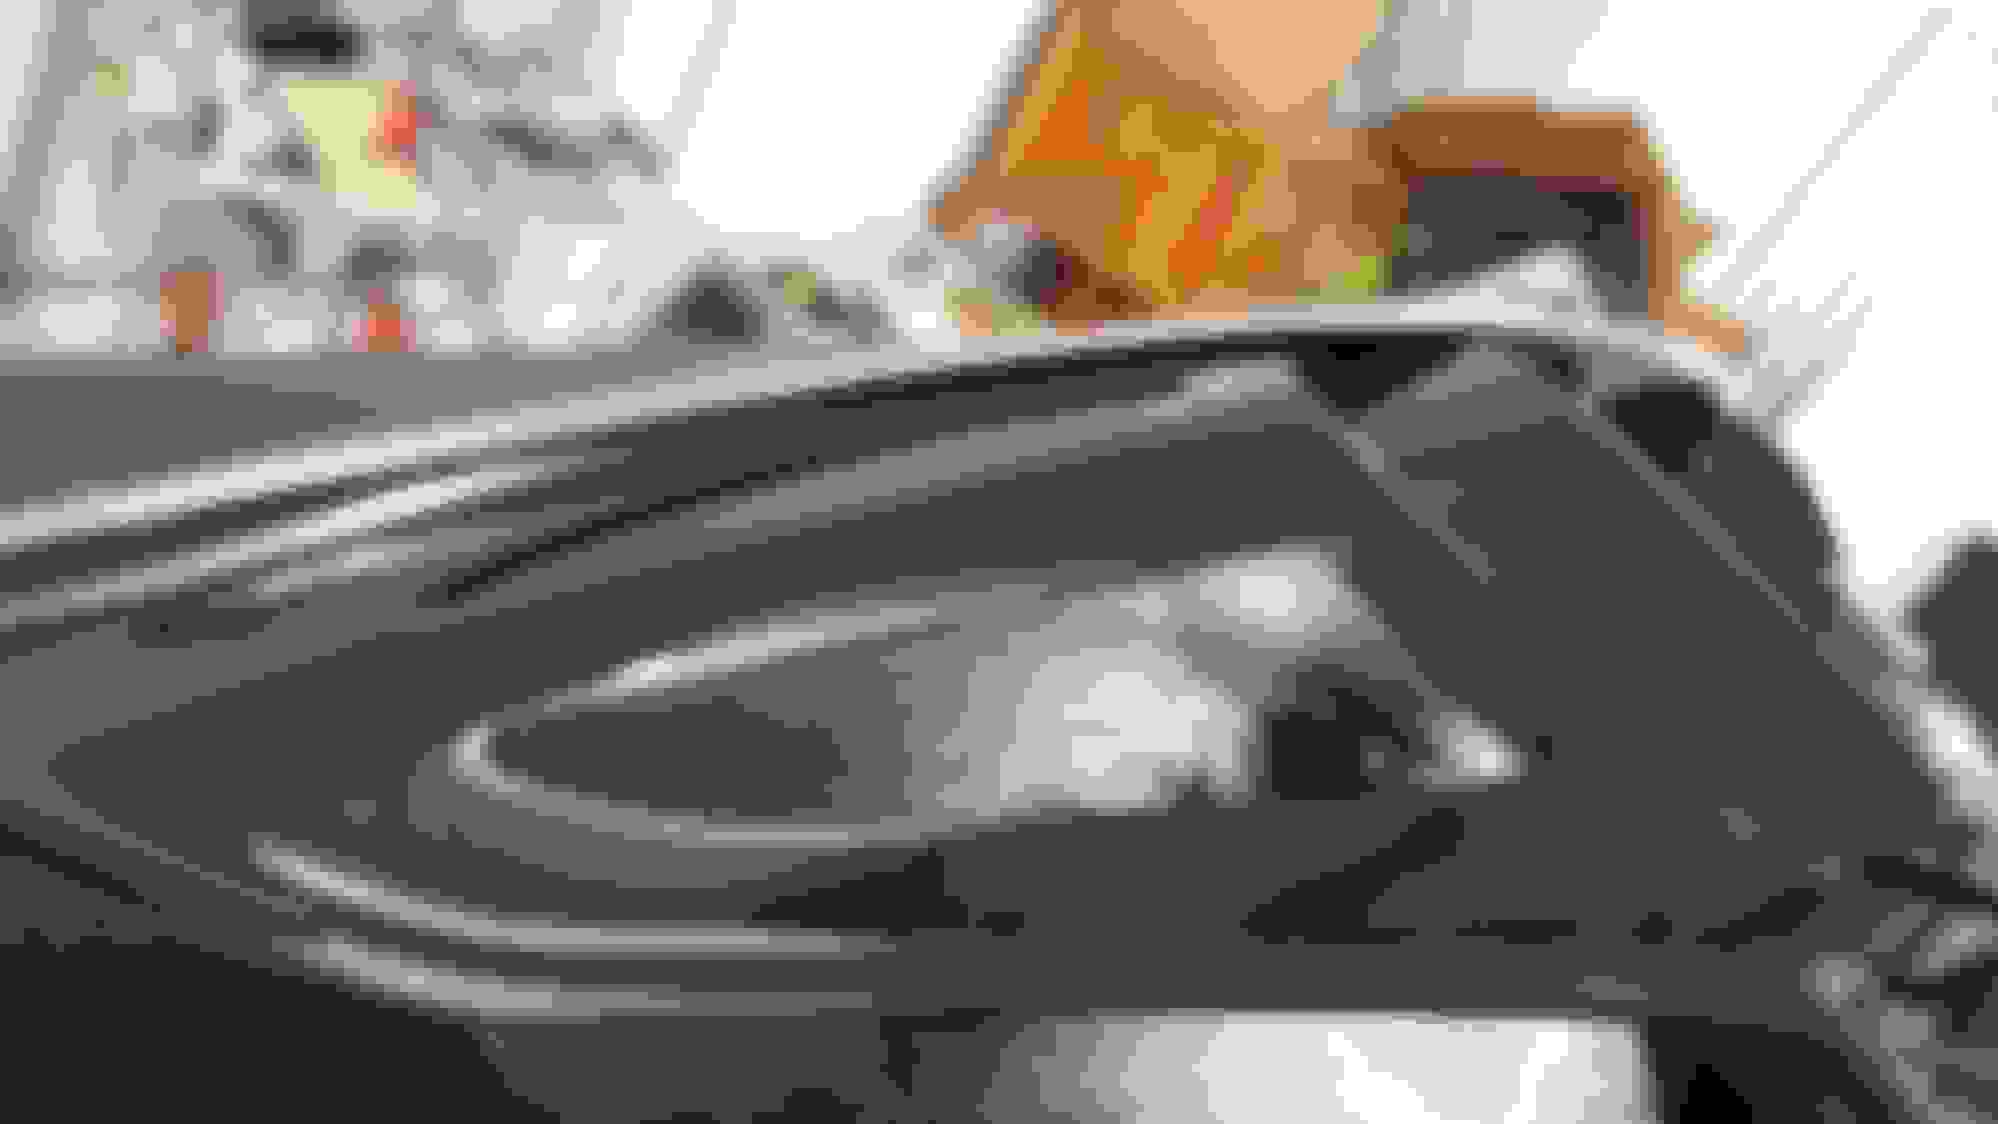
I modded the shield to get that nice razor's edge cutoff (as shown in MaQG37's thread linked above). I added the STI-R lenses, as well. Those required making a few additional spacers out of a cereal box, using the one already in there as a template.
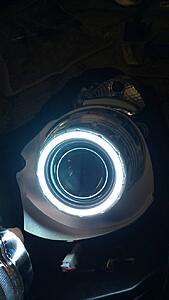
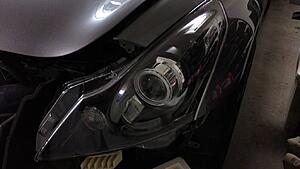
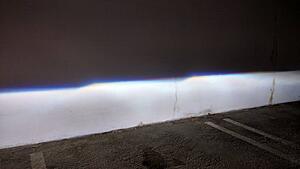
The halos are the 90mm Morimotos found here: https://www.theretrofitsource.com/mo...=49387%2C49545
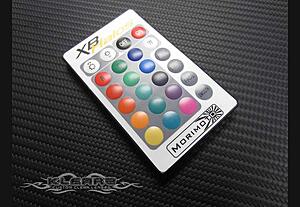
You will need to buy the controller, which gives you the ability to change the colors via remote, change modes, turn on/off, etc. The attachment instructions that come with them are exactly what I used; drill holes on either side and run a wire around it, which gets twisted behind. You can't see it unless you're VERY close, and there is no glue to let go under high-heat conditions. I added JB Weld PlasticWeld to lock the twisted wire behind the shrouds. I drilled through the back of the light housing to run the halo wiring, which I sealed up with more PlasticWeld.
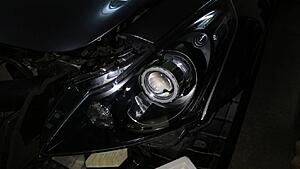
The controller is mounted under the hood on the passenger side, at the top of the fender under the weather stripping. The modules are all zip-tied and HD two-sided taped to various places. There's also a great grounding point right there. The halos are run through a relay that has the trigger wire spliced from the hot on the 12v plug in the console. It gets run through the massive "grommet" at the base of the windshield on the passenger side. This was done because the switched sources in the engine bay are all on computer controlled modules (or something like that), so I didn't want to mess with those.
*** Pro tip: Get a 12v source (I use my R/C battery charger power supply) to power the controller so you can test BEFORE sealing the lights back up!!! ***
And the pics, because... well, yay pics!
And here's a little demo of what you can do via remote (which looks like this): )
Retrofit source sells the G37 projector and they call it just that, G37 projector. Unless it's a shroud made for the G37 projector, it will most likely need some form of cutting to fit snug.
Retrofit source sells the G37 projector and they call it just that, G37 projector. Unless it's a shroud made for the G37 projector, it will most likely need some form of cutting to fit snug.
I'd rather not replace the projectors simply to add a different shroud. I'll find a way to modify the ones I've ordered to fit my existing projectors (a la 180).
I'd rather not replace the projectors simply to add a different shroud. I'll find a way to modify the ones I've ordered to fit my existing projectors (a la 180).
I don't think anyone has completely replaced the entire g37 projector, they just make the shrouds fit.
I don't think anyone has completely replaced the entire g37 projector, they just make the shrouds fit.
wish me luck! I should receive my shrouds tomorrow. I'm oping to have enough time to crack the headlights open, paint, and install in time for work on Monday.
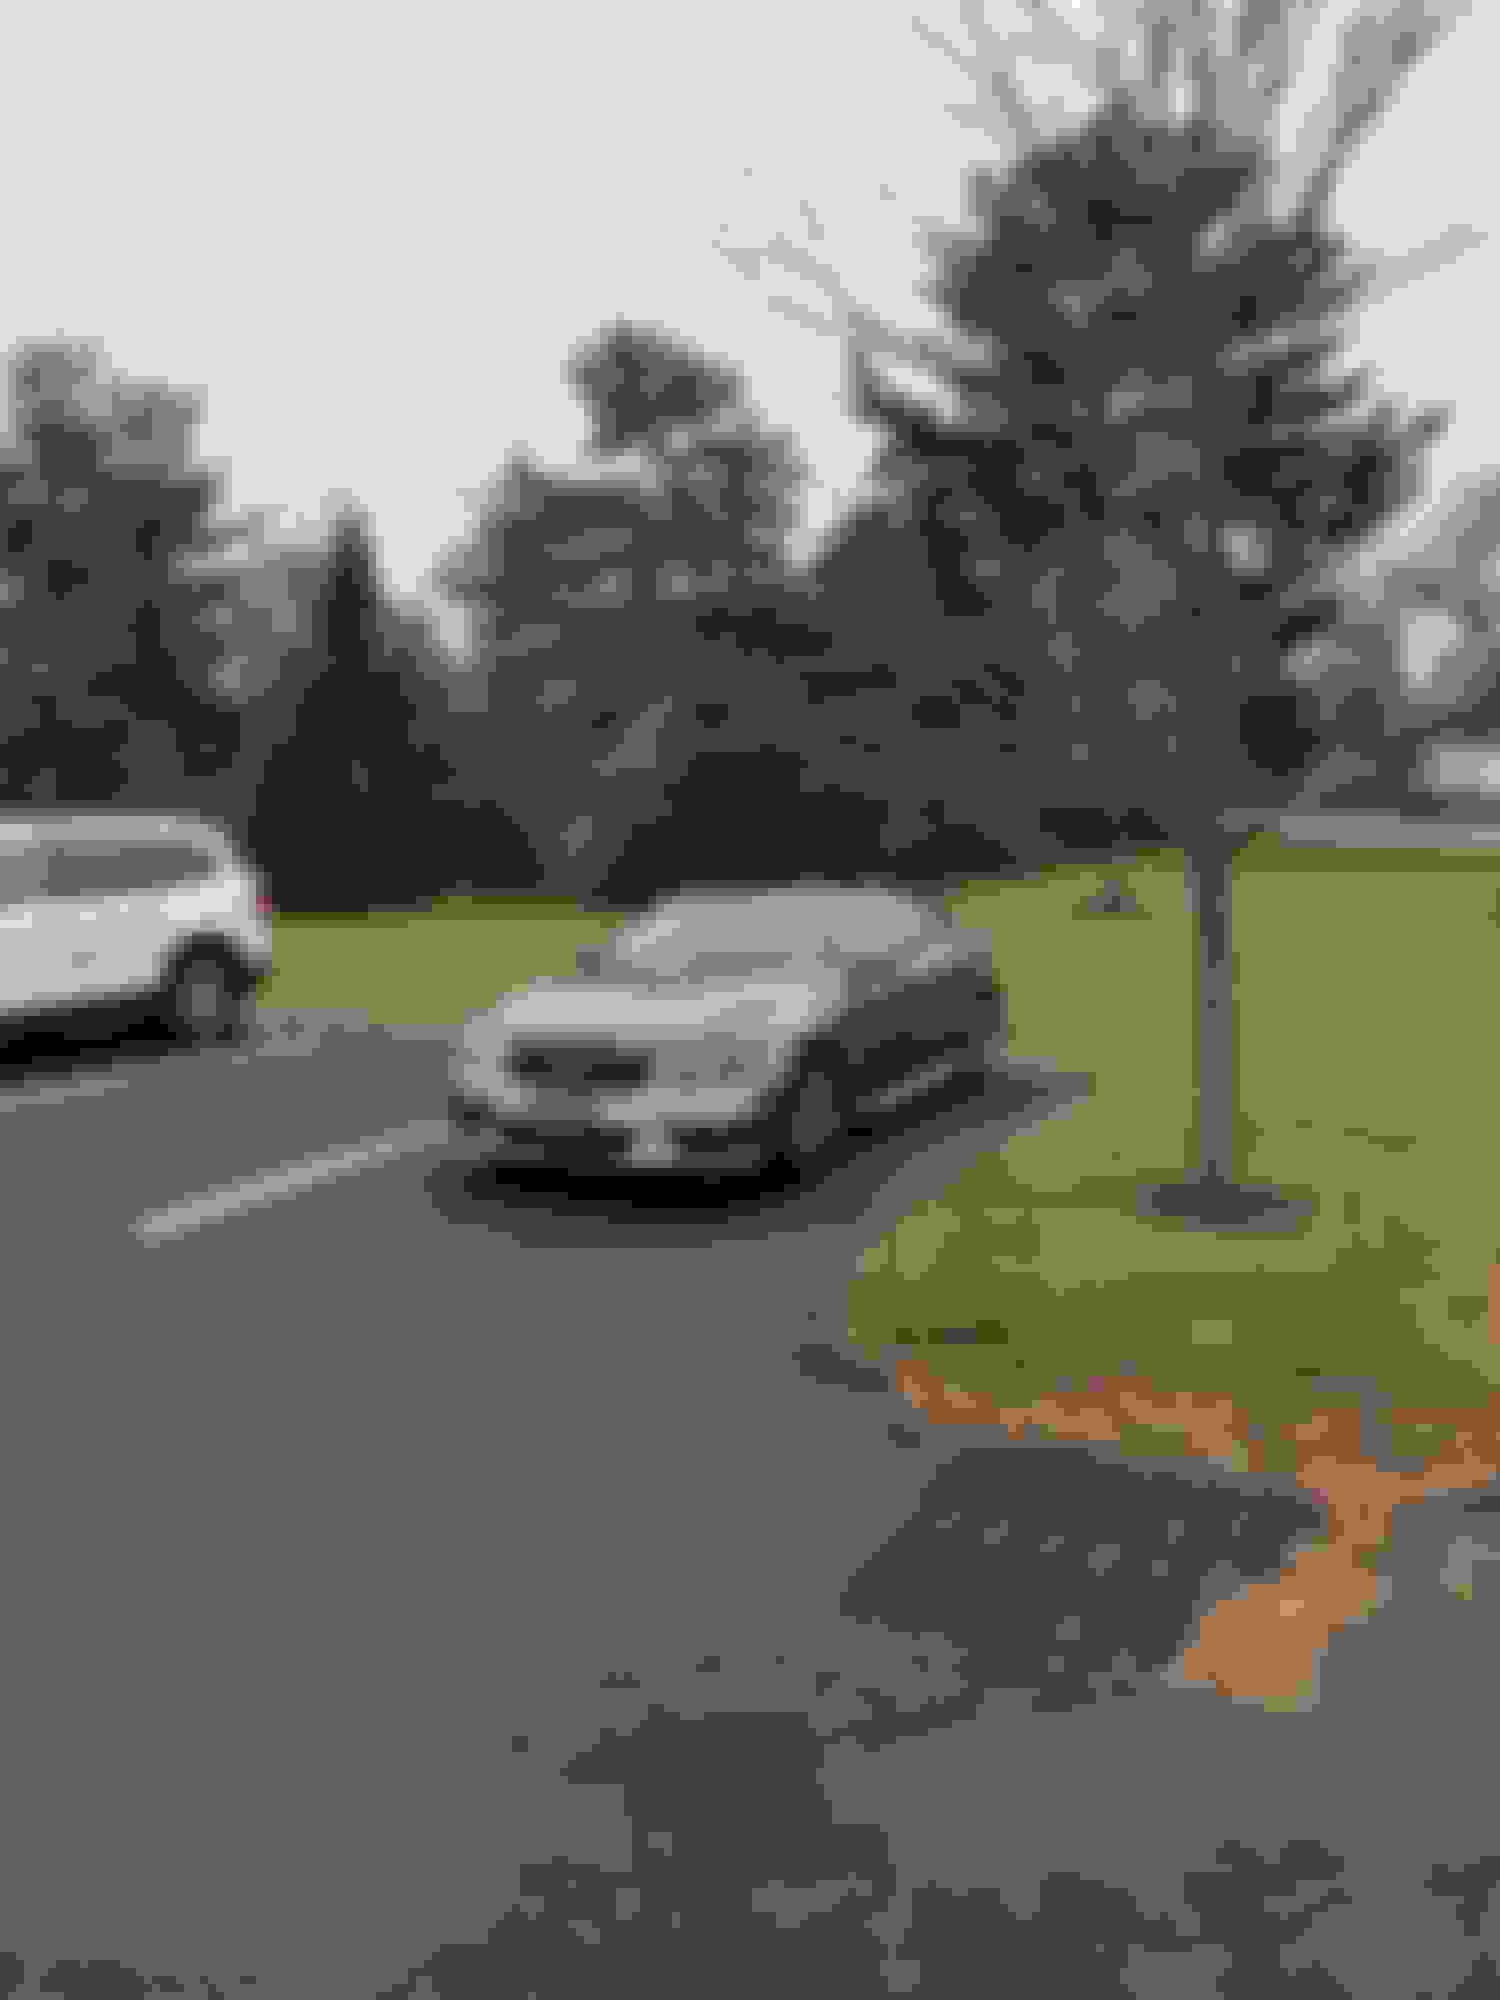
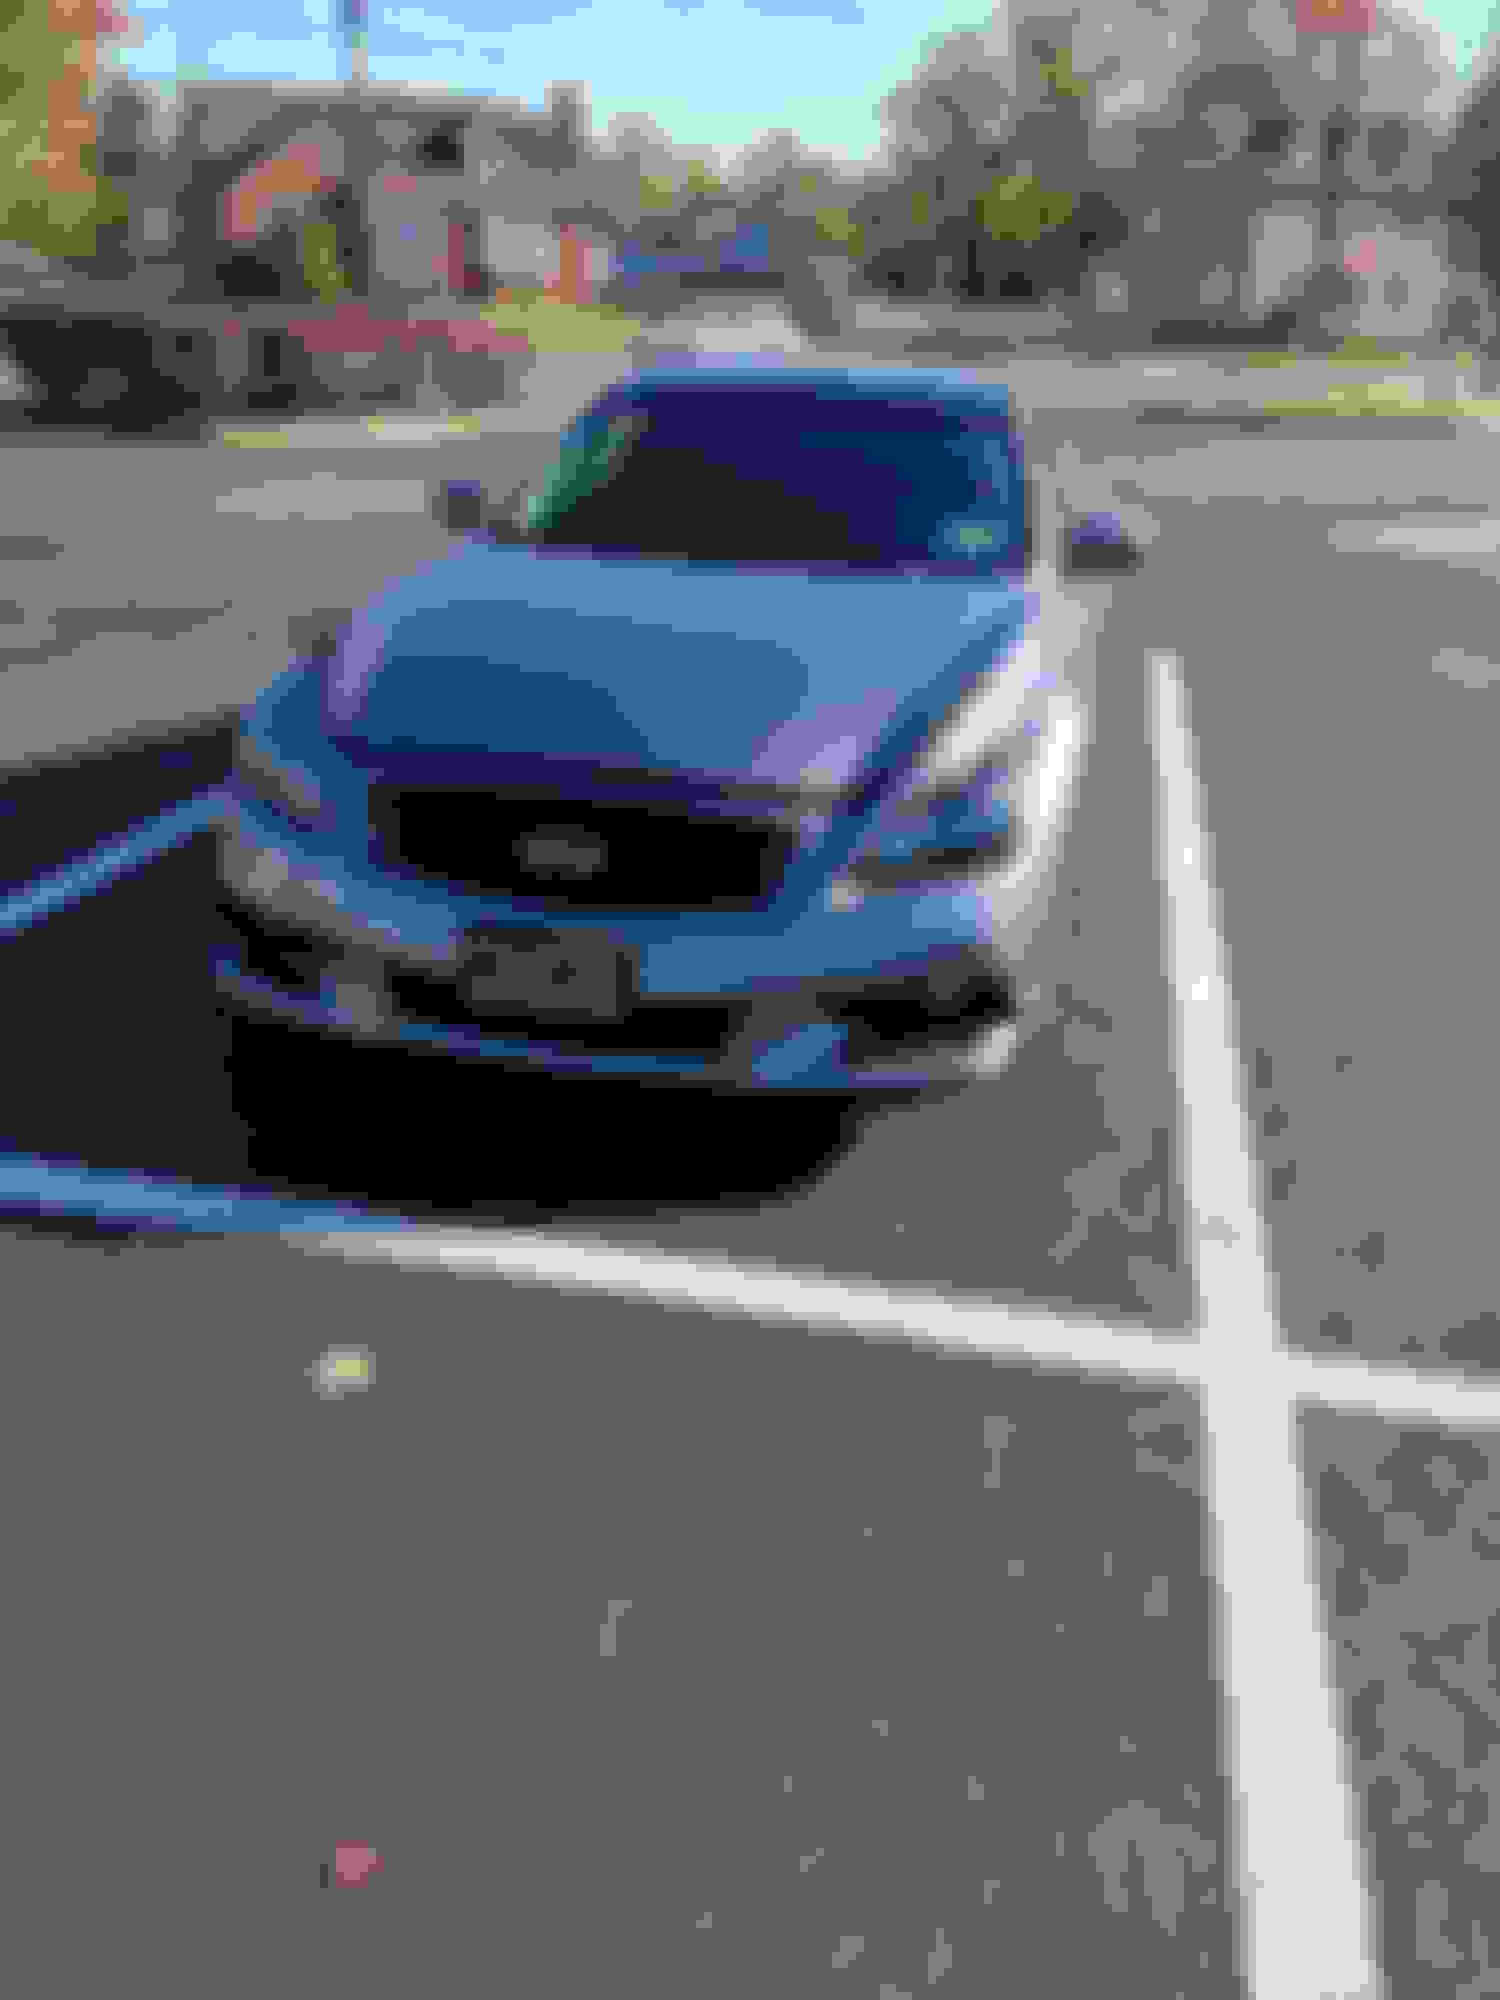
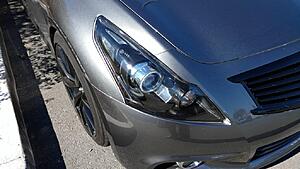
PAIN IN THE A$$$$$$ but worth it!!!. Although I can't fully close my hood now ...gotta figure that one out . But super happy with the results. 2011 Infiniti g37 IPL
if any dork out there does anything with my liscense plate number like a total WEIRDO , I will find you...and I will kill you (in my Liam neesons voice)


 )
)


 )
)


 ...gotta figure that one out . But super happy with the results. 2011 Infiniti g37 IPL