
Any advice for the first timer?


Thread Starter
Registered User
Joined: May 2015
Posts: 47
Likes: 1
Guys, I NEED HELP!!!!!
I washed the whole car, of course I dropped the clay... i tossed that piece... anyways, I did the IPA and I had a LOT of clay residue, dried the car again and started polishing
This is where it went wrong
I started with the front fender passenger side
I started with compound / orange pads and I saw the swirl marks go but the scratches were still there, so I switched to the yellow pad
It wasn't really better so I said to myself "maybe this scratch is too deep? I don't feel it with my finger, but the rest looks ok... well, i should continue and then i come back for the scratch"
Ok, I continued and started with the hood. OMG, I'm trying to get some pictures, it's really hard because it's night time and the cameras don't pick it up. With the naked eye you can see a lot of "spots" in the paint. They look like rust or something weird but even if I had a couple of these "spots", now there are a LOT more and the scratches are STILL there.
I really need help, I don't know what to do and I don't want to keep applying these things!
What I did?
What I learned from you and the 100 videos I watched:
I shook the bottle, I squirted once the QD over the pad, 5-6 dots.
Then speed 1, spread it, turn it off
Then speed 6, run it
What caught my attention is that when i see the videos, after they finish with the compound they just wipe the place and it looks better. In my case I had a "paste" that didn't go away.
I first thought it was the compound that I didn't work it enough time, but Zach here said 3-4 times. Even when I tried a little more times I had a lot of "white dust" flying from the pad but this "paste" was still there
I'm sure i'm doing something wrong... I'm trying to upload a couple of pics for you to see, hopefully they are better at explaining.
At this moment I can only think: "why didn't I just leave it like that???" :S
Thanks guys
Thread Starter
Registered User
Joined: May 2015
Posts: 47
Likes: 1
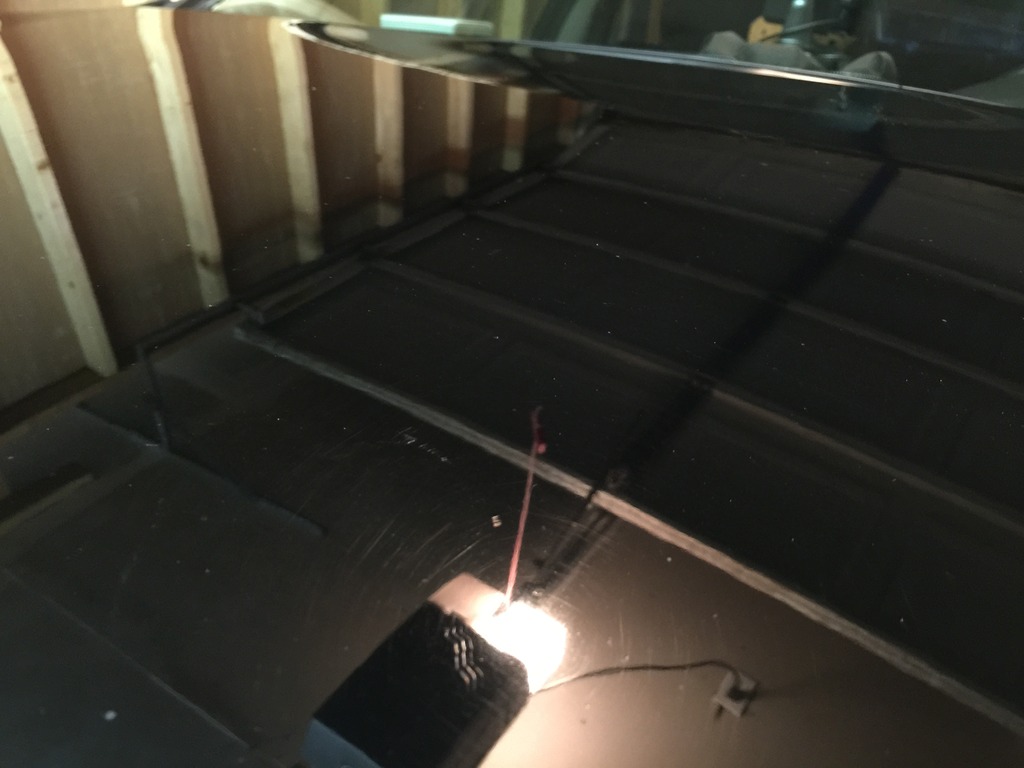
these are the spots!!
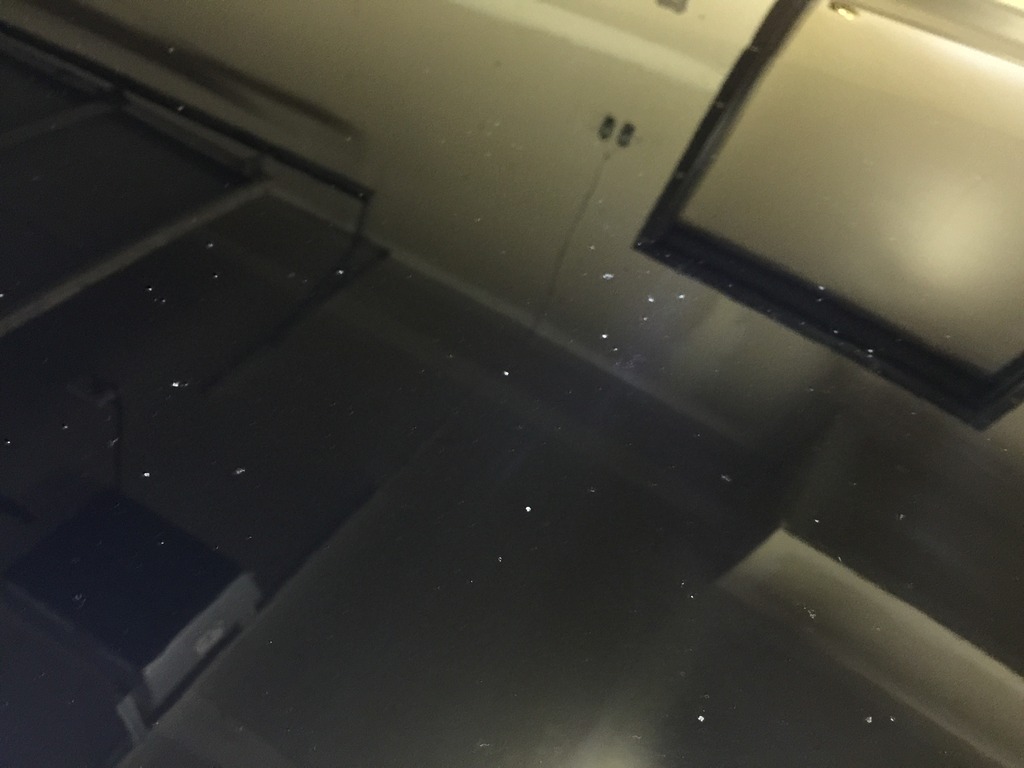
for them to show in the pic I had to use my flashlight
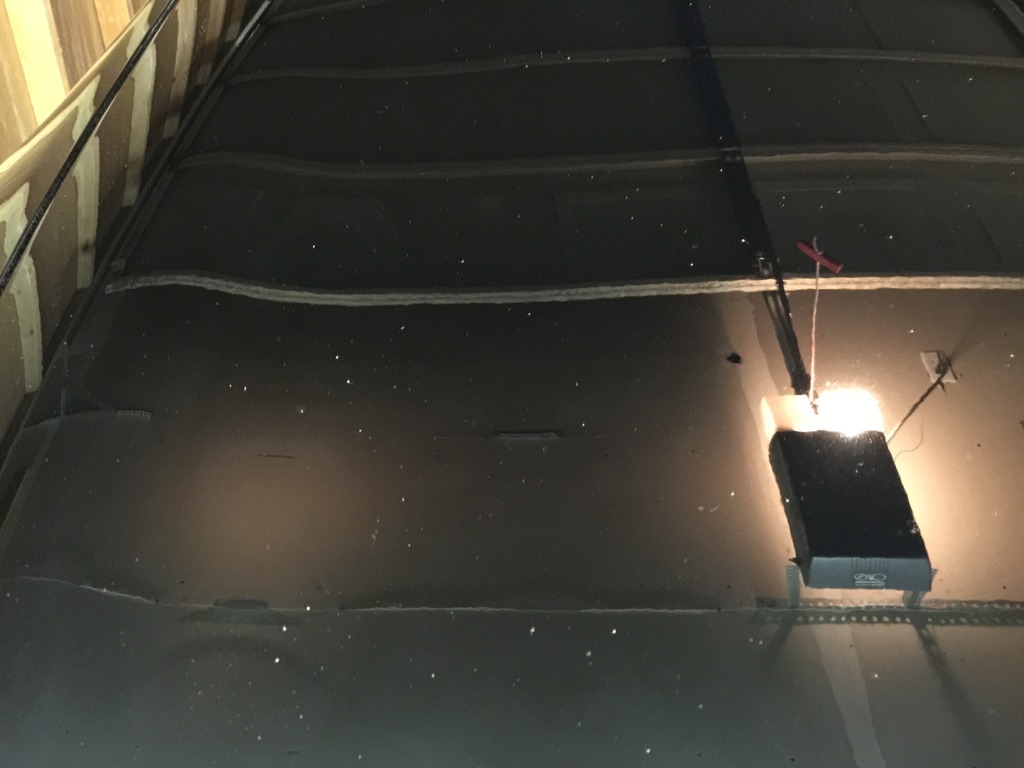
this was compounded with the yellow pad and M105, here you can see more "spots" and a scratch that my finger cannot catch!
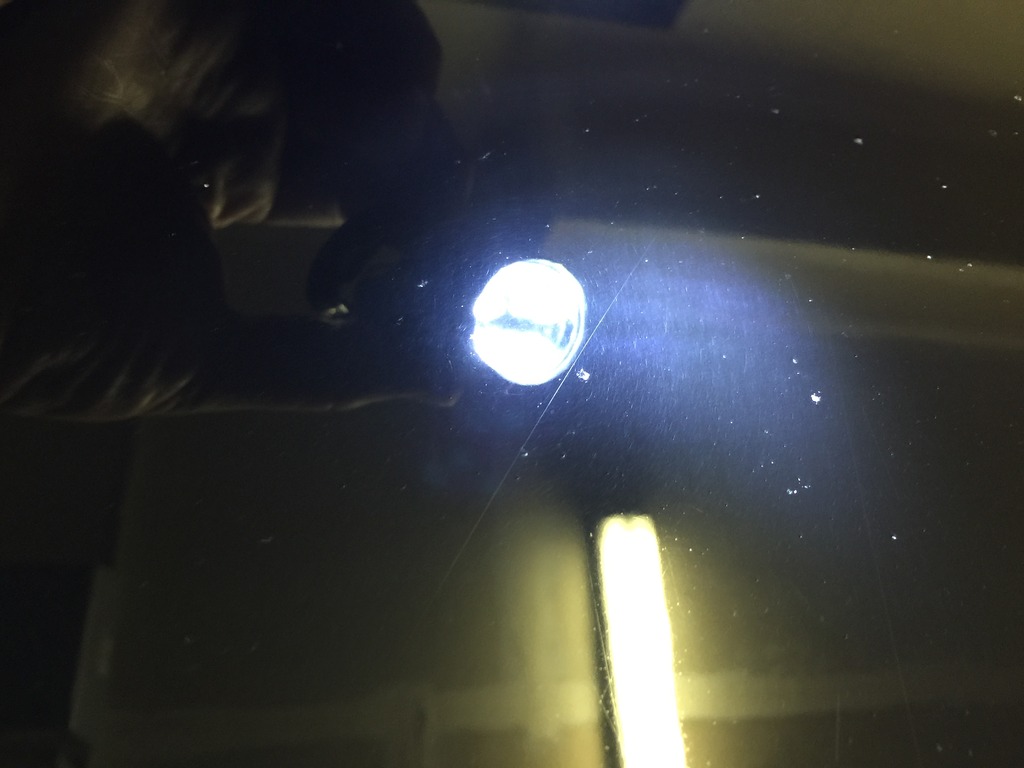
what should I do???


for them to show in the pic I had to use my flashlight


this was compounded with the yellow pad and M105, here you can see more "spots" and a scratch that my finger cannot catch!

what should I do???

Registered User
Joined: May 2015
Posts: 39
Likes: 6
From: Oklahoma
1) that scratch may be too deep for the M105. I had a few of those, looked similar, had to wet-sand
2) the paint looks good man, I can tell by the clear detail of your garage ceiling...good job....
3) do the spots have any texture at all? And they were not visible at all before you started? Does IPA not take them off?
4) If you're getting white dust flying around, it's time to toothbrush-clean the pad, wipe off the area and do it again (or move on to the next area)
I wiped as much polish off as I could with a MF towel BEFORE using the IPA to get the remainder. And I never had the dust flying around except when I lifted the buffer off the car when it was still on 6.
Could the spots simply be leftover clay residue? I had some spots where the clay left a smudgy little spot (probably from not enough lube)
hopefully Zach sees this soon man. I feel your anguish
Last edited by MagicMarker; Jul 11, 2015 at 11:25 AM.
Thread Starter
Registered User
Joined: May 2015
Posts: 47
Likes: 1
Thanks man, but let's see:
I could see the roof in the reflection even before beginning. I did this to get rid of the swirl mark and scratches. I got rid of the swirl mark but didn't get rid of any of the scratches and got these spots that you can see everywhere. Now I have to basically wetsand the whole car to get rid of those??? and I'm not sure I had these many imperfections before I started --> scratch that. I went down, looked at my car and definitely, the area where I worked looks worse than the rest of the car. It didn't have those dots!!!!
My wife took a look at it and said "WHAT IS THIS???"
I'm freaking out :S
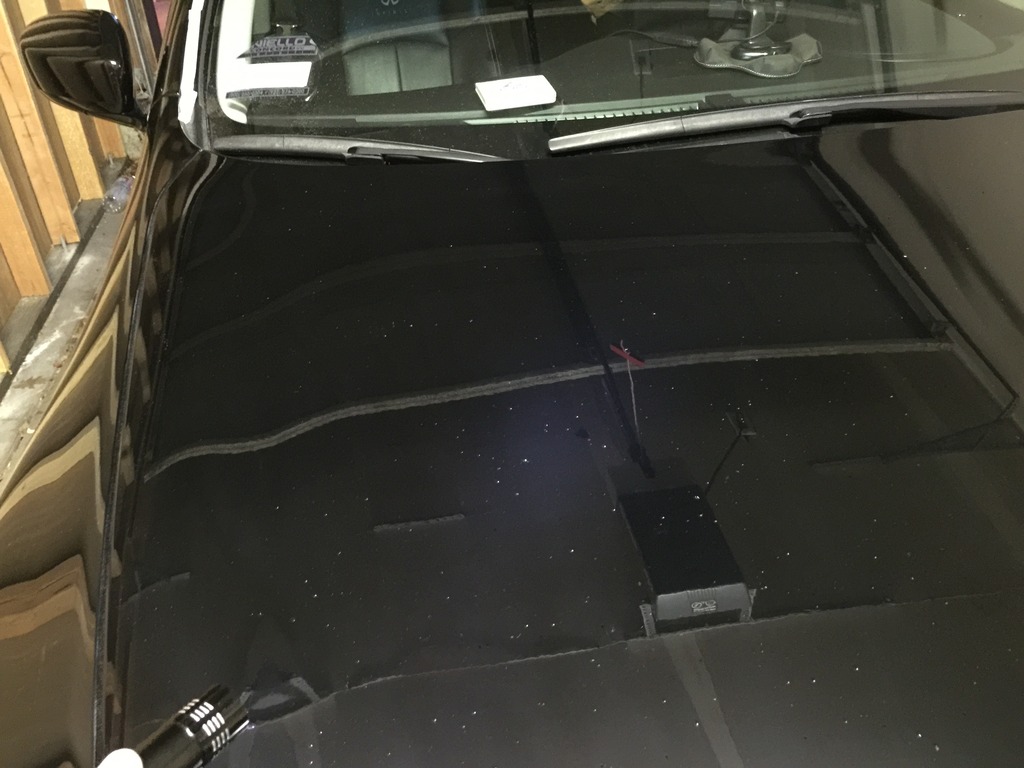
This is how the driver's side looks (this one was only washed + clay, no compound yet).
You'll see the swirl marks but there are almost no dots!!! it looks better than the part i worked on:
I could see the roof in the reflection even before beginning. I did this to get rid of the swirl mark and scratches. I got rid of the swirl mark but didn't get rid of any of the scratches and got these spots that you can see everywhere. Now I have to basically wetsand the whole car to get rid of those??? and I'm not sure I had these many imperfections before I started --> scratch that. I went down, looked at my car and definitely, the area where I worked looks worse than the rest of the car. It didn't have those dots!!!!
My wife took a look at it and said "WHAT IS THIS???"
I'm freaking out :S
This is how the driver's side looks (this one was only washed + clay, no compound yet).
You'll see the swirl marks but there are almost no dots!!! it looks better than the part i worked on:

Last edited by Laguna; Jul 11, 2015 at 01:53 PM.
Thread Starter
Registered User
Joined: May 2015
Posts: 47
Likes: 1
Ok, another update:
I went crazy and I tried everything.
First I thought that maybe it was compounding residue stuck to the hood (???) so I tried IPA with MF towel. Nothing.
Then I tried clay + QD. Nothing.
Then I tried orange pad + M105. Nothing.
I think that I ruined my paint :S
I went crazy and I tried everything.
First I thought that maybe it was compounding residue stuck to the hood (???) so I tried IPA with MF towel. Nothing.
Then I tried clay + QD. Nothing.
Then I tried orange pad + M105. Nothing.
I think that I ruined my paint :S

Registered Member
Joined: Jan 2015
Posts: 620
Likes: 82
From: California, USA
I'm not sure what that is. They almost look like pits but I can't figure out how you would get them from paint correction. I could see burning the paint (VERY difficult with and RO), and if they are pits, how you would not have seen them prior to the correction. I am baffled and, to be honest, it's difficult to fully diagnose without being able to touch and mess with the paint in person. Hopefully DI can have some solutions for you.
Thread Starter
Registered User
Joined: May 2015
Posts: 47
Likes: 1
Thanks man
I have a couple of those scattered through the car, but nothing like what I have here. I don't know what to do anymore. I don't want to continue out of fear of creating more of these things.
I literally feel like sh*t right now
Edit: you know what? after further inspection in the sun, they ARE on the other side as well, but they don't look as white. Compounding really makes them pop.
This is not good news as now it looks worse than before :S
Last edited by Laguna; Jul 11, 2015 at 05:13 PM.

Diego - the chances of you ruining your paint are very slim, so take a breath and let's work through this. Paint correction is an art that requires practice and patience, so take a step back and consider your entire process and how your actions may have led to the results you've achieved and you can start to develop ideas on how to tweak your process, technique, etc for next time.
First - the scratch you show in your last picture is likely too deep to remove with traditional detailing/paint correction and would likely require either heavy cutting via rotary polisher and wool pads, or spot wetsanding to remove. I can see a large amount of micromarring in the paint in this photo that needs to be removed with polishing.
Second - Regarding the spots on the paint... let's first start from the beginning. Were these appearing after your very first section, or did they start appearing later as you continued working? Were you cleaning your pad frequently? (after every section) You mentioned M105 being difficult to wipe away... this is a common complaint and the usual root cause is either using too much product, not cleaning your pad, or overworking the product.
Pad Cleaning During and After Polishing by Ivan Rajic
When you get this dried up product on the paint, it can be very difficult to remove, and sometimes the product will find little imperfections in the paint (tiny chips, etc) and buildup in those imperfections which may be what you're seeing. I would recommend trying to wash the car and use a soft brush to see if you can scrub the little dots of product off of the paint.
If you don't want to wash the entire car first, you can just liberally spray some IPA onto a spot and agitate it with a soft brush (like a new tooth brush if you don't have anything else handy) to see if you can remove the residue from within the paint in that spot.
Again - take a deep breath. You'll get it figured out.
Zach McGovern
Detailed Image Ask-A-Pro Blog Author
Attention to Detailing Peoria - Home
Thread Starter
Registered User
Joined: May 2015
Posts: 47
Likes: 1
Hey guys, i'm sorry i didn't reply before. I wanted to work on my car this past weekend because I knew these next weeks are going to be hell for me. I have to work a lot more for the next 3 weeks, that's why i didn't reply. Yesterday I was working until 9pm (from 8am) so don't hate me for that
Now, about the car, first talk about those freaking spots:
I don't know what they are, most of them you can't feel them, some you can and are all around the car. Most of them are on the hood, some are on the trunk, less than that on the rear fenders. I'm going to take a couple of hi-res pictures to show you because clearly my cell phone doesn't do a good enough job to show you what they are!
Those spots are dull, so they are not very noticeable UNTIL you compound :P
When I did compound, now they show up very clearly as you saw in the picture I sent.
That's why I thought they were not there at the beginning, but they were, just they didn't show as white
When I found those, I read a lot in internet so I found the "theory" that they are chips but they filled up with polish dust or something like that.
So first I tried IPA. Nothing.
They I tried Claying again. Nothing.
Then I tried even more polishing. If they are in the paint, they should go away, right? Well, nothing.
Those you couldn't even feel with your hand.
What did I do about those? Nothing else. I kept going with the rest of the car and we can go back to those later.
So, the rest of the car:
Effectively, as Zach said, I hadn't polished yet when I took the pictures!
I compounded everywhere that I DIDN'T SEE THOSE SPOTS and I polished the whole car. Why? Because it looks better with swirl marks than without them but those white spots. I knew I wasn't going to be able to work on the car soon, so better to finish with what i can and then in 3 weeks go back and make it better, right?
So, compound some places, polish everything and seal it!
How does it look?
Good.
Very good? Nah, just good. Better than before.
But I still have the swirls because clearly I didn't do a good job compounding and I have those fuc*ing spots that I hate with my very soul.
I finished at 9:30PM with the sealant so I missed wiping some spots that I wiped the next day with sunlight.
Now, about the polish: I'm sure I must have done something wrong, but I applied those 5-6 dots on the pad, i thought that was the "correct" amount.
I definitely want to correct the rest of the car, but i have absolutely no idea how to continue. Sadly, the worst part is on the hood. Any Ideas?
I provided some ideas in my previous post... when you get a chance, you should thoroughly wash the car and agitate those specific areas with a small brush. Let us know what that does.
Additional pictures won't help... unfortunately the issue with trying to diagnose things over the internet is that sometimes you just have to be able to see them in person to fully understand.
I am still almost certain that it has to be product that is simply filling a small void in the paint. If it is indeed an issue with the paint, that would lead me to believe your vehicle has been repaired poorly or something to that effect. I've worked on many, many vehicles and have never seen what you're describing... but I'll try to work through it with you.
Zach McGovern
Detailed Image Ask-A-Pro Blog Author
Attention to Detailing Peoria - Home
One thing about Infiniti paint, it is some of the most chip-prone paint I've ever seen. Before I had my hood repainted (from an accident a couple years ago) I had over 60 chips in my hood alone. Like Zach mentioned, get some light brushing into those spots (just a very small area just to see) and notice if it is indeed a chip. I'm thinking it is.
G/L through this, it is a learning process and like previously mentioned, the tools and product you were using shouldn't do anything that can't be corrected without much trouble. But FWIW Infiniti paint sucks.
G/L through this, it is a learning process and like previously mentioned, the tools and product you were using shouldn't do anything that can't be corrected without much trouble. But FWIW Infiniti paint sucks.

Thread
Thread Starter
Forum
Replies
Last Post
delfinparis
Audio, Video & Electronics
7
Oct 8, 2015 06:06 PM

