
Latest version of my G
 07-06-2012, 10:39 PM
#1
Latest version of my G
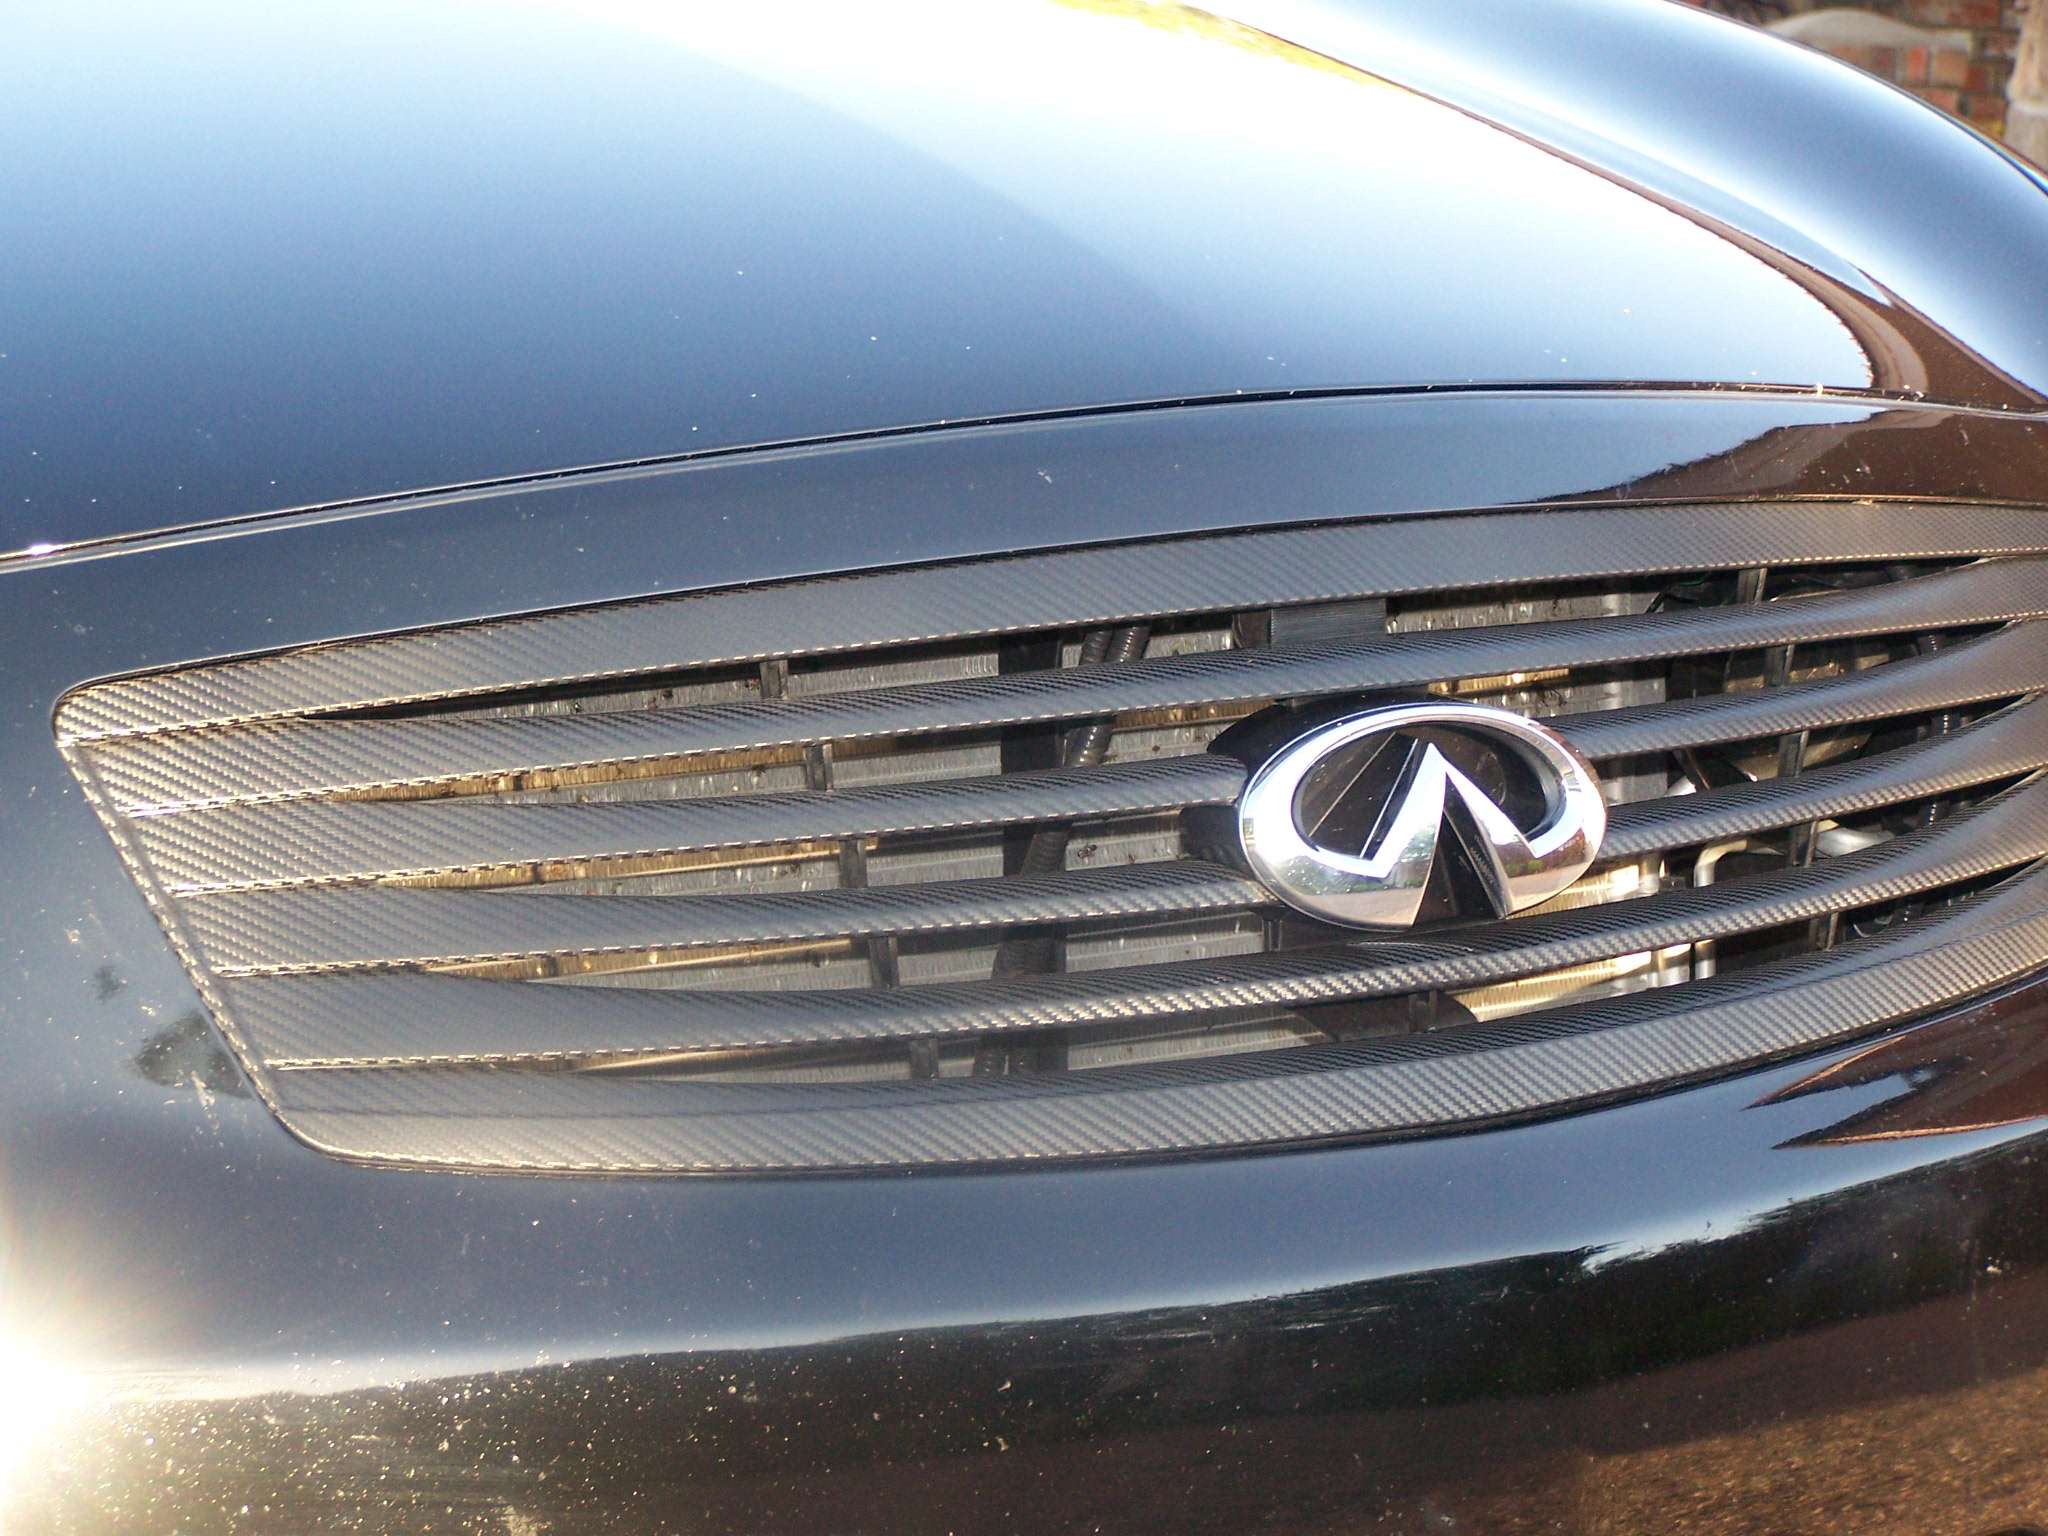
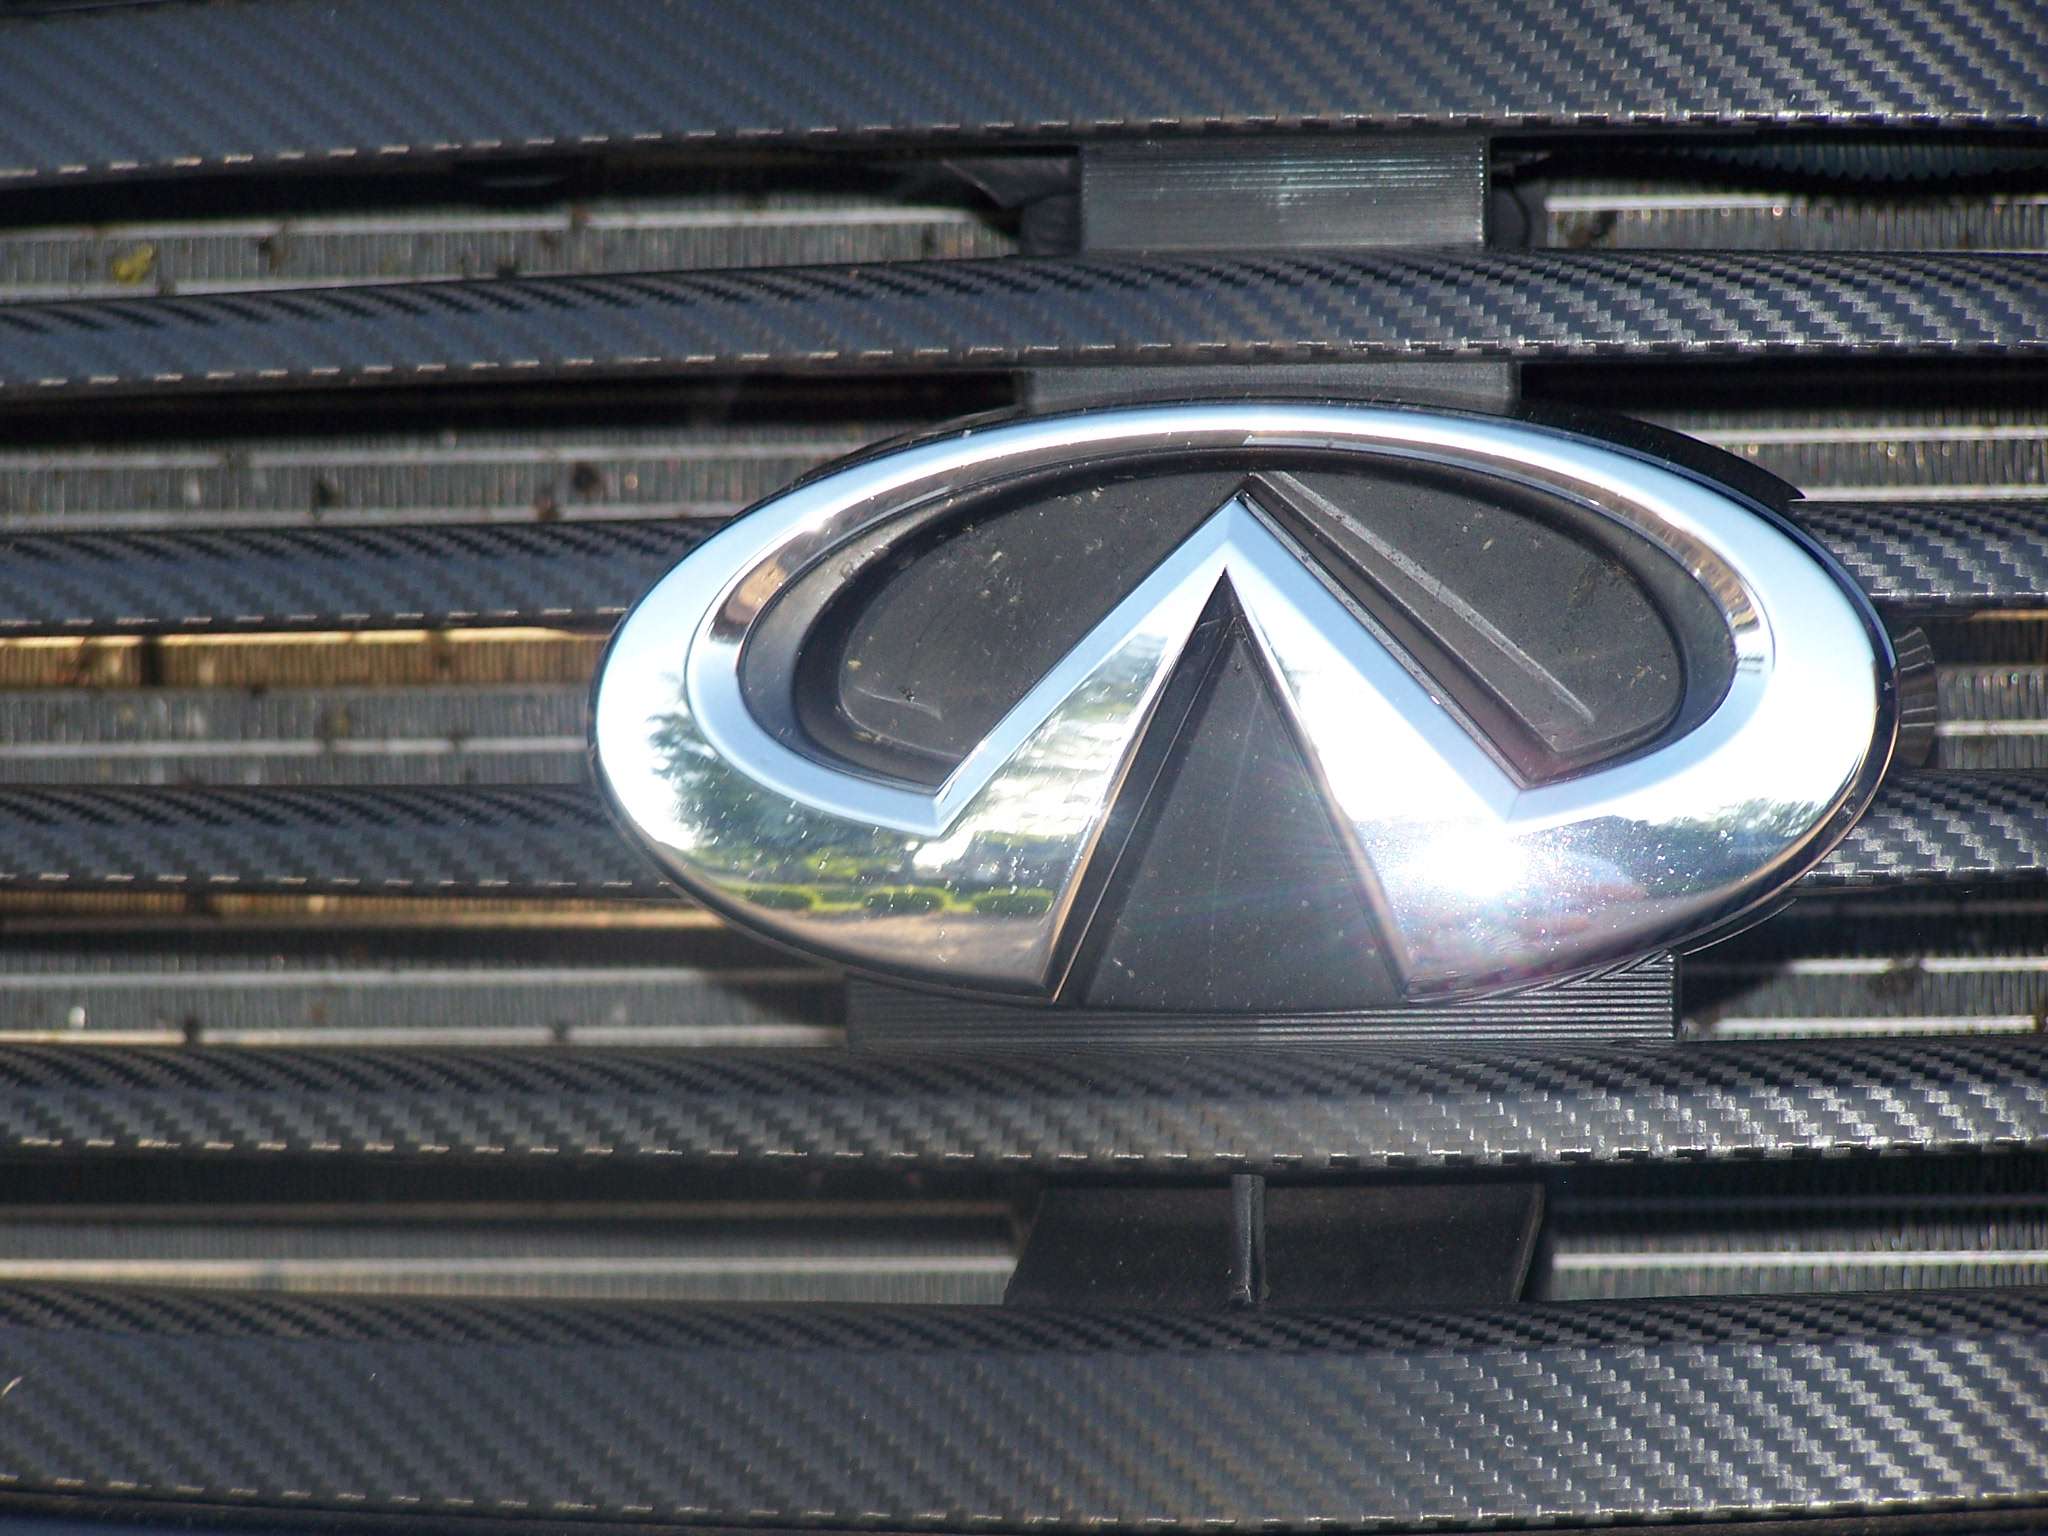
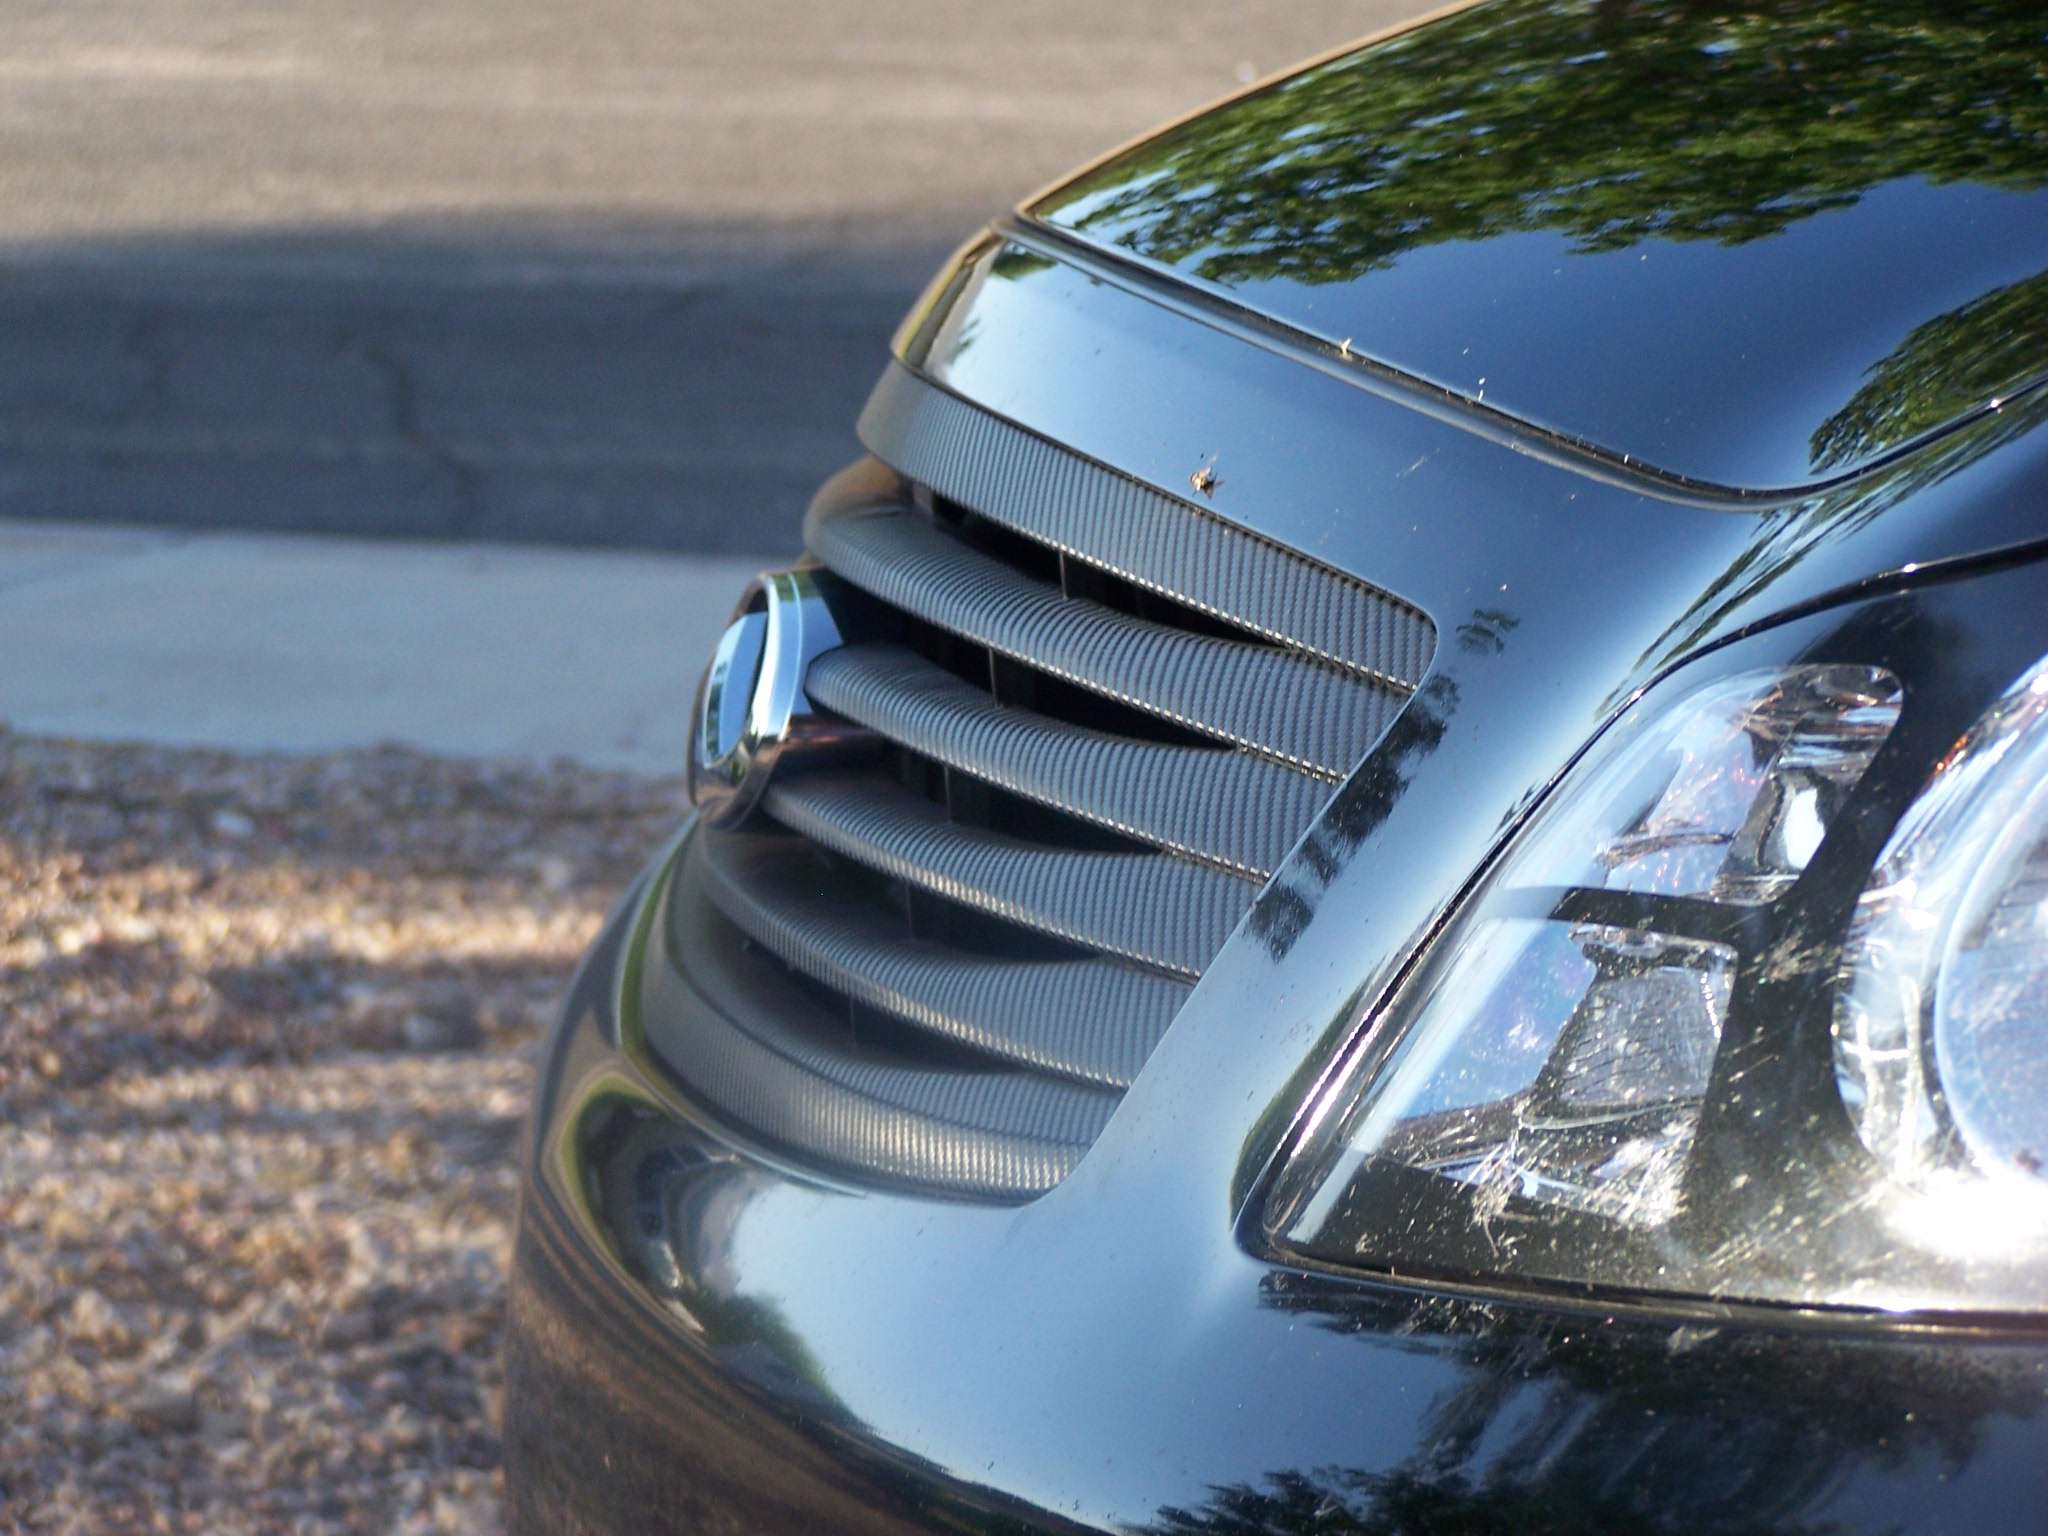
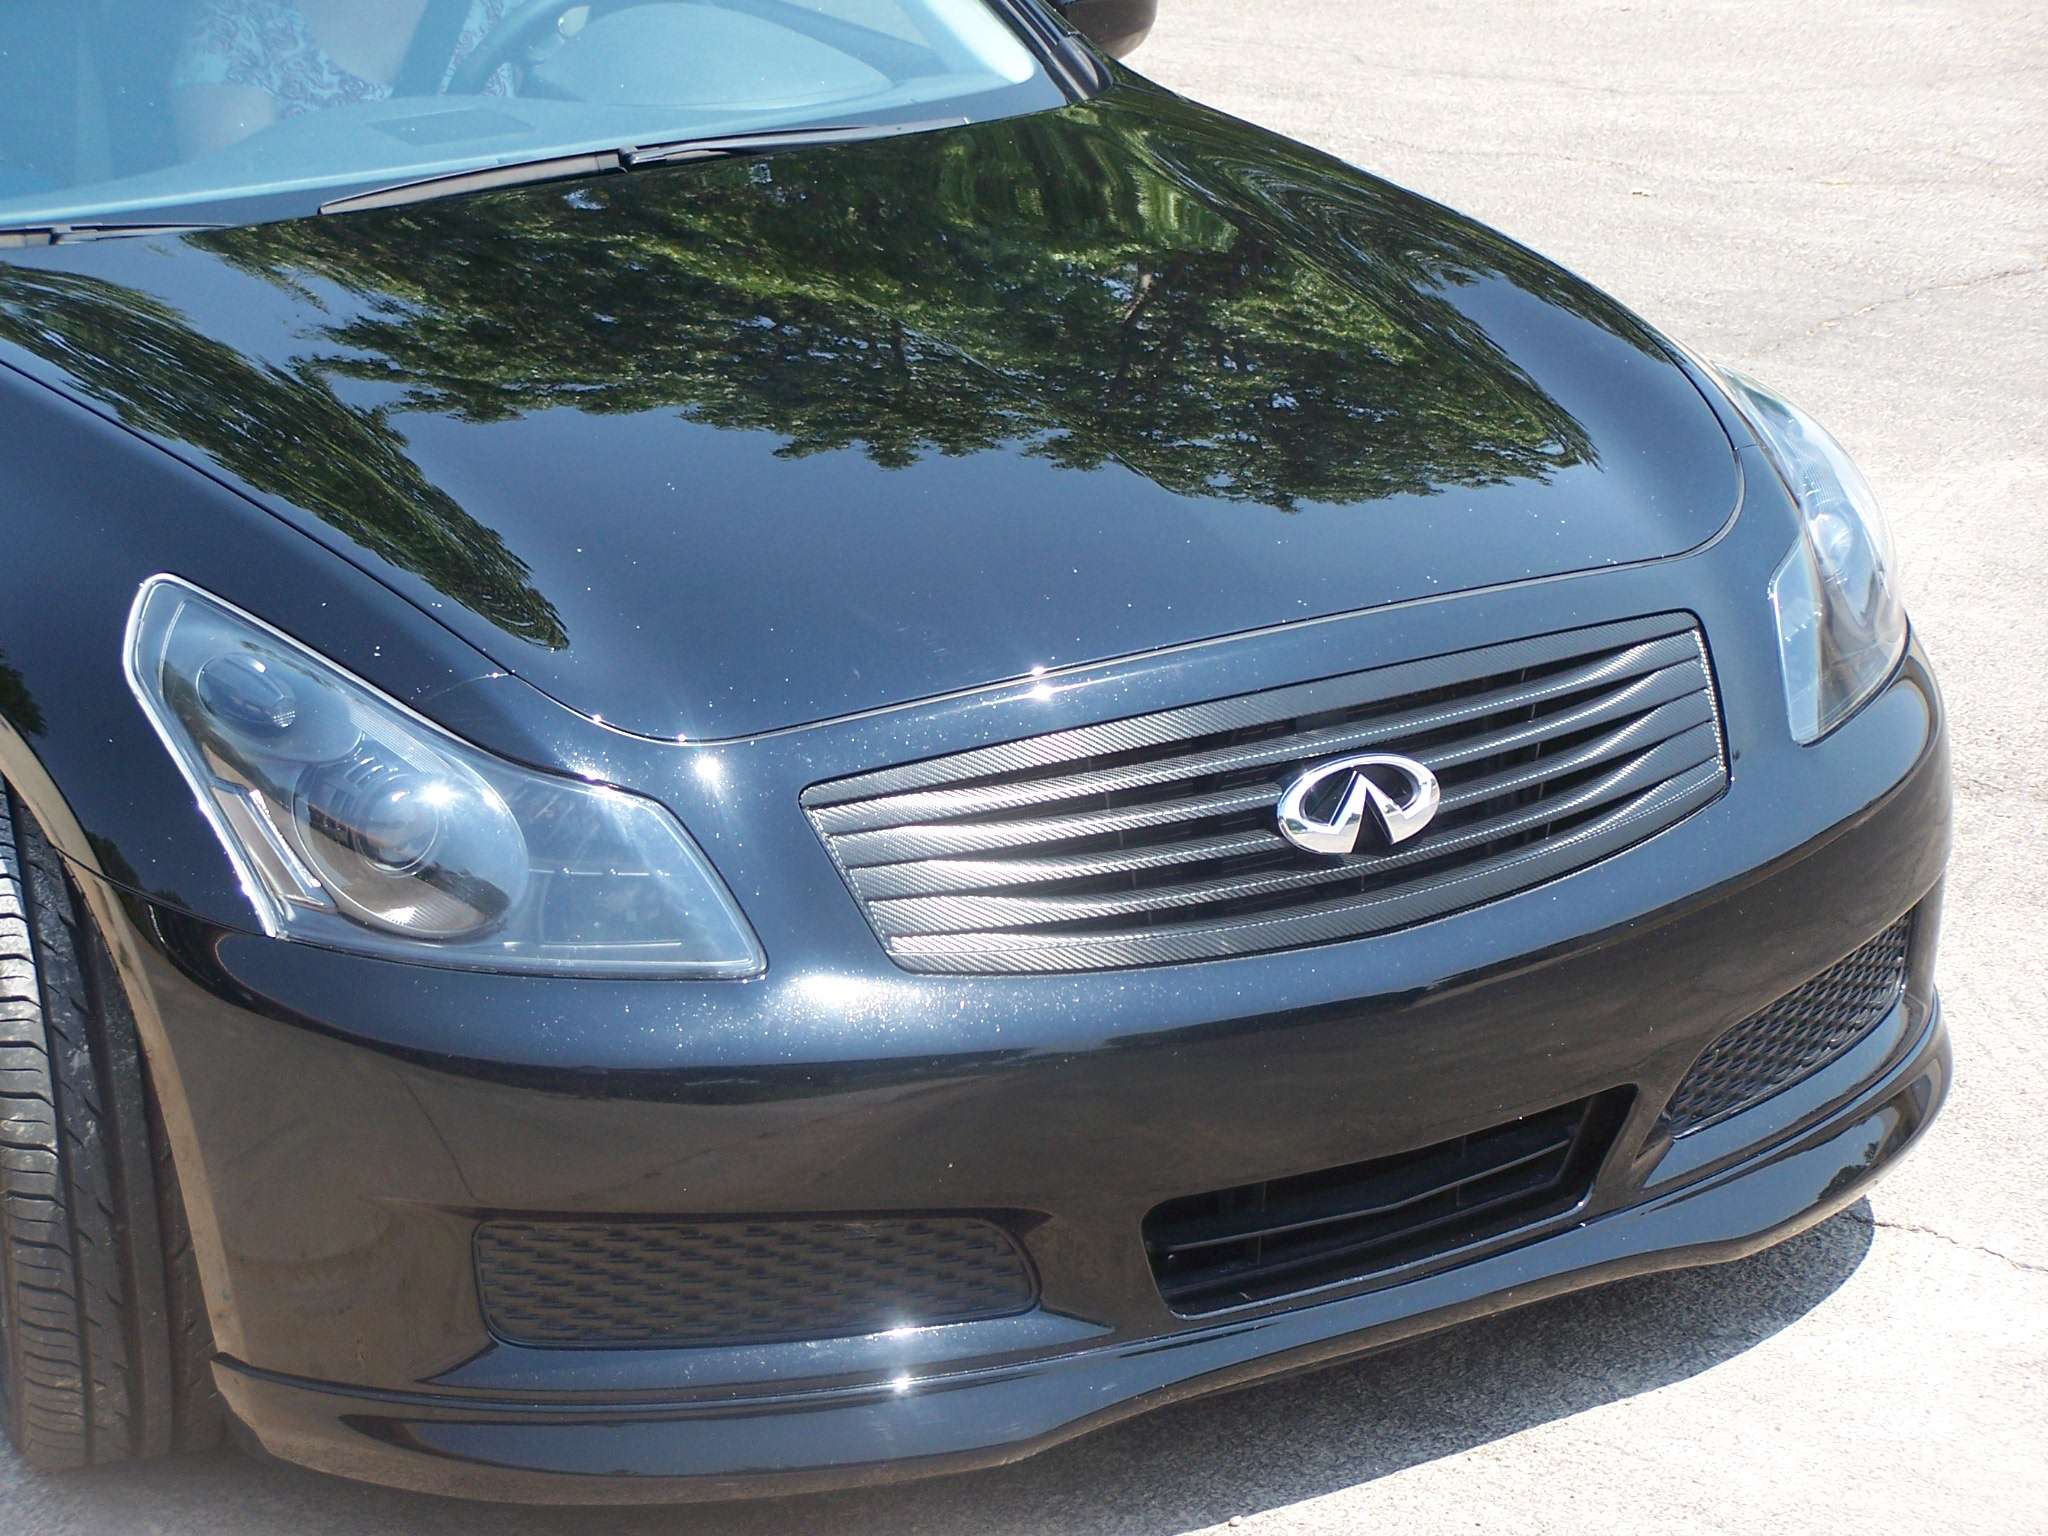
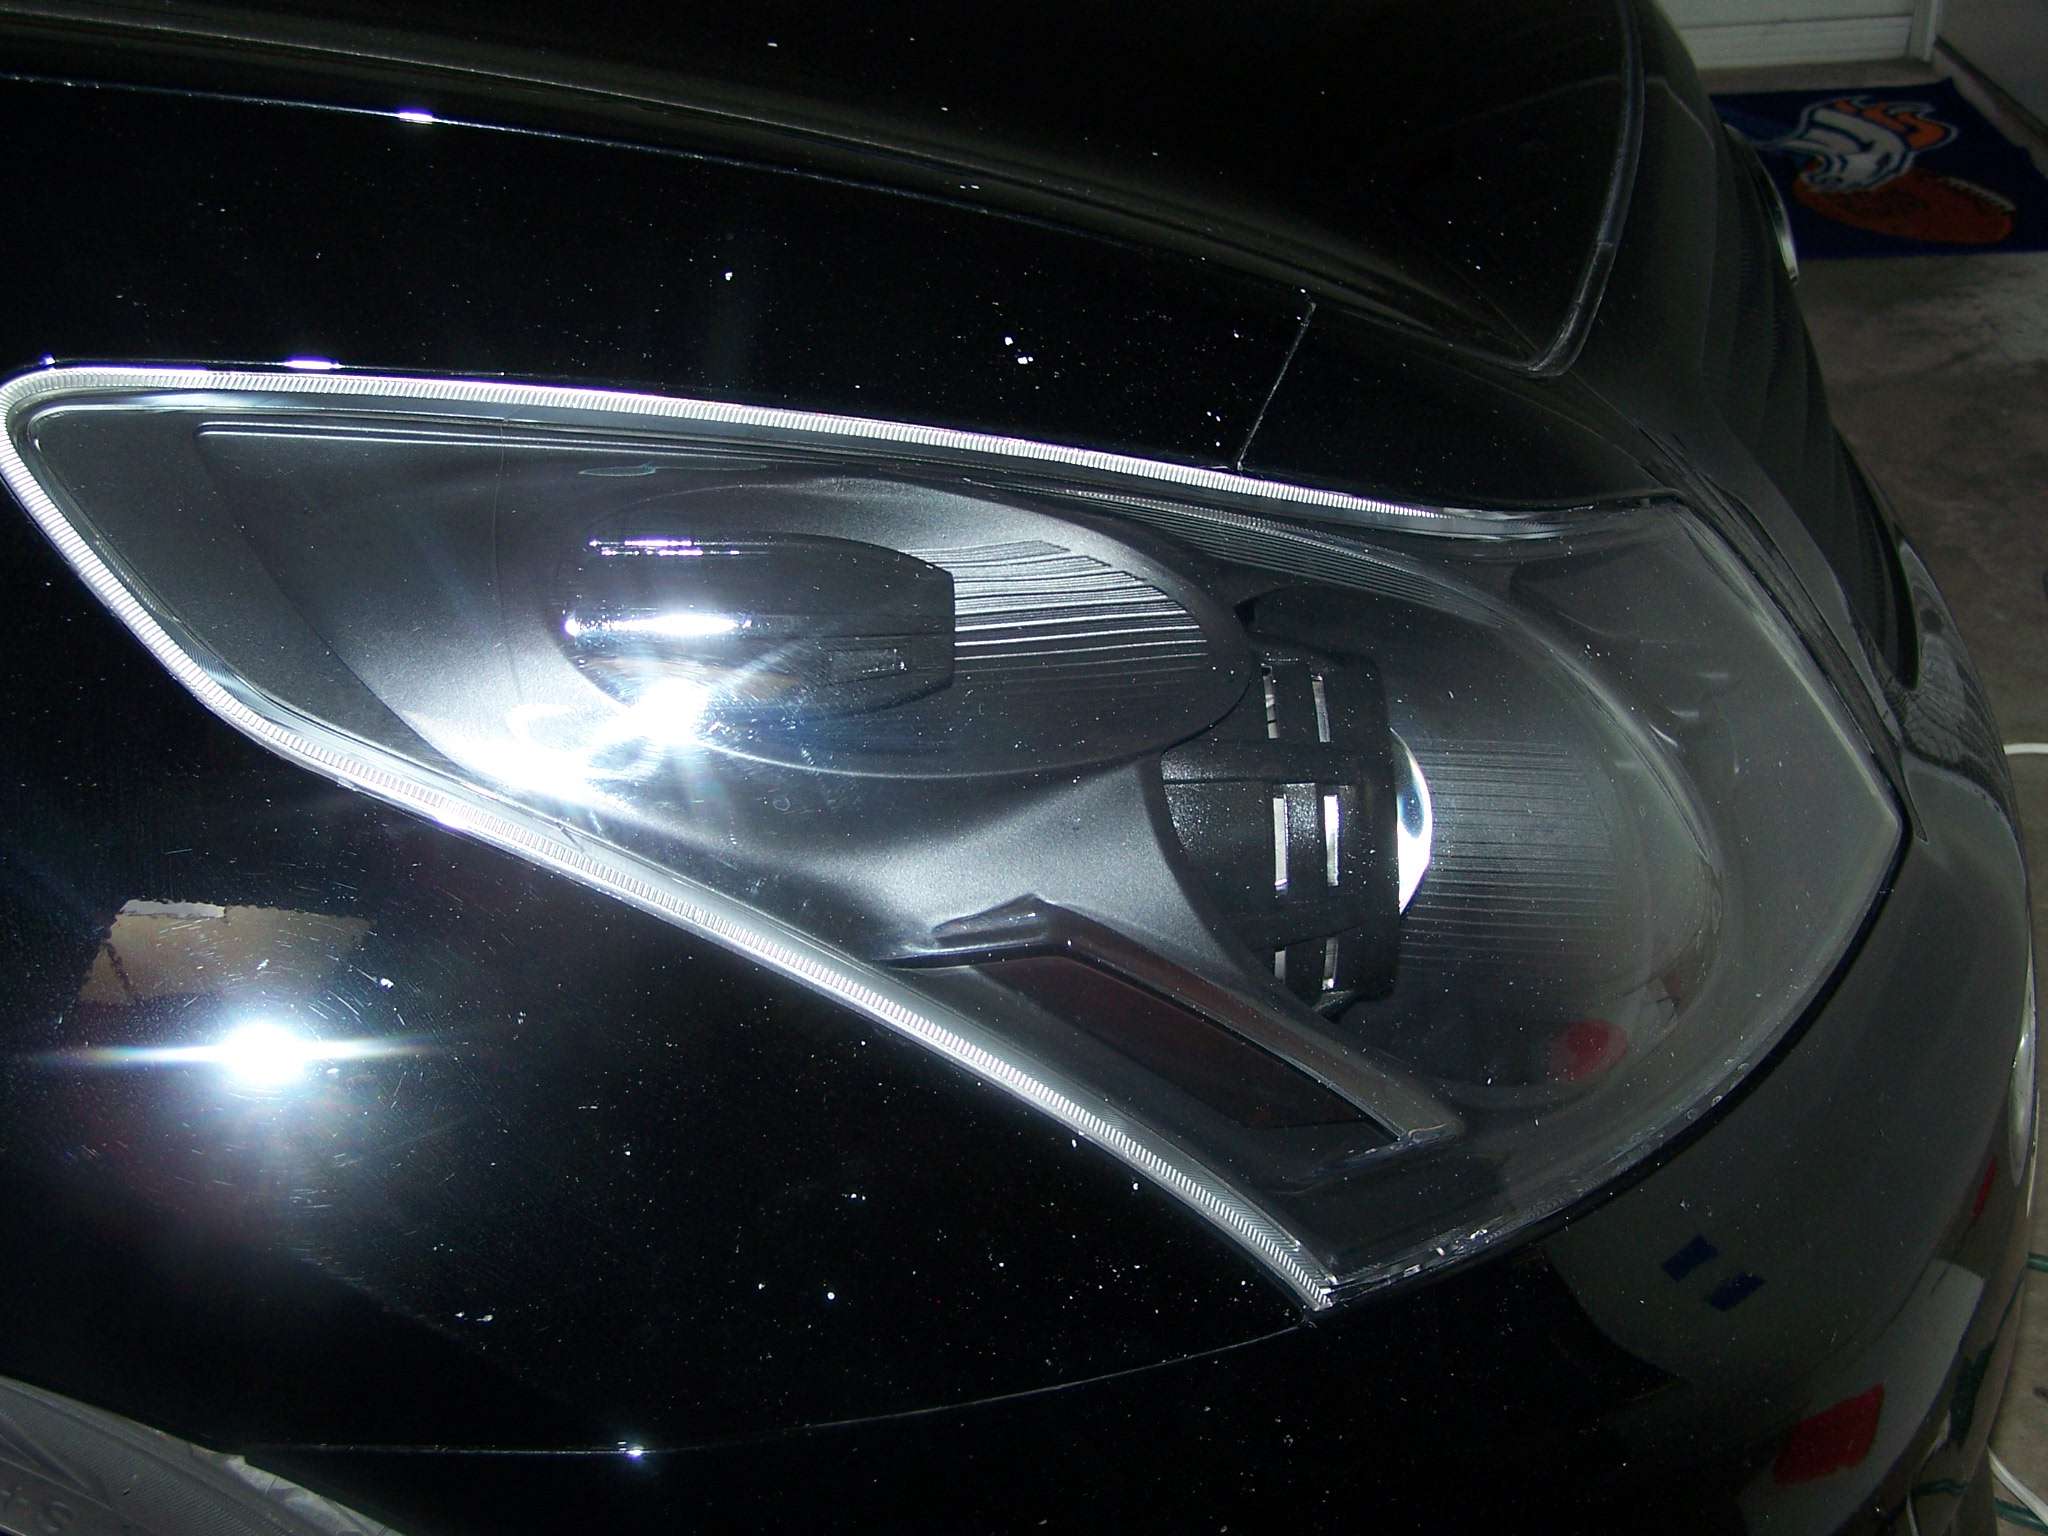
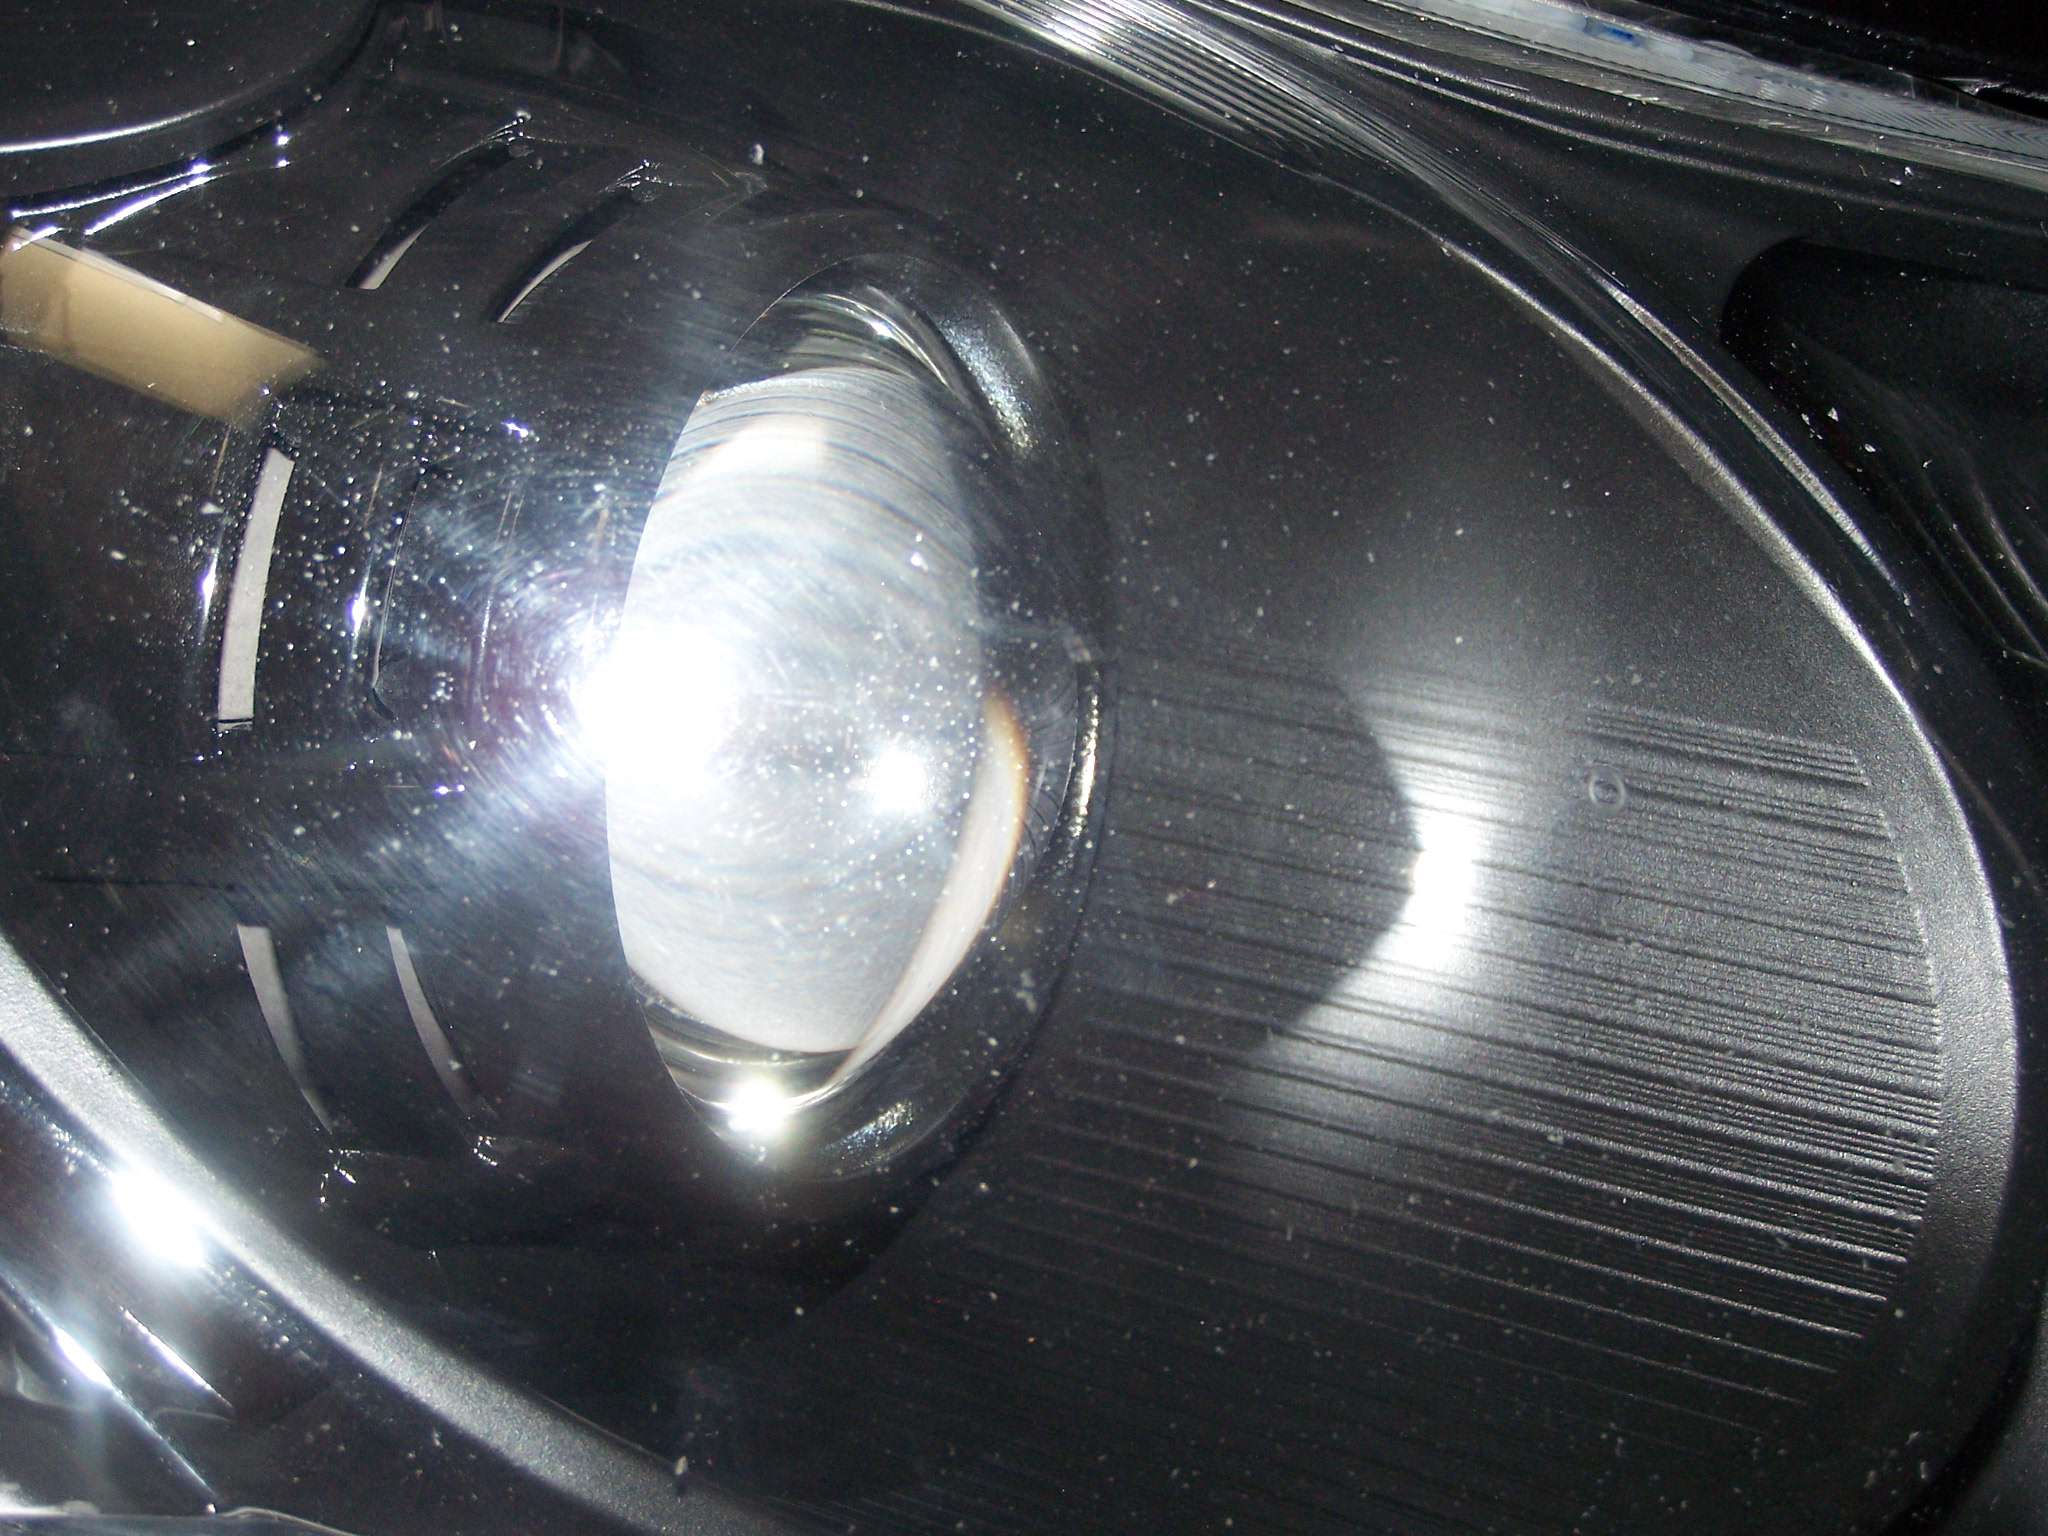
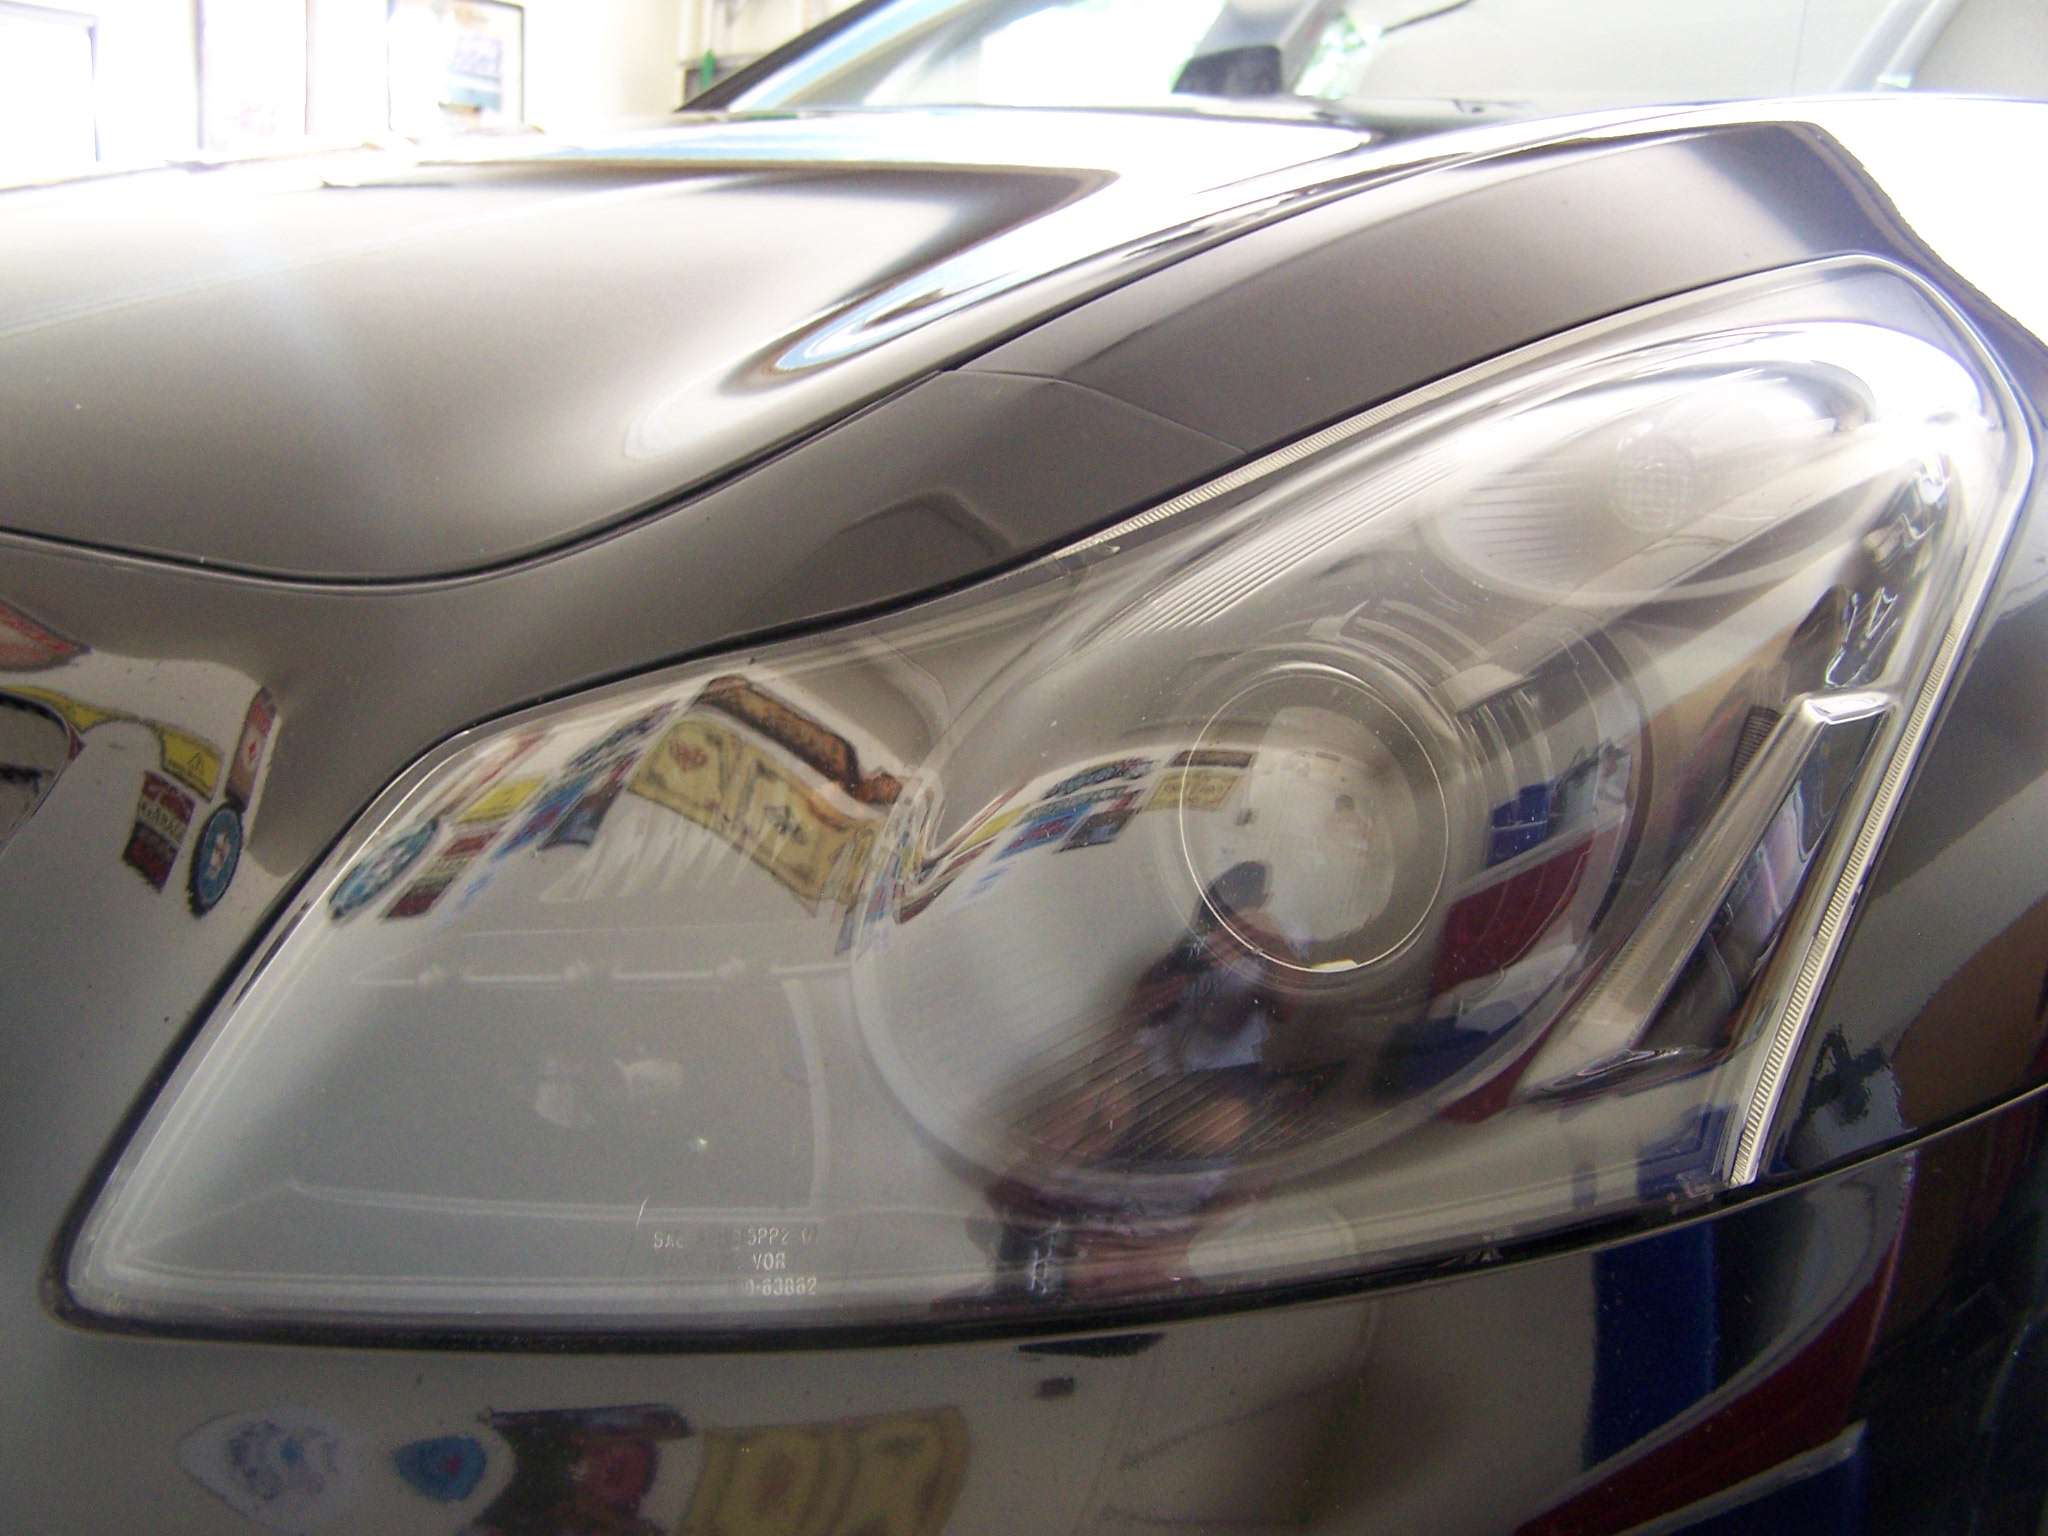
Few more updates, removed the plastidip from the grill, wrapped it in carbon-fiber vinyl. Put on a OEM chin spoiler. Removed the headlight overlays and painted the housing matte black, the shrouds gloss black, side markers w/ Rustolems "Lens tint" (similar to VHT NightShades) and swapped out the stock lens for the TRS STi-R lens. Next up will be removing the GTR tail overlays and painting them w/ tint and clear, but keeping the GTR look.

 07-07-2012, 08:04 AM
#4
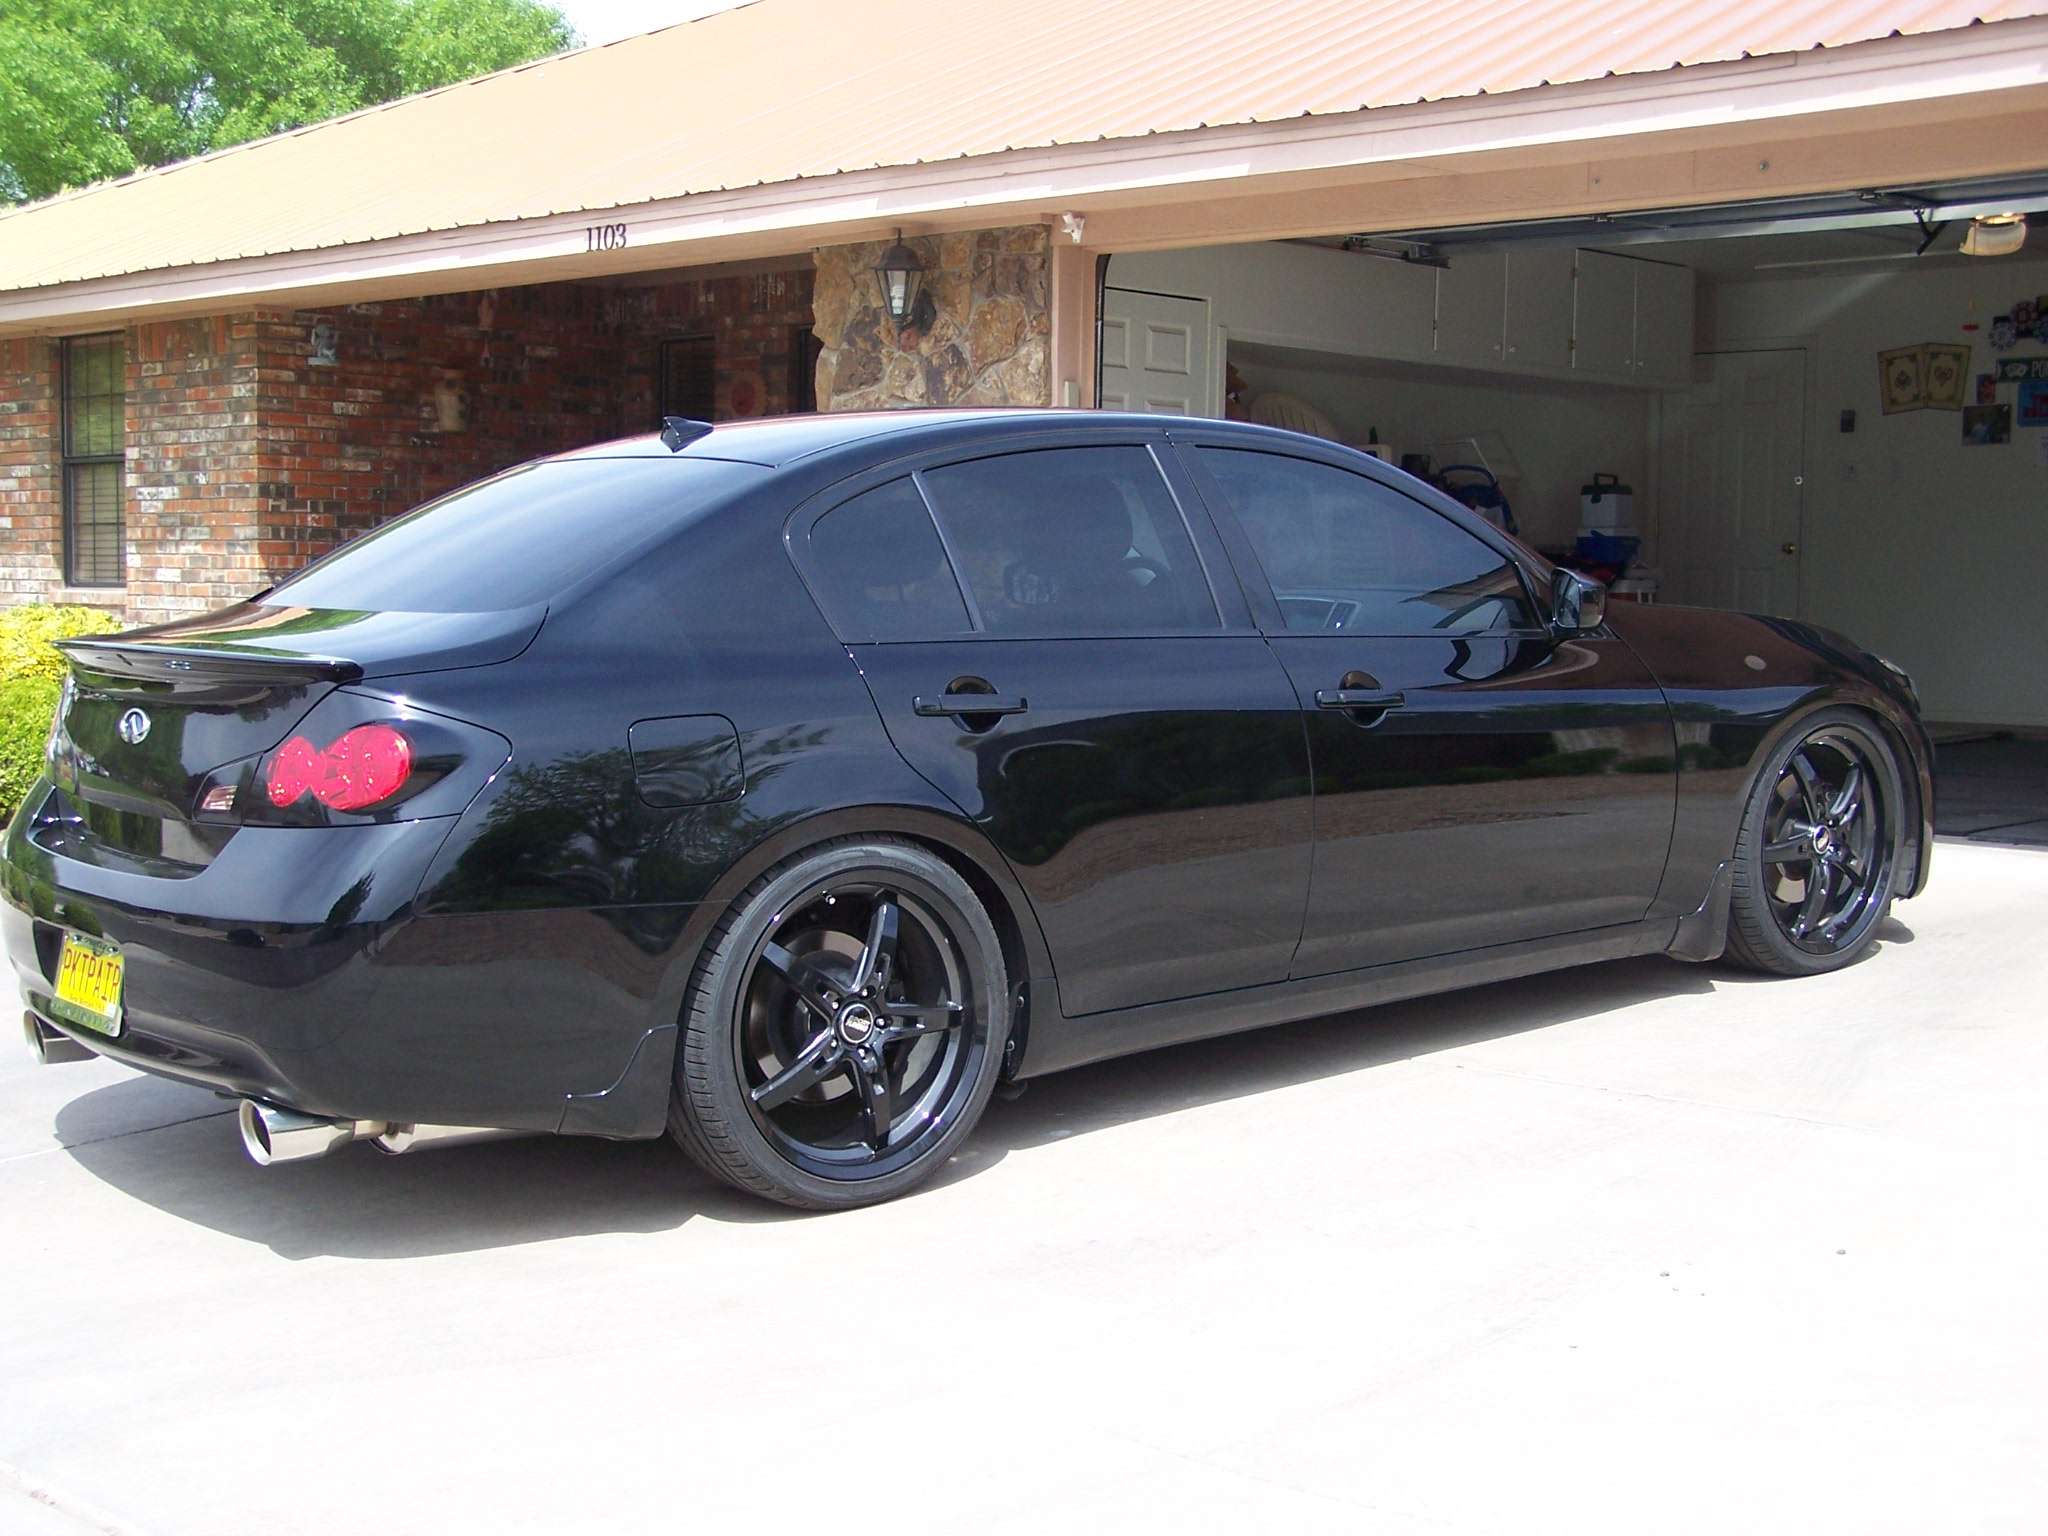
 It's not quite as murdered-out as the pics may show, the wheels have gunmetal on the spokes sides and the inner barrels so there's a bit of contrast, but yeah, it's on death row
 I'm keeping the look of the taillights but will be using Lens tint for the black section, then a few coats of clear over the whole lens, then a final buff for shine. Here's a thread that I'm going to use for the tails~
https://www.myg37.com/forums/picture...per-gloss.html
Thanks! The taillights as mentioned above, probably next then some carbon vinyl on the side mirrors and maybe on the rear valence/diffuser area. I may also try some CF on the interior washi panels.
Last edited by blnewt; 07-07-2012 at 04:00 PM.


Trending Topics
07-09-2012, 11:28 AM
#10
I think doctor color chip would work well on the metal parts (hood/fenders). It didn't really do as well as I'd hoped on the front bumper because the plastic craters from the rocks and it's nearly impossible to get a smooth surface. Hardest part about black is the wax loves those small chips and makes them stick out like a sore thumb.
07-09-2012, 01:58 PM
#11
I think doctor color chip would work well on the metal parts (hood/fenders). It didn't really do as well as I'd hoped on the front bumper because the plastic craters from the rocks and it's nearly impossible to get a smooth surface. Hardest part about black is the wax loves those small chips and makes them stick out like a sore thumb.
I hear ya about the chips really standing out after a wax, really kinda sad
 07-09-2012, 03:07 PM
#12
Administrator

iTrader: (9)
Subscribed, because I like the newt.

I've got 3 chips on my 2011 that I'm in process of experimenting with. Granted, white is not black, and you'd probably kill for only three chips, but anyway... from what I've recently researched:
Or at least, that's the synopsis of what I'm trying. Touch-up paint cost me $15 at the Infiniti dealer, for one little bottle of base-coat, and one of top-coat.
- Clean the chip with a de-greaser.
- Fill the chip with base coat, let dry overnight.
- Fill again with top coat, let dry
- Repeat coats until dried chip area is higher than surrounding paint.
- Get some wet-sanding paper, 1200 to 2400 grit.
- Hole punch a handful of little circles and glue them to the bottom of a dowel or pencil.
- Sand down the chipped area to the level of the surrounding paint.
- Polish. Polish. Polish. / done
Or at least, that's the synopsis of what I'm trying. Touch-up paint cost me $15 at the Infiniti dealer, for one little bottle of base-coat, and one of top-coat.
Last edited by Rochester; 07-09-2012 at 03:47 PM.
07-09-2012, 04:23 PM
#13
Registered User

Join Date: Nov 2011
Location: OG Las Vegas, NM
Posts: 134
Likes: 0
Received 0 Likes
on
0 Posts
Few more updates, removed the plastidip from the grill, wrapped it in carbon-fiber vinyl. Put on a OEM chin spoiler. Removed the headlight overlays and painted the housing matte black, the shrouds gloss black, side markers w/ Rustolems "Lens tint" (similar to VHT NightShades) and swapped out the stock lens for the TRS STi-R lens. Next up will be removing the GTR tail overlays and painting them w/ tint and clear, but keeping the GTR look.
07-09-2012, 04:34 PM
#15
Subscribed, because I like the newt.
I've got 3 chips on my 2011 that I'm in process of experimenting with. Granted, white is not black, and you'd probably kill for only three chips, but anyway... from what I've recently researched:
Or at least, that's the synopsis of what I'm trying. Touch-up paint cost me $15 at the Infiniti dealer, for one little bottle of base-coat, and one of top-coat.
I've got 3 chips on my 2011 that I'm in process of experimenting with. Granted, white is not black, and you'd probably kill for only three chips, but anyway... from what I've recently researched:
- Clean the chip with a de-greaser.
- Fill the chip with base coat, let dry overnight.
- Fill again with top coat, let dry
- Repeat coats until dried chip area is higher than surrounding paint.
- Get some wet-sanding paper, 1200 to 2400 grit.
- Hole punch a handful of little circles and glue them to the bottom of a dowel or pencil.
- Sand down the chipped area to the level of the surrounding paint.
- Polish. Polish. Polish. / done
Or at least, that's the synopsis of what I'm trying. Touch-up paint cost me $15 at the Infiniti dealer, for one little bottle of base-coat, and one of top-coat.
This is what I found on one of the Porsche forums (I assume they're even more meticulous over there) and this seems to take Dr. Colorchip to another level. If the folks w/ $150k cars are happy I should be thrilled w/ the results
Paint Chip Repair--DIY - Rennlist Discussion Forums