
Carbon wrap mirror covers

Carbon wrap mirror covers
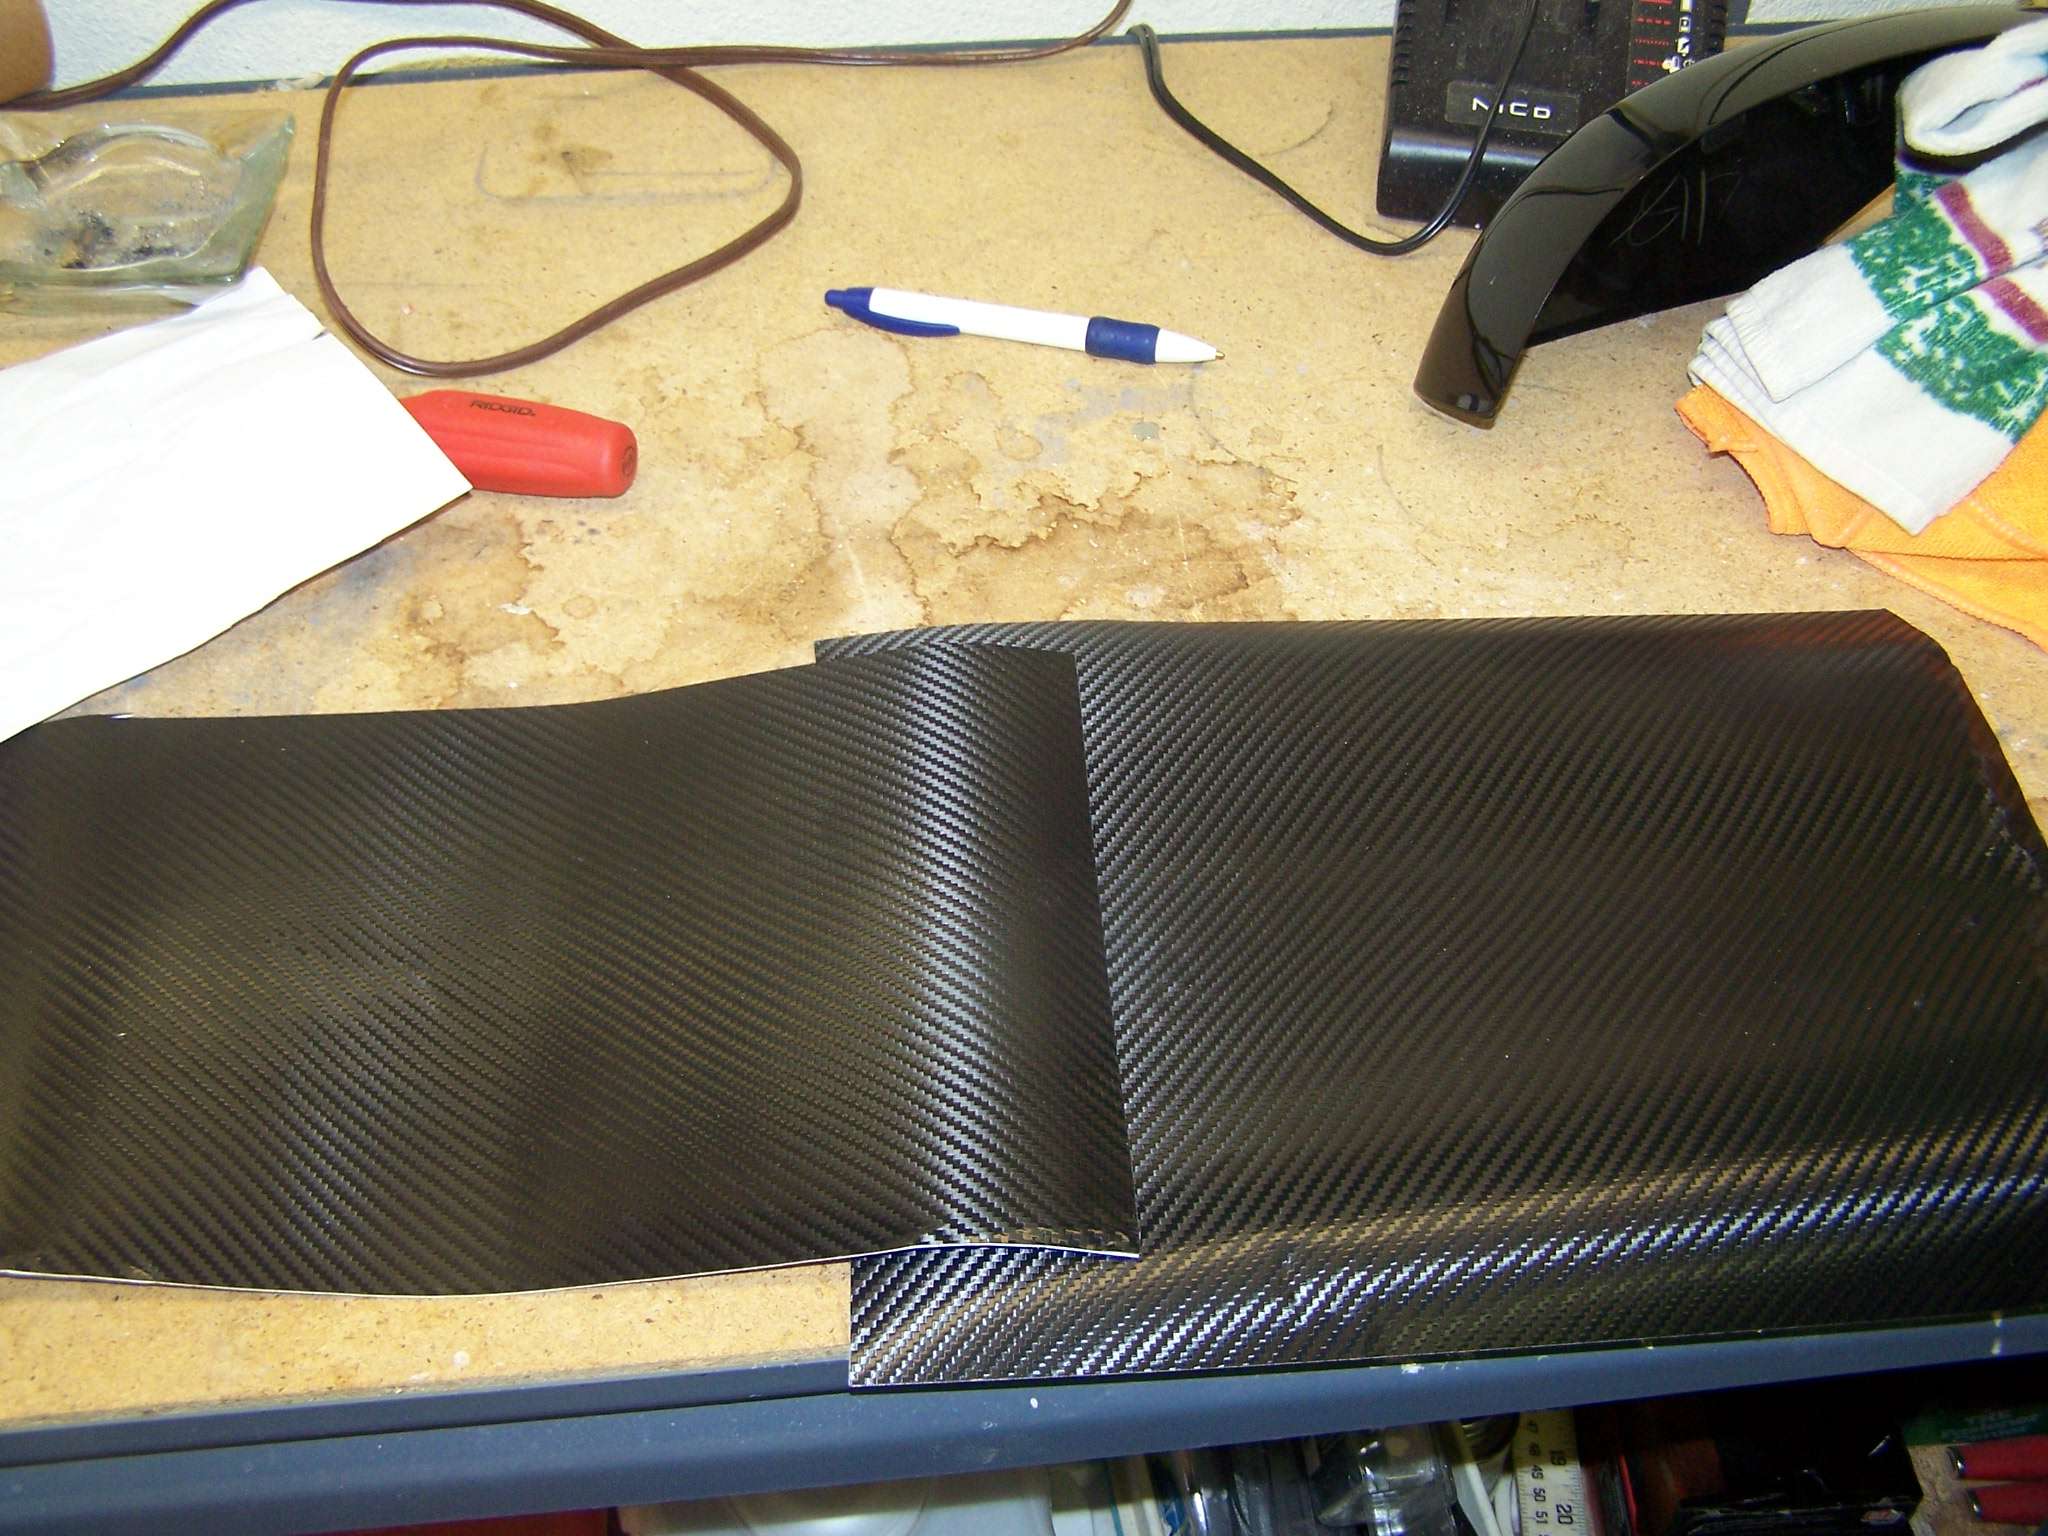
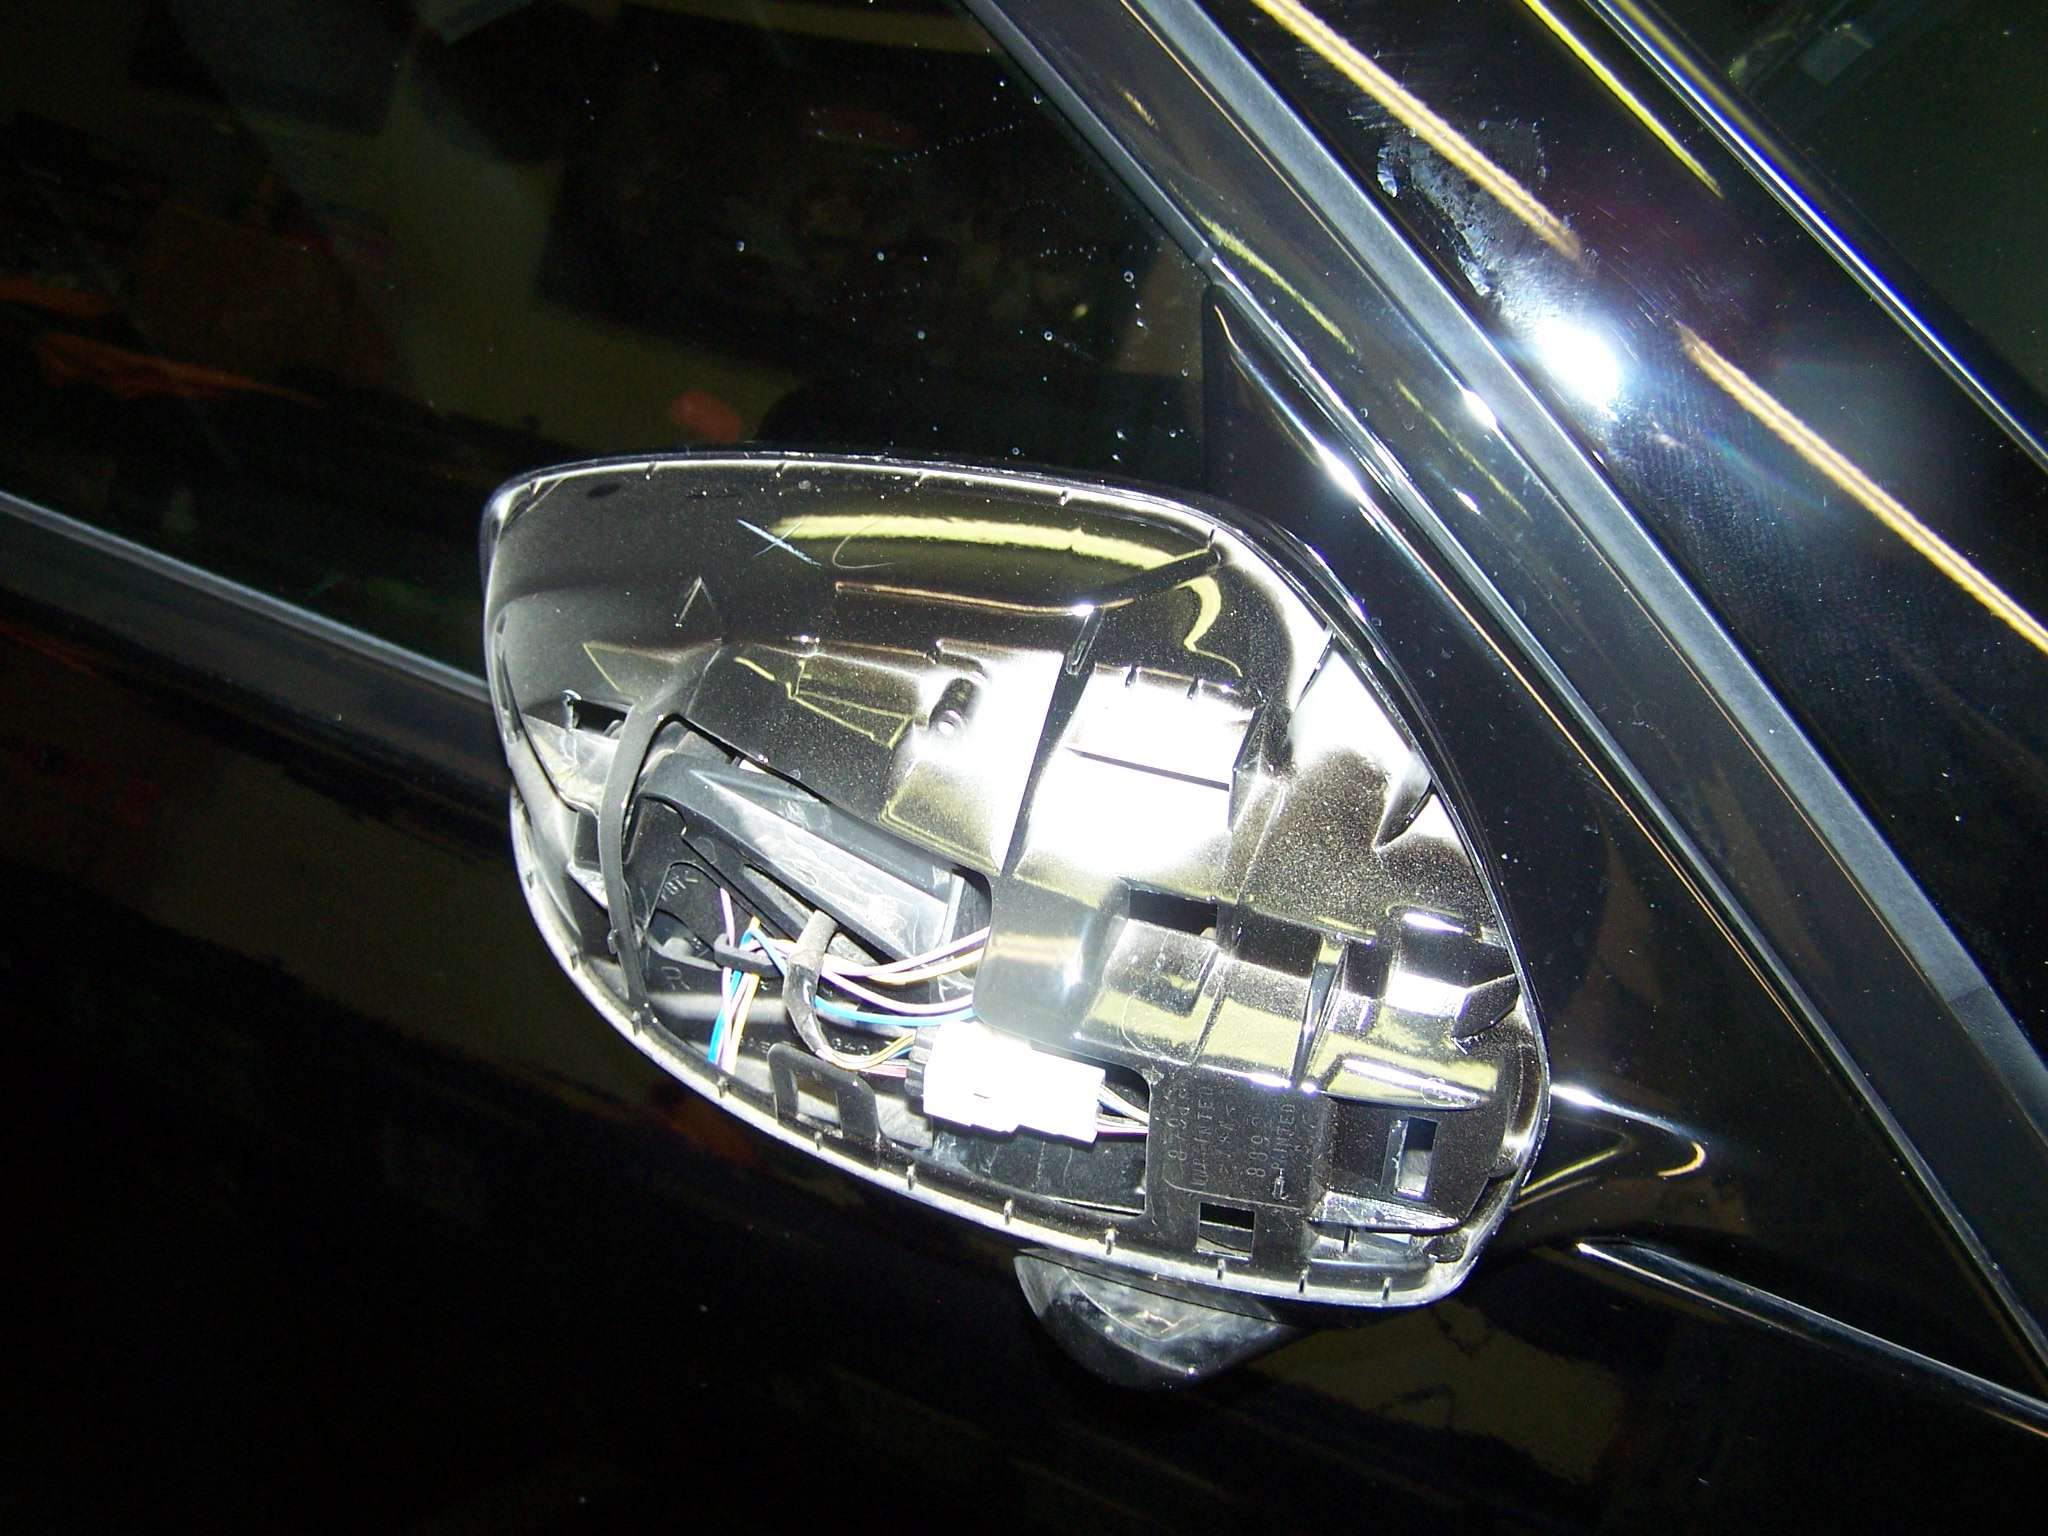
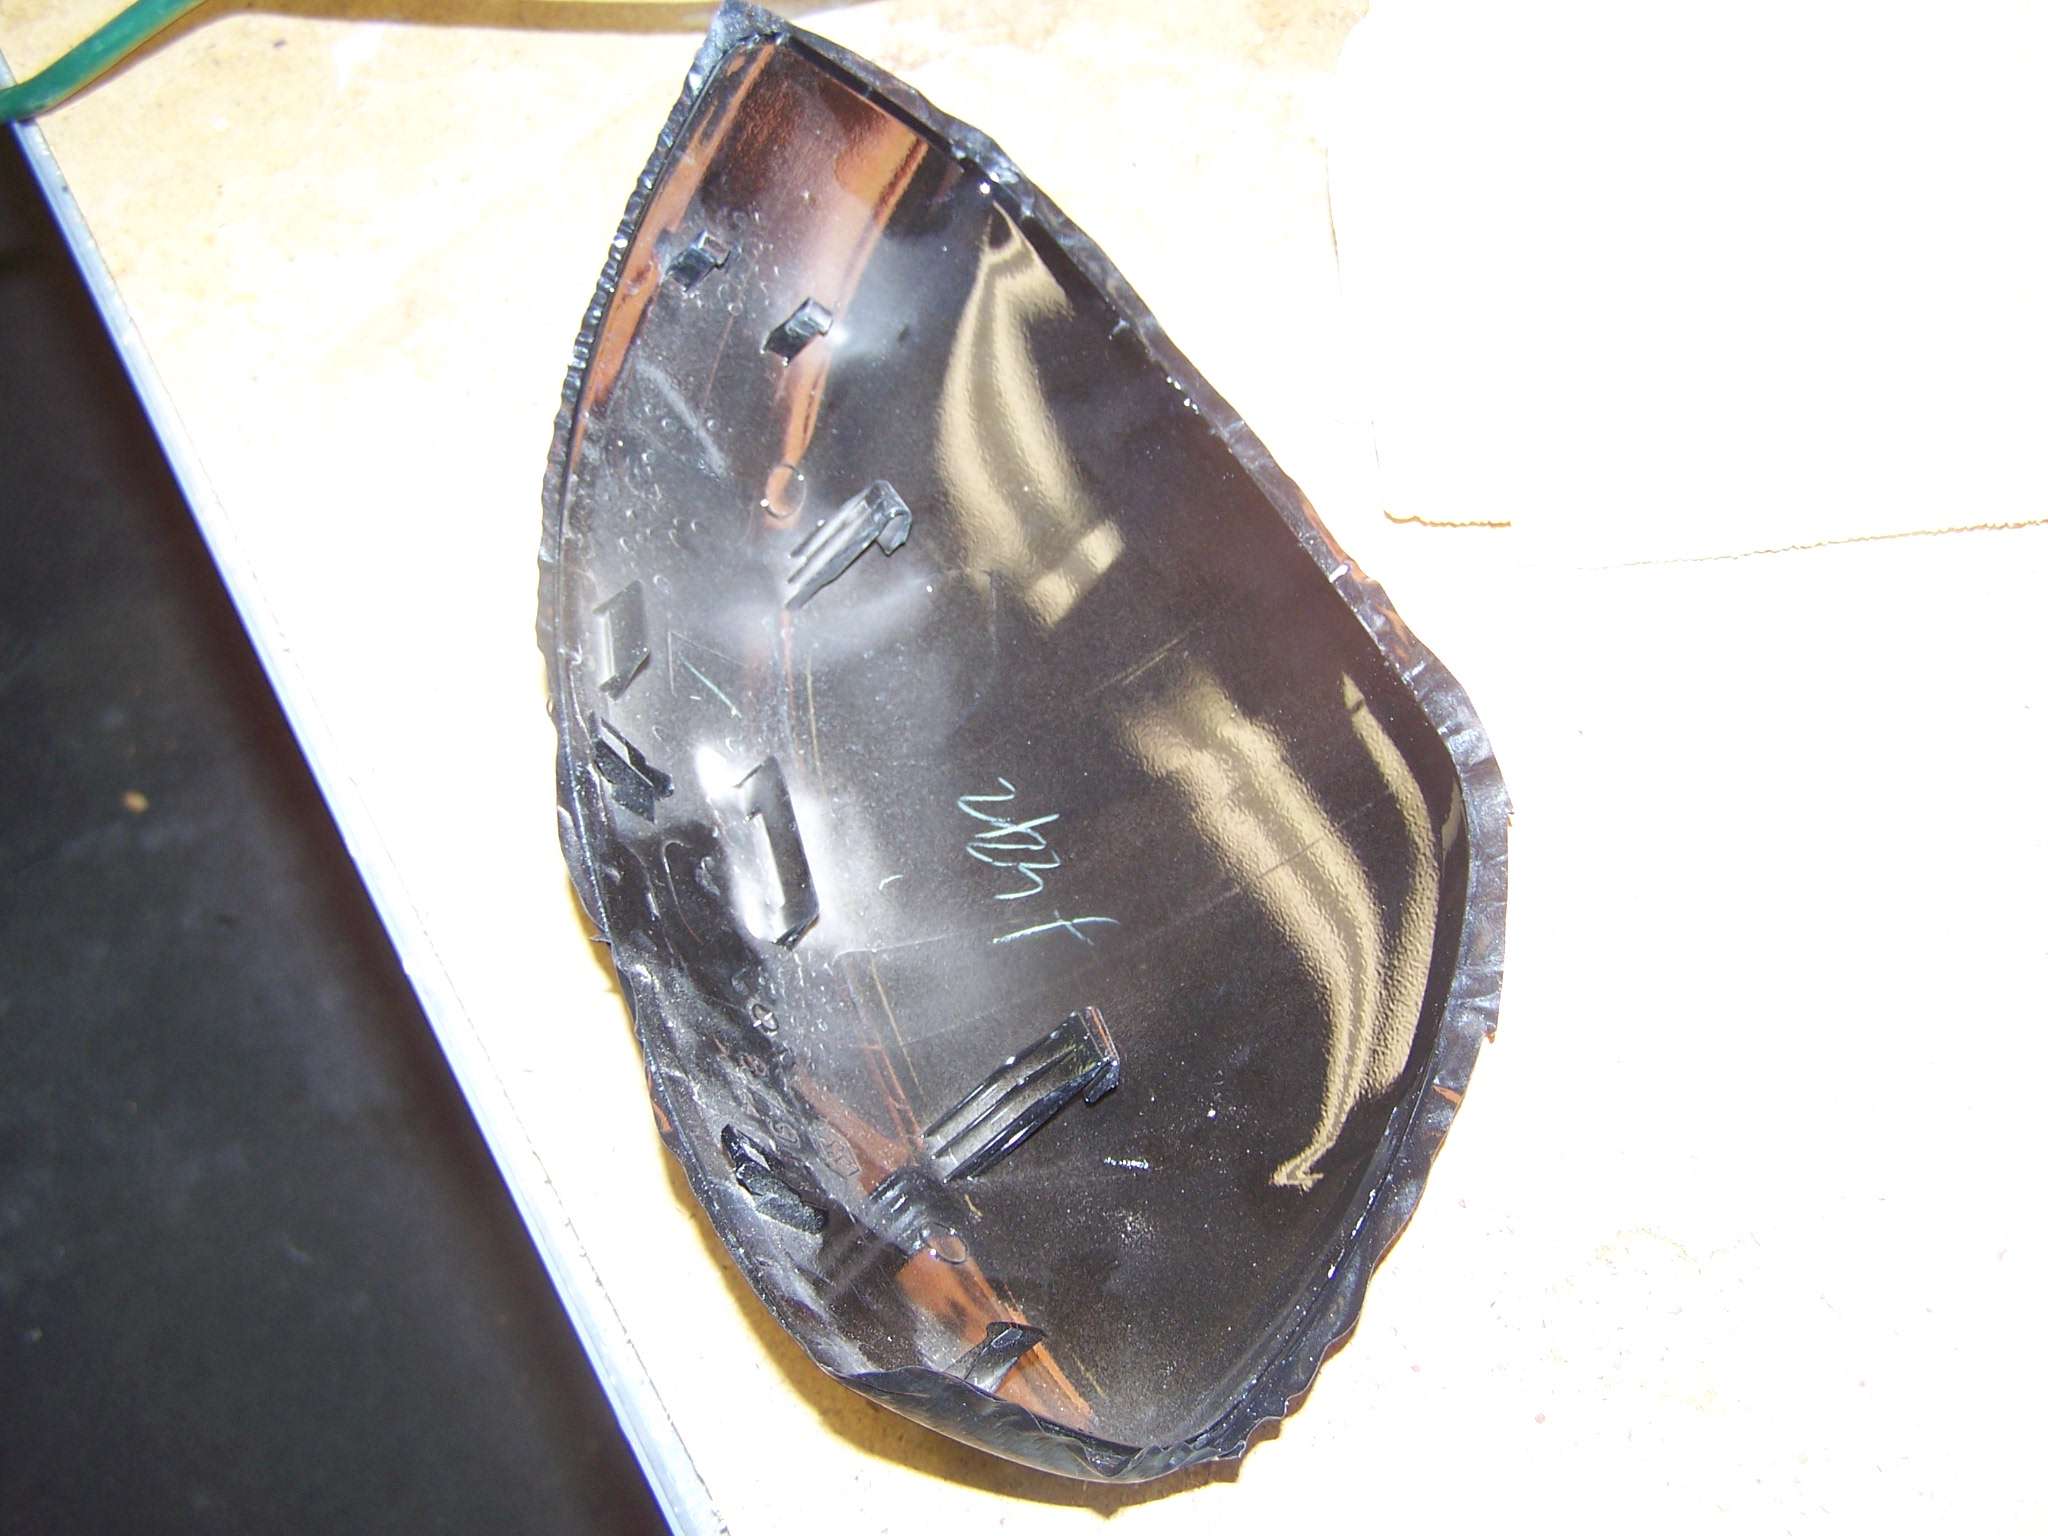
Here’s a DIY for those that have some experience w/ vinyl wrap. IMO it’s not the easiest vinyl wrap, and I’ve done quite a few vinyl wrap projects. I tried wrapping the mirrors then trimming around the mirror frame but overnight the vinyl showed wrinkles around some of the edges and looked second-rate. To do this right you really need to wrap the mirrors w/ the covers loosened but still attached to the mirrors. This will give you a solid mount for the wrap but still allow you to remove the covers easily when you’re done w/ the wrap and ready to final trim & seal. Having the covers removed will allow you to wrap the edges around the cover rather than just having them flush where the cover meets the mirror so you can seal the edge w/ heat and no wrinkles will appear. Removing the mirror covers is a bit unnerving, maybe someone has an official Infiniti procedure for removing them but I just muddled through and hoped I didn’t crack any cover clips. I started with the lower inside corner where the mirror pivot mount is located and just pried the edge gently w/ a flatblade scewdriver and worked my way up toward the top of the mirror, gently pull up and toward you to remove. The cover actually has two prongs that go down toward the back and several that go straight into the back of the mirror assembly (see pic below). I’m sure there’s a better way to remove them from the front but I just rolled the dice. If you do attempt to remove them like I did do so at your own risk as the clips & prongs look quite fragile. The pieces you’ll need are a bit of an unfortunate size (14x8 inches). In order to get a balanced look you’ll want the carbon weave to go in opposing directions so the passenger mirror will have the weave going from lower right to upper left (if looking at it head on) and the driver mirror going from lower left to upper right. In order to get this you’ll need 14” of vinyl width and it’s sold in 12x60” sections so you’ll need to order 2 feet, one of the mirrors has a piece that runs lengthwise and the other width wise to get the opposing weave patterns, maybe you’ll find some other carbon wrap projects to use the rest of the wrap (like interior panels). Here's the vinyl (and the best place to get it IMO)~ http://autovinylsolutions.com/3M_108...on_Fiber_Vinyl
Once you get the mirror covers removed and then loosely placed back on (you just get those down prongs back into their slots and push the cover forward into the mirror but not far enough to get it locked back into the mirror). be sure to clean entire cover piece w/ rubbing alcohol. The only tools you’ll need are a screwdriver for removing the cover, sharp scissors, a utility knife and a hair dryer.
Here’s a good video for wrapping a mirror (except I strongly recommend removing the cover rather than just trimming it flush like they did).
Before anything else just place the vinyl w/ the backing still on up to the mirror just to get a visual of how it’ll place on the mirror. You want a nice even edge along the bottom of the cover since that’s the only straight edge you’ll have to line up with. Be sure to have enough on both sides and top, it’s pretty easy to think everything is as it should be only to find that you’re short along one edge.
Now let’s get started:
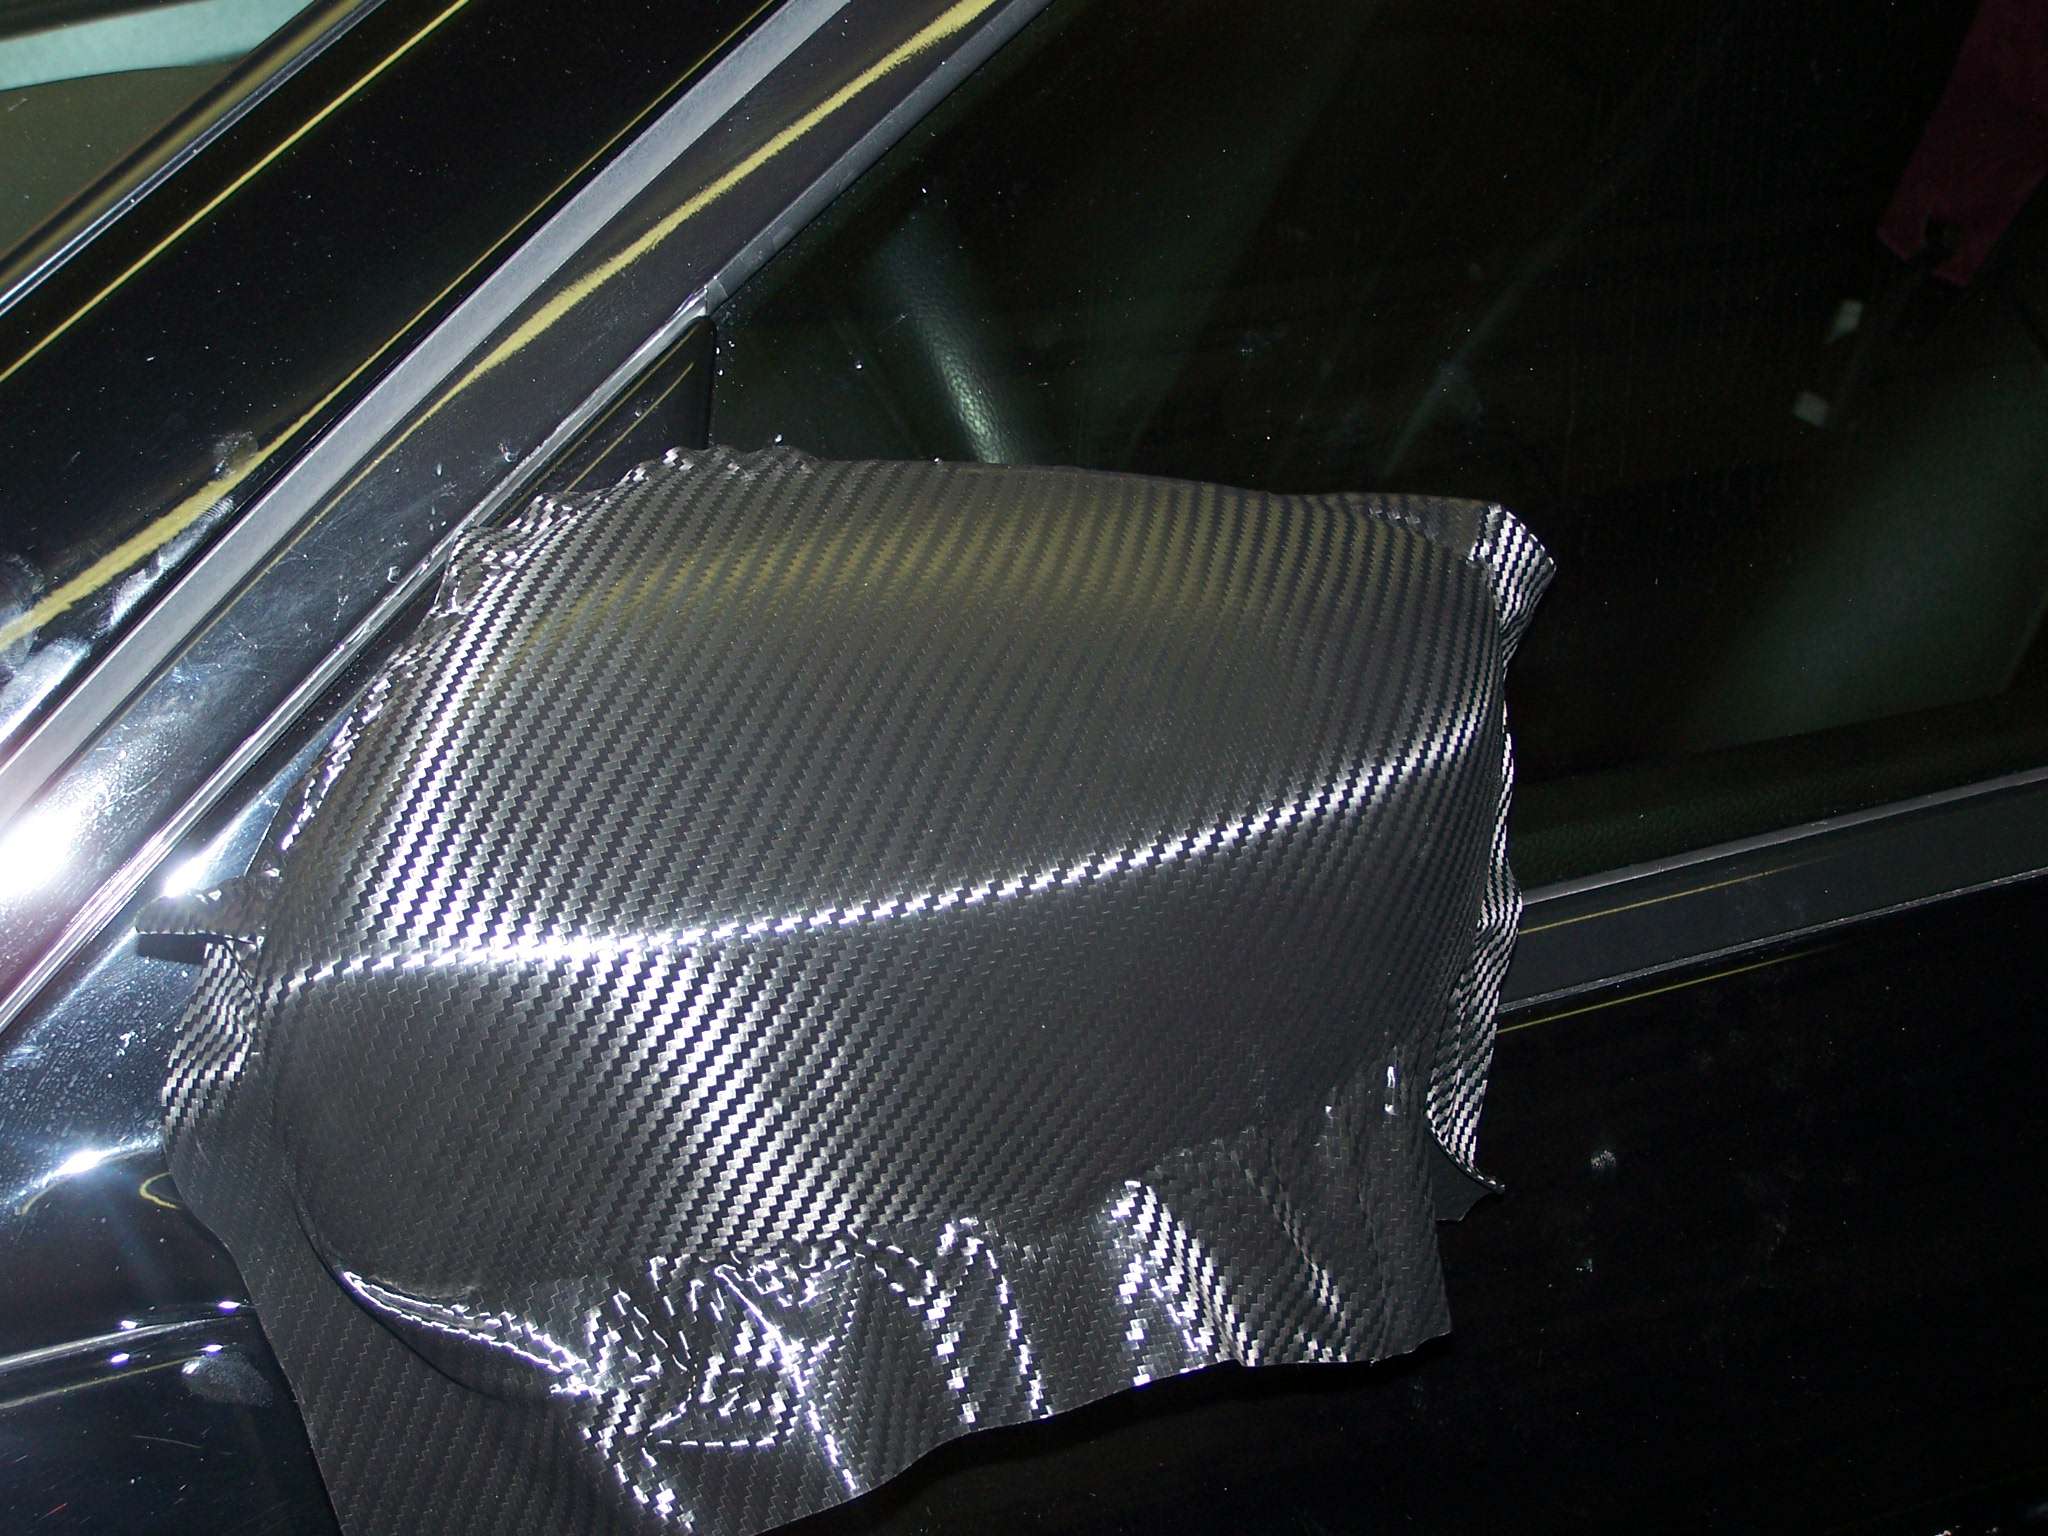
Get a helper, remove the backing and heat the vinyl on high w/ your hair dryer long enough to make it pliable (about 5-10 seconds) be sure to heat entire sheet as evenly as possible. Now LIGHTLY stretch entire sheet while making sure you’re all lined up on the bottom and have sufficient room on all edges. Don’t press any vinyl down until you’re happy with its’ initial placement, it’s no problem lifting it up and re-applying but keeping this to a minimum will give you better results. If you have to pull it up be sure to lightly reheat it to keep it stretchy. While stretching try to keep the vinyl tight and wrinkle free as you wrap as much of the mirror as you can, the video is excellent in that regard. Push out wrinkles from the center outward and pull up vinyl to the end of a wrinkle and push the wrinkle out as you go along. Around the upper corners it likes to bunch up a bit, this is a good place to heat and pull to get rid of the wrinkles. Only use heat when you really need it, if you keep heating/pulling/lifting several times over, the vinyl will get more rigid and won’t comply. This is why you want that initial laying down of the wrap to cover as much of the mirror as possible. Once you work all the wrinkles out it’s time to remove the cover and trim & seal the edges. Scissor trim around cover so you have about a 1/4” of vinyl hanging over edge then run your thumbnail along the groove so you get a well defined edge all along the sides and upper mirror cover channel. Then press along the bottom edge to you get a nice crease to wrap that edge under the cover. Once you get everything pressed down and creased you then final trim the vinyl, trim it flush to the edge where it’s channeled and about 1/8” where it’s wrapped under. You then use the hair dryer on high and work about 2-3” at a time pressing the hot edge tightly around the cover, this will seal the vinyl to the mirror cover. Just carefully reinstall mirror cover and you’re done! It’s not too hard once you get the hang of it, but you might need that extra vinyl after all in case you have to retry
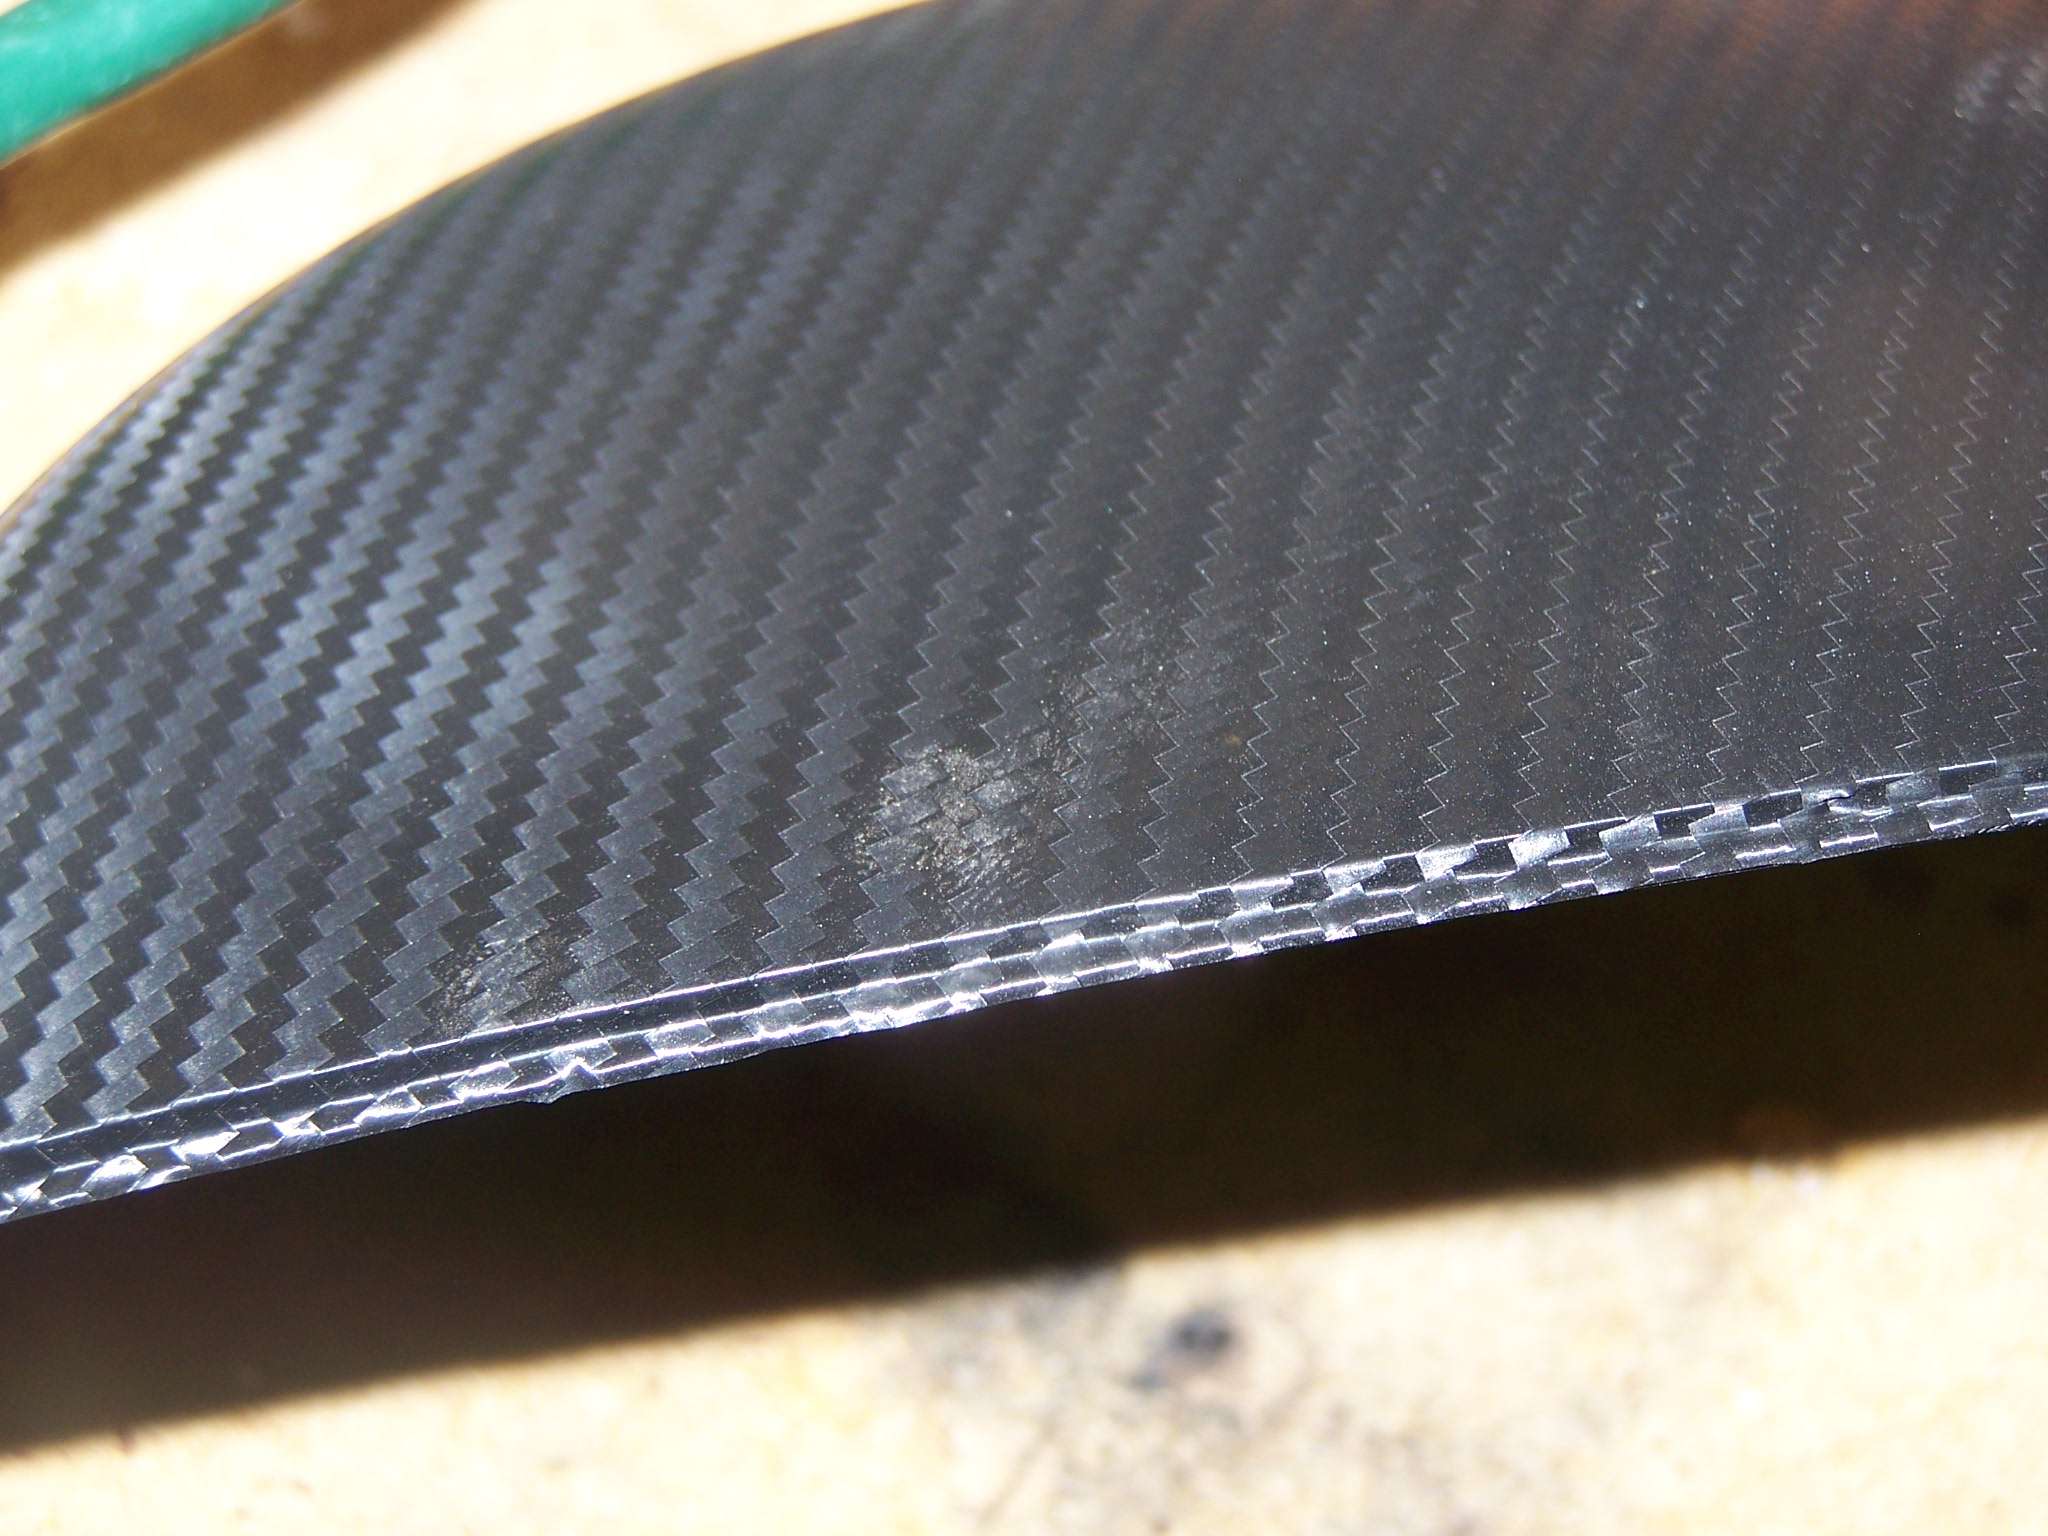
Here's the opposing weaves
Cover removed
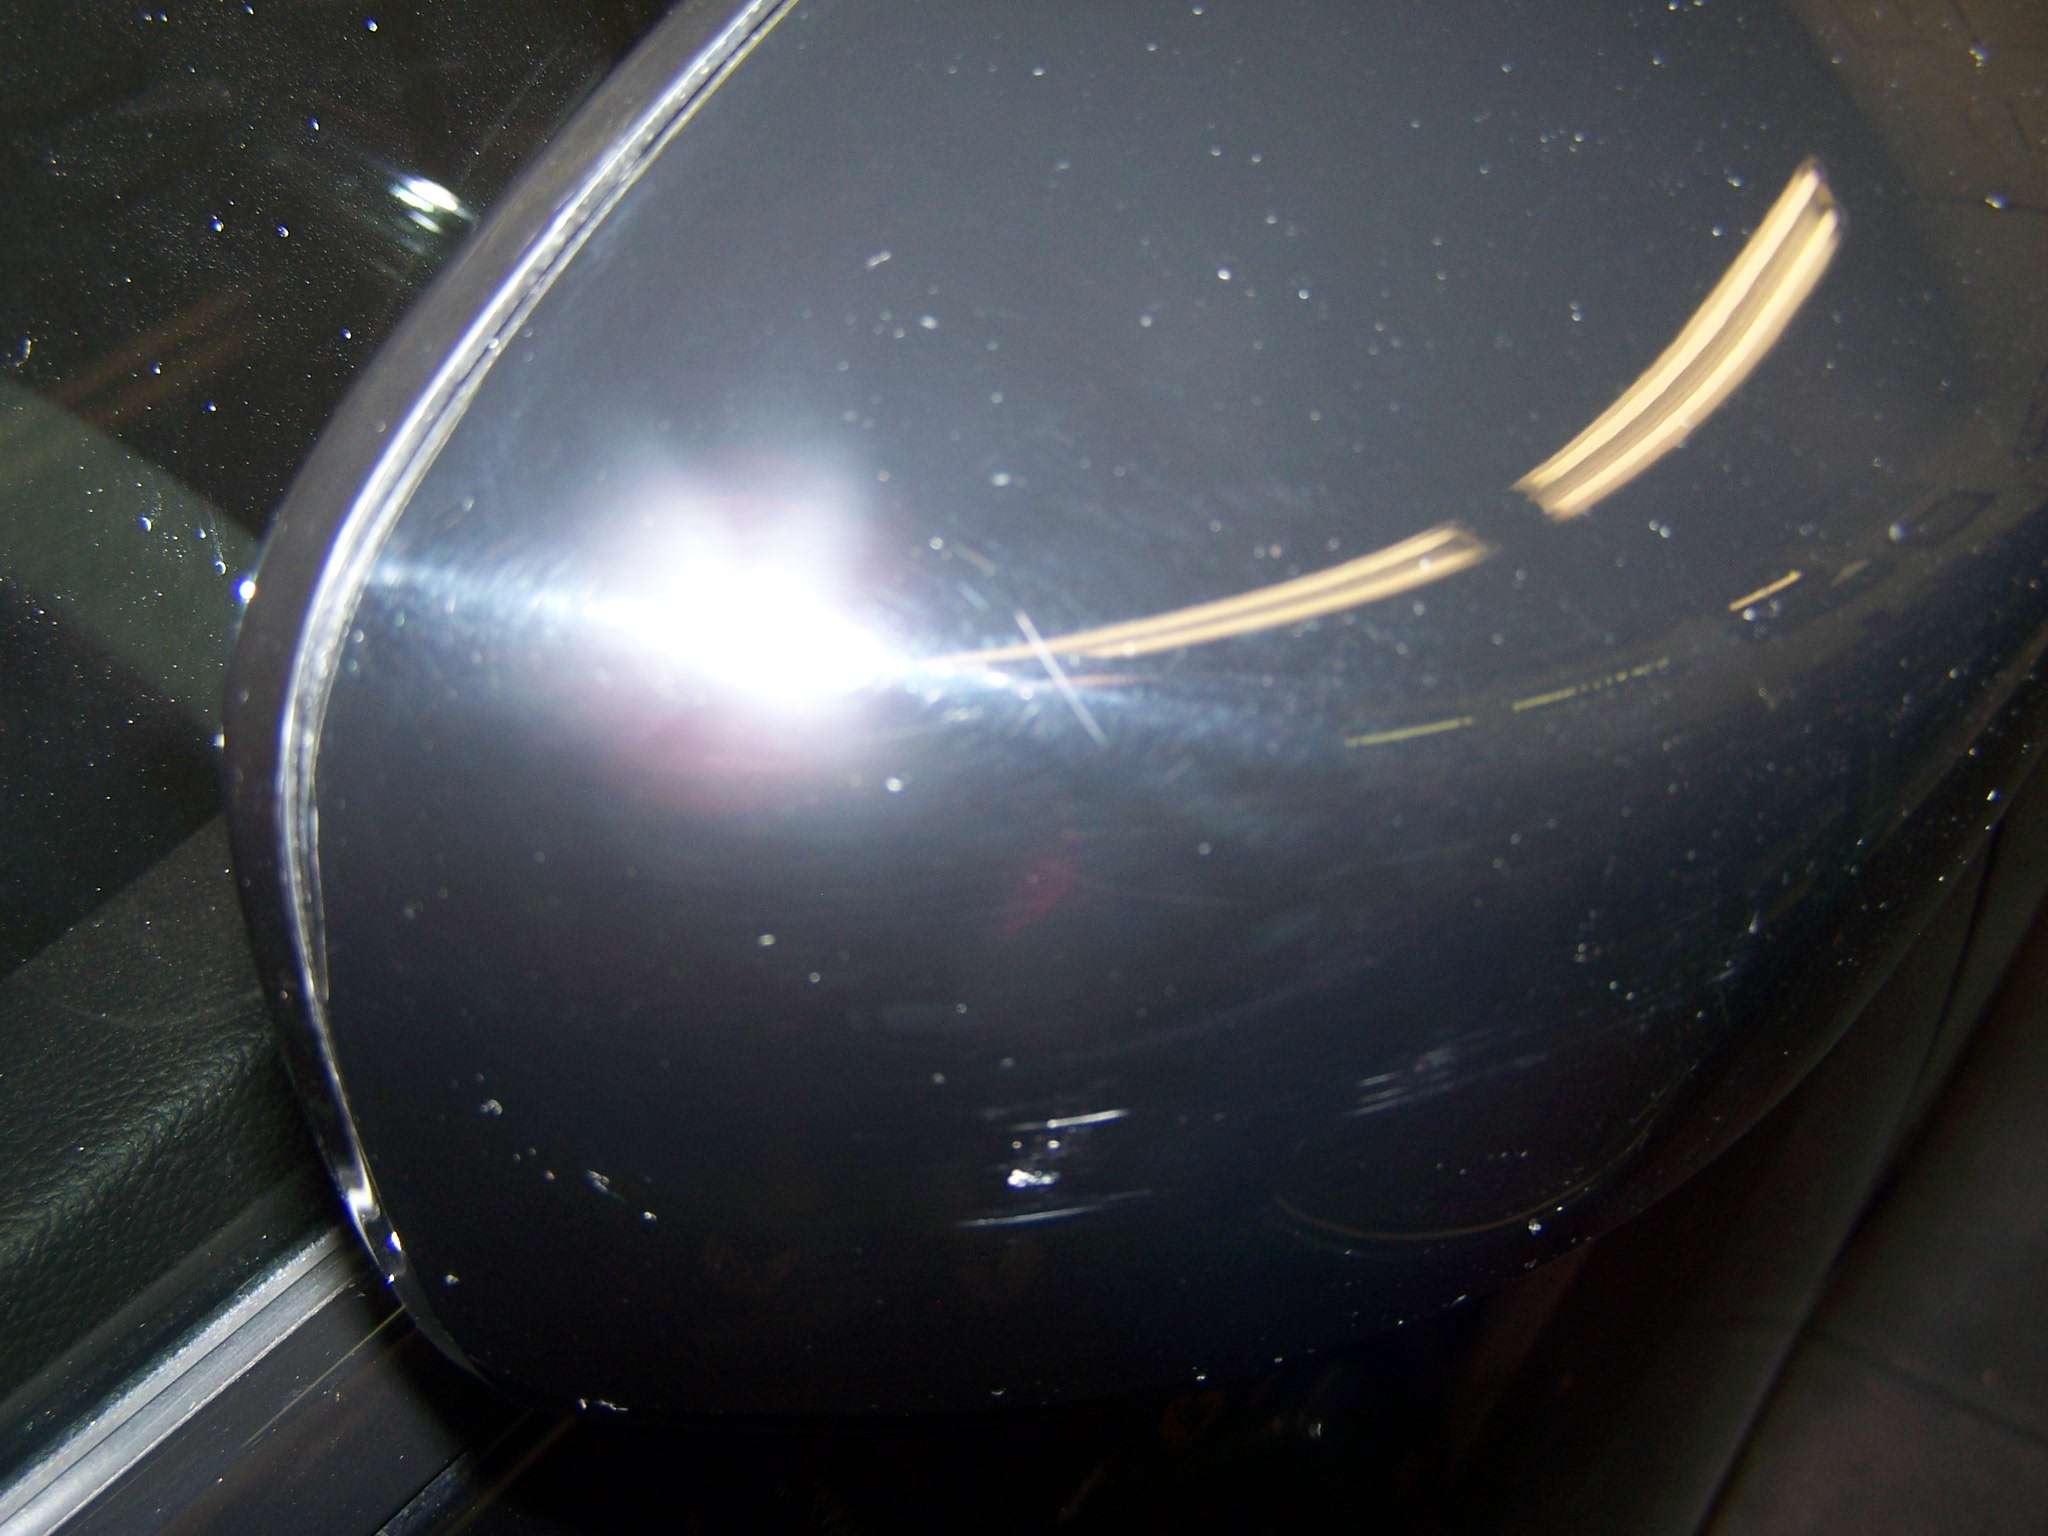
Cover replaced so upper edge isn't locked in
Wrap laid down and almost wrinkle free
After the scissor trim
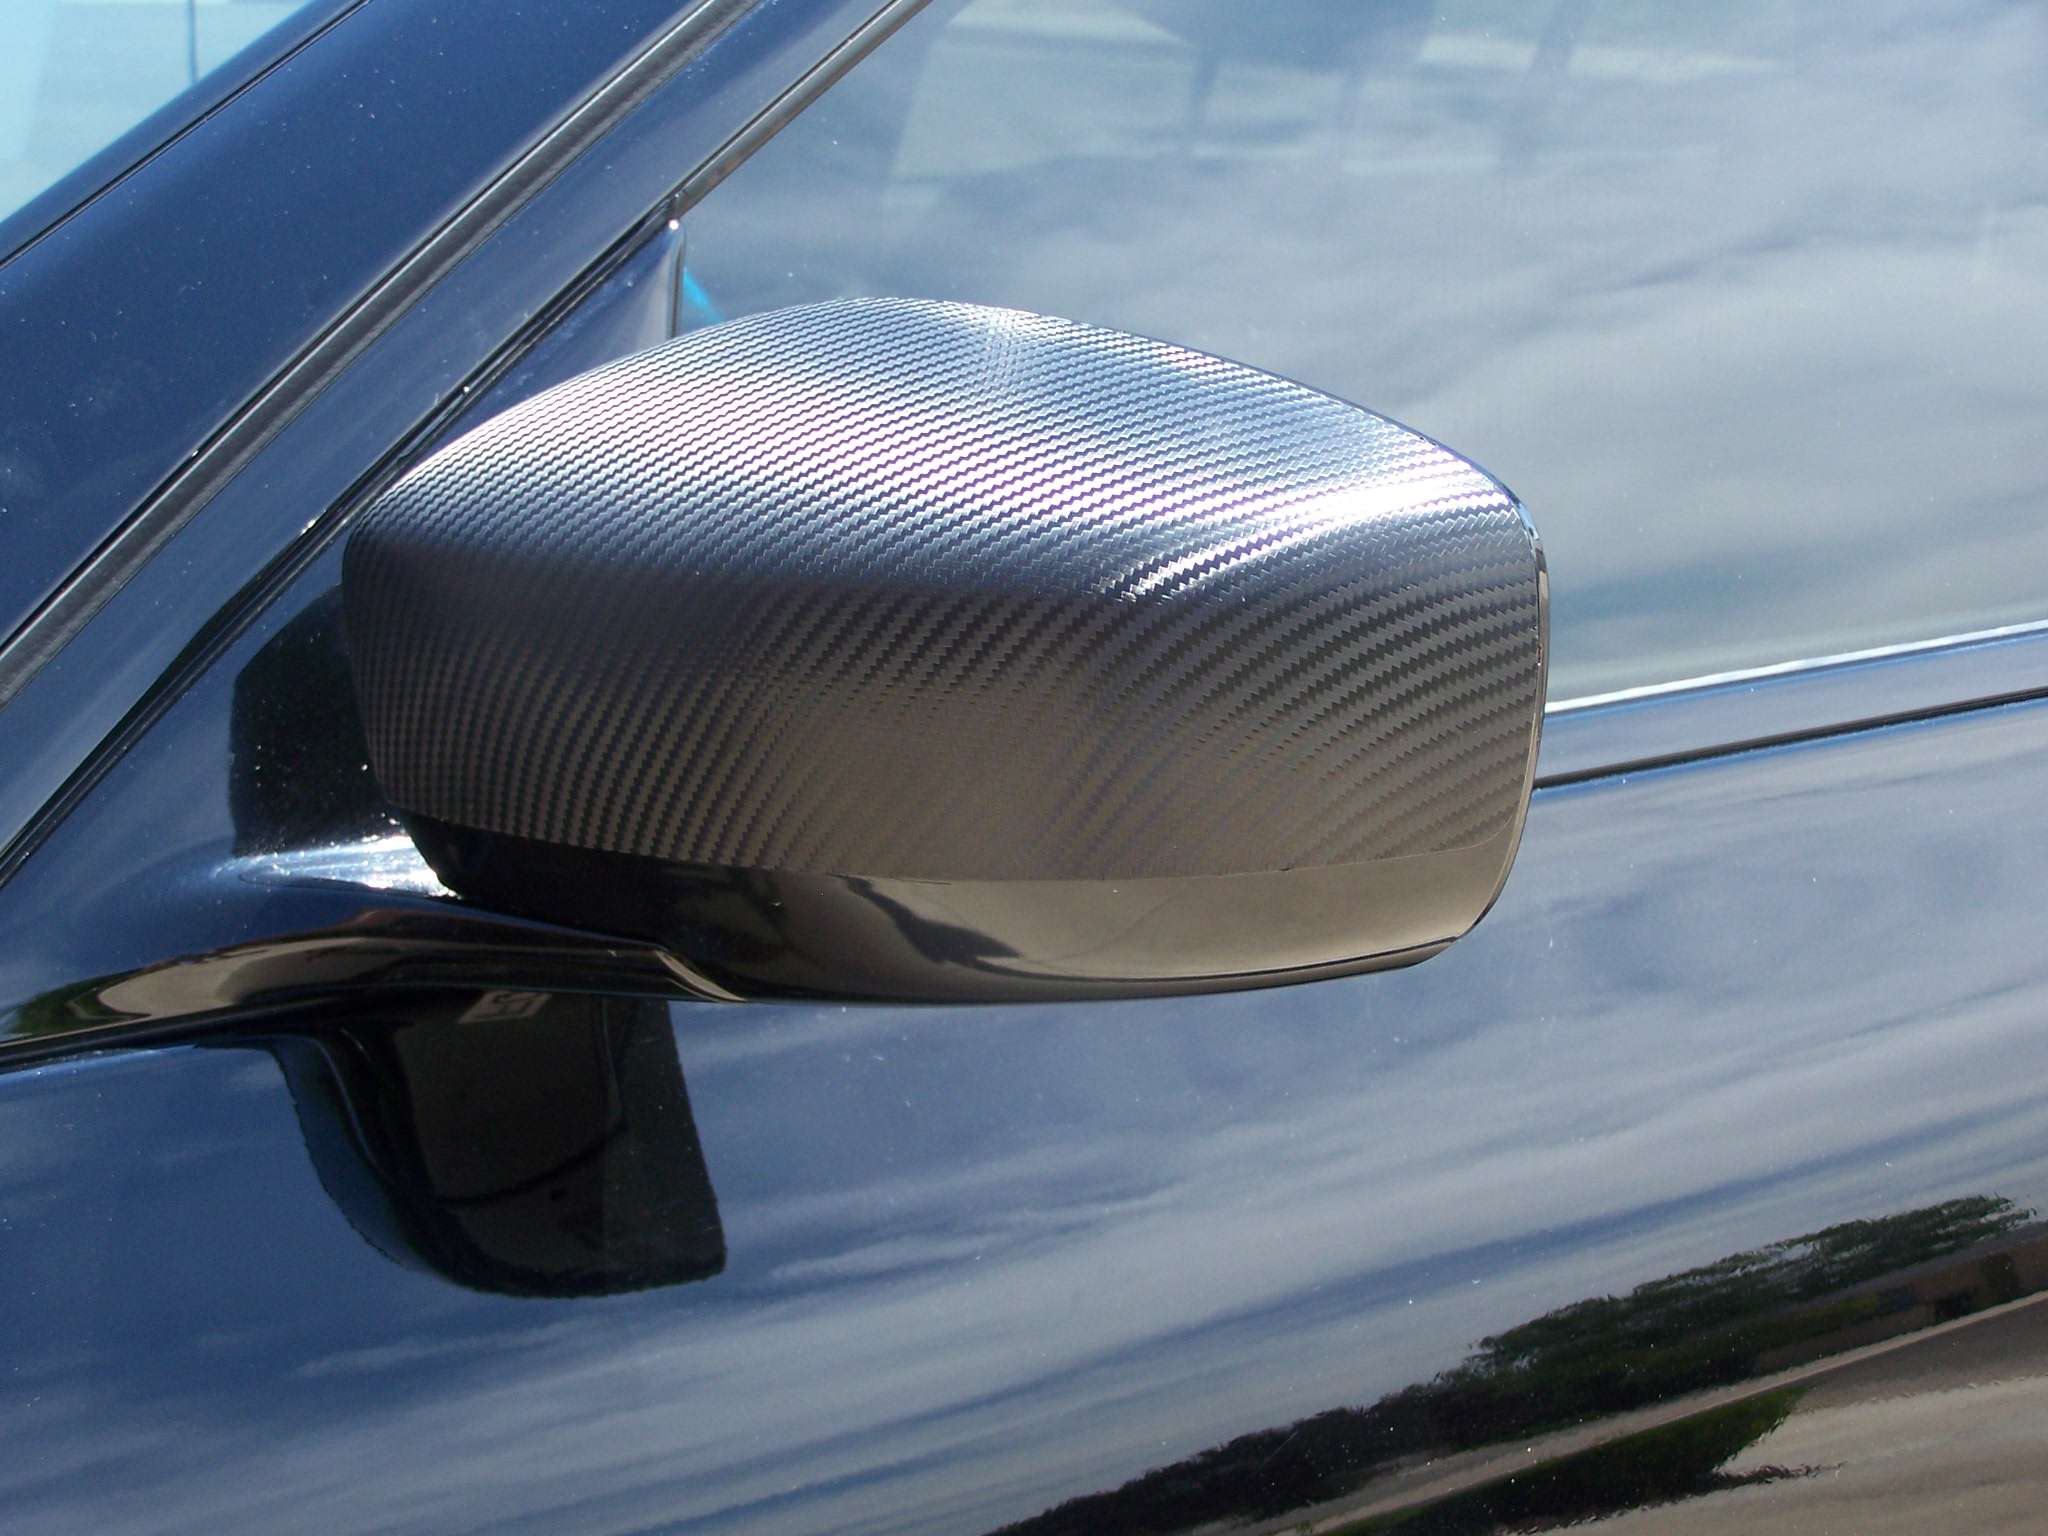
Pressed in channe, final trimmed, then heated to seal
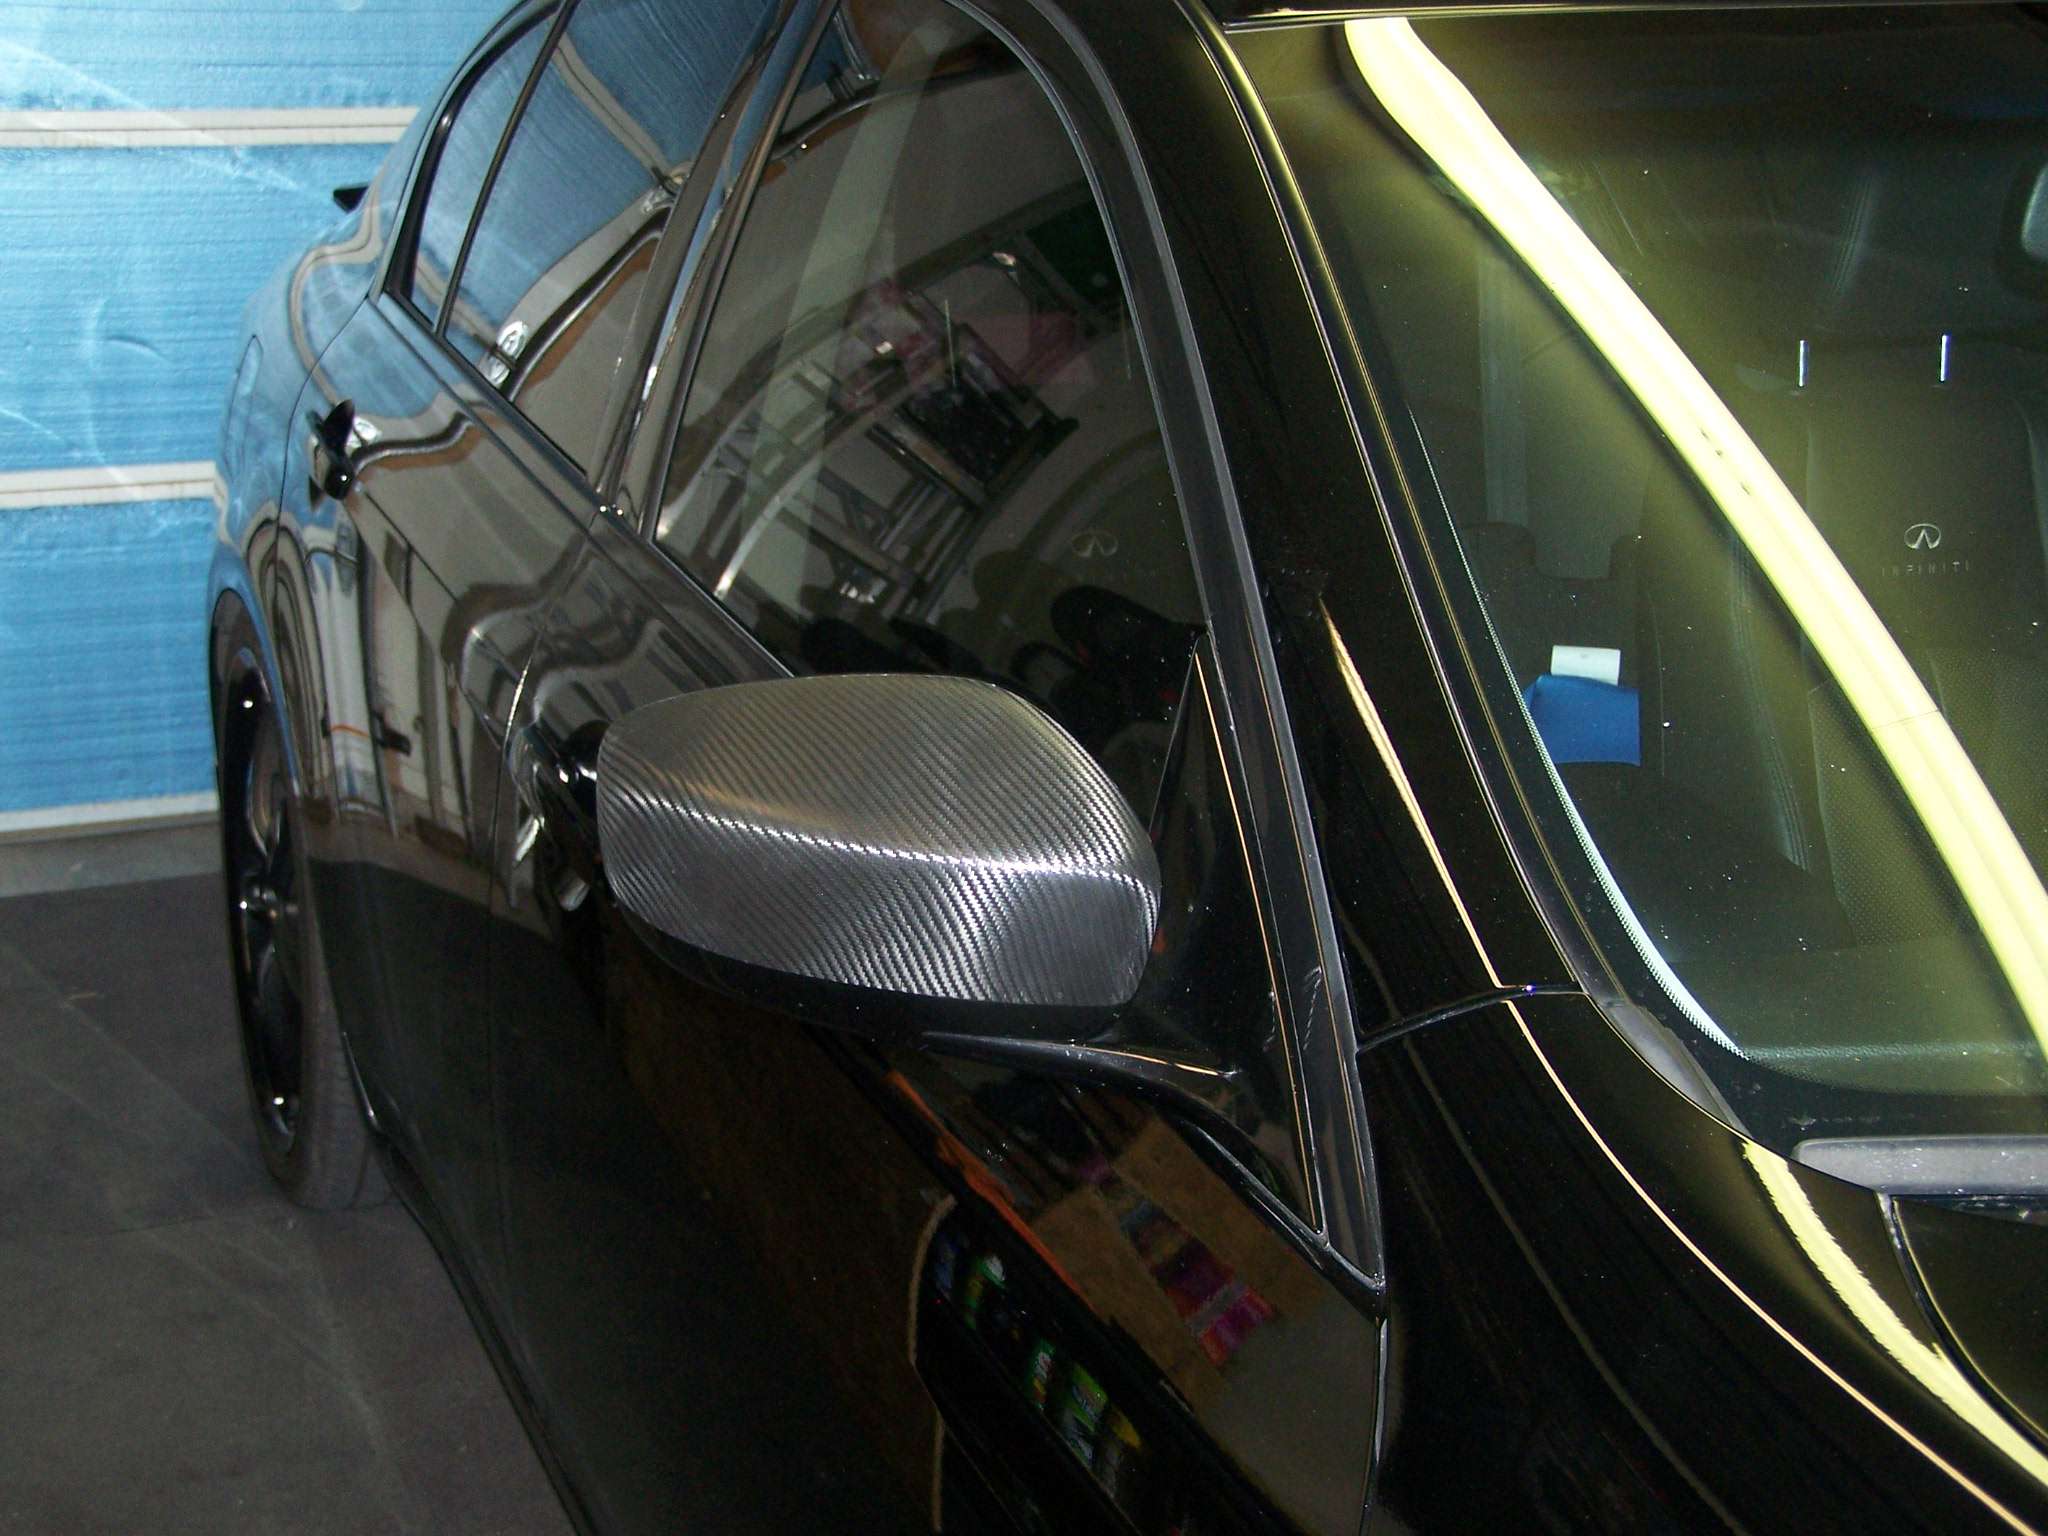
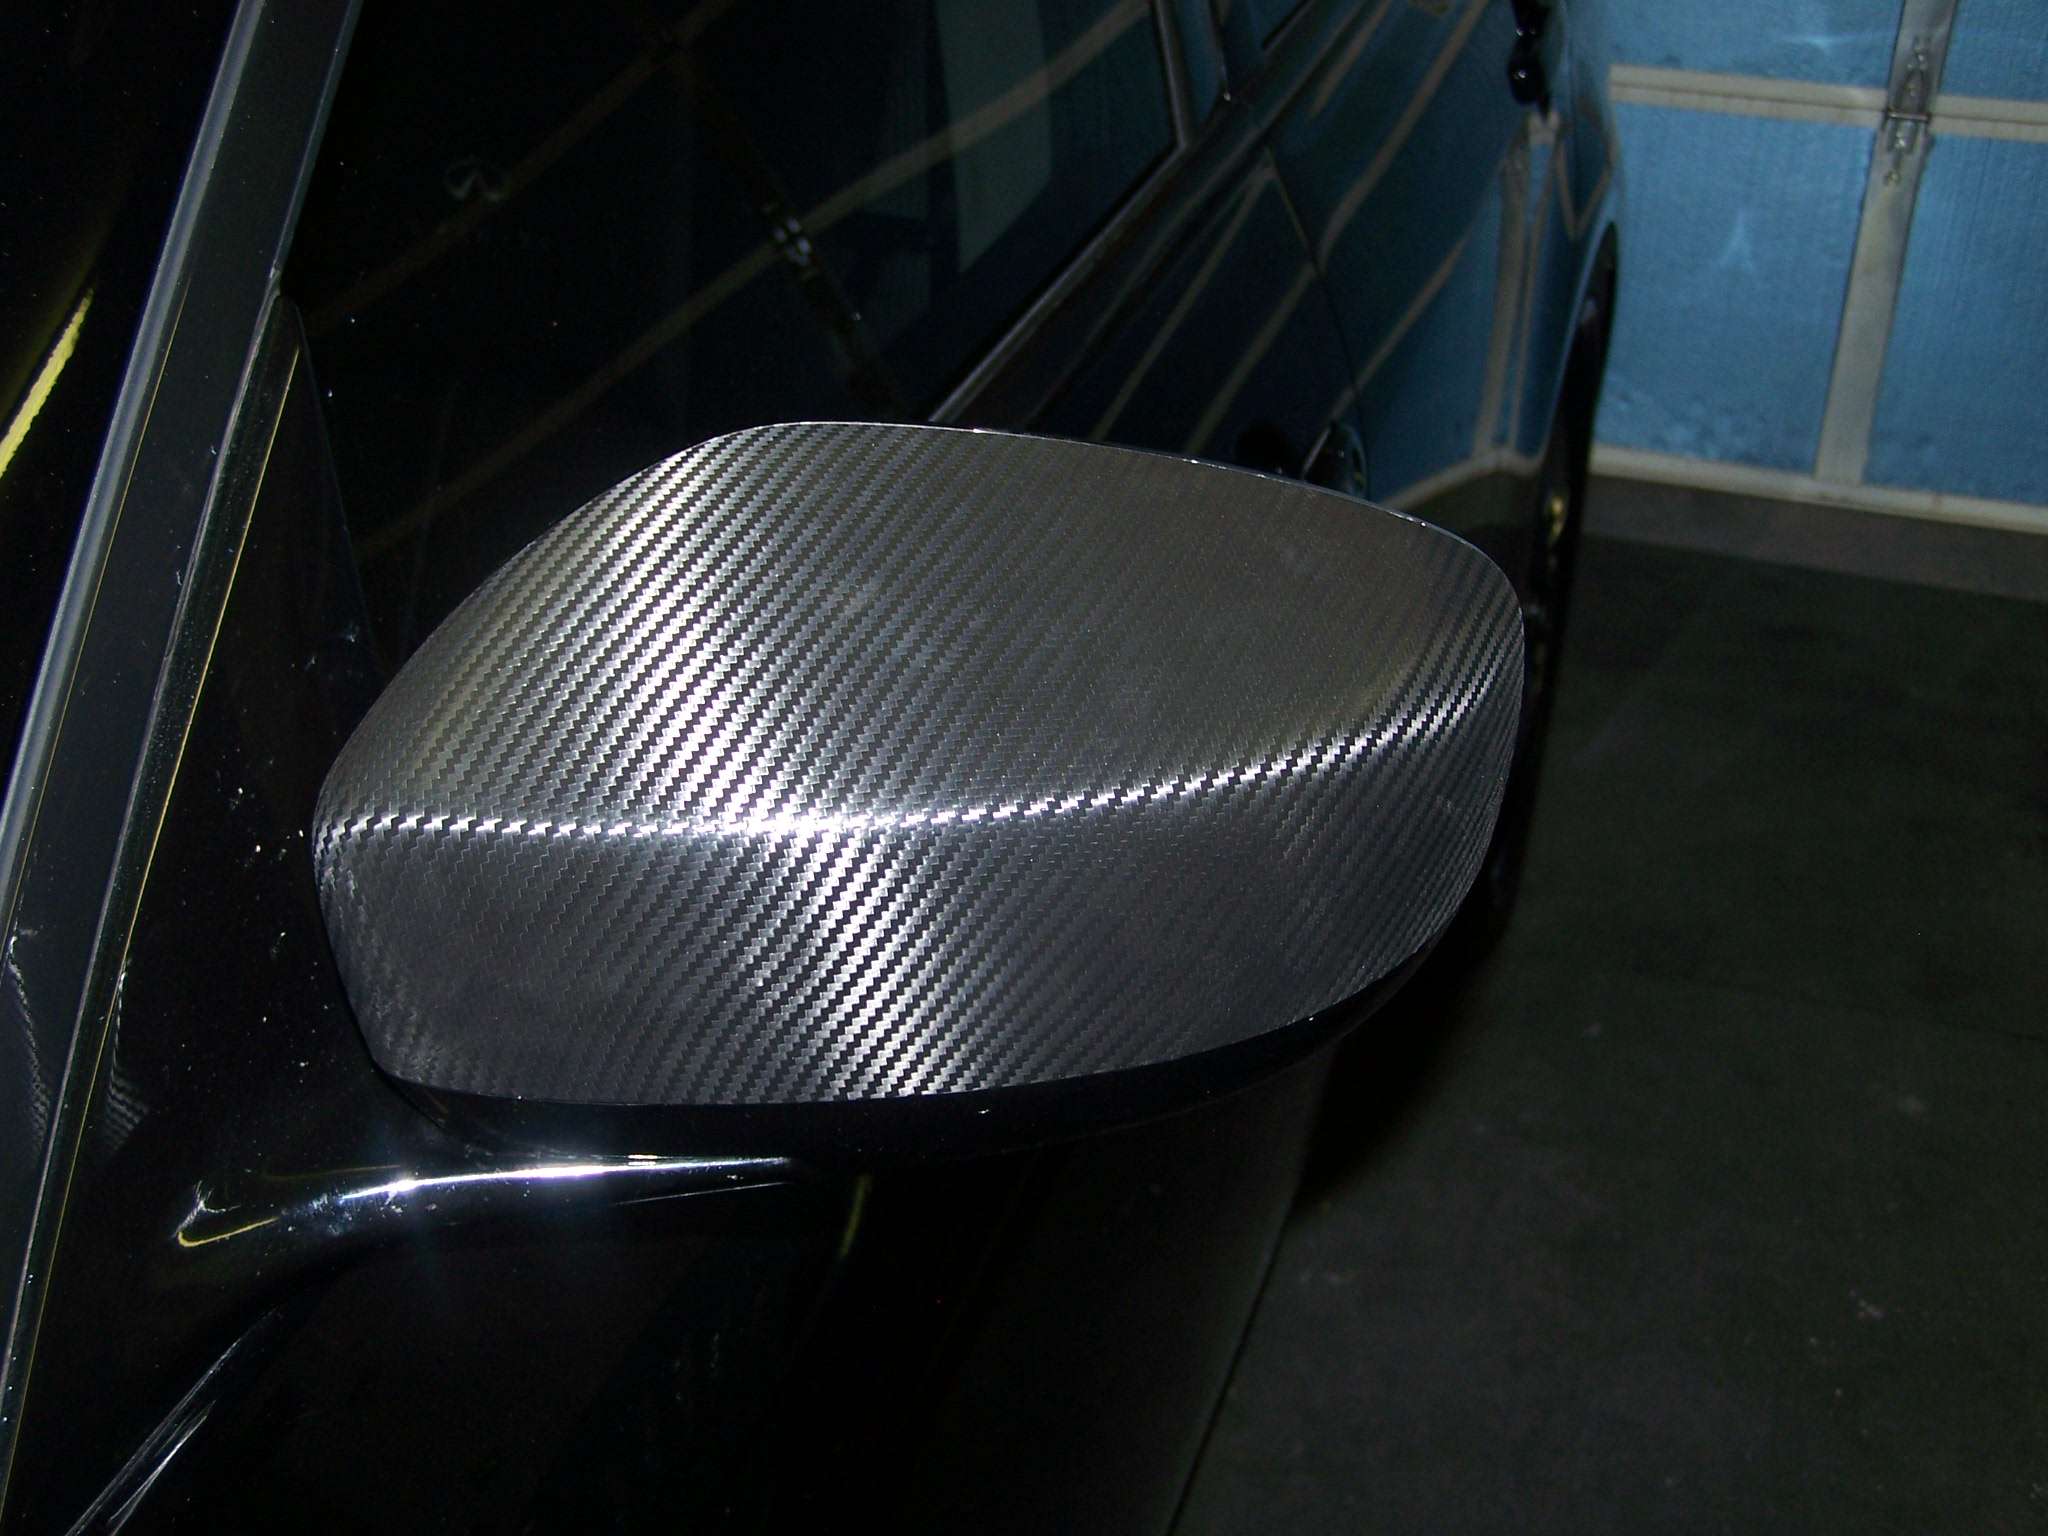
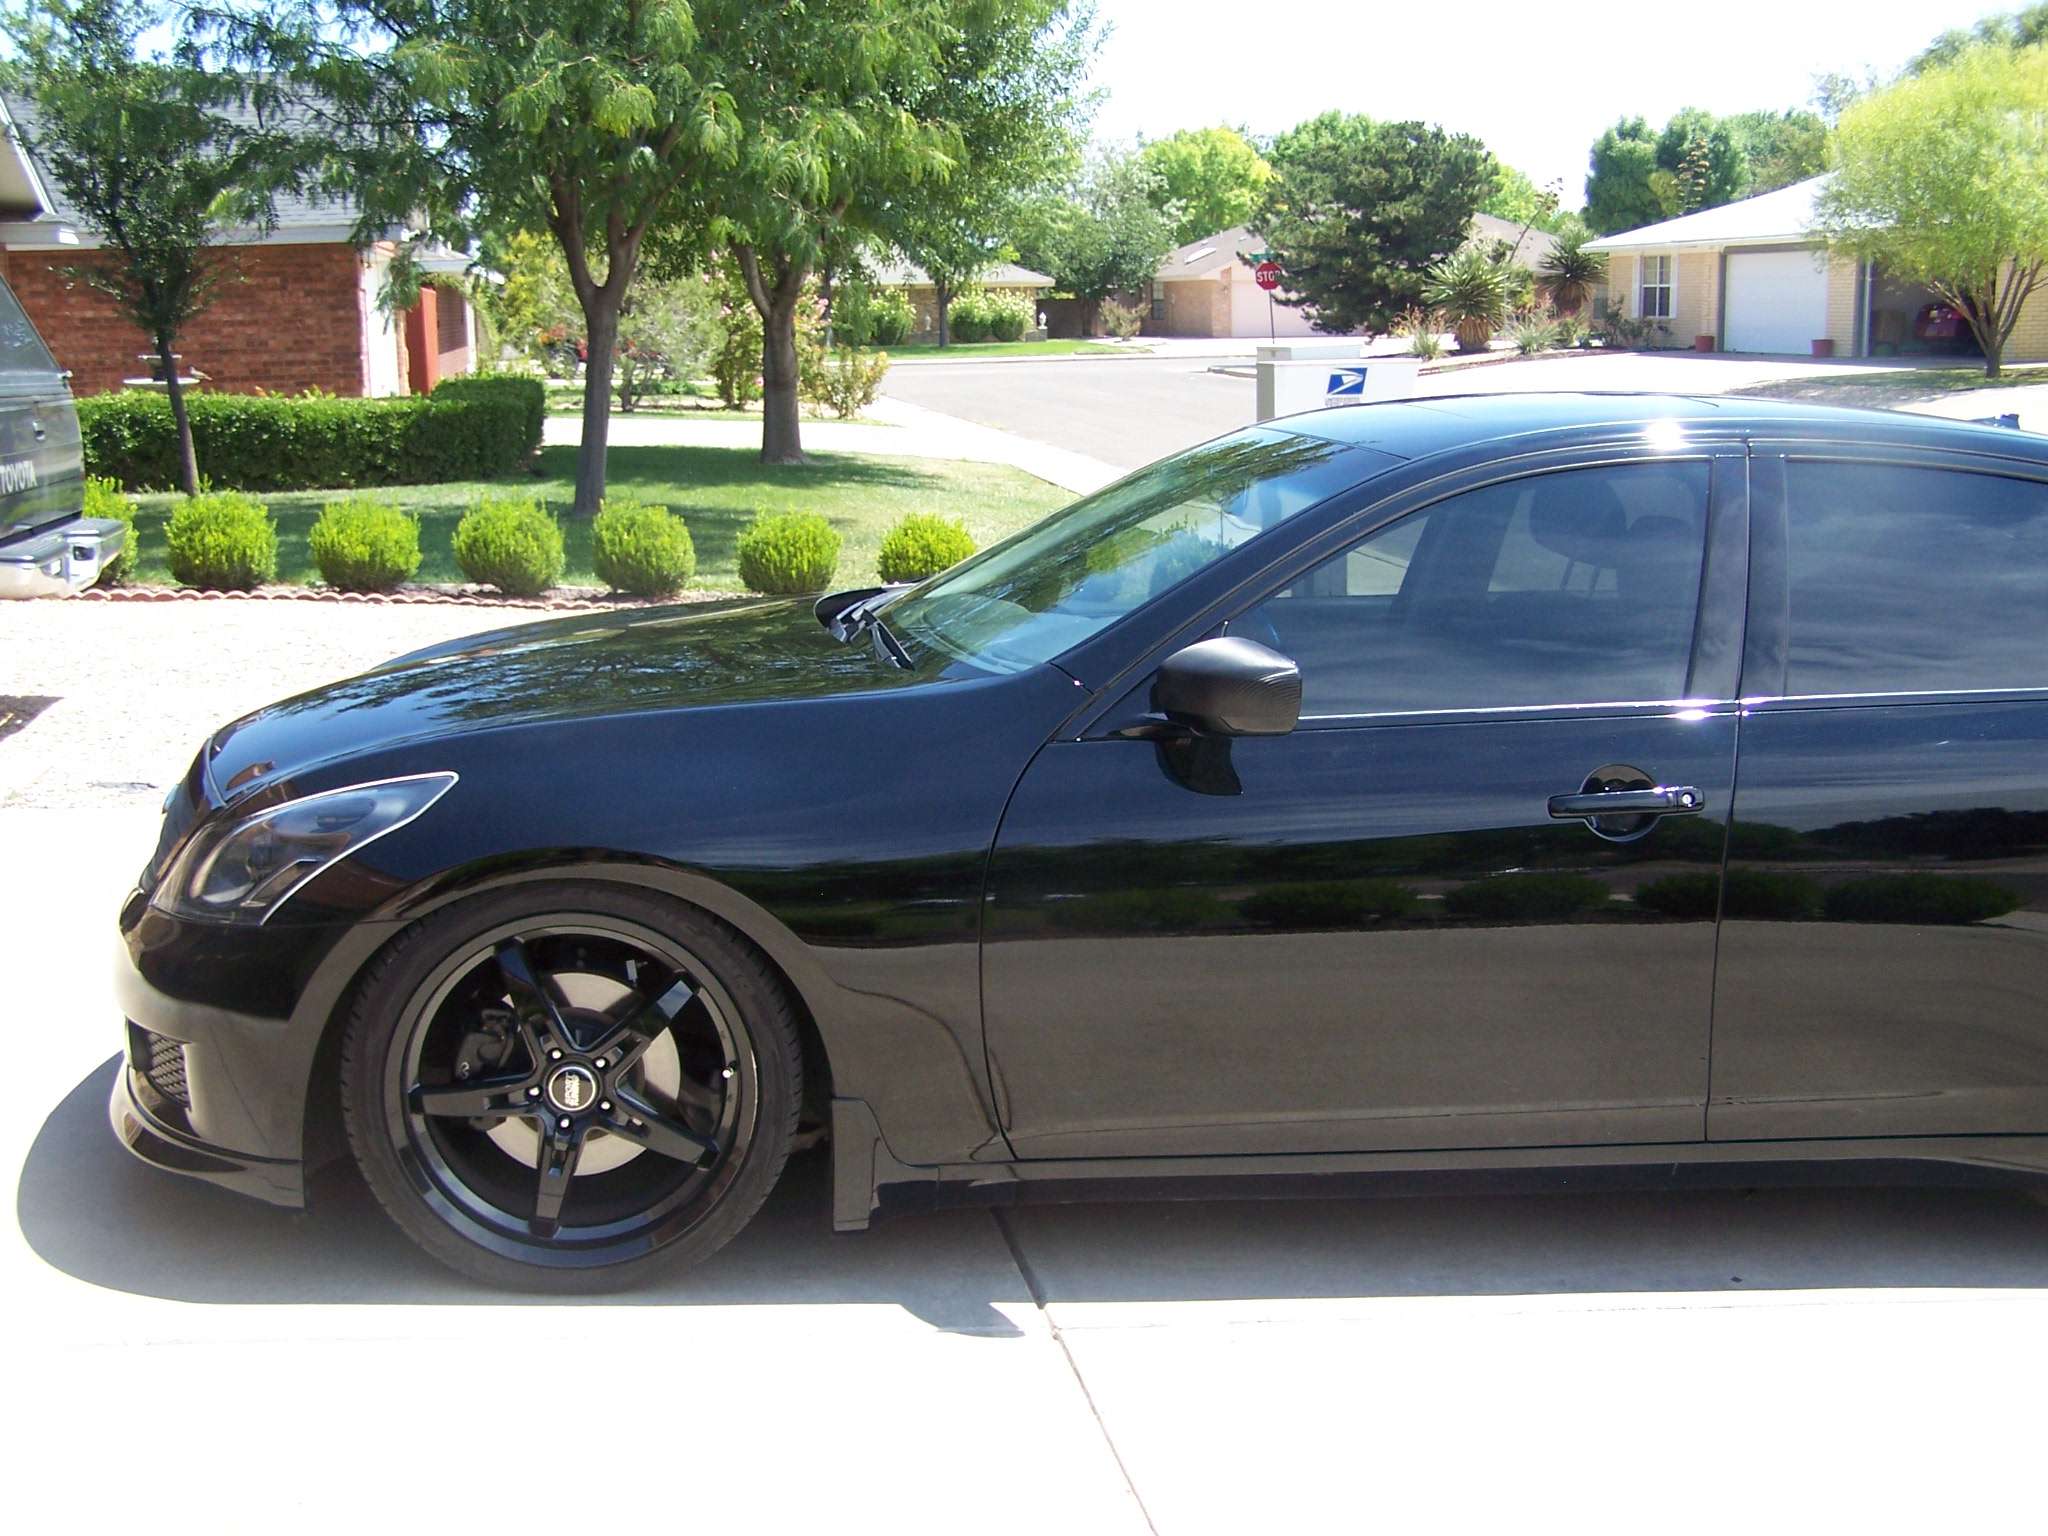
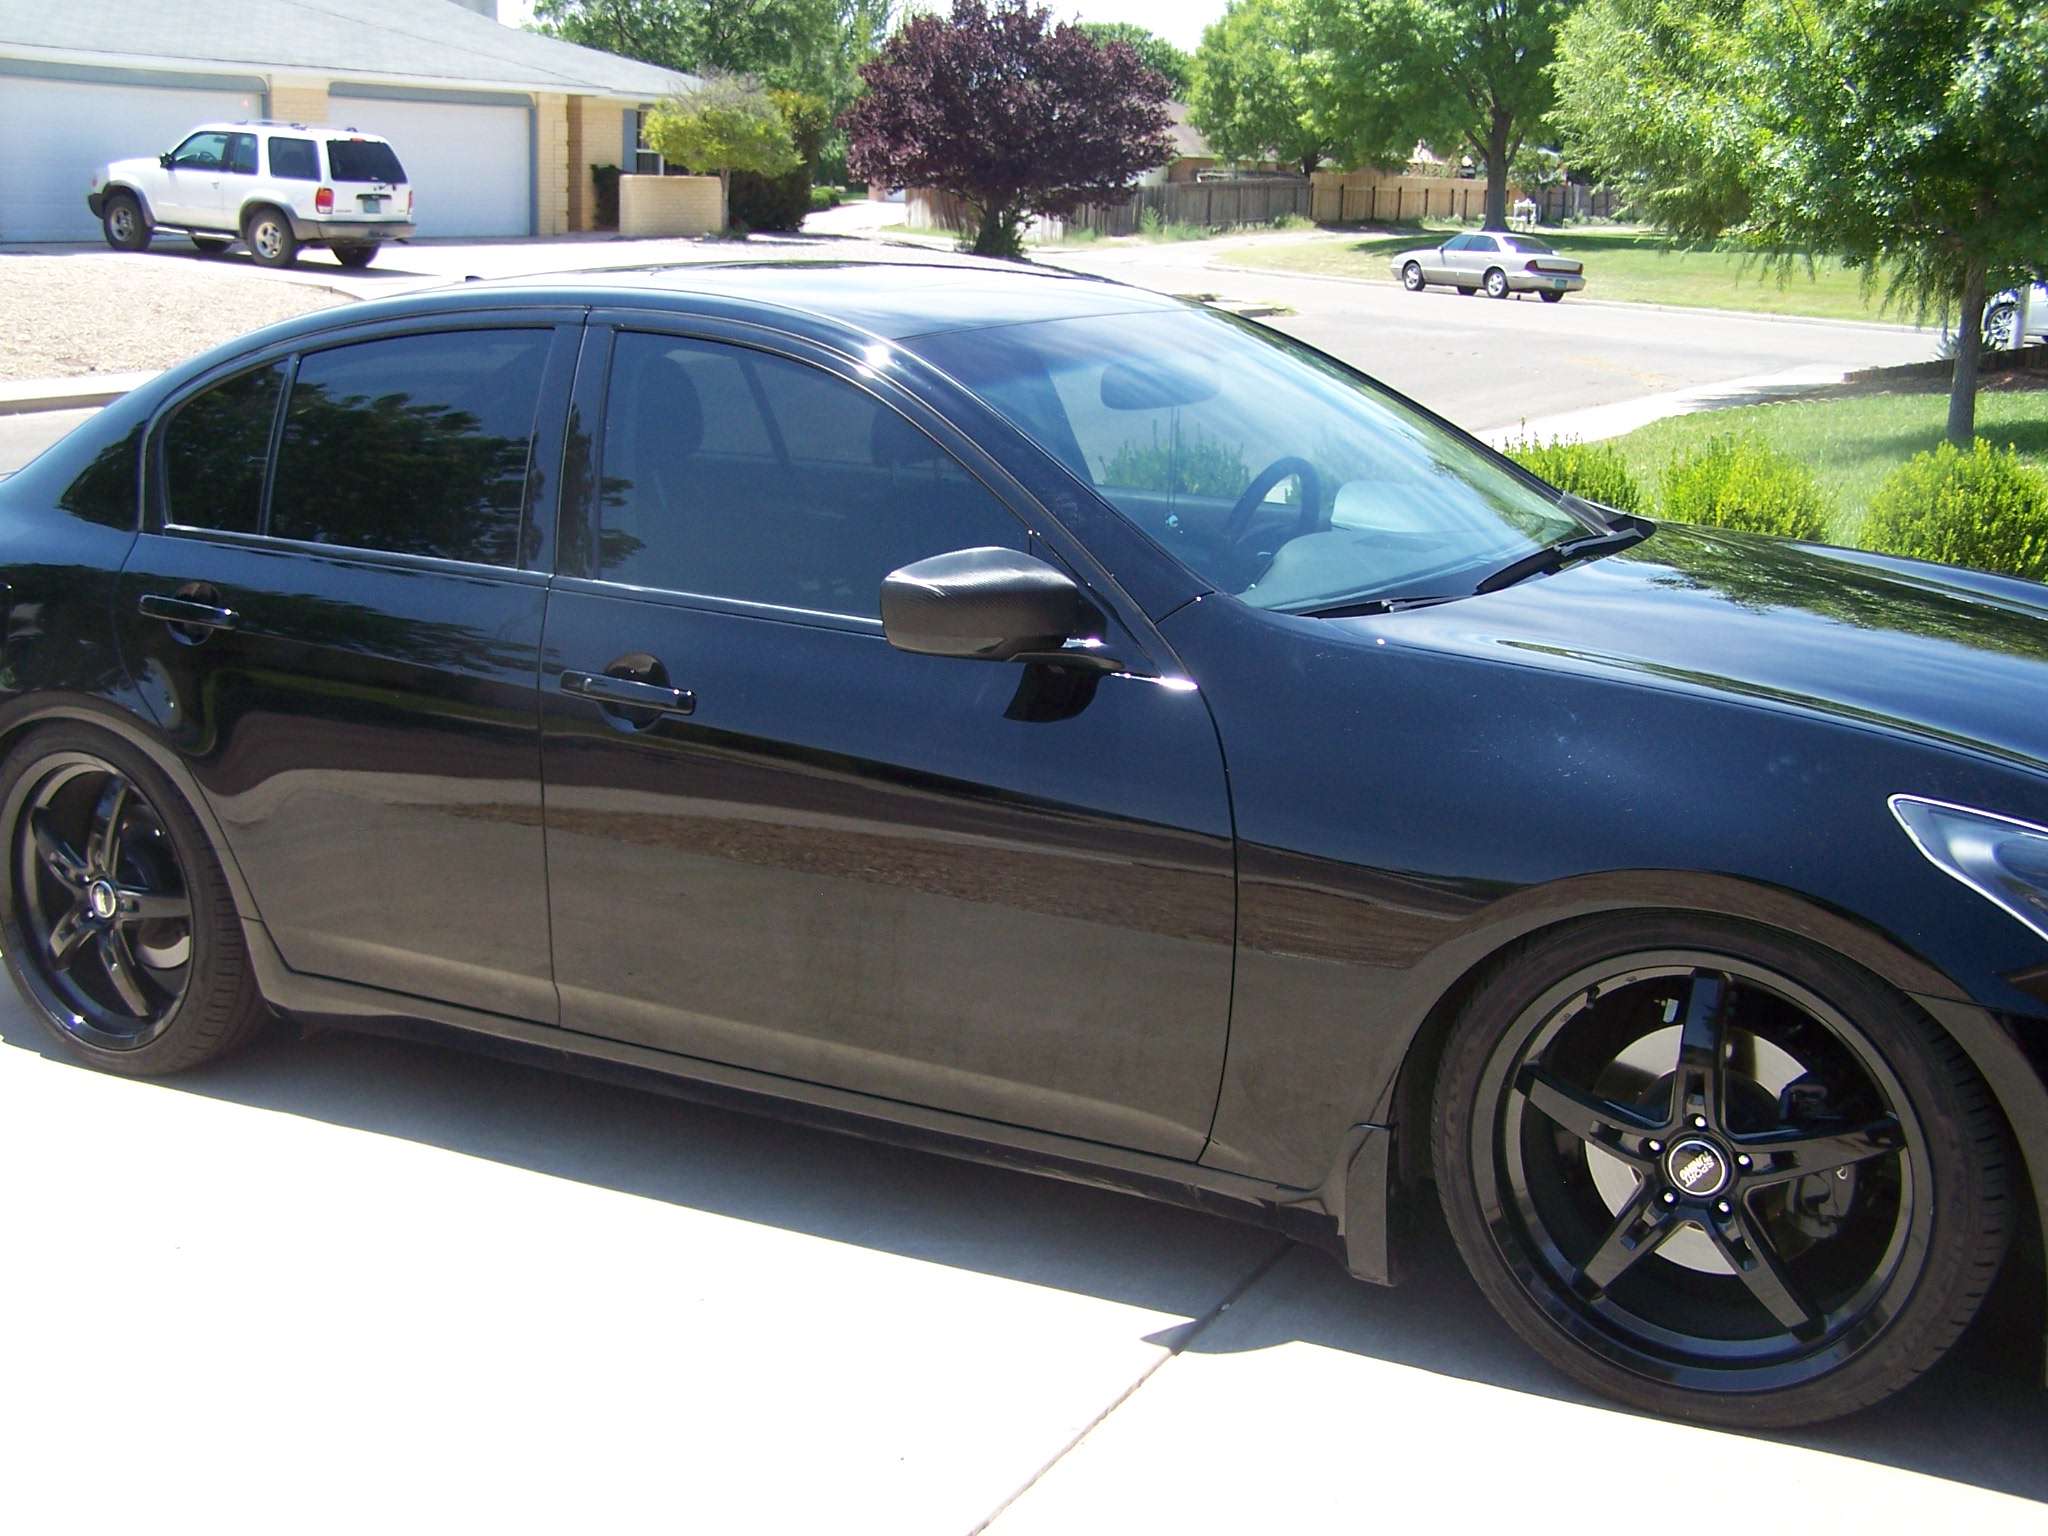
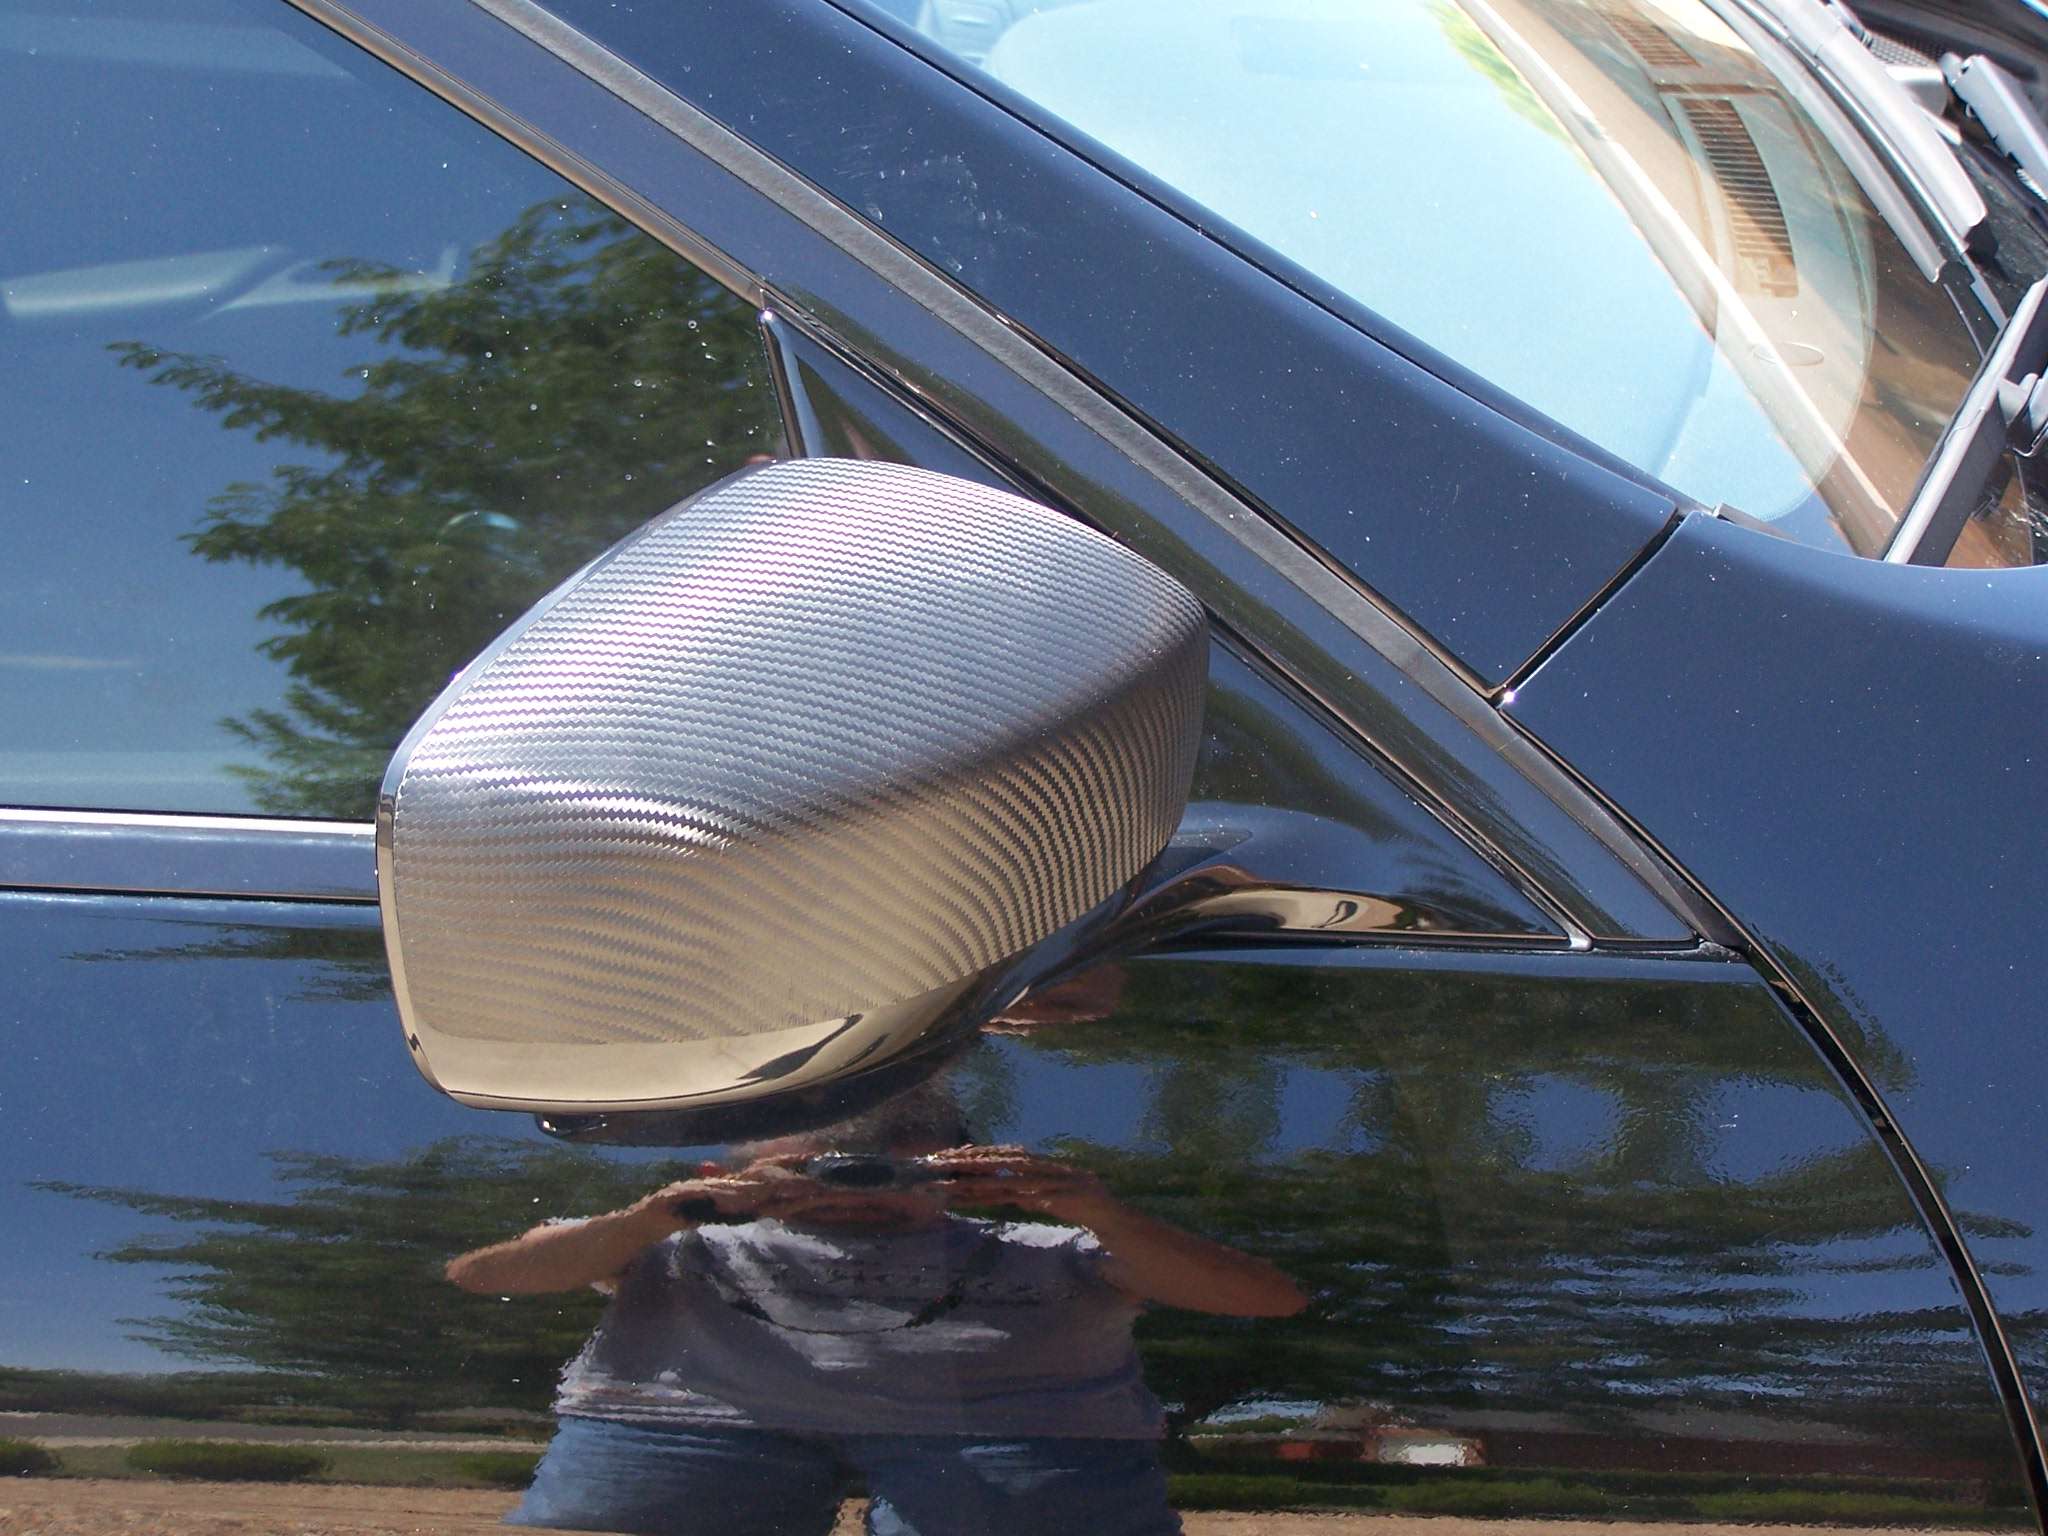
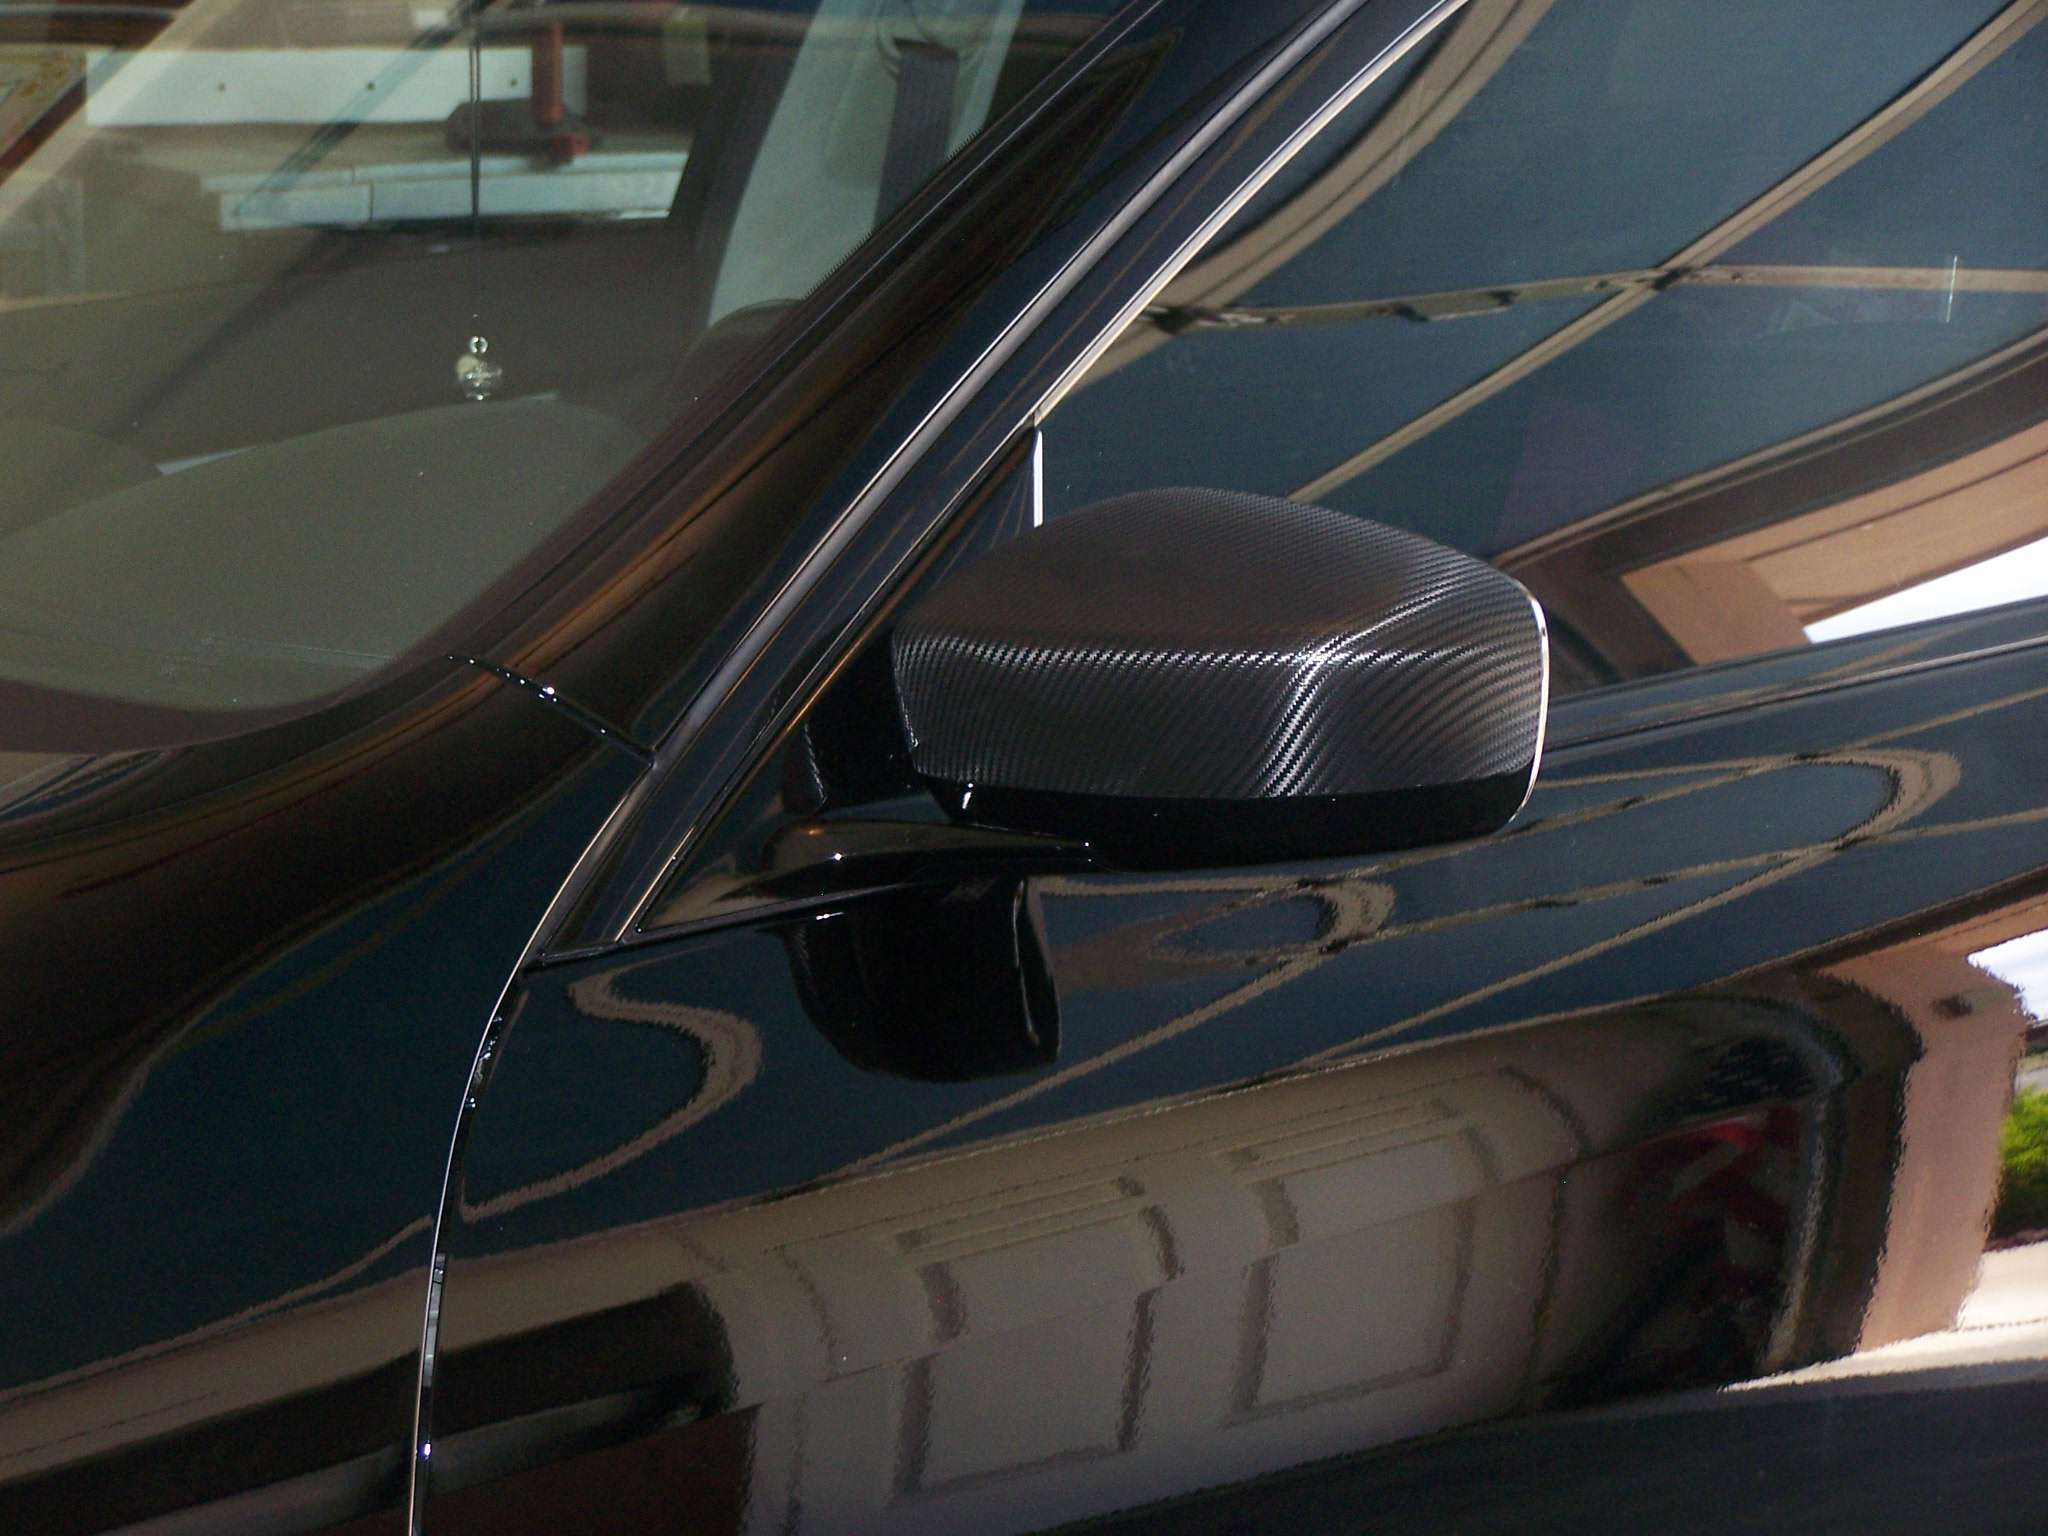
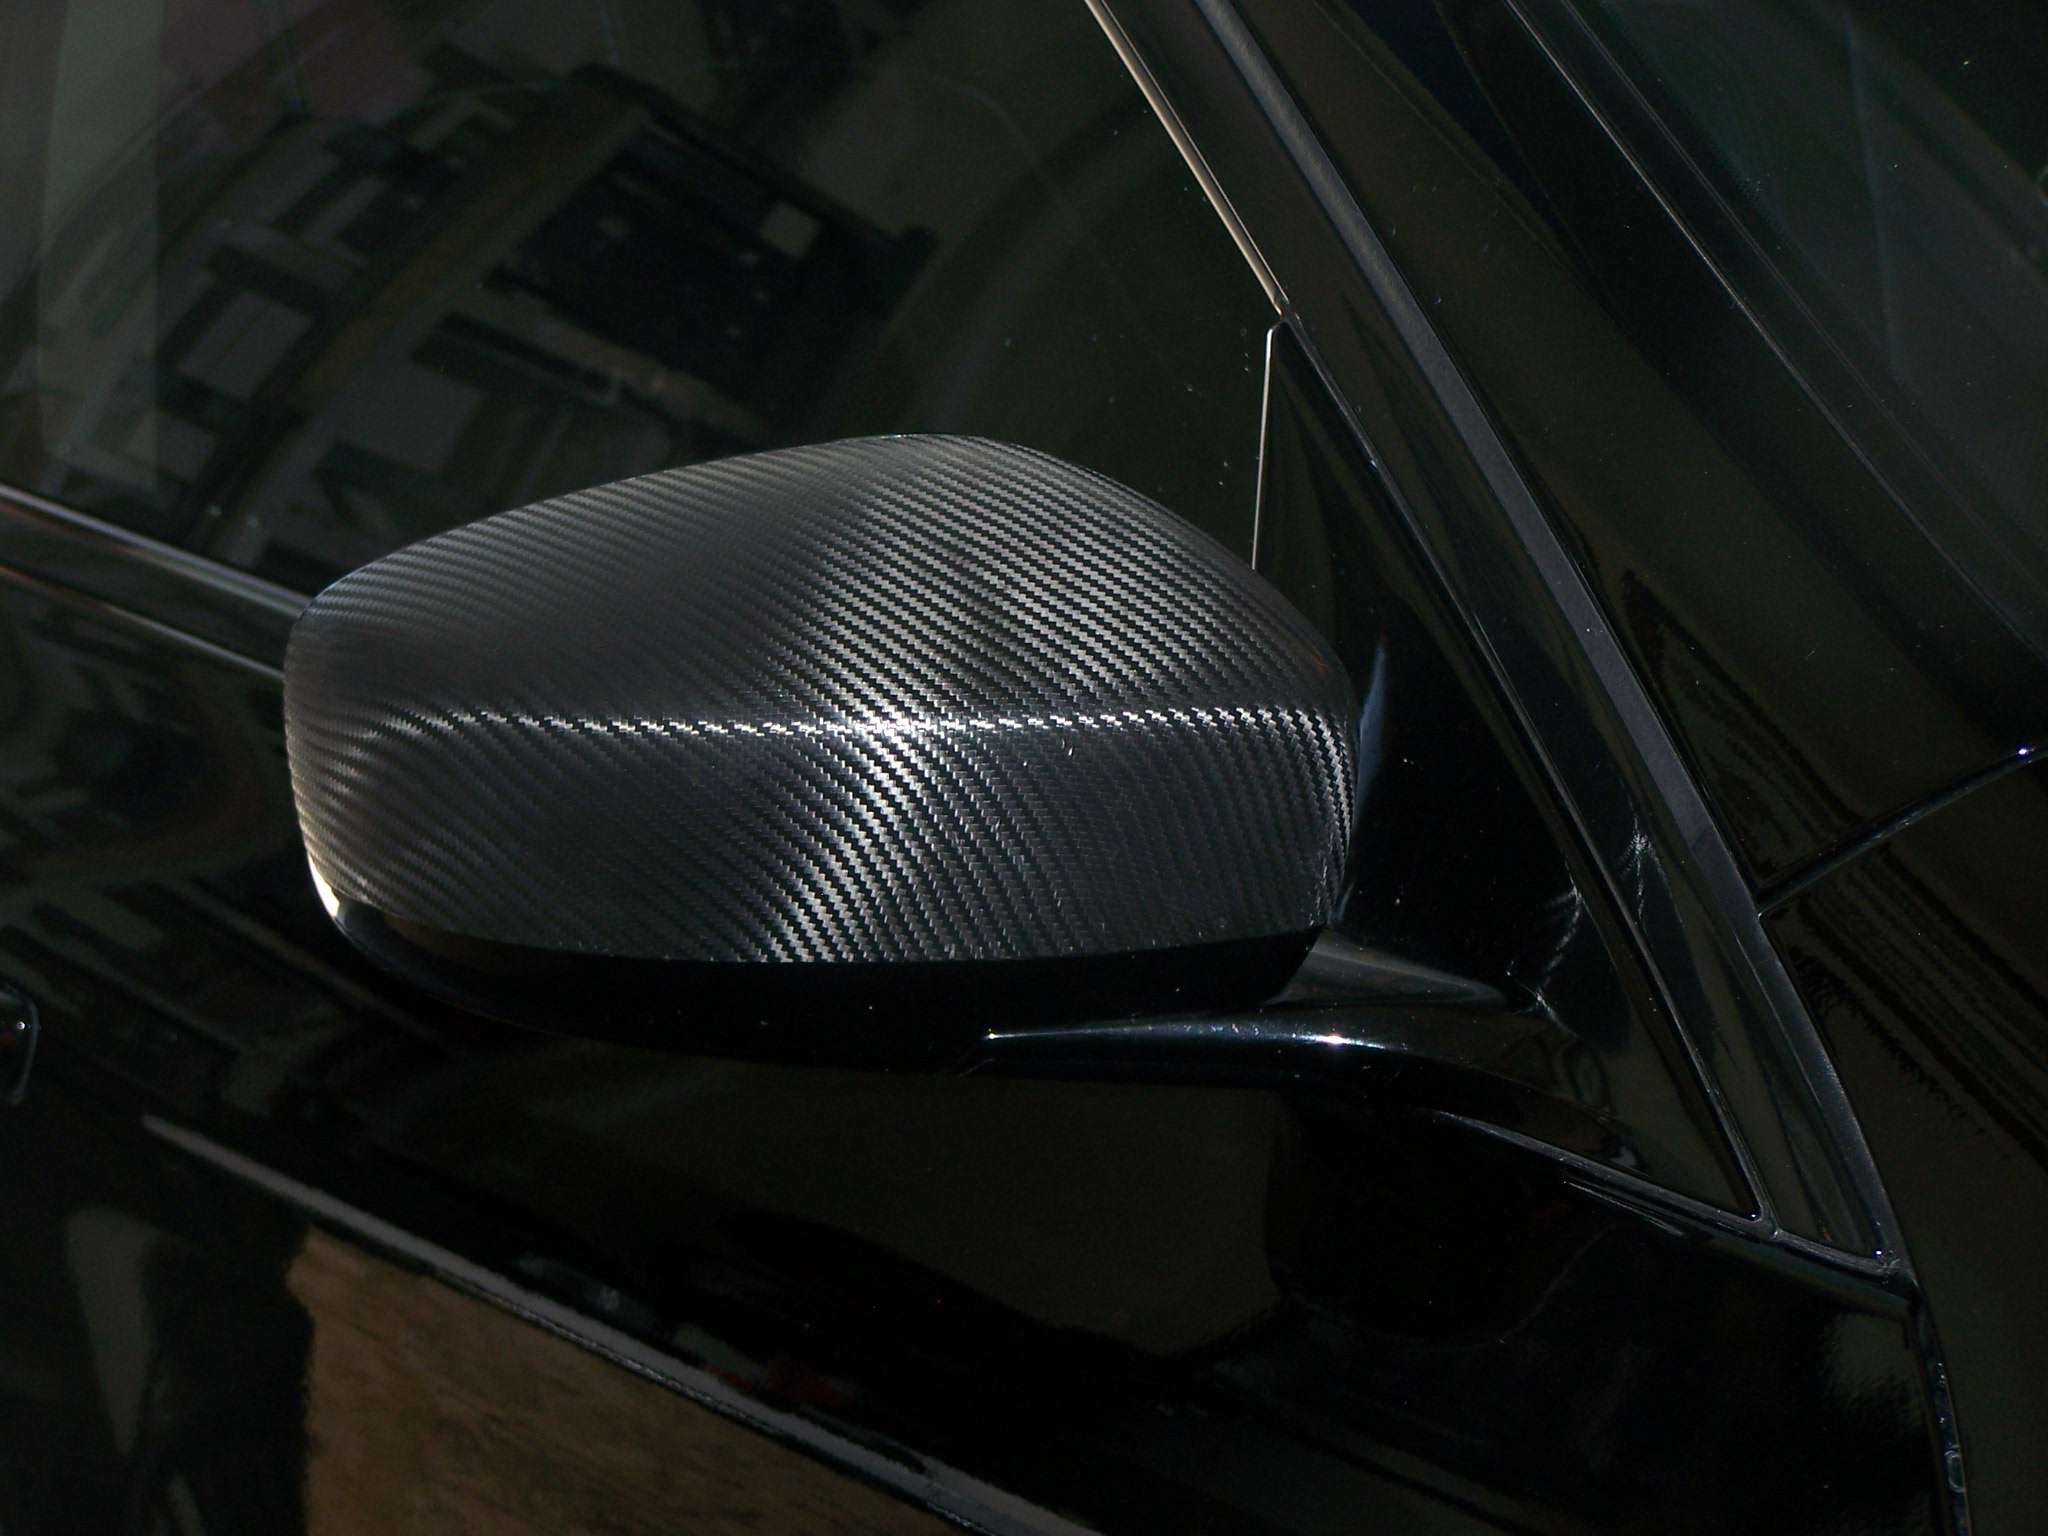
Installed
Once you get the mirror covers removed and then loosely placed back on (you just get those down prongs back into their slots and push the cover forward into the mirror but not far enough to get it locked back into the mirror). be sure to clean entire cover piece w/ rubbing alcohol. The only tools you’ll need are a screwdriver for removing the cover, sharp scissors, a utility knife and a hair dryer.
Here’s a good video for wrapping a mirror (except I strongly recommend removing the cover rather than just trimming it flush like they did).
Now let’s get started:
Get a helper, remove the backing and heat the vinyl on high w/ your hair dryer long enough to make it pliable (about 5-10 seconds) be sure to heat entire sheet as evenly as possible. Now LIGHTLY stretch entire sheet while making sure you’re all lined up on the bottom and have sufficient room on all edges. Don’t press any vinyl down until you’re happy with its’ initial placement, it’s no problem lifting it up and re-applying but keeping this to a minimum will give you better results. If you have to pull it up be sure to lightly reheat it to keep it stretchy. While stretching try to keep the vinyl tight and wrinkle free as you wrap as much of the mirror as you can, the video is excellent in that regard. Push out wrinkles from the center outward and pull up vinyl to the end of a wrinkle and push the wrinkle out as you go along. Around the upper corners it likes to bunch up a bit, this is a good place to heat and pull to get rid of the wrinkles. Only use heat when you really need it, if you keep heating/pulling/lifting several times over, the vinyl will get more rigid and won’t comply. This is why you want that initial laying down of the wrap to cover as much of the mirror as possible. Once you work all the wrinkles out it’s time to remove the cover and trim & seal the edges. Scissor trim around cover so you have about a 1/4” of vinyl hanging over edge then run your thumbnail along the groove so you get a well defined edge all along the sides and upper mirror cover channel. Then press along the bottom edge to you get a nice crease to wrap that edge under the cover. Once you get everything pressed down and creased you then final trim the vinyl, trim it flush to the edge where it’s channeled and about 1/8” where it’s wrapped under. You then use the hair dryer on high and work about 2-3” at a time pressing the hot edge tightly around the cover, this will seal the vinyl to the mirror cover. Just carefully reinstall mirror cover and you’re done! It’s not too hard once you get the hang of it, but you might need that extra vinyl after all in case you have to retry
Here's the opposing weaves
Cover removed
Cover replaced so upper edge isn't locked in
Wrap laid down and almost wrinkle free
After the scissor trim
Pressed in channe, final trimmed, then heated to seal
Installed
Last edited by blnewt; Aug 29, 2012 at 04:42 PM.

Looks good man and nice write up. I'm wanting to wrap my radiator cover in CF and engine cover as well. I'm just not sure how it's going to hold up to the heat in the engine bay.
Not sure about heat in the engine bay but the CF vinyl is made for exterior wraps and we know how hot a black hood can get in the Arizona summer.
That would be a good question for someone over at 3m, they should be able to give you an answer.

 )
)
Trending Topics


Thanks, but this is a pretty old thread now and I've since moved on to hydrographic (aka Hydro Dipped) mirror covers, but not that happy w/ them so I may just go back to paint-matched covers


Thread
Thread Starter
Forum
Replies
Last Post