
DIY: Installing window trim vinyl wrap 07+ G Sedans


 The window DIY has the measurements laid out, and although getting everything drawn up & cuto out takes a fair amount of time it's not too bad. The rear valance I only have for the 07-09 Sedans.


Registered User
Joined: Mar 2014
Posts: 20
Likes: 7
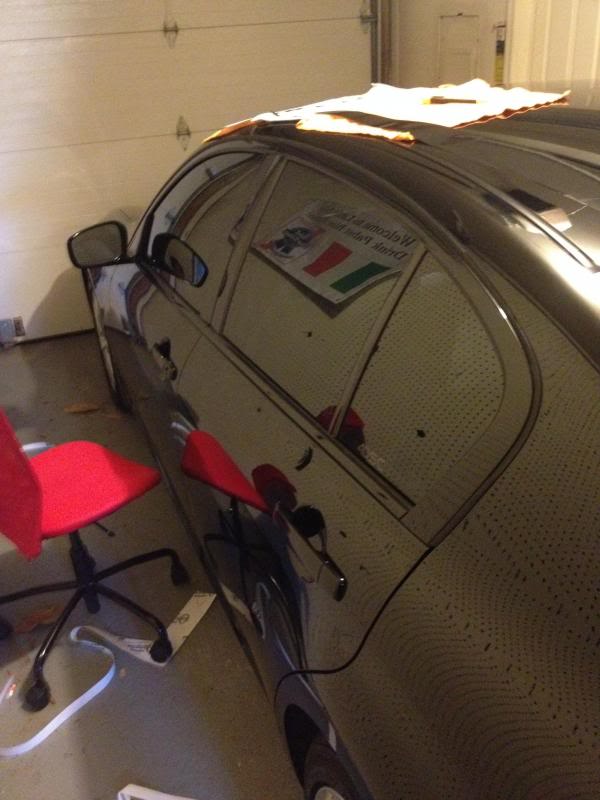
First off, thanks blnewt for this awesome DIY! I decided to give it a go on my 2010 moonlight white sedan and it turned out great. The only trouble I had was working with the vinyl in 20 degree weather.. I just got the car last month so the weather can't hold me back from my Christmas list of mods.
Take a look and let me know what you think. (sorry for the dark garage pics, I didn't want to park it out in the snow )
Take a look and let me know what you think. (sorry for the dark garage pics, I didn't want to park it out in the snow
)

Registered Member

Joined: Nov 2013
Posts: 23
Likes: 6
Thanks zmanfarlee! For $15 and about two hours time, I'd say this is definitely a must-have mod for the moonlight white! Along with slightly tinted windows and a midnight grille, it really separates it from the boring chrome-on-white sedan I started with.
Here's a few more pics to help persuade you
Here's a few more pics to help persuade you


Registered Member
iTrader: (8)
Joined: Dec 2010
Posts: 1,871
Likes: 223
From: Katy (close to Houston)

Registered Member


Joined: Apr 2011
Posts: 1,852
Likes: 453
From: US
Finally got around to this, only 1/2 way done but my impressions/comments:
Question for Blnewt: Can you at all elaborate on technique for trimming of the upper edges of sections "C" & "D"? I kinda just stuck the razor blade in between the chrome piece and rubber seal and slid it down the length of the window, but it didn't come out that clean and in a spot or two I actually sliced a little bit into the rubber. Am I missing something or just need to figure it out with experience?
Prop get to the passenger side during the week
- The 3M vinyl is a remarkable product and is very lenient on bubbles & creases -- I frequently "blotted" out surface irregularities by simply rolling my thumb over them slowly with slight pressure. The stretch is also useful. AND the gloss finish is very nice looking
- Before starting, I suggest you mess around with the rubber trim around the windows to get a good feeling of how you can move them around when tucking the vinyl. See which direction is easiest to pull the rubber away from the chrome trim, and how much force is actually required (use as little as possible so you don't pull out or deform the rubber trim) HINT: opening the doors &/or lowering the windows work wonders in some cases, esp the top of the windows
- Although tools are very useful, use you fingers/fingernails as much as you can to manipulate the rubber trim when tucking. In some instances, I realized I could've just pulled the trim back with one hand & tuck in the edge of the vinyl, but instead I used a credit card and made some marks/nicks in my rubber trim (barely noticeable but avoidable nonetheless) ... only drawback is tips of your thumbs/idex fingers might get sore.
- Start on the passenger side, may be obvious to some but not to me
 . Your first shot is bound to have some imperfections, why not put them on the side of the car that you rarely see? My passenger side will undoubtedly be better than the driver side since you learn as you go (I'll prob redo "C" & "D" on driver side eventually)
Question for Blnewt: Can you at all elaborate on technique for trimming of the upper edges of sections "C" & "D"? I kinda just stuck the razor blade in between the chrome piece and rubber seal and slid it down the length of the window, but it didn't come out that clean and in a spot or two I actually sliced a little bit into the rubber. Am I missing something or just need to figure it out with experience?
Prop get to the passenger side during the week