
DIY: Installing window trim vinyl wrap 07+ G Sedans


Registered User
Joined: Mar 2012
Posts: 60
Likes: 0
From: city of angels
its actually pretty simple, especially with this diy. blnewt did all the hard work with the measuring/getting it all on one section of vinyl. i was hesitant at first, too. turned out to be easier than i was expecting. plus, looks way better knowing you did it yourself.

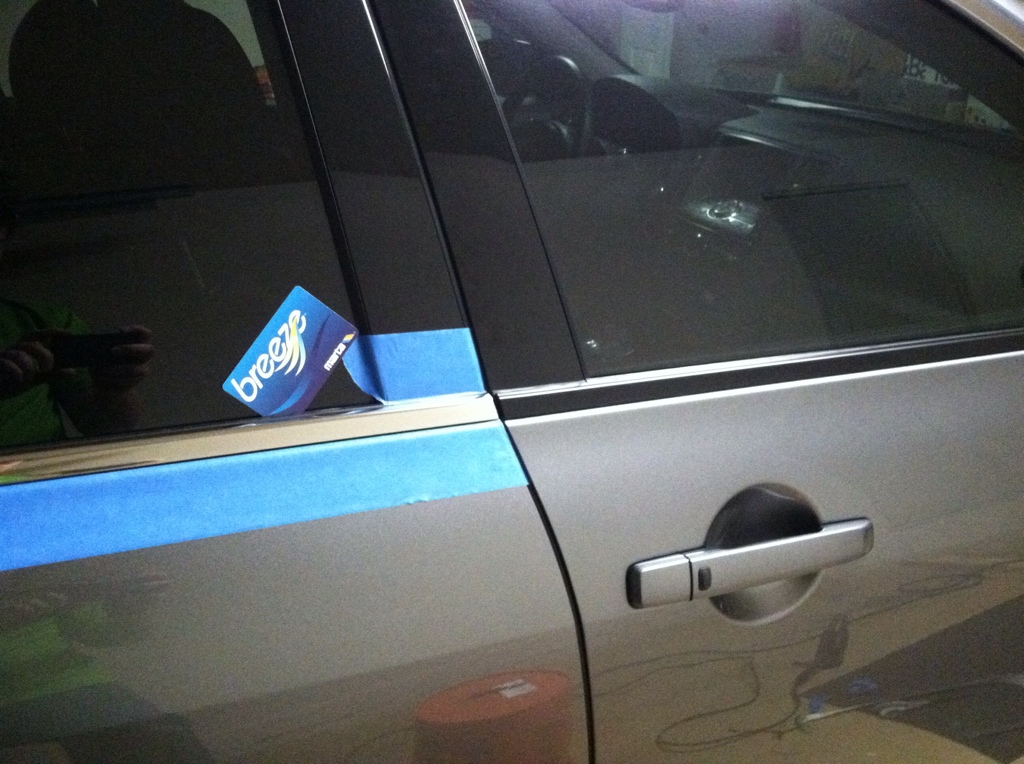


I finally made the decision to give this DIY a try. Thanks blnewt for the great write up.
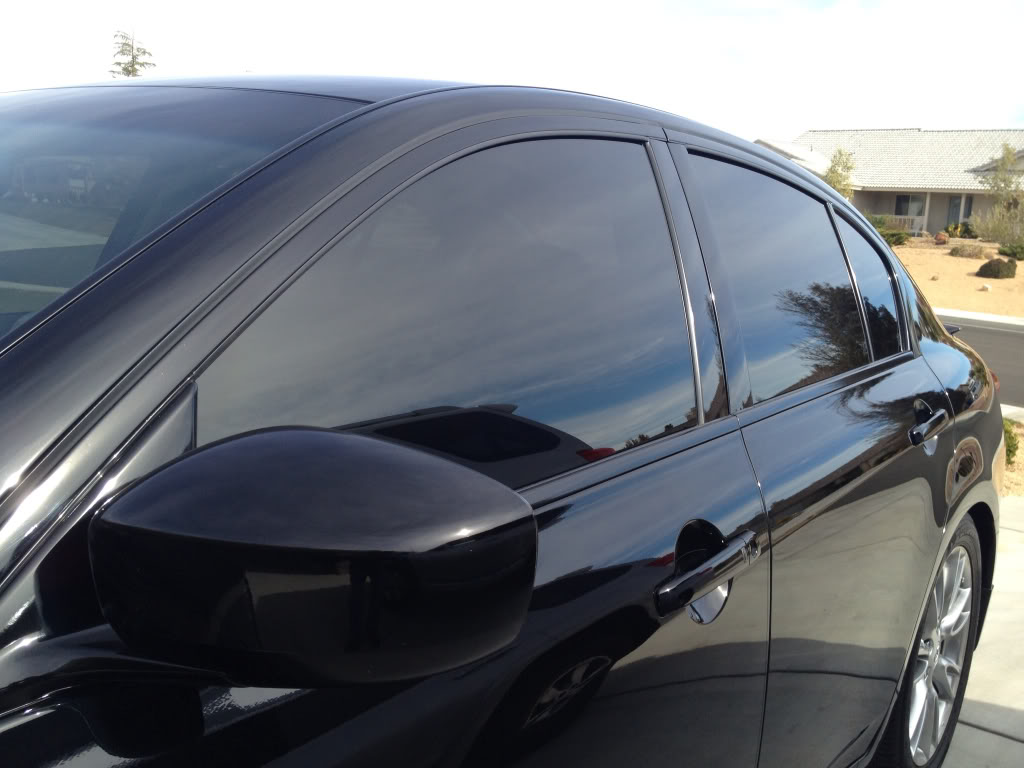
Before
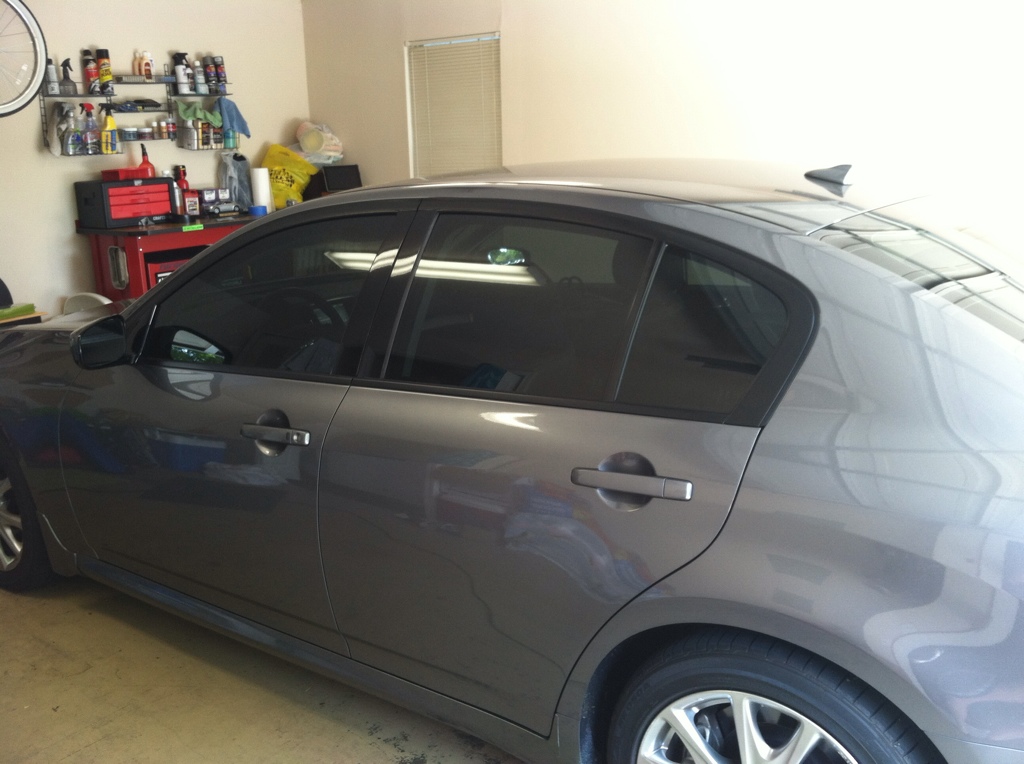
After
Next up...midnight grill. Little worried about that one but willing to give it a try.
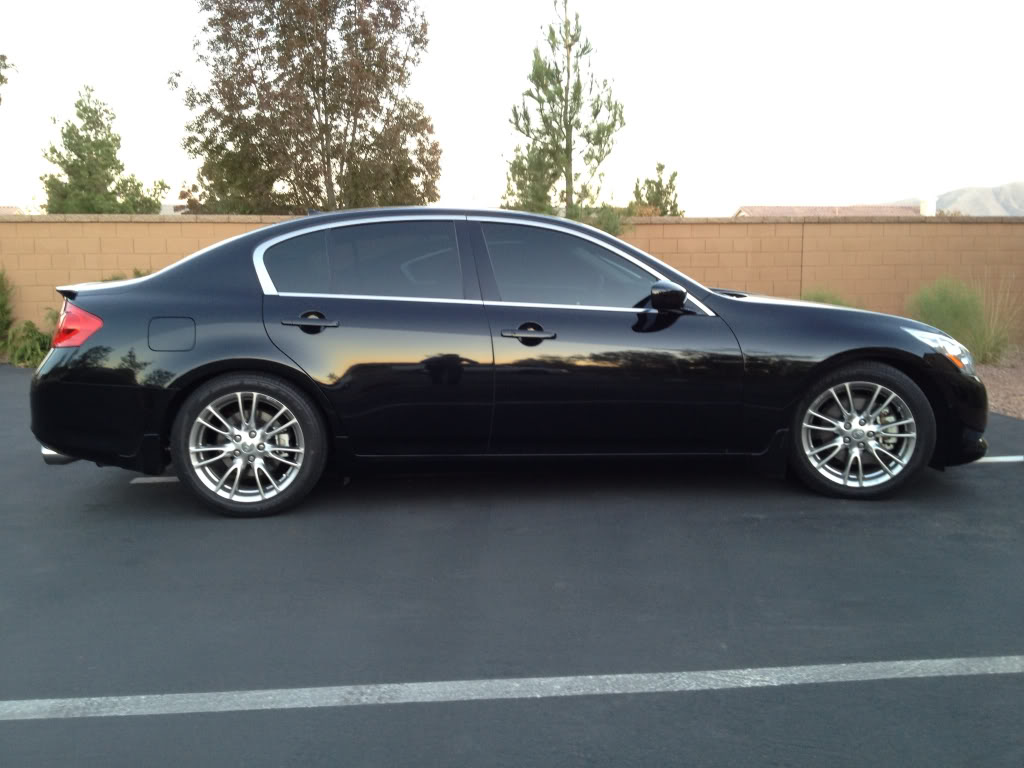
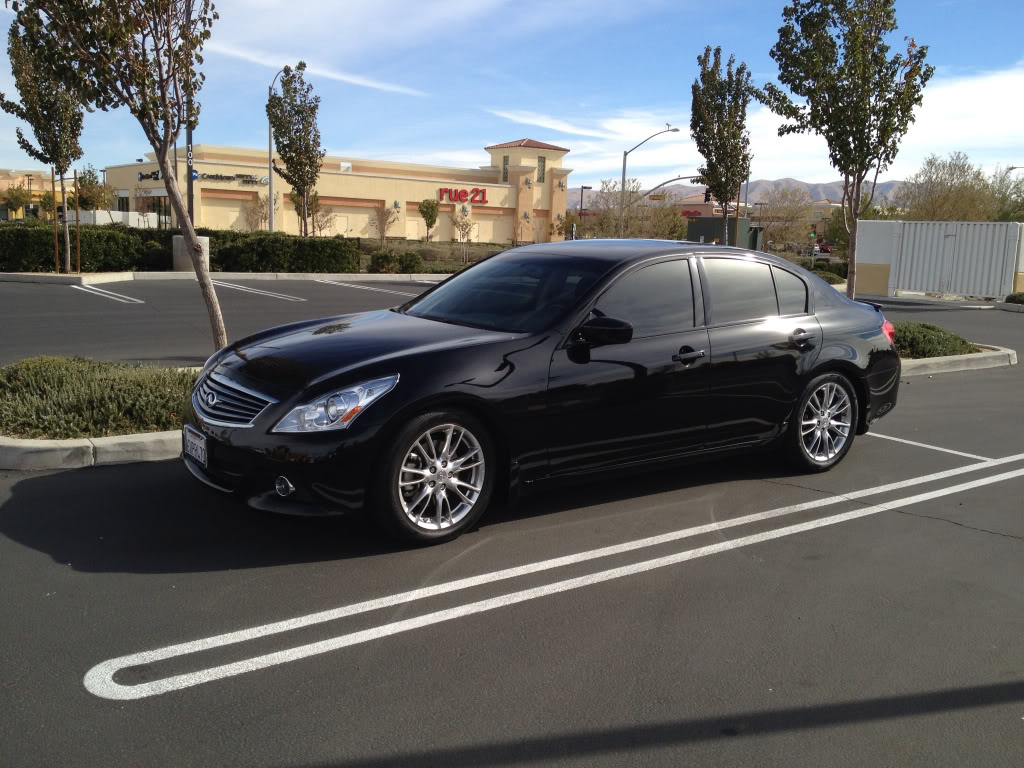
Before
After
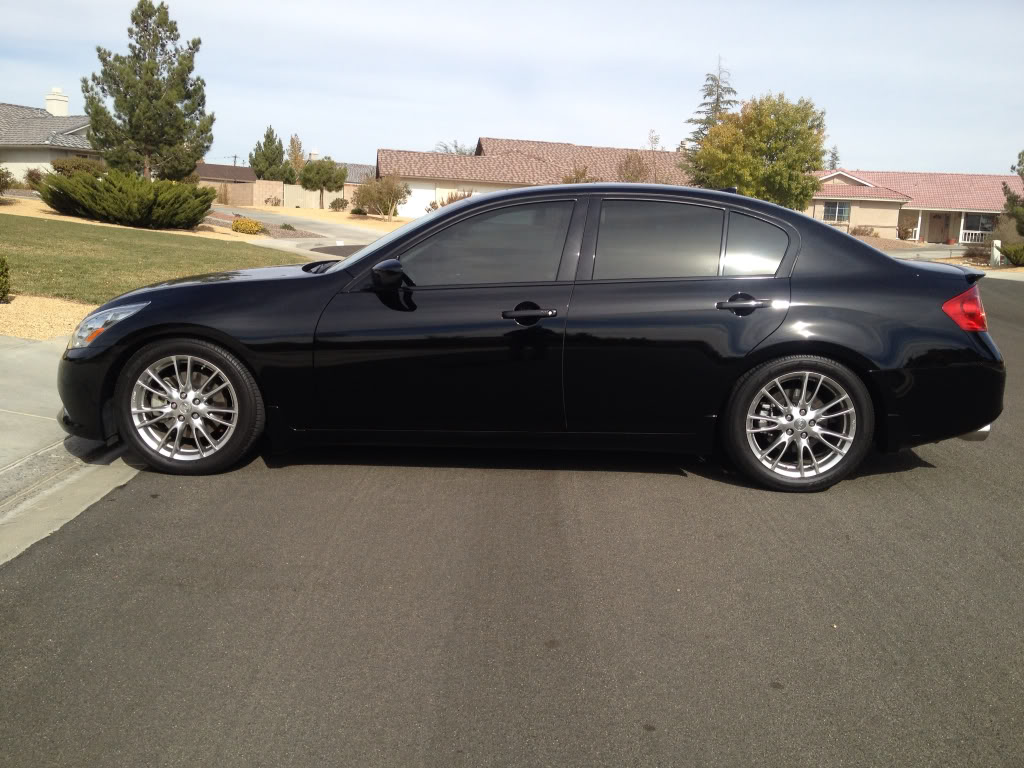
Next up...midnight grill. Little worried about that one but willing to give it a try.

Thanks blnewt. I found out on the 2nd side I did, it was easier to do bottom of the top trim with the window down. It allowed me to tuck the vinyl easier because the rubber trim would bend out of the way just like the top rubber.
All in all it's a such a great DIY to change the look...and you can always go back to chrome if you want. I'm just trying to figure out how to do the grill now. I'm probably going to try with the grill left on but I want to remove the Emblem first. I'll figure that part out but I want to do some more research on the subject first.
Did you take your grill off or did you leave it on? Did you also remove your emblem?
HTHs


thanks for the writeup newt. I purchased some vinyl and Im going to give it a shot, and if not, the pros will do it. Im also doing the top and bottom chrome strips on the oem midnight grill.