When you click on links to various merchants on this site and make a purchase, this can result in this site earning a commission. Affiliate programs and affiliations include, but are not limited to, the eBay Partner Network.
I have to say, I really like the ride of my OEM shocks. Smooth and flowy. Not choppy, and rides like the quality of car I'd expect from something like Infiniti.
So I'm a little apprehensive about switching to coilovers, but I really want to drop my car as the wheel gap on my '13 xS AWD Coupe is just too much, especially with 20s and LP tires.
The other day I was driving into work thinking about it, and was behind a slammed Civic that looked like it was bouncing along like a go-kart. I sure don't want that.
But I'm excited and looking forward to this weekend when I'll have time to install the CO's, camber kits and make the adjustments.
So here I go, hope it gets sporty without getting harsh.
Wish me luck! I'll post my thoughts after I've got it dialed-in and broken-in.
Depends on where you set up the coils, when I first got mine back it was SLAMMED looked GREAT" Standing still" ride was horrid that low, :/ An you got the BC's right? hope they don't knock.
Depends on where you set up the coils, when I first got mine back it was SLAMMED looked GREAT" Standing still" ride was horrid that low, :/ An you got the BC's right? hope they don't knock.
Mine on BC's Slammed
Your ride looks awesome in those shots.
I don't plan on slamming, only closing my wheel gap. 1.5-2" or whatever it takes on my SUV looking xS
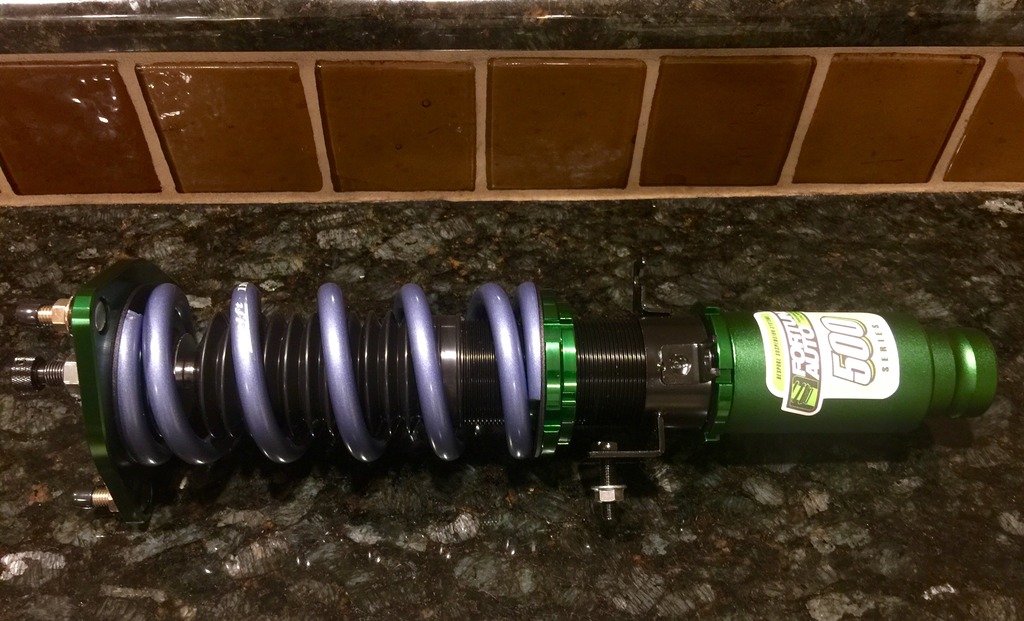
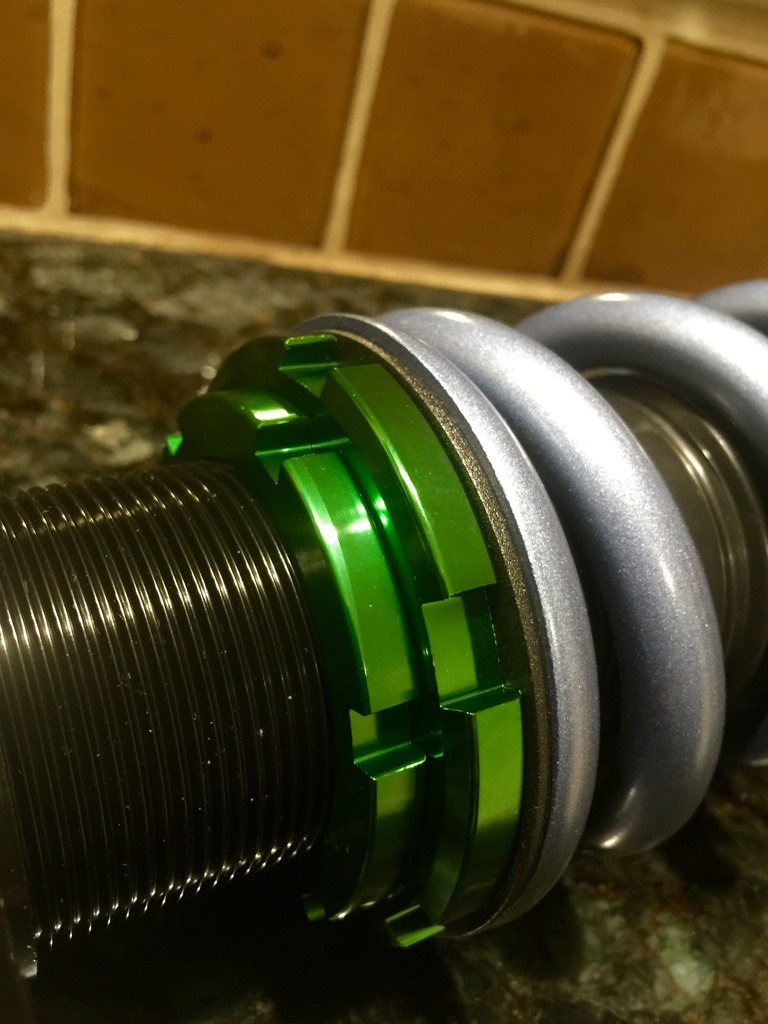
I got the Fortune Auto 500 coilovers.
I'm kind of surprised that adjustable coil-overs ride differently at different heights. The shock stroke is unchanged, only the body(overall shock length) is shortened.
So Coil-overs ride more harshly the lower they are set?
Last edited by bikezilla; Jun 30, 2016 at 01:04 PM.
Looks like he got Fortune 500s w/ the Swift upgrade^^^
Hope all goes well Zilla, look forward to your review & pics.
Thanks Brad.
Yes, I got the Swift spring upgrades.
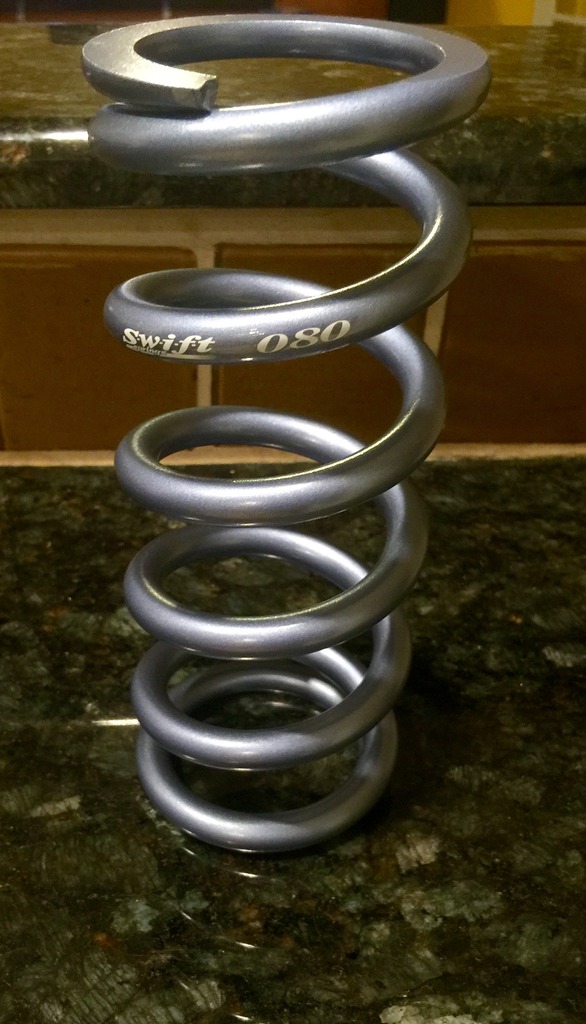
Luke the G-uru at THMoto advised me that 8" rear spring length is required for un-slammmed setups if you want to avoid an over-dropped back-end.
And that in order to get 8" springs I had to go with Swifts... So that was all the push I needed to get me over the fence for the full monte!
Fortune Auto said the same thing in their fitment email.
Last edited by bikezilla; Jun 30, 2016 at 01:06 PM.
This might seem like a totally stupid question about something so insignificant... but I don't care.
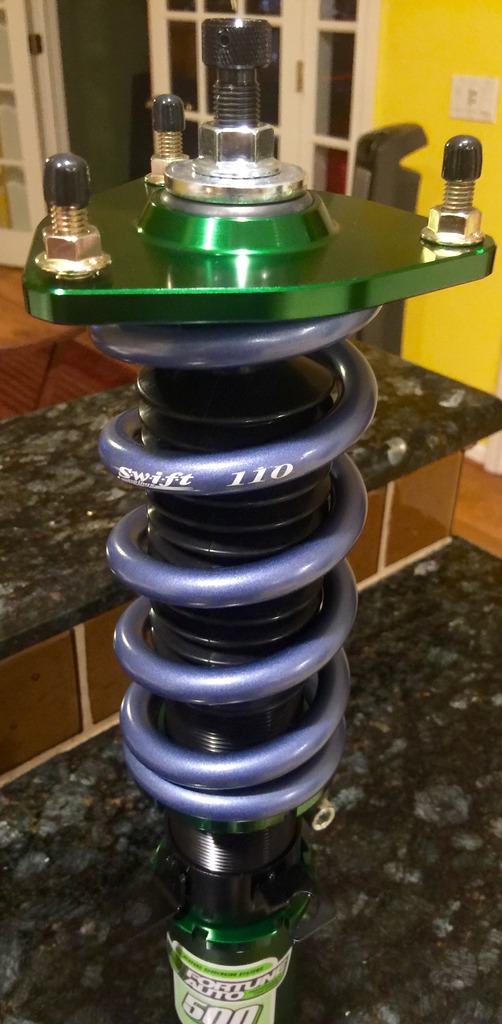
In my engine bay, I'm using Dorman valve caps over the extended threads on the three strut bolts. It's a nice clean look. But they're just matte black rubber, and they dry out and crack after about a year. So each spring, I replace them with new ones... at like $2 for a small bag. No big deal.
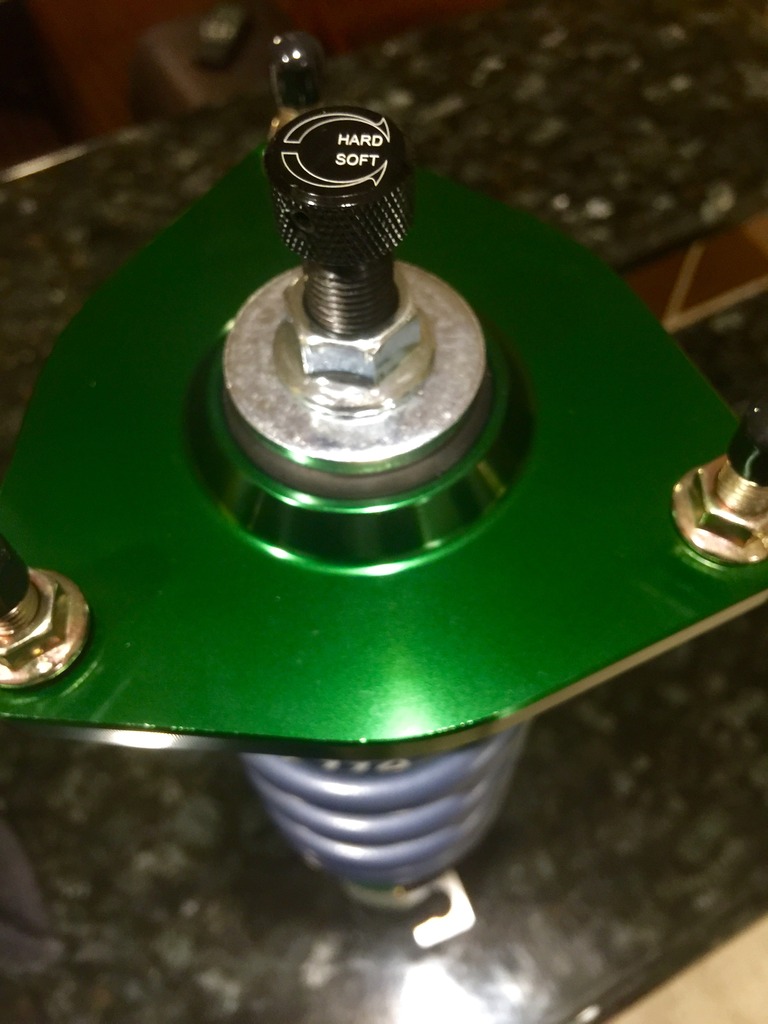
Looking at this picture, I'm seeing some really nice valve caps here, applied in the same way. Now, they might just be for shipping, but damn they look nice. Kind of glossy metalic.
26.25" fender to ground on my sedan. I used camber arms front and rear and rear toe bolts and ended up -1* front, -2* rear camber which I am happy with. I went without the rear extenders and set the dampening at 5 from the softest front and 4 from softest rear and the ride is great. A little stiffer than stock but I like it. I did the bigger rwd rear sway bar at the same time and 19x10 with 255/40s all around. I'm very happy with how it turned out, no noises at all and the handling is night and day.
26.25" fender to ground on my sedan. I used camber arms front and rear and rear toe bolts and ended up -1* front, -2* rear camber which I am happy with. I went without the rear extenders and set the dampening at 5 from the softest front and 4 from softest rear and the ride is great. A little stiffer than stock but I like it. I did the bigger rwd rear sway bar at the same time and 19x10 with 255/40s all around. I'm very happy with how it turned out, no noises at all and the handling is night and day.
Thanks, your car looks awesome!
You've provided some helpful details.
I went with the damper extenders. The plan is to drill the minimal hole as suggested in one of the replies in your threads and then feed the extender into the trunk. I don't want it sticking behind the rear headrest. I'll cross that bridge when I get there. I've also got SPC front A-arms and rear camber arms and bolt kit.
Is there a trick to estimating initial height settings, or do I just subtract the fender to wheel difference from the shock body lengths and the rear spring & Spacer setup?
I figure that will get me in the neighborhood but differences in how the new springs sag vs. the OEMs will probably mean additional adjustments and then after they settle, I'll likely have to adjust again. I'm not keen on the idea of repeatedly banging on the lock collars with a screwdriver. I hate the idea of hacking up that nice green anodizing...perhaps not as much as I hate the idea of it coming loose.
Good thing it's a long weekend, it looks like I'll have a bit of trial and error changes to do. I hope adjusting the height after installation isn't a PITA.
The manual suggests putting anti-size on the threads, anyone done this? I have the messy metallic silver paste. I thought maybe just lightly coating the shock body threads with bearing grease instead.
I'm currently at ~28.5" front and rear floor to arch, and it looks like 2" between the arch and the outside edge of the tire so that's where I'll start. It's a daily driver so driveability and driveways are also factor.
Last edited by bikezilla; Jul 1, 2016 at 02:05 AM.
Zilla, put some copper-based Anti Seize on the adjustment threads, this will make it easier to adjust. Once you get everything finalized wrap the exposed threads w/ electrical tape, this will keep all the little sand pebbles, etc from jacking the threads.
Zilla, put some copper-based Anti Seize on the adjustment threads, this will make it easier to adjust. Once you get everything finalized wrap the exposed threads w/ electrical tape, this will keep all the little sand pebbles, etc from jacking the threads.
Ha! you replied before I even asked the question!!
Could you tell me the next winning lotto numbers too? Please?