When you click on links to various merchants on this site and make a purchase, this can result in this site earning a commission. Affiliate programs and affiliations include, but are not limited to, the eBay Partner Network.
Like many others, I was intrigued by the idea of ambient lighting in the footwells. No crazy colors or anything like that for me. Just a clean, crisp, subtle white light. I wanted to keep things on the cheap side for this one so here are the parts I bought (Ebay).
Zone Tech 30cm LED Car Flexible Waterproof Light Strip White Pack of 4 | eBay $5.55 Shipped. Quality is what you�d expect, good not great. They were however the crisp white I was looking for. Biggest downside was the wires, crazy thin�. I hooked them up to a little makeshift LED tester, pretty darn bright. This got me thinking; they might be TOO bright and distracting for nighttime driving.
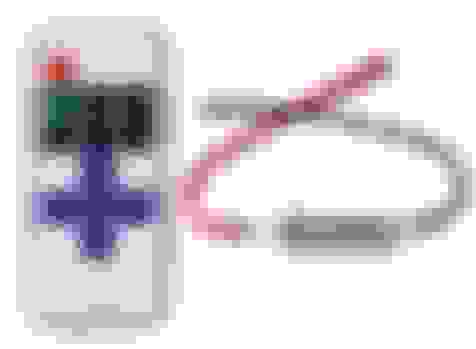
So, I picked up one of these cheap LED Controllers as well: DC5V 24V 12A RF Wireless Controller Mini Dimmer for Single Color LED Strip Light | eBay $4.98 Shipped. I bought this because it will allow me to dim the lights as much or as little as I want via a small remote. There are also several modes that blink, flash, fade, and everything in between (I doubt I will ever use any of the other modes). Quality? Don�t really know yet. I hooked it up, it did what it said it would, good enough for me.
I run my lights on AUTO and wanted the footwells to turn on and off with the rest of the interior lighting that drives off of the cars light sensor. After some poking around I decided to tap into the glove box light as it only gets power when the rest of the interior lights come on. I used this DIY for pulling out the glove box to get at the light: https://www.myg37.com/forums/d-i-y-i...-box-bulb.html
Parts
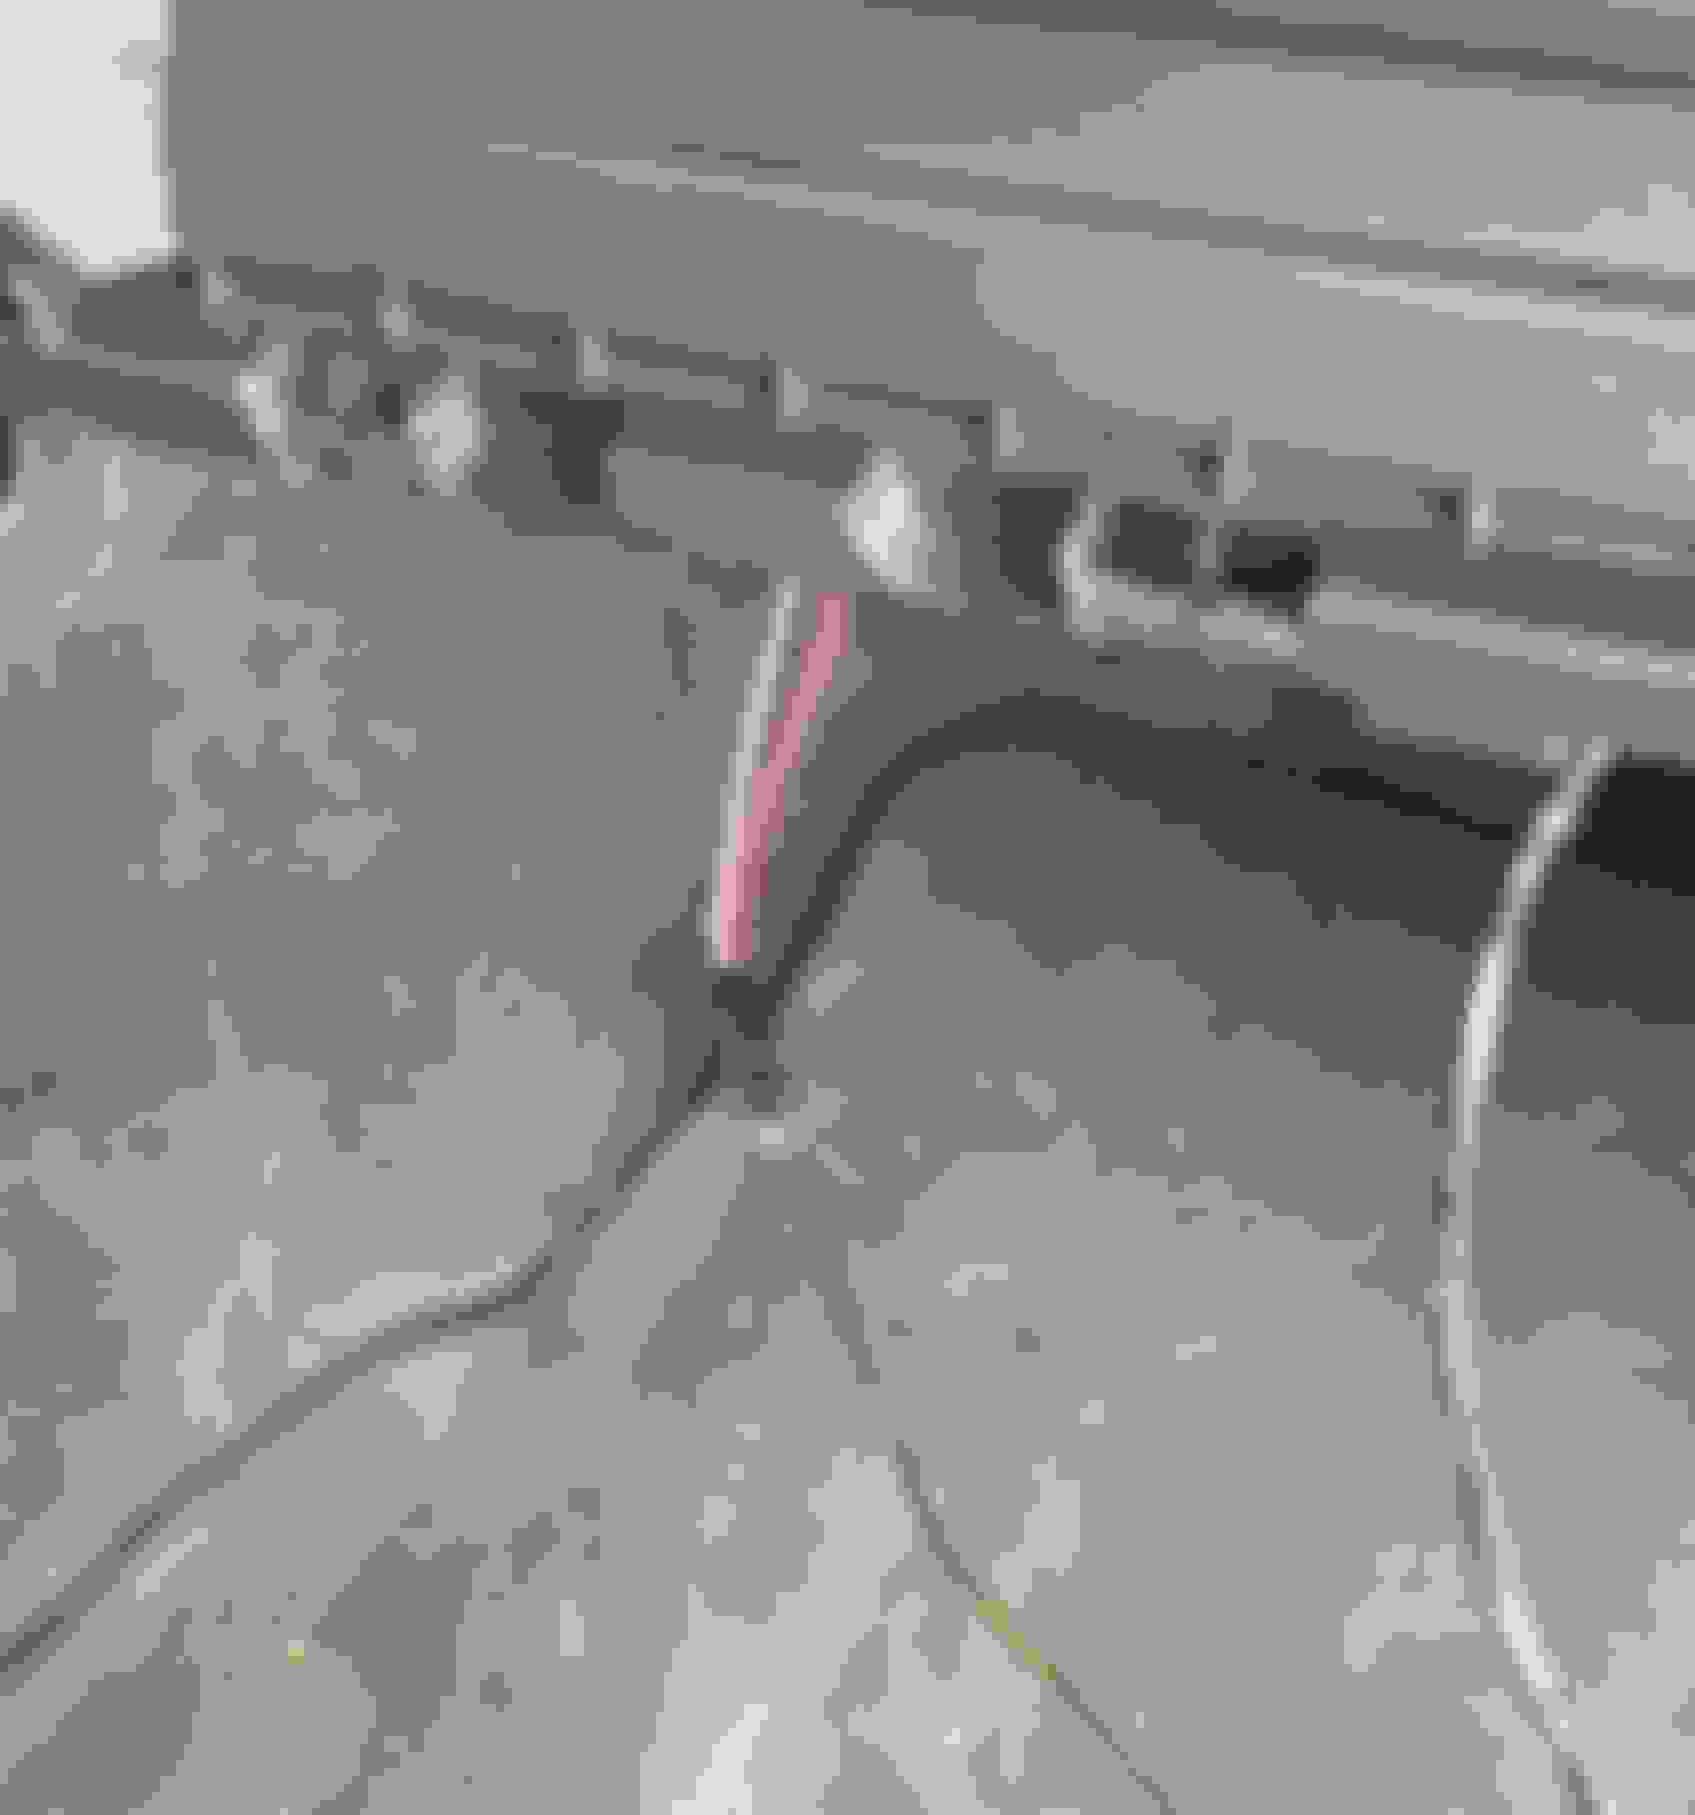
Here's a look behind the liner of the glovebox compartment.
Here are the glove box light wires I tapped into for power and ground.
I used POSI-TAPs to tap into the positive and negative wires of the Glove box light. POSI-TAPs are an awesome product for wiring projects. I always keep some on hand. I did a test run on the wire taps to make sure the connections were all good before I put the glove box back together.
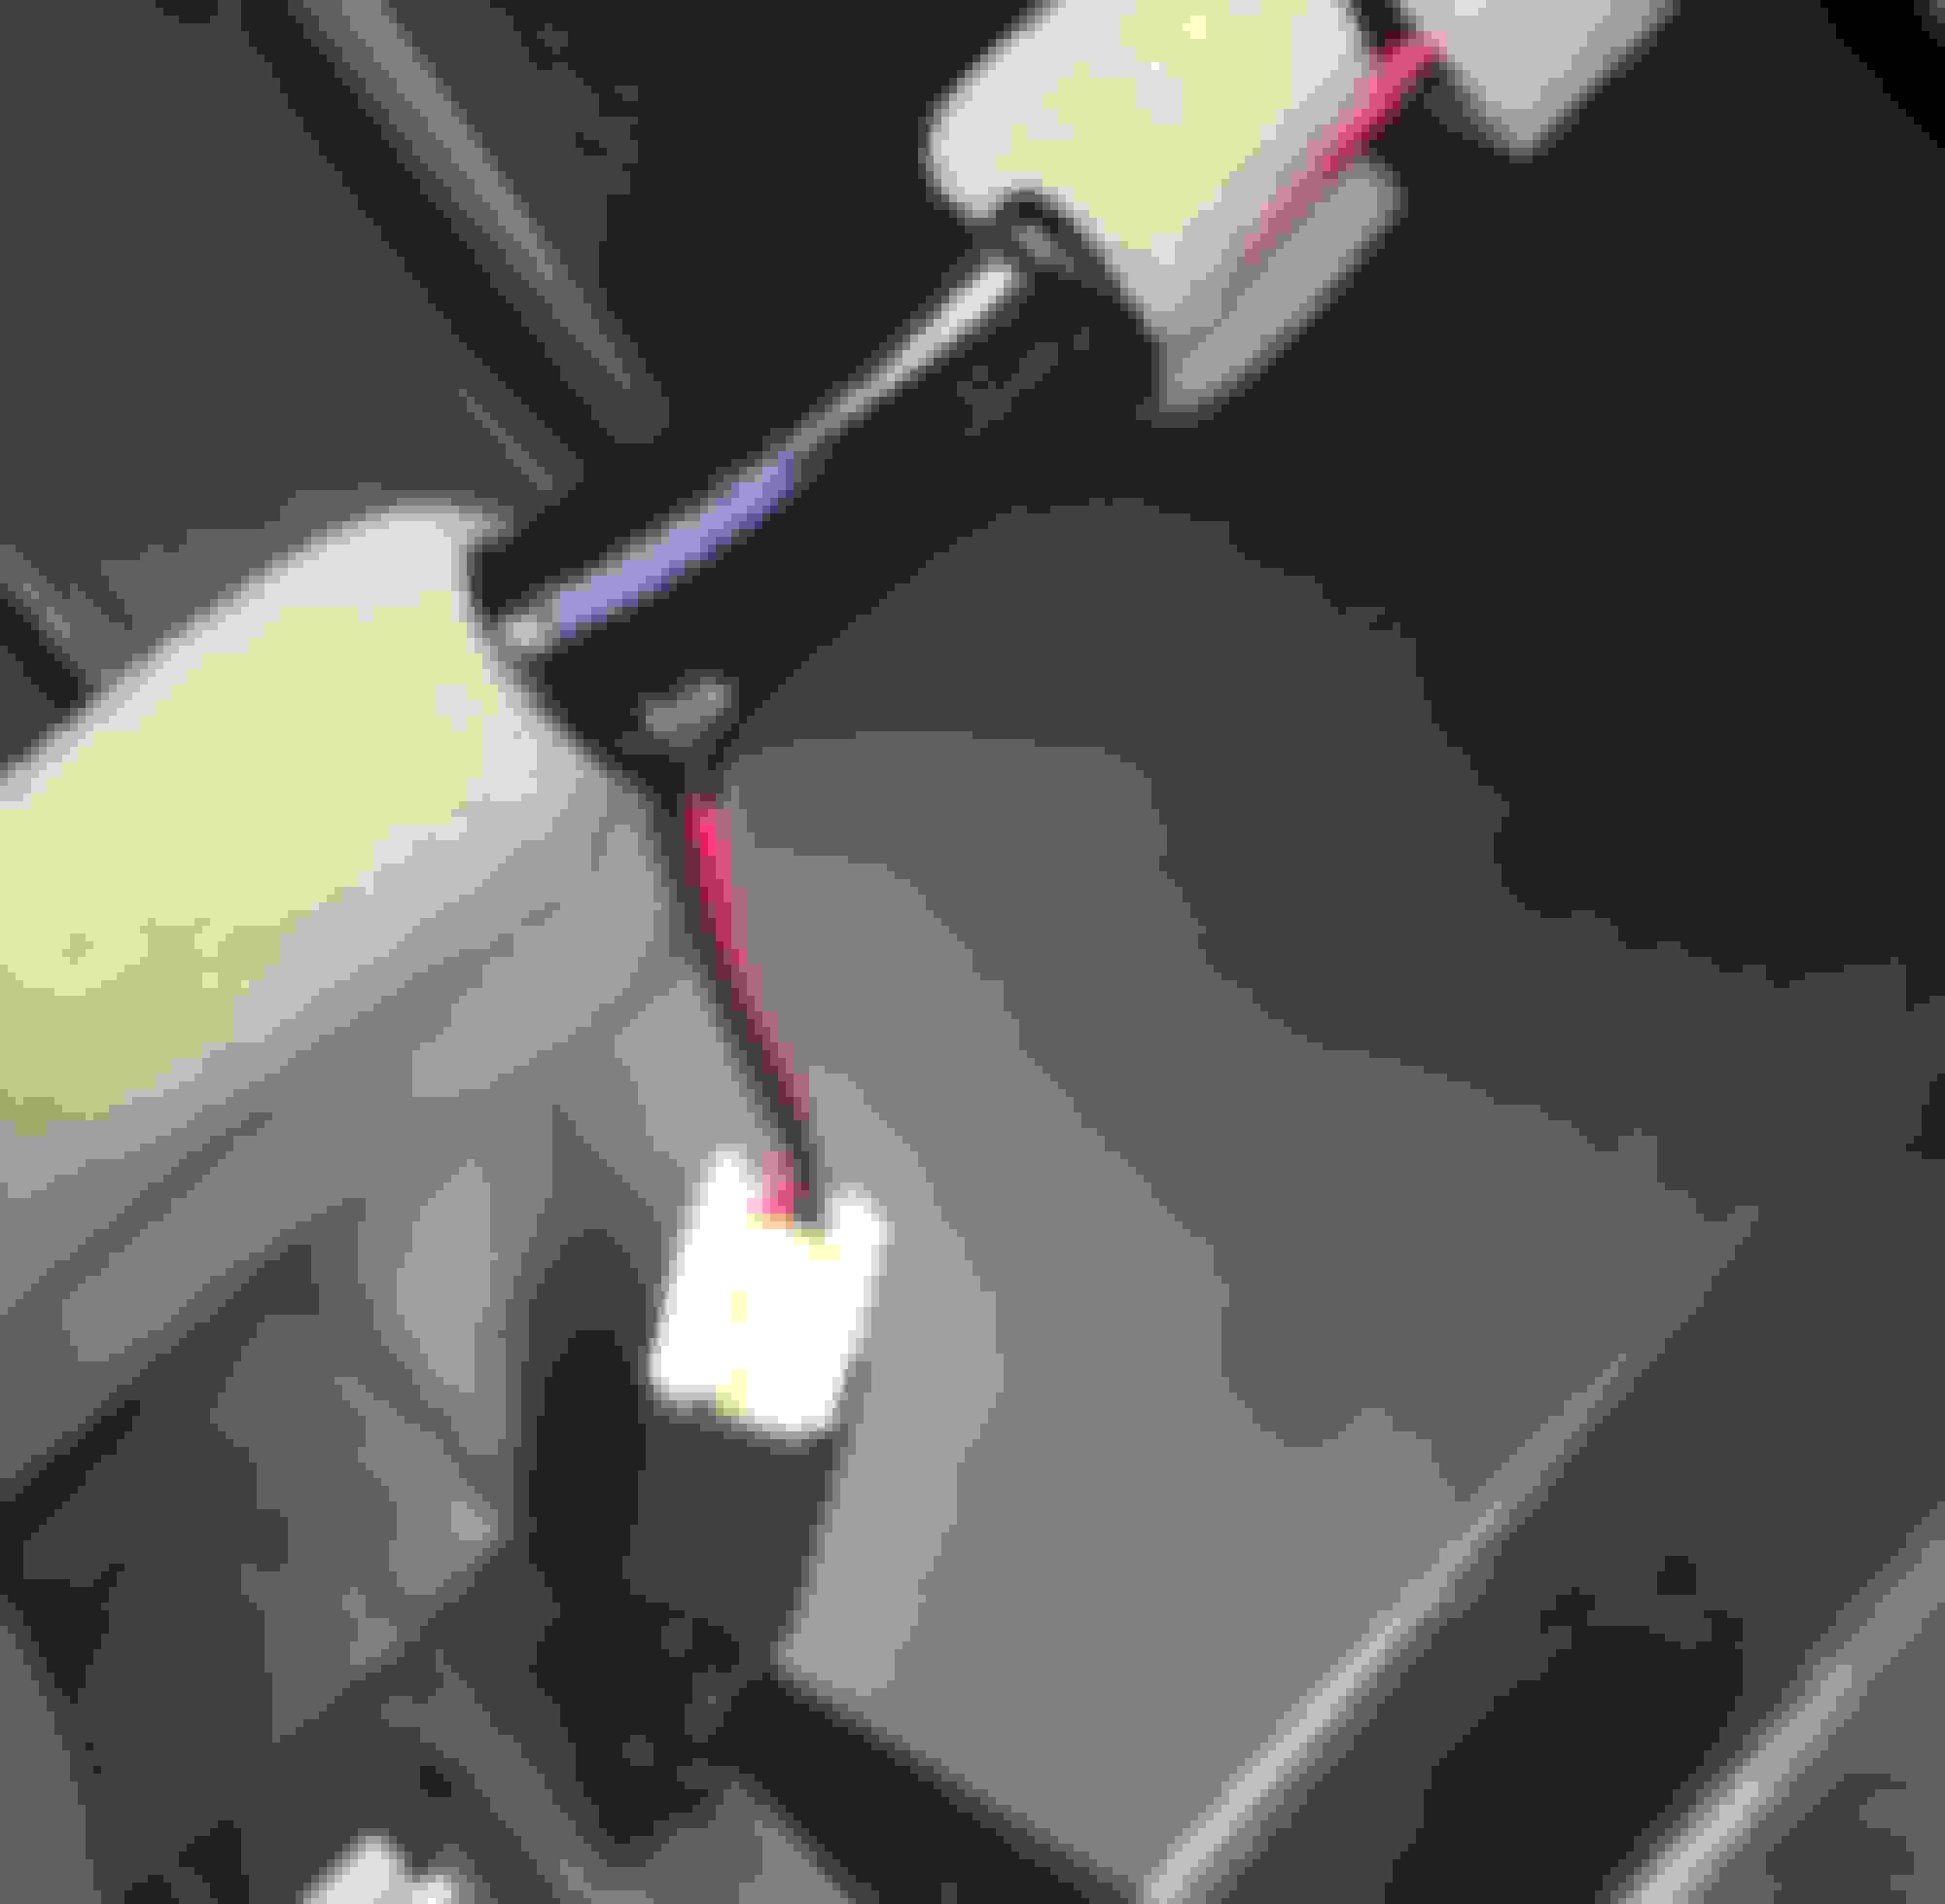
Testing the connections to the glove box light and the LED controller...
While testing the LED Controller and found that the remote did not work well when there was not a clear path between the remote and the receiver. I decided I would run the receiver part of the controller through 2 small drilled holes in the plastic liner of the glove box compartment. After finding a place where the controller would not get in the way of anything. I marked and drilled my holes from the backside of the panel (to the right of the glove box light) just wide enough for the wires to pass in and out.
Holes marked Holes Drilled
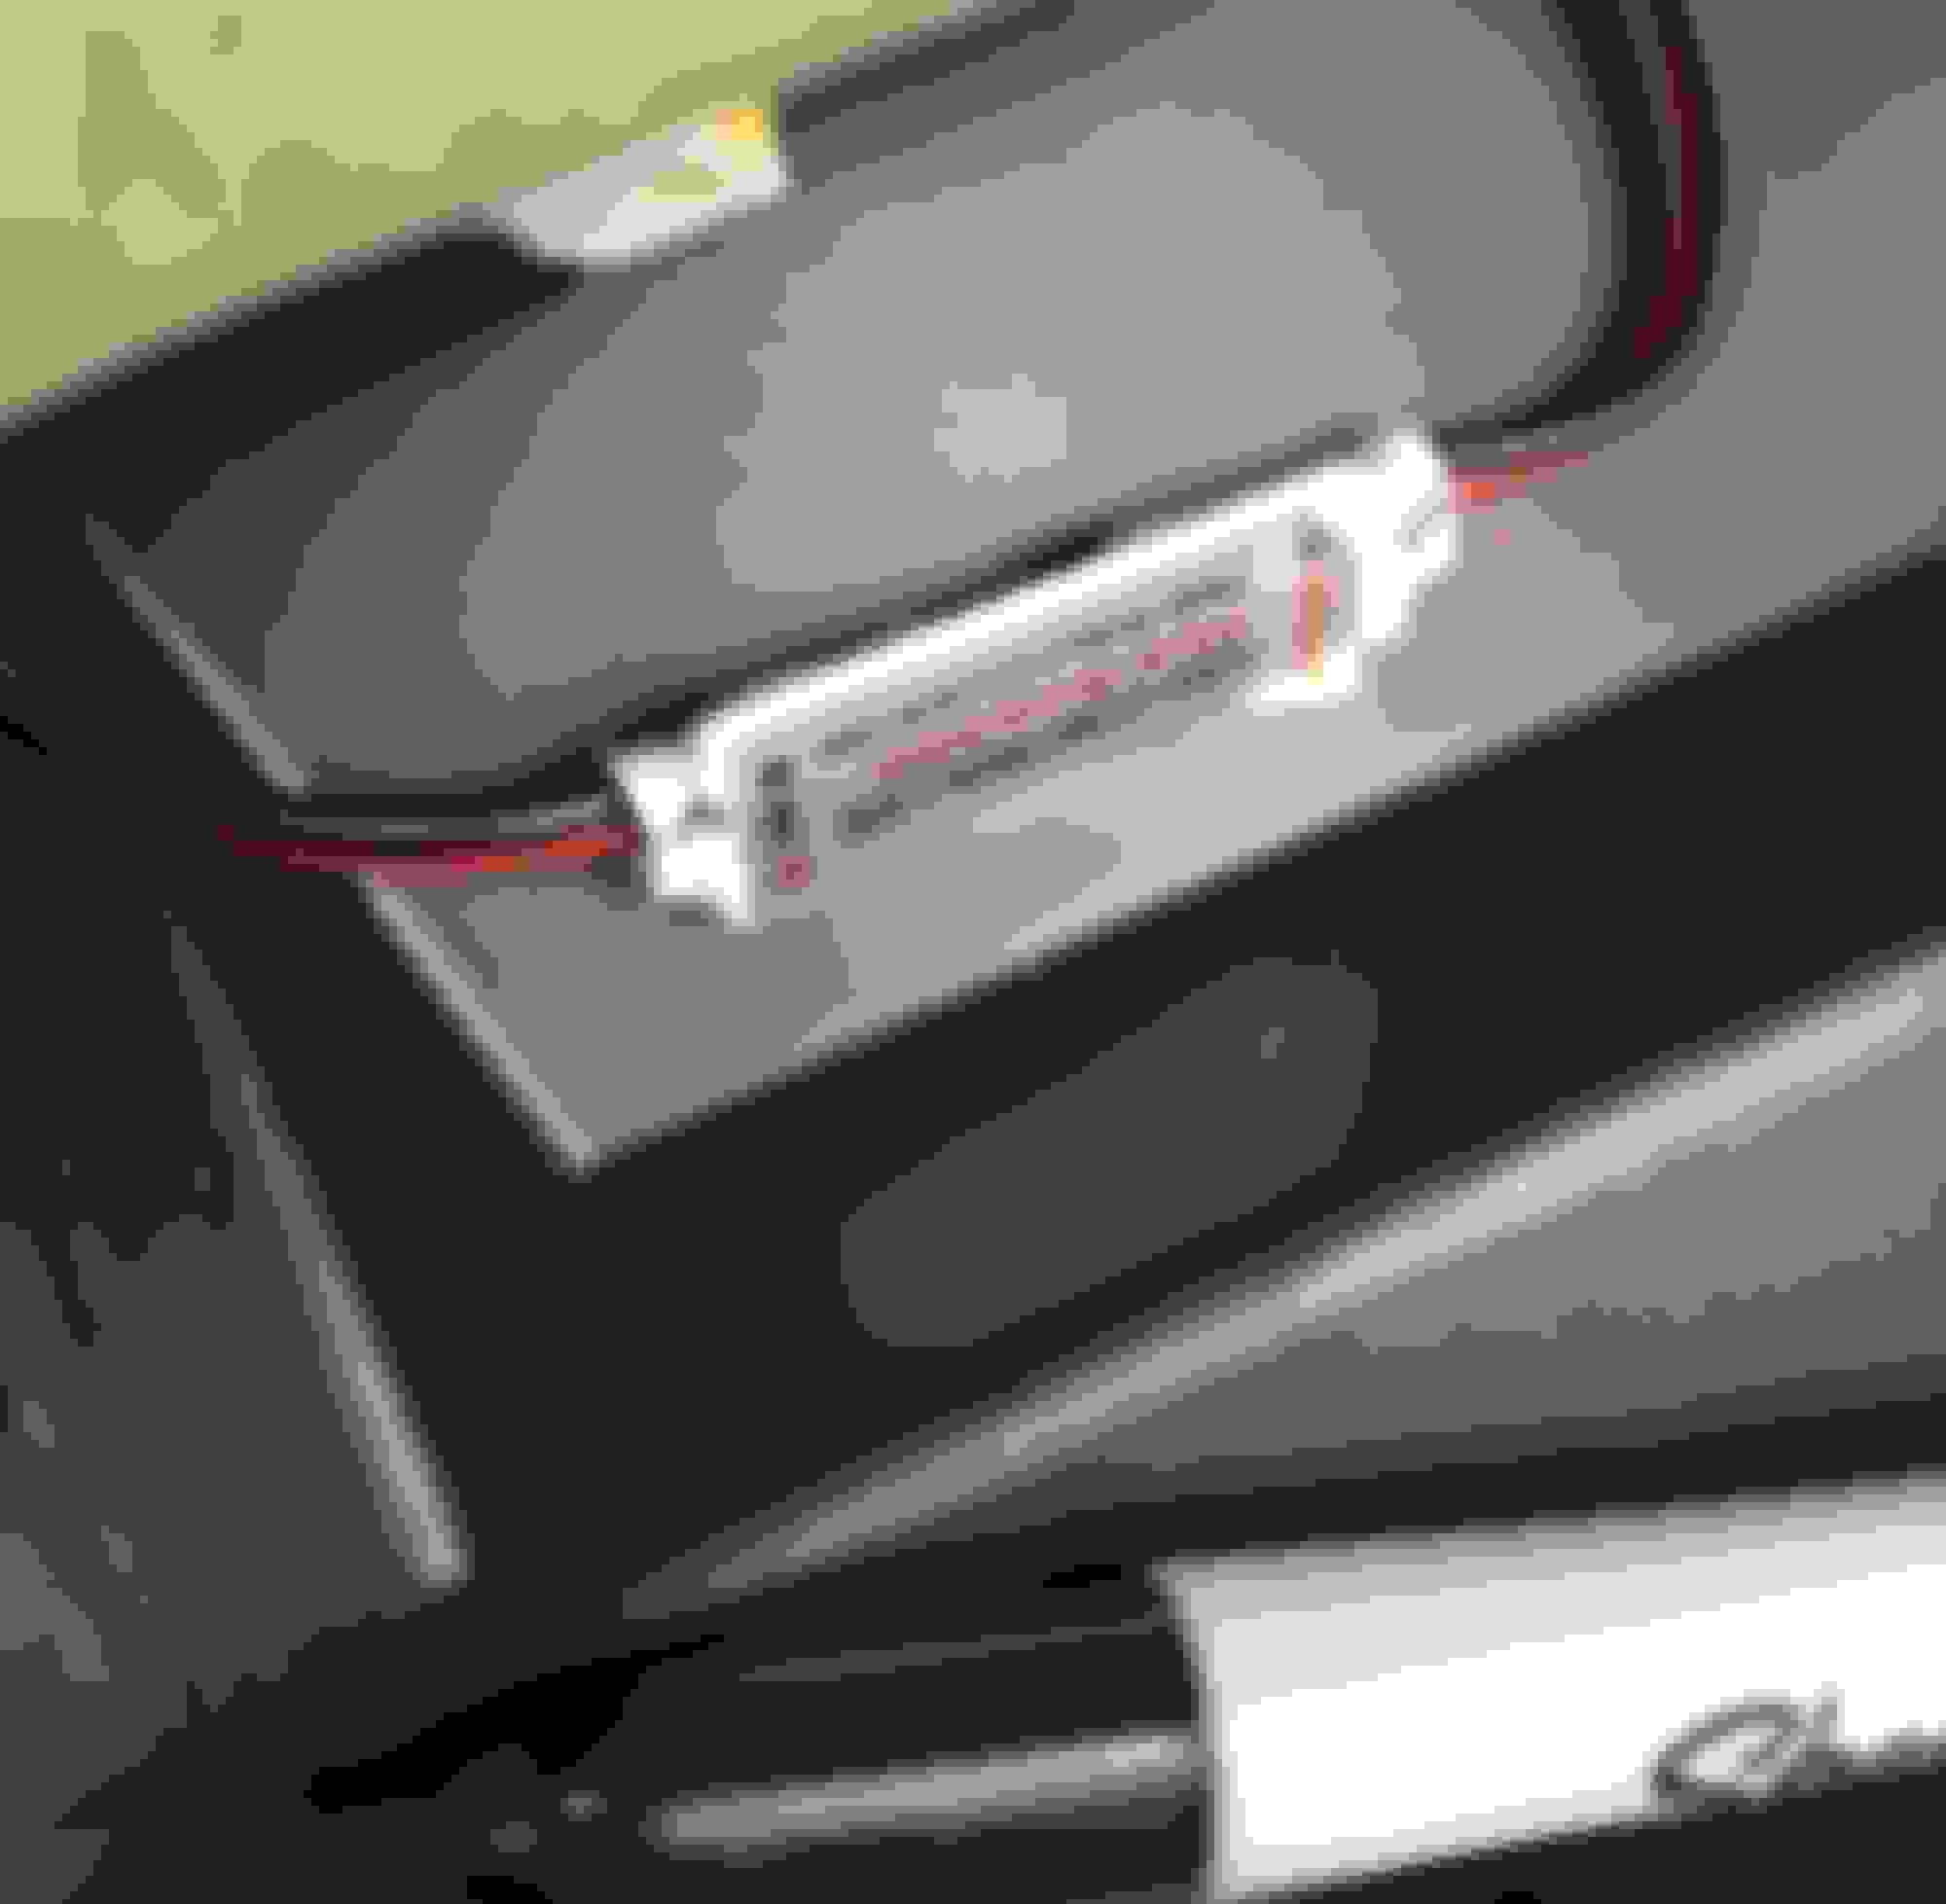
Here's a look at how the LED Controller runs into the glove compartment from the backside of the compartment liner.
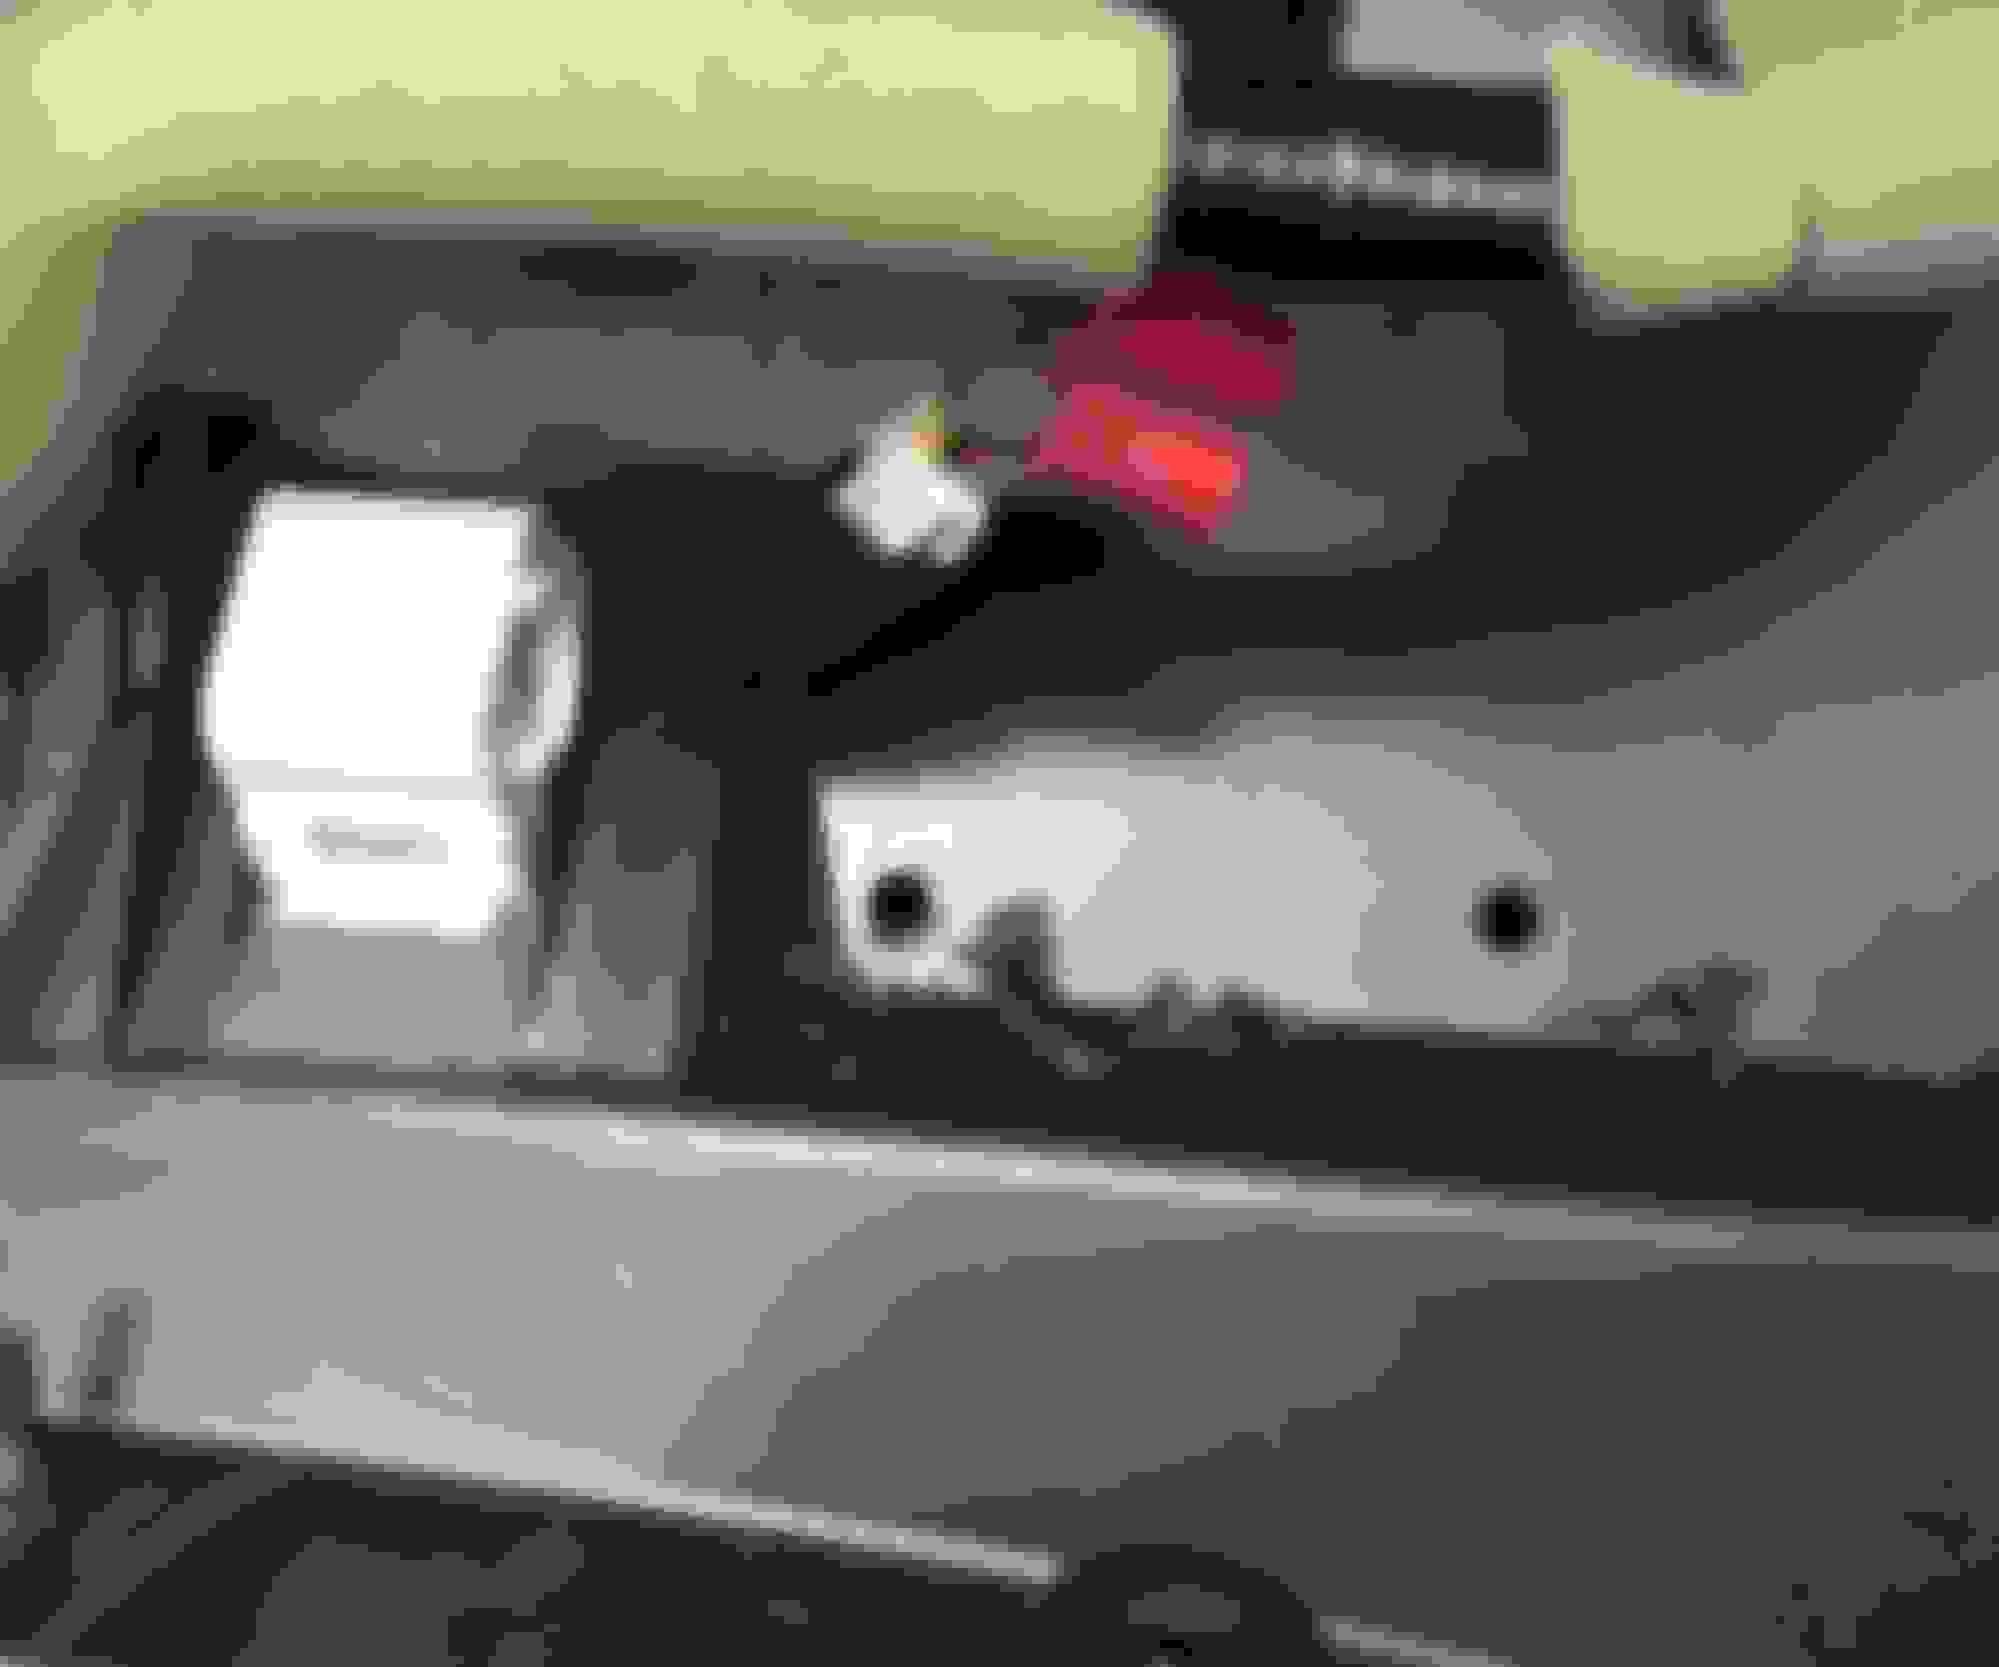
...And from the front (inside glove compartment, that�s the glove box light to the left)
I cut wire for my + & -, wrapped up with electrical tape, and secured to the factory harness for the glove light and the trunk lock. This connects to the LED Controller.
Here's where the wires run from the glove box light, to the LED controller, to my + & - wires (which follow the rest of the factory wiring on the glove box liner).
At this point I popped the glove box liner panel back on and just let the wires hang down.
I prepped the bottom panel (where the pass. LED would be mounted) with alcohol then used a heat gun to warm up the first LED strip before sticking it down. I found that the strips get brittle in the cold and can actually crack if flexed too much, the heat helped make them nice and flexible and probably helped the adhesive bond as well. I used quick connects to connect the LED strip to the power and ground wires coming down from the controller. They are cheap lights, this way it they fail I can simply swap them out.
Next, I needed to run a wire behind the stereo console from the passenger to the driver side. I used a flashlight to give me an idea of where to run the wires. I propped the light up on the passenger side and went to the driver side to see where it shines through. I then attached my + & - wires to a straightened coat hanger and routed it from the driver side, towards the light on the passenger side.
Flashlight wedged into passenger side.
Running the coat hanger through, Having an extra person helps on this step.
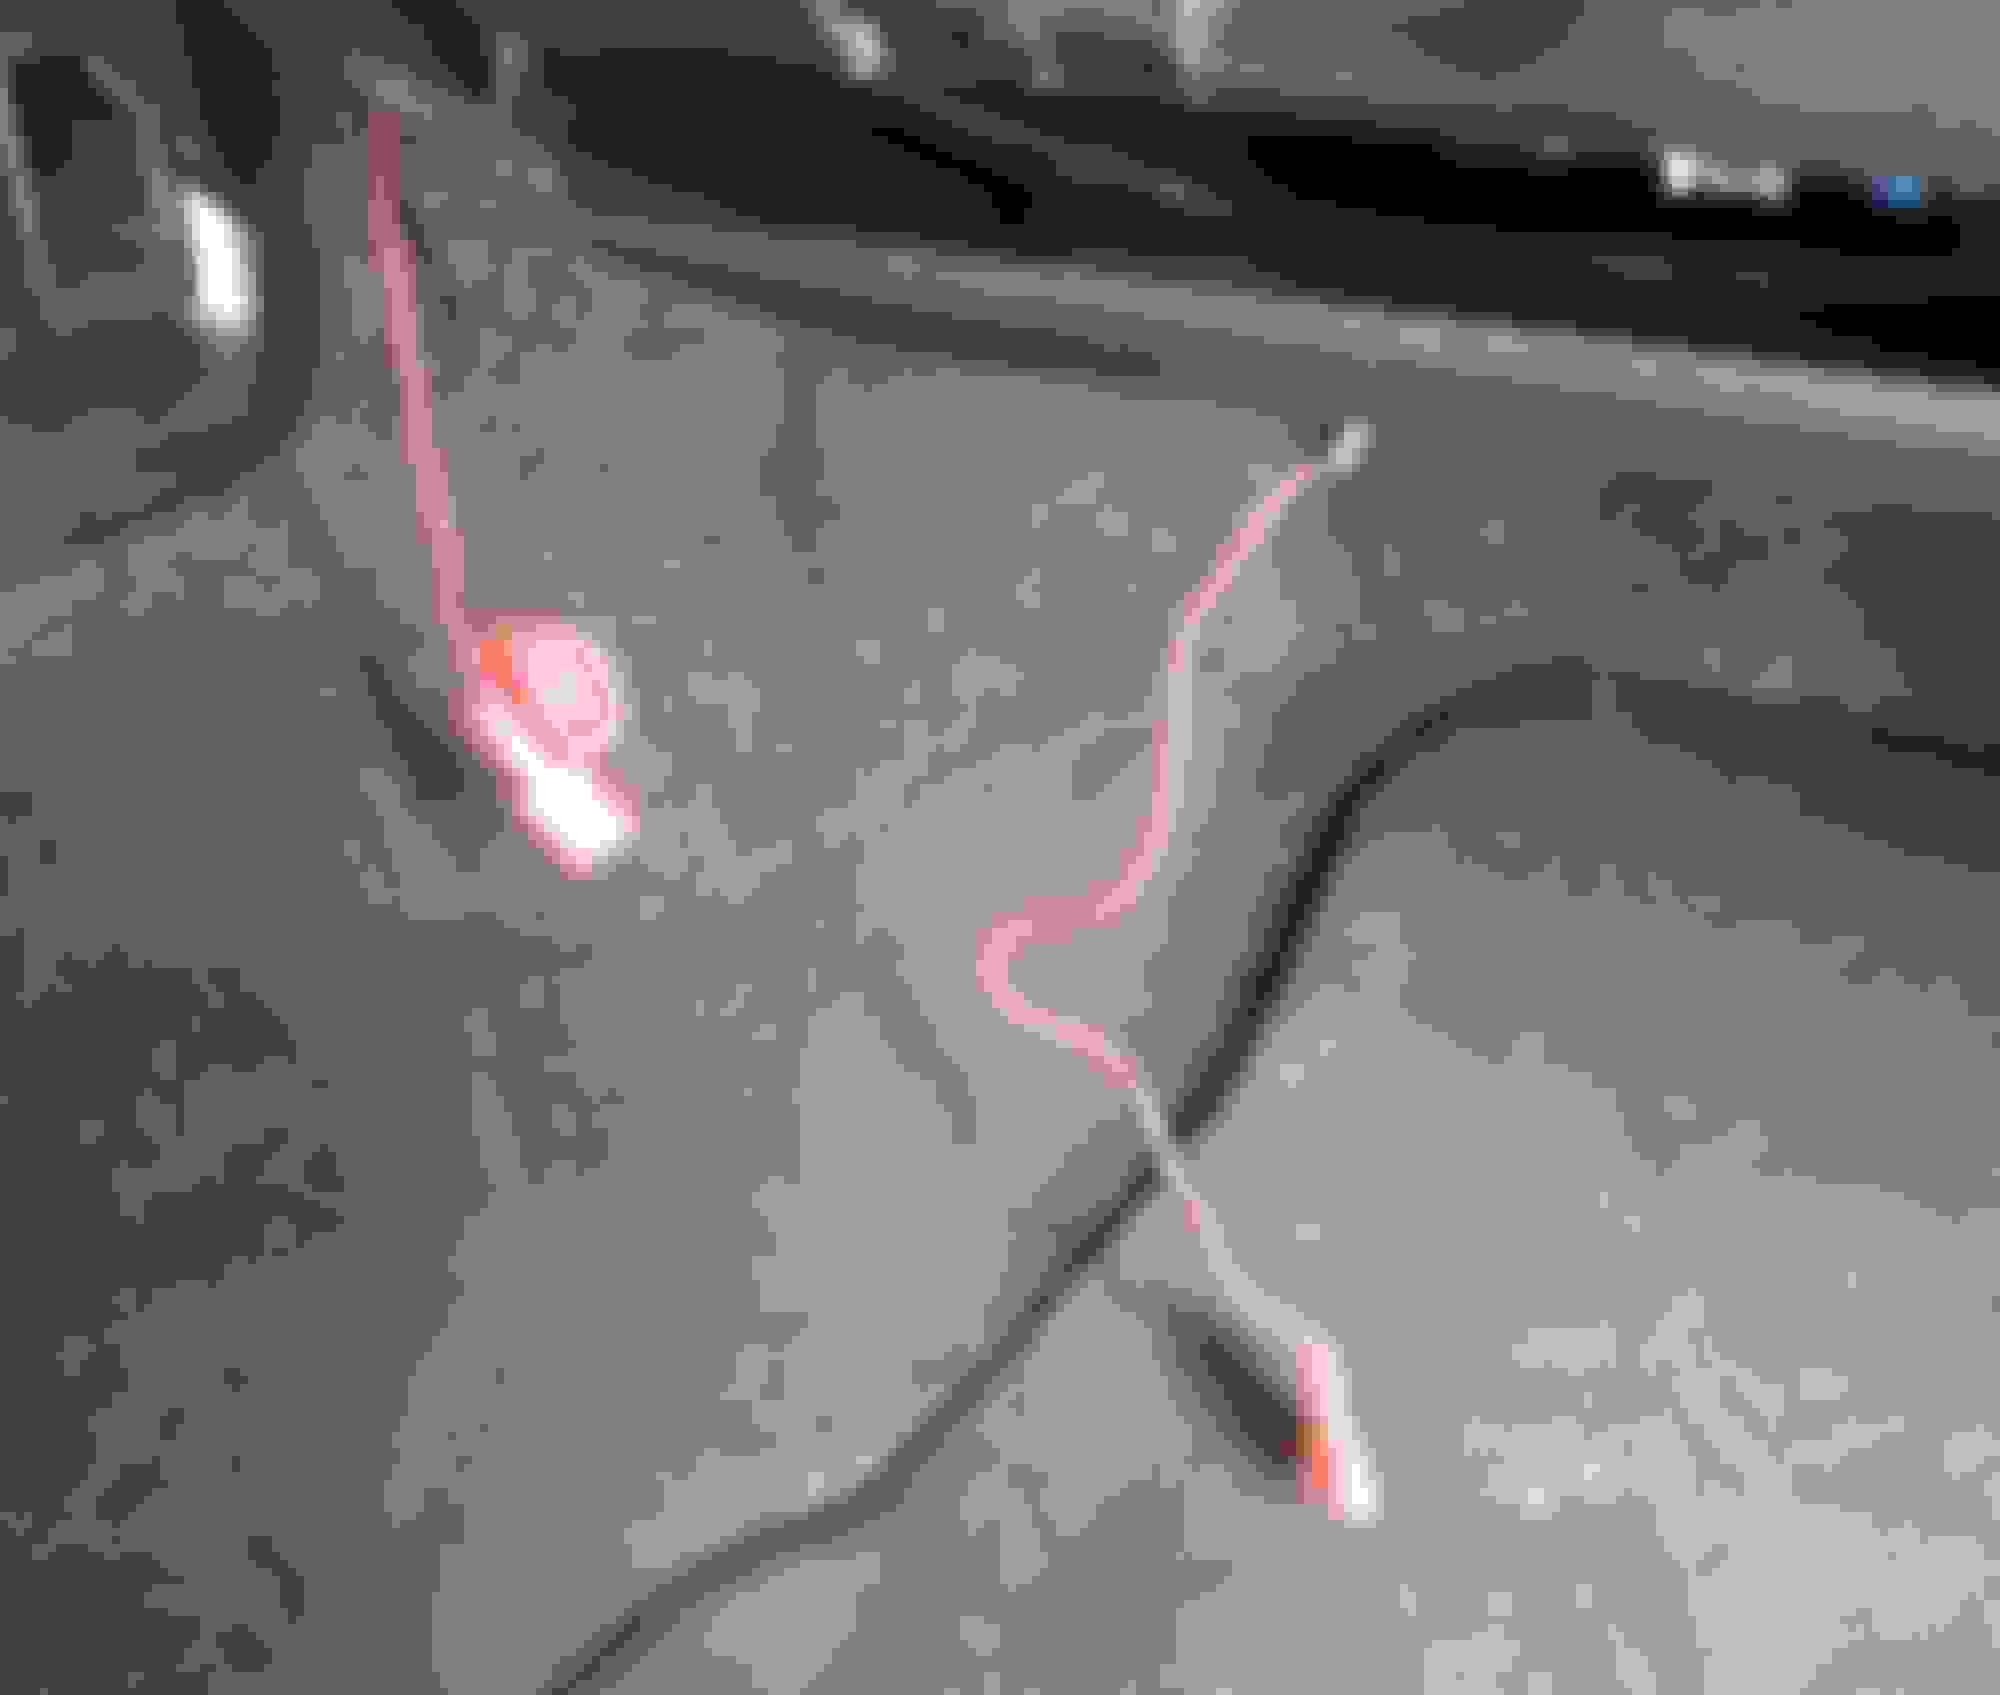
After running the wires through I connected to my first set of wires to the wires running behind the console using butt connectors. The thinner wires you see (lower right hand corner) run from my power and ground wires to the passenger side LED.
Plugged in my passenger side quick connects, tested, working.
I connected the driver side LED using quick connects as well. I did not get a pic of this step but you get he idea, if not here's a full wiring diagram.
And for the pics....
Excuse the dirty floor mats... Our MN winter is hanging on by thread and it hasnt been quite nice enough yet for a good spring cleaning.
This is at 100% (pics dont quite do the brightness justice)
This is at 25% which IMO is just about perfect:
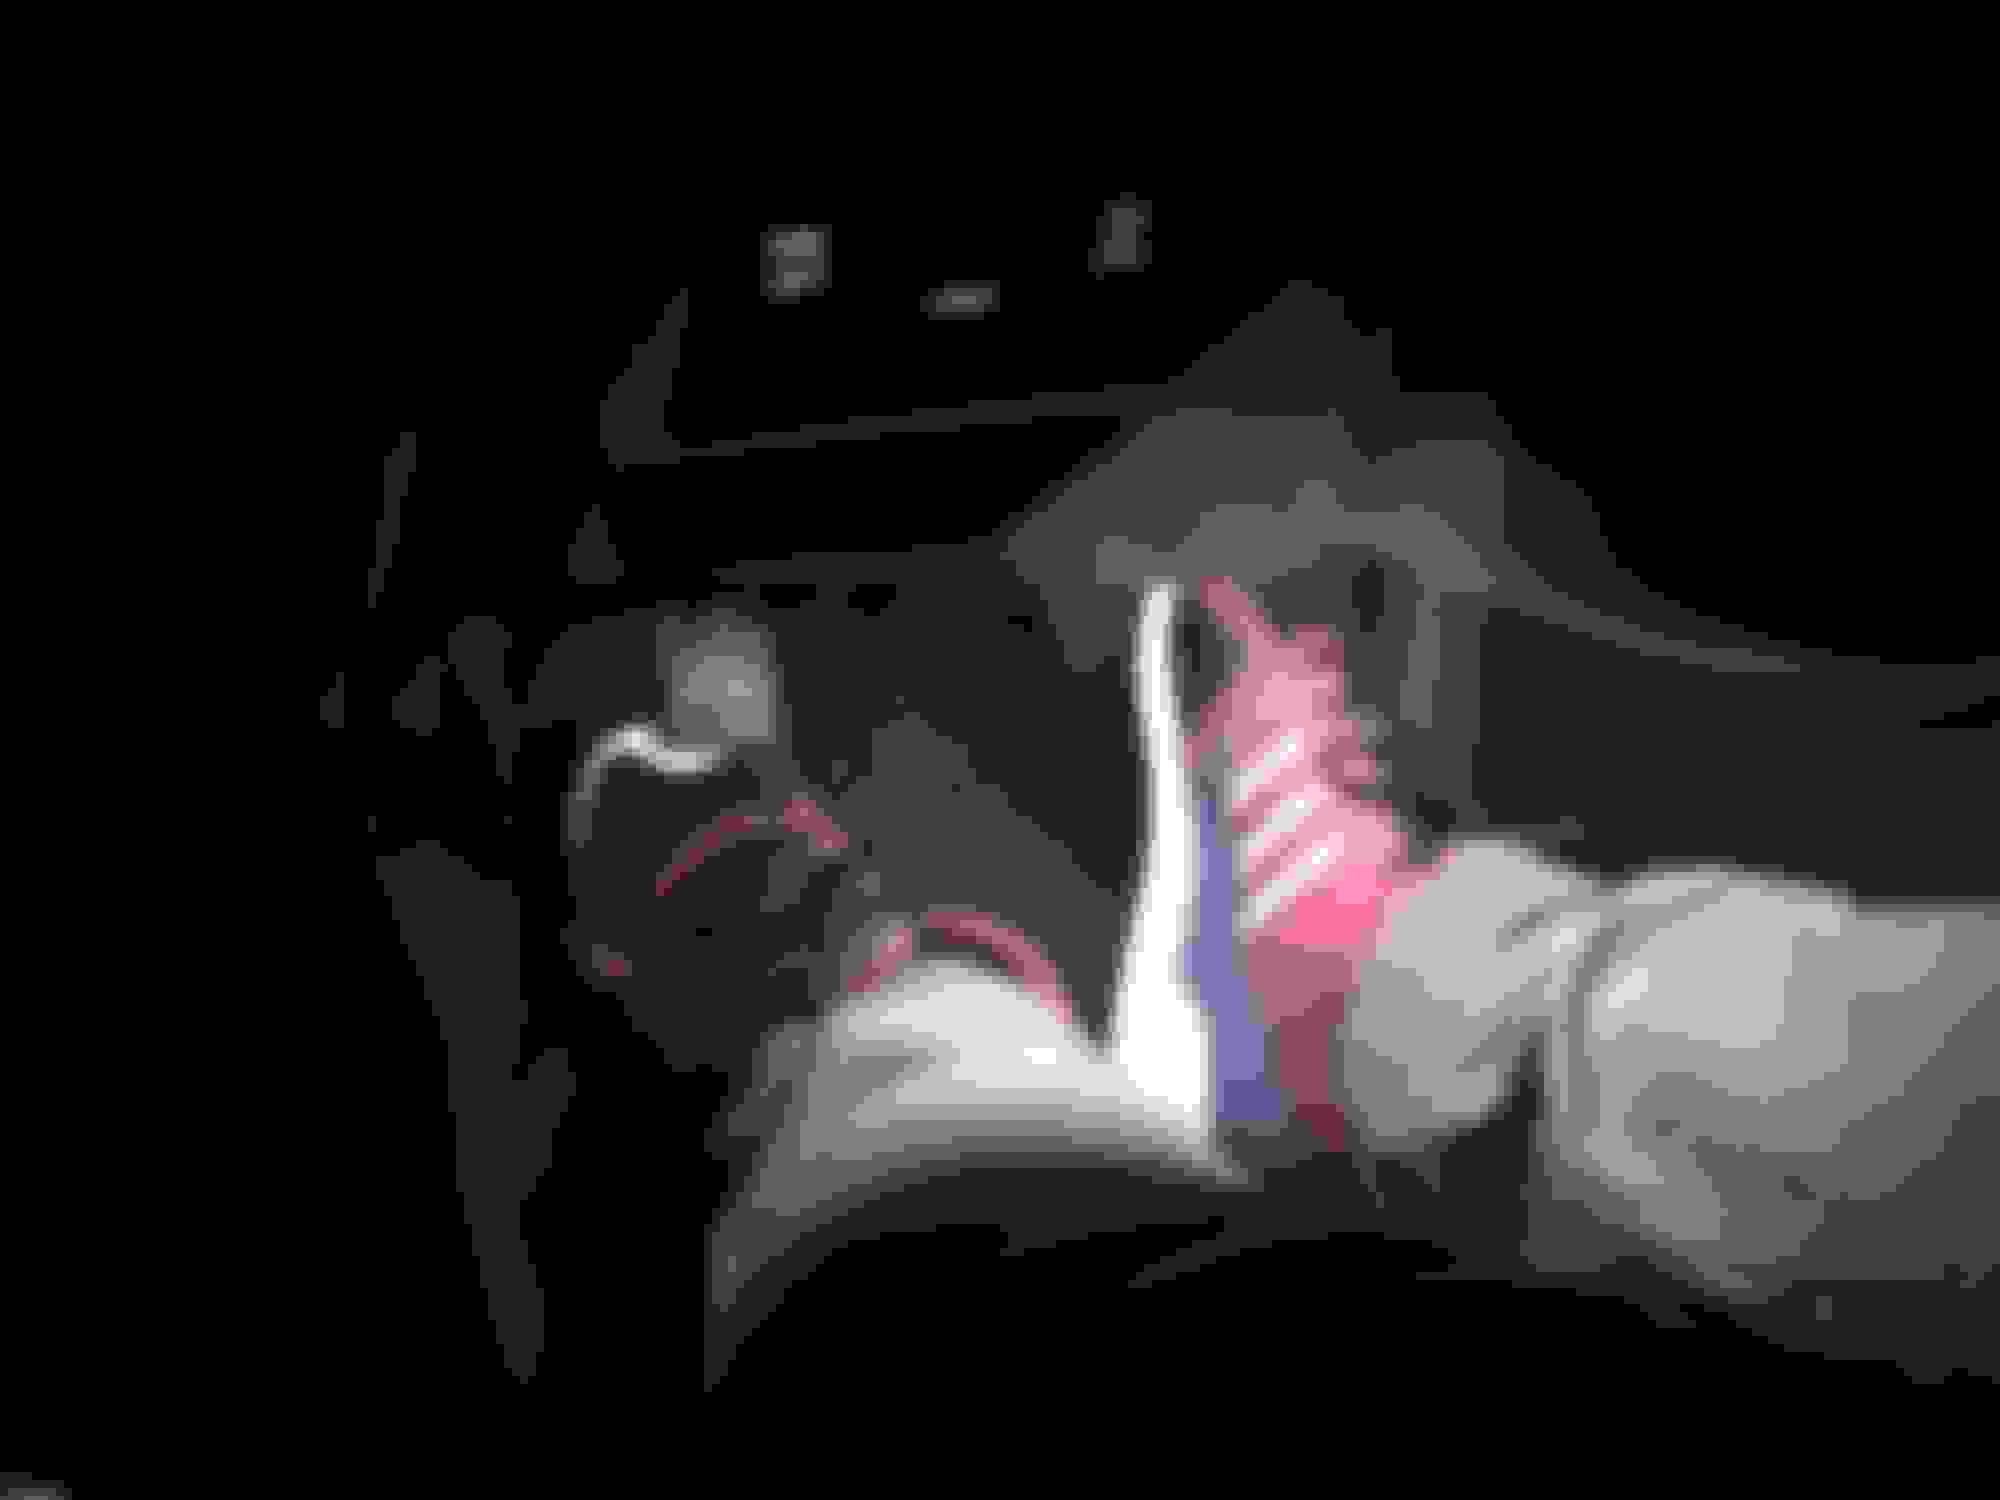
And a look at the controller inside the glove box.
I know for a fact they make strips like the ones I used that are designed to be cut to size. As far as the ones I bought, I'm not sure. I have one strip that got cold and cracked in the front that I am willing to sacrifice to find out.
Is there a circuit in the fuse box that can be used that the lights would be turned on with the interior lights?
Depends on how you want the lights to behave.. Do you want them to only come on when you open the doors like the map lights? or do you want them on while driving at night, like when the face of the analog clock is illuminated?
Would like them to come on when the doors are opened or the interior lights are turned on. I am not electrically inclined and I hate it.
ChinkyChoy mentioned that he had tapped a fuse on the driver's side, but did not mention if the footwells only come on when the doors open, on with the headlights, or on with the car. If you look at the driver side fuse box the only one that seems to make any kind of sense would be "Room Lamp".
I'm not sure if this would do what you are looking for it to do, best bet would be grab a multimeter or even a simple circuit tester and see when that fuse gets power. You can get a circuit tester at most hardware stores for around $5.
The other approach would be tapping into the BCM on the passenger side footwell (on the right I believe). I know this module controls the map lights and such and I believe other users have had success tapping into certain wires for the fade-in fade-out effect that the map lights have.