When you click on links to various merchants on this site and make a purchase, this can result in this site earning a commission. Affiliate programs and affiliations include, but are not limited to, the eBay Partner Network.
I think I need to find some thread-lock as I forgot to pick some up before putting it on and it has shaken a hair loose. I didn't know they had anti-rattle pins, where do I get one?
Also, I think I placed it about a 1/4 inch too low (if that) I was able to get the extender portion in, but now I can't get it out without lifting the car a hair or two. It's also scrapped three times (without the rack on it), first two times was a parking lot entrance, and the last was a speed bump that I didn't realize was that big (or i'd have avoided it).
Hmmmm, i never scraped the receiver. Is your car lowered?
Best bet is to cut the gusset off the drop hitch, and make a hole further down the spar (closer to the L-receiver.)
I used loctite and a split locking washer to make sure it stayed in place. No issues to date.
I'm dropping my car now so I'll be modding the drop hitch to compensate.
I don't have the tooling to cut the drop receiver, but plan on doing that next time I visit my parents, as well as using my dad's drill press to put a second hole in it. My car is currently stock except for the exhaust (and now hitch), as far as I am aware.
Just finished installing this hitch setup on my 2011 Infiniti G37S Coupe, and it works absolutely great!
I was about to pull the trigger on a Seasucker roof-mount rack before stumbling across this thread. That would have cost $300-450 depending on size. A quote from a local hitch installer was over $300. That's because the hitch specified for the G35/G37/Q60 2-door models requires the bumper trim to be removed.
I ended up spending less than $100 (which includes a new drill bit) and bought a nice rack on Craigslist for $200. In the end I saved money, can load my bike more easily and have a much more versatile solution. After all, it can also pull a small trailer!
Since I don't own many English wrenches I opted to use metric hardware. After making my template I decided to use 10mm bolts to allow for a little inaccuracy in my drilling. The holes in the receiver hitch plate are 16mm (5/8") so I could be a little off and still hit my mark. And since I planned to use the spacers included with the receiver I picked up 10 x 100 bolts, M10 nyloc nuts and an assortment of normal and oversized washers.
I opted for M10x100 bolts with fender washers and nyloc nuts.
I taped up the template (which actually wasn't necessary since the bumper trim held it quite nicely) and used a spring punch to mark the four spots and drilled pilot holes. I used a 7/16" drill.
Using a spring punch to mark the hole centers.
Drilling through the first layer of the bumper bar is easy-peasy. The second layer requires some finesse to keep it nice and straight. Since the bumper bar is aluminum I rubbed it clean so I could see the reflection of the drill- sort of the old CD reflection trick.
Fortunately everything lined up fine. Stacking the hitch, the spacer and a 4" long bolt together in that cramped space is a little tricky. I recommend you wait until your muffler has cooled down! Once all four were threaded through I torqued everything down (work around corner-to-corner).
Most people would look under my tag and never realize this wasn't OEM.
Sliding the "lower" part into the receiver is easy, but the pin requires a bit of a stretch. A spring-loaded hitch pin would make this a one-handed operation.
Ta-daaaa!
Since I used the spacers there was no interference with the bumper trim, so no need to trim it. Not that anyone would notice it.
The Saris rack leaves plenty of room to open the trunk.
Low, but workable.
The final product. Saris rack hung on hitch and safely supporting my Specialized Sirrus.
I was prepared to buy an anti-rattle hitch pin for the "upper" joint, but it is completely silent. I don't really understand that... but that's okay! The Saris Superclamp rack installs easily with their anti-rattle bolt/pin/lock. I've been over some pretty bumpy streets, a few miles on the highway and a crowded parking lot with no problems whatsoever.
So far I only have one complaint: the backup alarm has to be turned off when you're loaded!
Last edited by maduko; Apr 4, 2019 at 11:10 PM.
Reason: typo
Ha!
Awesome writeup Maduko.
I guess I should have mentioned the bit about the REV sensors
Great tips all around.
I pref metric myself. I have exactly one English spanner and socket. Both 1/2"... Purely for nostalgia.
I considered aircraft nuts but was worried about torque and slight backouts. I figured spring washers std nuts and blue loctite could handle a larger load than a nyloc nut but that is probably like wearing suspenders and a belt.
Considering the load is largely vertical and downward, I'm not surprised you had no problems w/o a AR-pin.
On my old SUV I had so much wobble, I now reflexively overcompensate on hitch bits.
I lowered my car 2" so it was time to raise the hitch. No problem!
No need to move the step mount on the bumper.
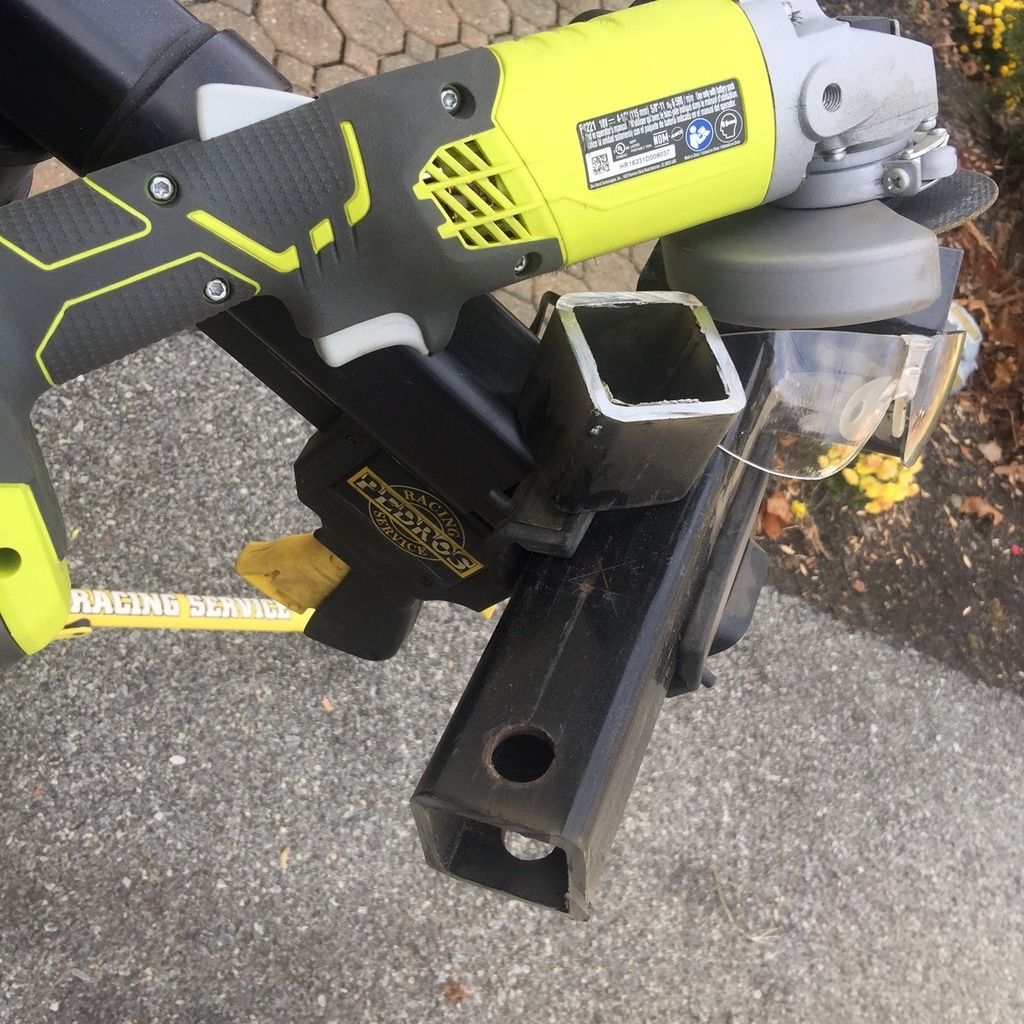
All I needed to do was cut the drop-hitch L-Receiver.
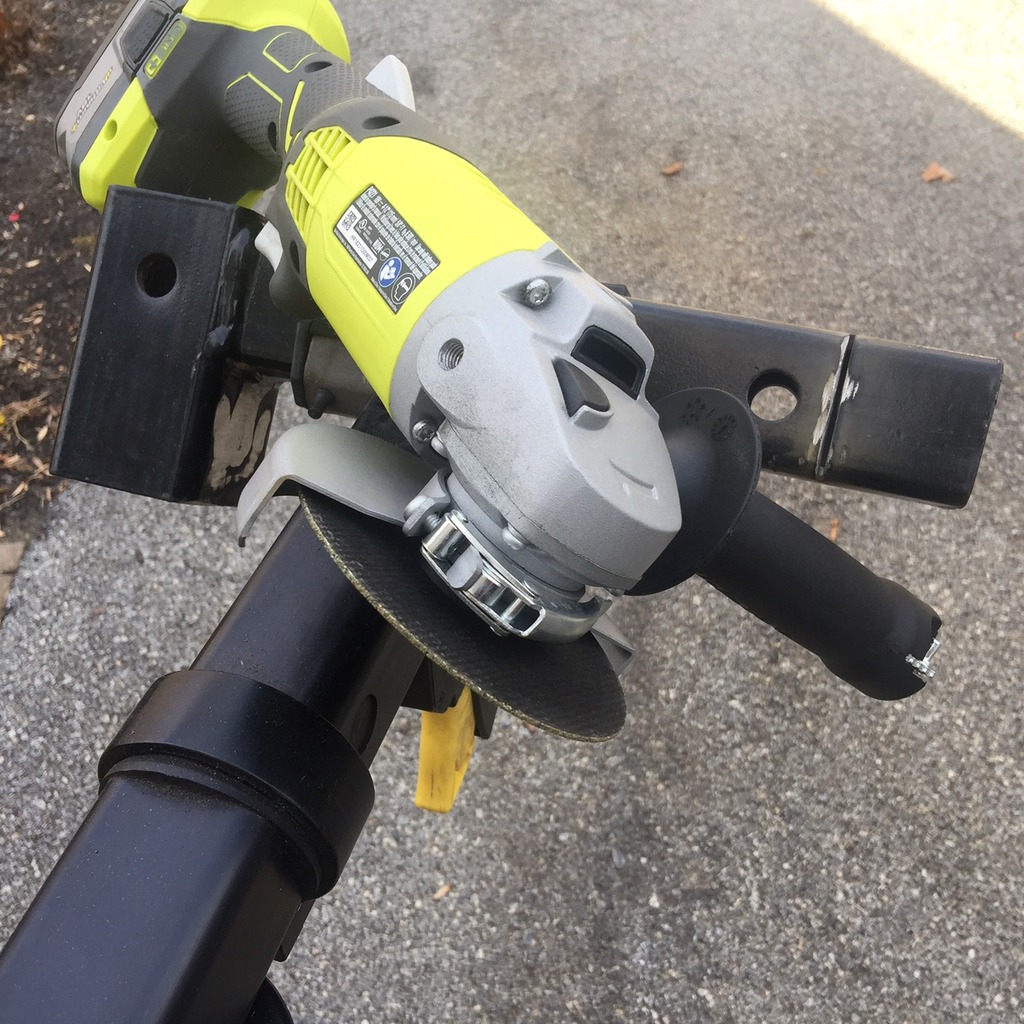
I removed the triangle gusset with a dremel cut-off and then used an angle grinder to remove the weld bead.
After that I raised the hitch in the bracket to where I wanted it and marked off the extra for removal. That way it could fit under the bumper and into the vertical receiver, since the car is now lower.
Note: on a lowered car the stock length of the drop receiver is too long to insert into the vertical receiver. So I jacked the car up a few inches to slide it in place. Held it at the height close to the bumper by supporting it with another jack, and marked off the excess poking through the top of the vertical receiver, and marking off the new raised hole position.
Sounds complex but if you have this setup you already know how simple this is.
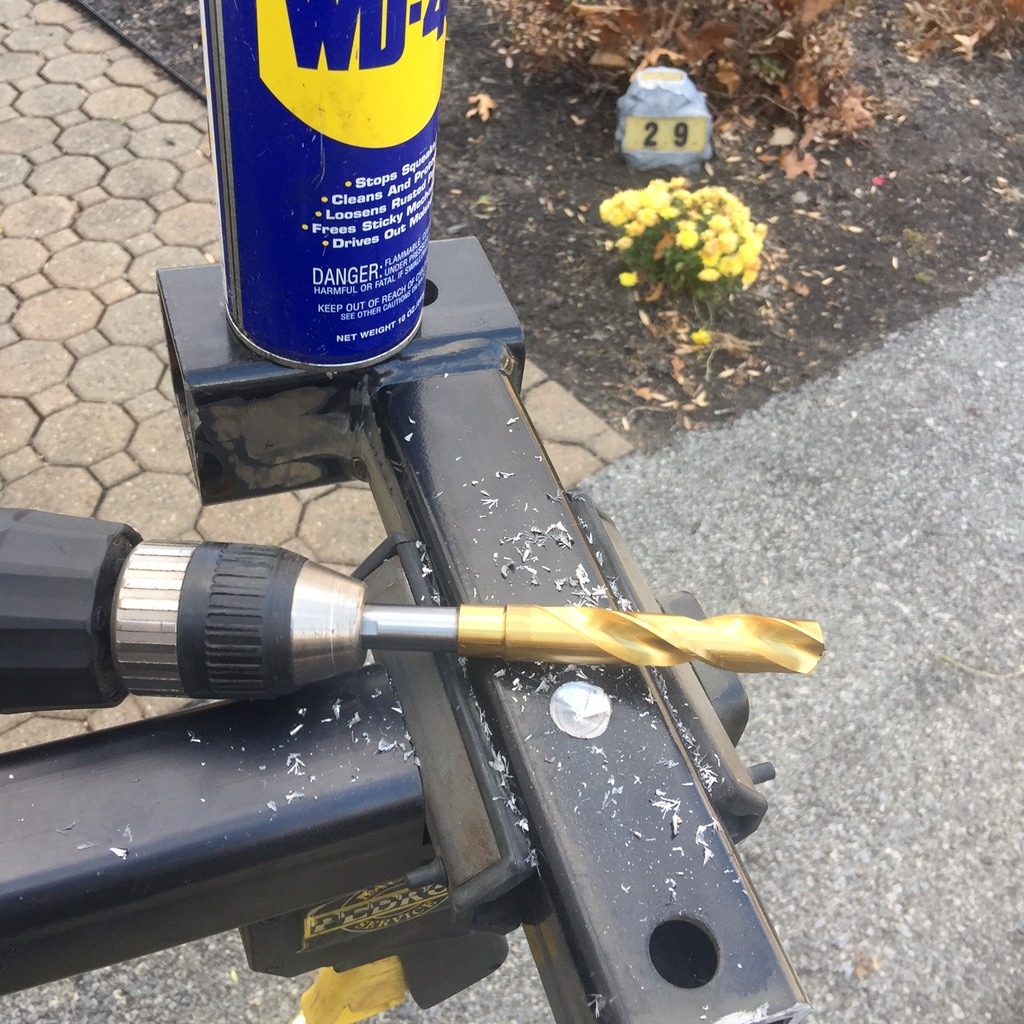
After marking off the extra (leaving a little gap for later in case I install a diffuser) I cut the end off and drilled a hitch pin hole through based on where I marked it while it was in the receiver.
My rack is now at about 7" off the ground.
My exhaust tips are 7.5"
The exhaust pipes under the car are at 4"
So in the end, even lowered I have more clearance than I did when I was at stock height.
Last edited by bikezilla; Nov 29, 2016 at 11:48 PM.
The attached photo shows it installed- this is with the plate mounted directly to the bumper bar, no spacers. I drilled a new hole about 3" above the normal one and did not cut off the tube as you did.
I did have to remove a small amount of the gusset and weld though.
Note that only a minor slit is cut in the bumper cover.
I also inspected the bumper bar and bolts for any signs of distortion, cracking, stretching, etc. I'm happy to say everything looked great after some very frequent use all this time.