
DIY - G37 coupe Iluminated kickplates without t- harness. (Plugnplay)


Thread Starter
Registered User
Joined: Sep 2009
Posts: 117
Likes: 13
From: West Palm Beach, FL
Hey all this is my first DIY I ever did and I finally felt like it was time to give back to the G community. Many of y'all may not know me but I had a g35 coupe that got viciously tboned. Thank god I was okay.I researched and searched for my perfect car for two months n I found her. Anyways on to the DIY:
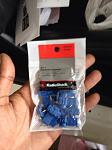
I went to RadioShack to get parts for the install. I spent $ 29 for everything.
-2 rolls of 15ft 18g hookup wire. I tried to get red and white to color match to the illuminated kickplates wires but they didn't have white in the three pack and the Jew in me was trying to save as much as possible on this DIY. So I used black instead for one of the wire connections.
-3m double sided tape
-wire cutters -scissors
-small zip ties
-Blade incase your used set still has old double sided tape on the plates.
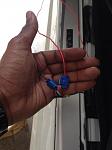
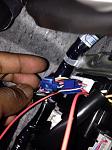
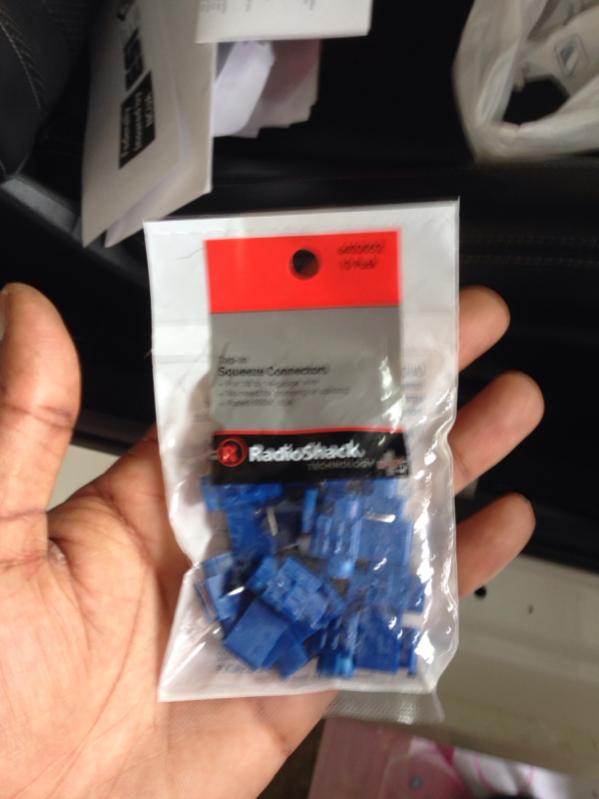
-a pack of tapping connectors I used 6.
I decided to tackle the passenger side first because the BCM is located at the passenger right footwell.
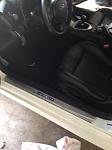
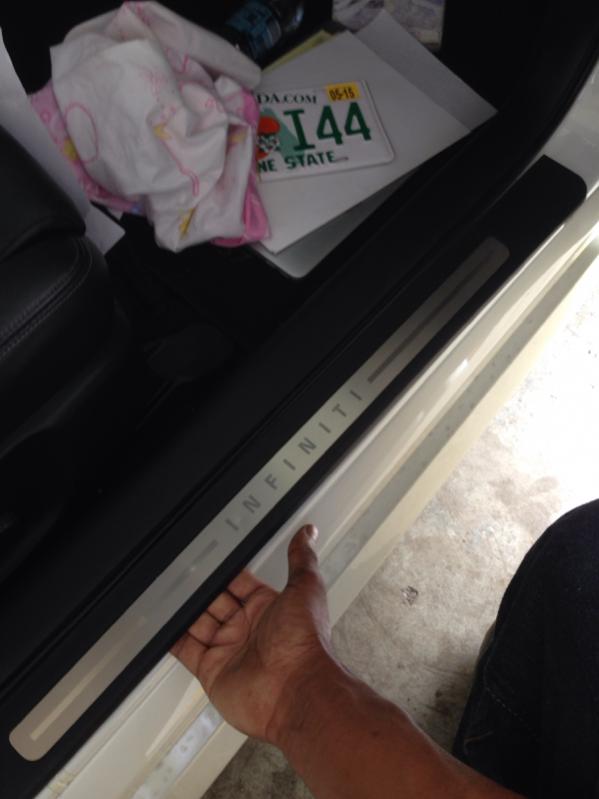
The first pieces I removed were the passenger side original kickplates.
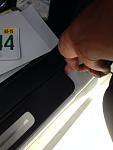
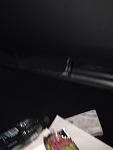
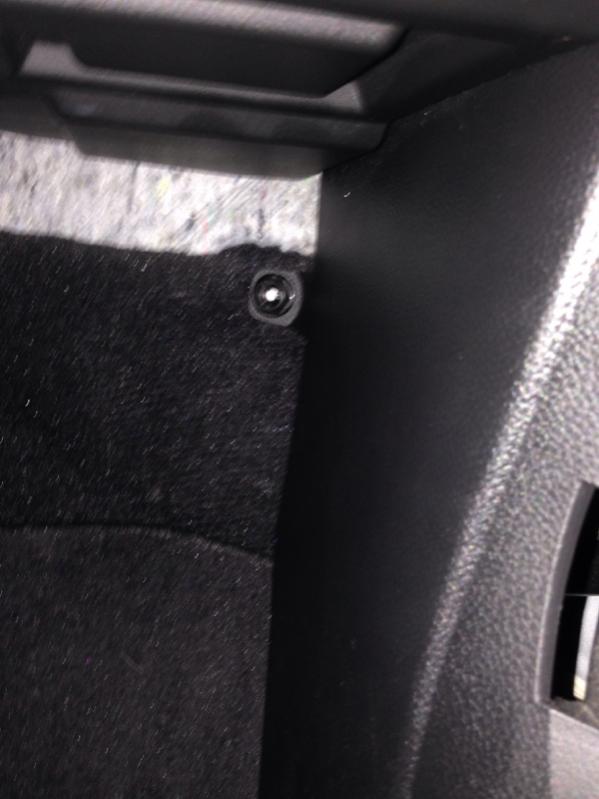
You want to start at the front and be very gently. I got some pictures of of the clip points you want to pry up.


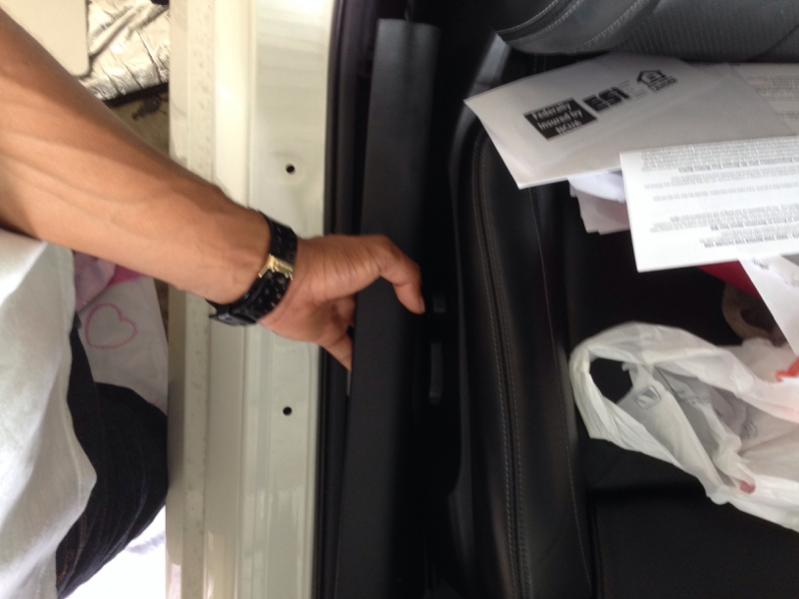
Next I proceeded to remove the plastic trim piece that holds and cover the rubber lining. I started from the back as it is easier. You want to pull up gently and forward to get the first clip out. Than after that you will need to gently pull up and kinda push it forward. It's a little hard to explain, but you will figure out when you began to take it apart.
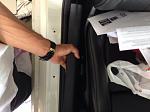
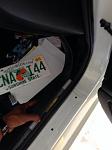
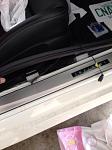
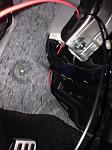
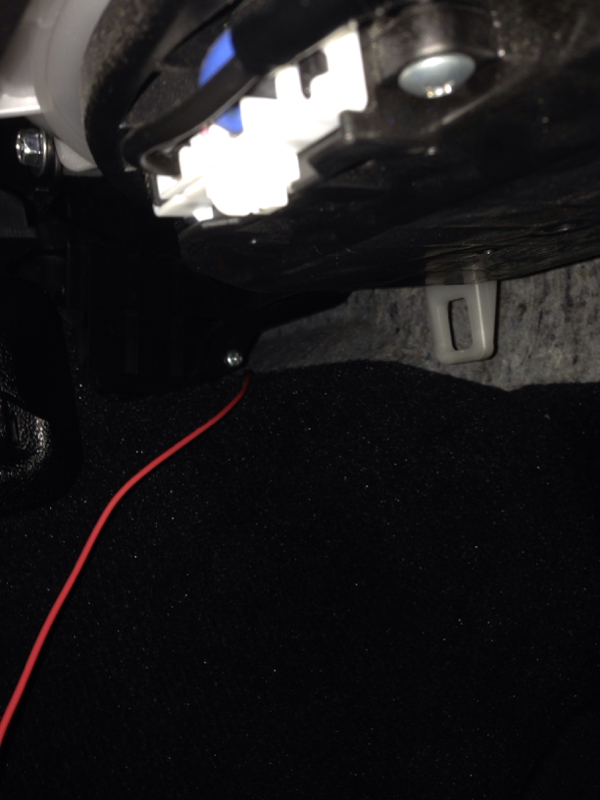
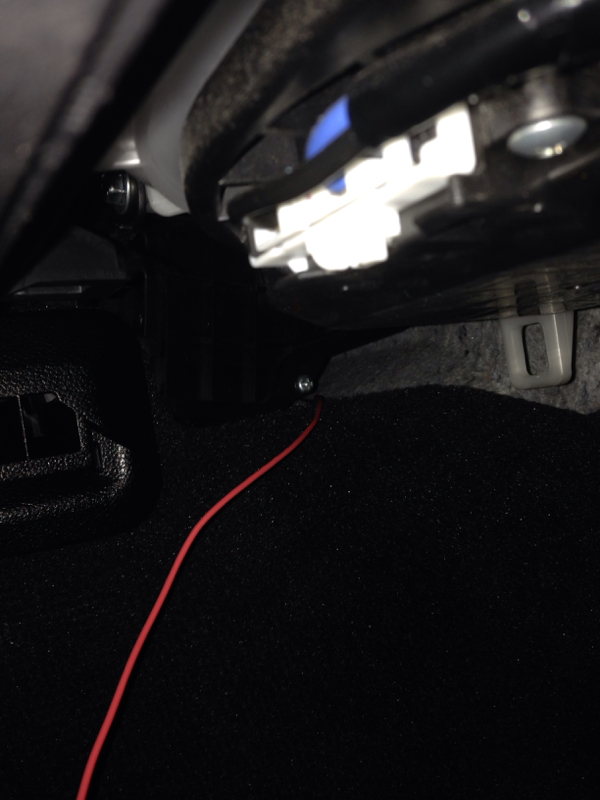
Next was to remove the BCM kickpanel. This will be the perfect time to replace air cabin filter and change your bulb in the glove box to led. There is is little screw you most screw off first.
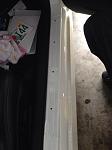
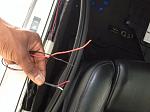
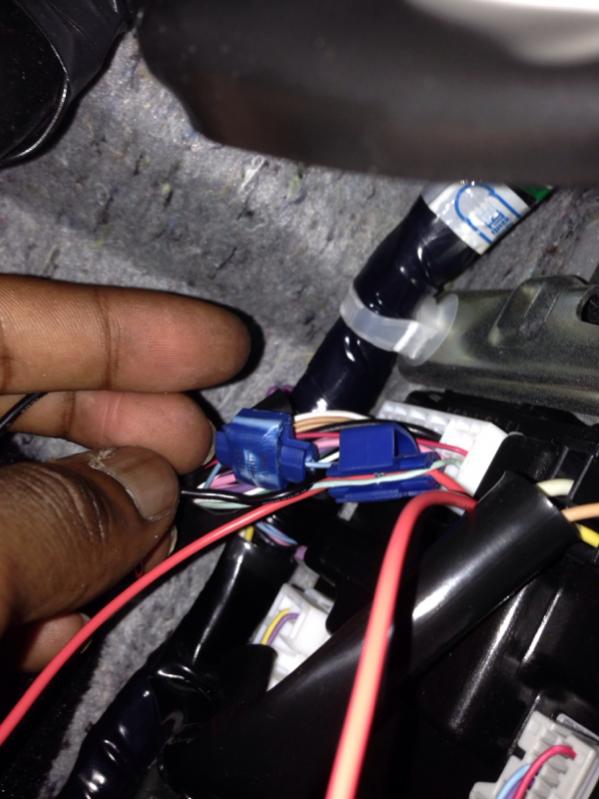
Next I removed the plastic panel under the glove box to get more room and better access to the two wires you will need to tap into on the BCM. There are three clips in the front. Just pull down gently and pull it towards you. The two wires are a light blue and light green. NOT the dark green one.
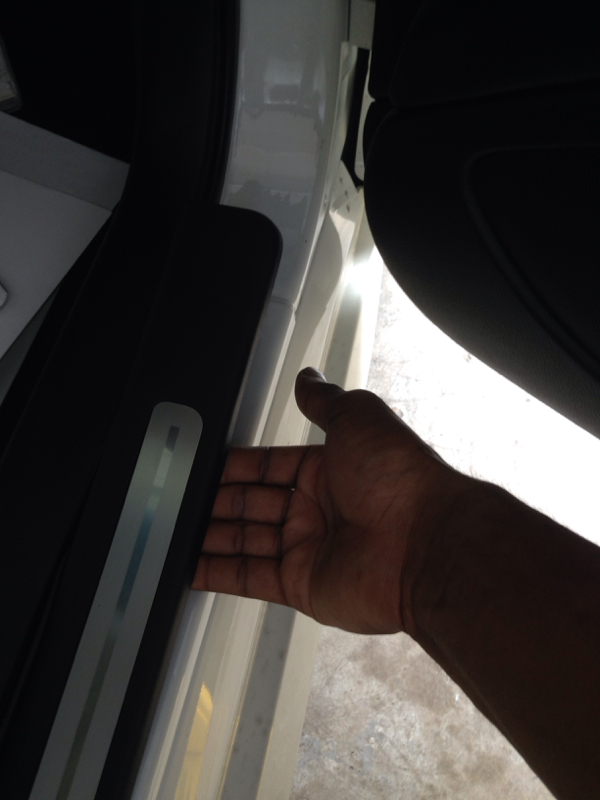
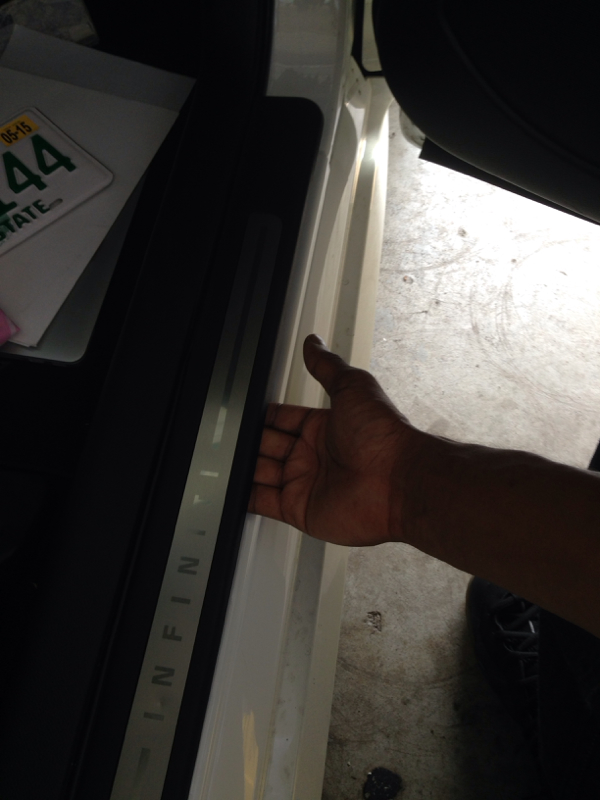
Next I just pulled up on the rubber door trim and test fitted the kick plates.
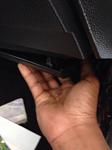
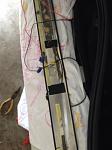
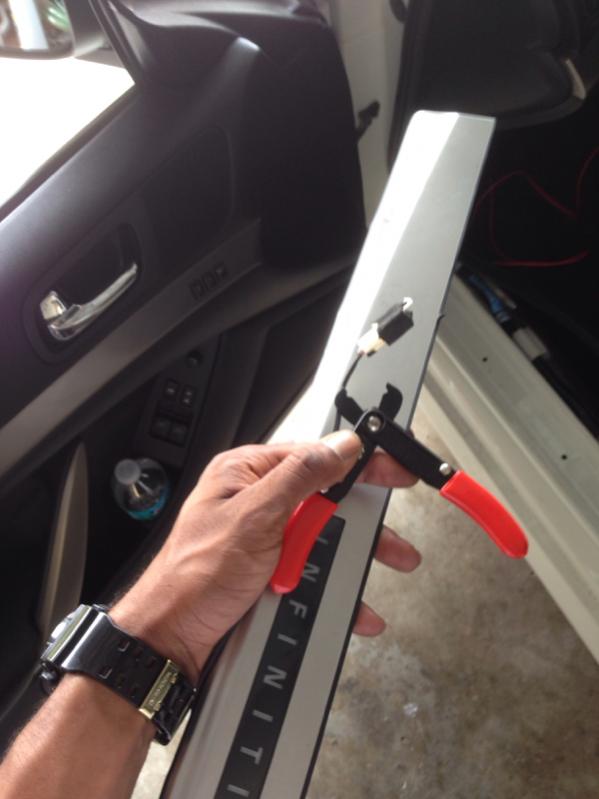
Next step was to cut the end connectors off the kickplates.

Next step I did was grab my red roll of hook up wire and cut about 9.5 feet of wire.

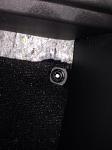
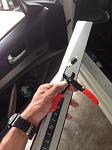
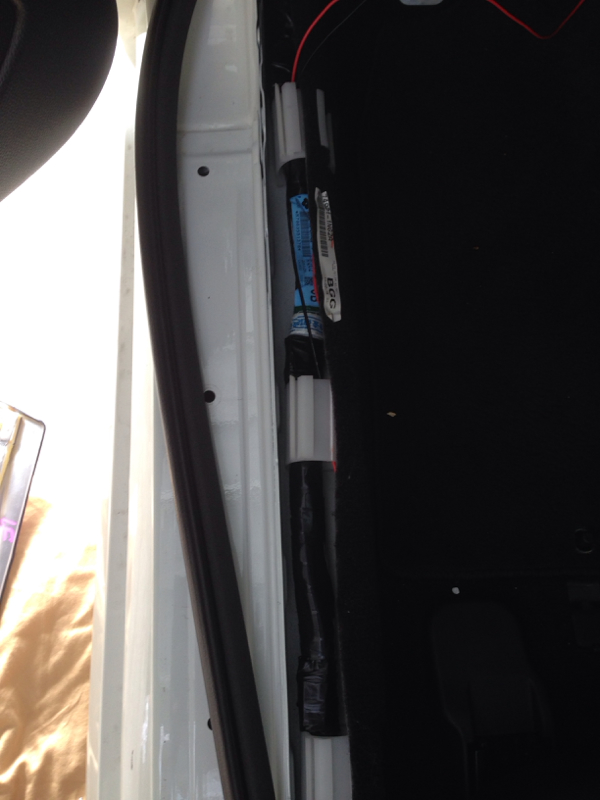
I snaked the wire through a hole to the right of the lower vent on the passenger side to get through on the driver side.
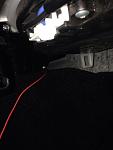


There is a metal clip hook with a small hole in where I ran the cables through so it wouldn't hang.
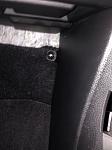
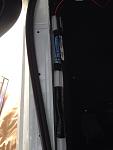
When you get to the driver side kickplates you will have to follow the passenger plastic trim and rubber seal removal it's pretty much the same steps.

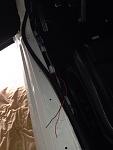
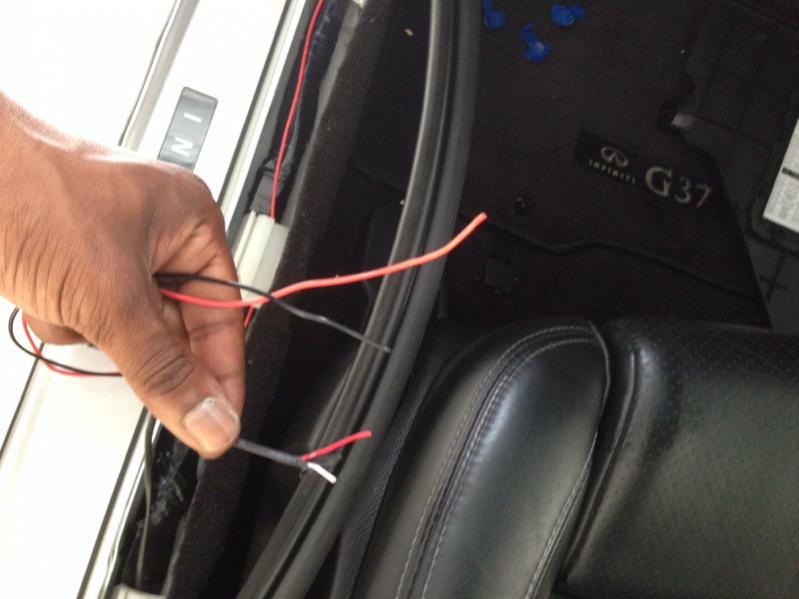
I routed the red 18g wire in the same area where the the existing wires are. You want to make sure you use the zip ties for clean install. Now you want to cut your other wire 9.5 feet. Like i said I used black because I didn't want to pay extra for white. I routed the black wire the same exact place and way from passenger side to driver side.
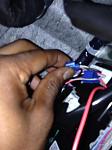
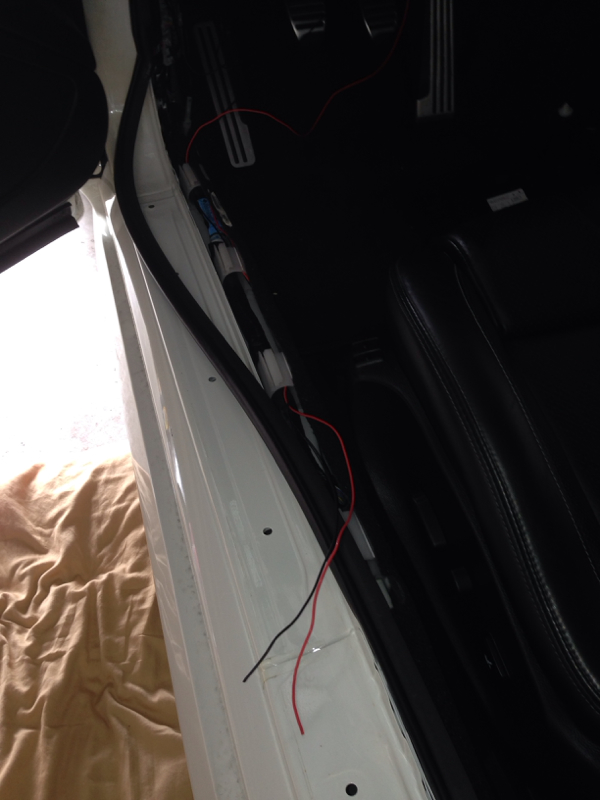
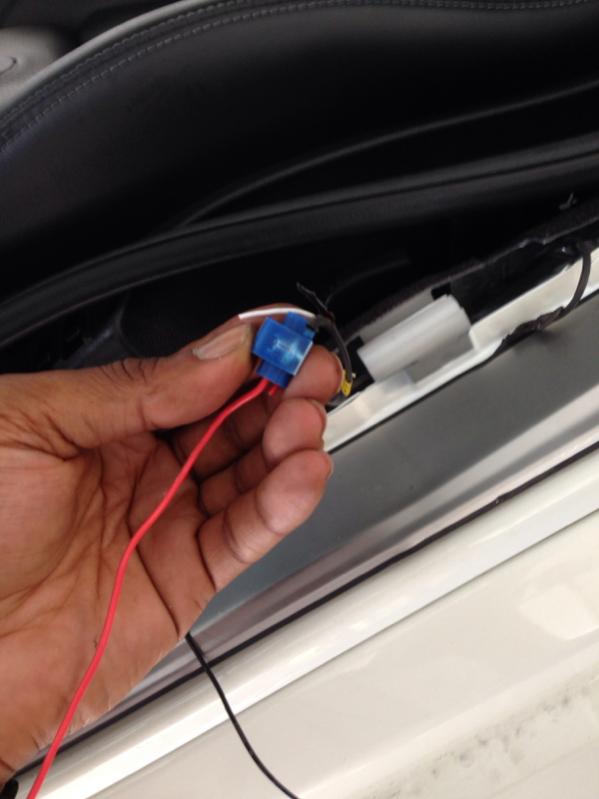
Next step is to grab two of the tap in connectors. Now connect the red 18g hook up wire and the red wire on the driver side illuminated kick plate. I did the same thing for the black 18g hook up wire. I connected the black wire to the white wire on the kickplates and did the same thing for the passenger side. So you will have a total of 4 tap ins used on driver and passenger side. So pretty much your setup is two wires routed from passenger side to driver side and at each end of a wire is connected to the corespondent color of each kickplate with tap in connectors.
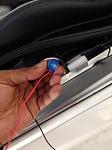


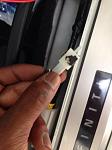
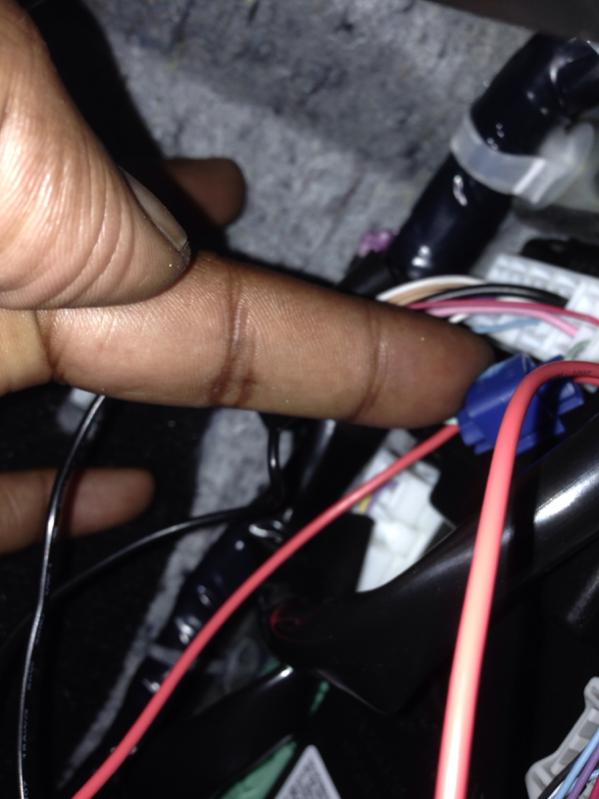
Now you will need to tap into the two wires on the BCM remember one is light green and the other is light blue. Red to light green and white to light blue, but in my case remember I used black because I didn't want to spend extra for white. So you will need two more tap ins for this step.


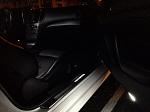
Finished product.
Night
Please don't flame me as I am tired its 4am and I did this all on the iPhone. Please feel free to hit me up if you have any questions.
Oh I forgot to add before you secure the illuminated kick plates to the car make sure you put a nice amount of 3m double sided tape.
I went to RadioShack to get parts for the install. I spent $ 29 for everything.
-2 rolls of 15ft 18g hookup wire. I tried to get red and white to color match to the illuminated kickplates wires but they didn't have white in the three pack and the Jew in me was trying to save as much as possible on this DIY. So I used black instead for one of the wire connections.
-3m double sided tape
-wire cutters -scissors
-small zip ties
-Blade incase your used set still has old double sided tape on the plates.
-a pack of tapping connectors I used 6.
I decided to tackle the passenger side first because the BCM is located at the passenger right footwell.
The first pieces I removed were the passenger side original kickplates.
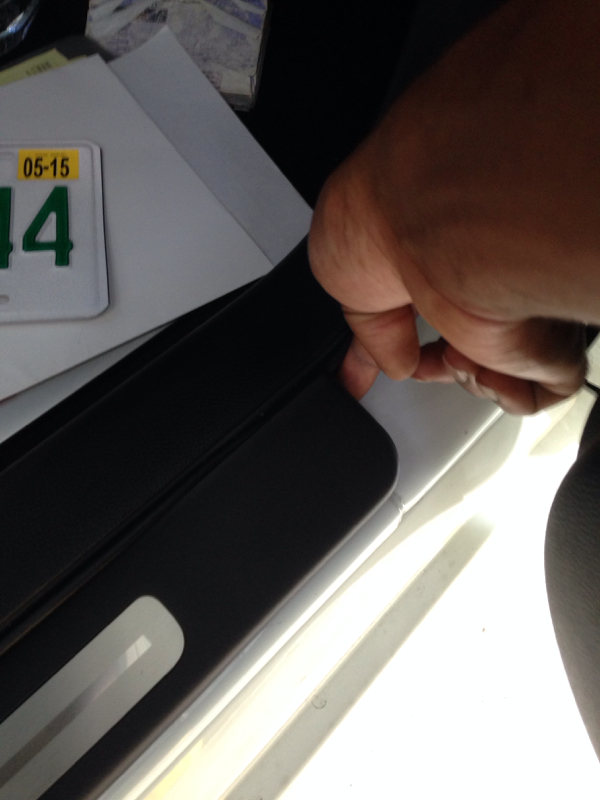
You want to start at the front and be very gently. I got some pictures of of the clip points you want to pry up.

Next I proceeded to remove the plastic trim piece that holds and cover the rubber lining. I started from the back as it is easier. You want to pull up gently and forward to get the first clip out. Than after that you will need to gently pull up and kinda push it forward. It's a little hard to explain, but you will figure out when you began to take it apart.
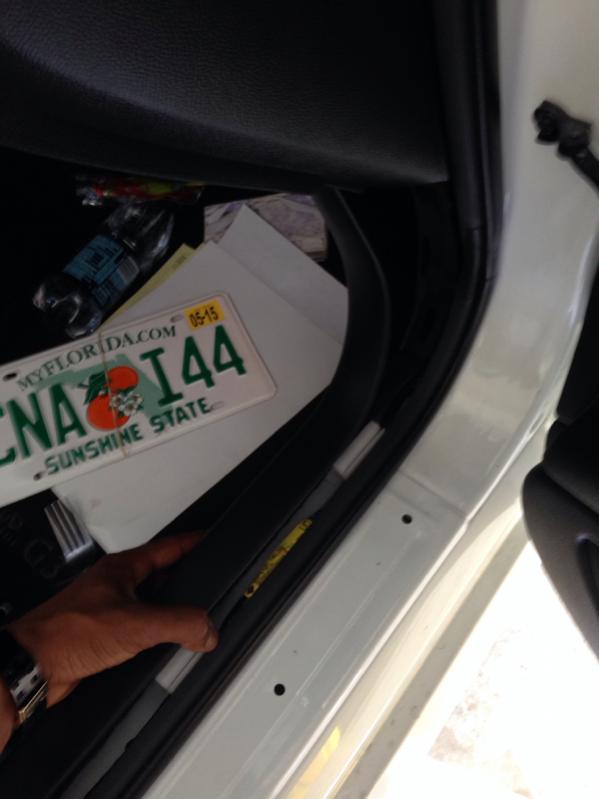
Next was to remove the BCM kickpanel. This will be the perfect time to replace air cabin filter and change your bulb in the glove box to led. There is is little screw you most screw off first.
Next I removed the plastic panel under the glove box to get more room and better access to the two wires you will need to tap into on the BCM. There are three clips in the front. Just pull down gently and pull it towards you. The two wires are a light blue and light green. NOT the dark green one.


Next I just pulled up on the rubber door trim and test fitted the kick plates.

Next step was to cut the end connectors off the kickplates.

Next step I did was grab my red roll of hook up wire and cut about 9.5 feet of wire.

I snaked the wire through a hole to the right of the lower vent on the passenger side to get through on the driver side.
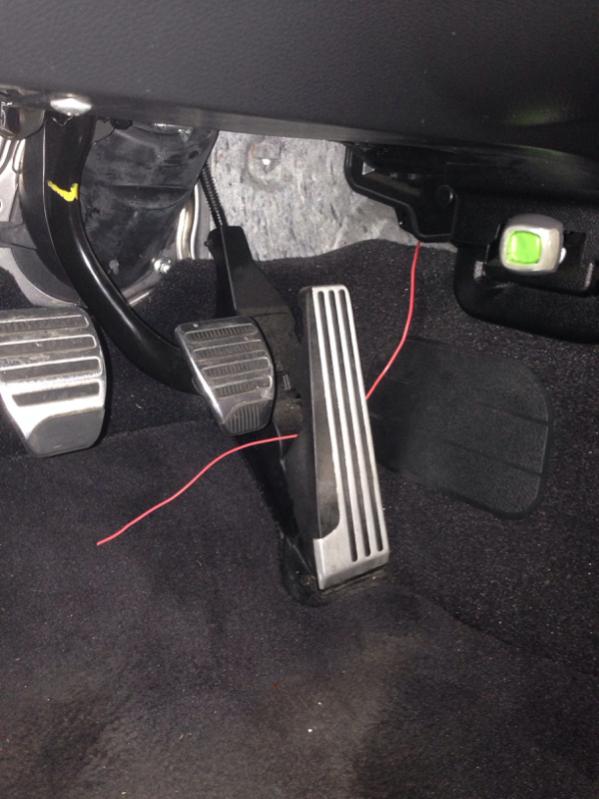
There is a metal clip hook with a small hole in where I ran the cables through so it wouldn't hang.

When you get to the driver side kickplates you will have to follow the passenger plastic trim and rubber seal removal it's pretty much the same steps.
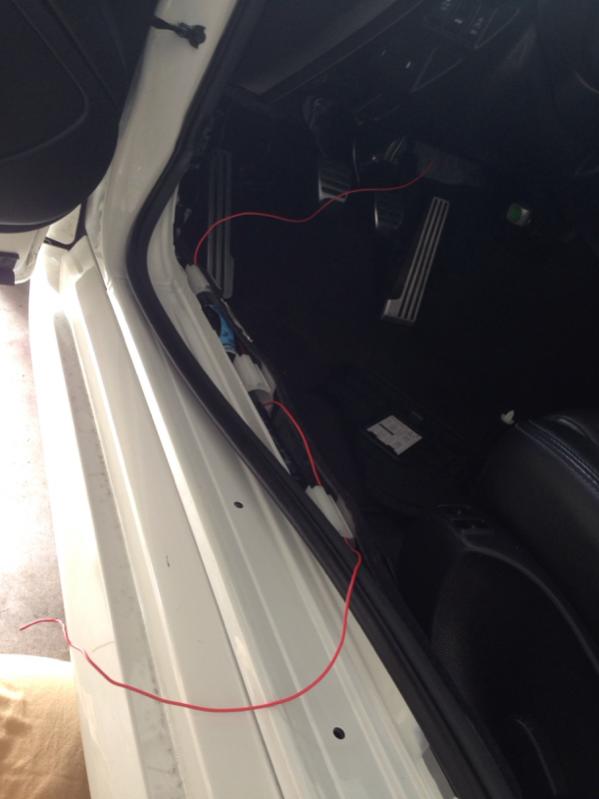
I routed the red 18g wire in the same area where the the existing wires are. You want to make sure you use the zip ties for clean install. Now you want to cut your other wire 9.5 feet. Like i said I used black because I didn't want to pay extra for white. I routed the black wire the same exact place and way from passenger side to driver side.

Next step is to grab two of the tap in connectors. Now connect the red 18g hook up wire and the red wire on the driver side illuminated kick plate. I did the same thing for the black 18g hook up wire. I connected the black wire to the white wire on the kickplates and did the same thing for the passenger side. So you will have a total of 4 tap ins used on driver and passenger side. So pretty much your setup is two wires routed from passenger side to driver side and at each end of a wire is connected to the corespondent color of each kickplate with tap in connectors.


Now you will need to tap into the two wires on the BCM remember one is light green and the other is light blue. Red to light green and white to light blue, but in my case remember I used black because I didn't want to spend extra for white. So you will need two more tap ins for this step.


Finished product.

Night

Please don't flame me as I am tired its 4am and I did this all on the iPhone. Please feel free to hit me up if you have any questions.
Oh I forgot to add before you secure the illuminated kick plates to the car make sure you put a nice amount of 3m double sided tape.

Last edited by spinna001; Nov 18, 2015 at 02:47 PM. Reason: typo


Registered Member
Joined: Feb 2011
Posts: 106
Likes: 3
Good job on this, thanks. I just bought a pair of these to install in my vert but was trying to find a T-harness to make it factory-like install. I haven't been able to locate one yet but does the T-harness require a lot of disassembly to install?

Thread Starter
Registered User
Joined: Sep 2009
Posts: 117
Likes: 13
From: West Palm Beach, FL
The T-harness only comes with a new kit, it is not sold separately. My DIY does the same exact thing the t - harness does. Plug n play no splicing.

Trending Topics
Thread Starter
Registered User
Joined: Sep 2009
Posts: 117
Likes: 13
From: West Palm Beach, FL

Thread Starter
Registered User
Joined: Sep 2009
Posts: 117
Likes: 13
From: West Palm Beach, FL
Registered Member
Joined: Feb 2011
Posts: 106
Likes: 3
Lol i highly doubt you will find one as it is not Sold Separatly.
Its a good DIY but personally, I hate the little blue snap and tap conectors. I am sure they are good I just try to avoid them in favor of a more standard connector. Nothing wrong with them, its just a personal preference.
Thread Starter
Registered User
Joined: Sep 2009
Posts: 117
Likes: 13
From: West Palm Beach, FL
Dont overlook the used market. Lots of wrecked G's out there you know LOL. (3 of those harnesses on eBay right now with sill plates)
Its a good DIY but personally, I hate the little blue snap and tap conectors. I am sure they are good I just try to avoid them in favor of a more standard connector. Nothing wrong with them, its just a personal preference.
Its a good DIY but personally, I hate the little blue snap and tap conectors. I am sure they are good I just try to avoid them in favor of a more standard connector. Nothing wrong with them, its just a personal preference.

Thread Starter
Registered User
Joined: Sep 2009
Posts: 117
Likes: 13
From: West Palm Beach, FL
Now you will need to tap into the two wires on the BCM remember one is light green and the other is light blue. Red to light green and white to light blue, but in my case remember I used black because I didn't want to spend extra for white. So you will need two more tap ins for this step.