


DIY: OEM Fog Light Install - Alternative Way


Thread Starter
Registered User
Joined: Mar 2014
Posts: 18
Likes: 4
From: Las Vegas
DIY: OEM Fog Light Install - Alternative Way
Well I know there is a DIY already for a fog light install but the way the other guy did it wasn't the way I wanted to do it. So I went ahead and found a way for it to work doing it an alternative way.
This install is on my 2008 G37S Coupe
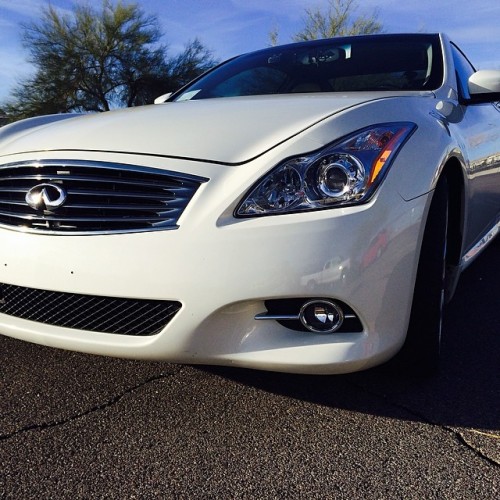
As some of you know in order to be install these types of fog lights it was said you had to get the slim washer tank so they could fit. Well I'm here to show you the way I did it so you don't have to buy a slim tank.
I got a set of fog light covers off somebody on ebay for $40. I ordered the fog lights from Amazon for $50. The remaining cables were roughly $15 or less. So I got this done for under $100.
So first of all remove your front bumper. If you don't know how just look it up. It's super easy. It would take me more time explaining it here then you just looking it up.
The mounting of the lights are self explanatory once you see them. Just pop out the covers you have now and screw in the new ones.
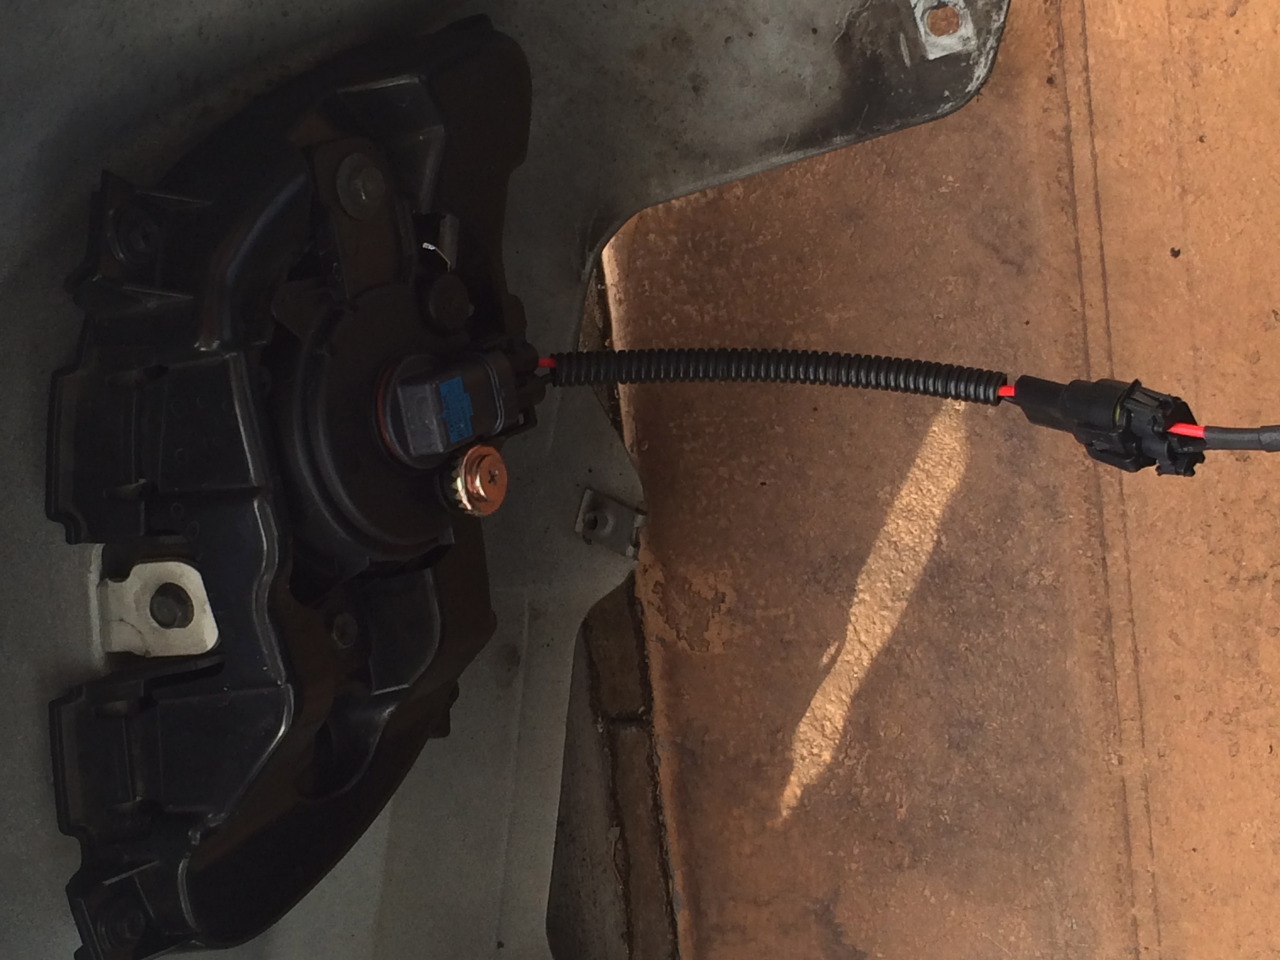
The lights I ordered came with H11 bulbs. I ordered an adapter cable that converted the H11 (Female) to 9006 (Male). The adapter also helps extend and close the gap from connecting from the OEM fog light connector.
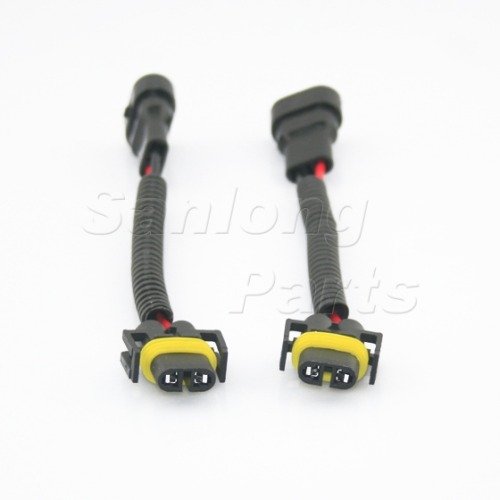
As you most of you know these cars came with fog lights built into the headlights. The bulbs in these are H1. Since I wanted to keep the use of my fog light switch on my turn signal I pulled out the connectors from the cap on the back of the headlight. The connectors themselves wont simply go through the hole since they are a little too big. I had to alter them just a tad with some needle nose to get them through. Once through I straightened them out again because they would connect to the next addapter needed to connect to the other adapter. This adapter is a H1(Male) to 9006 (Female).
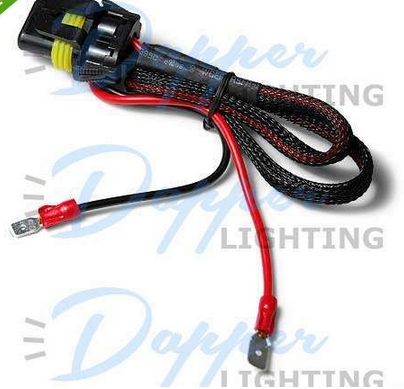
Just connect both adapters to each other and the other ends to the H11 and the H1 connectors.
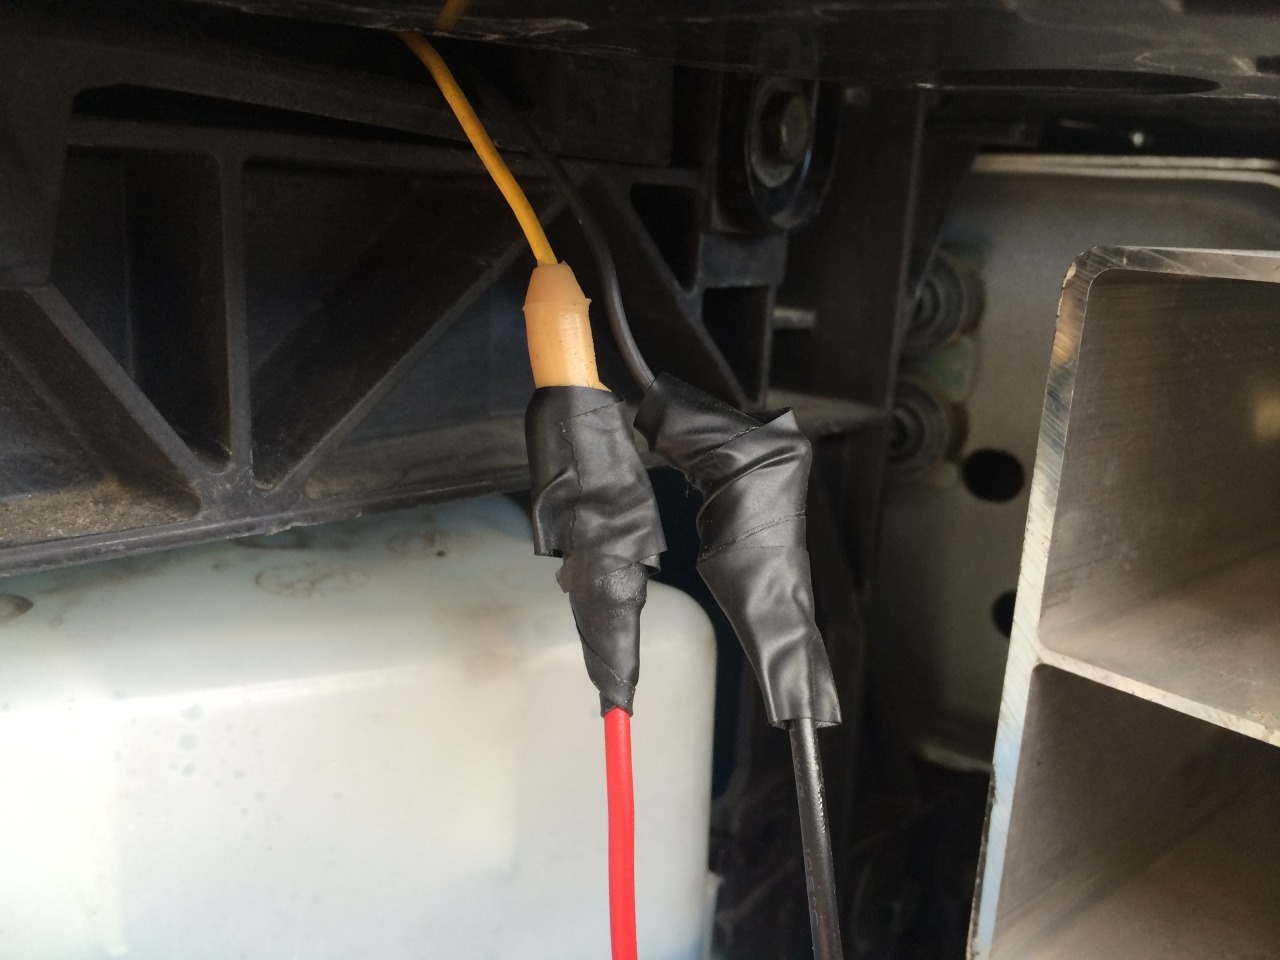
I wrapped electrical tape to keep them in place and for protection.
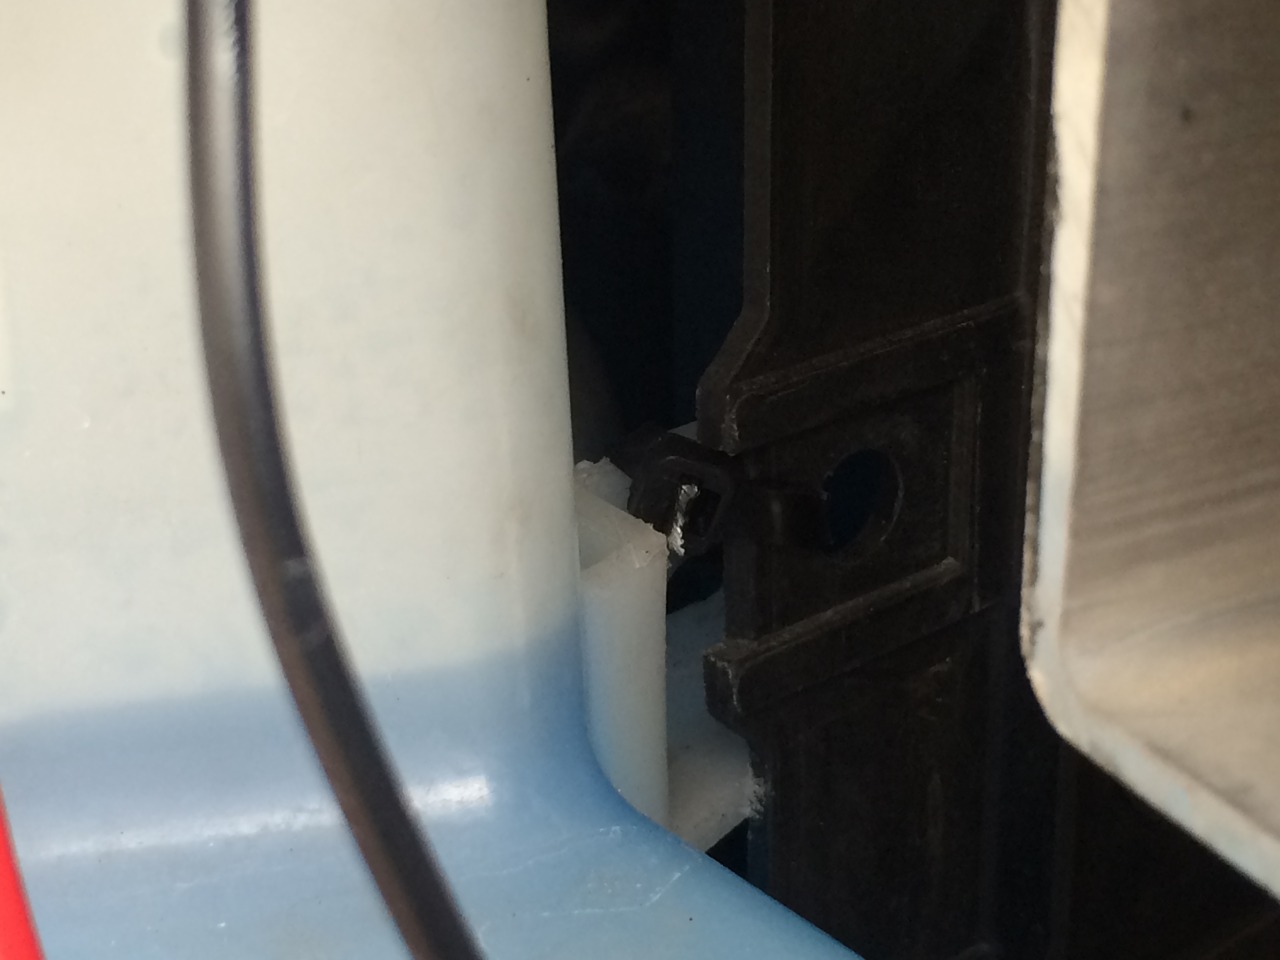
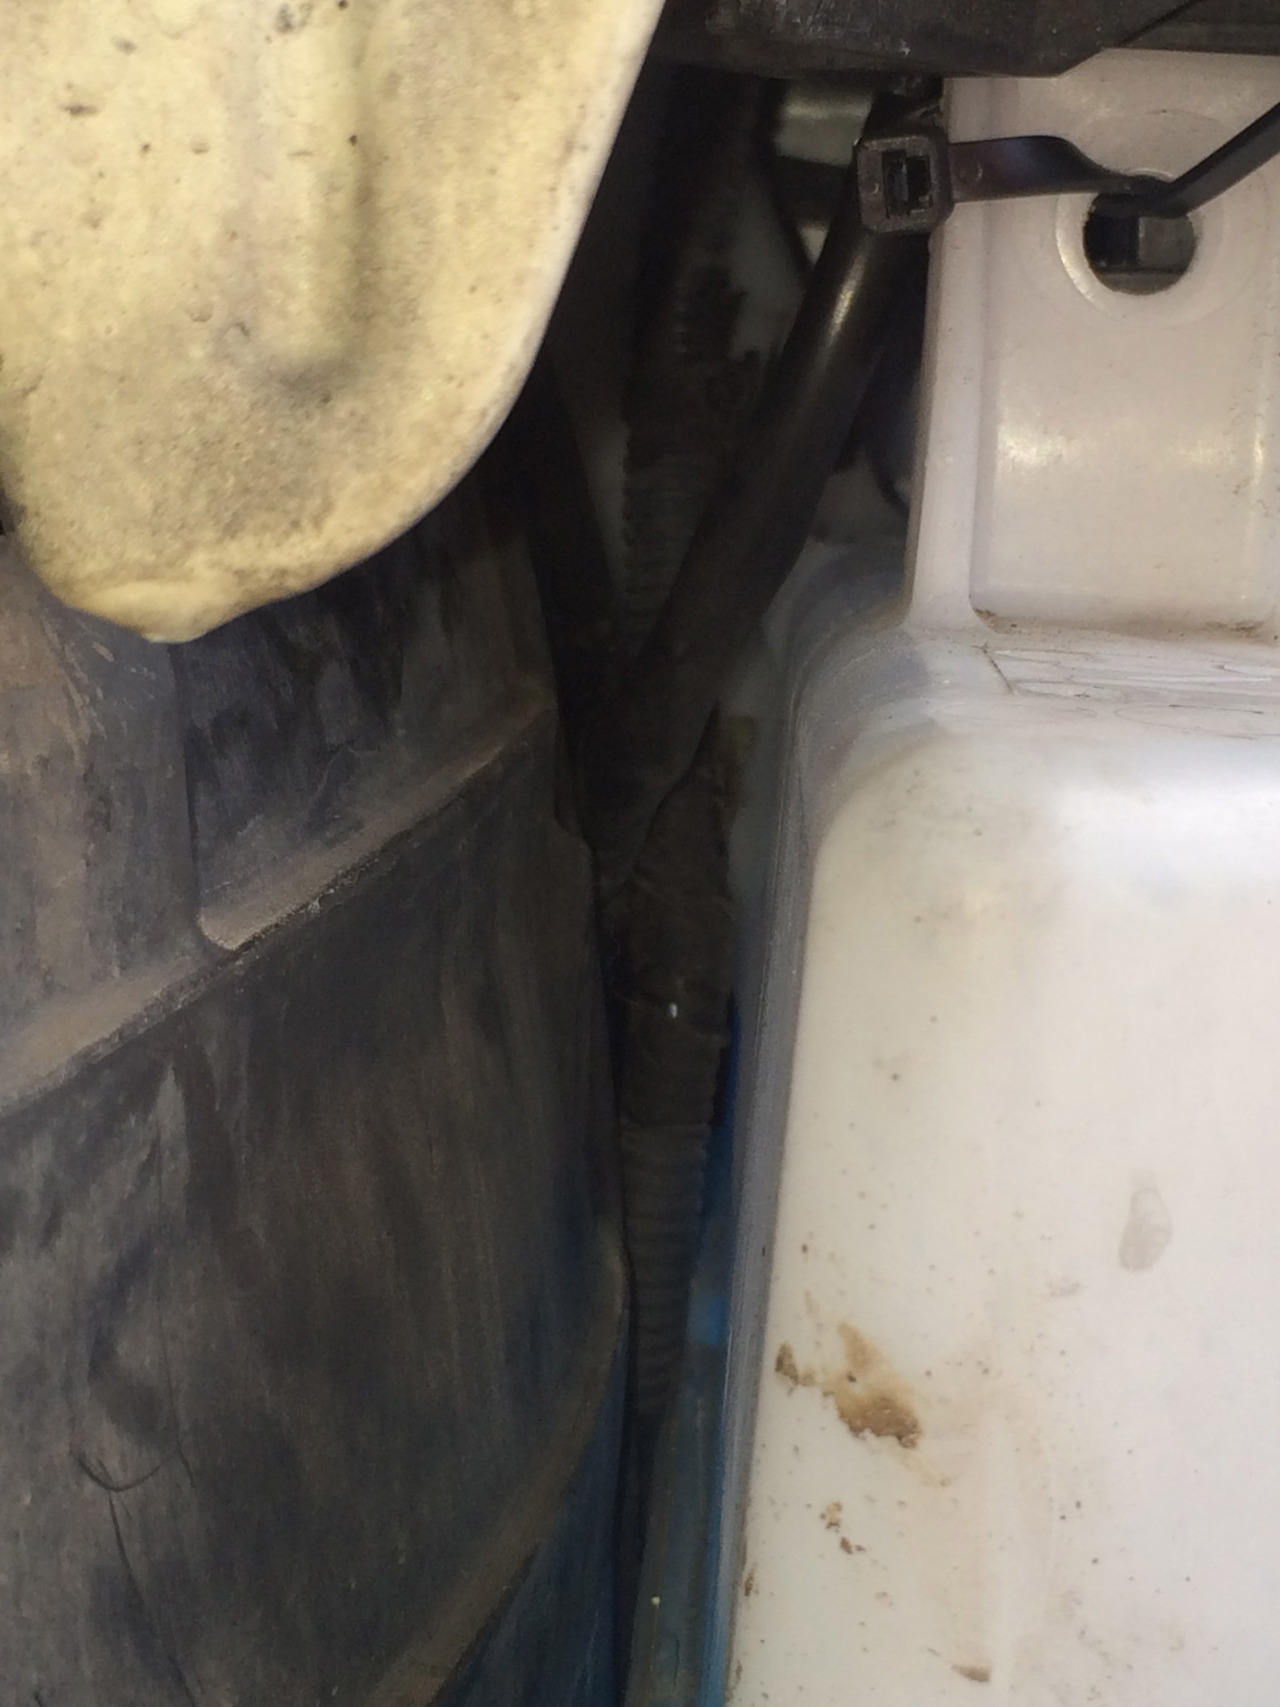
Now for the washer tank being in the way. Remove the bolt holding the top part of the tank and remove the top portion. Then remove the 3 bolts holding the tank in place. Now I cut some plastic tabs that were in the way for it to be flush behind the original place it was being held. Once cut I used industrial zip ties to hold everything in place. (I have yet to have any noise or use issues by doing it this way.)
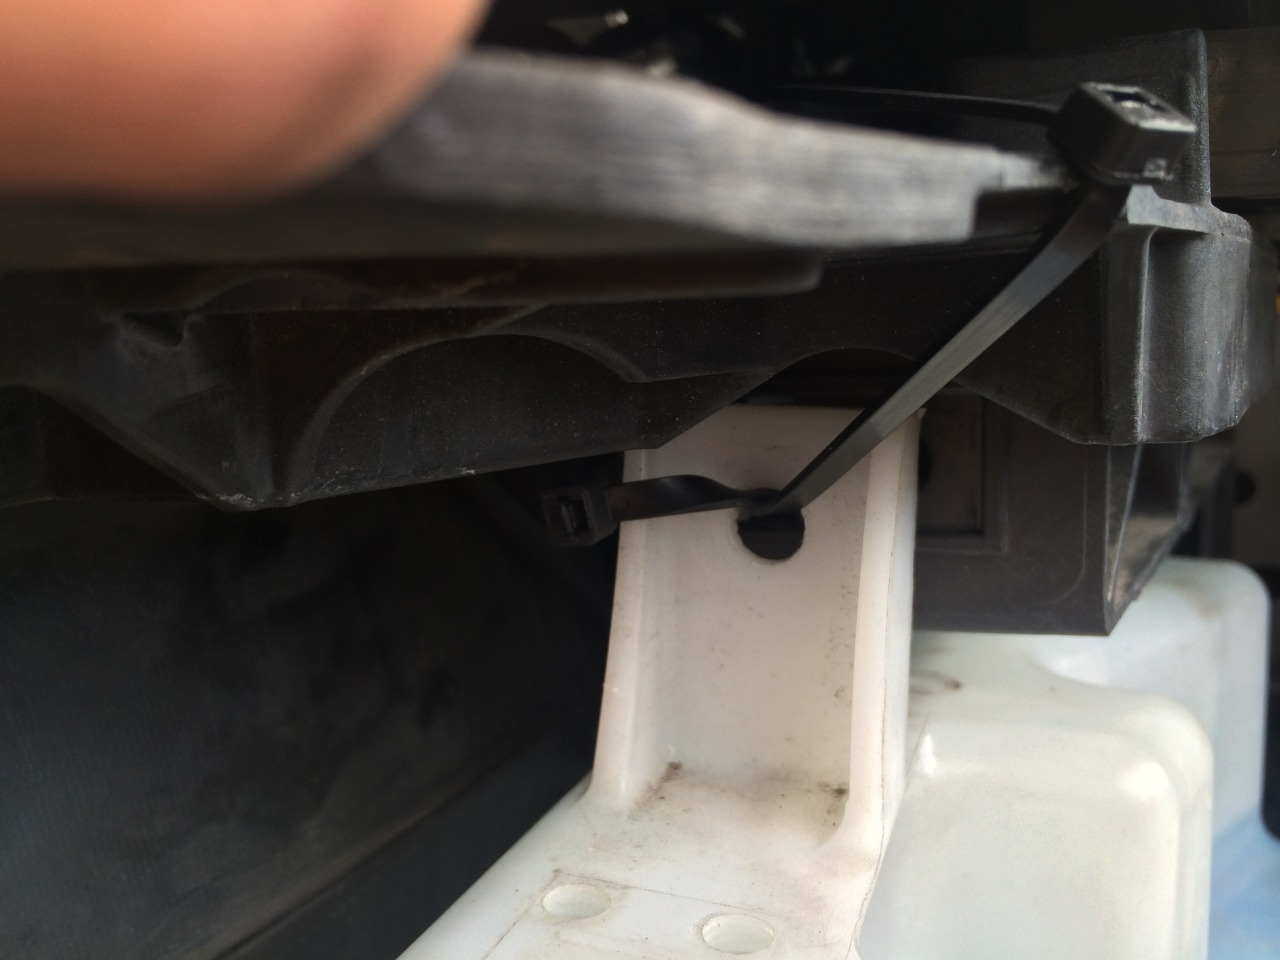
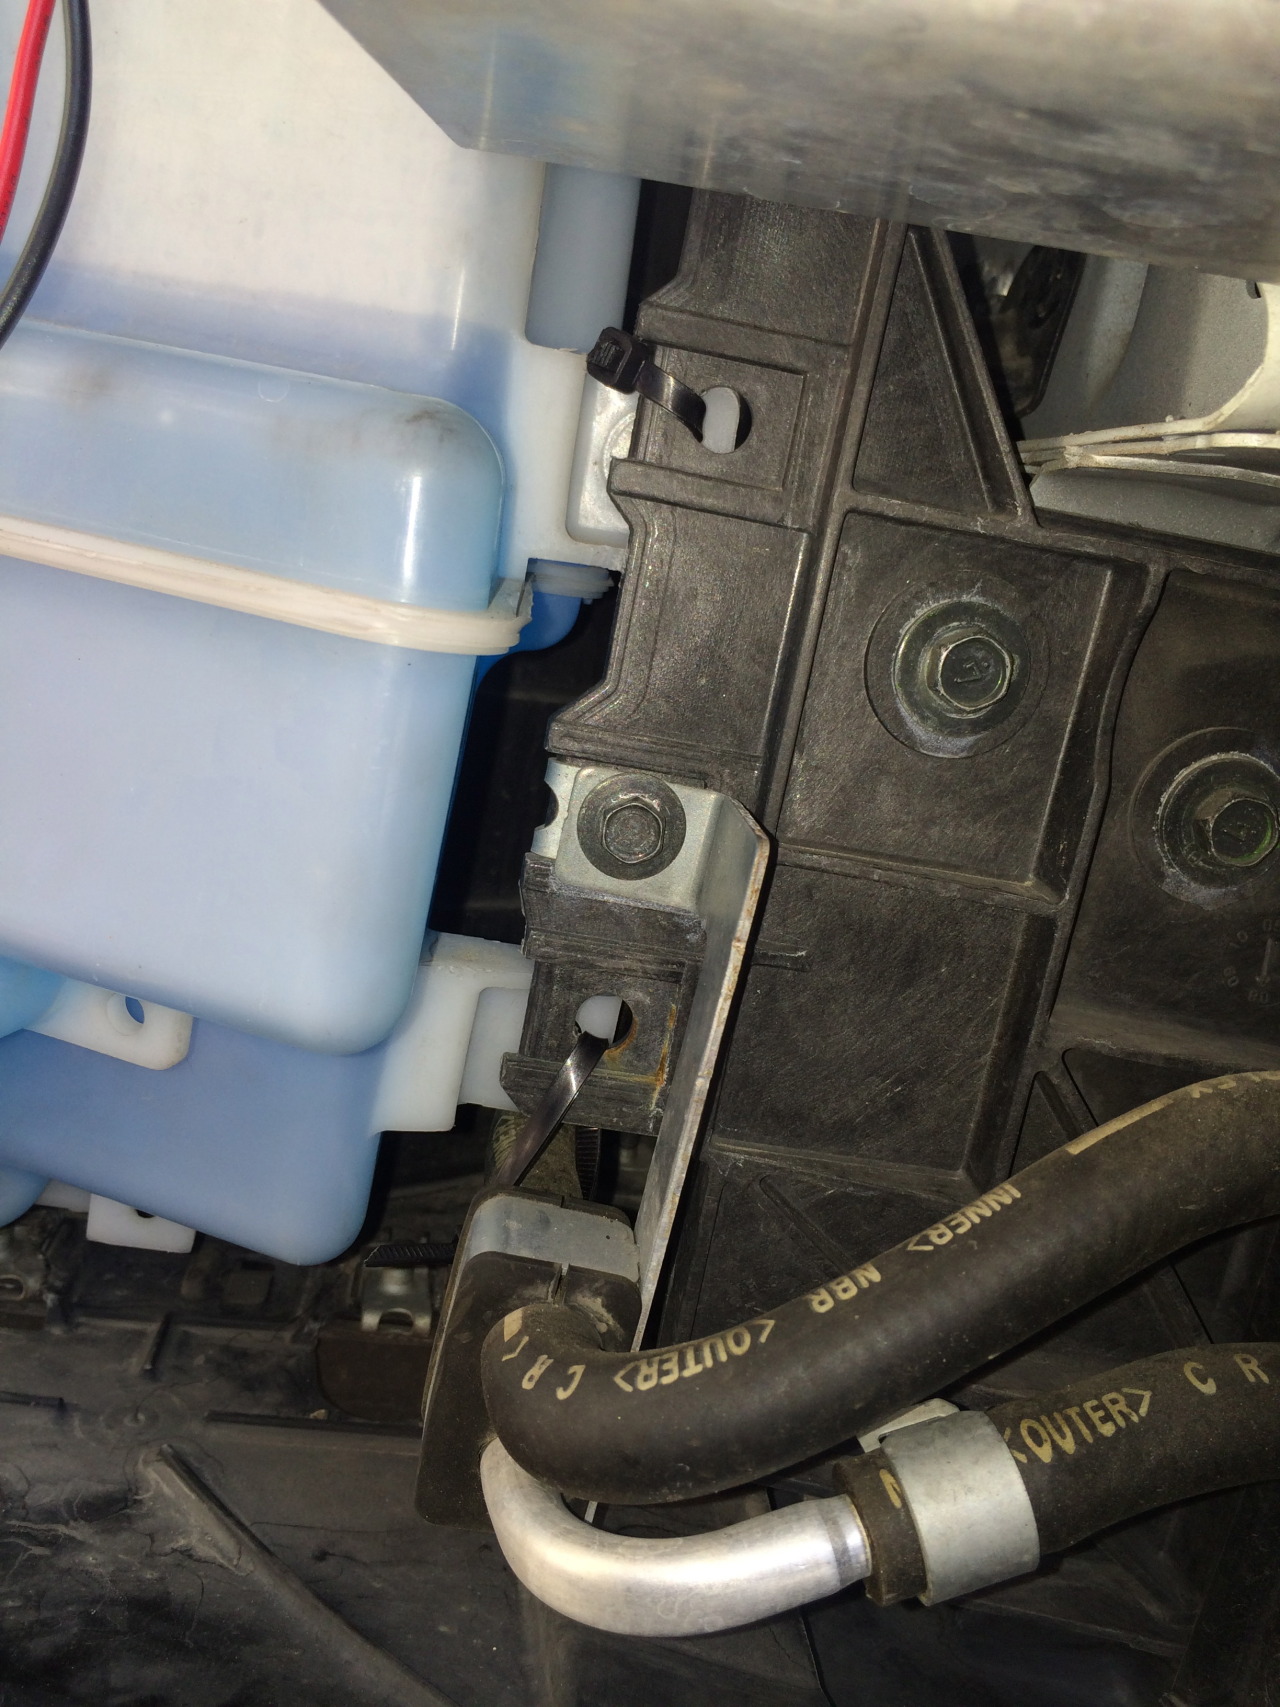
As you can see from the next image theres enough clearance that it wont hit the wheel cover and enough clearance on the front so it wont hit the fog light.
Now that takes care of the fog lights. At this point you can put things back together and you have working fog lights using the OEM switch. You might be asking "Well what about the H1 bulb thats in the headlights right now, what will I do with those?" Well I will tell you what I did
I ordered a DRL kit that would turn on when it detected vibration from the engine.
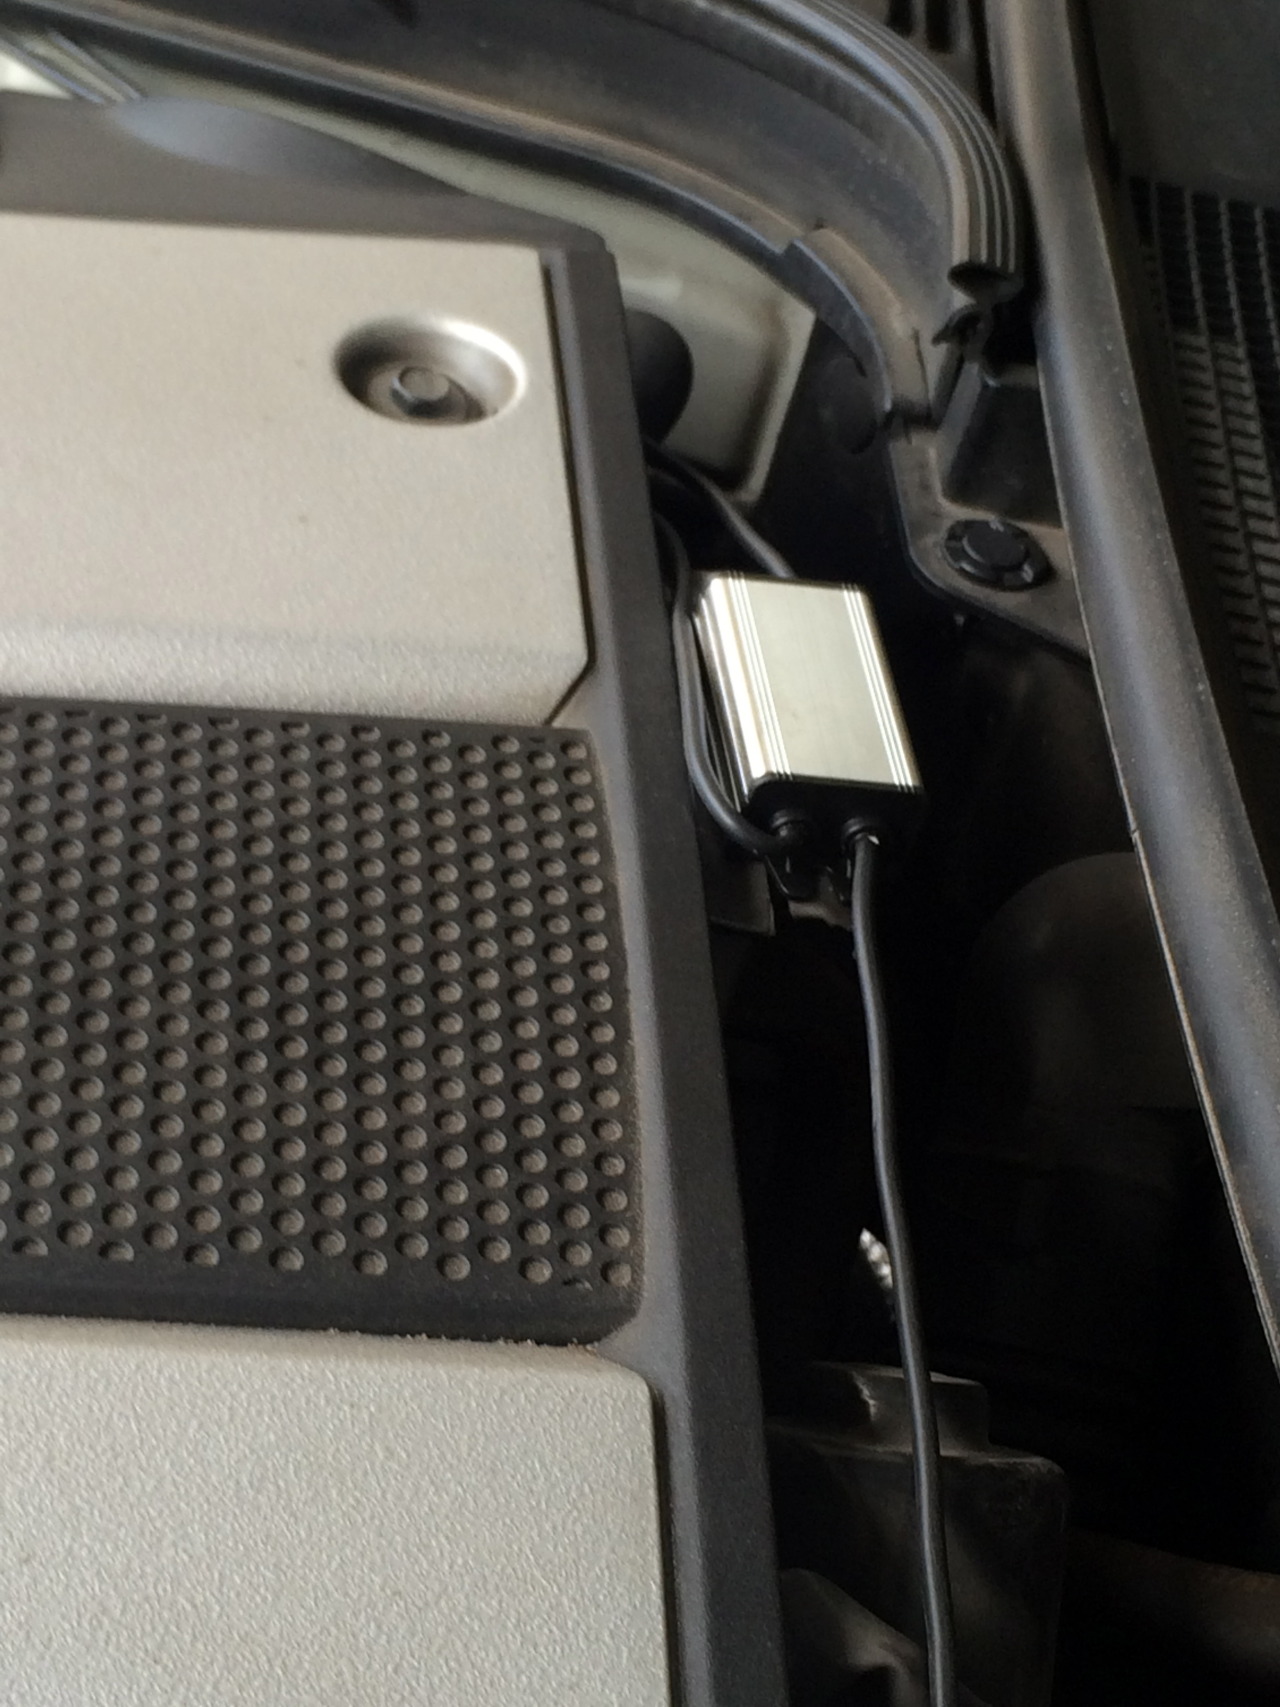
It gave me the option to have 9006 connectors at the end. I ordered this at iJDMtoy.com. I also ordered H1 LED bulbs to replace the halogen bulbs in the headlights because the DRL kit needed low voltage bulbs. The bulbs I got were fatter than the H1 bulbs the car came with so I had to modify the headlight housing to just open up the hole so it would fit the LED bulb. It's up to you guys on how you do this but I just used a drill bit and carefully made the hole bigger and vacuumed the bits out. Now once It was able to fit and mounted I had extra 9006 connectors laying around that would connect to the DRL kit 9006 connector so I simply cut the other ends off and went to Walmart and purchased some connectors that were the right size to slide on the back of the H1 bulb.
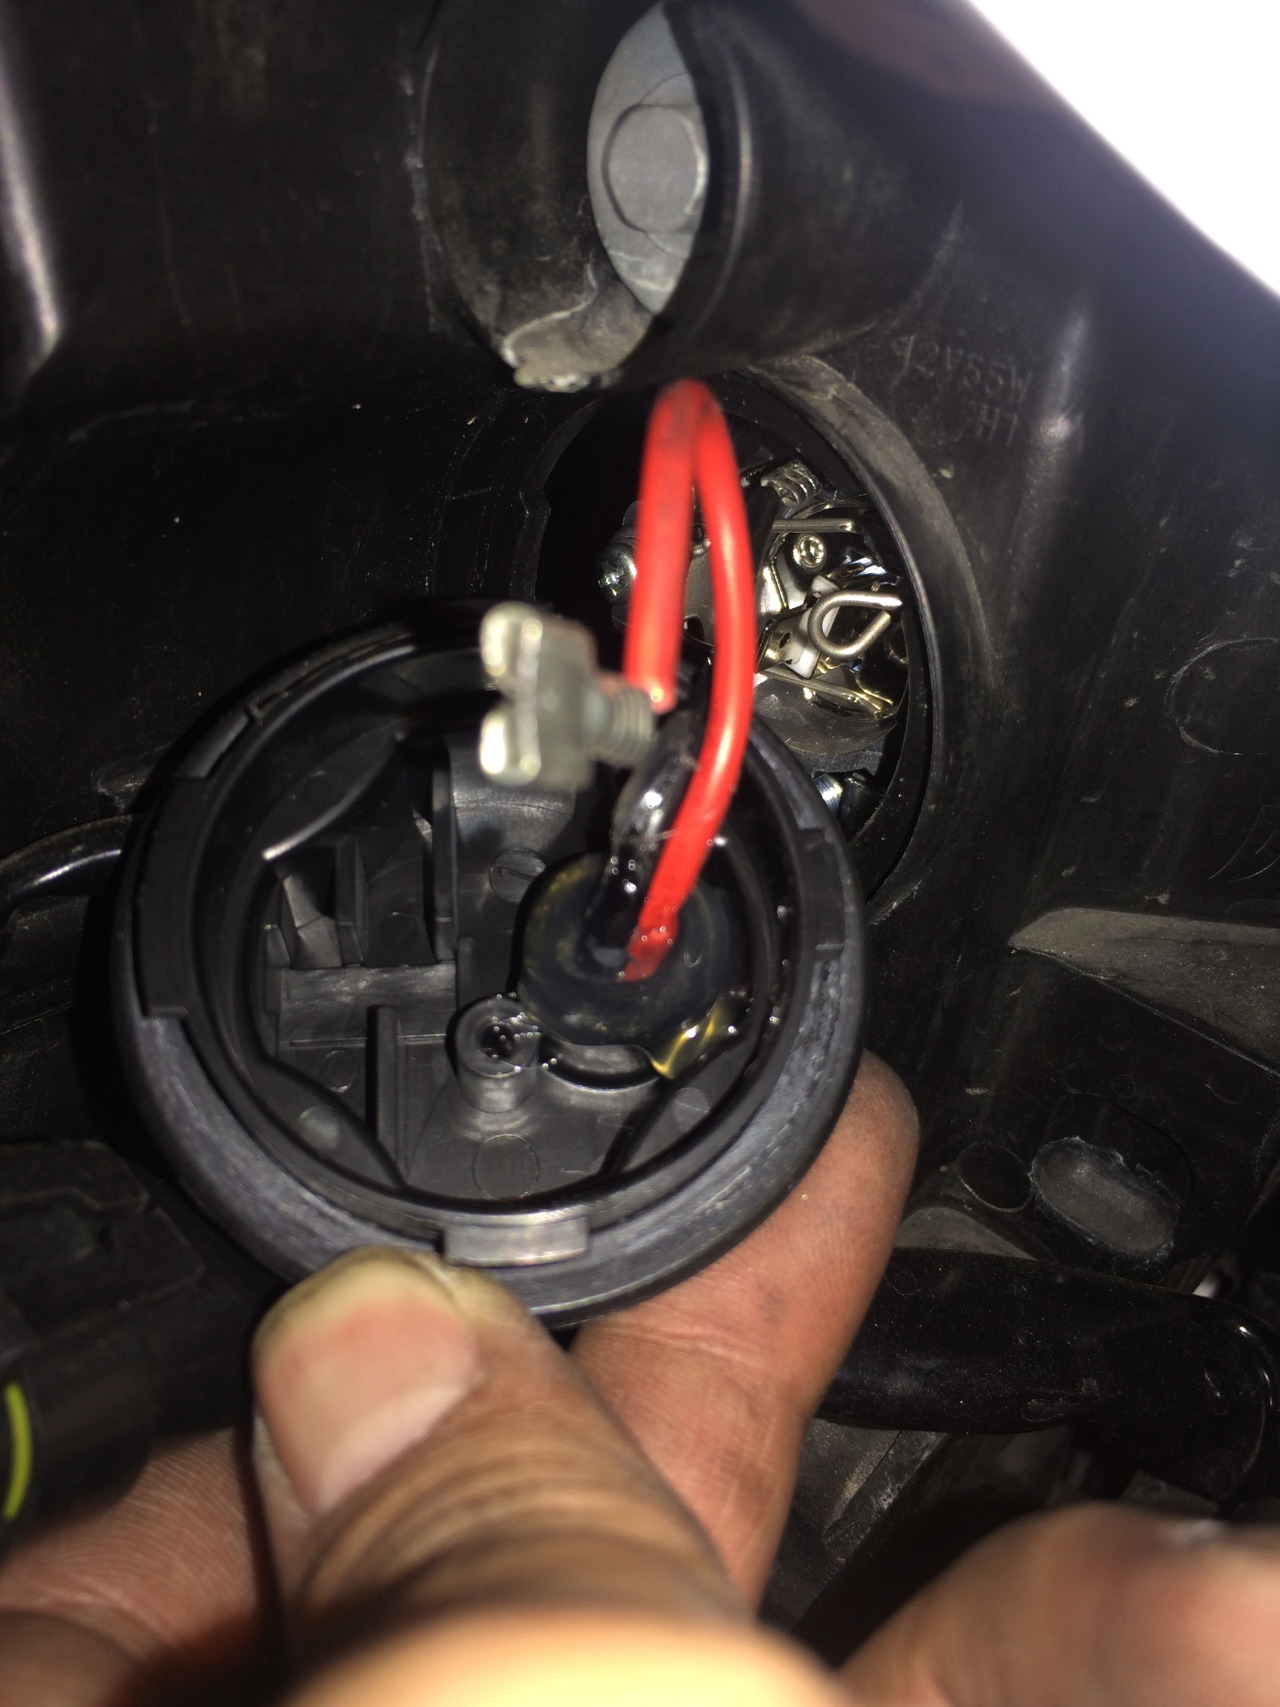
Once I got both connectors connected I covered the holes going through the headlight cap with some silicone to keep moisture out.
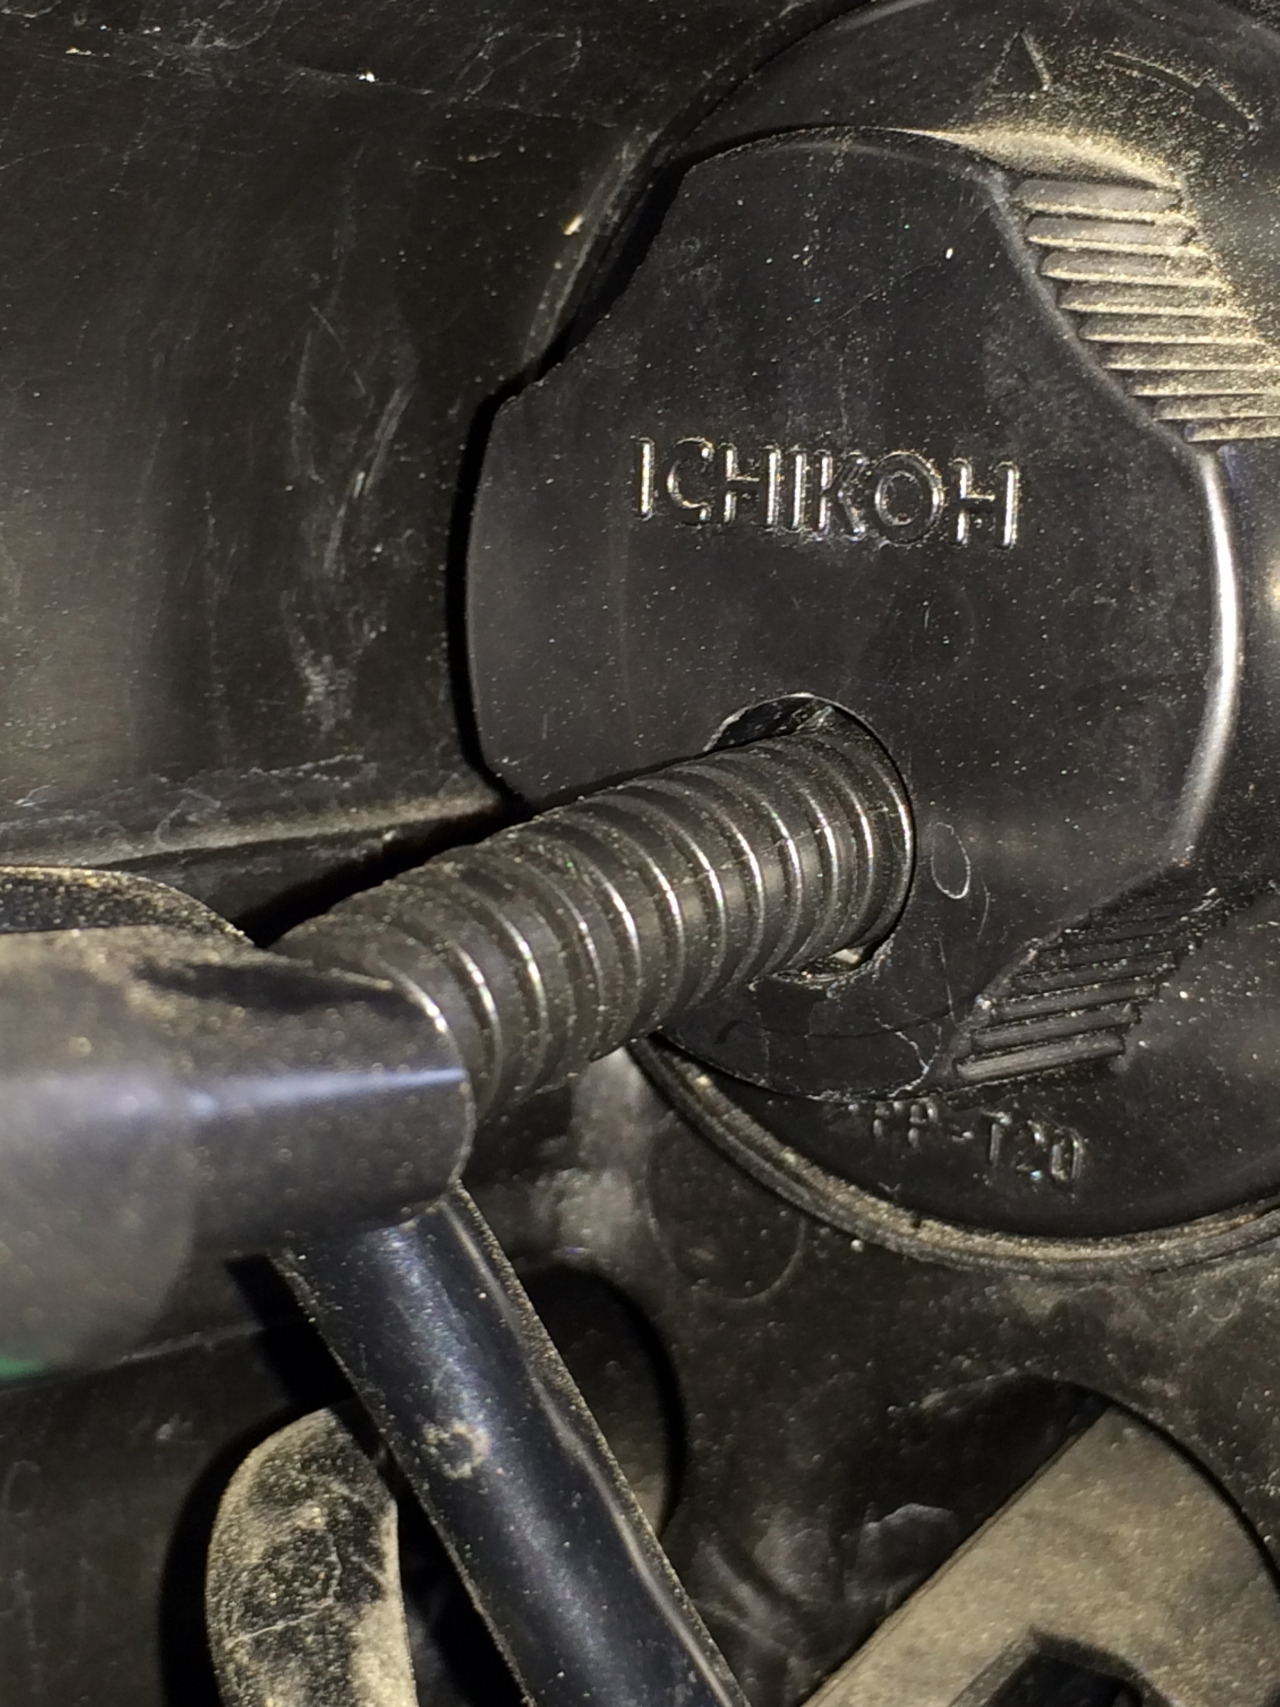
At this point you finish up routing your wires of your own DRL kit and connect it all up and bolt your bumper back together.
I think I covered everything I did but If you are confused or have questions feel free to ask and I will edit this up to be a little more clear.
This install is on my 2008 G37S Coupe
As some of you know in order to be install these types of fog lights it was said you had to get the slim washer tank so they could fit. Well I'm here to show you the way I did it so you don't have to buy a slim tank.
I got a set of fog light covers off somebody on ebay for $40. I ordered the fog lights from Amazon for $50. The remaining cables were roughly $15 or less. So I got this done for under $100.
So first of all remove your front bumper. If you don't know how just look it up. It's super easy. It would take me more time explaining it here then you just looking it up.
The mounting of the lights are self explanatory once you see them. Just pop out the covers you have now and screw in the new ones.
The lights I ordered came with H11 bulbs. I ordered an adapter cable that converted the H11 (Female) to 9006 (Male). The adapter also helps extend and close the gap from connecting from the OEM fog light connector.
As you most of you know these cars came with fog lights built into the headlights. The bulbs in these are H1. Since I wanted to keep the use of my fog light switch on my turn signal I pulled out the connectors from the cap on the back of the headlight. The connectors themselves wont simply go through the hole since they are a little too big. I had to alter them just a tad with some needle nose to get them through. Once through I straightened them out again because they would connect to the next addapter needed to connect to the other adapter. This adapter is a H1(Male) to 9006 (Female).
Just connect both adapters to each other and the other ends to the H11 and the H1 connectors.
I wrapped electrical tape to keep them in place and for protection.
Now for the washer tank being in the way. Remove the bolt holding the top part of the tank and remove the top portion. Then remove the 3 bolts holding the tank in place. Now I cut some plastic tabs that were in the way for it to be flush behind the original place it was being held. Once cut I used industrial zip ties to hold everything in place. (I have yet to have any noise or use issues by doing it this way.)
As you can see from the next image theres enough clearance that it wont hit the wheel cover and enough clearance on the front so it wont hit the fog light.
Now that takes care of the fog lights. At this point you can put things back together and you have working fog lights using the OEM switch. You might be asking "Well what about the H1 bulb thats in the headlights right now, what will I do with those?" Well I will tell you what I did
I ordered a DRL kit that would turn on when it detected vibration from the engine.
It gave me the option to have 9006 connectors at the end. I ordered this at iJDMtoy.com. I also ordered H1 LED bulbs to replace the halogen bulbs in the headlights because the DRL kit needed low voltage bulbs. The bulbs I got were fatter than the H1 bulbs the car came with so I had to modify the headlight housing to just open up the hole so it would fit the LED bulb. It's up to you guys on how you do this but I just used a drill bit and carefully made the hole bigger and vacuumed the bits out. Now once It was able to fit and mounted I had extra 9006 connectors laying around that would connect to the DRL kit 9006 connector so I simply cut the other ends off and went to Walmart and purchased some connectors that were the right size to slide on the back of the H1 bulb.
Once I got both connectors connected I covered the holes going through the headlight cap with some silicone to keep moisture out.
At this point you finish up routing your wires of your own DRL kit and connect it all up and bolt your bumper back together.
I think I covered everything I did but If you are confused or have questions feel free to ask and I will edit this up to be a little more clear.


Registered User
Joined: May 2014
Posts: 1
Likes: 0
Washer tank
Hey I am going to be installing my 2008-2010 bumper this weekend and the washer tank is something I would like to know how to move it back without having to purchase a slim tank. Can you give me some pointers? I was looking at the pics and seen where you put it in but couldn't see what you cut exactly.



Joined: Oct 2011
Posts: 6,103
Likes: 593
From: People's Republic of IL
I would use heat shrink tubing on any/all electrical connections. Electrical tape tends to deteriorate over time. Zip ties will vibrate loose and/or crack over time as they become brittle.

+1 was going to say this. That tape job looks like it will be gone eventually. Otherwise, thanks for this as I will be needing fogs eventually.


[QUOTE=Twiggy114;3764633]Well I know there is a DIY already for a fog light install but the way the other guy did it wasn't the way I wanted to do it. So I went ahead and found a way for it to work doing it an alternative way.
/QUOTE]
Yeah, I didn't want to rig it with zip ties!!
/QUOTE]
Yeah, I didn't want to rig it with zip ties!!
Trending Topics

Registered User
Joined: Feb 2011
Posts: 33
Likes: 0
From: Chicago


Thread
Thread Starter
Forum
Replies
Last Post
superjoey
D.I.Y. Installations/Modifications
31
Mar 22, 2023 11:56 PM
sydnrusty
Body Interior Exterior Lighting
7
Nov 21, 2015 10:42 PM
bikerjosh
Body Interior Exterior Lighting
5
Aug 19, 2015 11:26 PM
