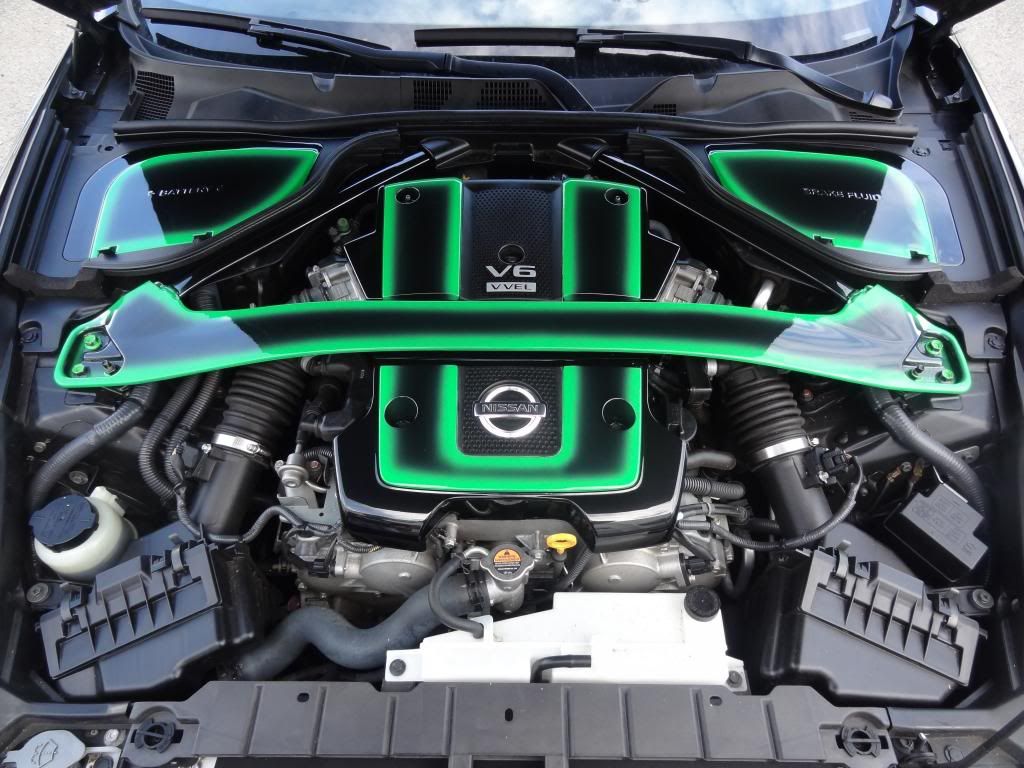
DIY: Painted Engine Cover


Oh thanks for the credit Rochester.... Haha!
I just took a flat head to the plastic rivets for the emblem. Pops right off and the I just used some epoxy on the back where the tabs slide through. Nice and secure.
JPS, you do have some skills my friend!
I just took a flat head to the plastic rivets for the emblem. Pops right off and the I just used some epoxy on the back where the tabs slide through. Nice and secure.
JPS, you do have some skills my friend!


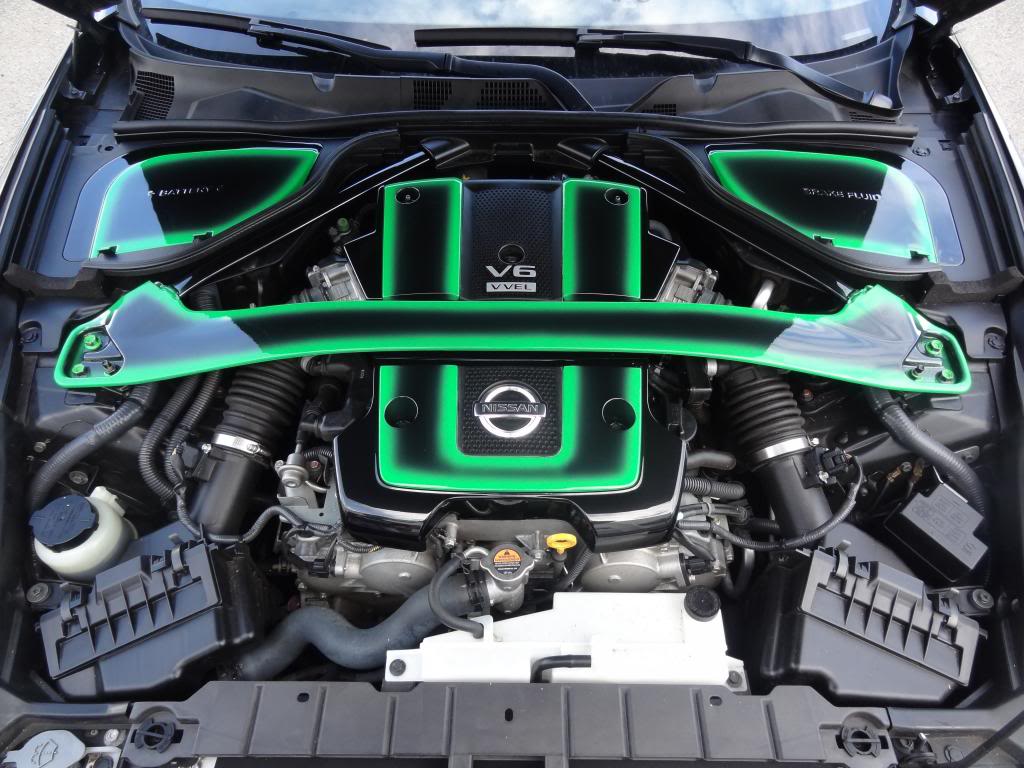

damn that's glossy.. i could chop cocaine on that thing 
i did mine earlier this year.. all just spray paint though.. blue and black. i'm jealous for certain! didn't come out nearly that glossy.. ah the advantage of spray guns
i did mine earlier this year.. all just spray paint though.. blue and black. i'm jealous for certain! didn't come out nearly that glossy.. ah the advantage of spray guns

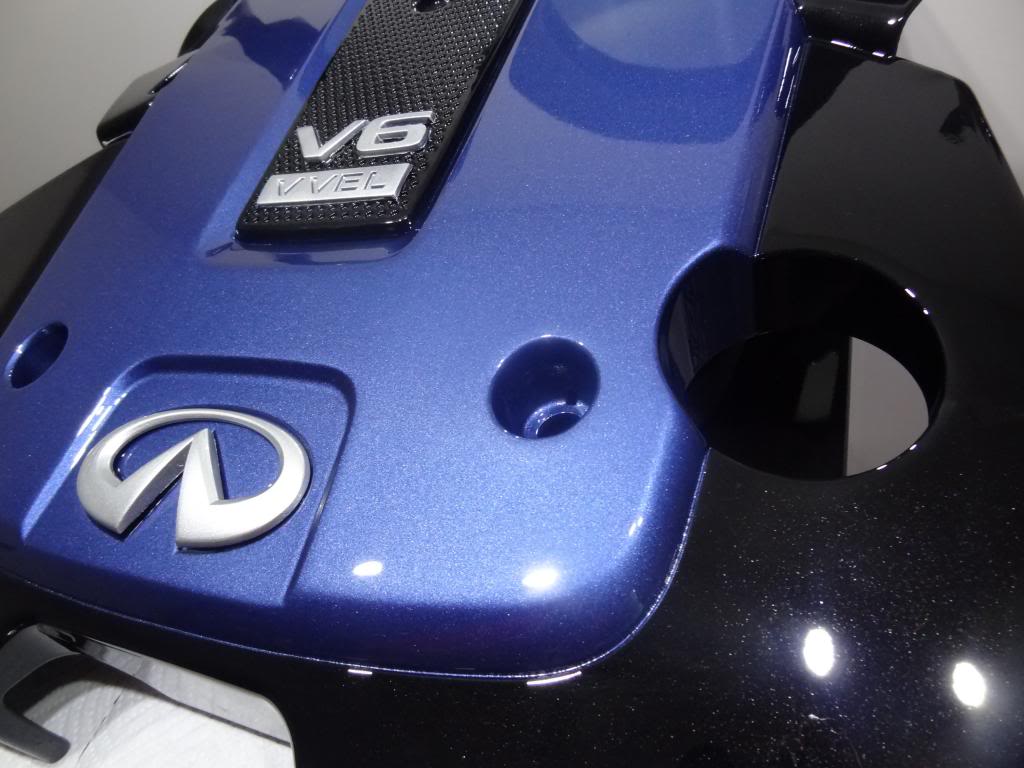
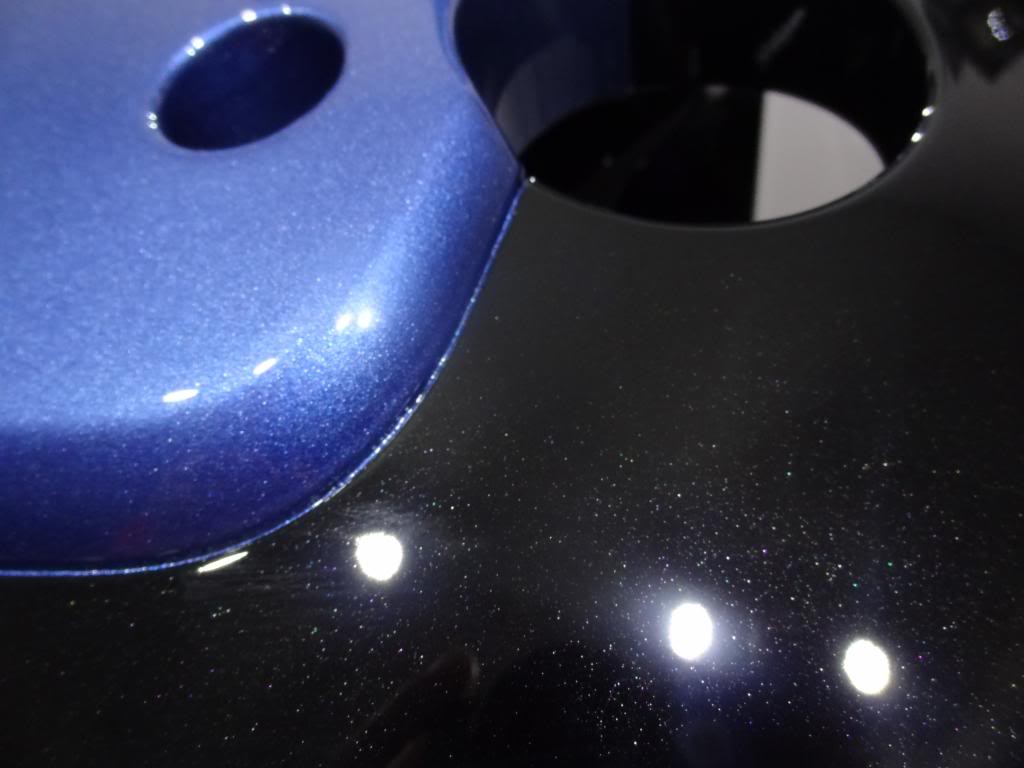
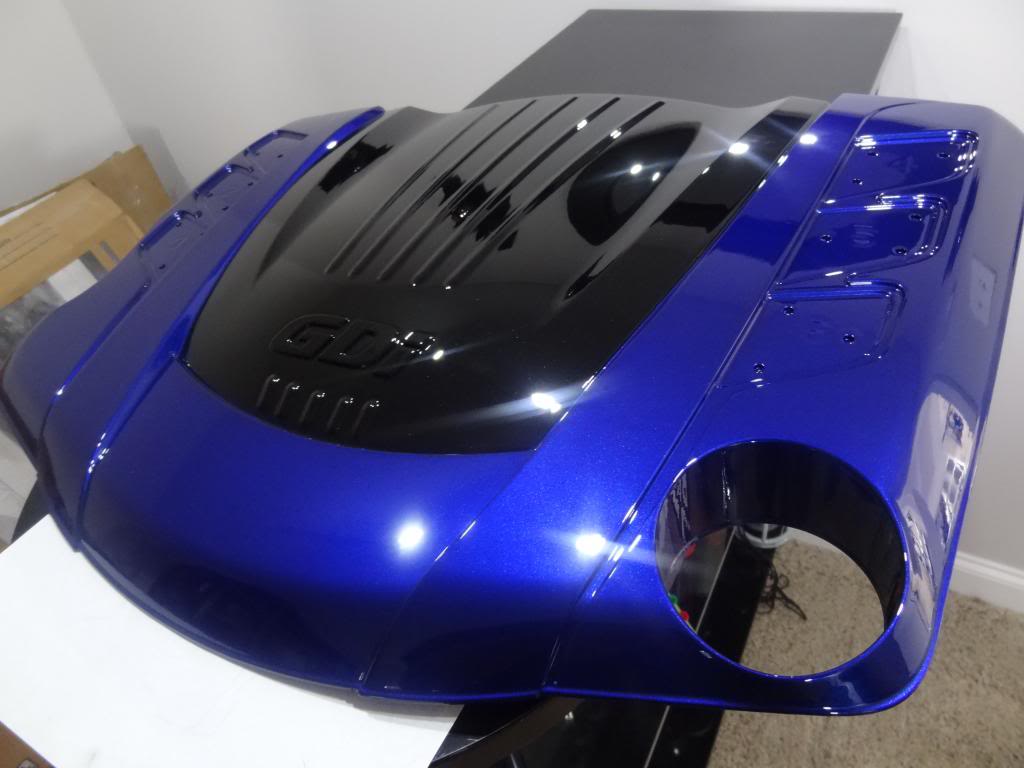
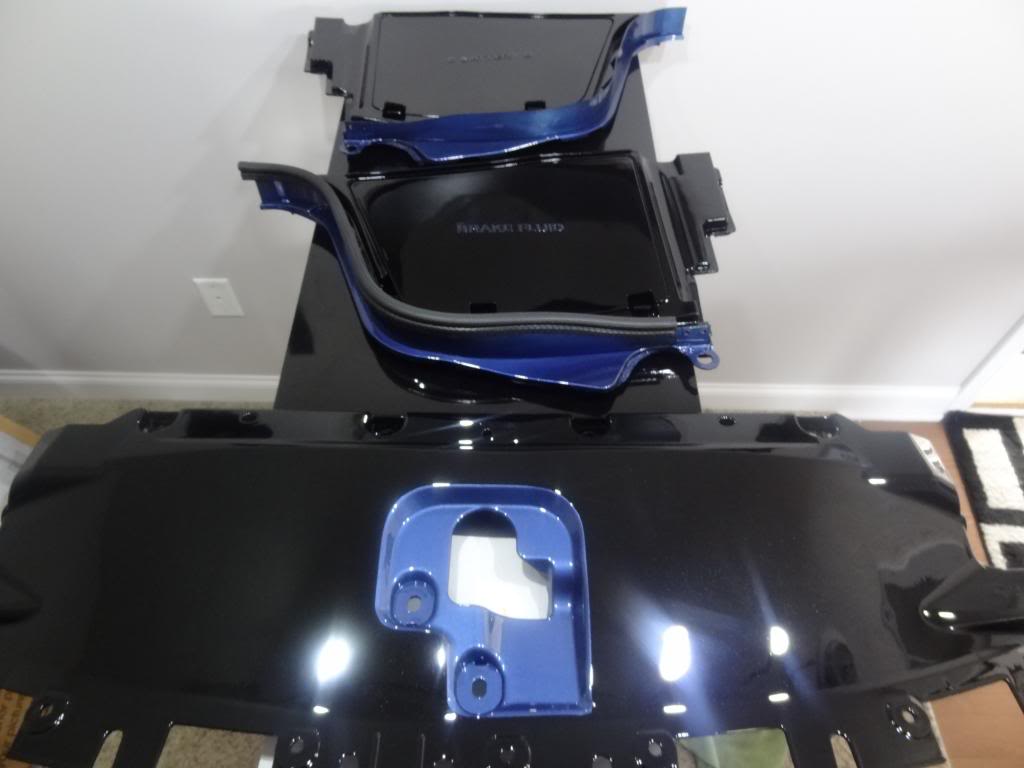
 in Lapis Blue! With a black pearl base!
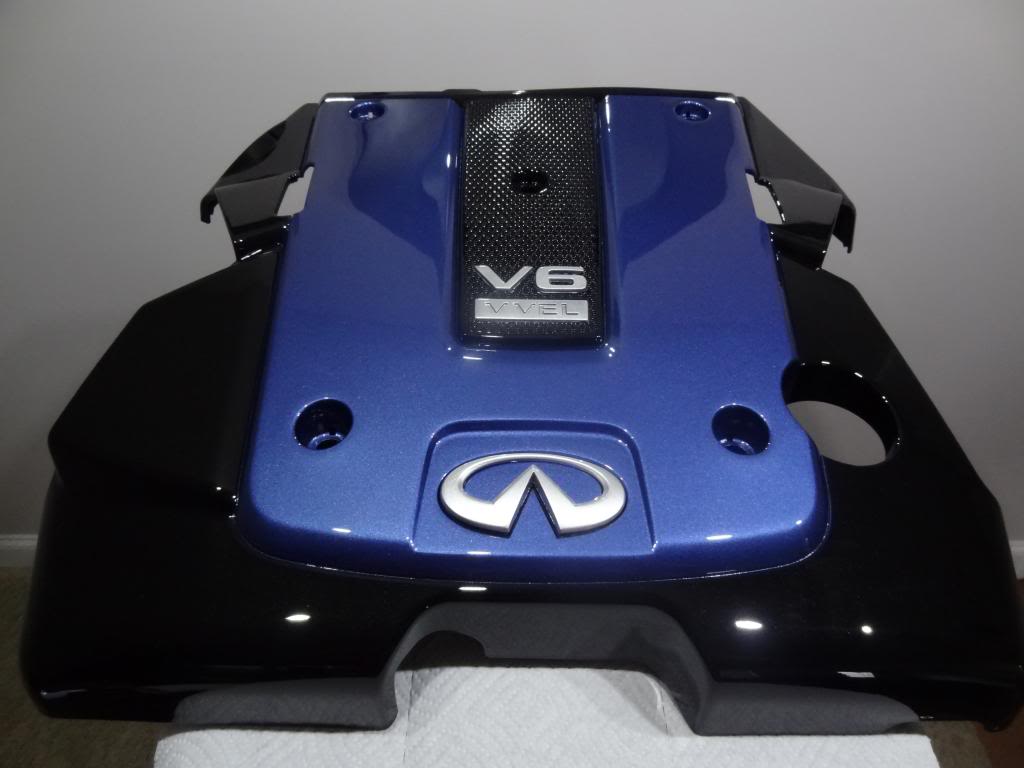


Premier Member


Joined: Dec 2012
Posts: 773
Likes: 50
From: Ontario canada
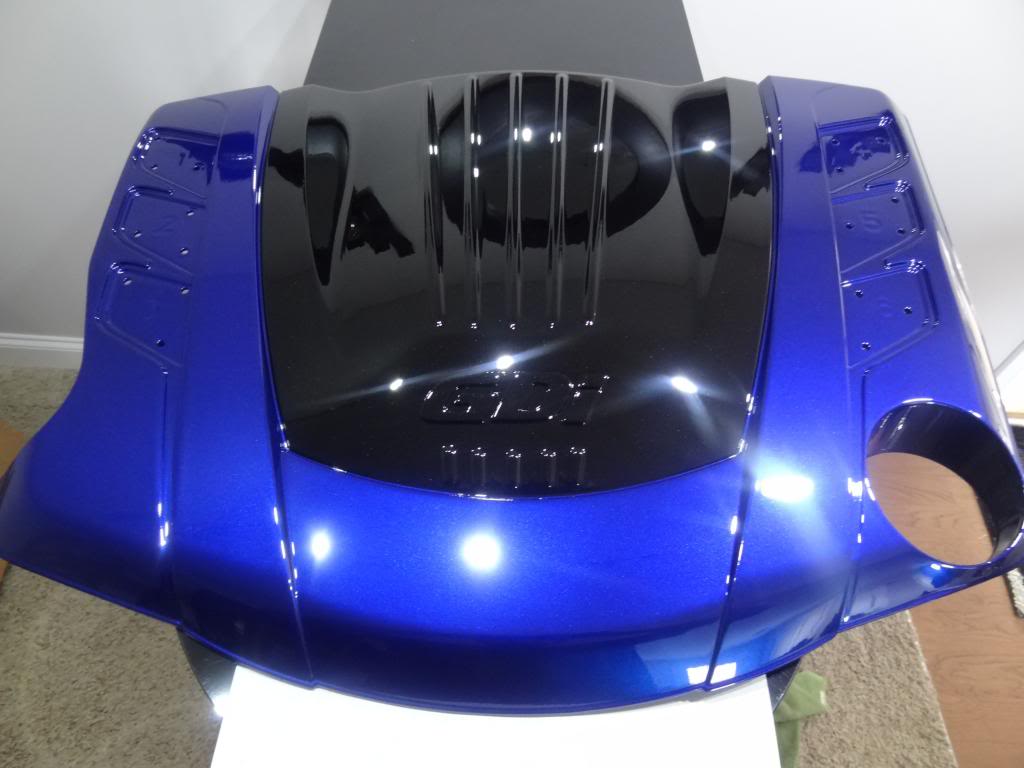
Nice DIY! I will add to this thread how I painted my friends engine cover for her g37. Mind you I am a painter at a bodyshop and did this all on my own time using automotive grade materials.
This is how you eliminate all the texture on the engine cover and make it glass smooth and shiny.
1. First of all the cover was sanded with 320 grit. Sanded good and roughed up.
Before painting I applied a special plastic parts adhesion promoter to the bare plastic.
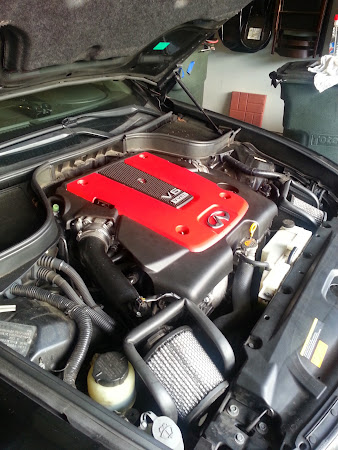
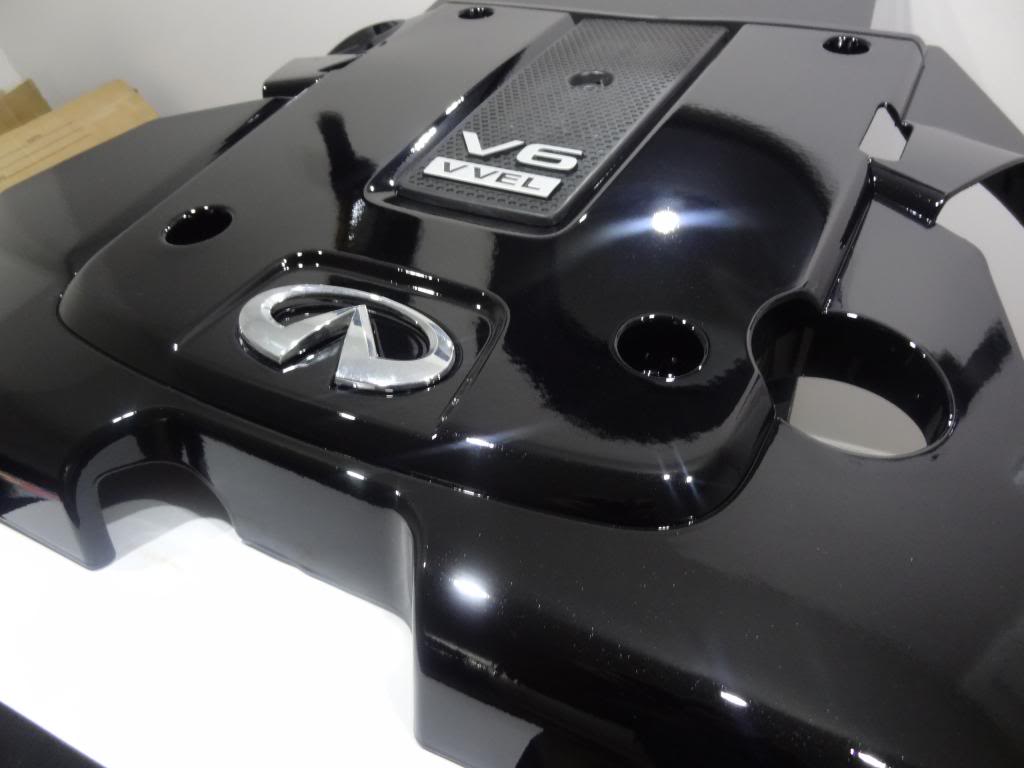
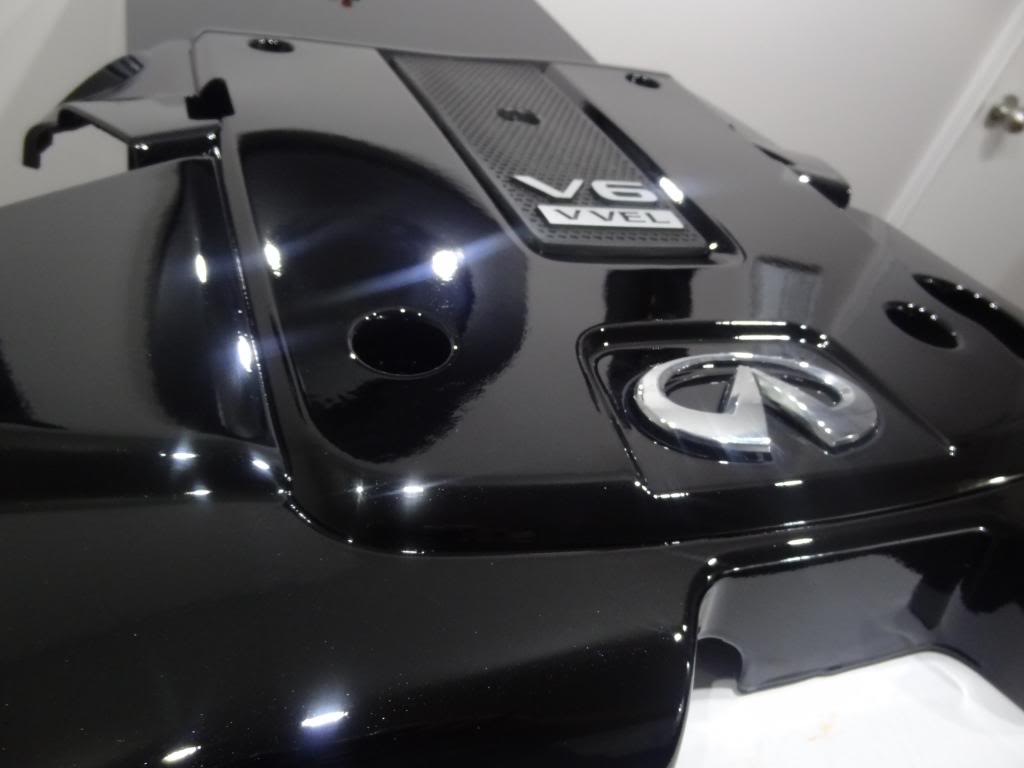
I decided to paint the whole cover black, and put about 3 good coats of clear coat on.... Now mind you... It WILL look like this... Very wavy as the paint and clear merely amplify the texture..
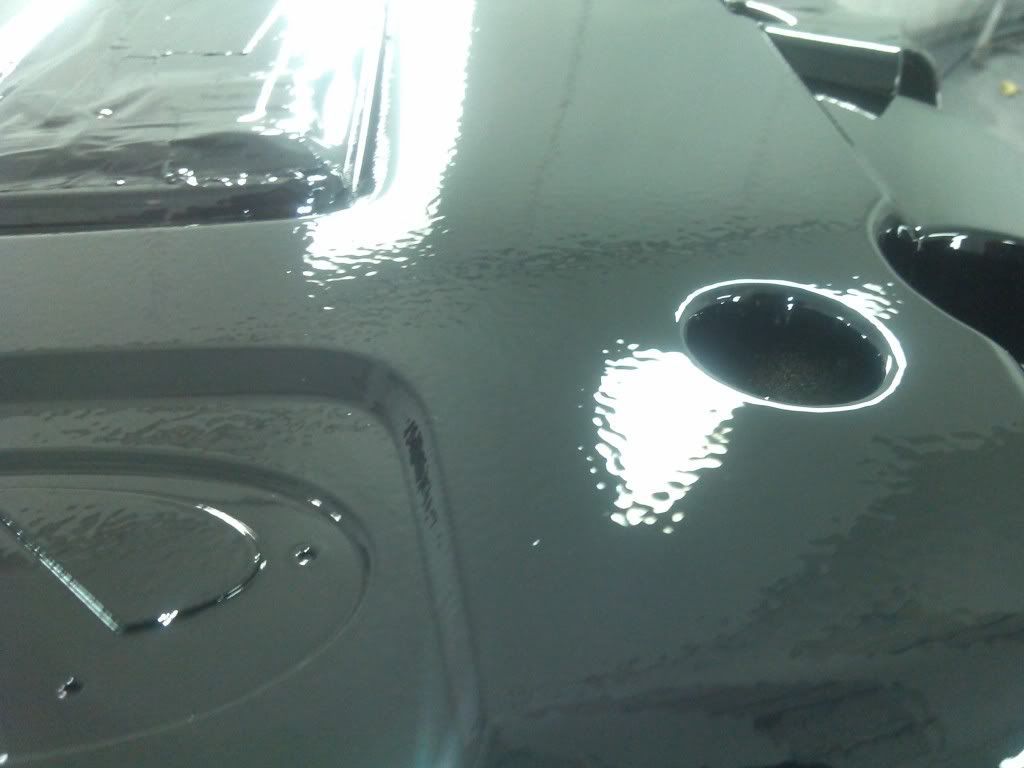
2. After this dries overnight... The next day I wet sanded (EVeRy SQUARe INcH) of this cover with 800 grit sandpaper, until I leveled out the clearcoat essentially "burying" the texture and giving a smooth base.
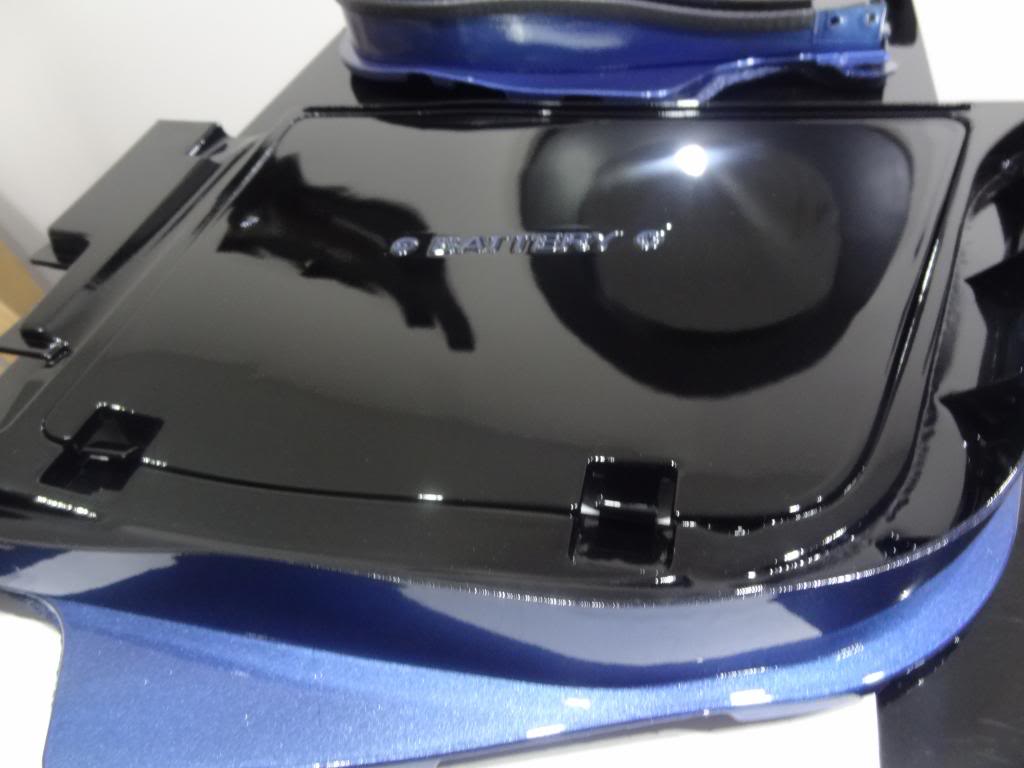
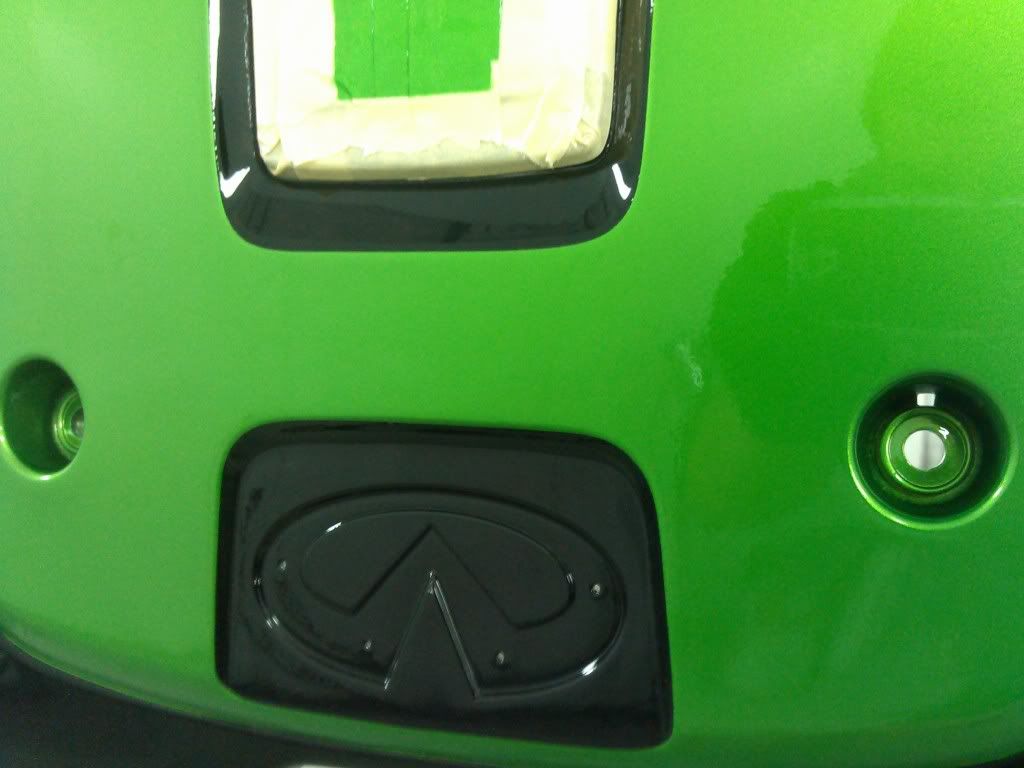
Using fine line tape, regular tape, and plastic to keep overspray particles off the black part I want to keep black, I ended up here.
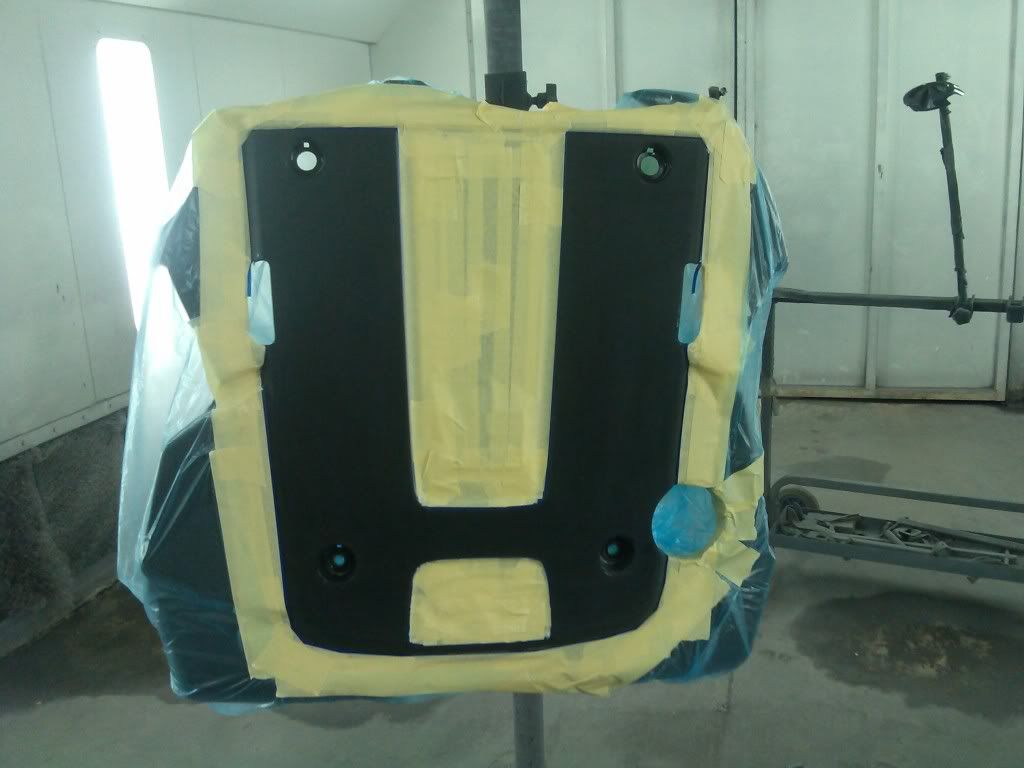
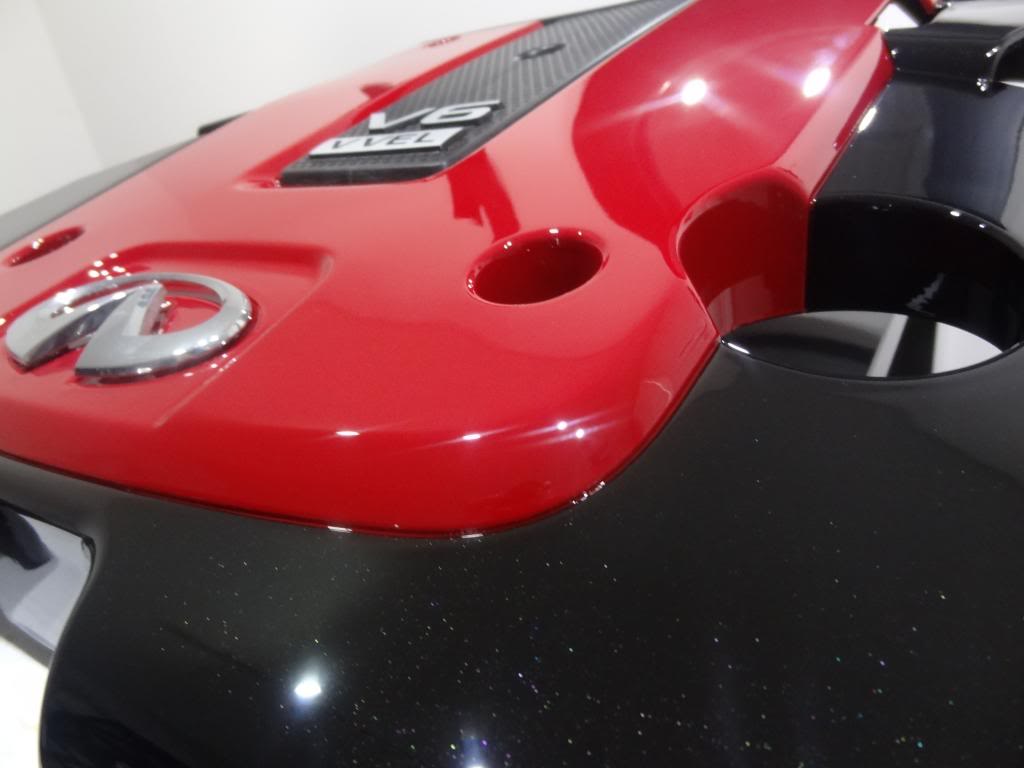
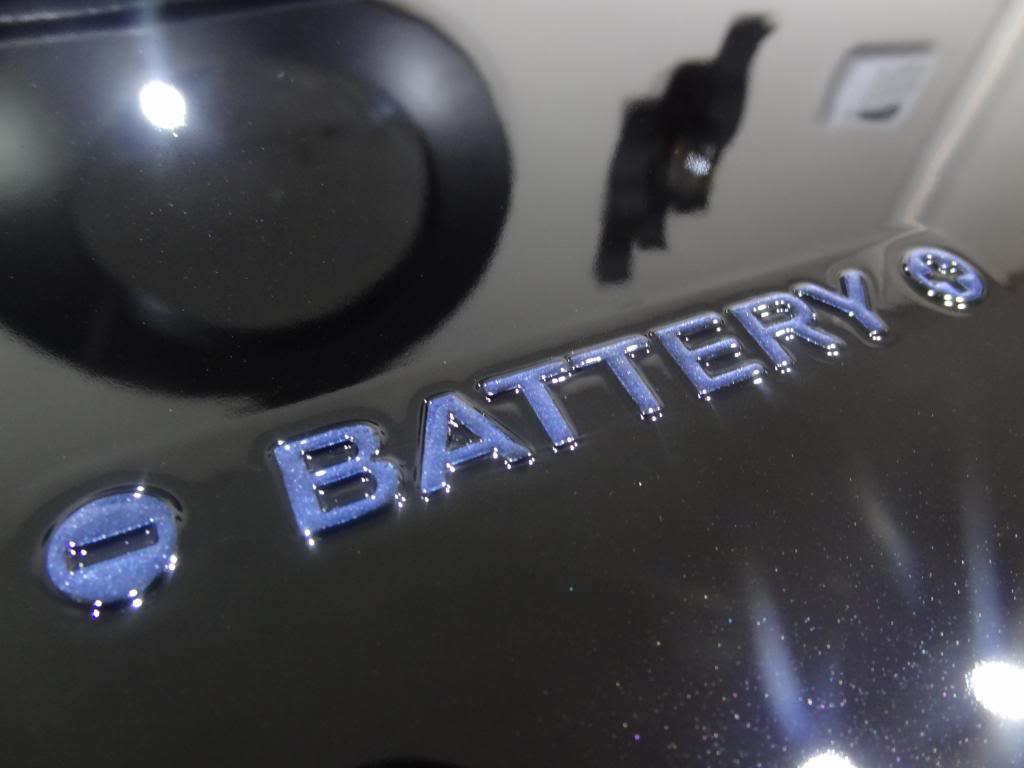
3. After masking, and cleaned with wax and grease remover I then applied 3 coats of basecoat to the panel.
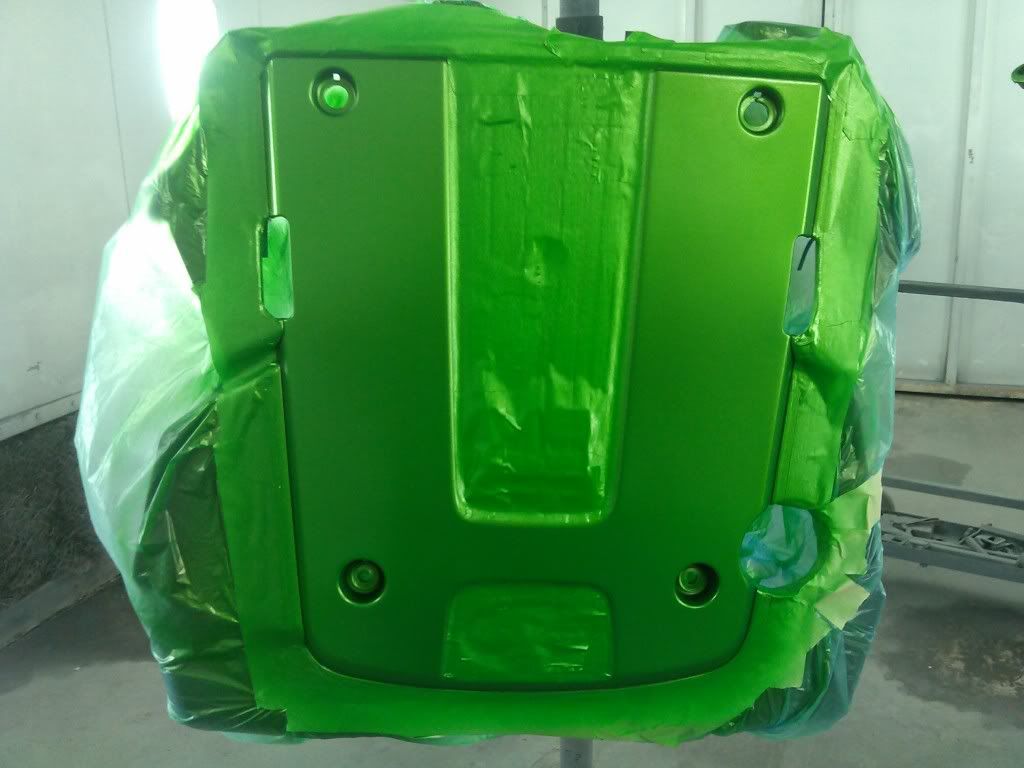
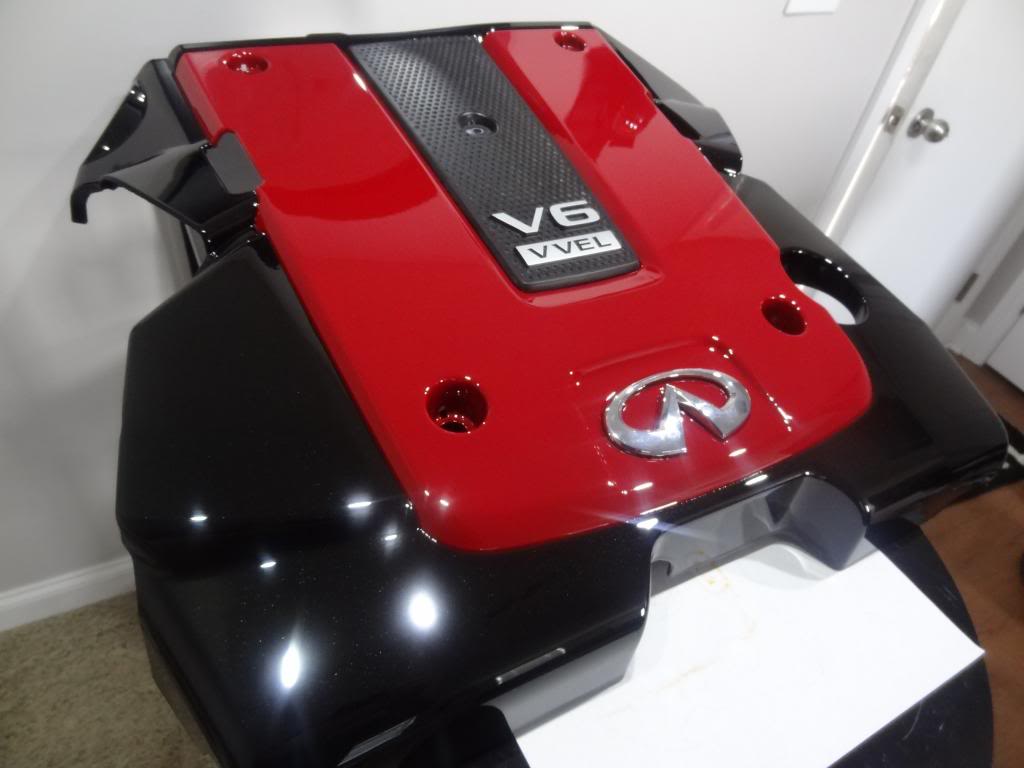
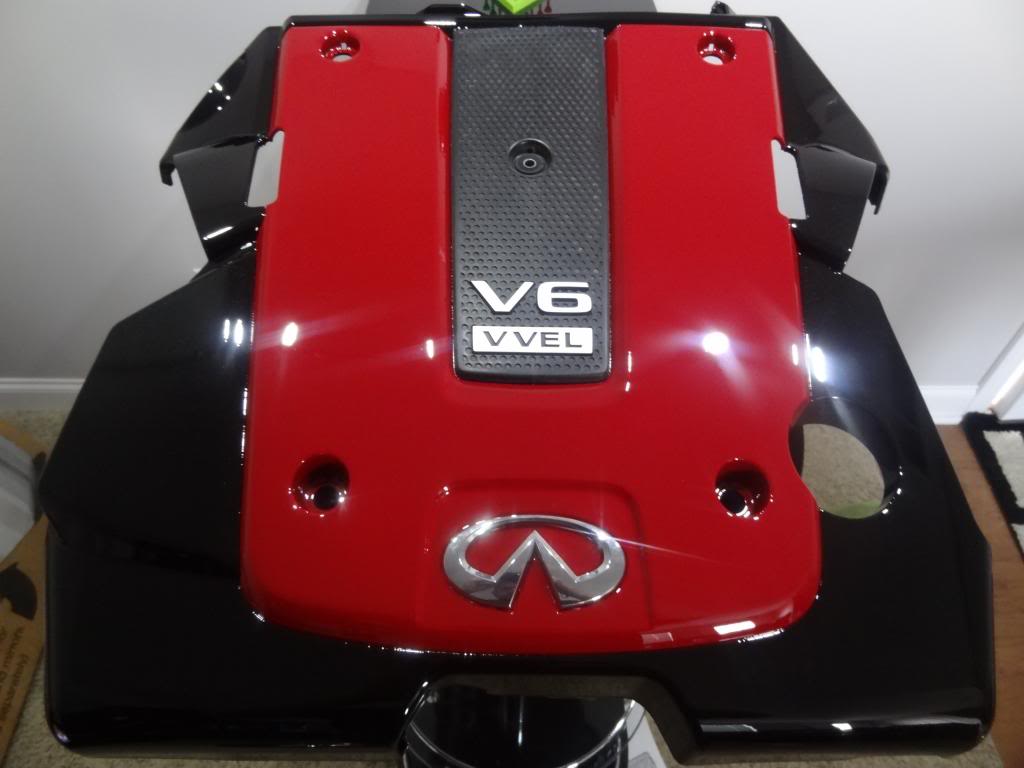
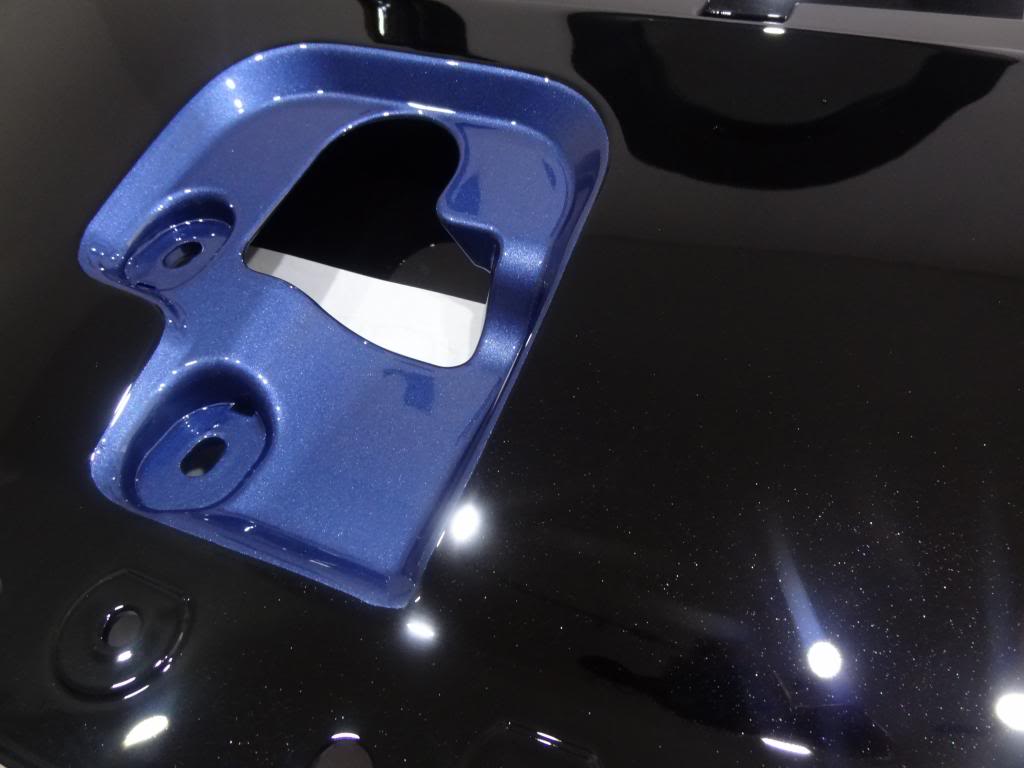
4. After basecoating is complete, I removed all masking and cleared everything!
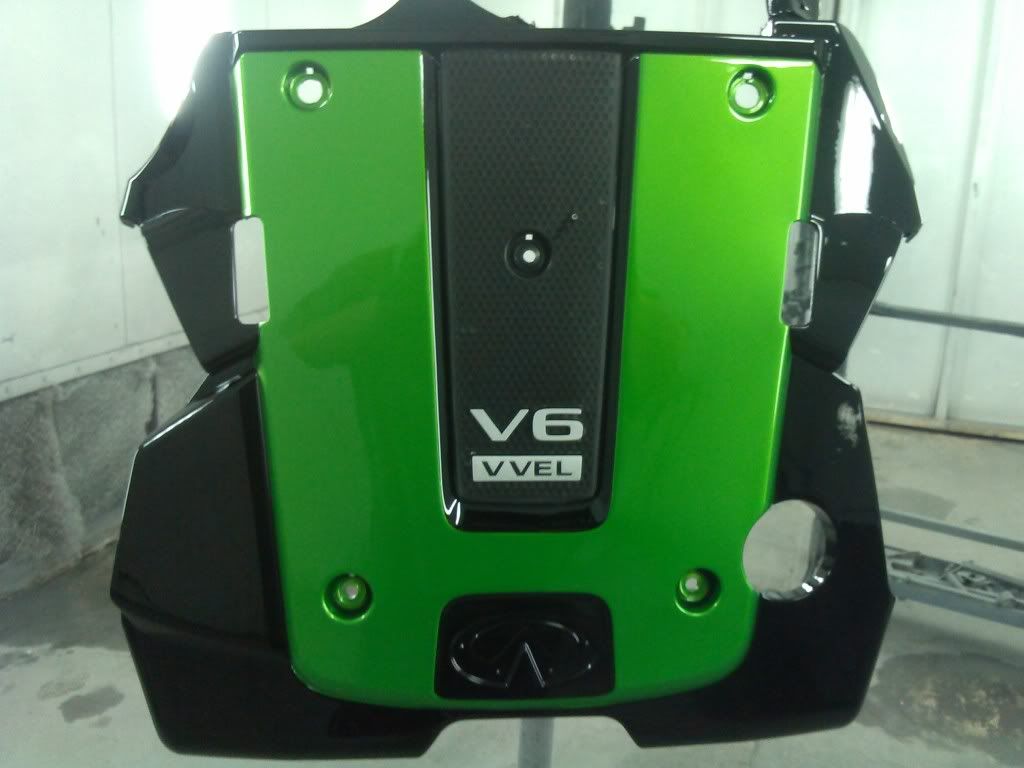
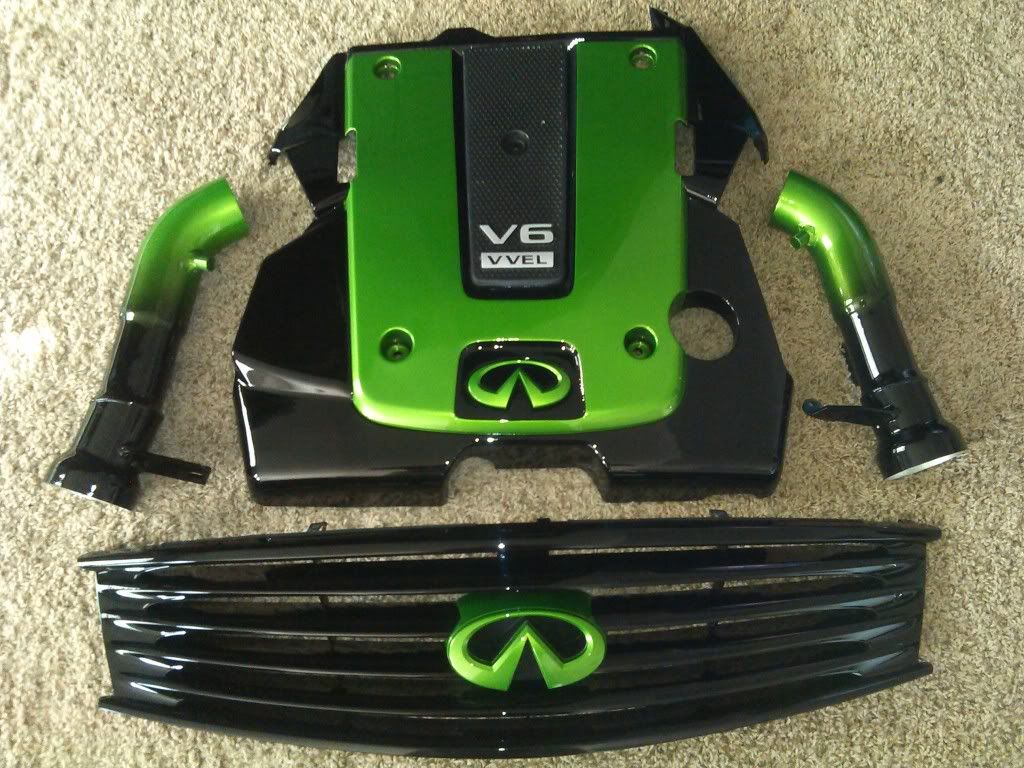
Annnd Viola! Hope this helps stir some creativity
This is how you eliminate all the texture on the engine cover and make it glass smooth and shiny.
1. First of all the cover was sanded with 320 grit. Sanded good and roughed up.
Before painting I applied a special plastic parts adhesion promoter to the bare plastic.
I decided to paint the whole cover black, and put about 3 good coats of clear coat on.... Now mind you... It WILL look like this... Very wavy as the paint and clear merely amplify the texture..
2. After this dries overnight... The next day I wet sanded (EVeRy SQUARe INcH) of this cover with 800 grit sandpaper, until I leveled out the clearcoat essentially "burying" the texture and giving a smooth base.
Using fine line tape, regular tape, and plastic to keep overspray particles off the black part I want to keep black, I ended up here.
3. After masking, and cleaned with wax and grease remover I then applied 3 coats of basecoat to the panel.
4. After basecoating is complete, I removed all masking and cleared everything!
Annnd Viola! Hope this helps stir some creativity


Registered User
Joined: Oct 2014
Posts: 1,047
Likes: 104
From: Charlotte NC (sorta)