When you click on links to various merchants on this site and make a purchase, this can result in this site earning a commission. Affiliate programs and affiliations include, but are not limited to, the eBay Partner Network.
Thanks @Rochester ! I'm a fan of how it ties in the Intakes as well. Really wish Zeetoys was still around, as that yellow oil dipstick is starting to really bug me...
LOL, ZeeToyz. Haven't heard that name in a while. I hear you, though. That ZeeToyz dipstick handle cover was just about perfect.
Run down to Home Depot and pick up a simple spray can of flexible black paint... problem solved.
Welp, life has definitely flown by these few months- can't believe it's already JUNE! Yikes, this year will be over before I know it. Work has been a bit crazy with travel, so I haven't had a ton of time to work on the G. But I've been able to get a few things done.
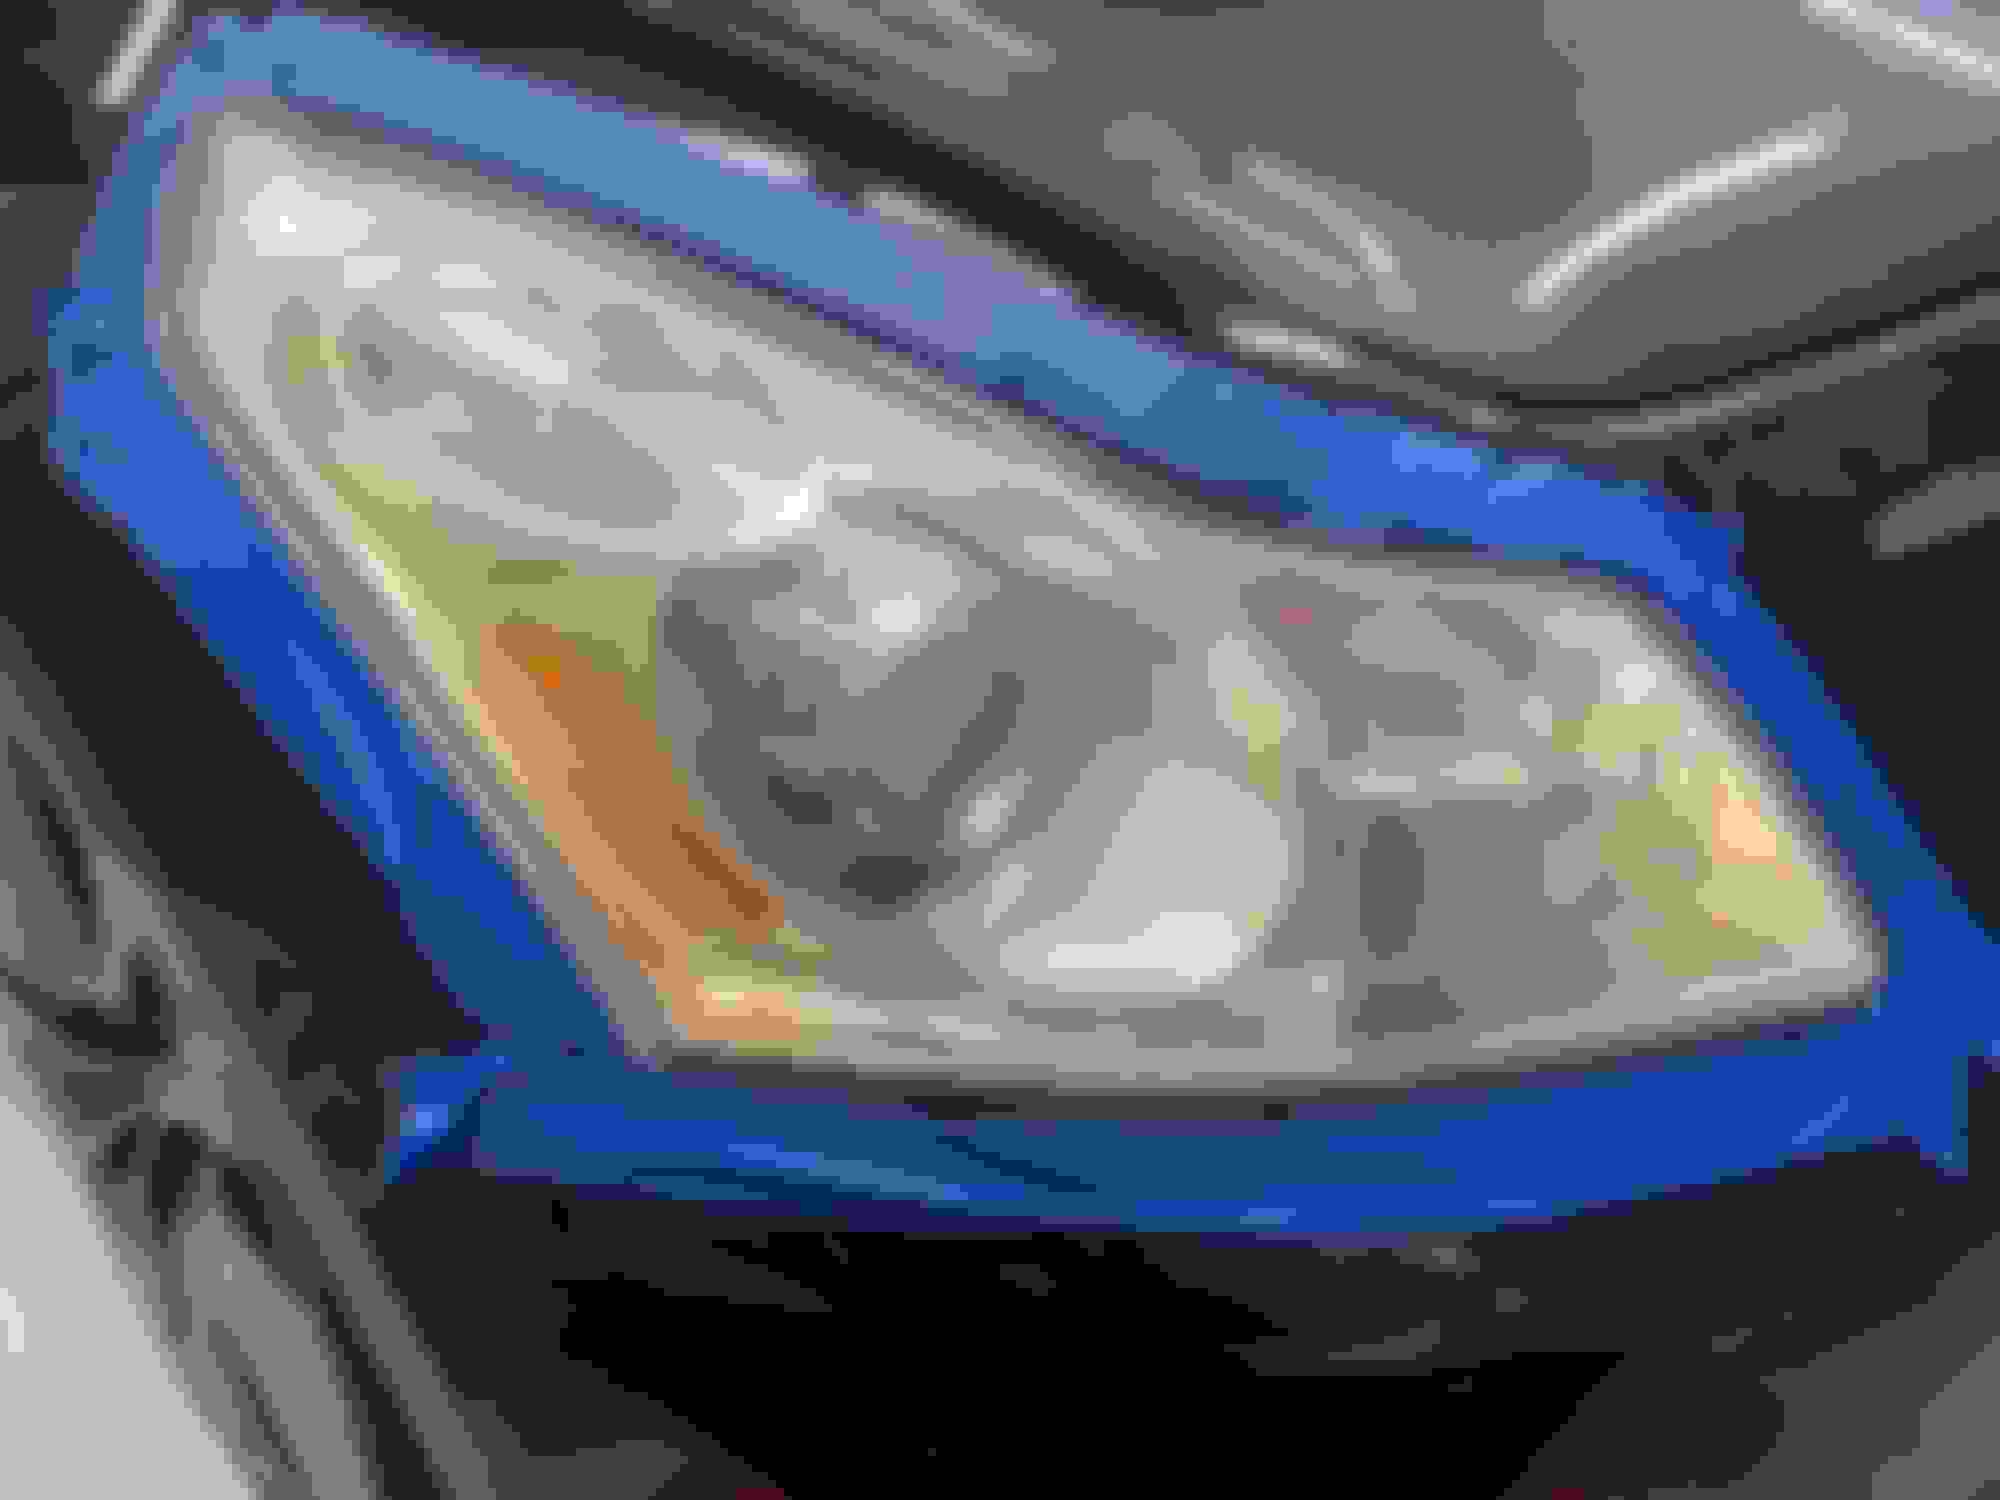
While I was mulling over my headlight build, I couldn't stand the ugly hazed over headlights any longer. Grabbed a cheap $20 CERAKOTE headlight restore kit and went to town on the G on a Sunday afternoon. Wasn't expecting much, but WOW what a difference:
The before, hazed over and just sad The next day at work. MUCH better, still a little hazed on the inside but I'll have new lenses to swap on
I'm glad I took the time to do this, as it helped me solidify what direction I wanted to go with the headlights. I just haven't loved how blacked out bezels look on the 07-09 Gs (love that look for 2010+), as the clear reflector areas give me a "panda" vibe. Even more so with a black car. Thus, I figured I'd go more for a JDM "OEM" look and go for a full chrome build.
This is the profile view that sold me on staying chrome. I think it'll look quite proper once complete (and with a new front bumper/sport lip)
Finally bit the bullet and ordered the following:
OSRAM D2S CBB Bulbs- nuff said
Philips Silver-Vision WY21W- this was an interesting find from a forum member. These are chromed amber lenses that clean up the look while retaining full functionality (and avoiding the hassle of LEDs/resistors- plus they don't look out of place)
KLEARZ 07+ G Sedan Clear Reflectors- These were initially out of stock, but shot the company a message and they were able to procure a set for me. 07-09 were never offered with clear reflectors for the JDM market (unlike 2010+), so this was a huge score. Haven't really seen many of the first gen v36 with clear reflectors, so I'm excited to see how it turns out
STi-R Clear Lenses- I initially struggled with the thoughts of getting them honeycomb etched (like my old sedan) but opted against for price and thought it might make things look too busy. Grabbed the optional spacer kit while I was at it.
80MM Morimoto Profile Pivot Switchback Halos- I plan to tuck the halo's behind the bezels for an "iron man reactor" look (a la @iCrap ). Never done a halo install before, so this will be interesting
Morimoto Butyl Glue- don't want leaky lights!
Originally I was going to have a local retrofitter do the job, but he was too busy and kept advocating for a busier build than what I was intending. Alas, I've decided to take the plunge and DIY it myself- so I've been watching videos and reading trips on all these flights
Parts are starting to arrive, so I'm targeting to knock out the build next weekend as we get the 19th off. Until then enjoy some photos:
Klearz reflectors to replace the ugly orange- fingers crossed they are a direct replacement! Couldn't wait to install the new turn signal bulbs. OEM on left, silver vision on right Crazy how much impact a bulb can have. So much nicer. Imagine this with clear reflectors, brand new lenses, and a halo tucked in. I'm excited!
Until the next update (promise it won't be near two months!)
Welp parts arrived and it was time to tackle modding the headlights. I spent quite a bit of time watching YT videos and reading forum posts to get an idea of what to expect. With a few long weekends ahead of me, I decided to begin tackling this in phases- beginning with the passenger headlight. I've never done anything like this in my history of modding, so it was a bit nerve wracking to say the least. Overall I've found the process not too terribly hard, but very time consuming (especially with two little ones).
First up was to remove the old trashed bumper and remove the headlights. Highly recommend taking lots of photos/videos so you know how to put things back together.
headlight removed and beginning to remove all the brackets
D2S HID ballast removed. Even though I'm replacing the D2S bulb with Osram CBB, I removed the old bulb to be safe
Next it was time to get these into the oven. I must have watched thousands of YouTube videos to get tips on how to not screw this up. One big tip I picked up was to use 2x4s (instead of a cookie sheet) to avoid transferring too much heat to the bottom of the headlight. I cooked it for 8 mins @ 225 degrees F, but ended up cooking it for another 4 minutes to get the butyl glue super pliable:
Time for cookin. Shout out to Flyride on YT for the tip on using 2x4s to prop the headlight
I opted to not use any prying tools to avoid damaging the headlight. After a little elbow grease, I was able to separate the lens. No turning back now!
Success! Man I really need a workbench...
Now with the headlight removed, I quickly installed the Klearz reflector. Easy peasy. Next I ran into my first roadblock, trying to remove the projector shroud. I had to purchase a 12" long screwdriver to reach the left (inner) screw, but the outside screw (right, pictured below) doesn't leave much room to work with. And it's torqued on there pretty tight. After a few tries, I was finally able to remove it with a L shaped screwdriver. This screw is a total PITA.
With the shroud removed, I then swapped the lens with a STi-R clear lens (with 1 spacer). I then clipped the "micro mounts" on the Profile Prism Halos and mounted them inside the shroud for a clean OEM-like appearance:
Clear lens swap complete! Halo mounted, the OEM shroud provides a nice channel to route the wires
With those steps complete, I then test mounted the new Headlight lenses from Ali-baba, and was pleased to find they matched up perfectly. It's subtle, but this is worlds away from where my headlights were:
"Cleared out" 07-09 headlights! Very happy with how this turned out. Subtle and clean
I was able to route the halo harness through the back of an existing grommet (near the parking light) to keep a clean OEM look (and avoid additional areas that could leak). Added some Morimoto Butyl tape and popped it back in the oven to reseal. Fairly easy process (especially after getting over the initial shock of baking headlights).
With Father's Day events I wasn't able to progress much further, so I turned my attention to figuring out the wiring. This was also a bit of a pain, as there's not a lot of information readily available on the wiring for the first gen V36's. My goal was to have the Halo's "always on" - so that they turned on when the car was on, and would switchback when the turn signal was engaged.After spending an embarrassingly amount of time researching/testing, I formed a plan of attack:
The turn signal power wire (green/black) is located on the harness on the engine side, this would be "T-tapped" with the Orange wire from the Profile Pivot driver (note this comes with a male spade connector for bluetooth (noted as optional in the instructions), I snipped it as the tap I was using didn't allow it to plug in)
I would build a custom harness that would mate with the Profile Pivot drivers and plug into the IPDM fuse box using an "Add a circuit" tap
This YouTube video was super helpful in thinking about parts/wiring:
From there I was off to the local Autozone to grab 2x 2pin weather proof connectors (by Dorman), 18 AWG red/black wire, and a Bussman "Add-a-circuit" Tap. With parts acquired, it was a simple matter of rough measuring, soldering and getting the harness installed. Quickly tested the harness with the uninstalled halo to test- and we're in business
Quick and dirty test of the passenger only side of the harness. We got power! Yup, turns work too!
With proof of concept complete, I went ahead and completed the harness for the drivers side and began tucking the harness with existing wiring (using some OEM Nissan tape from my kick panels I never used) to clean up the look. Reinstalled the headlight for a quick test:
Wild how clear reflectors and new lenses update the look of these. Those chrome turn signal bulbs also complete the look. Oh, and finally installed the 3D printed intake holders so I don't have saggy intakes anymore.
Such a pain to get here, but man is this satisfying
Still have the driver's side to do, but sadly had a family emergency come up that will have me out of town for the upcoming weekend. Hoping to get the driver's side completed soon after, so I can finally install the new 07-09 bumper + sport lip combo. Pretty happy with the progress so far, especially for the first time attempting this. Till the next time!
headlight removed and beginning to remove all the brackets
Success! Man I really need a workbench...
Clear lens swap complete!
Great pictures. A fully silver light looks amazing.
On another note I can't help but to get lost in the AFS motors. Looking at them it seems like the back motor just adjusts the tilt of the lens. Internally They look similar and externally it seems like Infiniti had plans to put AFS in the 2010+ lights.
Look at the comparison from my lights on the post below.
Nice job and thanks for taking pics. Gives me hope that I can tackle this job, one day- IF I ever find a decent set of Coupe headlights to use as guinea pigs, lol.
Last edited by ILM-NC G37S; Jun 28, 2023 at 01:36 PM.
Great pictures. A fully silver light looks amazing.
On another note I can't help but to get lost in the AFS motors. Looking at them it seems like the back motor just adjusts the tilt of the lens. Internally They look similar and externally it seems like Infiniti had plans to put AFS in the 2010+ lights.
Look at the comparison from my lights on the post below.
Apologies for the delay @BULL , and appreciate the kind words. Totally agree, it seems like Infiniti had plans of putting them in the 2010+ lights. Funny enough when I was originally planning on going for the 2010+ conversion I found old press releases that advertised having the feature in 2010. Looks like it got scrapped last second (sadly not shocked given the current state of Nissan/Infiniti). I bet it could be retrofitted over, but that far exceeds my humble skills.
Nice job and thanks for taking pics. Gives me hope that I can tackle this job, one day- IF I ever find a decent set of Coupe headlights to use as guinea pigs, lol.
@ILM-NC G37S Thank you! Given all the mods you've done on your coupe, I'm sure you could tackle this. Definitely would recommend either having a second set or just another car you can daily so you can take your time.
Originally Posted by Martinez1041
Hats off to you. I�d be too nervous to even attempt this unless I had a perfect set to put on once I inevitably mess the first set up
Appreciate it man. It's something that's super intimidating, but not too terrible once you start it. Just read up on threads and watch YouTube and plan it out. Shoot I could barely turn a wrench when I started working on my first G back in 2017.
It's hard to believe it is August already! July was obliterated by family obligations and work travel. Have 2x little kids is so rewarding, but man it doesn't leave much energy/motivation for tackling car projects LOL. Finally with a Saturdays with no plans, I was able to get this finally completed last weekend.
The driver's side was much easier this time around now that I knew what I was doing. It probably took me about 4 hours total with a little time left for breaks. My first post covered a lot of this, but here's some additional progress pics.
I didn't show this last time, but the whole on the bottom left is what I used to snake the Halo wiring through. Enlarged the hole and the cap, snaked the wires and sealed with silicone. Clear reflectors and brand new headlight housings FTW! And that's a wrap for the headlight project!
Overall I'm very pleased with the headlights turned out. I didn't do a perfect job (a couple minor smidges on the chrome from handling- despite using latex gloves) and boy do these retrofitters earn their pay. But it was definitely a learning experience, and I love the OEM+ look of them.
With the headlights completed, this weekend I tackled getting the new 07-09 Bumper and OEM Lip on the car. I didn't have a chance to take any in-progress pics as I was on a time crunch, but overall I just followed the OEM instructions (the kit provides a paper template that you use to drill holes) and installed the lip while the bumper was off the car. After that it was a simple process to transfer the ICC bracket and miscellaneous fittings, and re-install the bumper on the car. But enough of me typing, I'll let the pictures do the talking:
Hello there gorgeous! Halos come on when the car is started to serve as a DRL. I deleted the parking light to clean things up
Let there be light! Morimoto Halos + OSRAM D2S and Foglight bulbs modernize these headlights. Excited to actually be able to see at nighttime.
Better view of the "cleared out" headlights and the 07-09 OEM Lip.
Whew, what a project. So stoked on how everything turned out- I'm really glad I gave the first gen look a chance. The cleared out Halo headlights, OEM Lip, and Midnight grille all tie together beautifully. Eventually I'd like to paint match the hood (leaving the vents in CF) but I'm loving the new look. It's nice to not be embarrassed by a scratched up bumper and foggy headlights LOL. And the 07-09 Sport Lip is absolutely mandatory- I think the 2010+ looks great without the lip, but the 07-09 Sport Bumper just always felt incomplete.
I've now touched just about every part of this car in my two years of ownership, but there's still more to do (just need time haha)! My next few priorities:
Maintenance: Given that my car is an 07 with 130K miles, it's time to tackle the Gallery Gasket for piece of mind. With my work schedule, I'll probably outsource this. While there, I'll probably also knock out the water pump and replace the belts. Unsure if I want to do the timing chains- but I'll read up to see what all is recommended
Tune: I've been sitting on an UpRev license for a year and I'm tired of seeing O2 CELs pop up. Plus with FBO it's long overdue to optimize them and gain some HP
Aesthetics: Quite a few to do here as I'm sitting on parts. I have CF Fenders, 2010 Mirrors (with CF Caps + JDM Winkers) that need to be installed along with Suede wrapping the top of the door panels of the interior. I also need to puzzle out my Analog Clock lighting issue and fix some of my interior map lights. Also the rear license plate bolts are seized, so I'll have to remove the rear bumper to get them off so I can install a new G35 License plate frame. I also want to get new fresh bolts (or some bling) to swap out the rusted bolts throughout my engine bay.
That's definitely not an exhaustive list, but trying to focus on a few things to actually get it accomplished. This car has definitely been a project, but it's been so rewarding to see the vision come to life. It's getting there! Till the next time...


 , thx for the tip


