
GW330 08 BS Coupe Build Log


Thread Starter
Registered Member
iTrader: (1)
Joined: Jul 2013
Posts: 206
Likes: 16
From: Puerto Rico
GW330 08 BS Coupe Build Log
First of all, thanks to all of you who have taken time to document any type of mods/fixes/upgrades/DIYS you've made to your cars. It helps everybody, I personally have benefited immensely from all the information on this forum. 
Making this build thread/log mainly for future reference and for other members that want or plan to do similar mods as I have done.
Car:
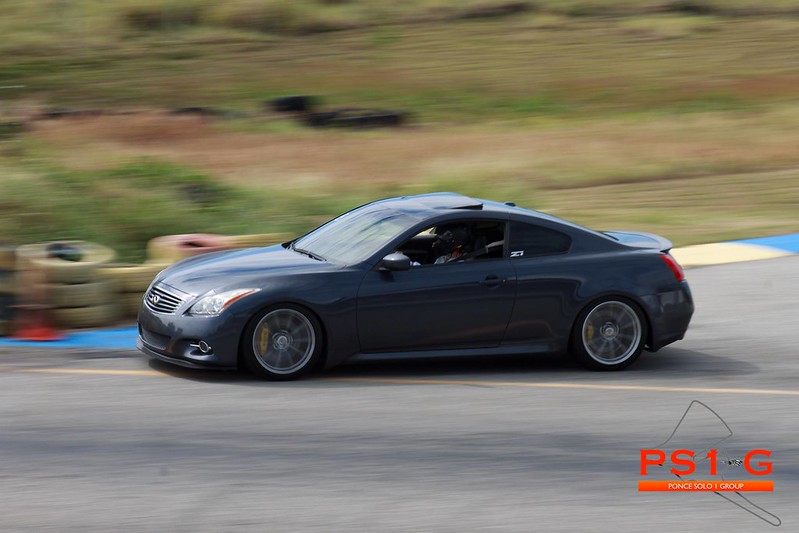
2008 G37S Coupe 6MT in BlueSlate
Mods as of June 2017:
Future Mods:
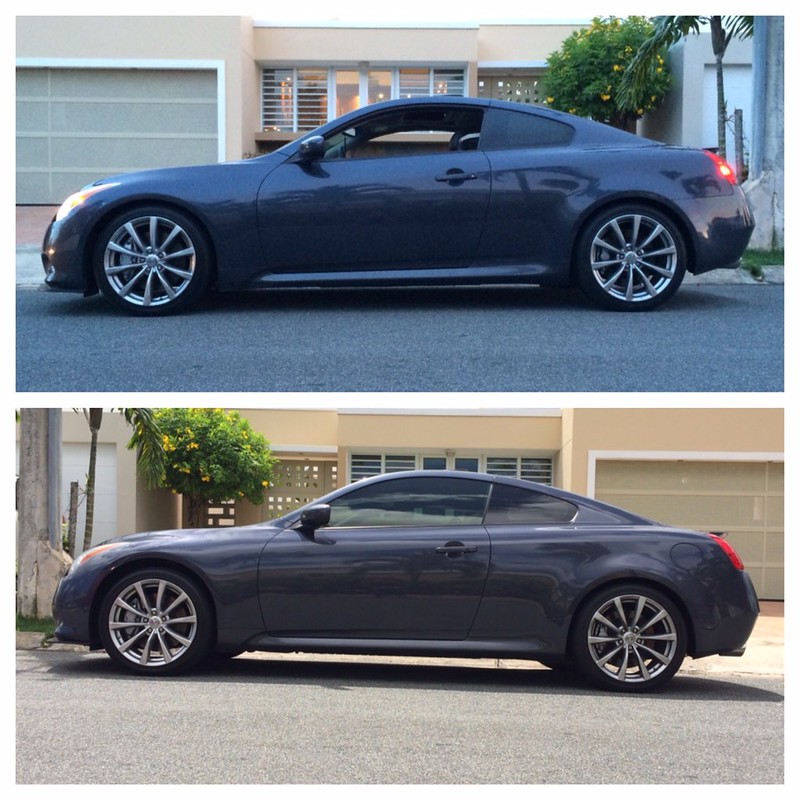
As the car sits (Jan 2016)
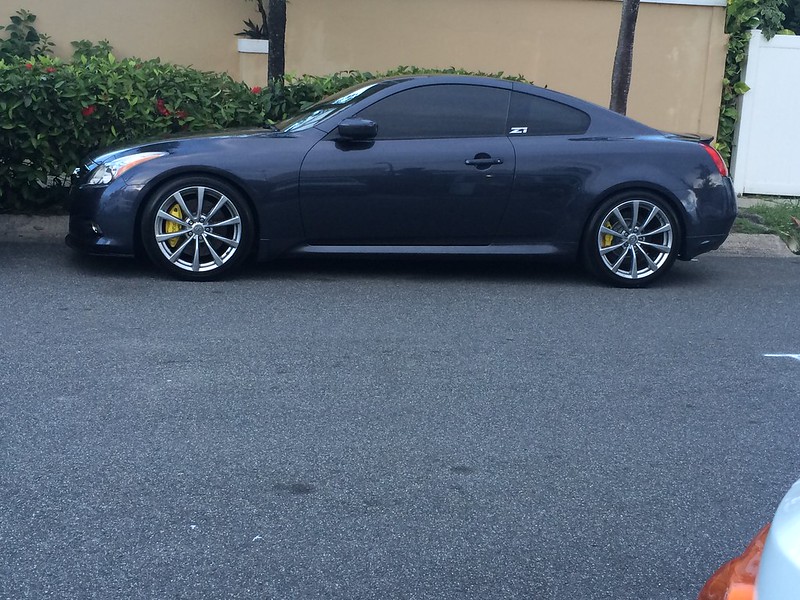
 Perks of living in the Caribbean
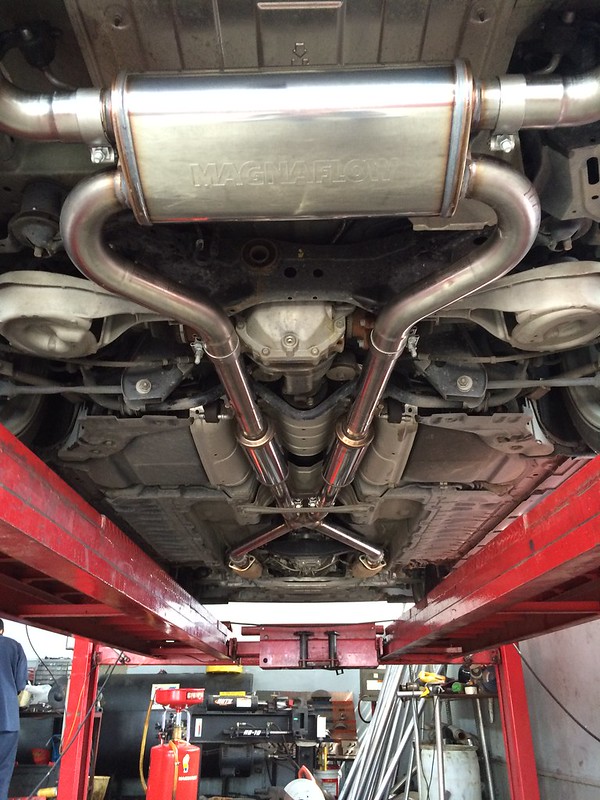
MagnaFlow Catback Exhaust (fitment is decent, had to massage a pipe that was hitting the differential case and the tips never lined up perfectly)

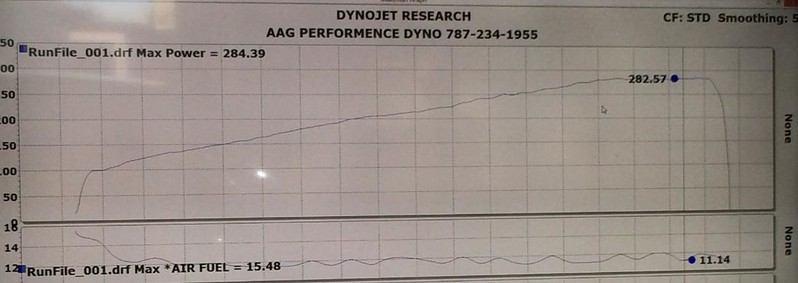
Dyno Graph with just MF catback for reference
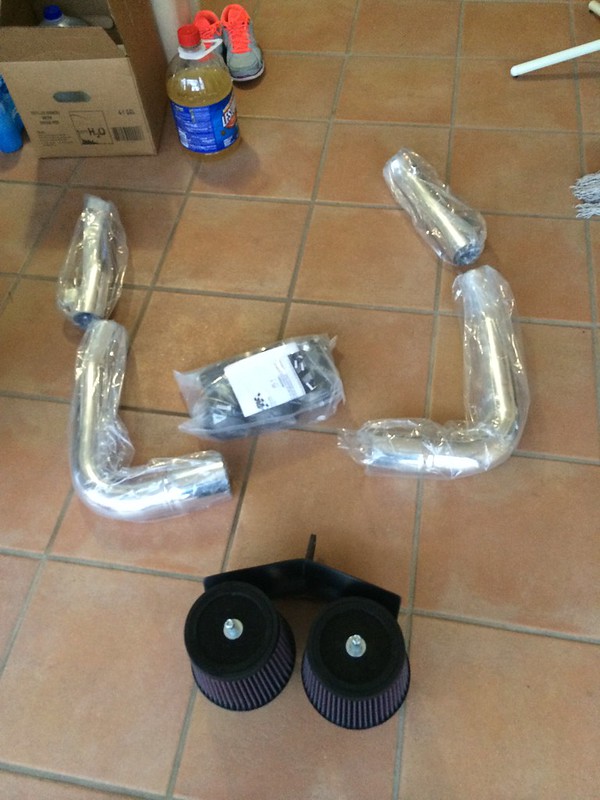
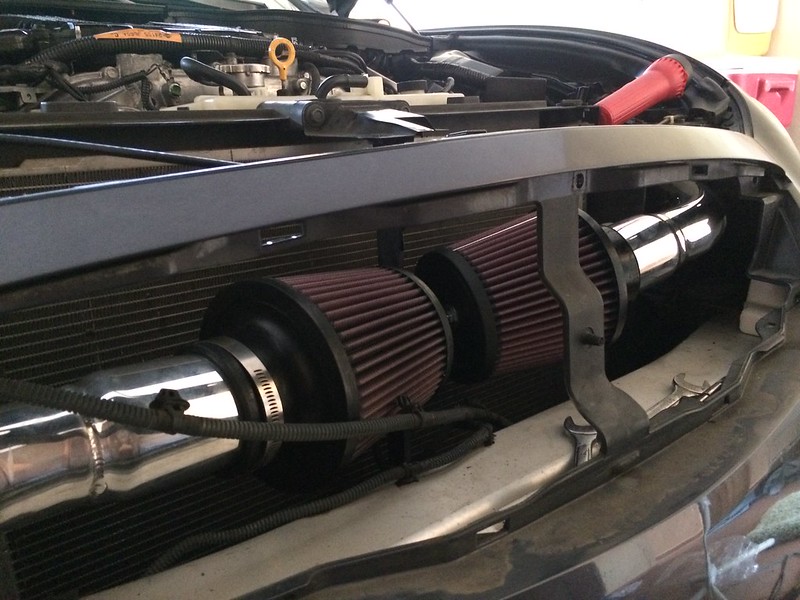
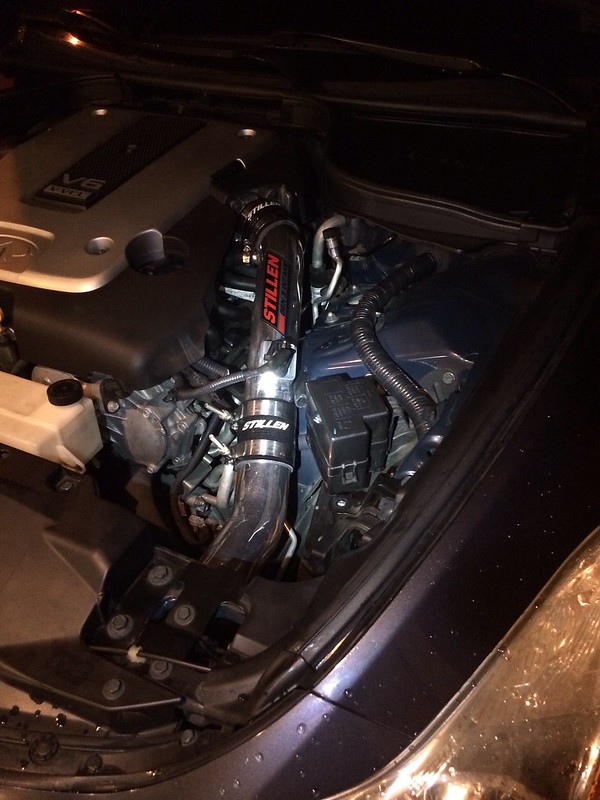
Stillen Gen3 Intake install (fitment on these suck, although after some padding and little modification you can make them fit great and unnoticeable in terms of vibrations or odd sounds)

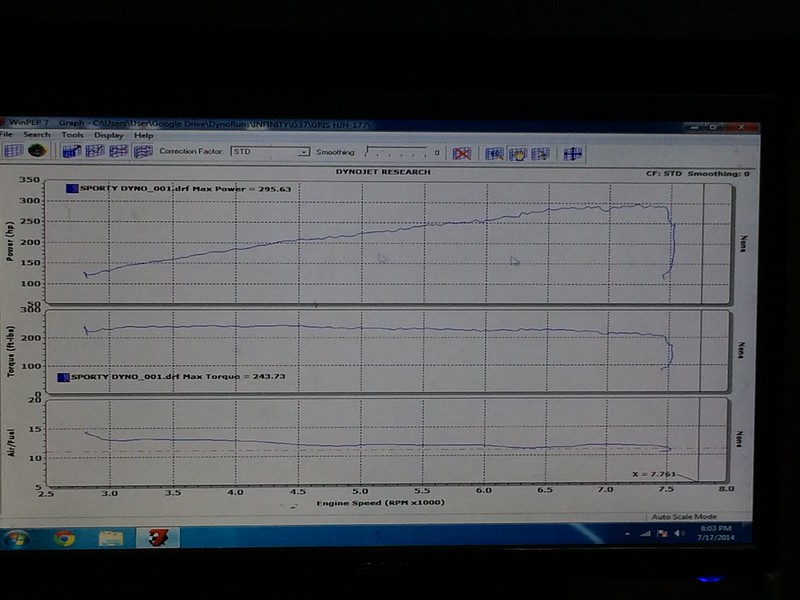
Dyno graph with MF catback and Stillen Gen3 for reference.
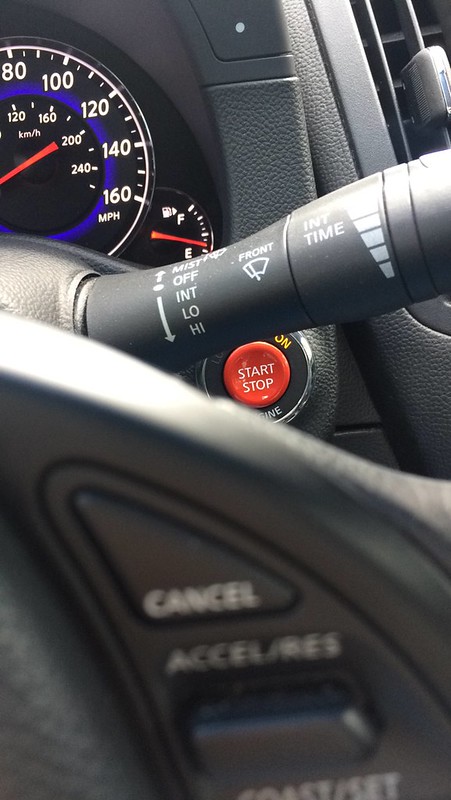
GTR push start button (great "sporty" upgrade, easy install, OEM quality!!)
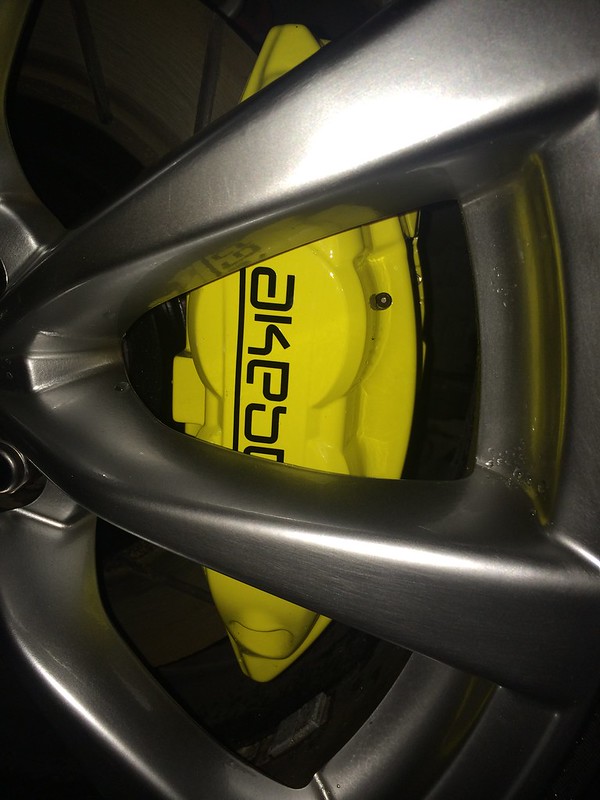
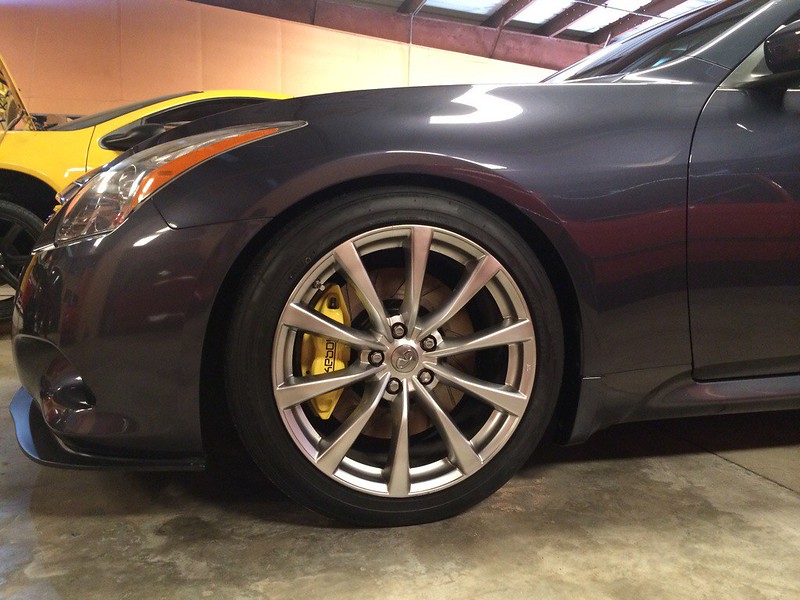
Brake calipers professionally painted yellow with black Akebono Decals (Expensive but worth it!)
Stillen Polyurethane splitter (fitment, not so great for the price, looks great, expensive but basically the only option for a decent polyurethane splitter)

Tanabe NF210 Lowering springs (Installed UP FRONT ONLY (in this pic) compared to stock)
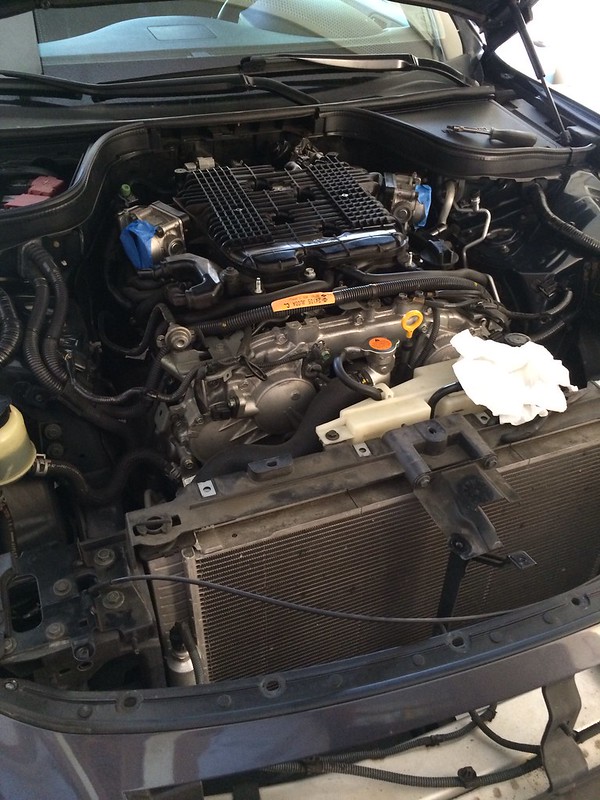
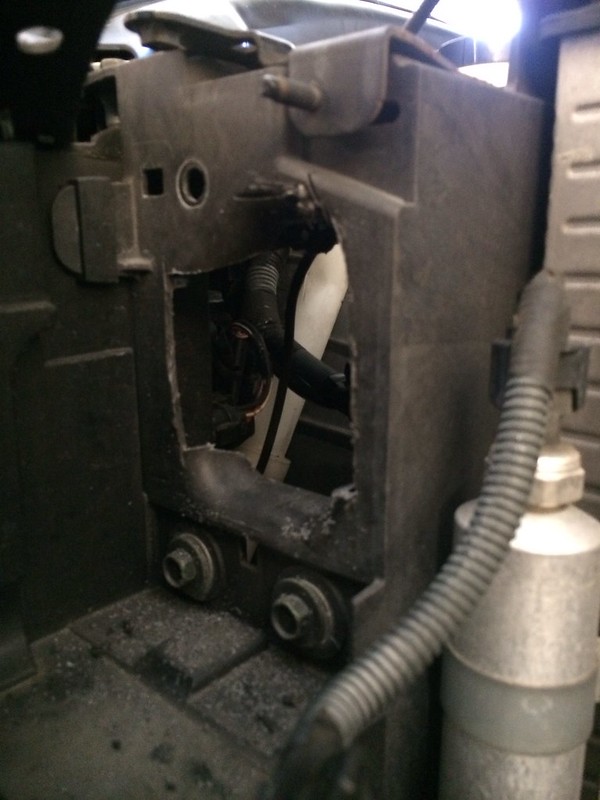
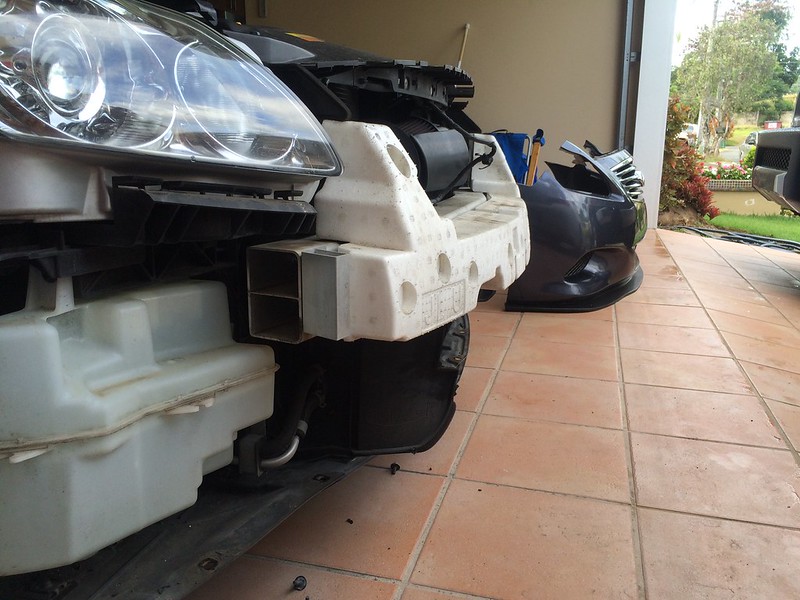
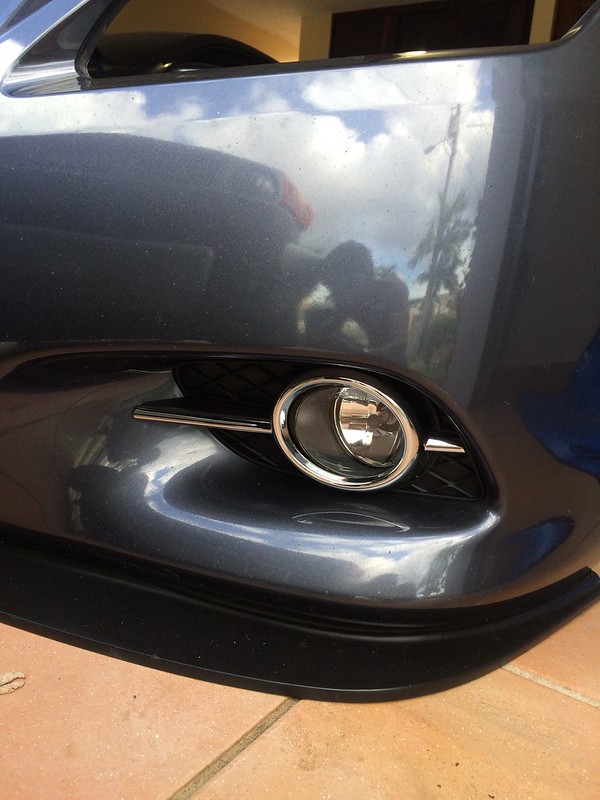
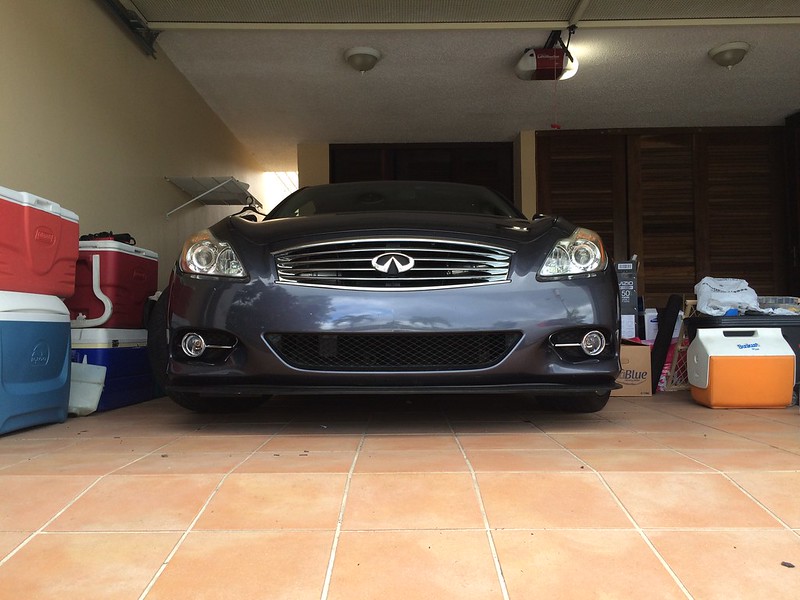
Installed fog lights, my car is a 2008 so the fog lights were integrated in the headlights, followed a DIY on the forum to do this. (Great upgrade, expensive due to all the components that have to be purchased, all the trim, windshield washer reservoir (no way around this other than just taking it off), fog lamp assembly and the wiring)
Some recent trackday photos!


Making this build thread/log mainly for future reference and for other members that want or plan to do similar mods as I have done.
Car:
2008 G37S Coupe 6MT in BlueSlate
Mods as of June 2017:
- MagnaFlow Catback Exhaust
- Tein Street Basis Z Coilovers
- H&R 20mm wheel spacers all around
- Stillen Gen 3 long tube air intakes
- 20% Window Tint (sides)
- 40% Window Tint (front and back)
- Stainless Steel braided brake lines (StopTech)
- Motul RBF 660 brake and clutch fluid
- Hawk HPS Front Brake Pads
- DiodeDynamics Tail as Turn Module
- GTR (red) Start/Stop Button
- Z1 Motorsports silicone PCV hoses for Aftermarket Intake
Future Mods:
- FI RHFC or RTP (undecided)
- Whiteline Differential Bushings
- Engine Oil cooler (not sure on which brand)
- Aftermarket wheels (Silver Enkei RPF1 in 19")
- 2 Piece Brake Rotors (F&R)
- SPC Camber Kit (F&R)
As the car sits (Jan 2016)
Perks of living in the Caribbean MagnaFlow Catback Exhaust (fitment is decent, had to massage a pipe that was hitting the differential case and the tips never lined up perfectly)
Dyno Graph with just MF catback for reference
Stillen Gen3 Intake install (fitment on these suck, although after some padding and little modification you can make them fit great and unnoticeable in terms of vibrations or odd sounds)
Dyno graph with MF catback and Stillen Gen3 for reference.
GTR push start button (great "sporty" upgrade, easy install, OEM quality!!)
Brake calipers professionally painted yellow with black Akebono Decals (Expensive but worth it!)
Stillen Polyurethane splitter (fitment, not so great for the price, looks great, expensive but basically the only option for a decent polyurethane splitter)
Tanabe NF210 Lowering springs (Installed UP FRONT ONLY (in this pic) compared to stock)
Installed fog lights, my car is a 2008 so the fog lights were integrated in the headlights, followed a DIY on the forum to do this. (Great upgrade, expensive due to all the components that have to be purchased, all the trim, windshield washer reservoir (no way around this other than just taking it off), fog lamp assembly and the wiring)
Some recent trackday photos!
Last edited by GW330; Jun 19, 2017 at 07:35 PM.
Thread Starter
Registered Member
iTrader: (1)
Joined: Jul 2013
Posts: 206
Likes: 16
From: Puerto Rico
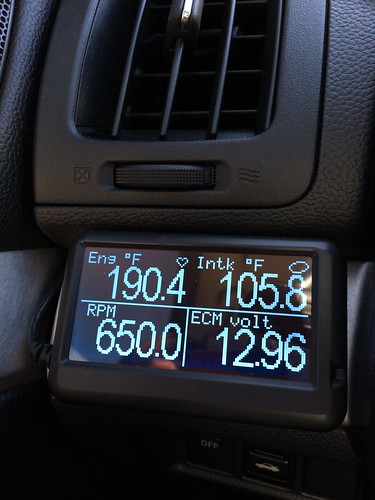
Added an UltraGauge OBDII reader, just plugs into the OBDII. Right now I have it displaying Engine Water temp, Intake temp, RPM and ECM Voltage.
You can alter the amount of information displayed in each page, you can sep up to seven pages and up to 6 gauges in each page.
 IMG_0257 by Jorge, on Flickr
You can alter the amount of information displayed in each page, you can sep up to seven pages and up to 6 gauges in each page.
IMG_0257 by Jorge, on Flickr
Last edited by GW330; Jan 28, 2016 at 04:57 PM.
Thread Starter
Registered Member
iTrader: (1)
Joined: Jul 2013
Posts: 206
Likes: 16
From: Puerto Rico
Update!
Ive been feeling the car behaving weirdly and loose arounds bumps, turns out my front shocks were dead, decided to try out the new Tein Street Basis Z (GSP92-8UAS2) to replace my worn out shocks with Tanabe NF210 springs (really enjoyed the combo, subtle drop and a great ride but it always bothered me the unevenness of the front vs back drop).
Decided to try these out since replacing the OEM shocks would have been more expensive and Ive been wanting to try these out for while.
Will be providing a review once I drive on the for a couple hundred miles and an alignment.
Let me know if any questions!
Heres a pic of the shock condition. Originals with 52k miles on not so great roads.
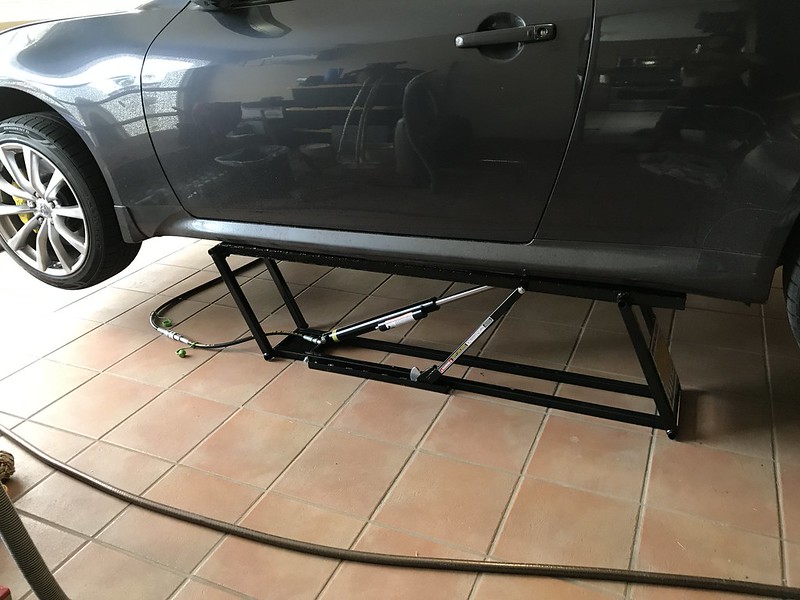
Borrowed a QuickJack for the install, took me a good 9 hours, it would've been a pain in the *** without it!
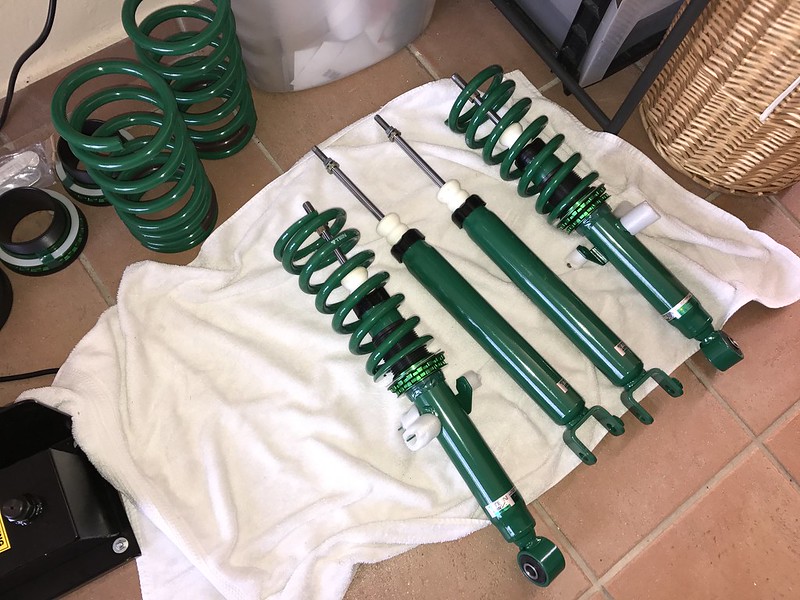
On to the install!
Heres a pick of the coils
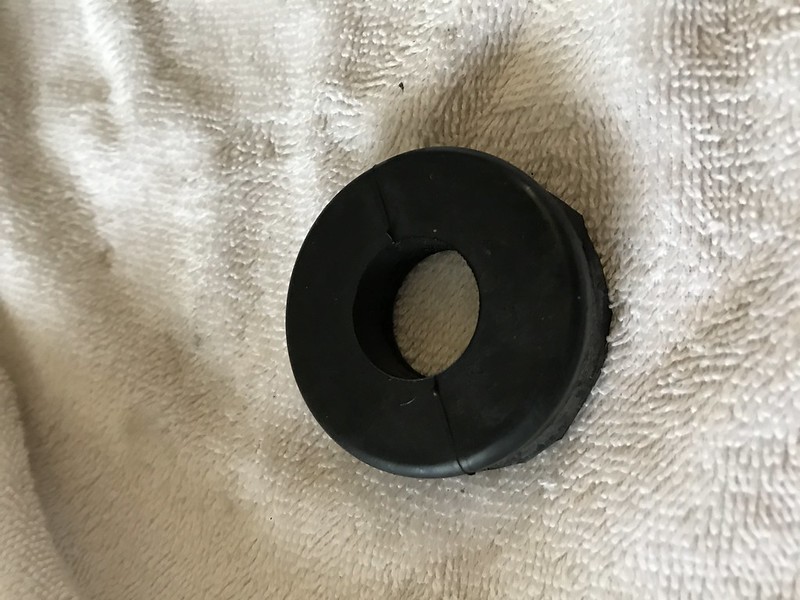
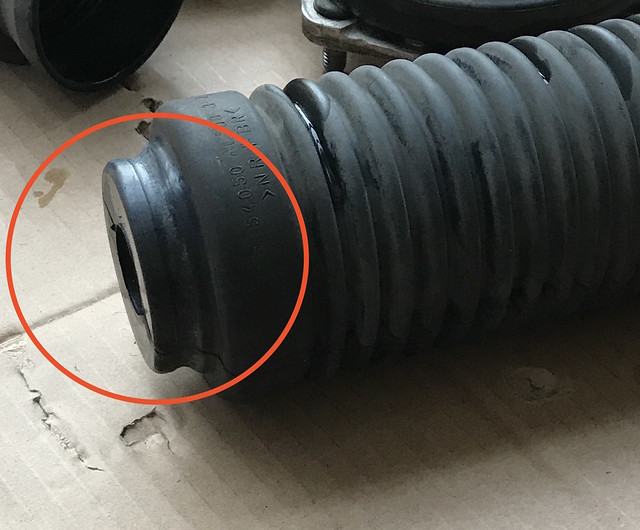
Cutting out the plastic bumps of the OEM dust cover, this part was a little confusing, but trust the instructions and cut to the size on them (0.6inch).
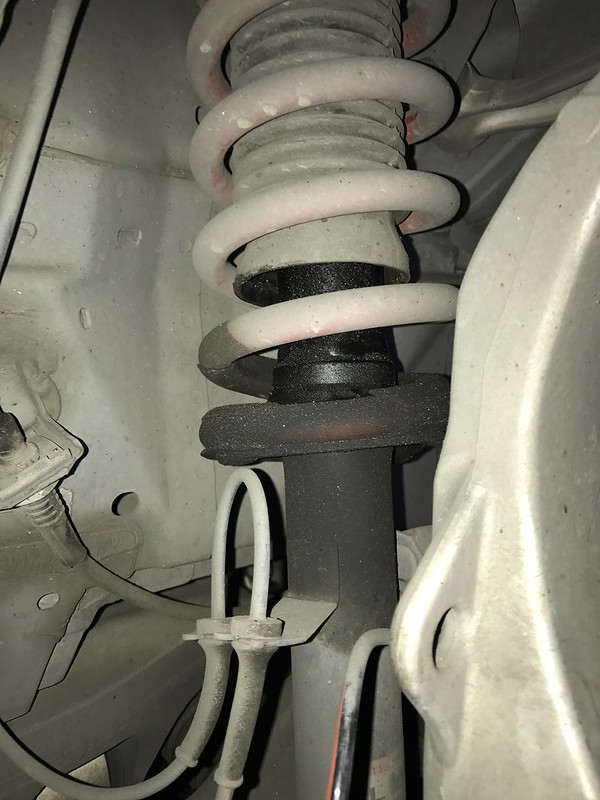
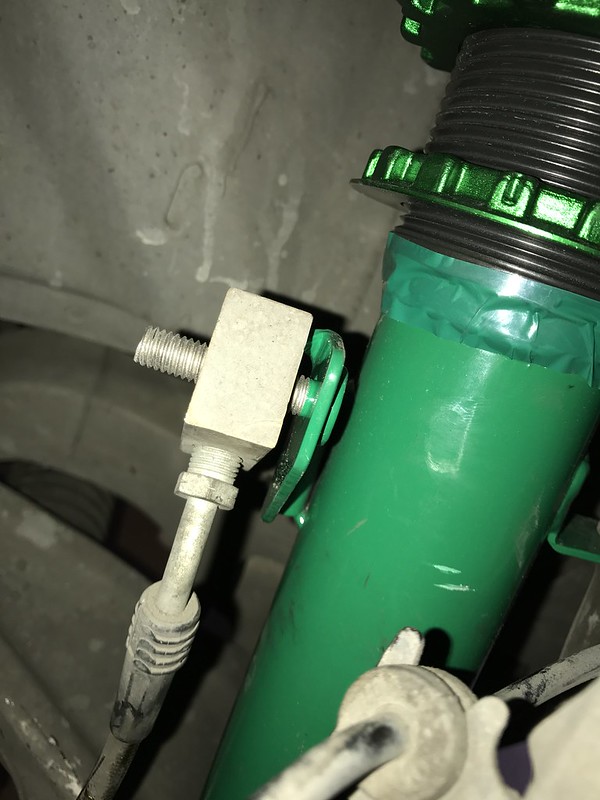
Only problem I ran into was this, due to my aftermarket SS brake lines, the block that connects them does not sit flush with the mounting bracket due to the tab sticking out as seen on the pic. Easily fixed with a spacer of washers, not the best but it worked.
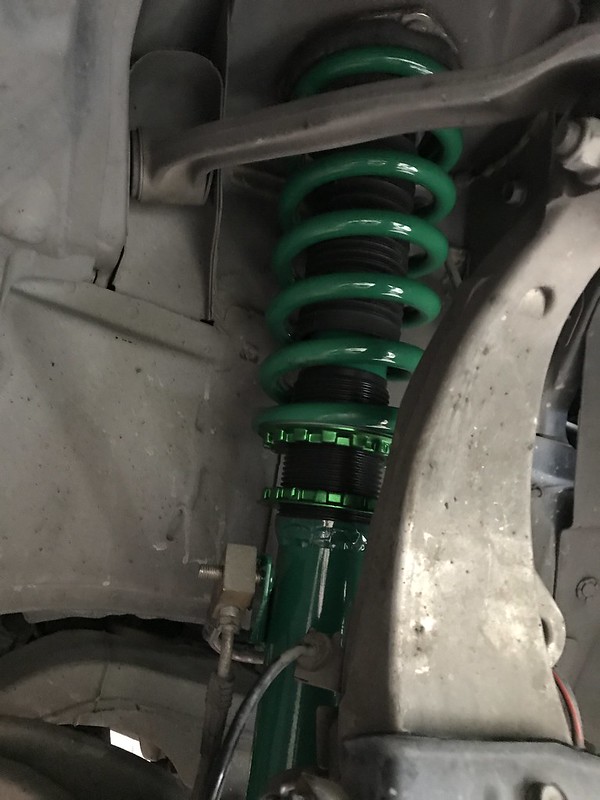
Fronts Installed
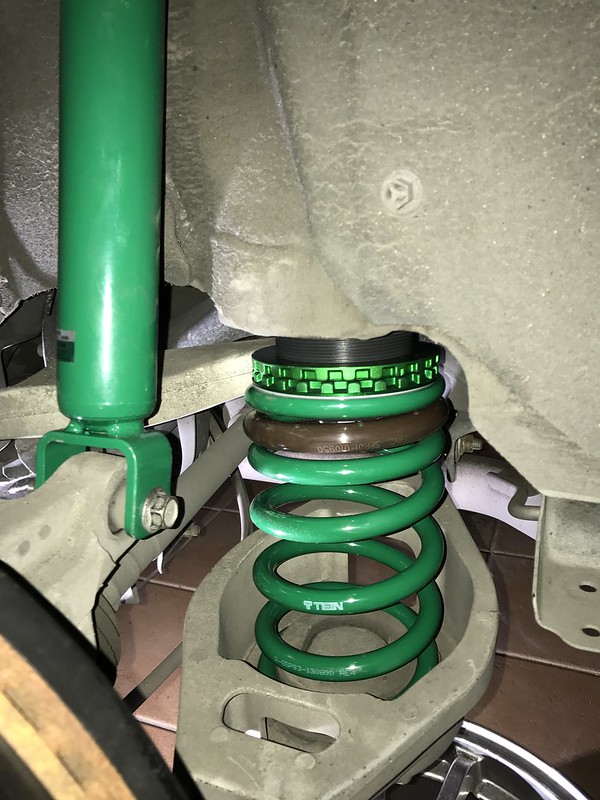
Rears Installed
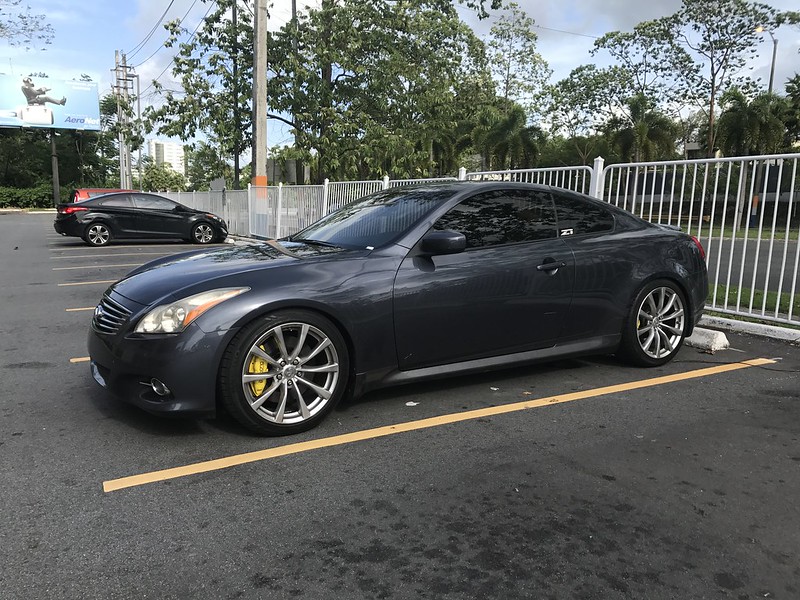
Here is how the car currently sits, at 26''3/4 all around.
Ive been feeling the car behaving weirdly and loose arounds bumps, turns out my front shocks were dead, decided to try out the new Tein Street Basis Z (GSP92-8UAS2) to replace my worn out shocks with Tanabe NF210 springs (really enjoyed the combo, subtle drop and a great ride but it always bothered me the unevenness of the front vs back drop).
Decided to try these out since replacing the OEM shocks would have been more expensive and Ive been wanting to try these out for while.
Will be providing a review once I drive on the for a couple hundred miles and an alignment.
Let me know if any questions!
Heres a pic of the shock condition. Originals with 52k miles on not so great roads.
Borrowed a QuickJack for the install, took me a good 9 hours, it would've been a pain in the *** without it!
On to the install!
Heres a pick of the coils
Cutting out the plastic bumps of the OEM dust cover, this part was a little confusing, but trust the instructions and cut to the size on them (0.6inch).
Only problem I ran into was this, due to my aftermarket SS brake lines, the block that connects them does not sit flush with the mounting bracket due to the tab sticking out as seen on the pic. Easily fixed with a spacer of washers, not the best but it worked.
Fronts Installed
Rears Installed
Here is how the car currently sits, at 26''3/4 all around.
 Car looks great w/ the new drop, look forward to your review of the new suspension! And don't be a stranger this time
Trending Topics
Thread Starter
Registered Member
iTrader: (1)
Joined: Jul 2013
Posts: 206
Likes: 16
From: Puerto Rico
Yes, they come with dust boots, but you have to cut the OEM one in order to reuse the round instert that goes into the tophat\topmount of the shock. You have to do this since you are reusing the stock tophats.
It basically provides a stop for the bumpstop of the coilover, same as the Oem setup.
It basically provides a stop for the bumpstop of the coilover, same as the Oem setup.
Thread Starter
Registered Member
iTrader: (1)
Joined: Jul 2013
Posts: 206
Likes: 16
From: Puerto Rico
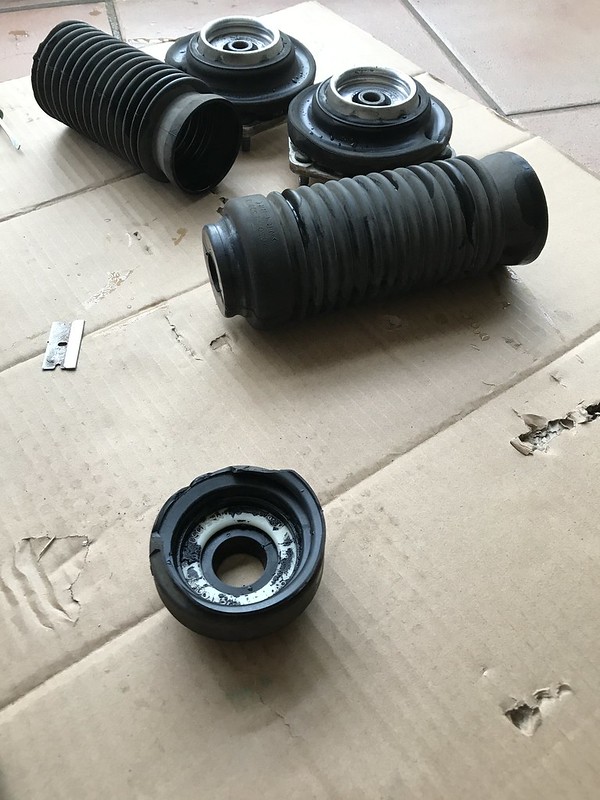
Heres the strut mount (upside-down), see the recessed circle where the shock shaft goes through? Thats where the OEM dust boot attaches to the top hat, without that "insert" the bumpstop that comes with the Tein suspension would end up jammed against the top hat.

This is the part you cutout of the OEM dust boot (for the front and back mounts) and you instert it to the OEM strutmount.
Thread Starter
Registered Member
iTrader: (1)
Joined: Jul 2013
Posts: 206
Likes: 16
From: Puerto Rico


Thread
Thread Starter
Forum
Replies
Last Post