
Neomist build


Hopefully those threads are OK, all the best my friend.

Okay got the brake line issue resolved today. Everything line up perfectly. I pulled it out and tested the brakes in the driveway. I still have some squishy feel to the pedal. I haven't adjusted the coilover height yet (doing that tonight). It looks funny because every wheel is at somewhat a different height. The setting out of the box for the back was really low. Here is a picture of it:
I also have an traction control light on, that I assume will go off as soon as I get the alignment done. My KW coilovers (or maybe Hotchkis front sway) creaked loudly when I hit my driveway, I hope that goes away.

I also have an traction control light on, that I assume will go off as soon as I get the alignment done. My KW coilovers (or maybe Hotchkis front sway) creaked loudly when I hit my driveway, I hope that goes away.
Last edited by Neomist; Aug 12, 2014 at 08:45 PM. Reason: grammer
Got it on the alignment rack today. I ended up having to leave it over night. We had grind the toe bolt hole to get the correct adjustment. Should be ready in the morning.
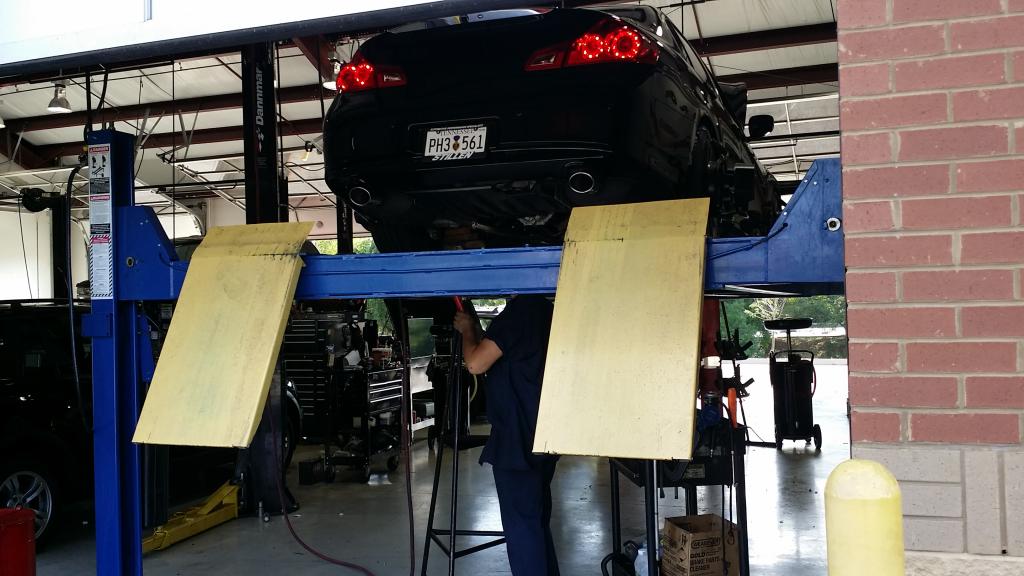
I still need to adjust the ride height. Not sure if I like it that low.

I still need to adjust the ride height. Not sure if I like it that low.
I've got my coils set to zero gap F&R and have found that's a good setup for daily driving, I was tucked inside the fenders w/ my springs and it was a PITA on a daily basis. Looks like yours is very slightly tucked, maybe take it up a quarter inch 
It's funny you mention that. I was thinking the same thing. Here is a picture of it off the rack.

It's still too low for my taste. I was thinking of increasing the front by 1/4 to 1/2 half inch, and maybe 1/2 to 3/4 inch in rear. Problem is I don't think my rear coilovers have that much adjustment left. I just got off the phone with KW and they said they can send me some spacers if needed. I am going to raise it today and then take it back in the morning for another alignment.
This picture also brings out the annoying chrome trim around the windows. I've got to do something with that.
Simple DIY for the trim
https://www.myg37.com/forums/d-i-y-i...-g-sedans.html
I know what you mean about raising the rear, mine at zero gap has about maybe a 1/4" to safely raise it.
Are your brakes feeling better or haven't driven it much yet?
https://www.myg37.com/forums/d-i-y-i...-g-sedans.html
I know what you mean about raising the rear, mine at zero gap has about maybe a 1/4" to safely raise it.
Are your brakes feeling better or haven't driven it much yet?
Yeah I was looking at that DIY last week. Once I get my exhaust installed (hopefully next weekend) I promised the wife I wasn't going to do any more mods for a while. I keep packing my weekend full of car stuff.
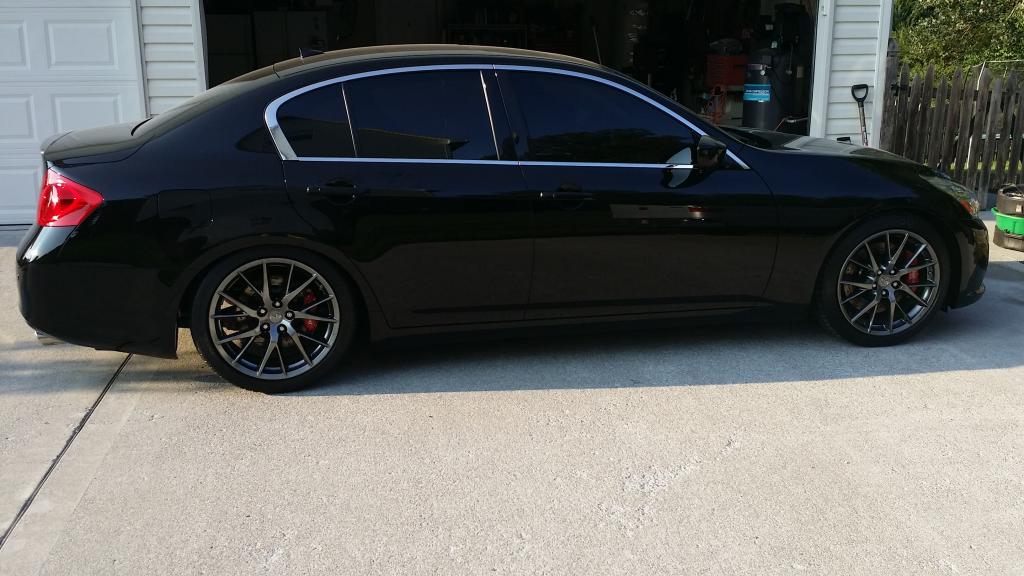
Okay just raised the front .30 inches and the rear .45 inches. I like this much better than the one above. Here are the shots:


As for the brakes they are absolutely sick... Once I got them bleed and felt comfortable with them, I followed the bedding process off the wilwood site. My first pass everything that was in the rear seating was either on the floor board or in the front with me. My phone on the passenger seat shot off like a rocket into the glove box!!
Last edited by Neomist; Aug 15, 2014 at 04:02 PM.
Yeah I was looking at that DIY last week. Once I get my exhaust installed (hopefully next weekend) I promised the wife I wasn't going to do any more mods for a while. I keep packing my weekend full of car stuff.
Okay just raised the front .30 inches and the rear .45 inches. I like this much better than the one above. Here are the shots:
As for the brakes they are absolutely sick... Once I got them bleed and felt comfortable with them, I followed the bedding process off the wilwood site. My first pass everything that was in the rear seating was either on the floor board or in the front with me. My phone on the passenger seat shot off like a rocket into the glove box!!
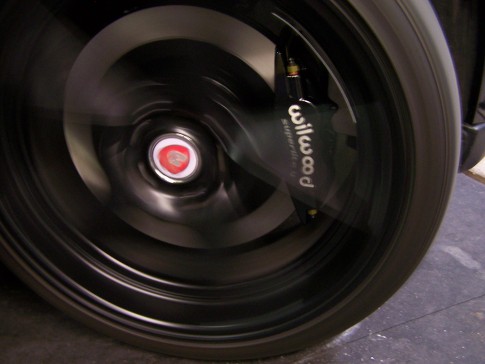
Glad you're liking the Wilwoods, I told you they'd be a hot setup

I'm installing mine in three weeks, here's a quick pic when I fit them up last week

Thread
Thread Starter
Forum
Replies
Last Post
KZK
Canada
0
Sep 23, 2015 11:52 PM