When you click on links to various merchants on this site and make a purchase, this can result in this site earning a commission. Affiliate programs and affiliations include, but are not limited to, the eBay Partner Network.
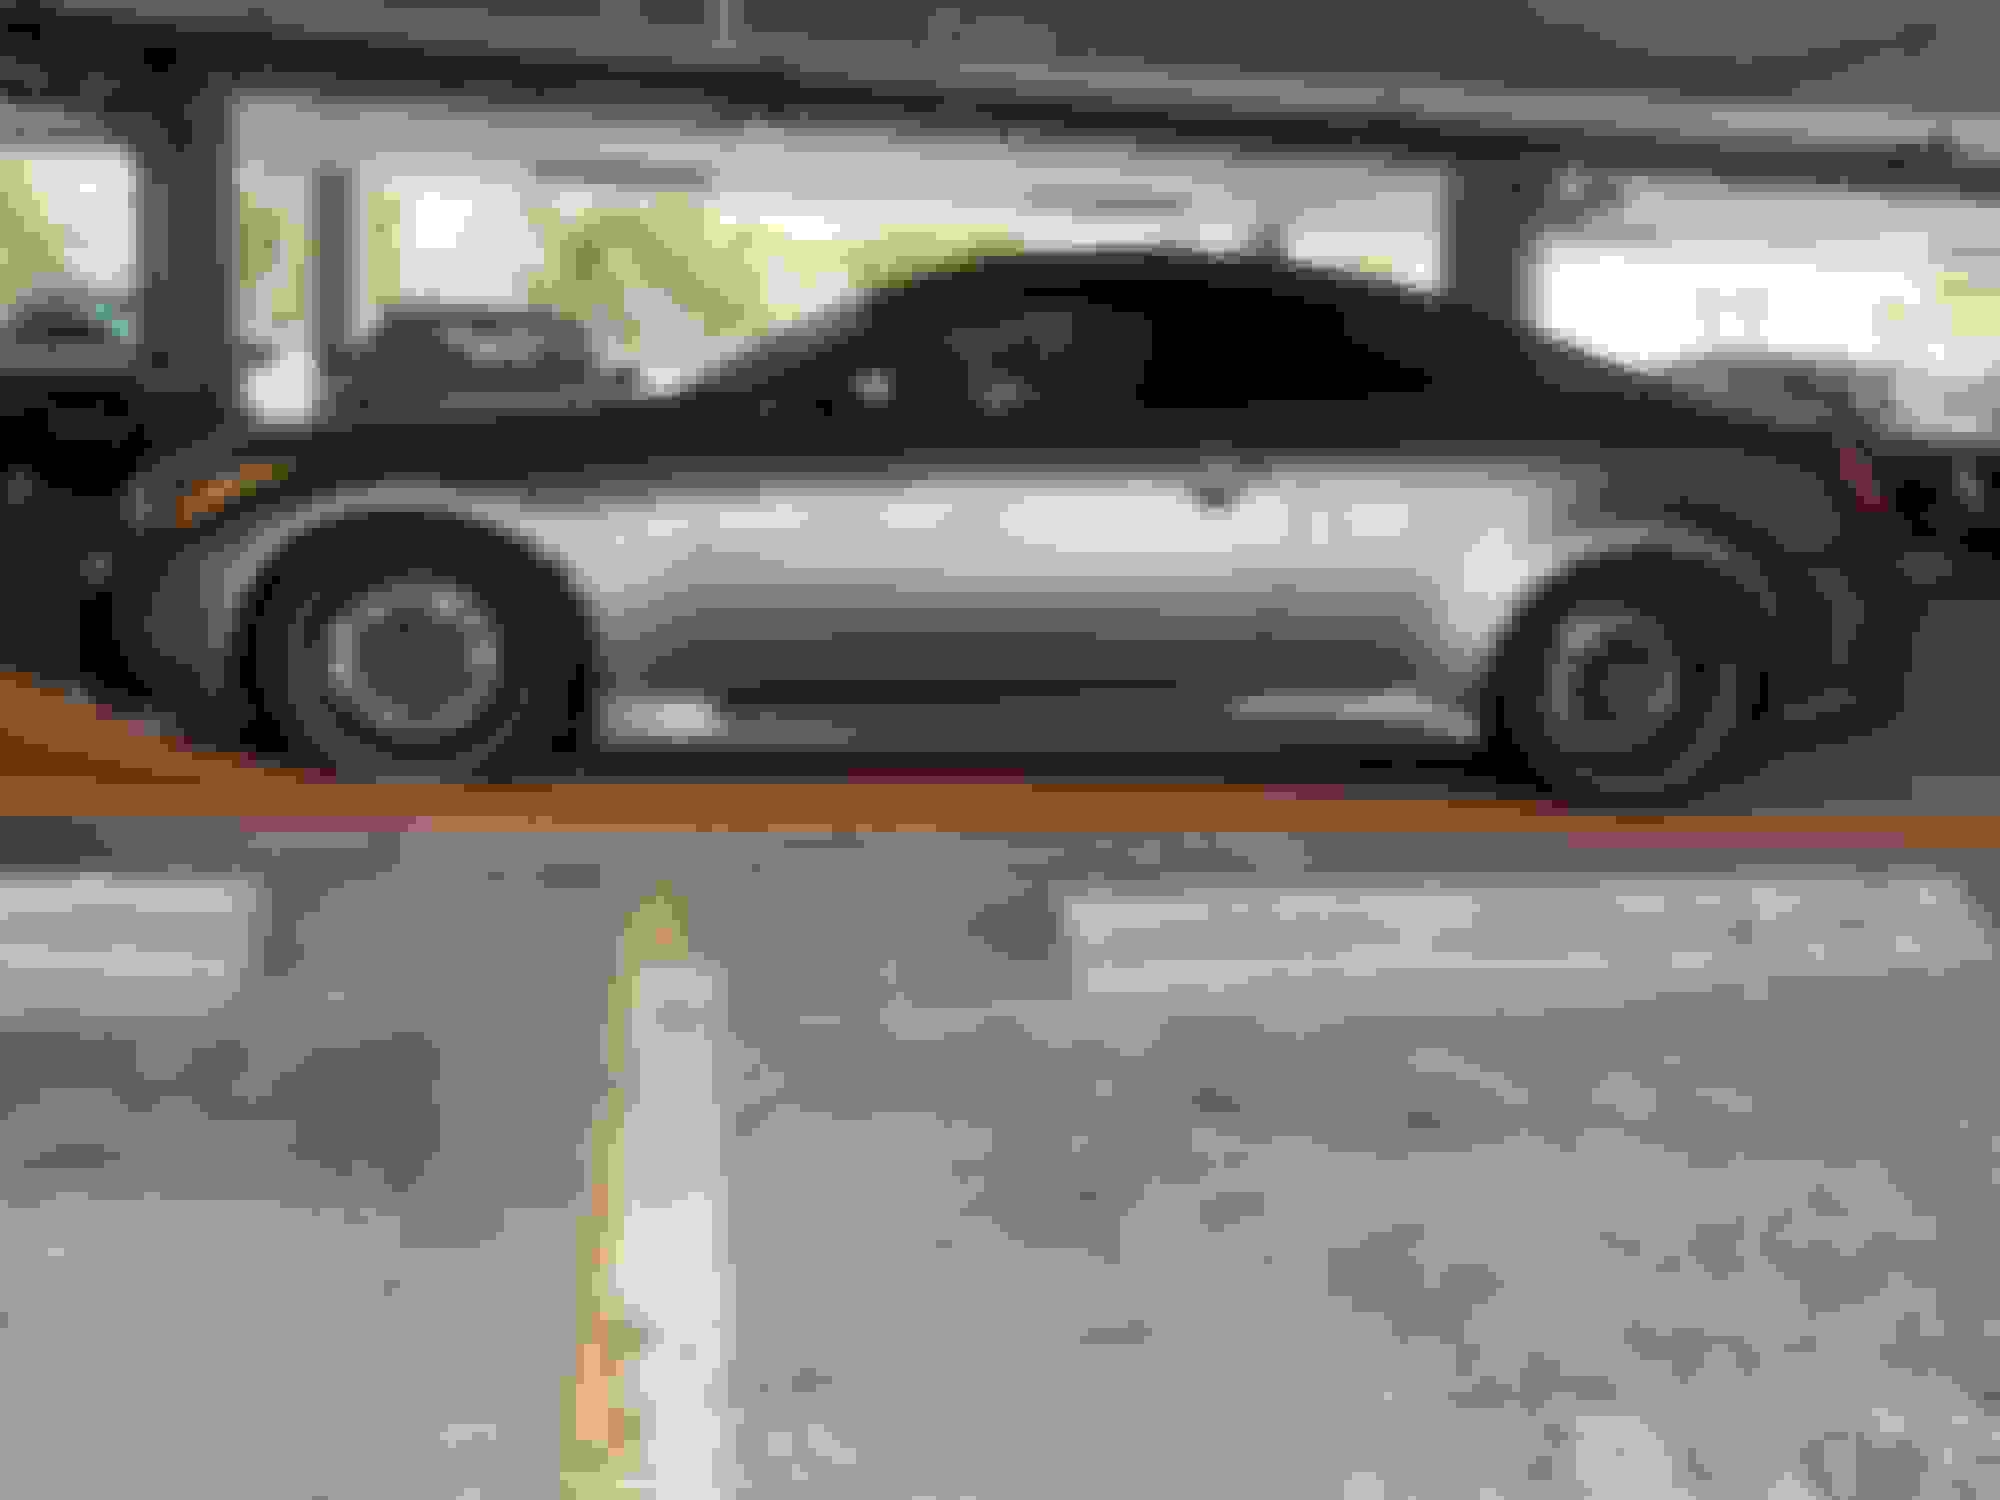
New brakes look nice. Too bad something is wrong and hear a repetitive noise from the back passenger side in sync with speed of the wheels spinning:/ Gotta go back to the shop anyways to get my exhaust put on b/ I didn’t have the adapters to use the Nismo mid-pipe (was hoping my IPL midpipe was okay but he said it looked terrible). Hopefully the issue with brakes isn’t a big deal.
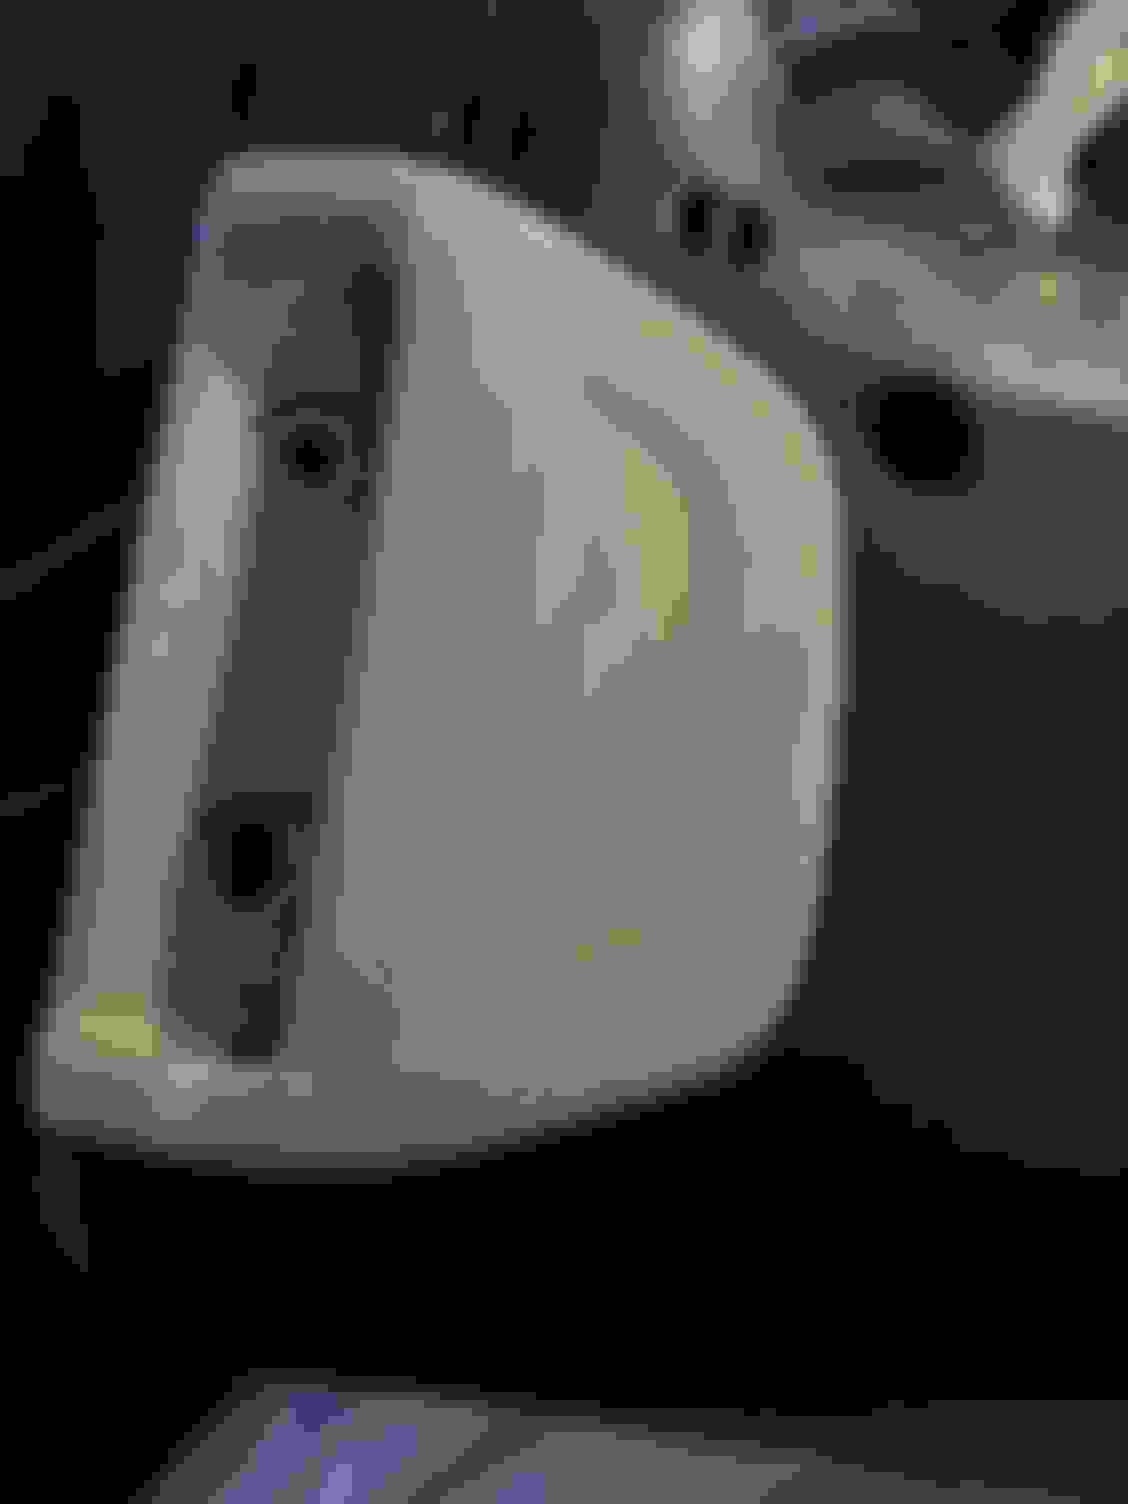
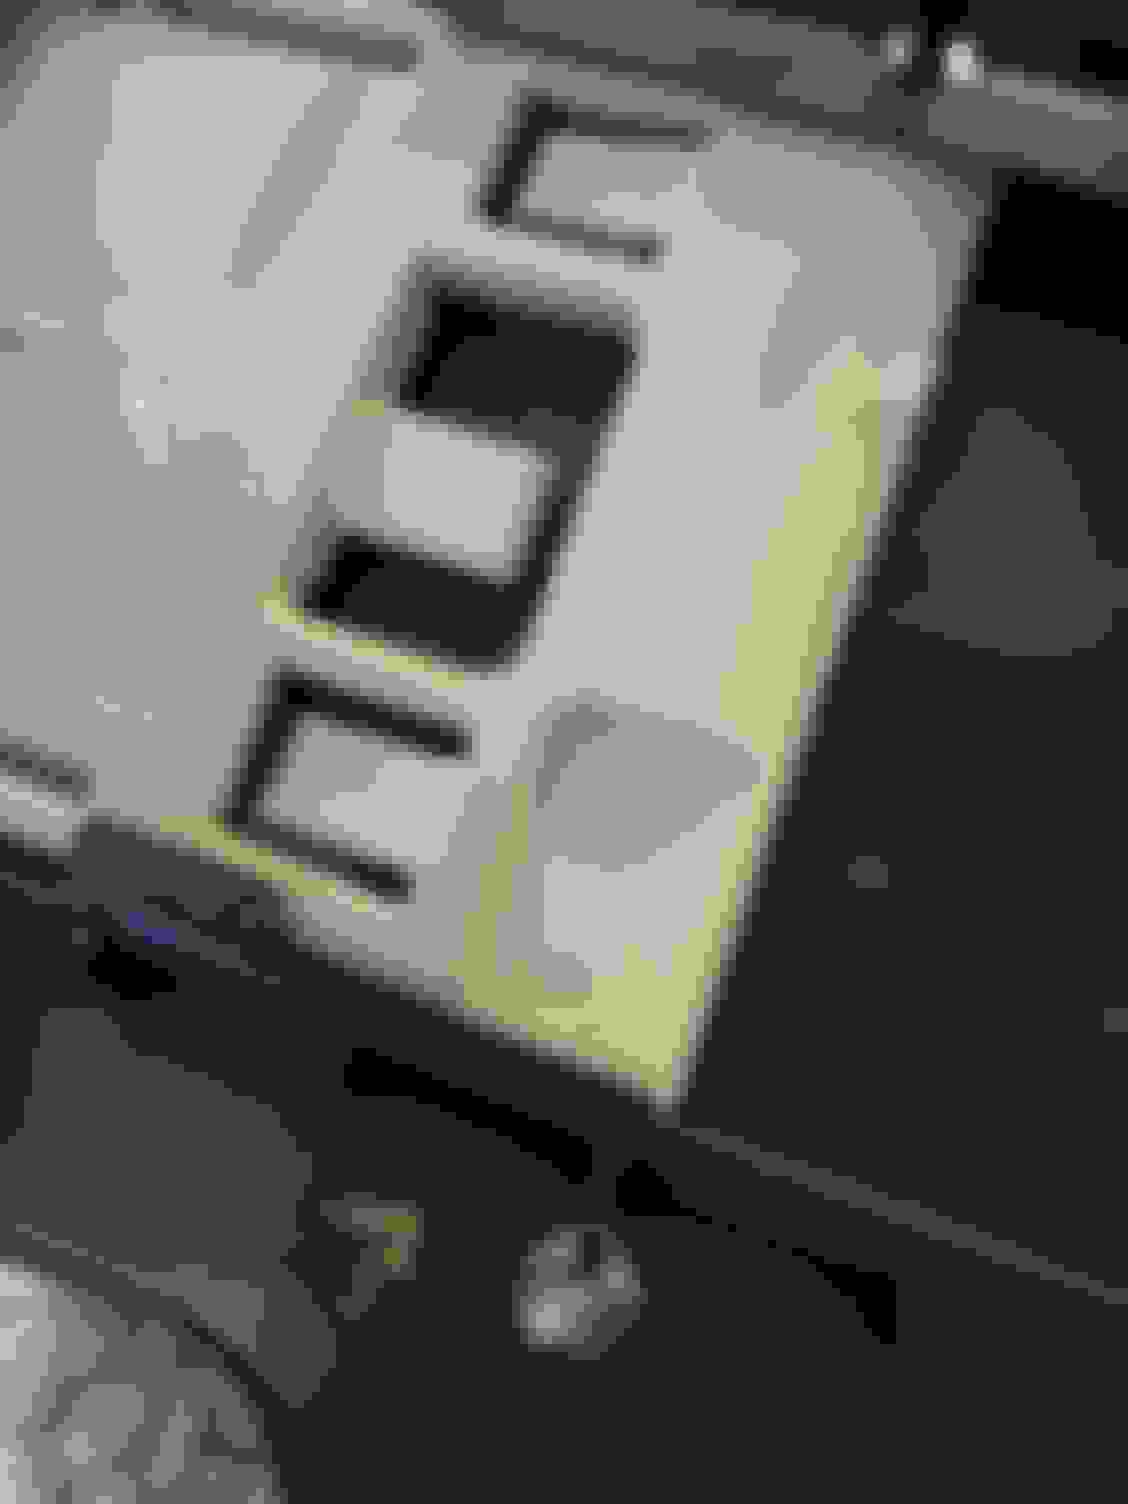
Over the hump on the glove box. I knew the glove was going to require a good amount of stretching due to the handle area so I didn’t use the nicest piece of leather for it. Was able to get the cut out of the corner of the last hide I have on hand while keeping enough material in that hide for one top section of a door, it came it fine although you can see the cows battle scars, lol.
I did sand the sides and also sanded the sides of the panels around it as it was already a tight fit. It all wouldn’t fit with added thickness of the leather. I’m hoping I took enough off, well find out when I try to install. Fingers crossed.
@sobeIPL Hopefully not too late. Here are the pics I took that I was unable to send via PM:
My one card does have the embossed numbers, the difference in thickness is minimal at least. I think the difference in gap between top and bottom lies in the contour of the glovebox and possibly how the latch pulls the box closed.
For anyone curios where this came from, I PM’d @ILM-NC G37S asking about the gaps here to know how much I need to shave off so my wrapped glove box goes back in okay.
My best recommendation is to take old cards and tape a razor blade to one side and how many desired cards on the other. If the opposite end of the car is hold flat parallel to the edge of the box you can mark/slice a line as thick as 1,2,3, cards of thickness.
Compare the thickness of the hide to how many cards in thickness to give it your best chance.
Later, install as quick as possible using wedges for the desired gap and letting it dry while installed. This will give the material an equal push to fuse equally and giving you even clearances for adjustment.
Just FYI in the future if you wanna paint some trims try getting some SEM upholstery spray paint the best out there with some proper preparation it will definitely hold up if you can find oem black trim.
Just FYI in the future if you wanna paint some trims try getting some SEM upholstery spray paint the best out there with some proper preparation it will definitely hold up if you can find oem black trim.
Just finished up the glove box. Looks pretty good. I had to use my hack saw on the latch (top and sides) so it fit with the leather. Note the latch is leather too. Opens and closes perfectly. I also loaded this thing with CLD as I put it back together.. it’s pretty heavy now. Shouldn’t be making any noises.
Holy smokes guys the front of my car is starting to look real nice. Dash is done, glove box is done, speedo housing is done, dash side covers are done, lower panel around glove box is done.
Here is are some unflattering pics...
Leather gauge housing lid wrapped without removing, came out flawless. Test fit of the leather glove box. Opens and closes like money. The side panel looks great too.
@G37sPhoton I think you asked me that housing, there you go
@ILM-NC G37S I sanded the glove more on the top per the pics you uploaded and have a razor thin gap all the way down now. Those definitely helped. Thanks.
I painted half of my trim already but scratched the piece over the glove like it dummy before the clear harden so I gotta sand it down and spray again. Once I do I can put that in and bolt up for glove for good.
I painted the housing of the Phoenix Tesla screen too and it looks dope. Still having issues with wiring tho which is why I’m riding with the oem radio in those pics.
I ordered 2 more 1/2 hides of the same leather to finish the doors, rear quarter panels and rear deck. I think I finally found the leather I’m going to use for headliner (the leather I’m using doesn’t come big enough for roof so I’ve been scouring the world looking for a close match). That should be here in about 2 weeks so I’m knocking out all the small stuff in the meantime.
I got my brakes installed and now my brake light and traction lights are on and they feel a little off. What a shame. It’s going to back to the shop anyway Monday for the Nismo exhaust now that I have the extenders so hopefully when I pick it up the exhaust and brakes are perfect. My IPL exhaust is rusted to **** so it’ll be nice having a fresh oem replacement. Note I’m going for quiet and like the sound of the nismo/IPL which is why I didn’t just throw an aftermarket on there.
Looking good. All that hard work is paying off. Glad I was able to help. Eventually my lazy self will have to address this damn dash.. but not in 95°, 1000% humidity summertime. Besides, I have other projects to complete first.