When you click on links to various merchants on this site and make a purchase, this can result in this site earning a commission. Affiliate programs and affiliations include, but are not limited to, the eBay Partner Network.
I just installed a pair of DD XML2s
SJ's DYI info was extremely helpful.
No need to remove the wheels. Just turn them all the way in and jack up that side.
Then unbolt the underguard on that side and front well liner as described.
The washer fluid reservoir is a bit of a PITA but I realized I could simply flex it back towards the wheel and wiggle the bulb in place.
Some observations about the Diode Dynamics XML2 bulbs:
- They have a monstrously huge heatsink on the base. on the passenger side it rests directly against the washer fluid tank. I will probably go back in and put a thick felt pad between the two just in case. On the driver's side there is plenty of room though.
- The XML2s fit rather loosely in the fog lamp sockets. On the passenger side it was NBD as the washer tank will keep it from falling out.
On the driver's side, it twisted in place with very little friction. I was concerned it could eventually vibrate loose and bounce out. So I wrapped the inside edge of the twist-lock base with electrical tape to add a bit of friction. It was tricky to add enough tape to make a difference and still have the twistlock function.
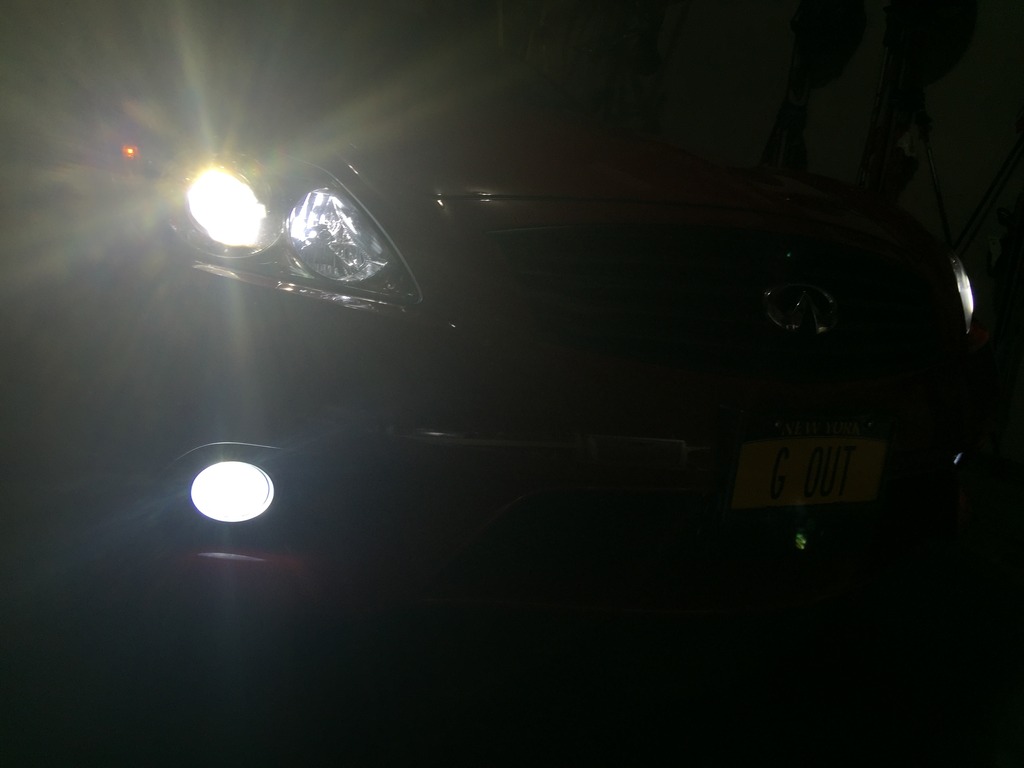
- Lastly...These things are crazy-bright. I mean like they look like a pair of Xenons
I'm really impressed how two little LEDs on one fixture can generate so much lume.
Along with the HP5 LEDs in my parking/city-lights, it looks like I'm running 3 sets of xenon headlights. I would imagine the front end looks like a rally-car at night now.
About installation in general... Despite knowing better I kept trying to install the bulbs by feel instead of noting the exact orientation of the OEM bulbs when removing them. Don't do it. Look at where the connector is pointing when you unlock it. Remove the bulb and look at the mounting flanges while holding the bulb in the same rotational position. Compare it with the new bulb and match the orientation. Then put it in facing the same way and look through the fixture lens to make sure the flanges line up.
It will save you a lot of time and frustration.
Thanks again Joey for a great write-up.
Last edited by bikezilla; Dec 19, 2015 at 02:48 AM.
Just a note for the removal of the washer fluid reservoir. It's not too difficult. Three 10mm screws and you do not need to undo all the hoses/wires connected to it. You will need a short swivel and an extension. Might be easiest with a 1/4" set. I did it with a 3/8" set and the top screw, on the wheel well side. The others are on the same side, visible from directly underneath the car. I'll be a lot lighter if it's empty but if it's full, like mine was, it's still doable.
I went with an LED with a large heat sink/fan housing on the back (like the DD's) and had to remove the reservoir in order to get the passenger's side in without damaging anything. It looks to be sitting within a groove that's in the reservoir and only lightly touches the housing. Since I installed spacers at the same time, I just removed the entire liner. The driver's side is far, far easier.
Curioius, What year and model do you have?
I have a '13 coupe and while the reservoir was in the way, I was able to flex it back and work the bulb into place without removing the reservoir at all.
I only removed some pushpins and bolts from the under car covers and two pushpins from the wheel well shroud. I turned the wheel for better access and pulled the shrouds out of the way and worked the bulb into place from underneath the car.
2013 IPL. Theoretically I could have pulled on the reservoir more forcefully but I did not want to damage or scratch the LED shaft that gets pushed into the housing. The angle was severe enough that something would have broke. And the reservoir was on there pretty tight. If your bulb had a heat sink that was a bit lower profile than mine, might have been the difference.
I will say one uses a high power bulb with a heat sink, make sure the power wires come out the side of the heat sink and not off the back.