

Beginning Custom Headlights

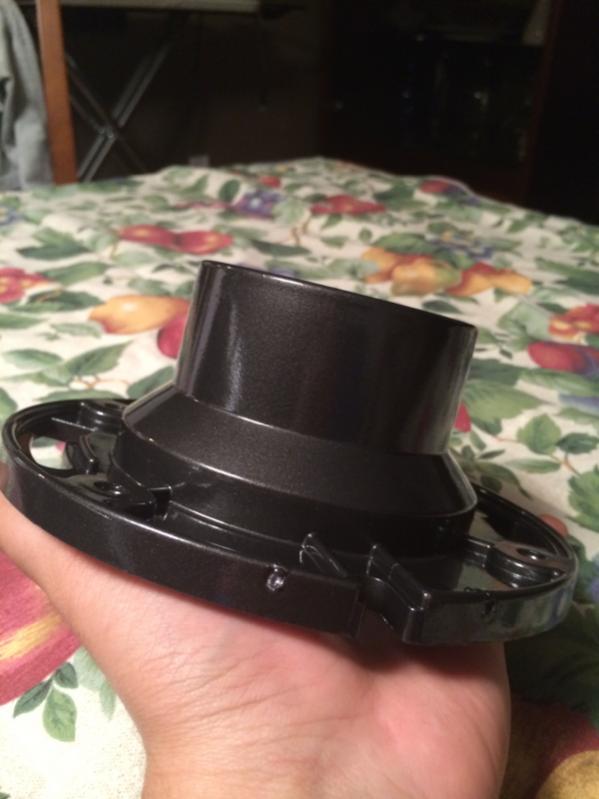
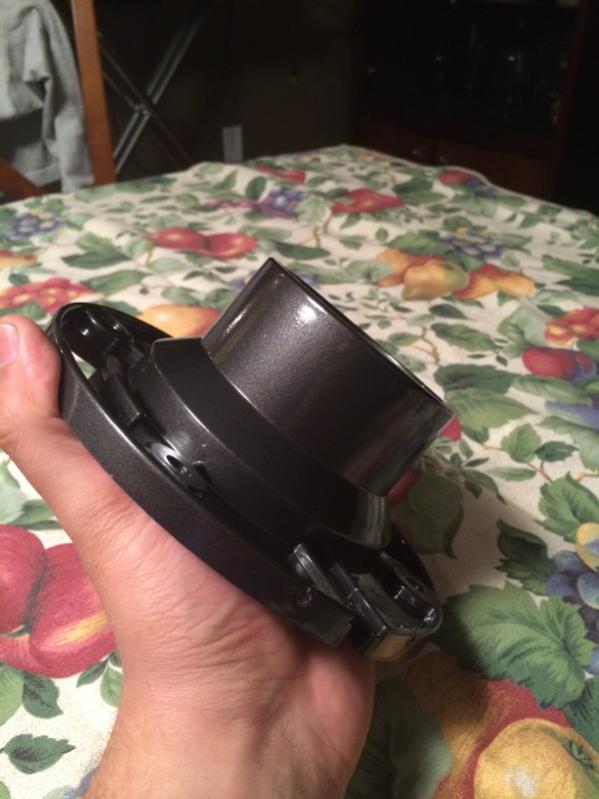
The lenses will be going on as well. I just planned on using the metal spacers that the lenses came with. Alex @ ONEighty said the standard spacer will give you a nice crisp cutoff. The trick is all in how you install them. He mentioned placing the projector housing, lens towards the ceiling, and pressing the lens down evenly onto the spacer, then tightening the locking ring. I'm hoping it works out. I didn't get the tuning lit with all the spacers so I'm just going with the metal rings.
That's my hope... I'll do a few test shots with the paint to see how the color is going to look before I start painting the housings.
The lenses will be going on as well. I just planned on using the metal spacers that the lenses came with. Alex @ ONEighty said the standard spacer will give you a nice crisp cutoff. The trick is all in how you install them. He mentioned placing the projector housing, lens towards the ceiling, and pressing the lens down evenly onto the spacer, then tightening the locking ring. I'm hoping it works out. I didn't get the tuning lit with all the spacers so I'm just going with the metal rings.
The lenses will be going on as well. I just planned on using the metal spacers that the lenses came with. Alex @ ONEighty said the standard spacer will give you a nice crisp cutoff. The trick is all in how you install them. He mentioned placing the projector housing, lens towards the ceiling, and pressing the lens down evenly onto the spacer, then tightening the locking ring. I'm hoping it works out. I didn't get the tuning lit with all the spacers so I'm just going with the metal rings.

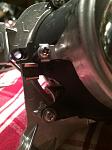
All was going well until one screw on the OE lens bracket just won't back out. Can't even use my hammer drill to back it out without stripping it.
Might have to use an extractor. If that doesn't work, maybe a grinder and I'll have to drill the threads out. What a HEADACHE!
Might have to use an extractor. If that doesn't work, maybe a grinder and I'll have to drill the threads out. What a HEADACHE!


Registered Member
Joined: Jan 2010
Posts: 160
Likes: 24
From: Baytown, Tx
All was going well until one screw on the OE lens bracket just won't back out. Can't even use my hammer drill to back it out without stripping it.
Might have to use an extractor. If that doesn't work, maybe a grinder and I'll have to drill the threads out. What a HEADACHE!
Attachment 103687
Might have to use an extractor. If that doesn't work, maybe a grinder and I'll have to drill the threads out. What a HEADACHE!
Attachment 103687
I had to buy a new dremel because I have no clue where mine went. Just opened the box and realized it is cordless. SCORE! LOL
Glad to hear this happened to someone else. I got one screw off and I just bend the shield off. Hopefully it won't snap when I try to slip it back over the new lens.
I had to buy a new dremel because I have no clue where mine went. Just opened the box and realized it is cordless. SCORE! LOL
I had to buy a new dremel because I have no clue where mine went. Just opened the box and realized it is cordless. SCORE! LOL
I have both lights apart. Waiting for the dremel to charge so I can grind those cutoffs down. Then I'll get the new lenses in and close the projectors back up. I'll start shooting paint this afternoon. That'll need about 24-48 to fully set. Looks like I'll be "working" from home Monday and Tuesday, HA.

I did a few retrofits on my old car...even made curved cutoff shields and painted them to match my wheels. It's a ton of work, but if it's done correctly, the results are astonishing. I used rx-330 afs projectors for my setup w/ tsx clear lenses.

Registered Member
Joined: Jan 2010
Posts: 160
Likes: 24
From: Baytown, Tx
Lenses are on - I've already threw 2 coats of paint on my housings - I'll be topping off with 1 more coat and then they will hang dry for at least 24 hours.
Attachment 103705
Attachment 103705

