When you click on links to various merchants on this site and make a purchase, this can result in this site earning a commission. Affiliate programs and affiliations include, but are not limited to, the eBay Partner Network.
as always looks amazing...normally the oil pan and the trans pan have a better finish on the car but on your's they look kind of plain in comparison...any thoughts on refinishing the outsides?
as always looks amazing...normally the oil pan and the trans pan have a better finish on the car but on your's they look kind of plain in comparison...any thoughts on refinishing the outsides?
Well, painting a pan is tough while it's still attached. I could do it upon a fluid change when the time comes. The bolts I wouldn't want to paint over together, rather paint the pan(s) off of the car. I agree that some other color or effect would be complimentary to other painted parts. Kind of want to convert it to Malbec black.
yeah, definitly wait till you have them off again and don't paint the bolts, Malbec would be gorgeous....ironically, the factory paint on the underside of my tranny/oil pas are the prettiest parts of my undercarriage, but with the work you've done it s quite the opposite...keep up the great work looking forward to the updates!
I wanted to use a grade 5 titanium plate to make diff bushing washers even after I got new oem ones and painted the original bolts, l wanted to try this. The originals are 5mm thick or .196". This plate is 5.4mm or .212" just slightly thicker. It was a piece about 4-3/4 x 9-1/8" so I had to cut them out.
Marked and cut out 2 squares. Used a hacksaw and an angle grinder. This is tough material to saw, it compares to something 2 or three times as thick in steel to make progress cutting through.
Then traced the original onto the squares.
At first used a 15/32" cobalt bit and drilled the inside, I found this size fit onto an old M12 bolt I cut off to use for a mandrel to hold them on to shape them round. The originals can actually fit a 1/2" bolt. I need to enlarge them a 64th later.
Bolted them up like so to cut the corners.
Ground most of the way from both sides and just snapped them off.
My drill press chuck fits into the same morse taper as my wood lathe, so mounted it in there and used the carbide burr again to get it round.
Then a cylinder burr.
Then a spare 4 sided carbide planer tooth in a vise grip smoothed it pretty nice. After going too fast I found that the shavings can ignite and had melted my plastic tray under to catch the shavings. Kind of like how steel wool burns. Put it out quickly with water though.
Tried to get a chamfered edge but it's not precision, then shined with the buffing wheel.
They are not dead flat, but I doubt the originals were either and they are more concentric than the originals, and only about a 10th of a mm out of round, where the originals were similar but the inside hole was 1 mm off center. I sanded them against the cast iron drill press table to get them a little flatter.
Got M12 bolts in TI, but the heads are so small (14mm socket)I ordered others that have an identical 17 mm socket and flange diameter. Painted original in background.
I returned these and got the 17mm head ones but the head was only 6mm height, very thin so I returned them as well, may get a 16mm head with a dual drive 8mm allen off e-bay or could just use the originals a while.
Last edited by Justin Bailey; 05-19-2019 at 10:51 PM.
Cleaned it and scraped any loose material mainly at the welds all around, chiseled off all the spatter, carbide burr smoothed some of the worst weld blob and spatter. Maroon scotch bright scuffed all over.
These ends have been attacked a lot by road grit and spray. Got most of the rust all over and phosphoric etched it after cleaning again.
Used a preval sprayer to apply kbs rust seal satin black, dried for a few days then sanded with 220, those blue 320 grit plastic wire wheels, and some maroon scotch bright. The tabs I have it hanging by could have been removed but I skipped it. They were for an earlier version that used 2 dampeners mounted there, possibly due to any NVH involving a HICAS or 4WAS system which mine doesn't have, looked up the dampener parts and they had a steep price at over $150 each.
Did a 2k black epoxy primer coat then then the 2k malbec black. Kind of useless because it is hardly noticeable without strong lighting. Oh well, but then also a good 2k gloss clear over that has it shiny. Lets see what winter driving does to this. Still have to press the diff bushing back in after it's cured a while.
It's on there now. No regrets really, just kinda like who cares, you can't really see it anyway. If those stud threads give me trouble because they have too much paint on them I can run a die down them with some cutting oil, I didn't think to mask them, probably should have.
Did these four suspension arm or links the same, did not clear coat them though. I was thinking with the imperfections I may give the sub frame another coat after some wet 2000 grit sanding then do these but idk.
Hand brushed silver rust seal on the bushing flanges while I was at it. They had begun to get rusty and had cleaned it all off along with everything, so that will inhibit it for a while.
Masked off this diff vent elbow really well with a plastic washer and tape. Turned out nice there. I didn't know how to remove it without breaking it, so that went ok.
Did the 2 exhaust hangers that attach to the subframe also.
Here is or rather was the worst rusted end area. You can see through the corner opening that I have done nothing to the inside really. Hmm, maybe a good idea is to spray fluid film in there afterwards for protection, I might just do that then.
I used 1 can of epoxy primer (13.5 oz.), 3 cans of color (6.2 oz. ea.) and one clear (11.8 oz.). Odd amounts found in these 3 cans that are exactly the same size. The color might require more catalyst for the volume of paint provided, so the amount per can is limited that way. Good stuff though, it dried tack free somewhere around 3 hrs. You can apply clear before 8 hrs but I am calling it done. There are specks that set on it, but I can polish it smooth, it says not to wax for "several" weeks because it can get hazy. Will have to wait a while then.
In contrast strangely it only took about 4 oz of the rust seal to provide a thick coat that I used to help blend the bare spots into the old paint. That stuff is so thick it is barely even spray able without thinning which I did to about 10%.
Last edited by Justin Bailey; 05-26-2019 at 10:13 PM.
To make an engine support, I removed the upper intake (throttles also but left them attached to it) and set it aside then began with some tape to make a pattern of the surface of the lower intake.
Used a 3/8" thick wood piece to make a template, made off of the tape, had to fiddle with making the holes all line up well to the aluminum intake with no binding or interference. This will be used as a router bearing guide for some 1/2" thick aluminum.
Jigsawed the basic shape, then used some hole saws to cut the curved areas in the aluminum plate.
Some double side tape on the wood piece and flush cut routed the thing more precise. This makes a mess of metal everywhere. I used goggles and hearing protection. This cubicle of sheets contained most of it. I set the router on the floor upside down and used it like a mini router table.
Looking better, I then drilled the bolt holes.
I thought of something smaller to use to hang the engine from so decided to try a strut tower structure. I removed the struts and make another pattern from tape then wood then aluminum for those.
I traced the actual aluminum piece from the strut assembly after I drill the holes in these. This wood template had to be hollow in the middle to clear the body protruding area in the center of the tower.
Made another version of the wood piece in an uhmw hdpe plastic material. The thin sections won't split or crack like the wood may have. It will be gentler to the paint plus I can leave the aluminum solid in the center.
I had some 3/4" acme thread screws I got at a flee market a long time ago, seemed strong enough plus I can adjust where the lift point is with it. Two lifting eye bolts are threaded into the aluminum with a nut on the back. I located them over the second and fourth port holes from the front, If it too front heavy I can resolve it with more strap tension on the front, moving the center lift point or remove and thread a new hole over the front port.
Here is the result. I got iron 1-1/4" structural tube supports and cut up a 48" pipe into 6, 6, & 32" pieces then stainless foil tape to make it a tighter fit and removed the rivets in the angle joint parts, inserted a spacer washer and then a regular 1/2" bolt so I could tighten the swivel part to immobilize it. The 1" width straps are maybe 400 lb rated each, but ordered some 1-1/2" straps 1200 each rated I may use later if I'm under the car. The subframe and mounts are still there right now.
The triangle feet are threaded in the corners and I used bolts with nylon washers up from the bottom down in the wheel well. Iron floor flange feet are bolted into threaded holes in the aluminum. I am confident it will support the entire engine even with all accessories and even the sub frame, but I will try to unfasten the mounts first so I can drop the frame away without shocking or adding the extra weight to the structure.
Here you can see some of the details better. The lifting eyes are good to 2500 lb each and the center clevis is 2000 rated. I wish I could find some kind of titanium valve cover bolts. There may be some motorcycle equivalents around I may find later.
Both good places. I bought a few hundos worth of Ti bolts, washers, nuts from TI64 to use on various places under my car for suspension and anything I saw with rust.
A mouse chewed the firewall insulation and I found it stuffed down between the injectors, that is a tough peice to change out, I will have to figure out how to do that. Probably removing a lot of hoses to slip it down, it also chewed some of the wire loom plastic. I killed the mouse, it had done this in sometime in the winter of '17 into '18. Now I am using bounce dryer sheets to keep them away I read they don't like them.
Ah so after a lot of brainstorming about what do do with my compressor leak issue, I decide to just open the system and take it off. Also got the steering pump and alternator removed along with the front bumper and radiator and the large plastic fan and radiator housing piece and headlights. Then planed a large oak beam or plank to fit a skateboard on the top and decided to use that to roll the engine out like a homemade gantry.
Before removing the engine I made a flex plate tooth locker to get the crank pulley bolt loosened. It's not the same as the Kent-Moore tool in which the one I came up with only works while the trans is removed, but maybe I can modify it later to use to torque the flex plate-to-torque converter bolts back in. It took about a 4 ft pipe worth of leverage slipped over the 1/2" drive breaker bar to do it but went fine. I read the torque is 33 lb ft, then you do a 90 degree angle to finally tighten it back. Used some extra garage door steel t rail and some 1/2 aluminum, jigsawed the basic shape after tracing the teeth onto the piece, then hand filed a bit so it would engage the teeth good enough.
After I got some 1-1/2" heavier straps, I used the plank and a skateboard stacked with more wood to strengthen the deck and got some tension, but first had to wire up the steering rack and carefully lower the sub frame away just to remove the front differential so the engine would hang straight. I had to prop up some of the offset weight temporarily under the oil pan near the drain plug side while removing the front diff.
I kind of used my hands grabbing the wheels to turn them and move it, after a few inches I would shimmy the wheels to center them over the plank then go a little further.
There was actually rusty standing water that ran out from loosening the subframe nuts, I may make a filed groove for water to escape at one place on each of the frame mounting area tubes where the nut touches it on that tubular section, we'll see. This was the worst rusted one at the front driver side, there are also 2 bolts under the radiator at the very front of it.
Mice actually chewed the passenger side also on the firewall insulators, I had the dealer look these up and they want $290 a piece but found an '09 set on ebay in good condition that are the same thing so I bought them for $55 for both L+R sides, and will try those to replace them hopefully they are nice enough.
There was a little but of rust on the steering rack mounting points, no problem, I'll touch them up with the rust seal galvanized color there after removing the rust.
Used the roller stands (rollers removed), a 6x6 and a short thick plank standing sideways to support the other end of the plank. Now it will be a lot easier to paint the engine.
Last edited by Justin Bailey; 11-16-2019 at 11:00 PM.
I managed to get it set up on 3 logs ratchet strapped together with some plywood and also 2 little straps down to some eye bolts screwed into the logs to help prevent tipping. It is pretty stable without them though. I decided I would polish the timing cover on the front.
I had sprayed fluid film over the flex plate over winter so it wouldn't rust them covered that part with a plastic bag that's why that is there.
After invesigating I saw a lot of junk in the valley area so I removed the lower intake manifold so I can clean it and will paint that part of the block there too.
After just a bit of dremel wire wheeling and a vacuuming it is looking a lot better in there. I got some 3" wide powdercoating masking tape to cover the holes. I will get it washed and rinsed and use a shop vac to evacuate the water.
Last edited by Justin Bailey; 03-01-2020 at 11:07 AM.
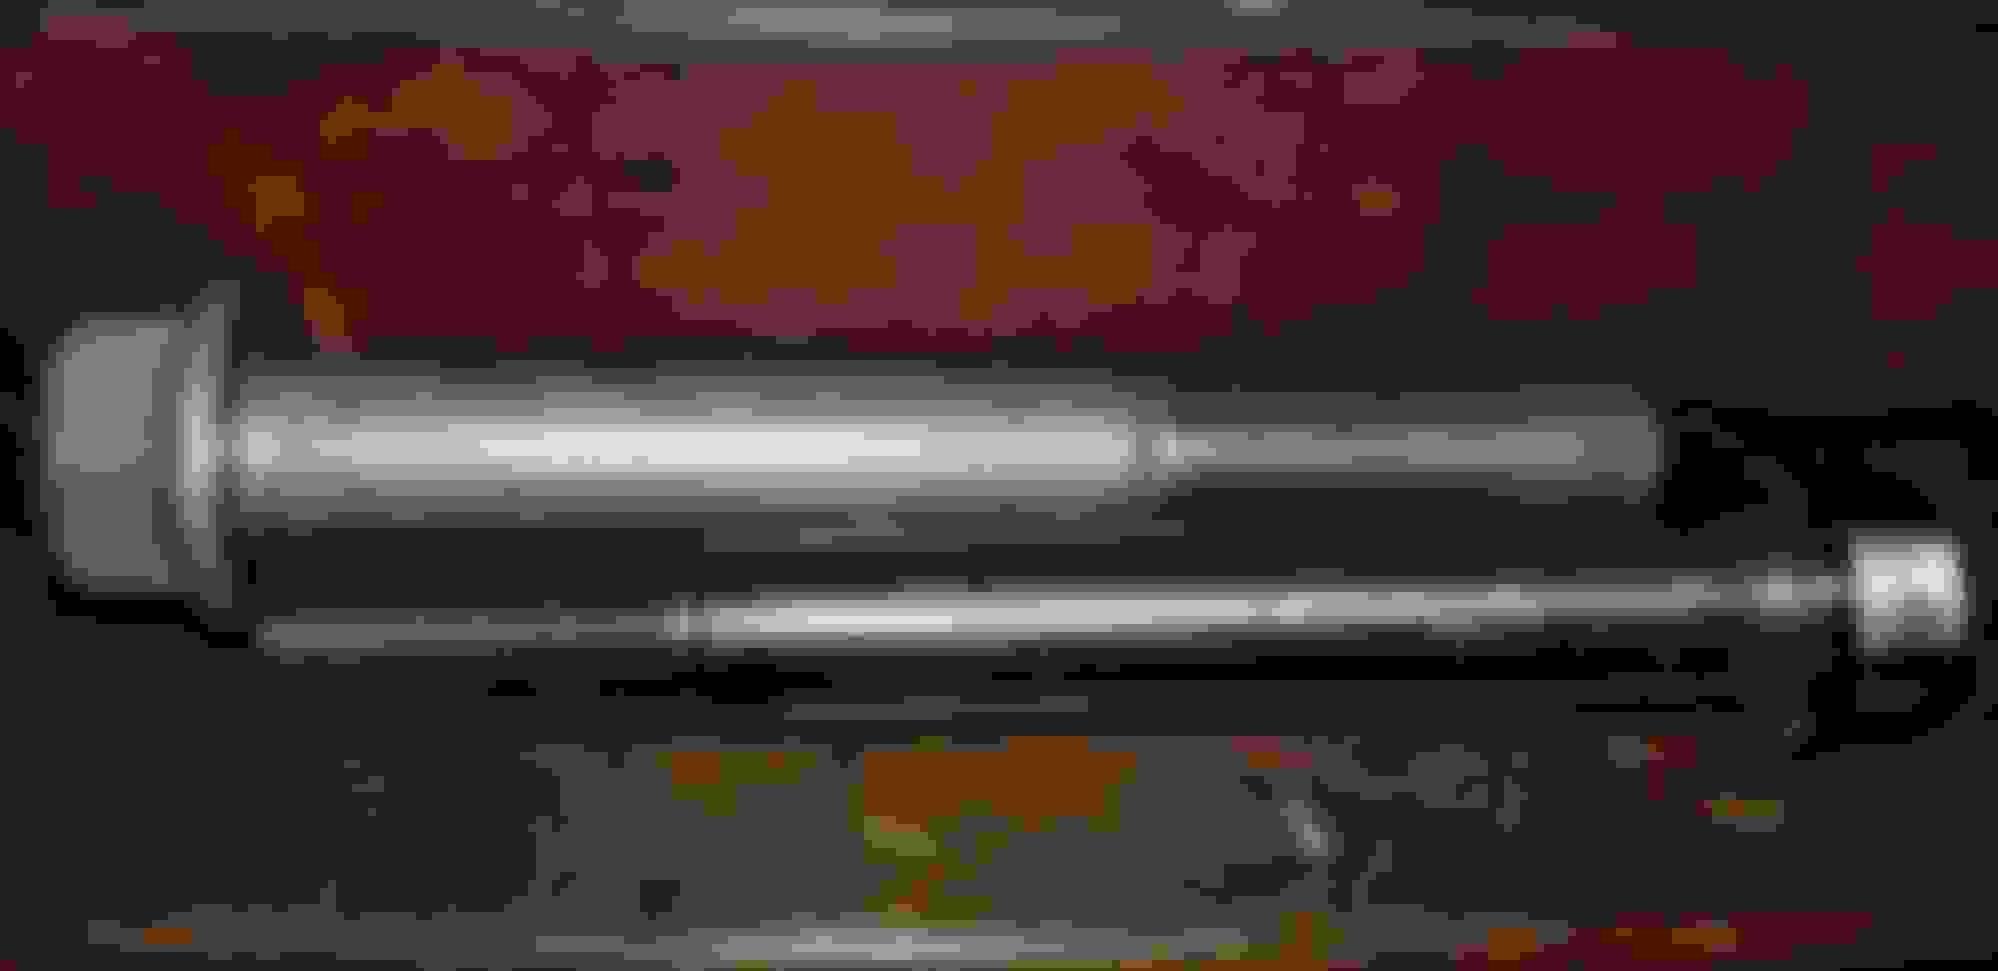
I worked with the e-bay vendor that I got the M16 nuts from for the front ball joints, to custom produce some M14 nuts for the sub frames. It took a little over a month to get them this week.
The originals have a 28mm flange, use a 19mm socket, and are about 13mm tall, the new ones will cover the thread completely when installed. They are substantial enough for this application I feel.
I will probably coat the thread with some rust seal very thinly then use some of that red thread locker that is still removable when I get to intstalling.


 05-09-2019, 09:36 PM


 If those stud threads give me trouble because they have too much paint on them I can run a die down them with some cutting oil, I didn't think to mask them, probably should have.