
Vinyl Wrap on the Rear Bumper

Thread Starter


Joined: Nov 2010
Posts: 19,848
Likes: 5,143
From: Rochester, NY
Not that important, because like I said all along, the differences are in details that not readily obvious. But I'll post some up soon enough.
No. That's it for vinyl wrap. With the white car, I like the chrome window trim. And doing up the entire roof isn't something I'm interested in at this time; (likely never, but never say never.)
My next small visual mod is to have my front grille painted in gloss black on the center slats, to look like the OEM Midnight Grille.
After that, a Cusco FSTB end-of-year, and HFC's next spring.
Slow, scheduled modding... because Bank Note.
My next small visual mod is to have my front grille painted in gloss black on the center slats, to look like the OEM Midnight Grille.
After that, a Cusco FSTB end-of-year, and HFC's next spring.
Slow, scheduled modding... because Bank Note.
Thread Starter
Joined: Nov 2010
Posts: 19,848
Likes: 5,143
From: Rochester, NY
Studying the thing tonight, and wishing these were the cut-lines I had the first time. However, I'm very away of the dagger-sized gap on the crease of the bumper as it wraps around the corners and gently disappears. The new lines are straight and consistent one side to the other... but... but... but...
 Still isn't where I want it.
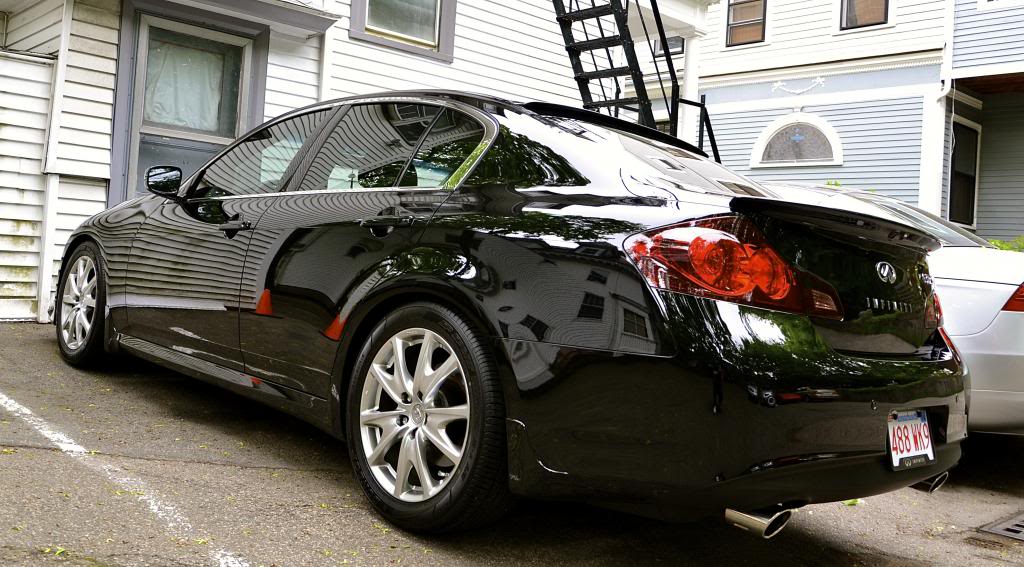
Starting to feel a little obsessed and annoyed. Mixed in with a genuine like for the mod, it can get really weird trying to assess this thing. One thing I know for sure is that at this angle, I love the way these tips look against the matte black.
Anyway, pic:

Still isn't where I want it.Starting to feel a little obsessed and annoyed. Mixed in with a genuine like for the mod, it can get really weird trying to assess this thing. One thing I know for sure is that at this angle, I love the way these tips look against the matte black.
Anyway, pic:
Thread Starter
Joined: Nov 2010
Posts: 19,848
Likes: 5,143
From: Rochester, NY
Thanks for the encouragement. That's nice to hear.
Here's what I'm thinking: it's good enough to enjoy and live with, and next year have it redone in a single sheet, exactly 100% to where I want it. Particularly now that I've got confidence in this new shop.
Here's what I'm thinking: it's good enough to enjoy and live with, and next year have it redone in a single sheet, exactly 100% to where I want it. Particularly now that I've got confidence in this new shop.


 [/IMG]

Thread Starter
Joined: Nov 2010
Posts: 19,848
Likes: 5,143
From: Rochester, NY
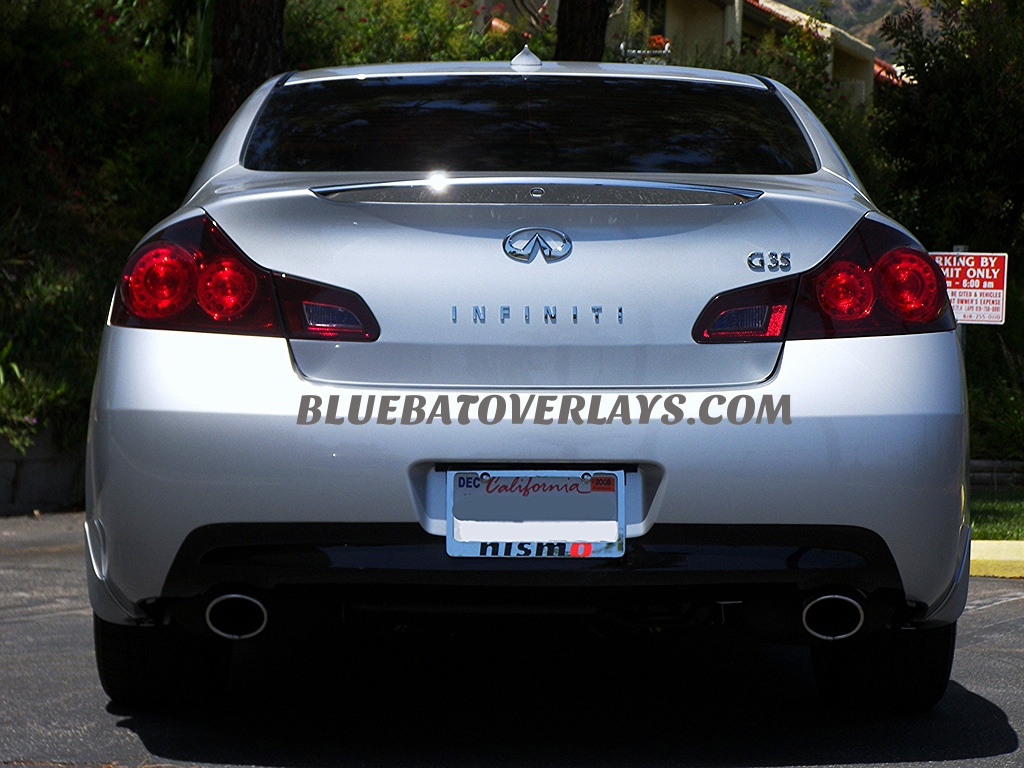
And I am happy. Every time I look at the car, where I can see the rear end with those exhaust tips, I grin.

Old look vs. new look, right here.

Registered User
Joined: May 2015
Posts: 483
Likes: 74
From: Columbia S.C.
The guy at the Tint Shop did a great job cleaning up the cut lines on the vinyl. He trimmed the lines back about 1/8" so that it's perfectly straight, and all without scoring the paint, because Pro. And he bobbed the corners with a perfect, straight curve. It looks very clean, and to the common eye it looks like something OEM, which was my goal.
So the wrap is a wrap. (sorry) And it's a keeper.
Moving on.
So the wrap is a wrap. (sorry) And it's a keeper.
Moving on.
Question, did either shop take the bumper off to apply/trim the vinyl or was it applied as is with the bumper still on? Thanks....
Thread Starter
Joined: Nov 2010
Posts: 19,848
Likes: 5,143
From: Rochester, NY
Bumper on. However, there are two lessons learned here:
1) Don't be concerned about trying to do this as one huge piece of vinyl. Go ahead and do it in two sections. It will look fine.
2) Unbolt the muffler hangers and lower the cans for better access. The wrap did not mold well into the cut-outs because of clearance (and apparent lack of skill by the first shop, dammit.) Fortunately, the only way to see that is to get down low. That said, perfection is the enemy of progress, so we learn how to compromise.
And the exhaust tips were good enough for 3 years, gone this past Spring with the Fast Intentions cat-back, which IMO look positively awesome hanging beneath the matte black vinyl.
Registered User
Joined: May 2015
Posts: 483
Likes: 74
From: Columbia S.C.
Bumper on. However, there are two lessons learned here:
1) Don't be concerned about trying to do this as one huge piece of vinyl. Go ahead and do it in two sections. It will look fine.
2) Unbolt the muffler hangers and lower the cans for better access. The wrap did not mold well into the cut-outs because of clearance (and apparent lack of skill by the first shop, dammit.) Fortunately, the only way to see that is to get down low. That said, perfection is the enemy of progress, so we learn how to compromise.
And the exhaust tips were good enough for 3 years, gone this past Spring with the Fast Intentions cat-back, which IMO look positively awesome hanging beneath the matte black vinyl.
The FI from the back does look great with the vinyl work. Really makes the mufflers and tips pop. Nice look.
Just a snap of my office at work and the array of vinyl i have to work with. There's a whole other room with racks filled with vinyl along the walls as well...


 . Email if interested.
Thread
Thread Starter
Forum
Replies
Last Post
Topher9425
Private Classifieds
31
Dec 1, 2015 03:00 PM