When you click on links to various merchants on this site and make a purchase, this can result in this site earning a commission. Affiliate programs and affiliations include, but are not limited to, the eBay Partner Network.
I decided to remove my dash and have it upholstered with marine vinyl because it was cracking. I had some directions, but not all the descriptions had photos. I tried to supplement those steps with photos of my own to aid others in removal because some of the instructions in the drawings require many smaller steps not explained or pictured.
The descriptions in the drawing photos are located below the respective drawing. Remember this because sometimes the description is on the following drawing screenshot and may require scrolling down. Likewise any of my photos have the description below them, too. I strongly recommend you review and read each step in this post, completely, before undertaking this project.
Removal took me 3.5hrs.
Tools I used: various pry tools, 10mm, 12mm, 19mm, Torx 30 Security (you cannot complete removal without this)
Overview doesnt include driver's wheel, which will need to be removed too. That removal is covered in this post.
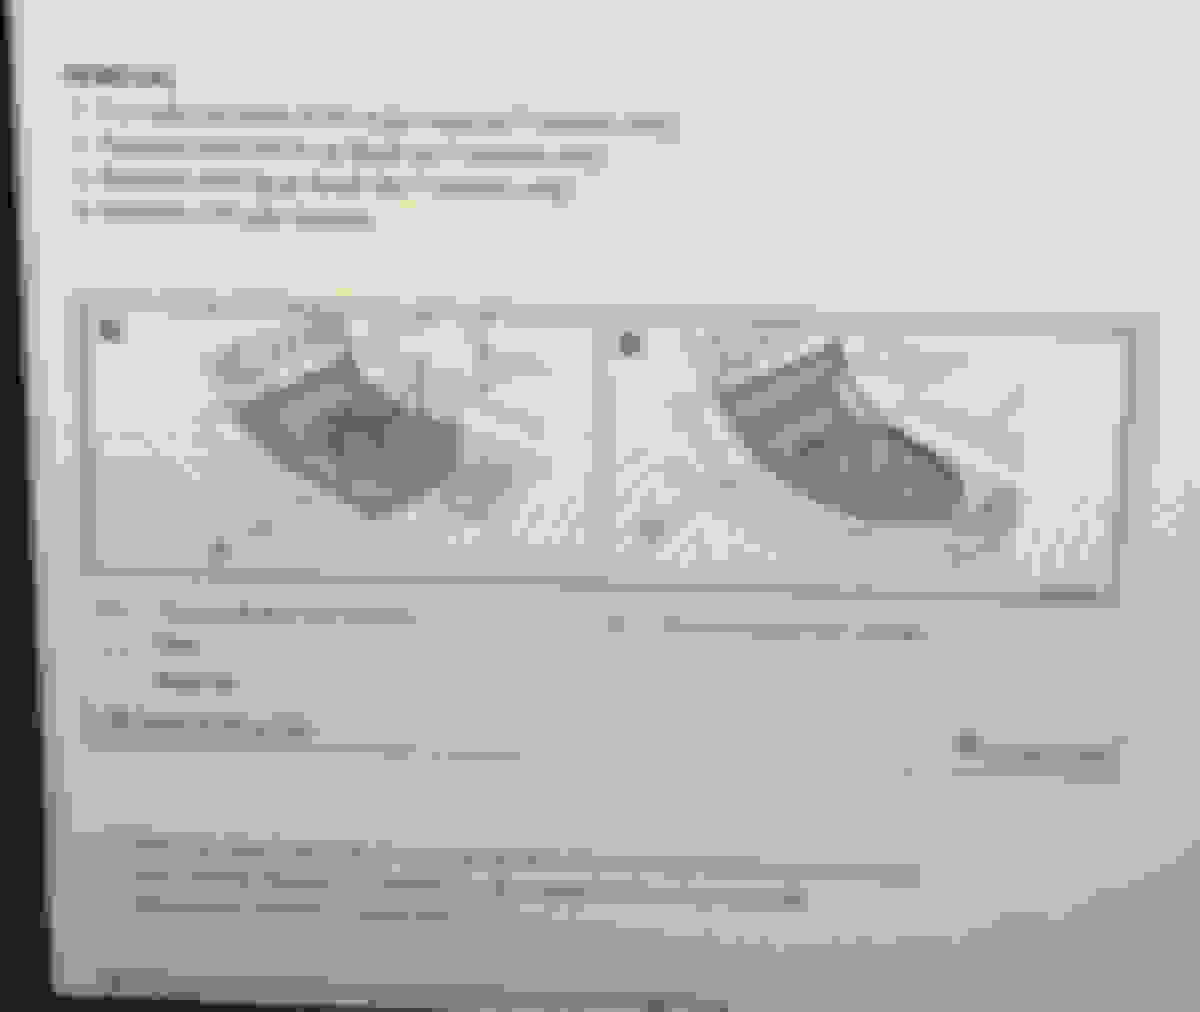
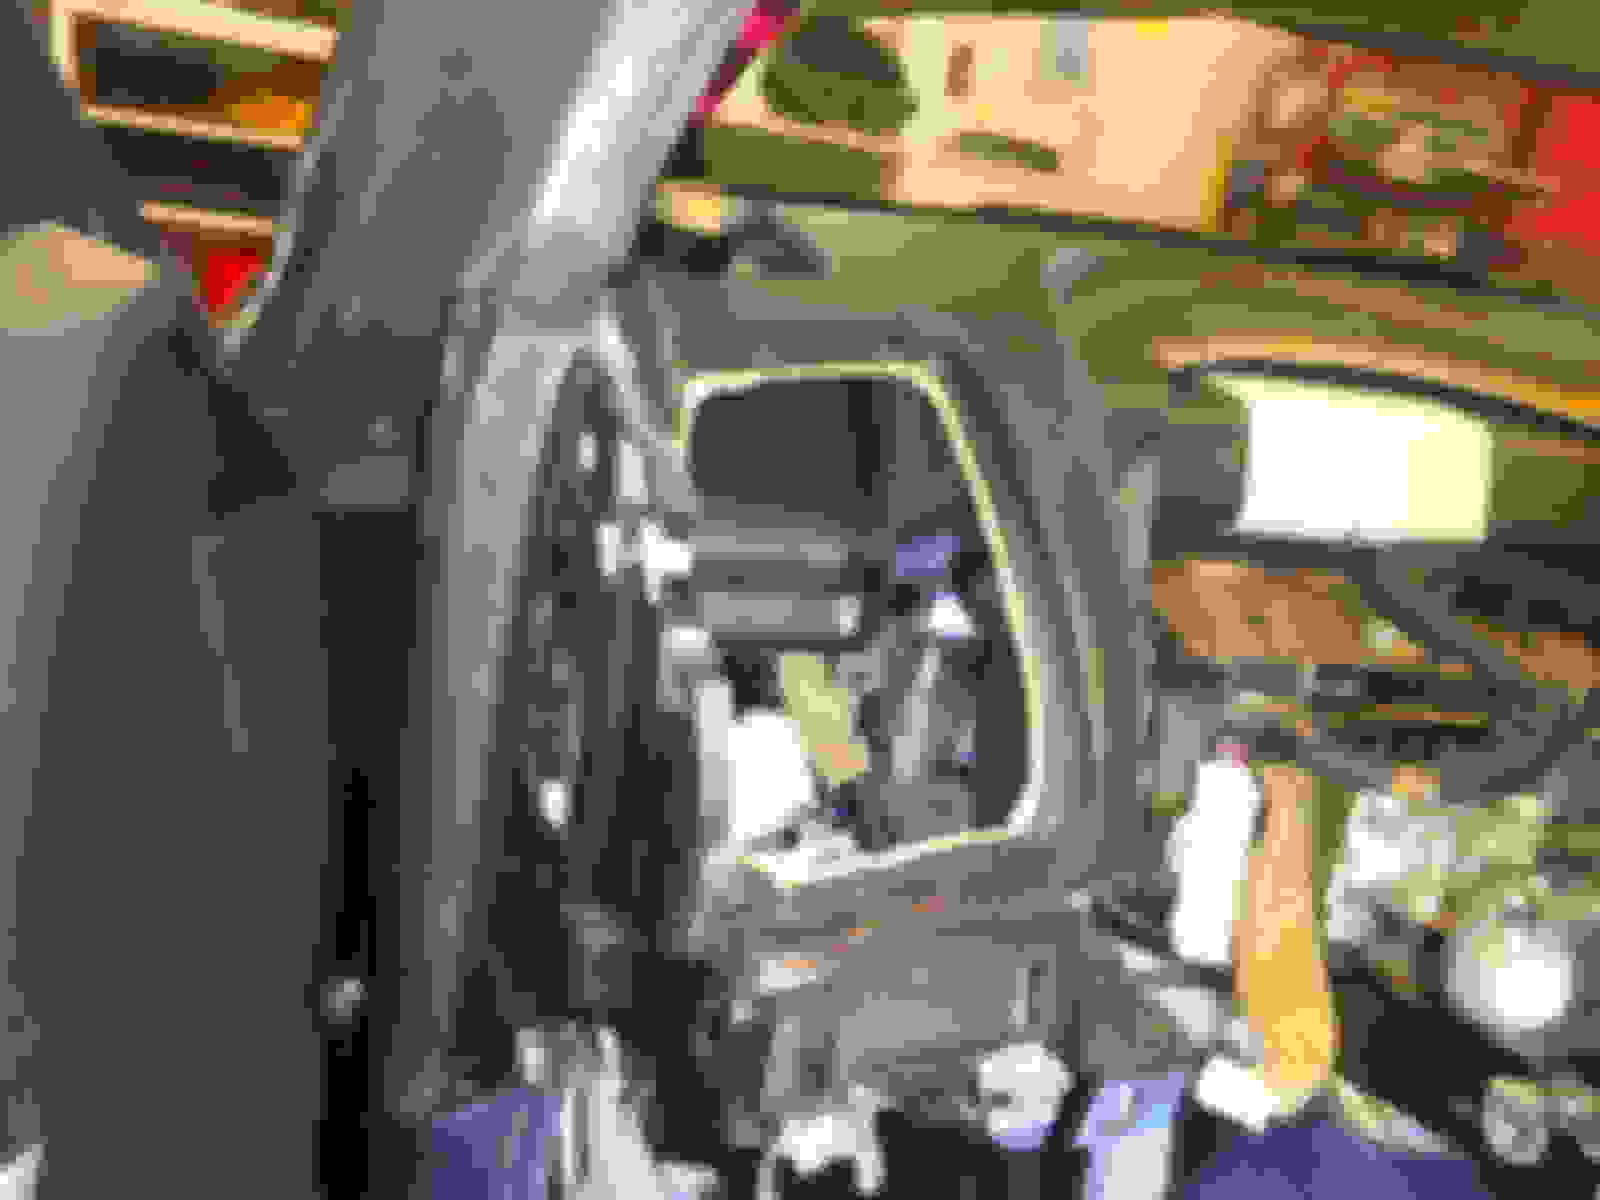
view after removal of radio face and cluster lid
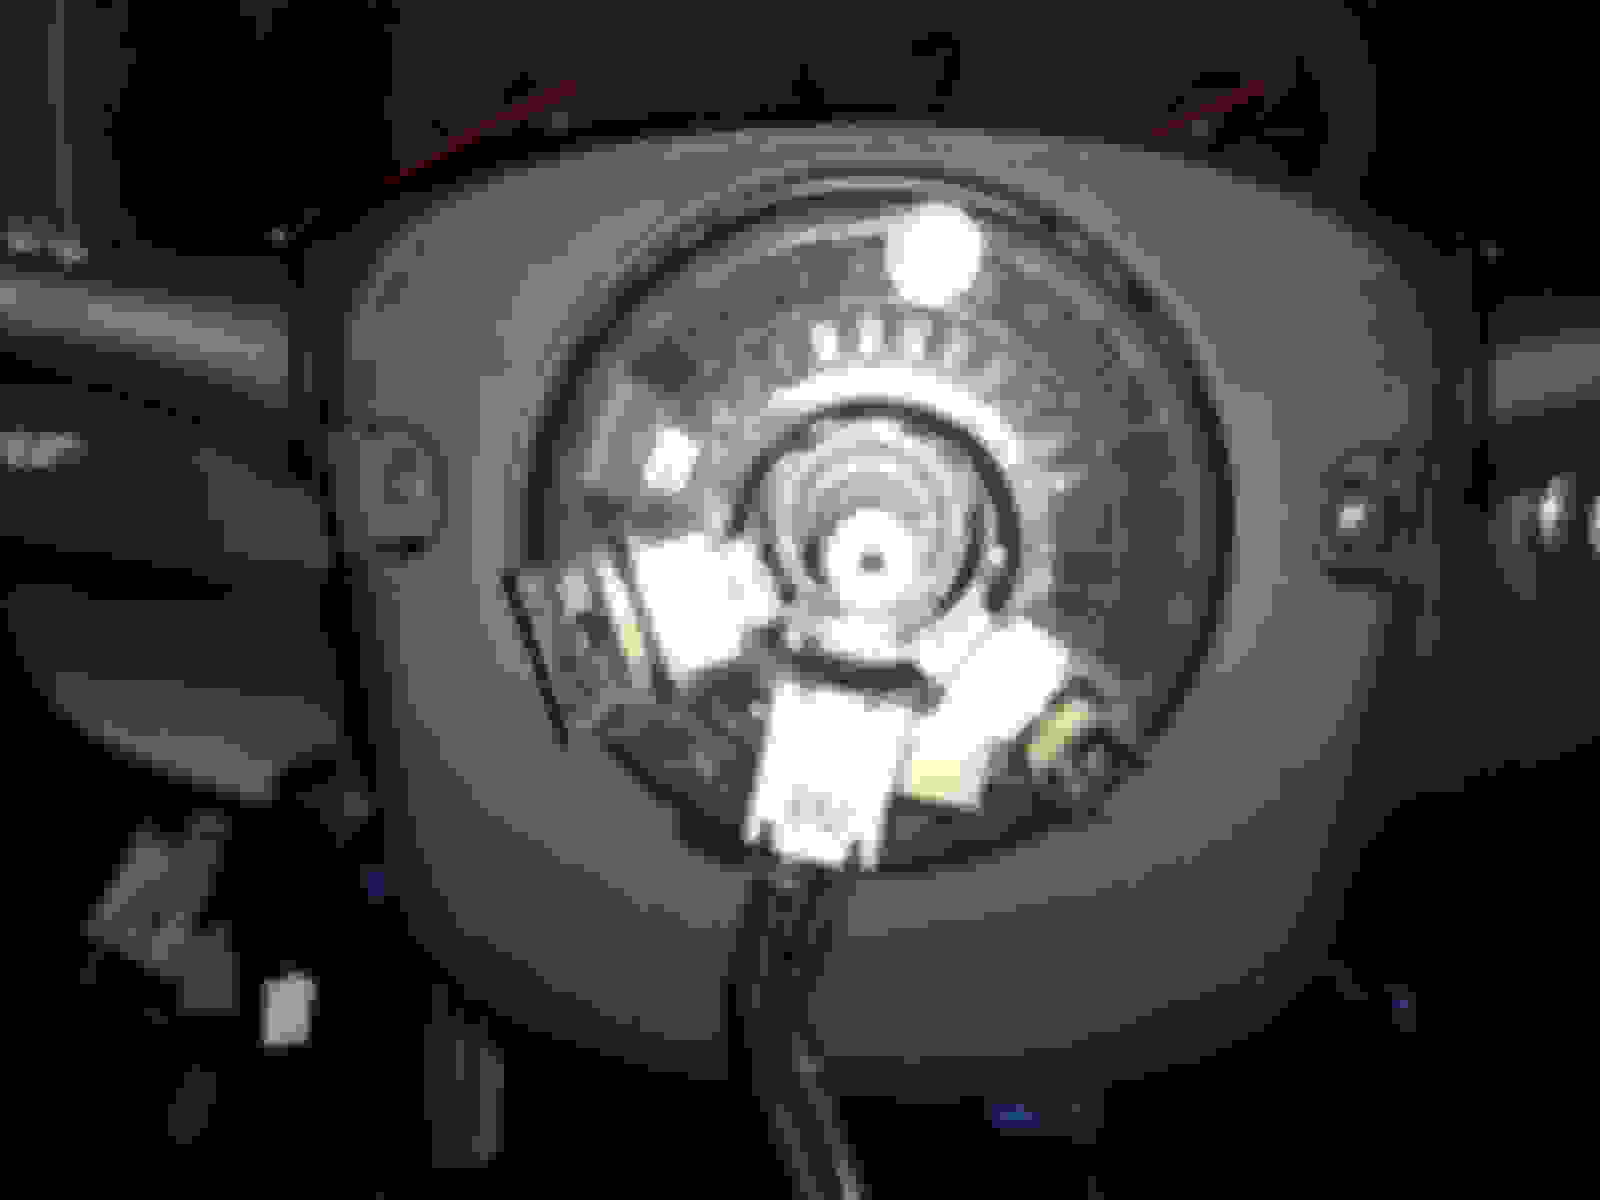
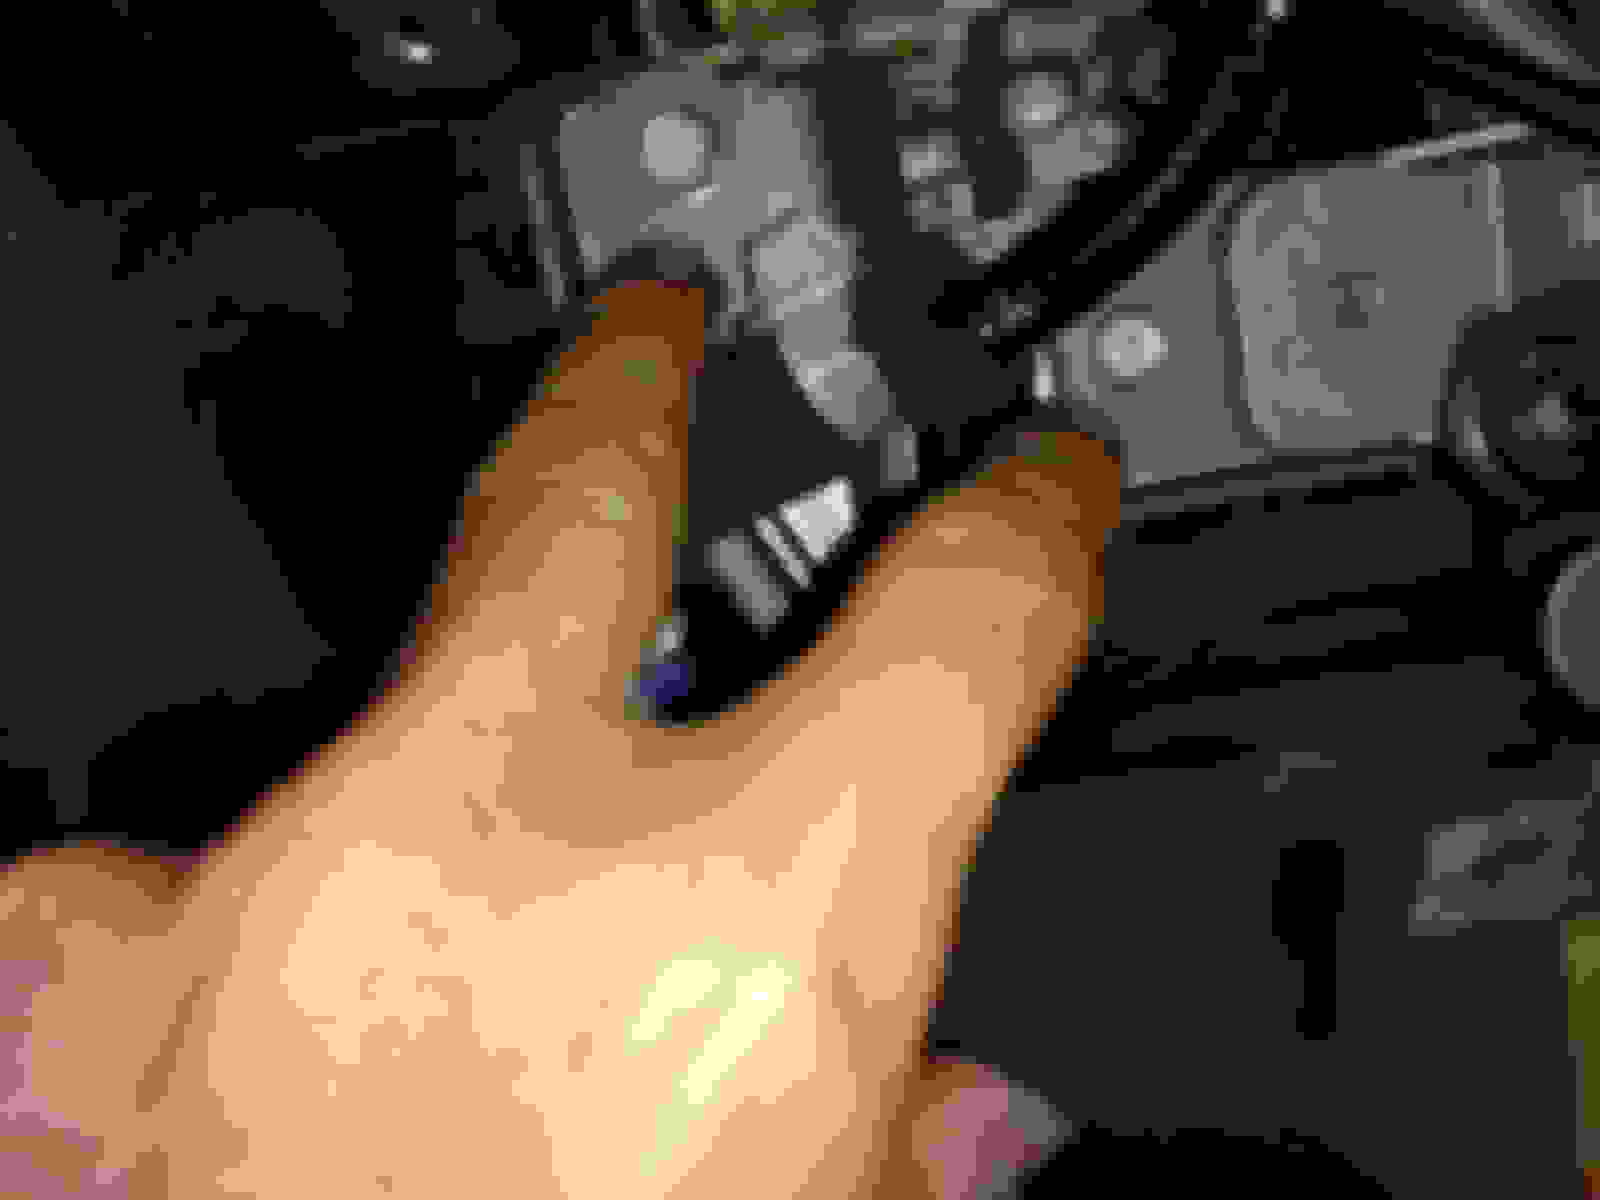
Torx 30 security bits covered by plastic covers. these remove the airbag which then slides straight out. after removal of air bag remove 19MM nut. wheel slides straight off. then remove phillips heads on either side of steering column. they are covered with plastic caps (not shown)
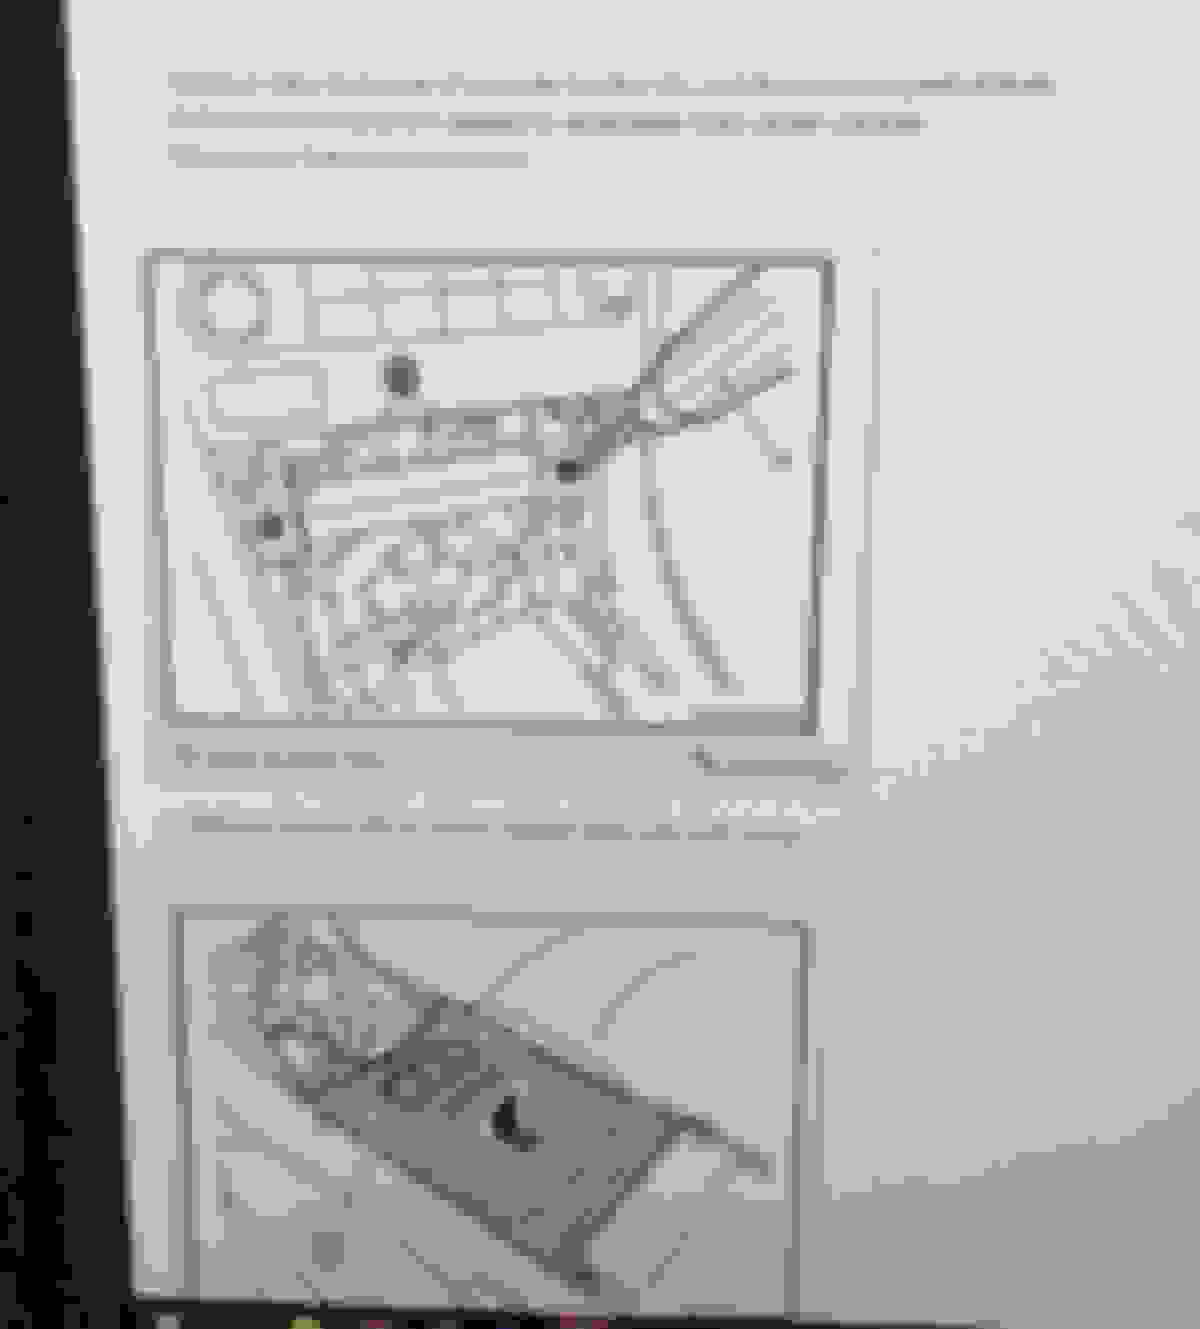
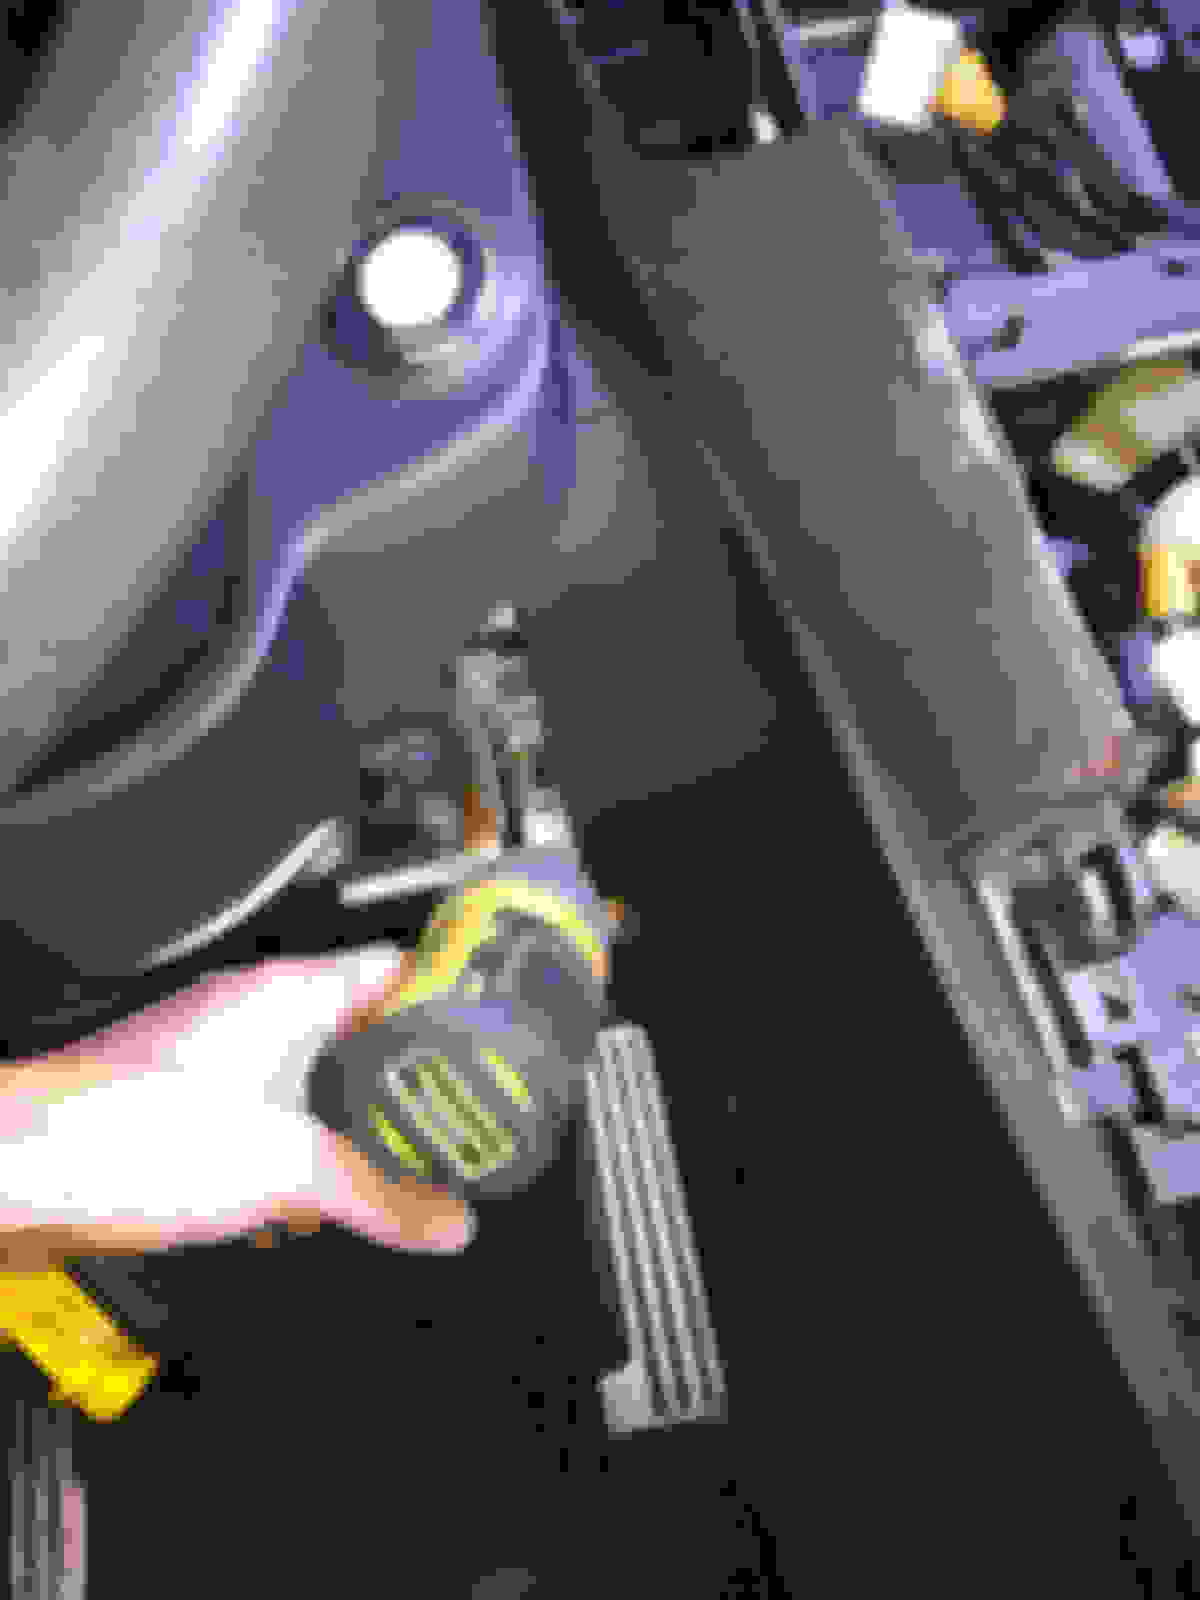
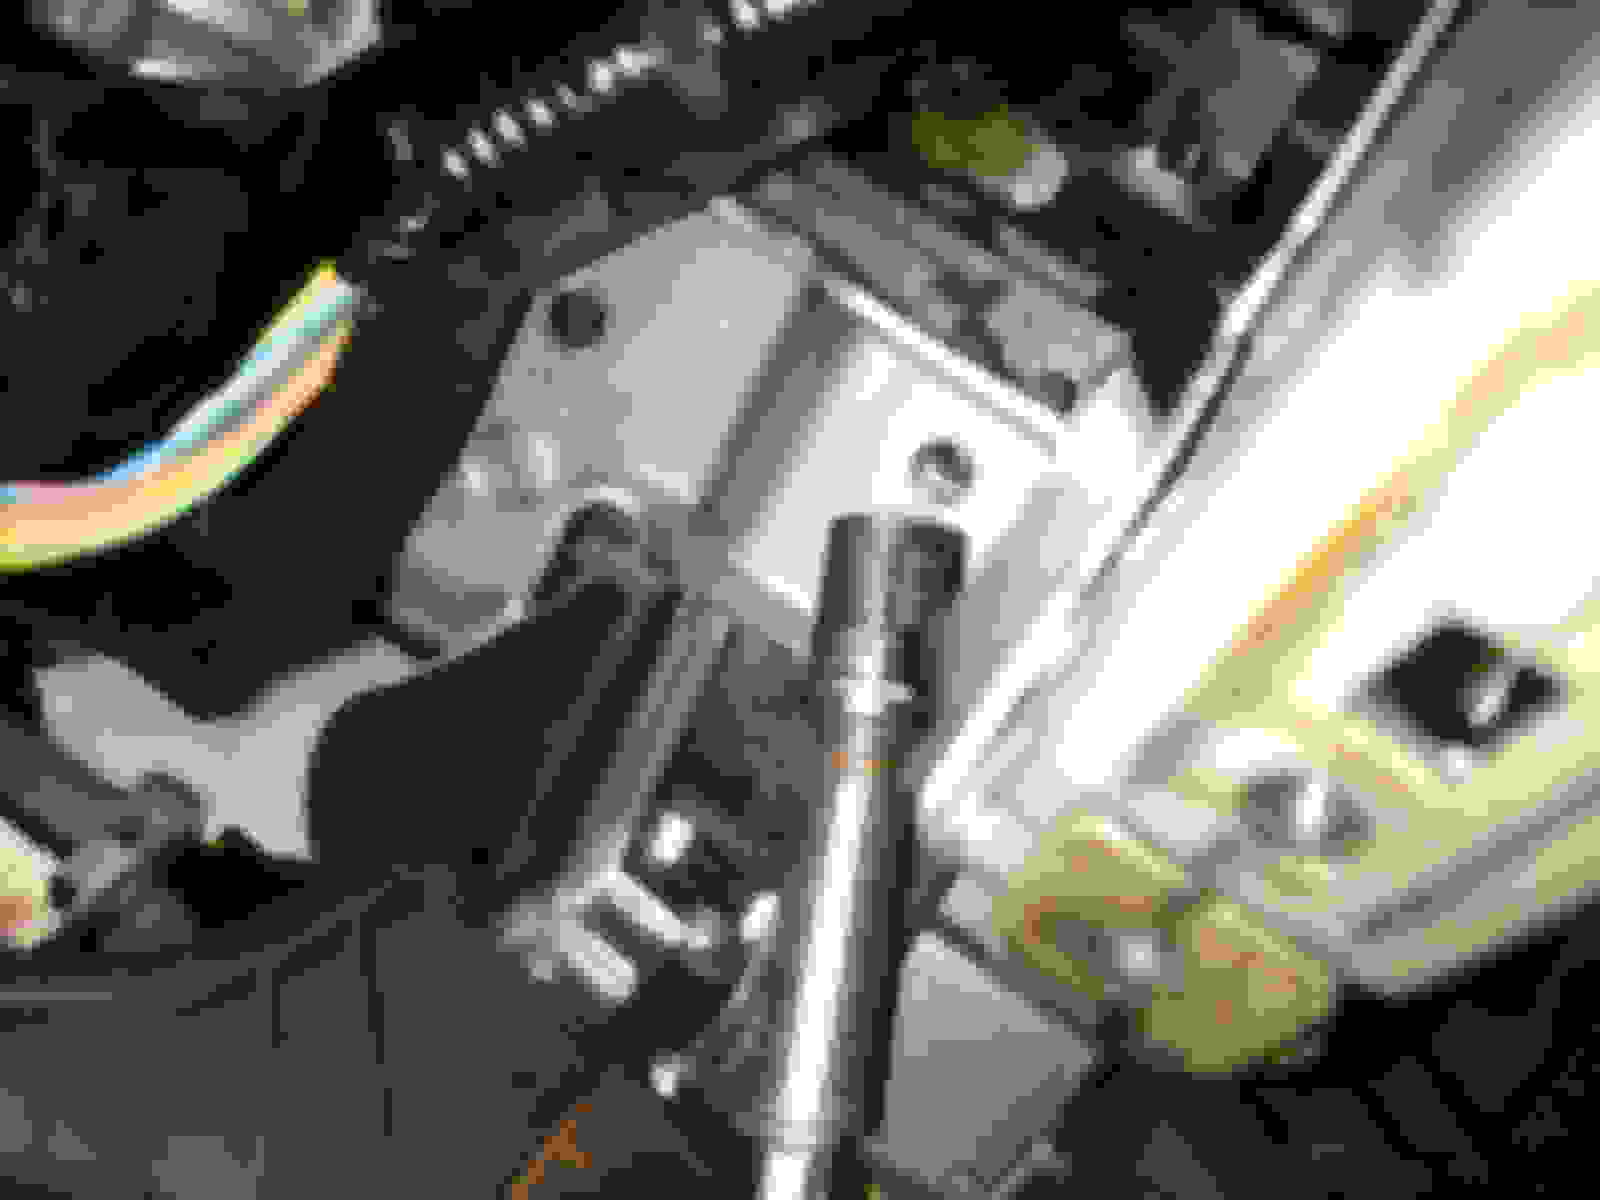
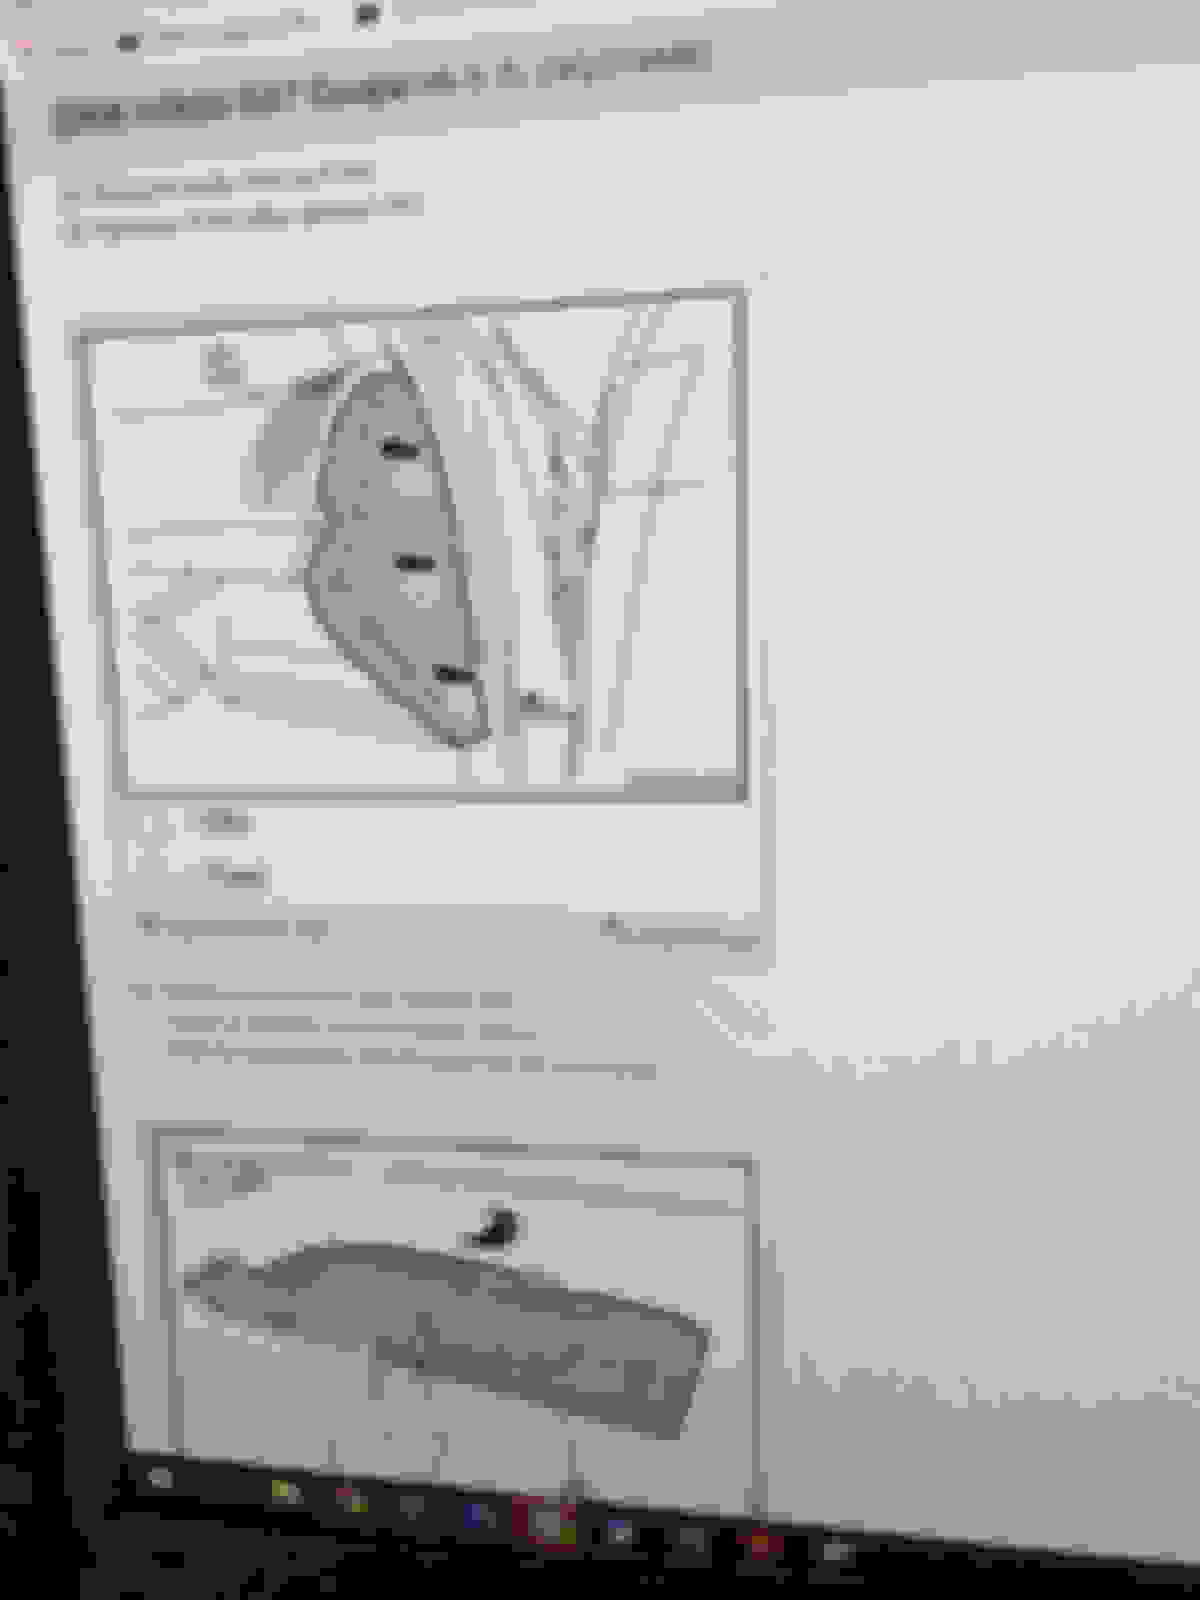
step 35 (as described in the next drawing photo) was difficult to remove the entire harness cover as instructed. the entire cover is supposed to be removed in order to gain access the four bolts that hold down the gauge cluster. However, after removing just the lid/cover of the harness cover and not the entire harness cover, i was able to access the 4 bolts (hopefully that makes sense). see photos directly below to aid with my poor explanation.
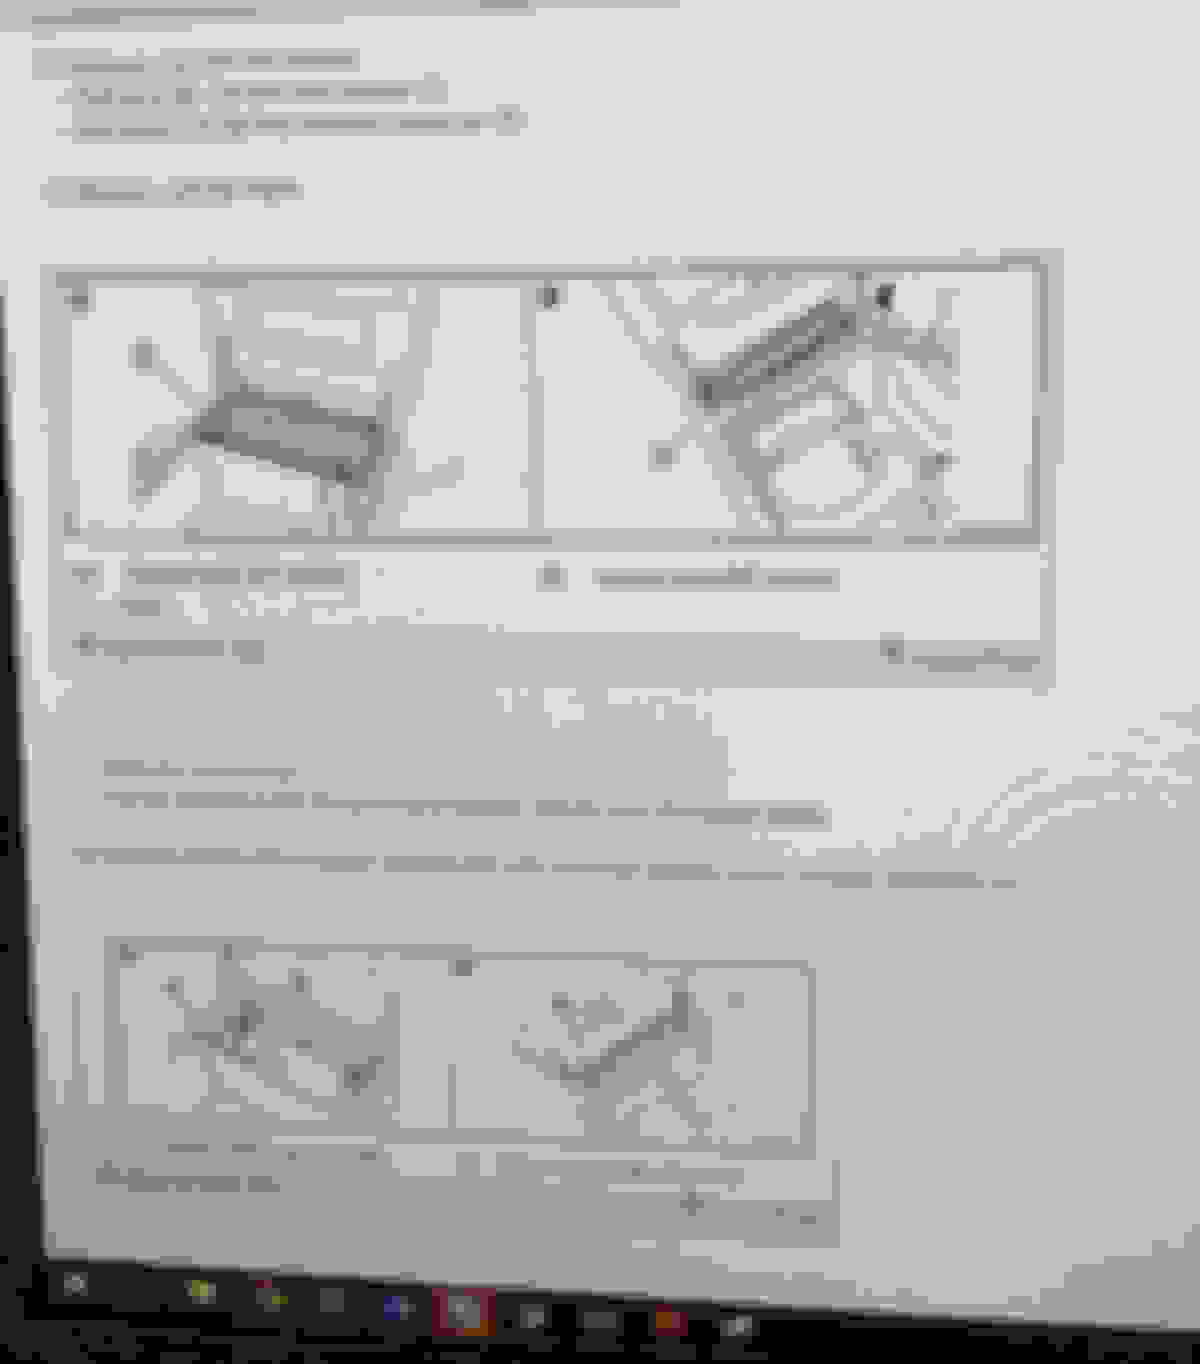
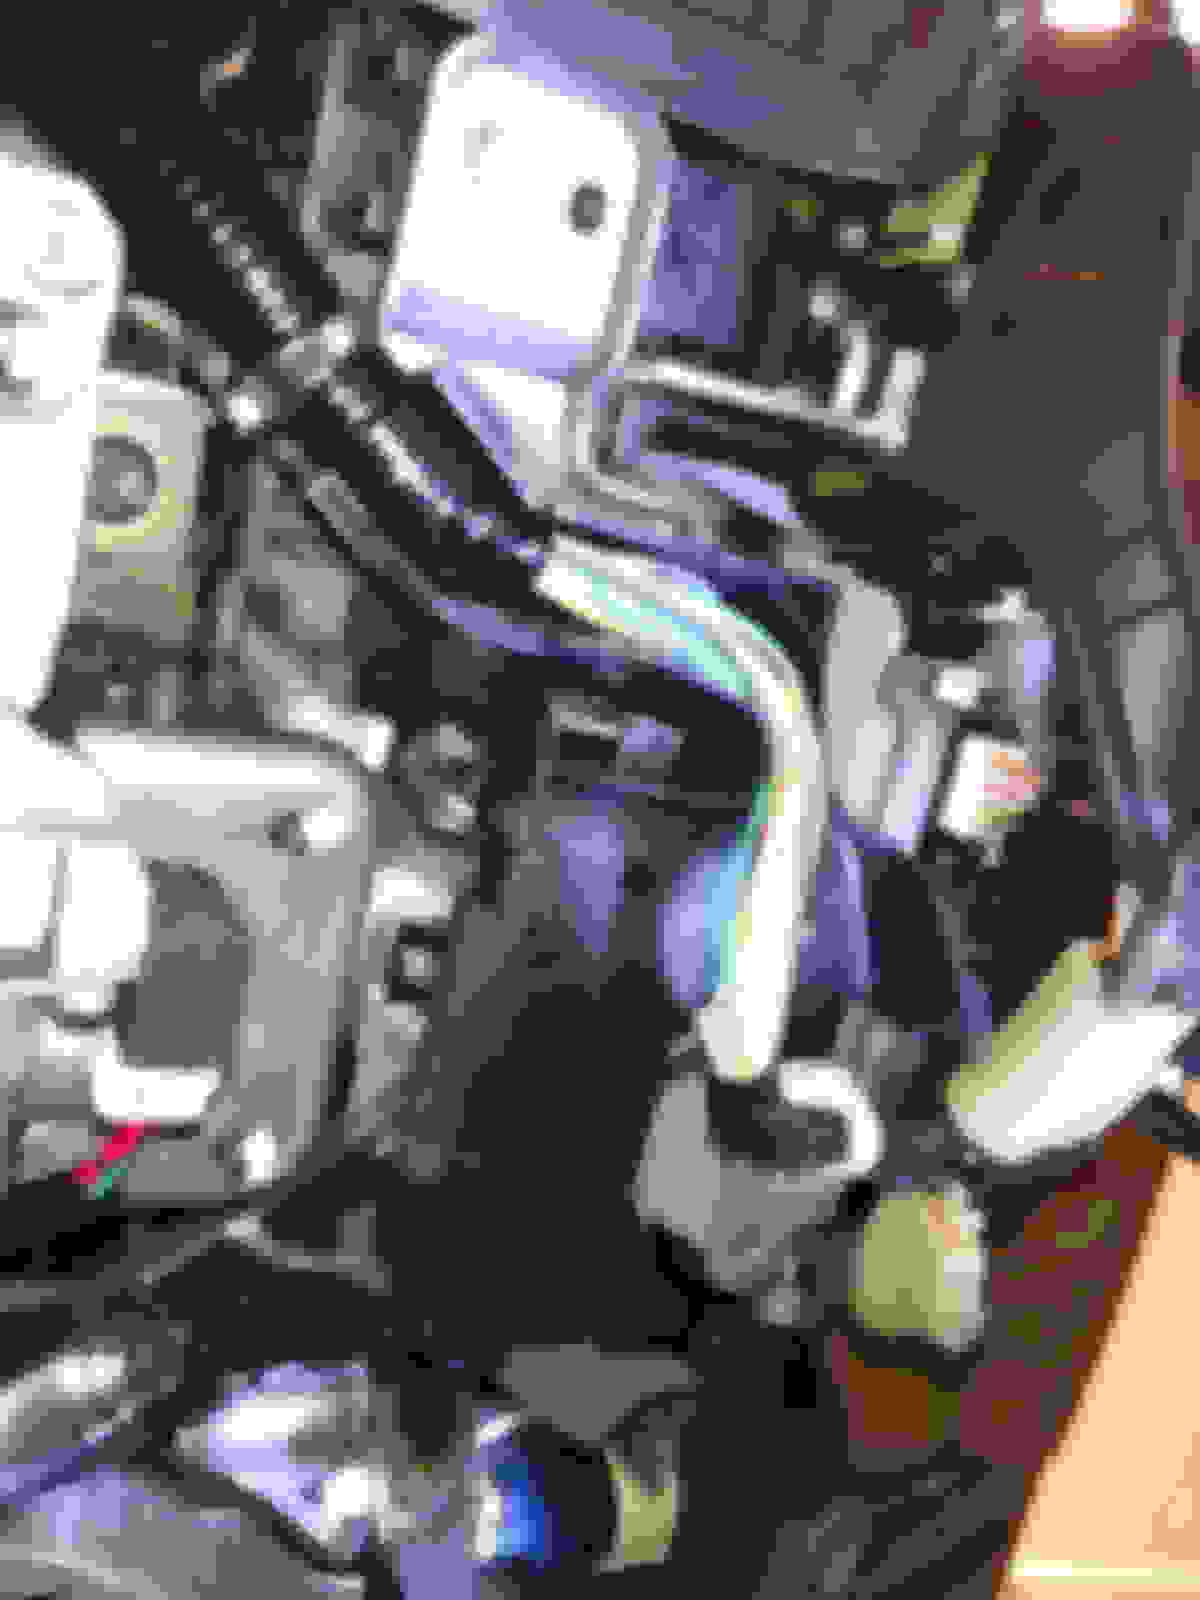
unplug these two clips to finish removal of the gauge cluster after removal of gauge cluster
now move to the passenger side
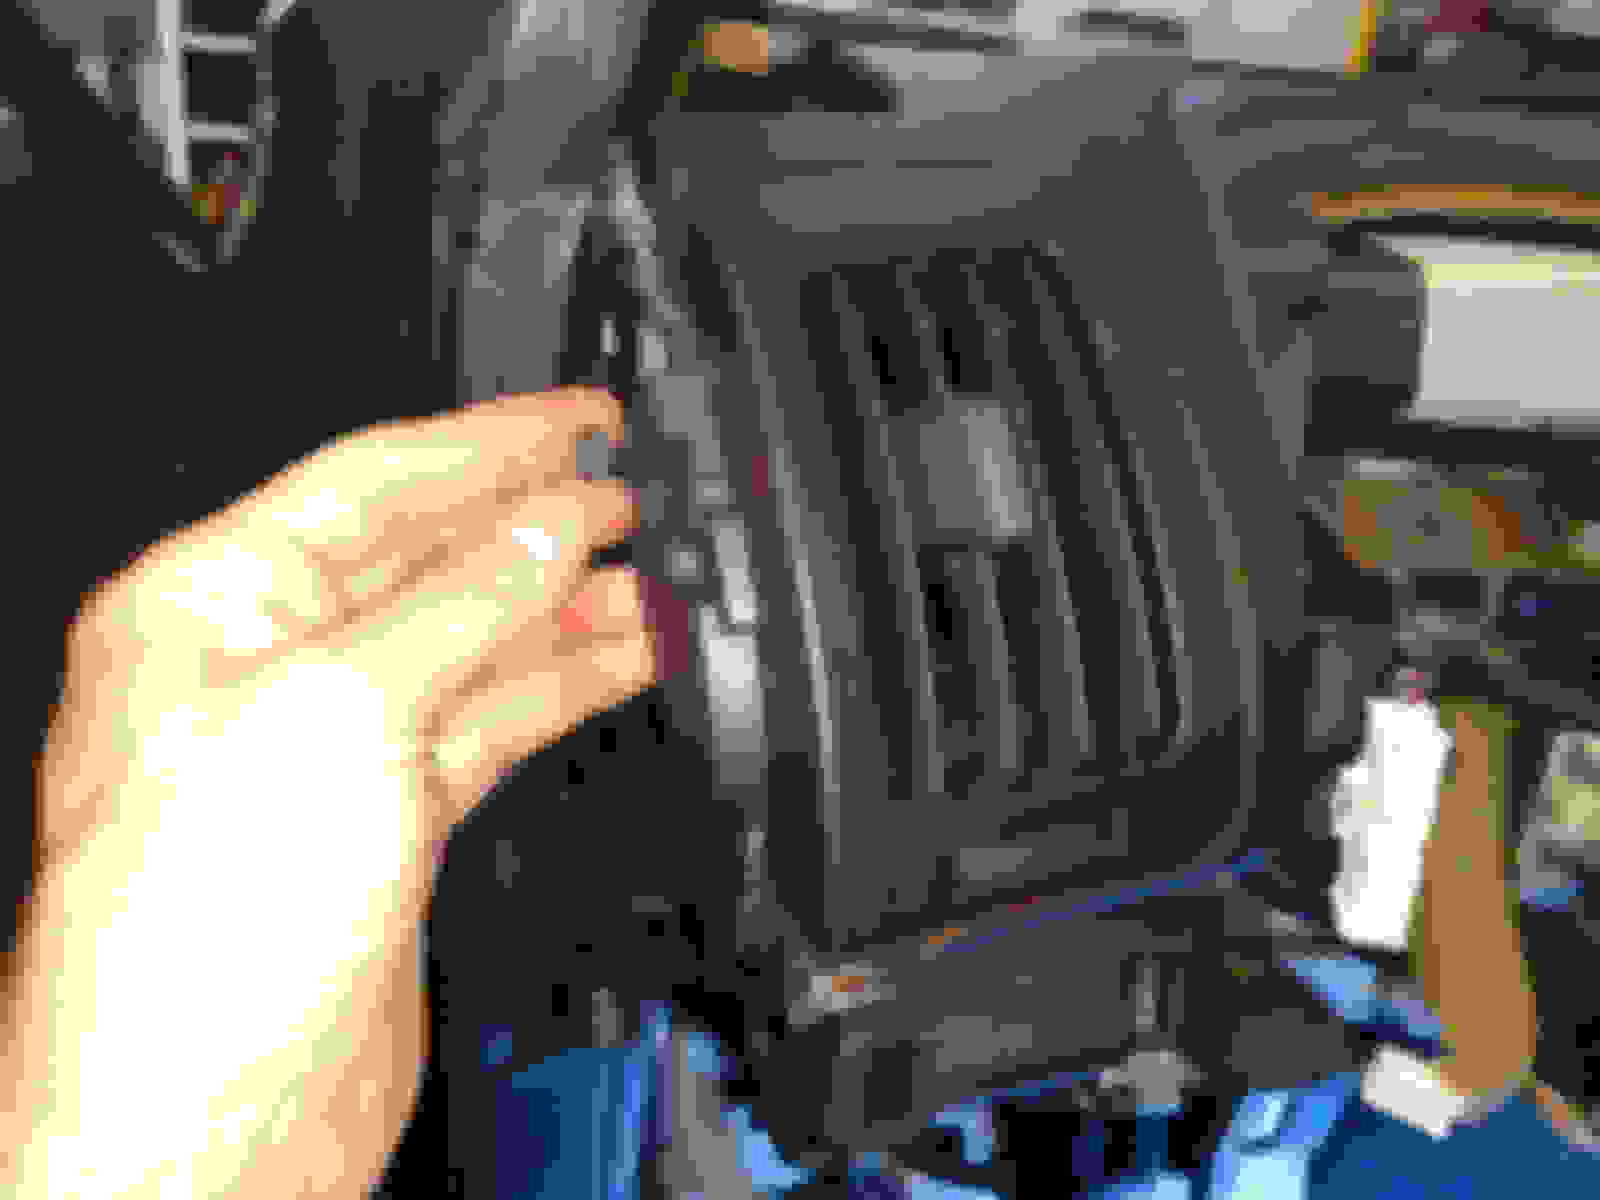
defrost vents just pop out with pry tool along the front
be sure to unclip sensors, one in each vent.
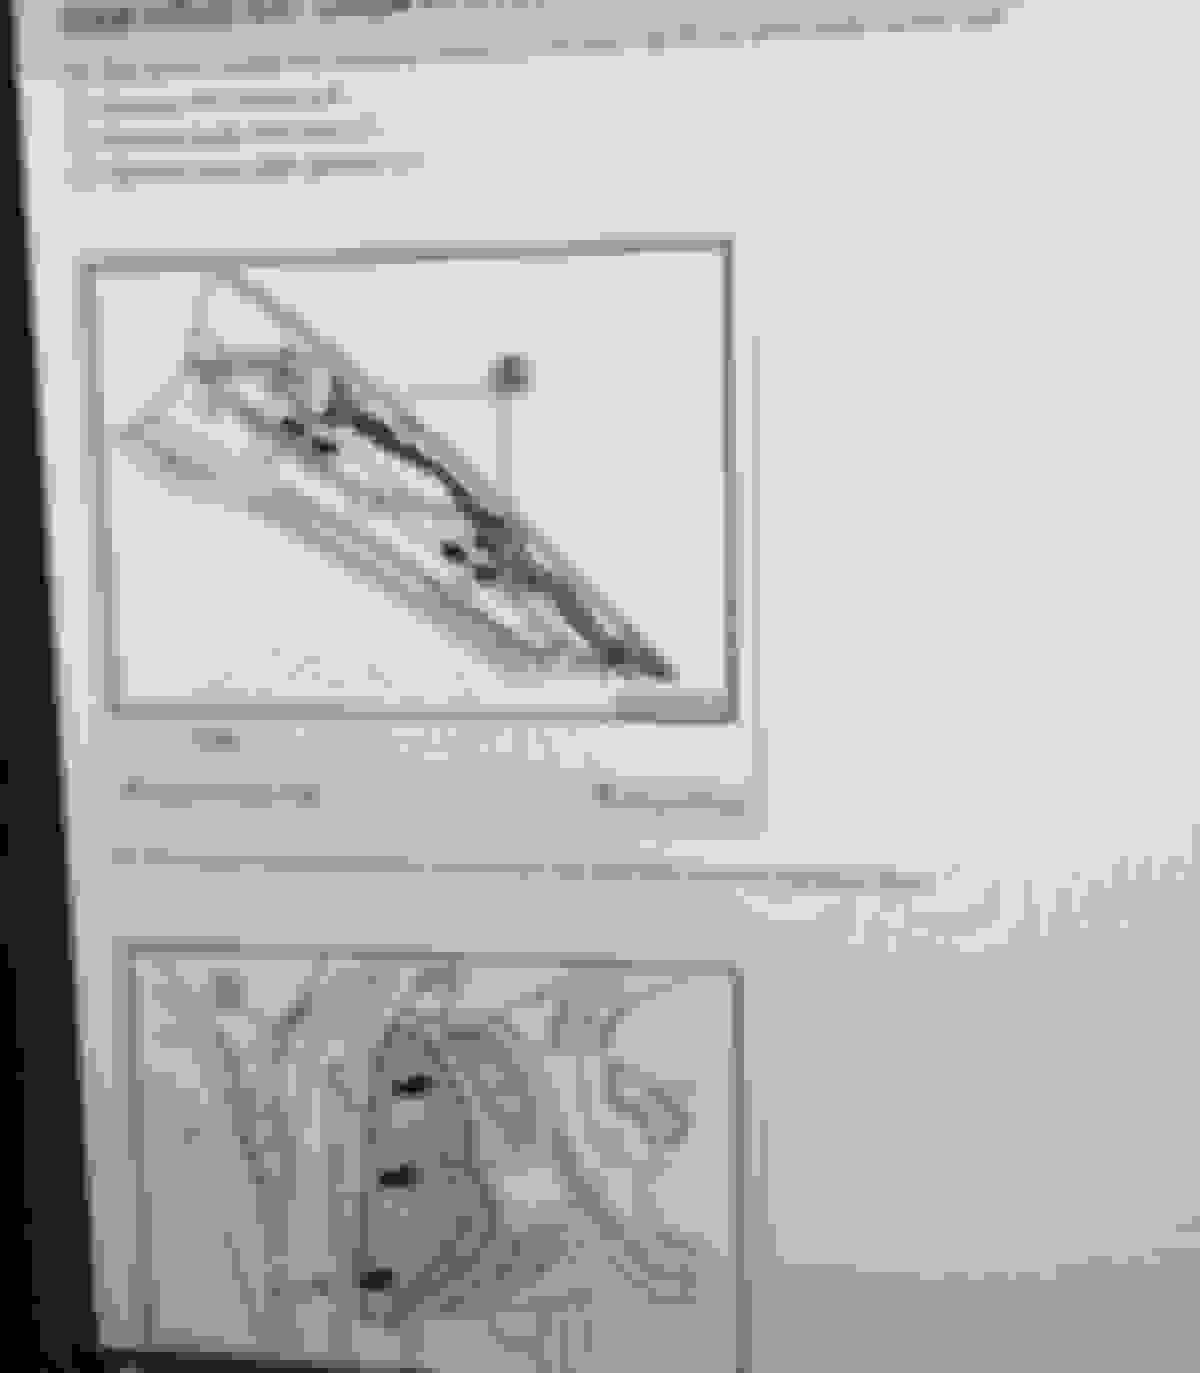
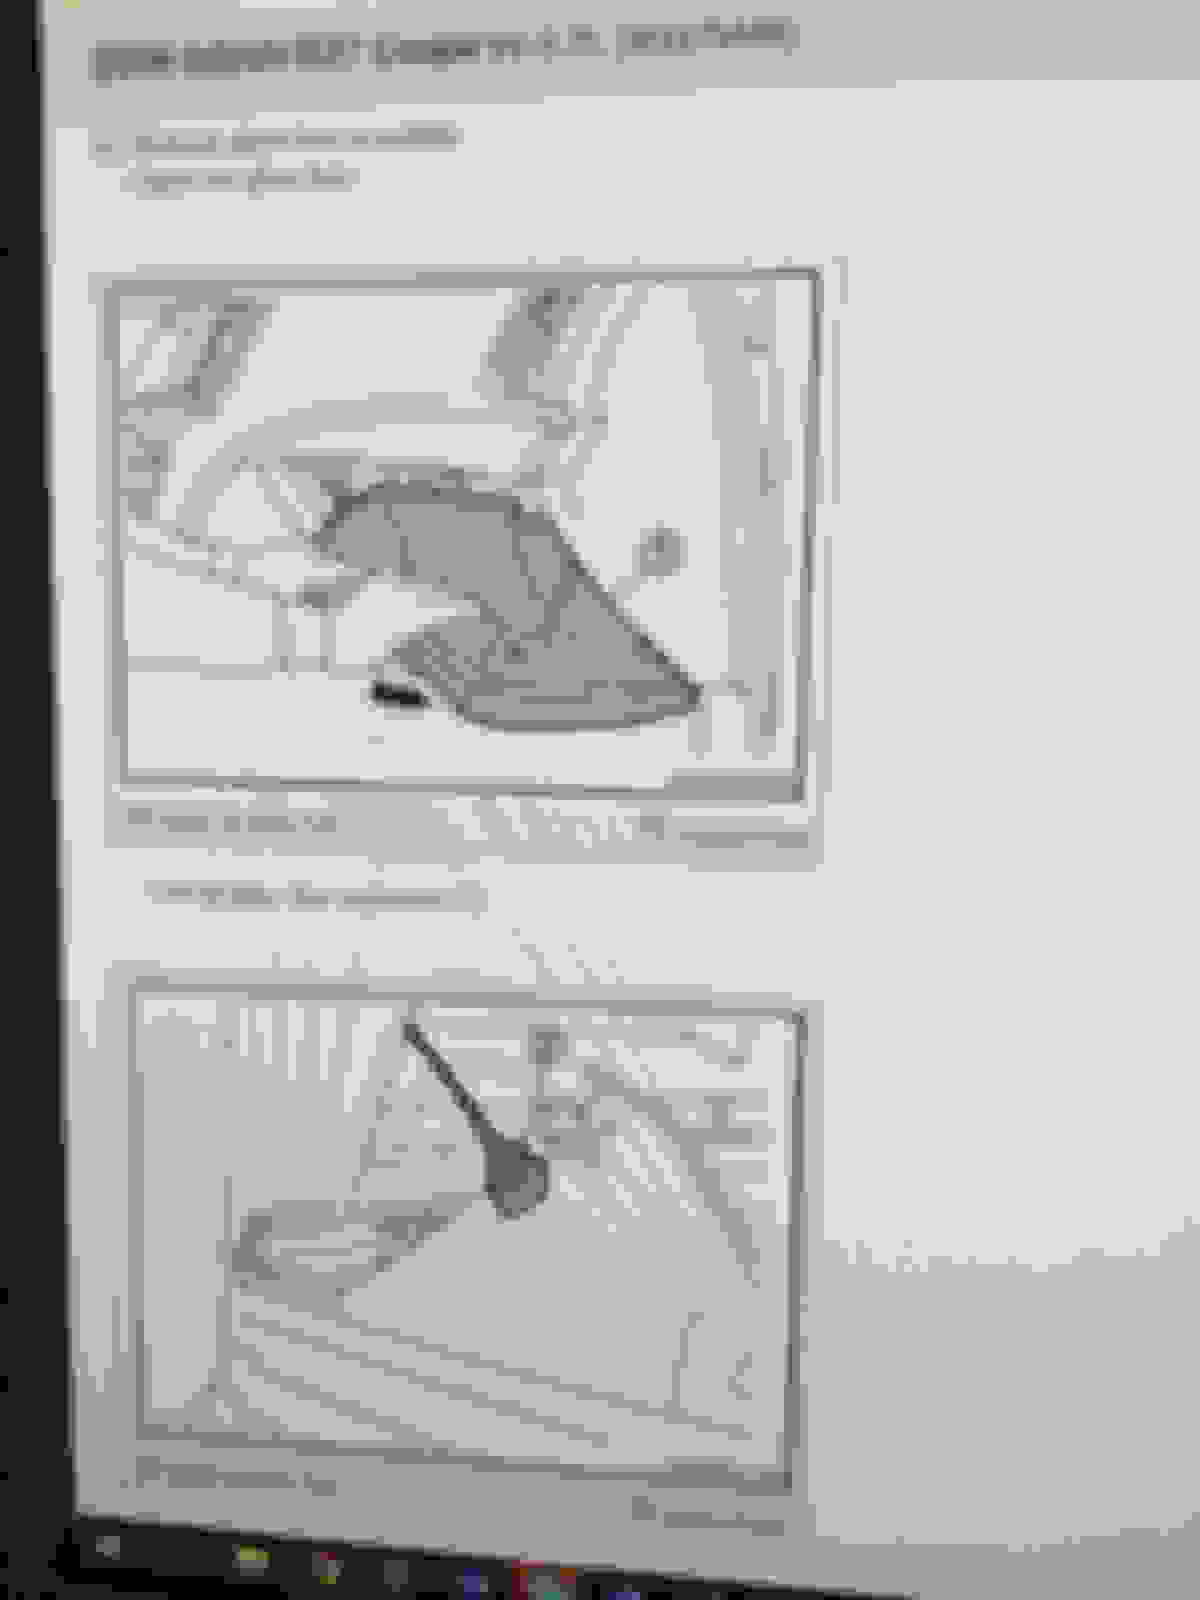
Step 46 (big yellow airbag plug) and Step 47 10MM bolt as described in drawing below.
This drawing doesnt show the screw on the left side of the gauge cluster opening (it only shows the one on the right, so get both; they are obvious). The drawing also only shows one screw down low on the left (theres actually a screw and a bolt - see noted photo below)
second unlisted bolt, low and on the left
dash should slide out, just be sure to disconnect the wire clips in driver's A pillar. wire is clipped into metal A pillar. remove tabs from A pillar so the wire can go with the dash.
pop out speaker grill from front dash totally removed
Hopefully you are able to follow this.
Good luck.
Last edited by handleandrew; Jun 12, 2019 at 01:45 PM.
Thanks for posting this it definitely deserves sticky status. I know a lot of people will appreciate it especially those with the cracking/sticky dashboards
I couldnt post it in the OP because I started having character count issues and didnt want to lose the entire post. I quickly watched the video but it wasnt really a 'how to' and he didnt cover all the steps in one video. Plus, Ive always found it easier to follow text and photos than a video, but thats just me. Maybe it'll be helpful to others.
"after". I didn't have a "before" but I think we all know what a ****ty, cracking dash looks like. And the best part? No leftover parts! The labor AND material to recover the dash was $250, plus ~6hr of my time. Well worth it.
Great write up. I did this a few months ago myself. One thing to keep in mind is after you pop off the defrost vents, there are some plastic fasteners that hold the dash to the frame. Those are really hard to access and pop off. Just be patient with them, and gently use a smaller flathead screwdriver to work them up and out slowly. Once you pull the vents you can look through the front window to see them.
@handleandrew , you mentioned that you used marine-grade upholstery to recover your dash. Would you care to elaborate a little more on the material (ie. source, type, amount used, etc.)?
As I, inevitably, will have to tackle this project in the next few years- should I or the car be around- my only concern with covering the dash with vinyl/upholstery is how it may interfere with the passenger airbag deployment.
Still, thank you for a excellent write up!
Last edited by ILM-NC G37S; Jun 19, 2019 at 11:04 AM.
Great write up. I did this a few months ago myself. One thing to keep in mind is after you pop off the defrost vents, there are some plastic fasteners that hold the dash to the frame. Those are really hard to access and pop off. Just be patient with them, and gently use a smaller flathead screwdriver to work them up and out slowly. Once you pull the vents you can look through the front window to see them.
@handleandrew , you mentioned that you used marine-grade upholstery to recover your dash. Would you care to elaborate a little more on the material (ie. source, type, amount used, etc.)?
As I, inevitably, will have to tackle this project in the next few years- should I or the car be around- my only concern with covering the dash with vinyl/upholstery is how it may interfere with the passenger airbag deployment.
Still, thank you for a excellent write up!
I went to a local shop that's done some work on my boat upholstery. Asked him for a marine vinyl with a lot of UV resistance and picked a color that was as close as possible to original. Went with marine because it's exposed to the elements without glass over it.
Asfor airbags, those things come out at 300+ mph it's going to either tear through the vinyl or detach it from the edge of the dash.
[QUOTE=handleandrew;4246016]
I think something like this can be done inside car without removing dash, that color seems to be very close. Like a satin black
Thank you for for this guide! I just got done replacing the dash in my 2010 coupe. It was extremely rough and looks great now (found a perfect condition dash from a local scrapyard).
I think the way to go is using the guide in this post, a printed version of the service manual, as well as this video I used for assistance on the gauge cluster: