When you click on links to various merchants on this site and make a purchase, this can result in this site earning a commission. Affiliate programs and affiliations include, but are not limited to, the eBay Partner Network.
This is a DIY in progress, since I'm taking the process slowly. I'll be wrapping about 1-2 panels per weekend and hopefully have a finished product by mid-July. Each panel has its own quirks and tips so I'll try to provide as much detail as possible so those of you who plan to wrap in the future learn from my mistakes.
Here are the materials that you'll need:
-quality vinyl wrap (stick w/ 3M or Avery, don't go cheap and use ebay stuff)
-felt tip squeegee
-Avery microsqueegee (optional)
-plastic housing razor blade
-exacto knife
-heat gun
-isopropyl alcohol
-microfiber towel
-soft cloth glove
-tape measure
-scissors
-a good friend to help
EDIT: I'll make a running list of budgeted time that you should expect to spend on each panel.
Hood: 2.5 hours
Fenders: 2 hours each
Pillars: 0.5 hours each
Mirror Covers: 0.5 hours each
Preparation
Step 1: Wash the entire panel and make sure there is no wax/residue left on, around, and under the panel. If the vinyl catches dust on the edges of the panel, there's a greater chance that it will lift in the future.
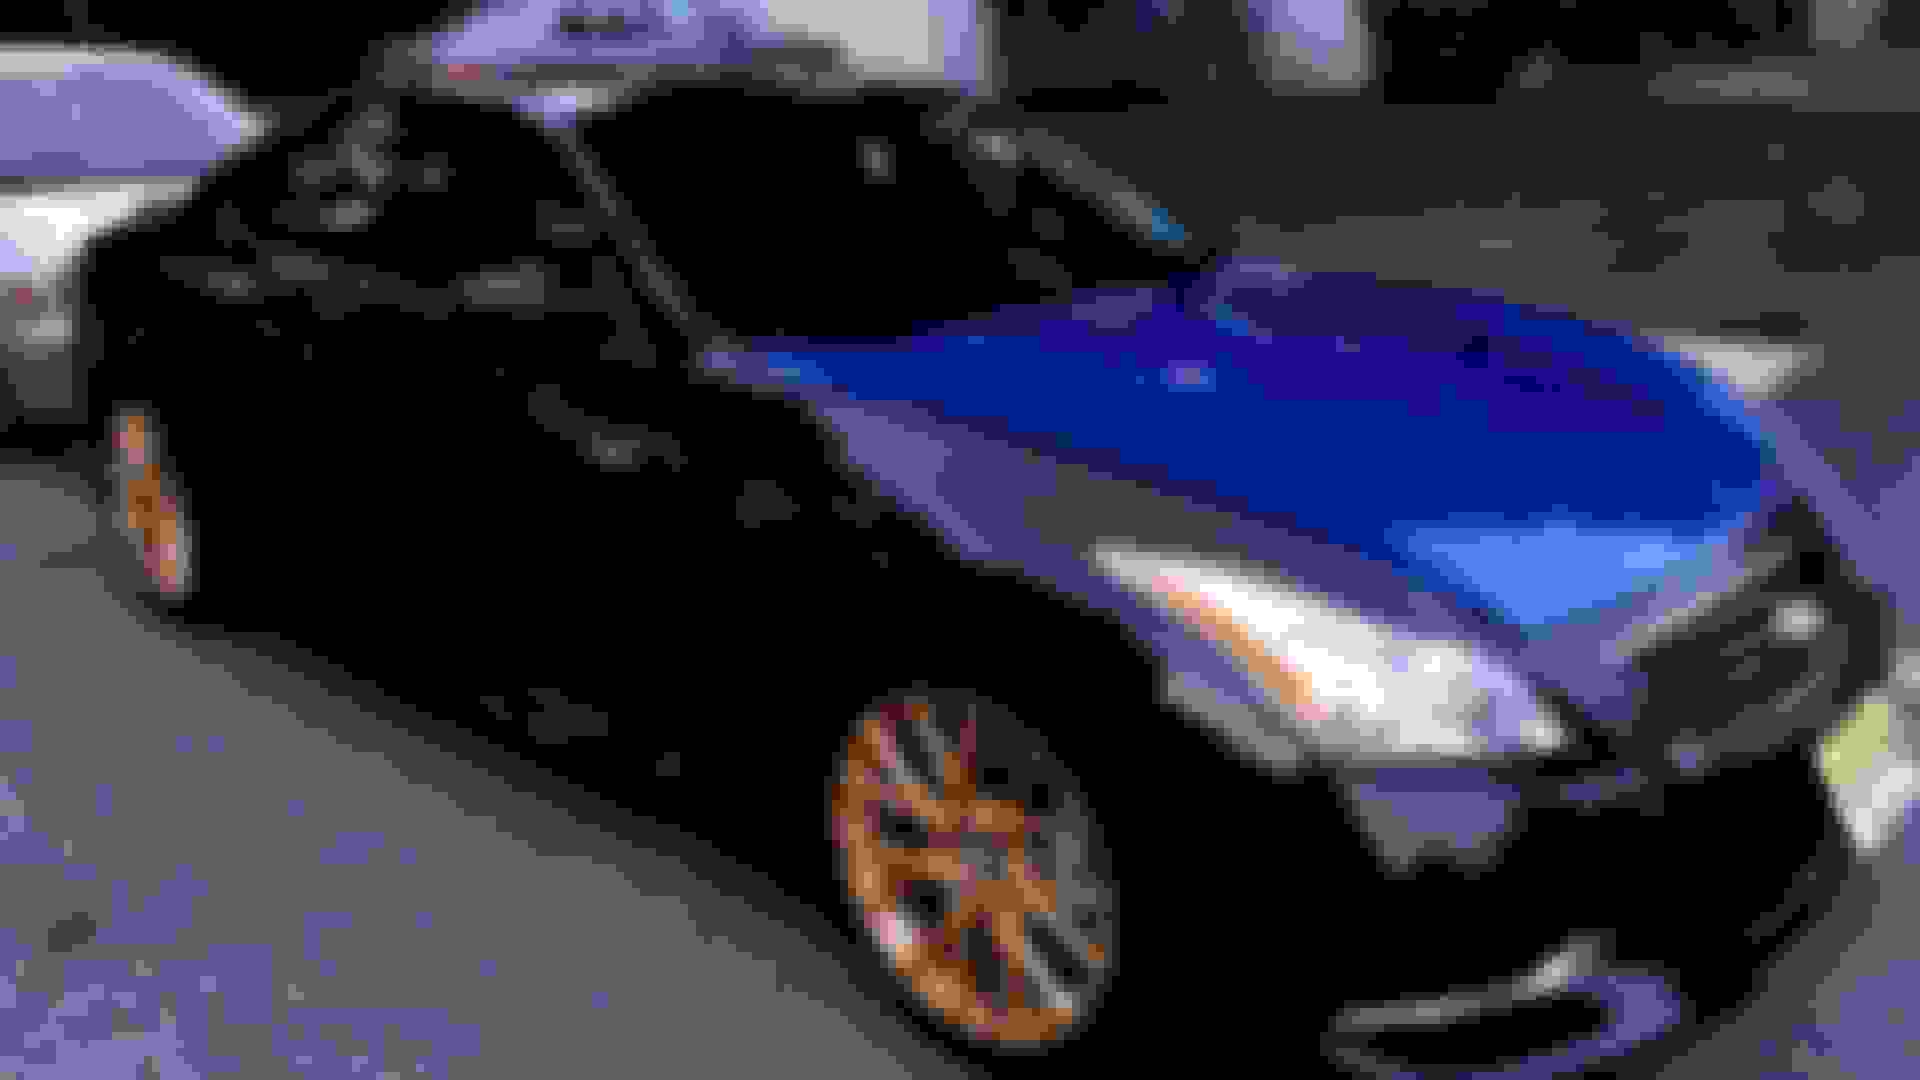
Step 2: Using a microfiber tower, wipe down the panel with isopropyl alcohol. This will ensure that no particles are left on your car. The alcohol is completely safe for your car, but test it on a small portion of the panel before you proceed. This is what my car looked like before installing the wrap:
Step 3: Measure the dimensions of the panel and give yourself at least 2-3 inches on each edge so you can pull on the sides. Don't cut a piece too small for obvious reasons!
Installation: Hood (2.5hrs)
Step 4: With the help of your friend, tear off the backing and slip it underneath the car to avoid dust getting swept up and maintaining a clean work area. Firmly pull the vinyl in all 4 corners and slowly lay the vinyl down. You want to make sure that the center of hood creates "glass" and most other areas look smooth as well. Take your squeegee and press down gently vertically down the middle of the hood. This will be your "anchor."
(see video), make sure that the 4 quadrants of the hood also create glass. If creases come up during the process, gently lift the vinyl (avoid stretching if possible) and reapply. Once this is done, you'll want to take your felt tip squeegee and gently press down on your vinyl. Be sure to angle the squeegee 45 degrees from the anchor. At this point, you'll start to see some bubbles forming and lines all over the vinyl where you pushed with the squeegee. This is totally normal and will get better once the vinyl settles in completely.
Step 6: Once you reach a point where the vinyl starts building tension towards the right/left edge of the hood where it meets the headlights, you'll need to start applying the vinyl with your cloth glove. Lift the vinyl from the edge and gently smooth out in vertical motions to the crease where the hood angles upwards. Then you'll want to use a 45 degree motion to apply the angled part of the hood. Once this is done, pull the vinyl over to the fenders and make sure that the creases are completely covered.
Step 7: Once the hood is completely covered, use your felt squeegee and firmly run over the entire vinyl to ensure that the adhesive bonds to your clearcoat. Use your glove and press down directly over any remaining bubbles. If you encounter a large air bubble that refuses to go down, take the exacto knife and poke a small hole in the vinyl to let the air out. Use the glove and press down again.
Step 8: Cut the vinyl on the out edge of the hood. It should be enough to wrap underneath the hood, but not so much that you risk cutting your fenders/front bumper. Use a fresh razor blade and lay the plastic housing down on the fender to anchor your hand. Slowly and gently run your hand down and avoid cutting the rubber grommets near your front bumper.
Step 9: Use the squeegee and your hand to roll the vinyl underneath the hood 2-3 times to ensure that it bonds correctly. Then take your heat gun and run it around the edges of your hood. It will further ensure bonding and longevity of the vinyl. Do this for the top of the hood as well.
Step 10: Clean off the vinyl with quick detailer and admire your work!
Last edited by kickintheglass; Jun 24, 2016 at 10:14 AM.
Saw the snap story...one panel per weekend is admirable, I'd be too anxious for that kind of wait time. Color combo is going to look good, after the wrap is complete I'd look into painting those calipers to help them and the wheels stick out...a blue or purple will go great against the gold.
This is going be to am awesome thread I can already feel it. I have an idea though sell me your ipl wheels and I'll have your entire care wrapped and done to perfection in only about 2-3 days!
Worth a shot lol best of luck and I look forward to your weekly progress.
Saw the snap story...one panel per weekend is admirable, I'd be too anxious for that kind of wait time. Color combo is going to look good, after the wrap is complete I'd look into painting those calipers to help them and the wheels stick out...a blue or purple will go great against the gold.
I was actually going to take your advice on white calipers with blue lettering. We'll see how the colors come together with the finished product!
Originally Posted by kennyz424
This is going be to am awesome thread I can already feel it. I have an idea though sell me your ipl wheels and I'll have your entire care wrapped and done to perfection in only about 2-3 days!
Worth a shot lol best of luck and I look forward to your weekly progress.
Haha thanks, and no way dude! I won't let these wheels be sold to the dark side...for now
Great plan doing it in those sections, although might get some funny looks going down the road, but worth it in the end.
Thanks for taking the time to put this together for us, should be a valuable resource.
G/L along the way, hopefully it will be smooth sailing.
BTW, what vinyl did you go with and what is the color name, looks nice.
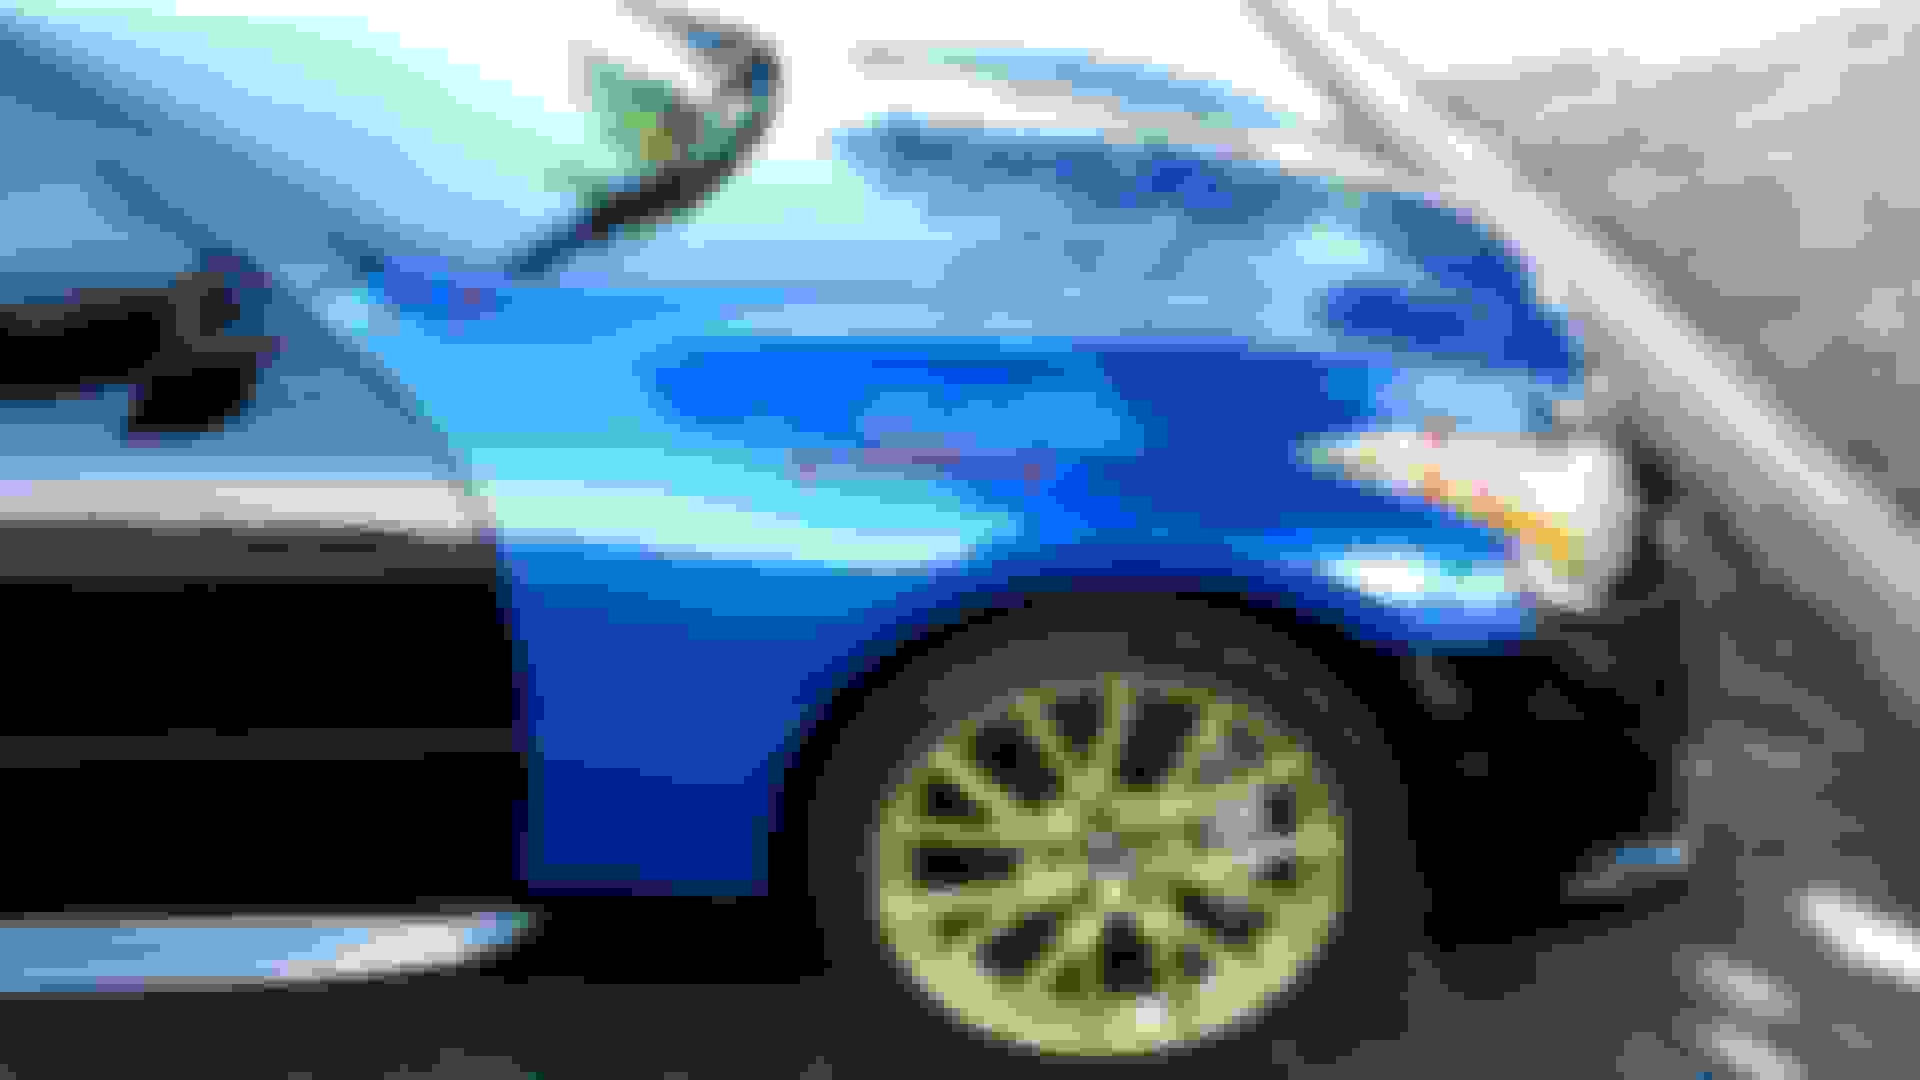
Thanks, I'll need the luck! I bought 3M 1080 series - color code G377 (Cosmic Blue). But I like calling it Daytona Blue
Step 11: Clean your fenders as directed before with soap and then isopropyl alcohol. Be sure to clean your wheel/tire as well because dust and contaminants may float around and stick to the adhesive on your vinyl. Be diligent about cleaning the area underneath the fender where the vinyl will stick. This is where most of the road grime collects. Cut out another square piece of vinyl. It will most likely be too big and unwieldy to work with, so measure the height of the fender and cut it into a rectangle. Save the remaining piece to use for the A pillar or the side skirt.
Step 12: With the help of a friend, create glass with your squeegee on the area that is parallel with the ground. Use the same Triangles technique to stretch the vinyl in all 4 quadrants. Squeegee away from the anchor, angling the tool in a 45 degree fashion.Take your cloth glove and work at the area by the A pillar, pressing the vinyl in the direction towards your front windshield. Stretch the vinyl over to the hood and lightly press down on the gap between the fender/hood so you know when to cut later. Do the same for the gap by the door and side skirt.
Step 13: At this point, you'll want to make a relief cut in the wheel well. Take your razor blade and carefully cut along the lower fender in the shape of your wheel (*Be sure not to harm your expensive wheels!) and leave about 3 inches to work with. Use the Triangles technique once again to lightly stretch and pull the vinyl under the edges. Squeegee the entire panel and use your cloth glove to press down on any remaining bubbles.
Step 14: Using your razor blade, make your initial cut along the A pillar/windshield first. As you run your hand down the gap by your hood, make sure that the blade is positioned closer to the hood, but DOES NOT touch the vinyl on your hood. I made the mistake of cutting a small piece off and unfortunately a chunk of clearcoat came with it. When you get to the headlights, take your exacto knife and position the blade closer to the headlights. Make sure that you have enough material to tuck underneath the panel (a few millimeters will suffice). Make your remaining cuts around the door and wheel well.
Step 14: Pop the hood and use your hand to tuck the vinyl downward. Do not run your hand along the vinyl because this will cause clumping and increases risk of lifting later on. Use the plastic end of the squeegee to tuck by the A pillar and door. Then take your microsqueegee and gently tuck by the headlights, front bumper, and sideskirts. Lastly, finish off with the wheel well. I found that I didn't cut enough material on the lower end of the fender by the skirt, so I shaved a bit more vinyl off to be safe.
Step 15: Use a heatgun and gently run it above the vinyl to lock in the adhesive. Be more diligent about the edges and repeat step 14 immediately after heating.
Last edited by kickintheglass; Jun 24, 2016 at 10:12 AM.
I'd love to try this someday, don't mind working w/ vinyl but that front bumper has me worried, looking forward to all the details kickinglass, and agree those gold IPLs are going to really pop w/ that new blue.