When you click on links to various merchants on this site and make a purchase, this can result in this site earning a commission. Affiliate programs and affiliations include, but are not limited to, the eBay Partner Network.
*Disclaimer: This process would be much easier if you're able to take the door handles off. I've tried searching for this on every Infiniti/Nissan forum but couldn't find a solution. If anyone has insight, please share so wrapping the door is less painful for others in the future!
Step 35: Measure the dimensions of your door handle and its position relative to the end of the door. You'll want to use painter's tape to mark where you'll cut out holes for the handles. Take The vinyl and stick them onto the door with magnets, making sure that the door handles line up. Once you're comfortable with the measurements, lay it on the floor and use an exacto knife to puncture the first cut, and use scissors for the rest of the job. The cut should be slightly smaller than the handle itself because you'll want to tuck the vinyl under the sides.
Step 36: With the help of your friend, apply the vinyl onto the door, slipping the hole over the handle very precisely. Once you create glass near the mirror, anchor the area with a squeegee. You'll have excess material near the mirror so I suggest sticking it onto the bottom of the housing so the vinyl doesn't fold and stick onto itself, which is a huge headache to pull off.
Step 37: Squeegee the vinyl as you would any other panel in the directions provided. There will be more tension near the handles so direct your squeegee in that direction, making sure that you can tuck material under the handles. For the flat surface, work your way from top to bottom in strokes parallel to the anchor.
Tip: I didn't apply the vinyl firmly enough and it left a big air bubble, which means excess material buildup. This will cause an imperfection in the finish that's impossible to avoid. Be sure that the vinyl is set before you proceed to the bottom of the panel. Once you lay the vinyl down, there's practically no going back!
Step 38: Make your cuts long enough to ensure that you can tuck along the edges. Once you get to the window, cut along the seal where it meets the panel. You may want to switch to an exacto knife near the mirrors.
Tip: If you know how to remove and reinstall the mirrors, DO SO! This makes cutting along the window much easier since nothing is in your way.
Step 39: Use your exacto knife and make cuts by the door handles. I opted for round cutouts behind the handle since I'll be doing inlays later on. This is where your imagination can kick in, so you may opt to leave a straight strip if you like the look...or if you don't want to risk cutting into your clearcoat.
Step 40: Tuck all the edges, heat, and tuck again for safety.
Squeegee the entire panel, heat, and squeegee again.
Such a great DIY, I know I've said it a few times already but your continued attention to detailing all of this for us is superb!
It's looking great all the way down now, would be great to get some feedback regarding that door pull removal, would really take some difficulty out of that panel.
One of the, if not THE BEST, DIY threads I've truly had the pleasure of reading and following. Seriously glass keep up the amazing work brother! Those wheels look sooooo sick on that color wow!!!!
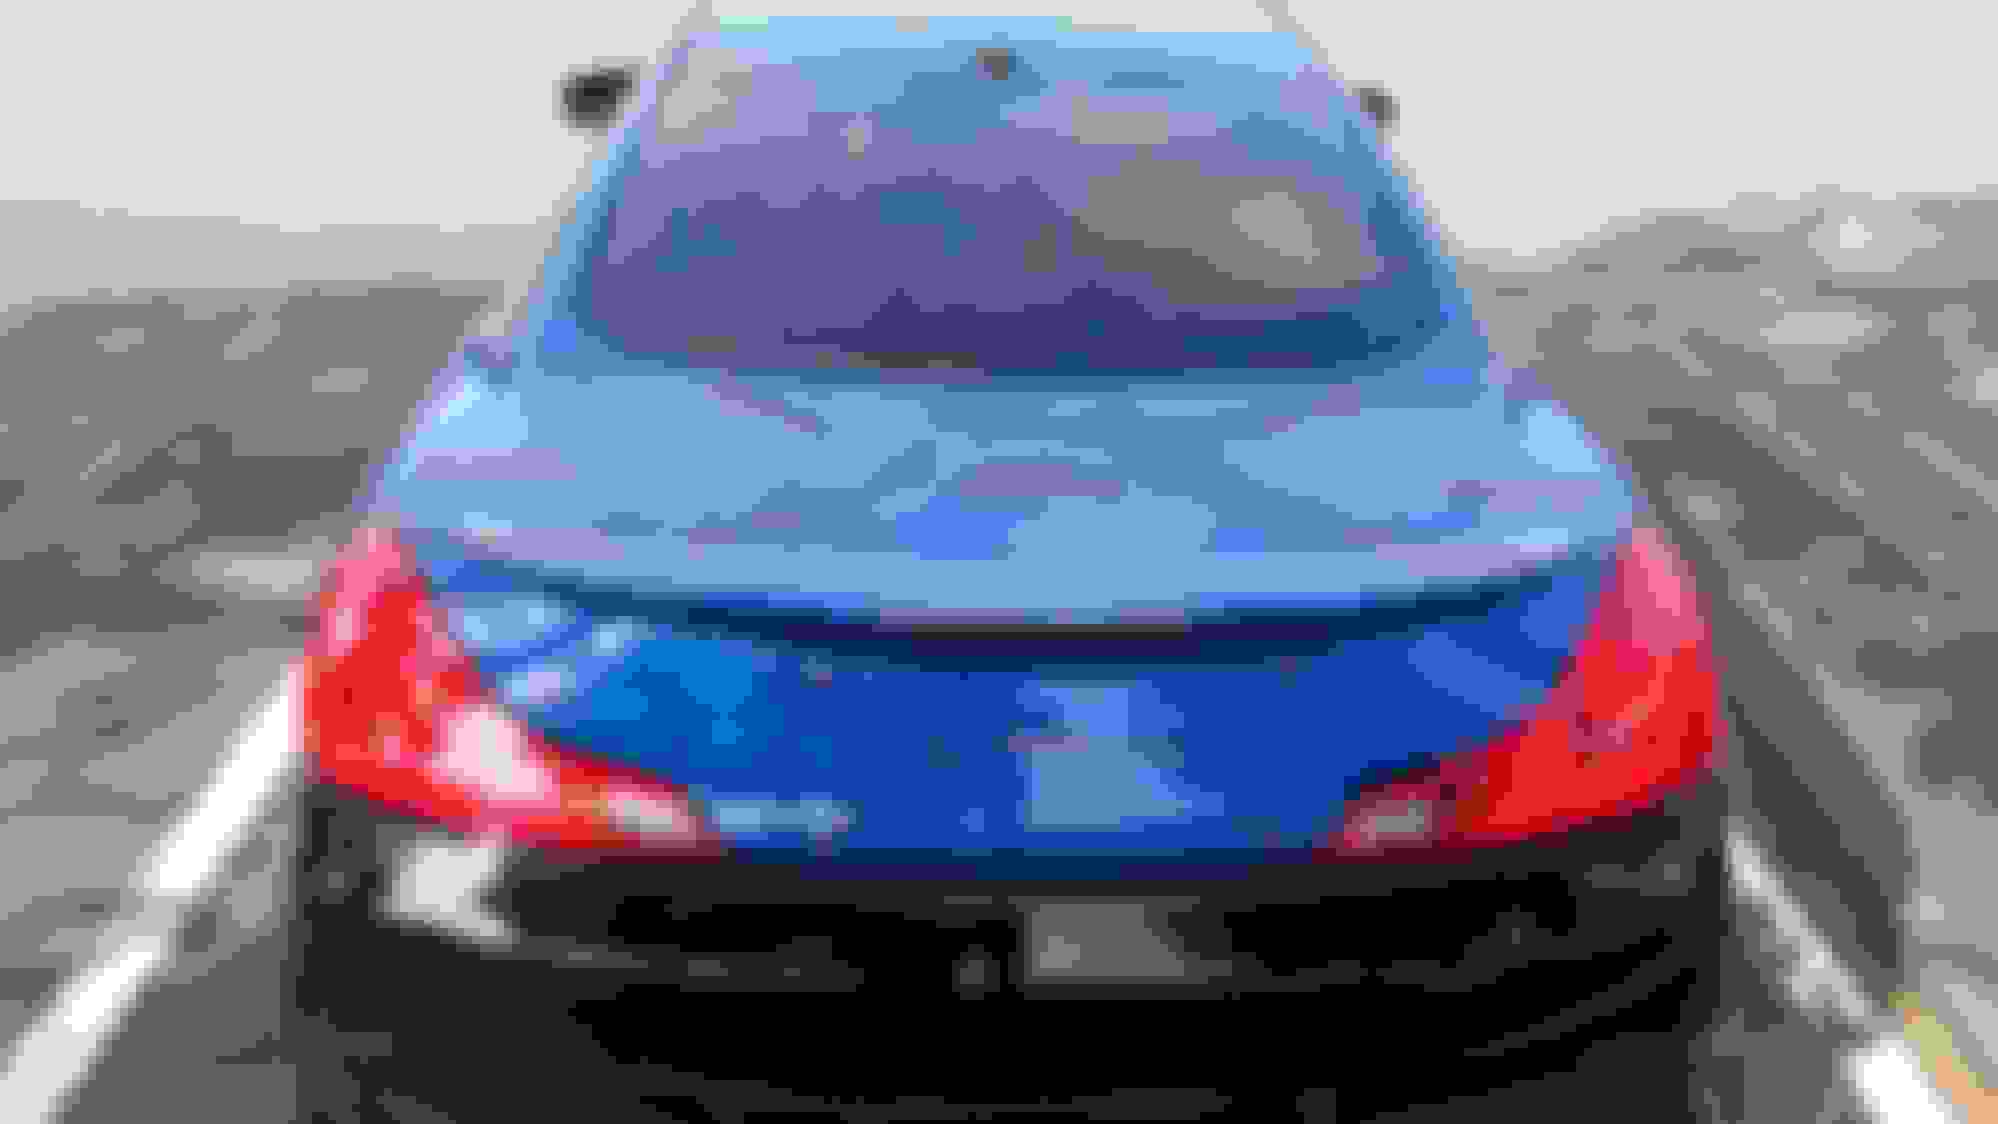
*Before you proceed, take off your spoiler if you can. The last owner of my car used double sided tape with crazy strong adhesive so I couldn't even heat/saw off the bonded material.
Step 41: Debadge your car and clean as directed in previous steps.
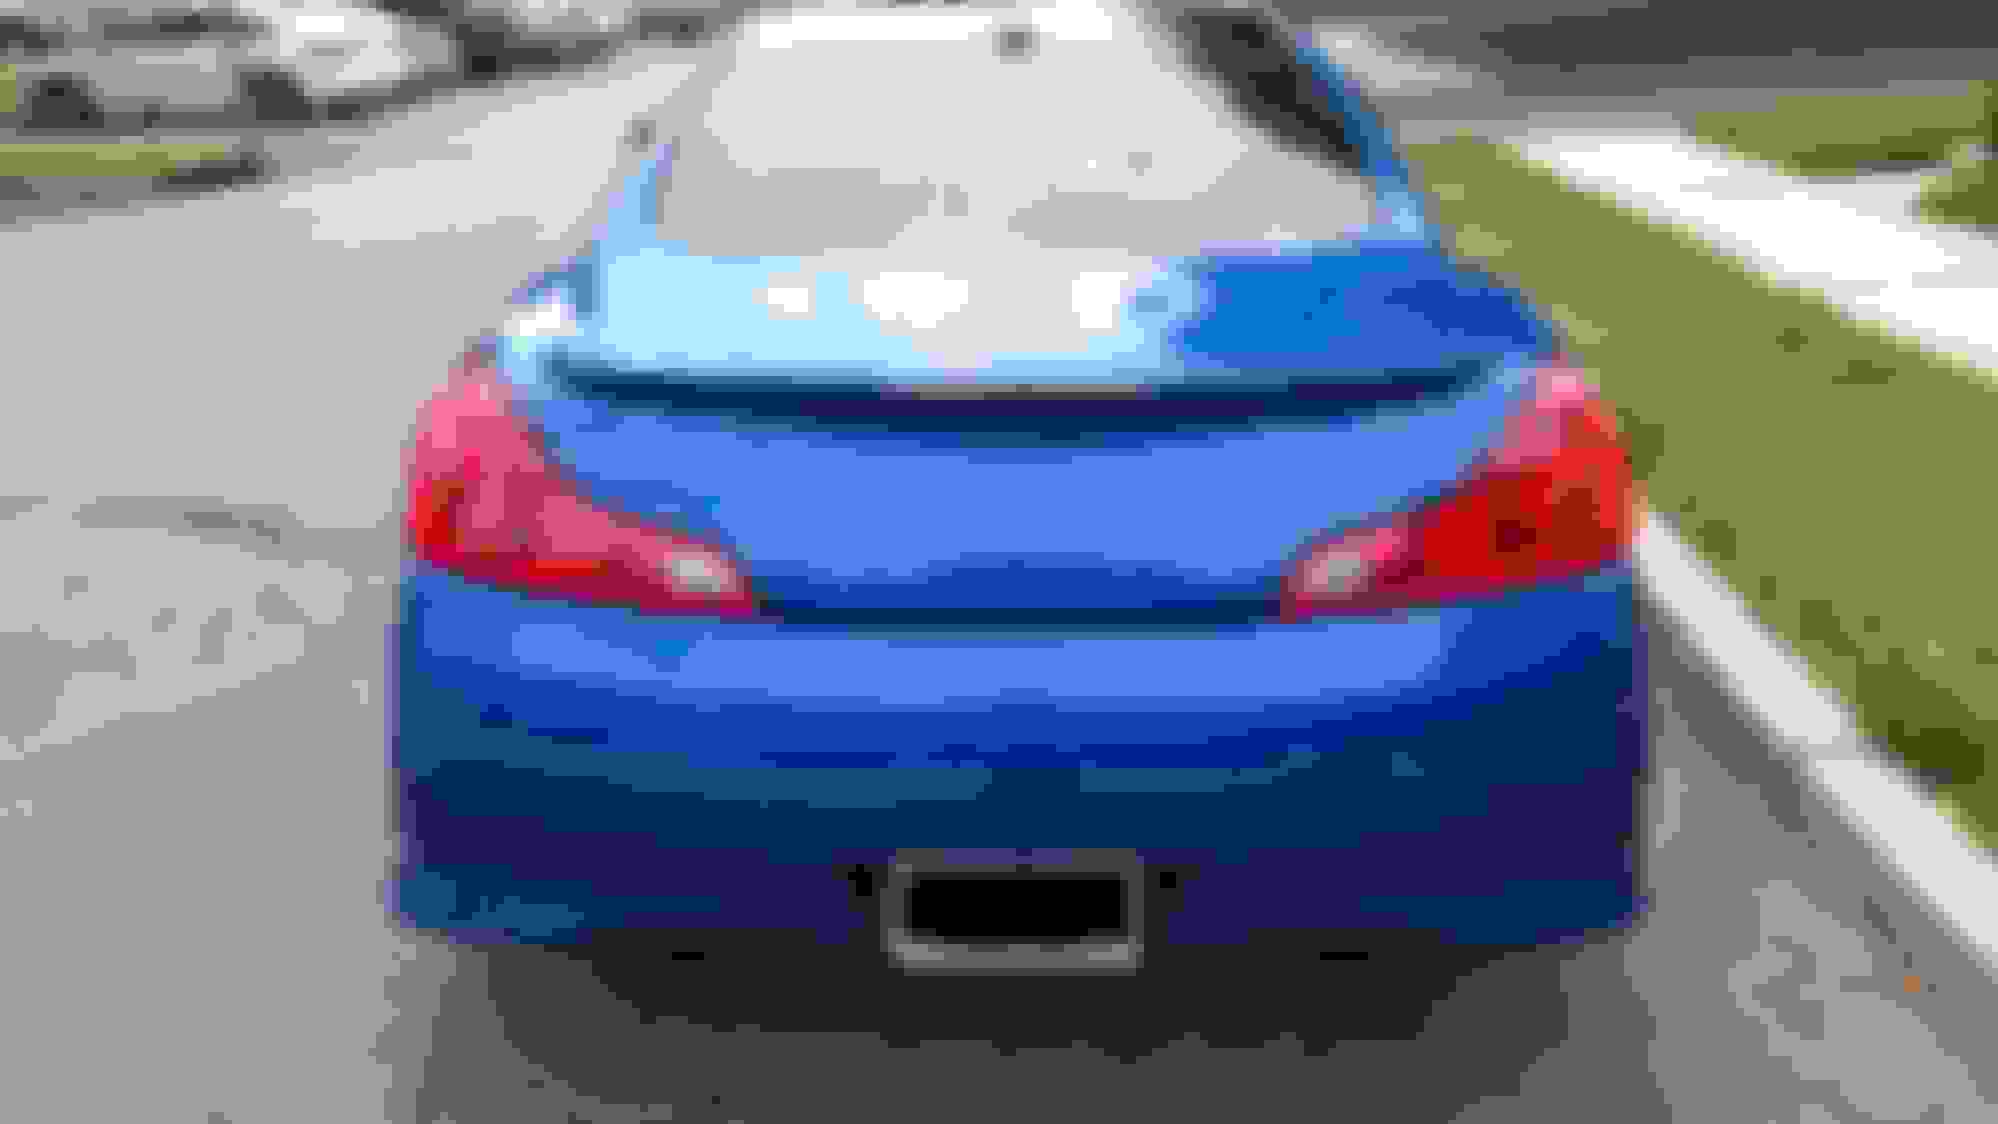
Step 42: Apply knifeless tape in a horizontal line near the right and left tips of your spoiler. This is where you'll cut off the vinyl and apply an overlay from the deck of the trunk lid.
Tip: When you cut out your piece of vinyl, make sure that the length exceeds well past the knifeless tape.
Step 43: Create glass in the center of the trunk and squeegee your way towards the edges in 45 degree angles. Make sure you get all the way to the bottom since there will be a large recessed area that you might think isn't part of the trunk. Since the trunk is curved and your vinyl is most likely a rectangular shape, you'll need to make a relief cut by the spoiler to let the vinyl relax and reach the knifeless tape. Apply the vinyl firmly over the tape.
Step 44: Make your cuts starting at the left/right edges, being cautious to stop before you cut the knifeless tape. Make your way to the bottom of the trunk and by the spoiler. Then take your knifeless tape and using proper technique (fold it onto itself, and pull as closely to the trunk), make the horizontal cuts.
Step 45: Remove the excess material, squeegee, tuck the edges (pop the trunk), heat, squeegee again.
Step 46: Apply knifeless tape on top of where you made your last horizontal cuts. Unless if you want a gap between the two pieces, I would advise being safe and crossing over by a millimeter or 2.
Step 46: Take another piece of vinyl to lay on top of the trunk, making sure that the vertical axis reaches past the knifeless tape. Create glass in the center of the deck and make your way to the edges. When you reach the area by the rear quarters, you'll want to apply the vinyl with a glove.
Step 47: There will be a lot of tensions around the spoiler, so you'll need to make a relief cut in either 1) the shape of the spoiler...this is risky since you might cut off too much, or 2) in the direction of the spoiler...this may create small wrinkles because the tension is not fully relieved. I chose option 2 since it's the safe route, although the less aesthetic option.
Step 48: Apply the vinyl firmly over the knifeless tape and tuck as much as you can towards the spoiler. Make your horizontal cuts again and remove excess material.
Step 49: Squeegee, tuck (pop the trunk!), heat, and squeegee again.
I seriously look forward to each new post in this thread every single day. You're doing such an amazing job with this wrap process. I seriously think you and your friend should consider starting up a small side business in one of your garages. I wouldn't be surprised if it ends up becoming more than that within a year tops!
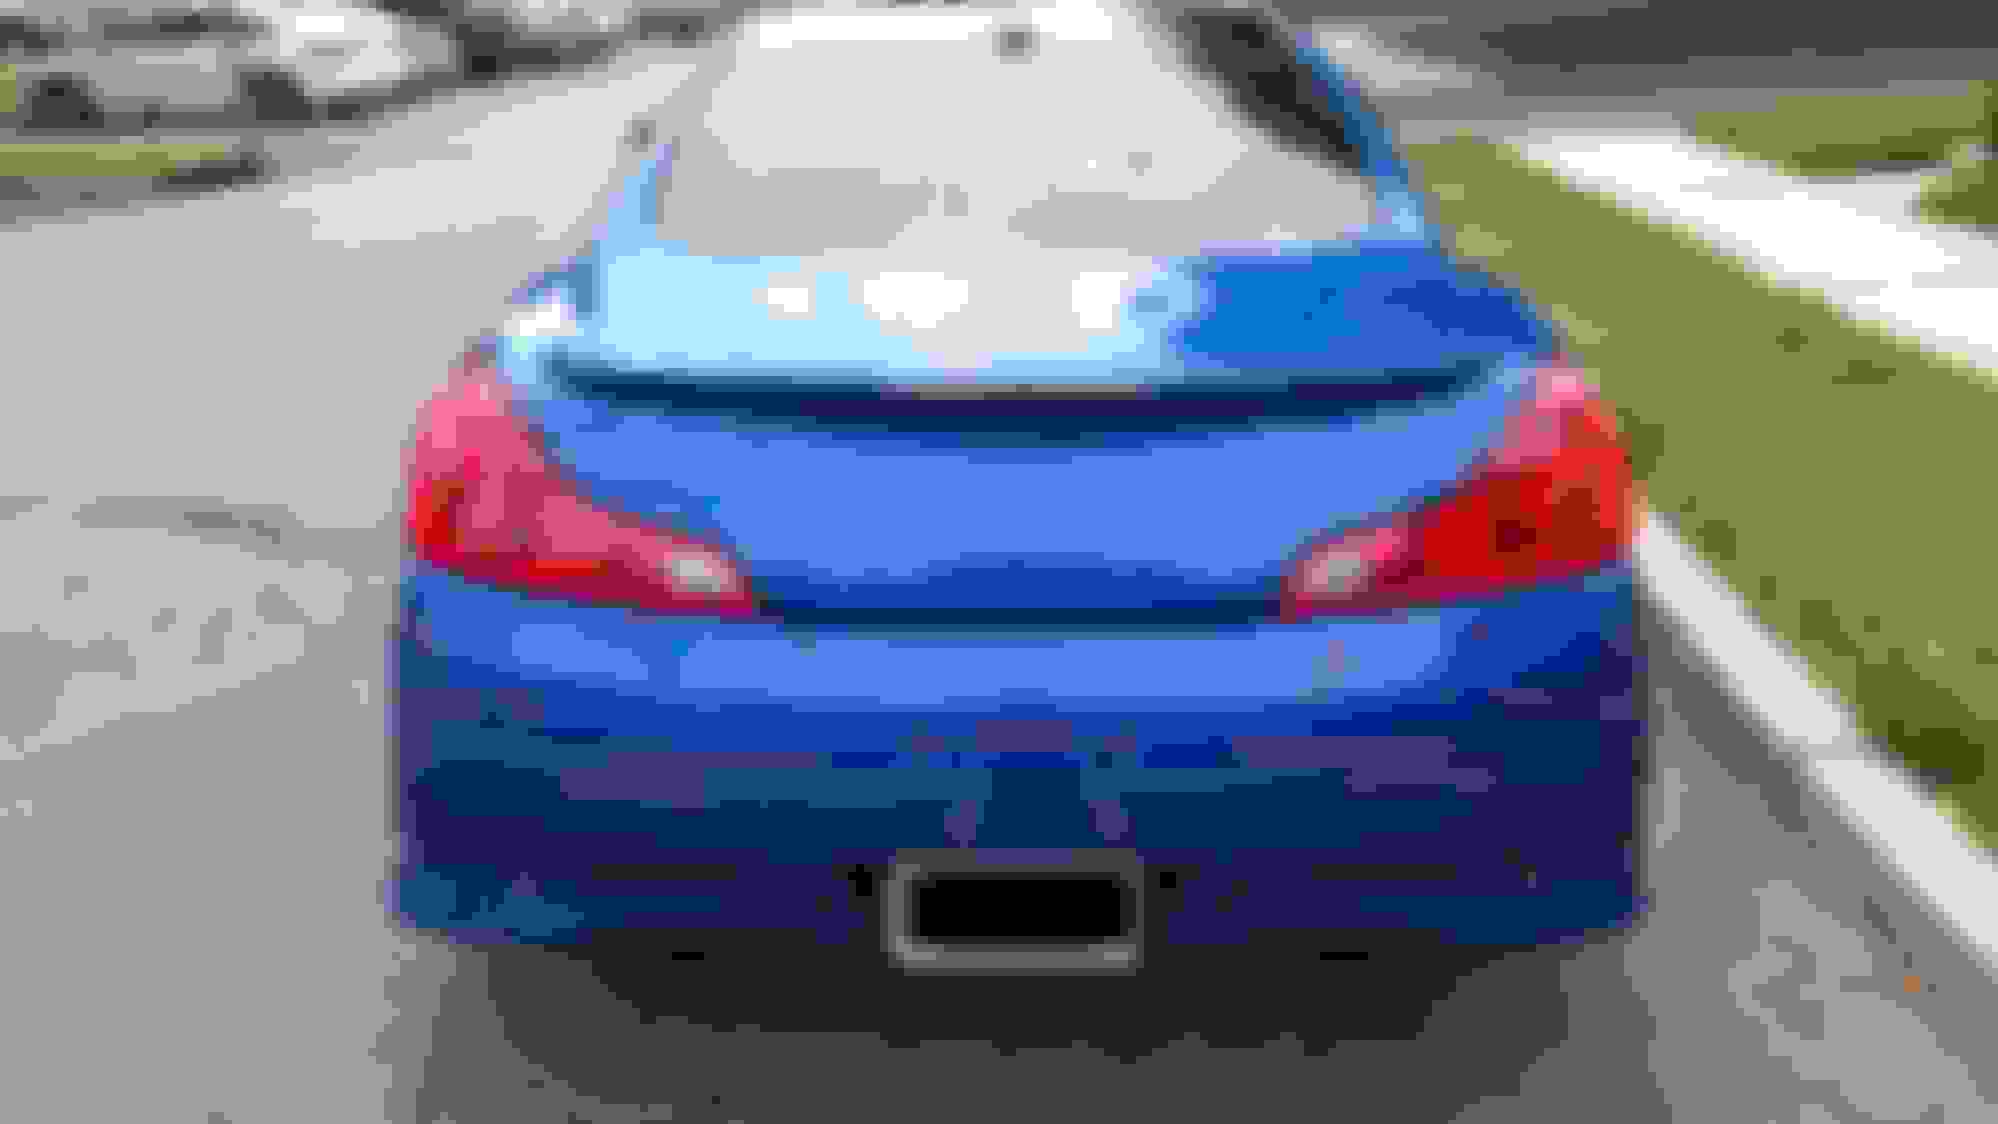
*Since the bumper measured about 120 inches in length from side to side, it would be incredibly unwieldy to handle and apply, even with 2 people. I decided to go the more efficient route of dividing this job into 3 pieces. The middle piece is the "underlay" and the side pieces are "overlays."
Step 50: Apply knifeless tape to the curved side of the bumper where it meets the rear quarters. I followed the line of the bumper so the naked eye can't easily tell that the bumper was divided.
Step 51: With the help of a friend, create glass in the middle of the bumper and make sure that the vinyl extends past the knifeless tape. Take your squeegee and anchor in the middle of the bumper parallel to the ground. Work away from the anchor with the guidelines provided below. When you get to the bottom of the bumper where it recesses and flares out again, apply with the glove.
Tip: When you apply the top of the bumper, make sure that you get way into the crevice because the trunk lid doesn't extend all the way down and your original color may show.
Tip 2: Take off your license plate and bracket. It's filthy and dirt can stick onto your film during application.
Step 52: There will be a lot of tension on the lowest point of the outer edges. This is because the film had to stretch in all other areas (all curved surfaces) and what's remaining is crumpled vinyl. You may need to heat the film to retain its initial properties to apply correctly. Don't fret if you get small wrinkling...don't compromise longevity for perfection by overheating and overstretching the vinyl.
Step 53: Make your cuts starting by the taillights and give yourself enough material to tuck, especially under the trunk lid. Cut out the piece for the license plate. I opted not to vinyl this area because the black matches my theme in other areas of the car and I wasn't comfortable with the amount of stretching needed to complete the job.
Step 54: With proper form, cut the sides with knifeless tape. Then make your cuts underneath the bumper, giving yourself at least a couple inches of space so it's not visible to bystanders. I opted to cut with a blade rather than knifeless tape because my bumper was already marred and it's plastic, so not much harm is done.
Tip: Use an exacto knife to cut out holes for your backup sensors. They work even if you cover them with vinyl, but it will prevent future air bubbles since they're slightly raised. Don't be afraid to put your blade against the rubber grommets!
Step 55: Squeegee, tuck, heat, and squeegee again.
Last edited by blnewt; Jul 4, 2016 at 11:51 AM.
Reason: taillights
Again, great work and instructions^^^^ How visible is the vinyl edge where you went overlay/underlay? That particular piece seems quite difficult, especially when you factor in the section where the lower trunk covers.
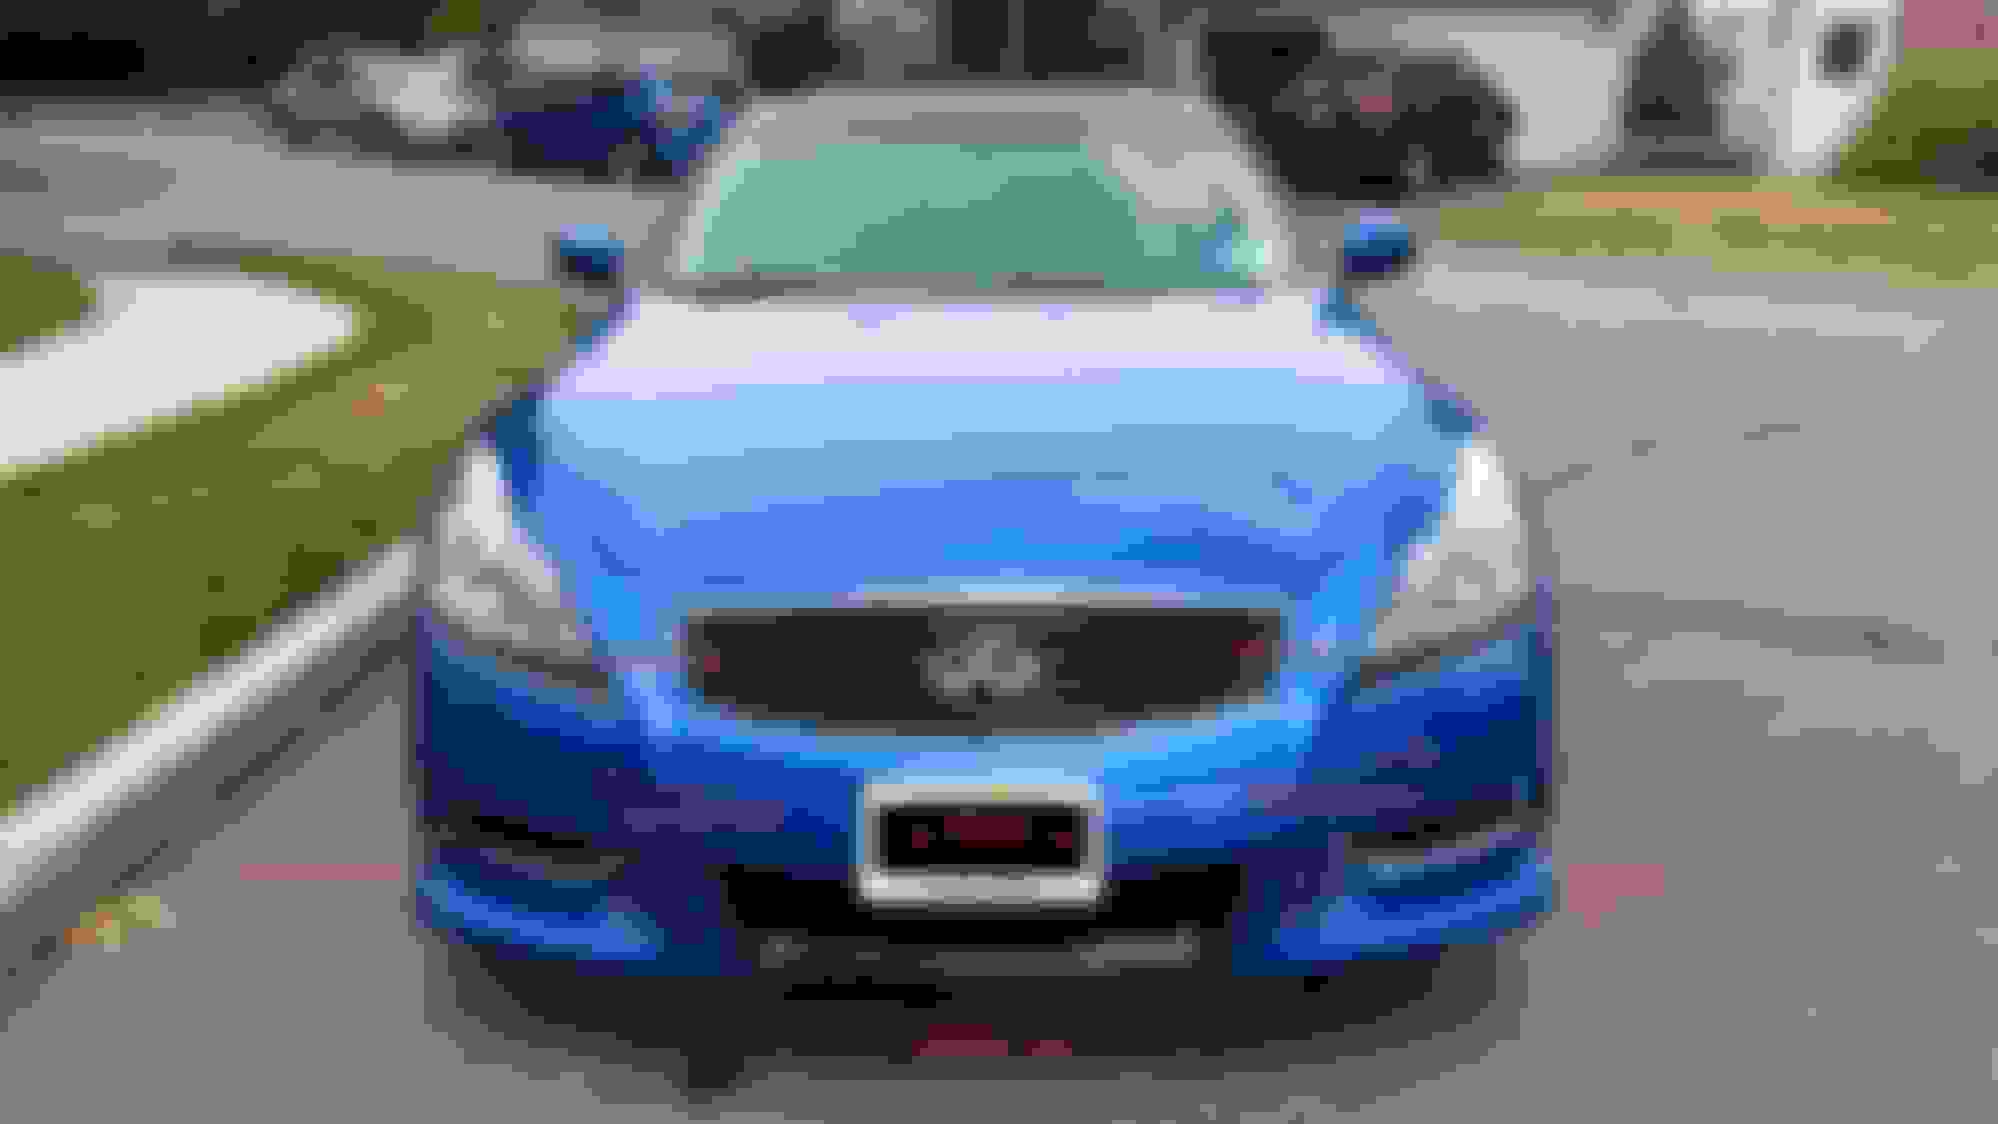
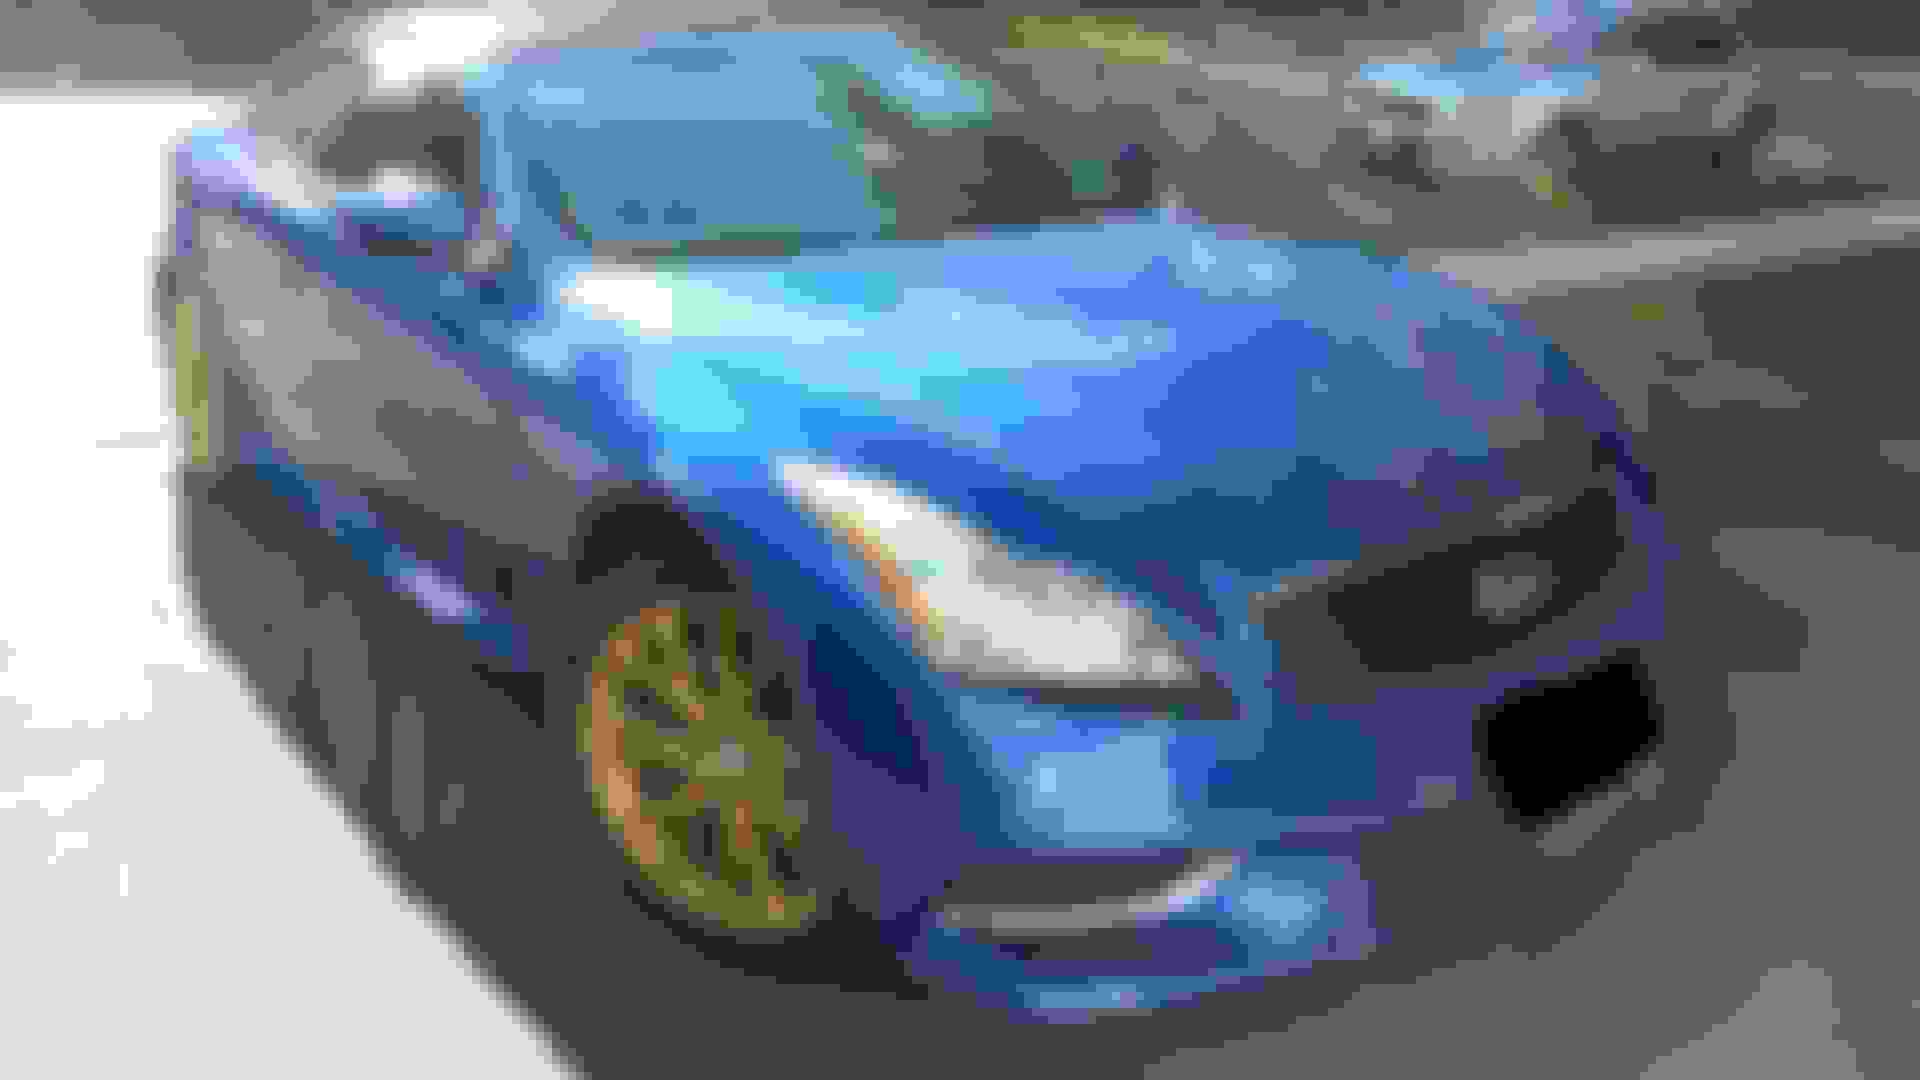
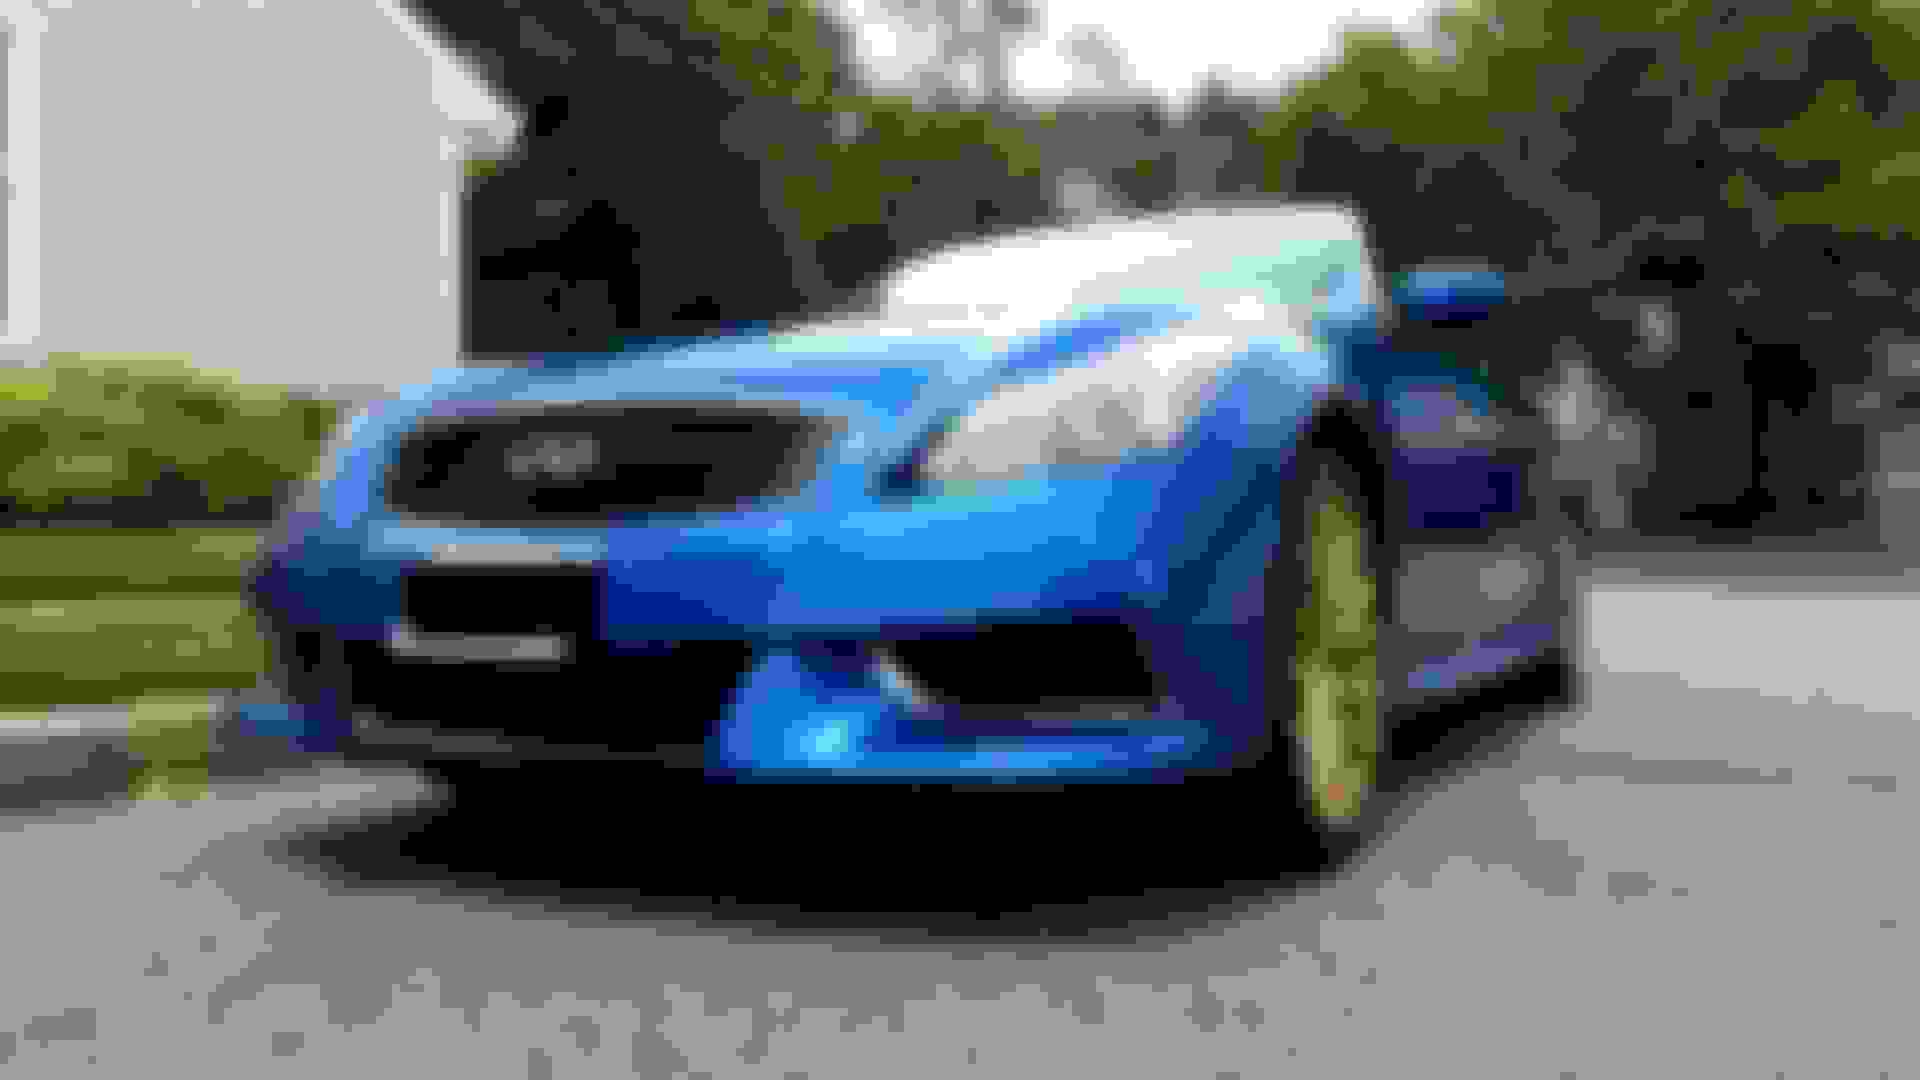
*The IPL bumper looks like an incredibly complicated shape. I decided to go with multiple pieces with overlays to cover the bumper. Please note that I decided to leave the lower middle vent black because it matches my theme.
Step 55: Apply knifeless tape near the outer diagonal line by the fog lights (fake vents on my car). Then apply knifeless tape where the scoop meets the center air vent. Apply the piece of vinyl on the flat portion of the vent first, and then apply the rest with your gloves. You will need to push upwards towards the chrome bezel, with a motion mimicking that used by the designer of the bumper.
Step 56: Cut the "underlay" with knifeless tape on both ends. Then, apply knifeless tape again to the same outer edges. Be sure that there's a small overlap so your original color does not show at this area!
Step 57: With the help of your friend, take your "overlay" and create glass in the middle of the bumper. Create an anchor with your squeegee and begin applying in horizontal strokes across the main portion of the bumper. Tuck underneath this area far enough so bystanders cannot see your original color. Use your glove from the rest of the bumper and make sure that you get into all the small grooves and recesses.
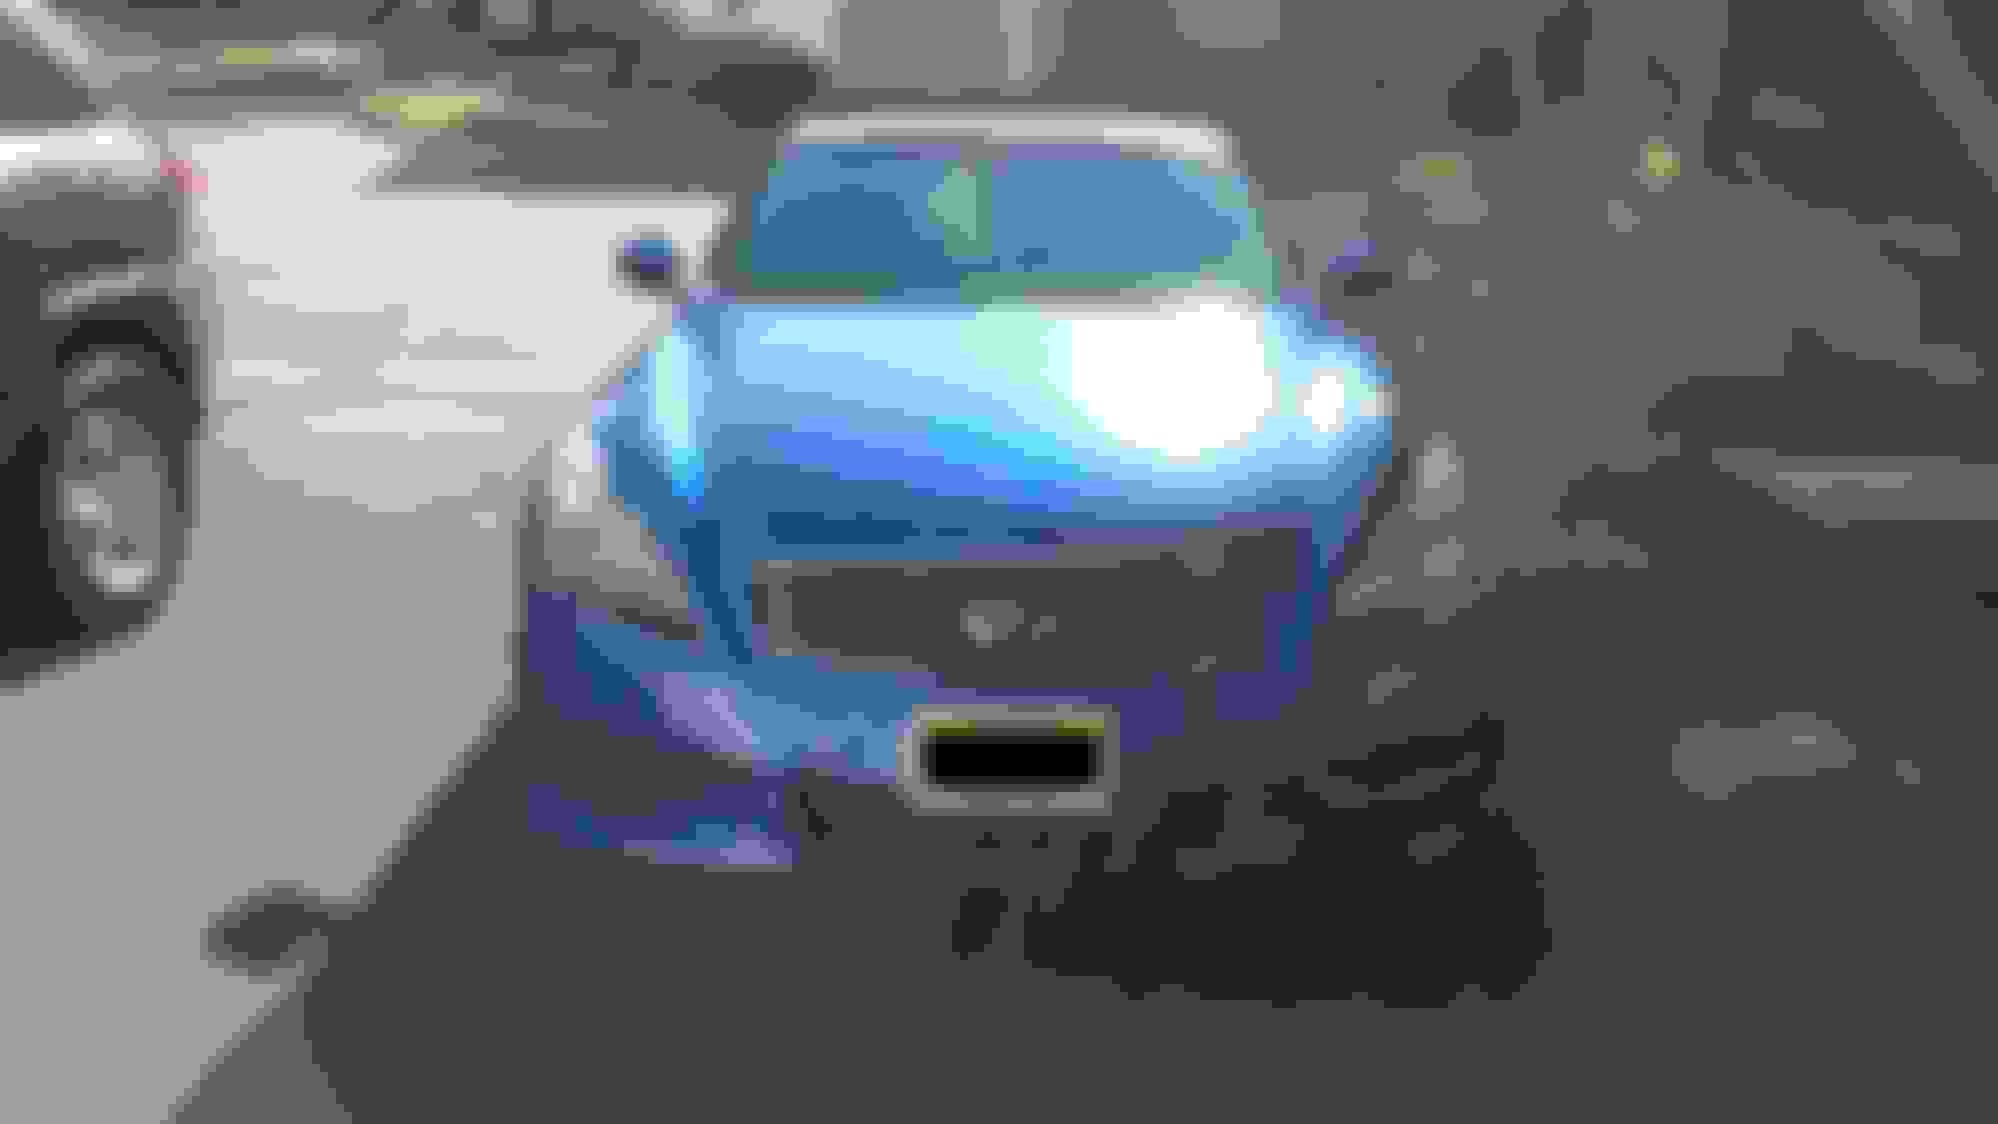
Tip: There will be an extreme amount of tension by the headlights since there's about an inch gap. Do not try to stretch the vinyl that far because it will surely rip! Instead, make small incremental relief cuts so you can slowly push the lower portion in.
*Disclaimer: I made such a big mistake on this step that I had to think on the fly and cut out "eyelids" under the headlights. I think it now resembles the Lexus ISF. Love it or hate it, but it adds to the color scheme and I didn't have to scrap the entire piece of vinyl.
Step 58: Apply the vinyl over the knifeless tape and make your cuts. Use extra caution near the hood, since you can easily gash the rubber seal. For the grille, I used the razor blade for the horizontal sections and an exacto knife for the vertical segments.
Step 59: Squeegee, tuck, heat, and squeegee again.
Way to go! I really like what you did on the fly, those strips under the headlights look even and well proportioned, looks like they belong. The lower center section left in black also looks excellent IMO.
Really a nice job there from front to back, side to side. Take a bow!
Thanks for all who provided words of encouragement during this process. This was by far the most labor-intensive "mod" that I've performed thus far, and it may be cliche to say but I'm done with modding the car this season.
Shout out to Venom for selling me his Spanish Gold IPL wheels to complete the look. Please give a warm welcome to Rex (guess where the name comes from)!
If anyone in the tristate area is interested in having your car wrapped, feel free to PM me!
Last edited by kickintheglass; Jul 4, 2016 at 12:26 PM.
I'm in LOVE LOVE LOVE with the decisions you made with that front bumper!!!!!! So great to see this work of art from start to finish and so well written in detail!


 Thank you for the kind words sir!