When you click on links to various merchants on this site and make a purchase, this can result in this site earning a commission. Affiliate programs and affiliations include, but are not limited to, the eBay Partner Network.
***AWD to RWD is a "Track Only" modification and liability for this modification is on the owner/operator. Do so at your own risk***
There has been a couple of write ups on how to do this previously but when using them I ran into issues as well as others (blown fuses, stuck in RWD...)
This is to show the correct way to accomplish this. Tools required (trim removal tool/flathead screwdriver, phillips head screwdriver, needle nose pliers, soldering iron, heat shrink, extra wire, razor blade/wire cutter)
1: The AWD module is located behind the glove box to it will need to be taken off to get to the wiring. Open the glove box and pull up on it to remove the hook latches. Then remove the tension wire on the back left by popping it off. With a couple of wiggles the box should come out.
2: Remove the phillips screws on the glove box backing. I believe there are four on the top and two on the bottom. Maybe one in the middle.
3: With all screws removed pull back on the box and it should pop right out. Disconnect all of the wiring harnesses on the back and remove it.
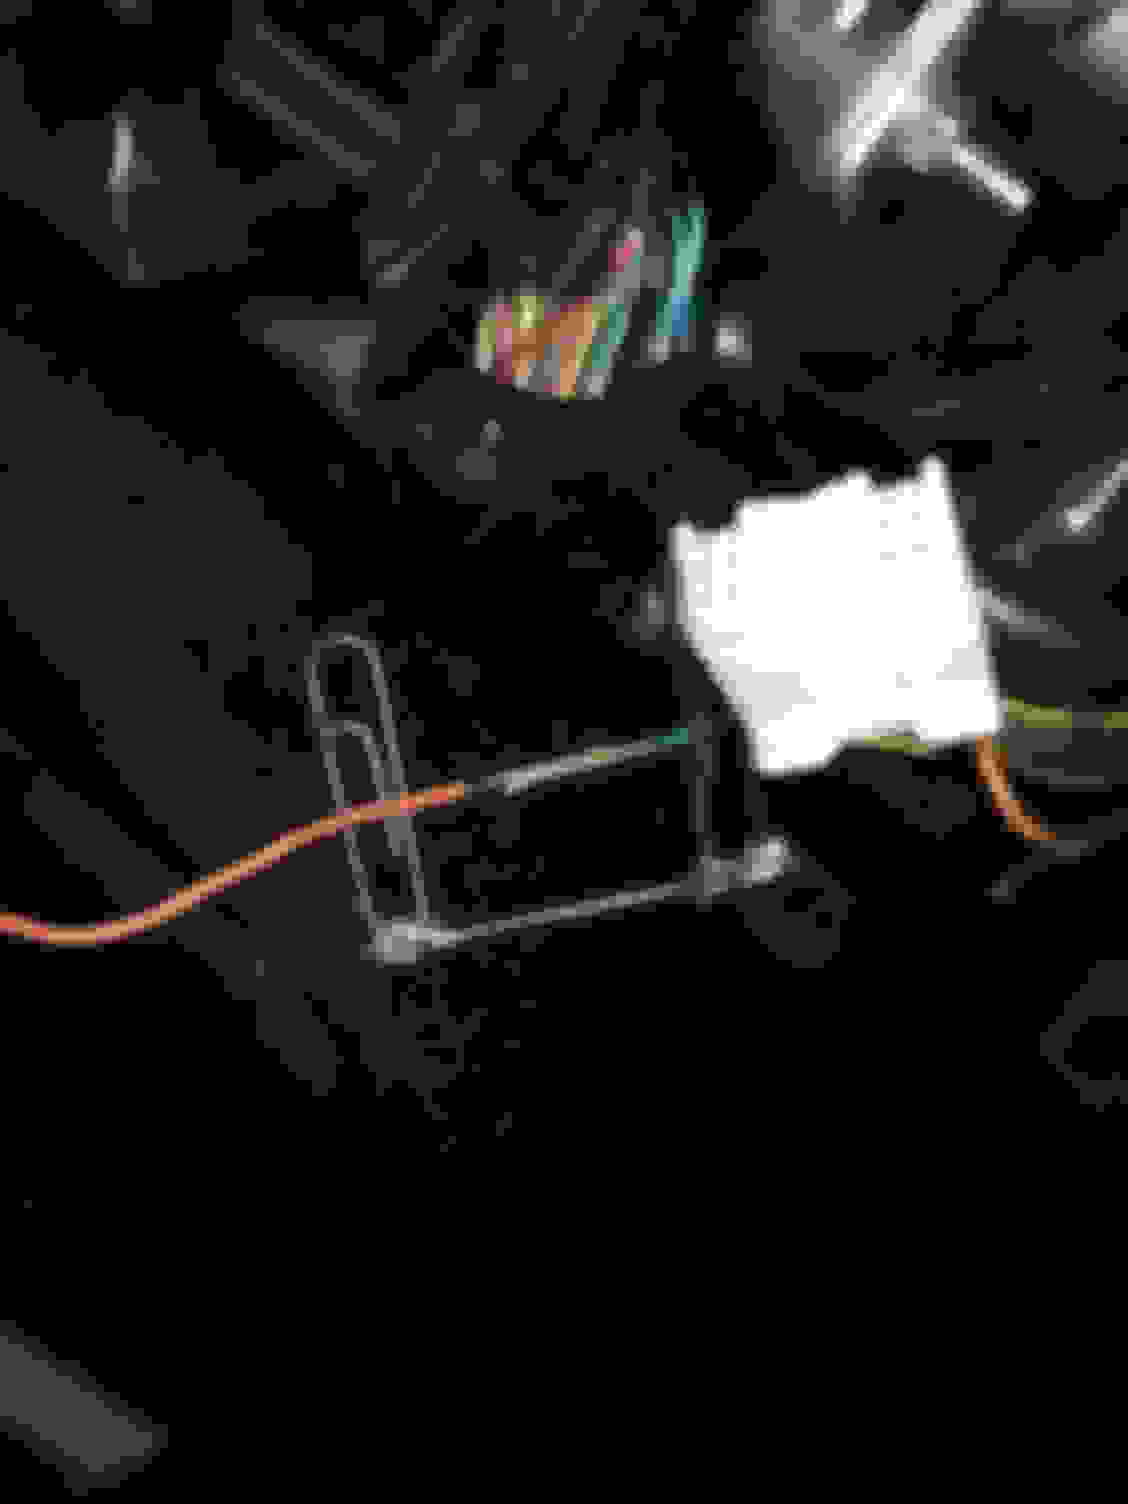
4: With this removed you are able to see the AWD module. Disconnect the plug to allow more freedom to work.
5: Other DIYs have shown the orange wire as the one to be cut but this is not the case and a mistake that I made originally. Thank you to Mr. Blackwell on Facebook for correcting me. It is actually the green wire or wire #7 in the diagram.
6: With the plug out isolate the green wire and cut it.
7: Solder your switch wires on the the green wires and place the clip back into the module. (take note of my genius soldering stand)
8: Run your wires to your switch and you're done.
As a caveat, only toggle your switch with the car off or you may blow a fuse. The fuse is a 10amp located by the battery (ETS Fuse). I am going to try to see if I can up the fuse amperage in order to use the switch while the car is on. Also, this switch has worked differently for me than others as it shuts off my traction control as well (but that isn't really a problem).