D.I.Y. Installations/Modifications Do It Yourself guides and information for the G37. Stickies approved by Administrators and Moderators.

DIY: G37 Sedan Illuminated Door Sill Installation

Thread Tools
 
Search this Thread
 
Old 01-04-2019, 08:46 AM
  #16  
atreyu285
Registered Member
 
atreyu285's Avatar
 
Join Date: Jan 2019
Posts: 13
Likes: 0
Received 0 Likes on 0 Posts
So how would this work for a set that doesn't come with the t-harness? I have a 2010 g37xs
Old 01-04-2019, 03:57 PM
  #17  
jpowersjr2
Registered Member
iTrader: (1)
 
jpowersjr2's Avatar
 
Join Date: Jun 2014
Location: Brentwood, TN
Posts: 1,296
Received 218 Likes on 194 Posts
With the T-harness? Are you referring to where on side goes to the passenger side sill and the other splits off to be run from one side to the other for the driver sill? I bought a kit from iCrap so if you'll elaborate some more I can probably help.

Last edited by jpowersjr2; 01-04-2019 at 04:08 PM.
Old 01-04-2019, 06:54 PM
  #18  
Str8Gtime
Registered Member
 
Str8Gtime's Avatar
 
Join Date: Sep 2015
Posts: 24
Likes: 0
Received 5 Likes on 4 Posts
No harness

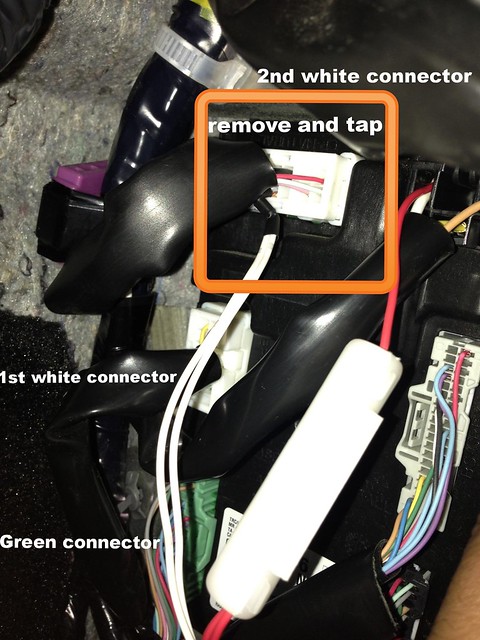
Correct me if I’m wrong but I don’t believe it is a t harness- all 2nd gen g’s just had a harness for the illuminated kick plates. For those sold without them they are just a plug with nothing going into it?

If installing without a harness - just tap the two wires - if you need to know which wires then look up the diy section as it is explained with pictures
Old 01-04-2019, 07:01 PM
  #19  
jpowersjr2
Registered Member
iTrader: (1)
 
jpowersjr2's Avatar
 
Join Date: Jun 2014
Location: Brentwood, TN
Posts: 1,296
Received 218 Likes on 194 Posts
Yeah I think you're right Str8Gtime but I'm not sure if there's an extra plug or if it's just extra wires within the existing plug. If that makes sense.

But yeah tap the two wires mentioned in these threads and you'll be good.

FWIW I tried searching for the factory harness with no luck. You'd have to find a wrecked G with factory illuminated sills and pull the harness from it. Too much trouble and not needed.
Old 01-04-2019, 11:08 PM
  #20  
atreyu285
Registered Member
 
atreyu285's Avatar
 
Join Date: Jan 2019
Posts: 13
Likes: 0
Received 0 Likes on 0 Posts

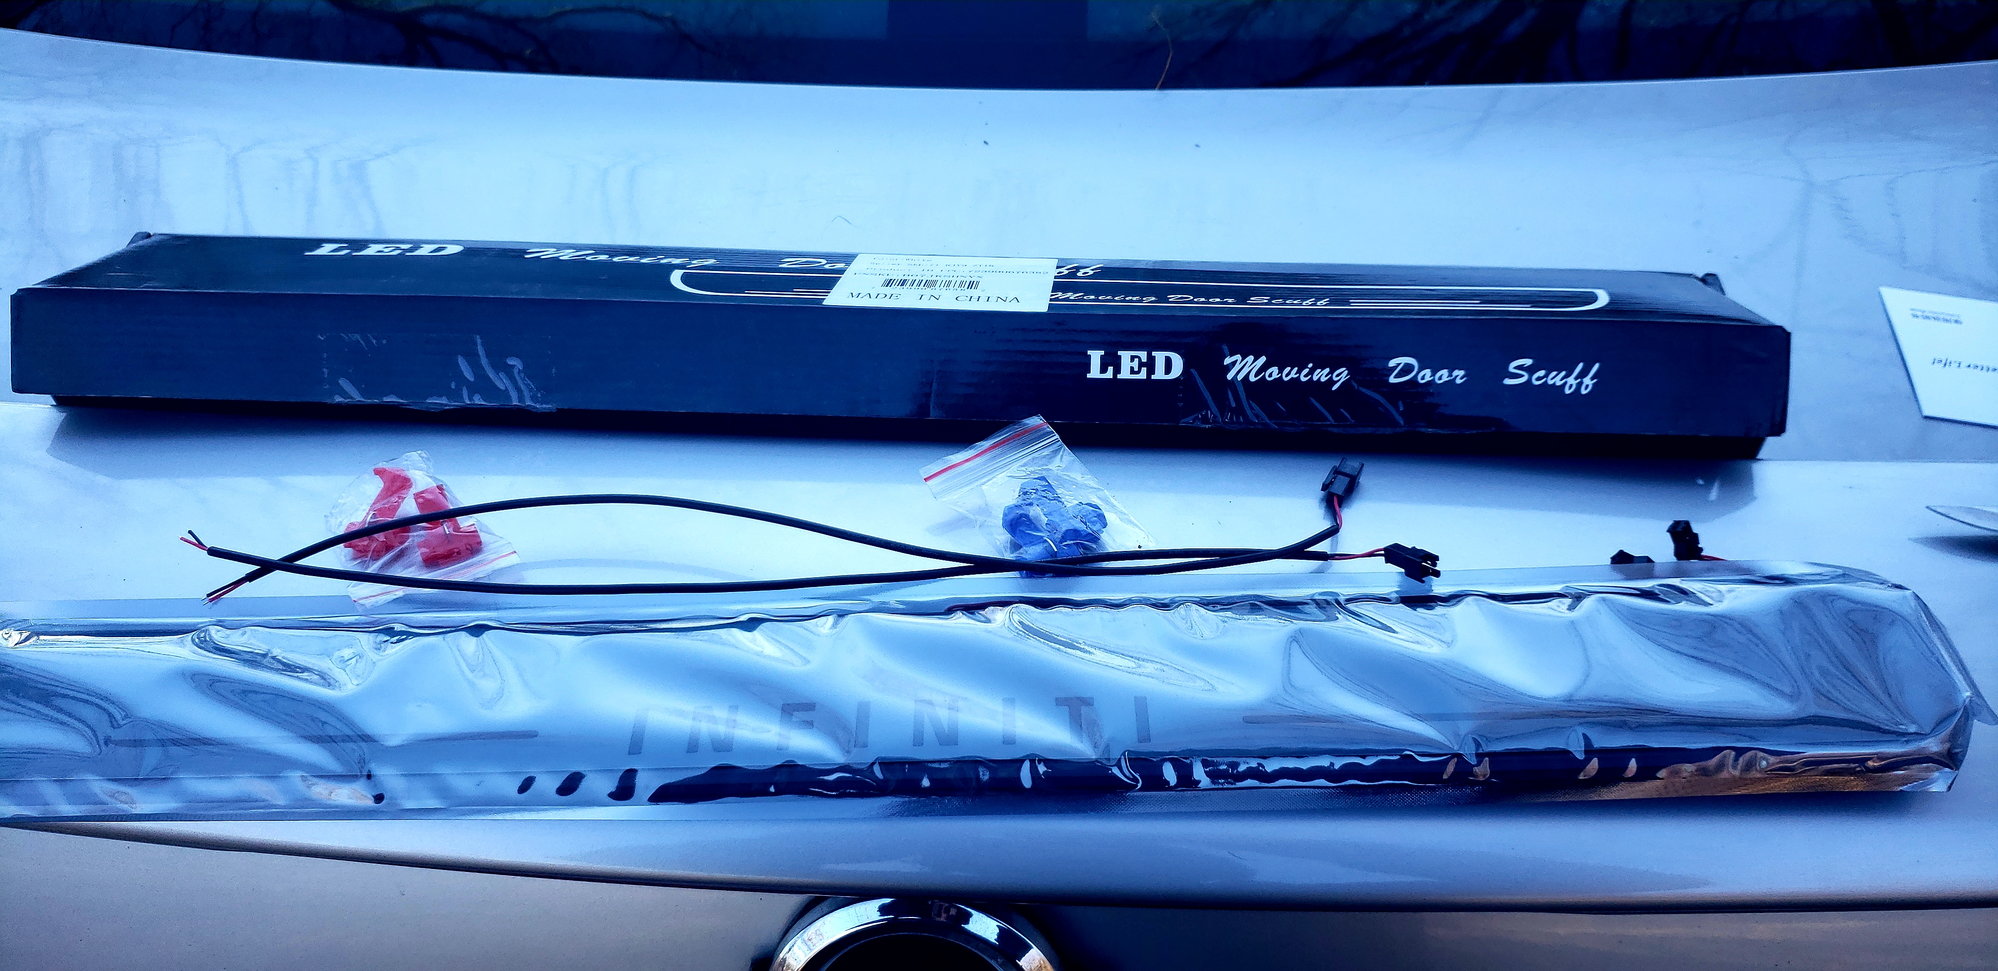
Mine is straight aftermarket and looks like this
Old 01-05-2019, 12:01 AM
  #21  
Str8Gtime
Registered Member
 
Str8Gtime's Avatar
 
Join Date: Sep 2015
Posts: 24
Likes: 0
Received 5 Likes on 4 Posts
Originally Posted by atreyu285

Mine is straight aftermarket and looks like this

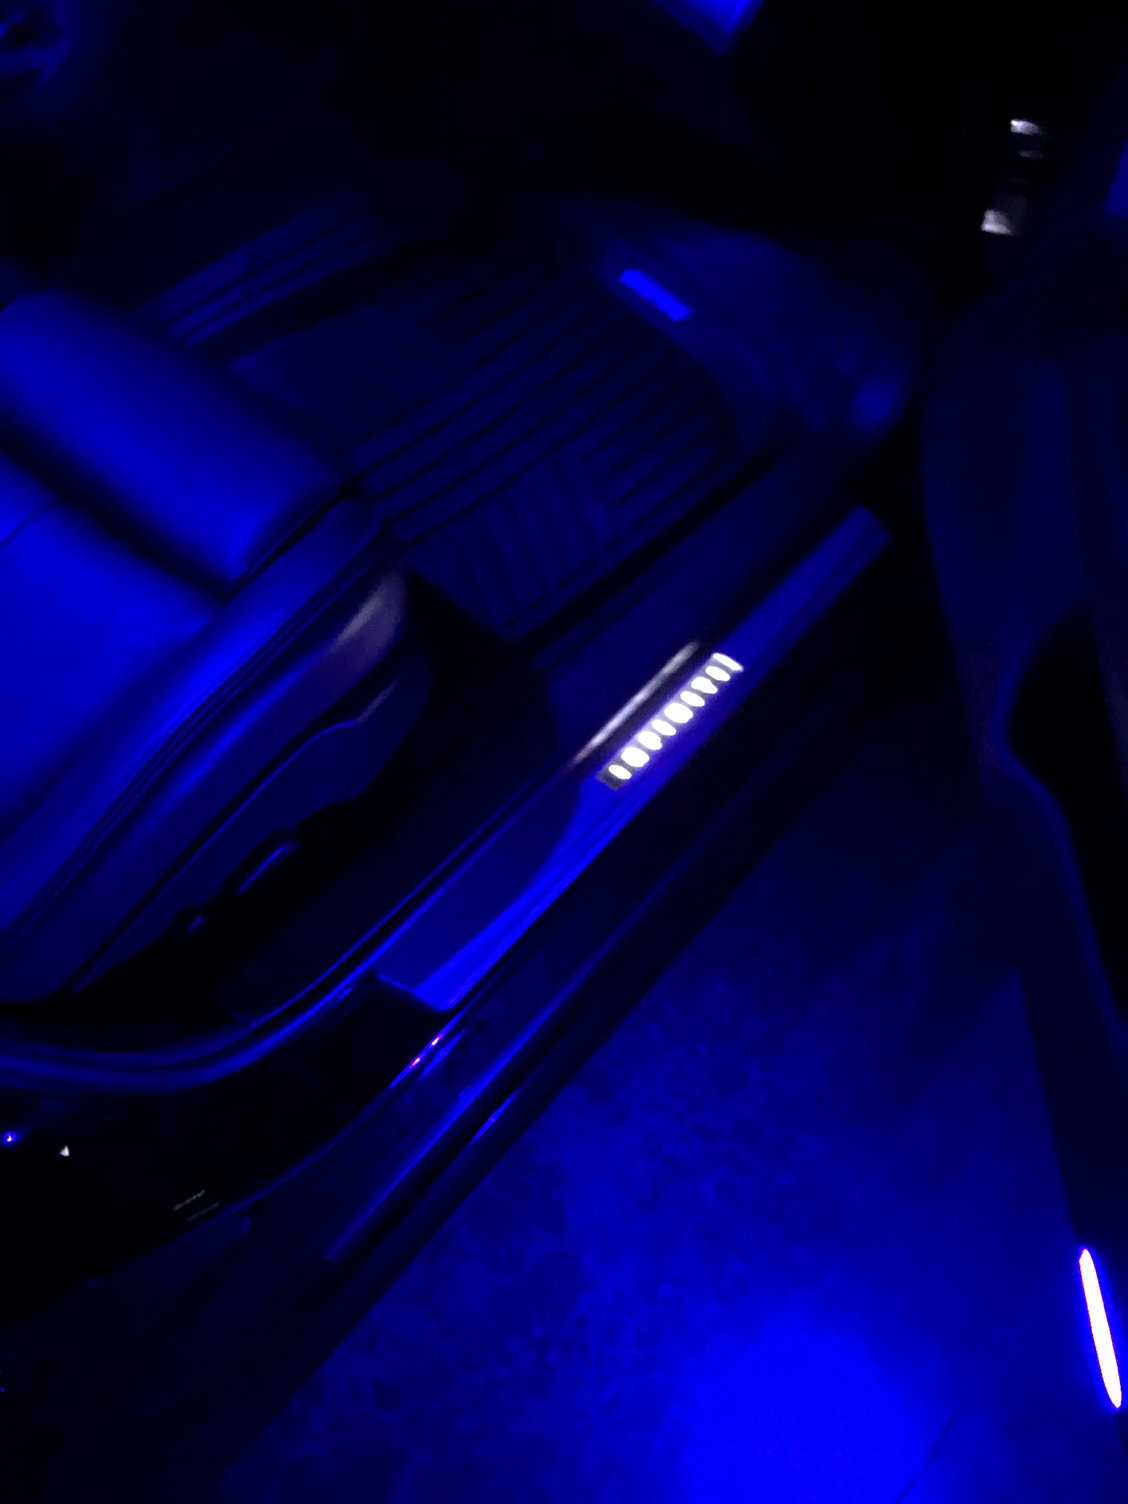
how did that turn out btw? got any after install pics?
Old 01-05-2019, 12:18 AM
  #22  
atreyu285
Registered Member
 
atreyu285's Avatar
 
Join Date: Jan 2019
Posts: 13
Likes: 0
Received 0 Likes on 0 Posts
Originally Posted by Str8Gtime
how did that turn out btw? got any after install pics?
I have yet to install. I am looking for answers on what I can tap into since I do not have the harness that is mentioned in the thread
Old 01-05-2019, 12:21 AM
  #23  
jpowersjr2
Registered Member
iTrader: (1)
 
jpowersjr2's Avatar
 
Join Date: Jun 2014
Location: Brentwood, TN
Posts: 1,296
Received 218 Likes on 194 Posts
Re-read the thread. Post #1 about halfway down. I don't have the harness either and this guide worked for me.
Old 01-05-2019, 12:47 AM
  #24  
Str8Gtime
Registered Member
 
Str8Gtime's Avatar
 
Join Date: Sep 2015
Posts: 24
Likes: 0
Received 5 Likes on 4 Posts


Establishing Connectivity
Remove the shielding on the harness to expose the wires

Switch to the illuminated sill harness - take a pair of wire cutters and remove the plug on the end of the harness. Ensure you are cutting the plug off IN FRONT of the inline fuse, and NOT either of the plugs that accept sills themselves.

Use a pair of t-tap wire connectors to connect the RED and WHITE wires from the sill harness to the BCM harness.

WHITE (SILL HARNESS) connects to > SKY BLUE (BCM HARNESS)

RED (SILL HARNESS) connects to > MINT GREEN (BCM HARNESS)

Looks like white wire from the kick plate goes to the plug pictured above and the sky blue wire

Red -> mint green from the same plug

I tapped this plug to install my footwell lighting. Pretty sure it is just the interior light / dome light circuit but if you are cautious like i was - maybe just buy an inline fuse just in case?
The following users liked this post:
jpowersjr2 (01-05-2019)
Old 01-14-2020, 08:32 PM
  #25  
KImChee
Registered Member
iTrader: (1)
 
KImChee's Avatar
 
Join Date: Sep 2019
Location: Ohio
Posts: 279
Received 48 Likes on 40 Posts
I installed these thanks to the instructions. Thank you!

The following users liked this post:
jpowersjr2 (01-19-2020)
Old 05-05-2020, 05:28 PM
  #26  
Rich11G37xS
Registered Member
 
Rich11G37xS's Avatar
 
Join Date: Aug 2016
Location: Endicott, NY
Posts: 240
Received 19 Likes on 17 Posts
what am I not seeing here, I happened to find the stock sills on a 2012G37x at a junk yard today , paid $5.....I took that connector off....so now Im just seeing a red and white wires....It looks like you have the red wire coming from the fuse? to the brownish connector and the white to the lt blue, I haven't used the T tap connectors...what am I missing here , is there another pic you can show ??
Old 08-09-2020, 10:45 AM
  #27  
Levi4689
Registered Member
 
Levi4689's Avatar
 
Join Date: Jul 2020
Posts: 22
Likes: 0
Received 1 Like on 1 Post
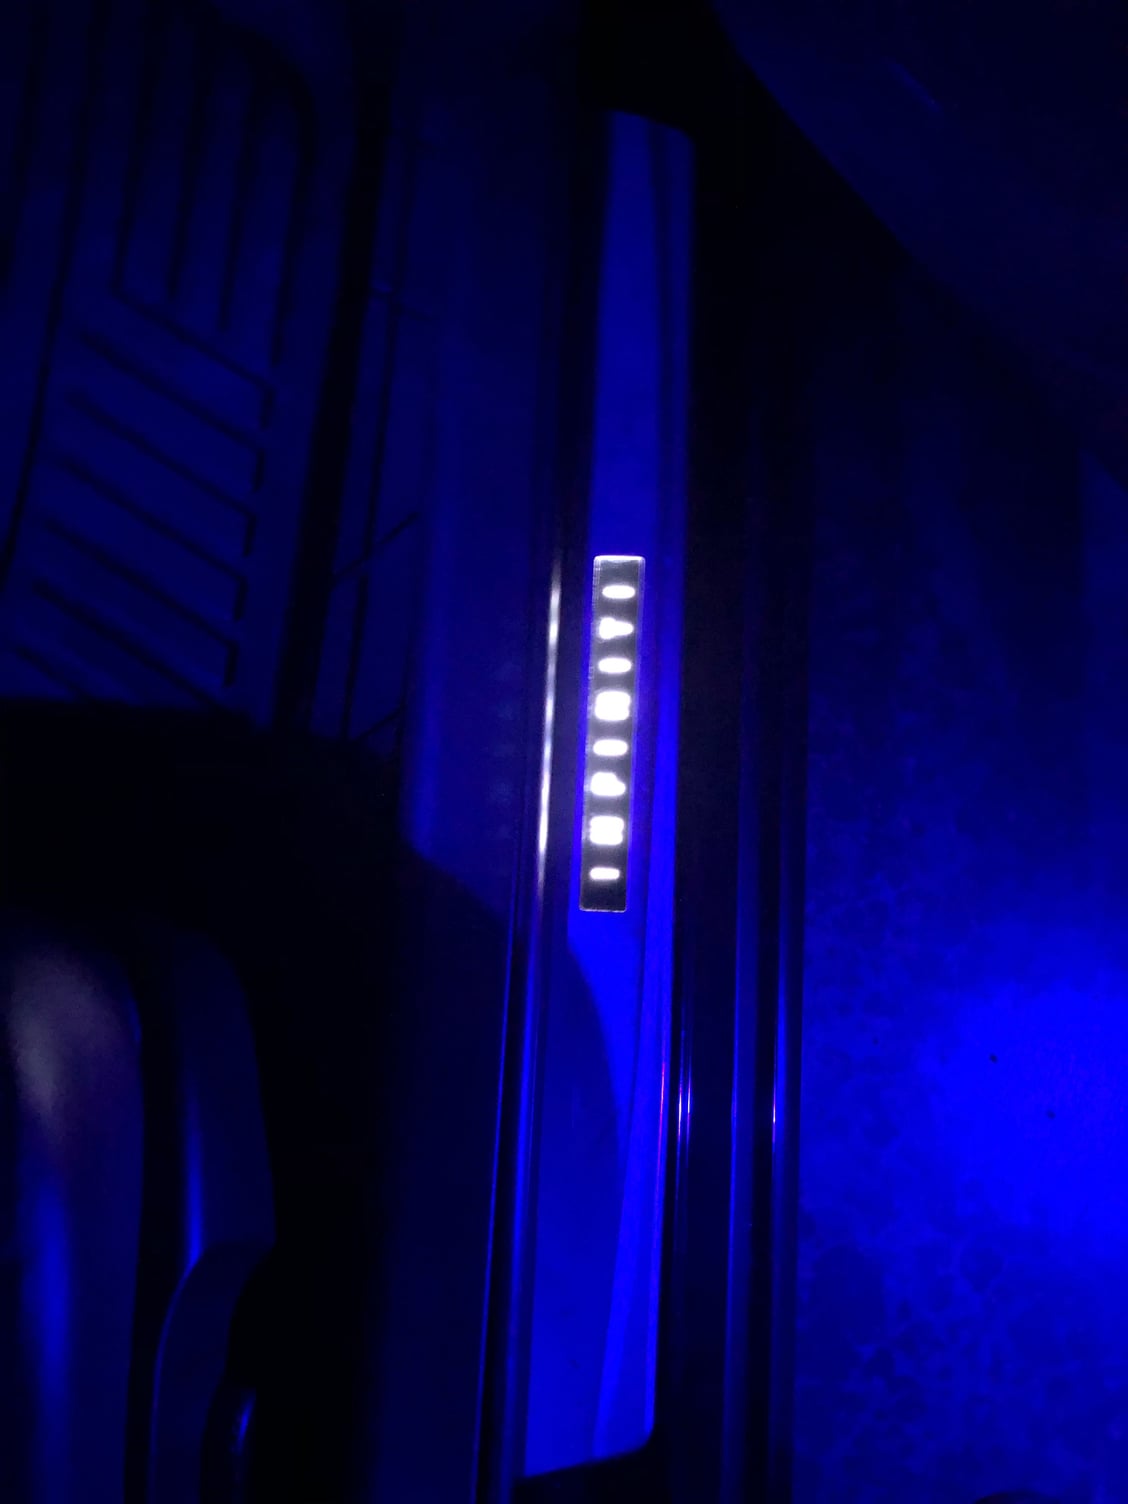
I already have illuminated kick plates but they need replacing. They don’t fully light up. Only the middle of the Infiniti lights up, not the full word. It looks really bad but since I already have the illuminated kick plates, if I could get some used ones that worked good, would it just be plug and play?
Old 08-09-2020, 11:39 AM
  #28  
ILM-NC G37S
Registered Member

iTrader: (3)
 
ILM-NC G37S's Avatar
 
Join Date: Apr 2014
Location: NC
Posts: 4,073
Received 1,253 Likes on 1,015 Posts
Originally Posted by Levi4689
I already have illuminated kick plates but they need replacing. Since I already have the illuminated kick plates, if I could get some used ones that worked good, would it just be plug and play?
Yes, one connector for each sill. 15min. job at most.
Old 08-09-2020, 11:41 AM
  #29  
Levi4689
Registered Member
 
Levi4689's Avatar
 
Join Date: Jul 2020
Posts: 22
Likes: 0
Received 1 Like on 1 Post
Originally Posted by ILM-NC G37S
Yes, one connector for each sill. 15min. job at most.
Yo thanks for the response. That’s a bit of a relief. Good to hear it’s as easy as I thought.
Old 05-25-2023, 03:34 PM
  #30  
AMP_01
Registered Member
 
AMP_01's Avatar
 
Join Date: Feb 2023
Posts: 44
Received 0 Likes on 0 Posts
Quick question:

What's stopping someone from tapping into the door lights that project towards the ground when you open it? Wouldn't that be much simpler?


Quick Reply: DIY: G37 Sedan Illuminated Door Sill Installation


All times are GMT -4. The time now is 06:44 PM.