When you click on links to various merchants on this site and make a purchase, this can result in this site earning a commission. Affiliate programs and affiliations include, but are not limited to, the eBay Partner Network.
Today I finally decided to install the Z1 motorsports master cylinder brace. This is a part that is extremely difficult to reach and very time consuming to install as a result. Knowing these facts, I recommend the following "tools:"
Punching bag
Trim piece puller
Stiff drink
Long needle nose pliers
Make sure no kids are around
Hook and pic set
Every extension, flex and swivel socket you own and then go buy a few more
Magnetic pick up tool
Match
5mm ball end hex bit socket
rubber gloves and thin breathable grippy gloves
Below you will see some of the tools you will need (not shown- the 27 different combinations of sockets, extensions, swivel and flex sockets needed to access 3 stupid allen bolts.)
Step 1: Take a lot of time to slowly remove the four plastic plugs in the threads you will need with the hook and pic set and long needle nose pliers. Be careful not to drop them as there is no easy way to get them back. Be sure to take breaks between the plugs to get ample use of the punching bag and stiff drink.
Step 2: After swearing for 1/2 an hour trying to get all 4 plugs out, take the match and set the directions from Z1 on fire.
Step 3: Use the rubber gloves to hold onto and very carefully maneuver the bracket into position. If you don't use the rubber gloves, order another bracket as your sweaty hands will drop it while trying to position it and you will never see it again because it is aluminum and your magnetic pick up tool only works on steel.
Step 4: Lower the allen bolt into position with the magnetic pick up tool into the hole closest to the driver's fender. Now with your (3rd?) hand try to figure out a way to get your hex socket into the allen bolt to spin it and get it started. Do not tighten it all the way down!
Step 5: After spending at least 30 minutes trying to fit all the tools and your hands in any position possible to install one simple allen bolt, thank God, slam the rest of your drink and go pour another.
Step 6: Spend the next 45min-1 hour trying to figure out how in the hell to get the allen bolt closest to the engine into position by dislocating most of your fingers and using every extension, flex socket and swivel socket known to man. Be sure to use the thin breathable grippy gloves so as not to tear off all the remaining skin on your hands.
Step 7: Pat yourself on the back (this will be easier to do now that most of your joints are dislocated.
Step 8: Waste 20 minutes trying to get the middle allen bolt into position with a hex socket that does not have a ball end only to realize you actually do need that part. Good news, Sears closed 9 minutes ago so take the rest of the night off.
To be continued...
This is such gold lol. I plan on doing this, this weekend 4DRZ. You sure you don't want to come to Milwaukee to re-live the experience with me? I still look to your build for inspiration. You should tag along to some of our local gatherings (if you're on FB or not).
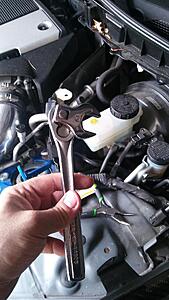
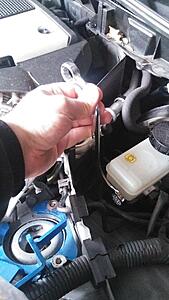
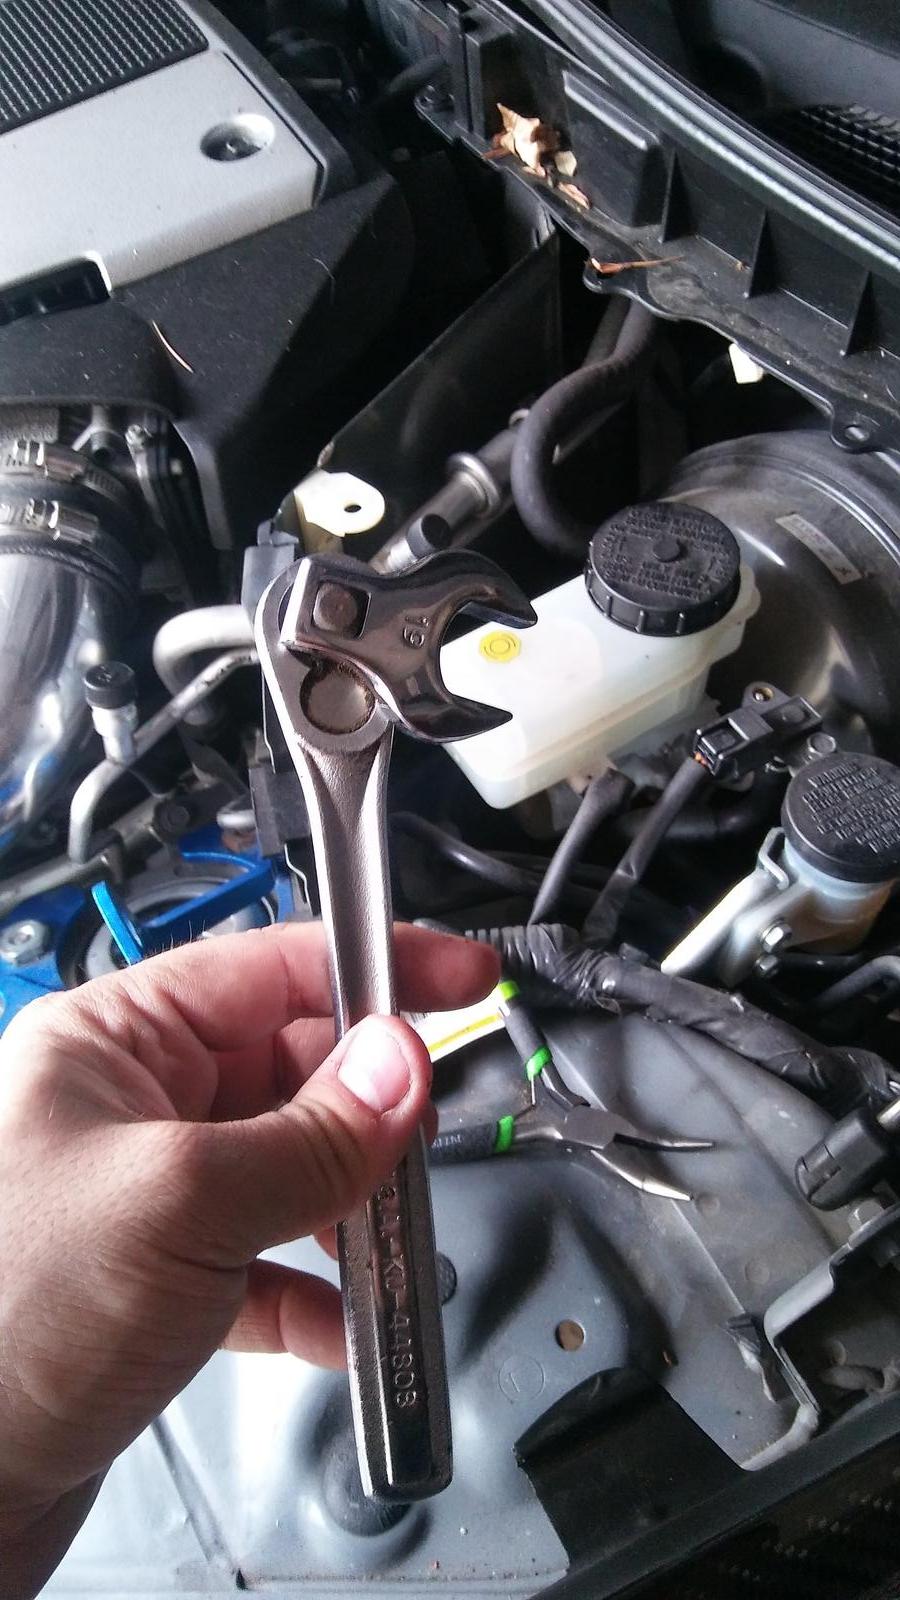
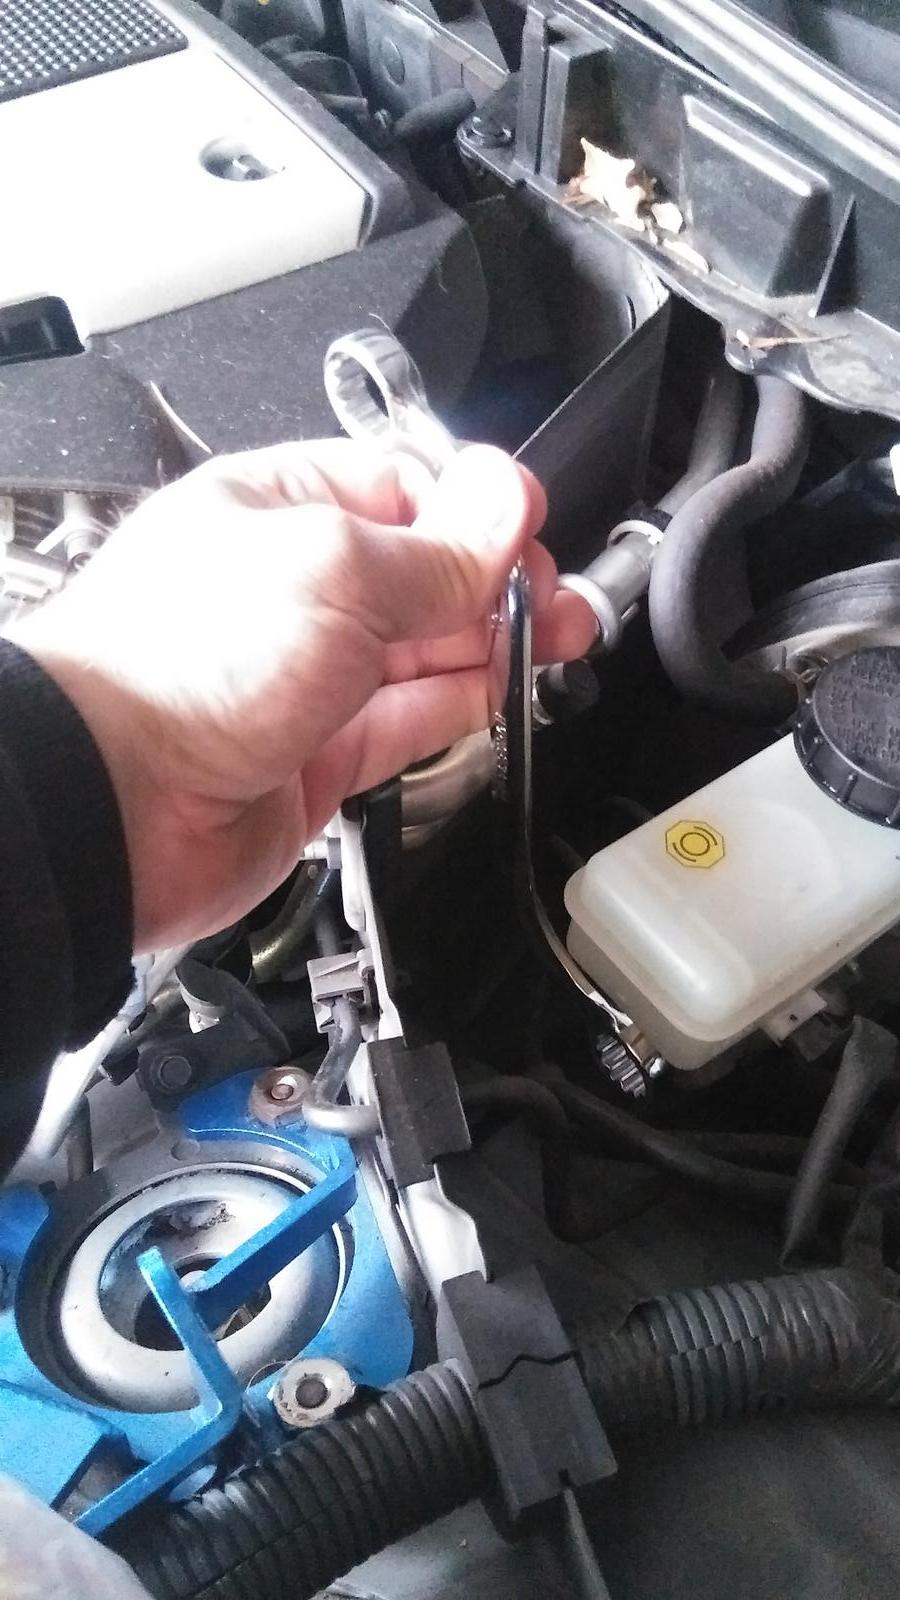
Alright I haven't started mine yet, but I did buy some tools in advance for the project. I couldn't find a 19mm wrench like you borrowed, but I did find a couple alternatives which I will try and make work.
Alright I haven't started mine yet, but I did buy some tools in advance for the project. I couldn't find a 19mm wrench like you borrowed, but I did find a couple alternatives which I will try and make work.
I will let you know how they work out.
Good luck! I tried one of those open ended wrenches you attach to a socket (I think for this project) and it did not really help. However, that S-shaped box wrench looks to be the business. Let me know how it goes. And don't forget to pour yourself a stiff drink (or 6). If nothing else, it will eventually help numb the pain.
I am not in Milwaukee too often, but what is the group name on the book of faces?
Originally Posted by projectpanda13
I had the same issue with my Z1 magnetic drain plug sadly.
I noticed they now have 17lb/ft. listed on their website and they even have 17lb/ft. etched into the drain plug. Clearly they are aware of the problem now.
Good luck! I tried one of those open ended wrenches you attach to a socket (I think for this project) and it did not really help. However, that S-shaped box wrench looks to be the business. Let me know how it goes. And don't forget to pour yourself a stiff drink (or 6). If nothing else, it will eventually help numb the pain.
I am not in Milwaukee too often, but what is the group name on the book of faces?
Alright, I totally cheated! You're going to hate me when you realize how easy this can be lol. I already have my brake fluid completely drained since I haven't bleed or put the new fluid in since doing the brake system. I'd recommend to ANYONE who wants to do this, that they do it the same time they plan on flushing their brake fluid or bleeding brakes!!!!! Excuse the TERRIBLE pictures, flash was funky. Basically the jist is: Remove the damn lines that are perfectly in the way of the location the brace will be installed. Just unscrew all 4 ends, pop the clutch fluid bracket off, and 2 connections, and wiggle those guys out. Then you can actually just fit your hand in the other side and start threading them manually. Then I used a swivel socket with the same ballpoint hex tools that 4drz used, and it easily fit. My 19mm stuff all back fired on me, those S wrenched would have been perfect if they were open ended. I didn't think that far ahead or didn't exactly understand how to install when I was shopping. Then just reverse the order to reinstall.
I think if I did it again, and with the proper tools, it could be done in 30 min. I did try it the normal way and I'd say it would have been impossible for me personally.
Someone on here recommended retaining washers. I did that and it made the install pretty painless. About 20min
Alright, I totally cheated! You're going to hate me when you realize how easy this can be lol. I already have my brake fluid completely drained since I haven't bleed or put the new fluid in since doing the brake system. I'd recommend to ANYONE who wants to do this, that they do it the same time they plan on flushing their brake fluid or bleeding brakes!!!!! Excuse the TERRIBLE pictures, flash was funky. Basically the jist is: Remove the damn lines that are perfectly in the way of the location the brace will be installed. Just unscrew all 4 ends, pop the clutch fluid bracket off, and 2 connections, and wiggle those guys out. Then you can actually just fit your hand in the other side and start threading them manually. Then I used a swivel socket with the same ballpoint hex tools that 4drz used, and it easily fit. My 19mm stuff all back fired on me, those S wrenched would have been perfect if they were open ended. I didn't think that far ahead or didn't exactly understand how to install when I was shopping. Then just reverse the order to reinstall.
I think if I did it again, and with the proper tools, it could be done in 30 min. I did try it the normal way and I'd say it would have been impossible for me personally.
Cheaters never win and winners never cheat.
Congrats on being creative. I gave the same idea some serious thought after I crushed my knuckles about the 5th time. Unfortunately the timing was bad as I run expensive high temp brake fluid for track days and I had already done that recently. Besides, doing it your way ensures that you will never have the huge disappointment of realizing that your hands are all beat up for a mod that has very small benefits. Stainless braided brake lines are a far more straight forward install with much bigger returns in pedal feel.
Congrats on being creative. I gave the same idea some serious thought after I crushed my knuckles about the 5th time. Unfortunately the timing was bad as I run expensive high temp brake fluid for track days and I had already done that recently. Besides, doing it your way ensures that you will never have the huge disappointment of realizing that your hands are all beat up for a mod that has very small benefits. Stainless braided brake lines are a far more straight forward install with much bigger returns in pedal feel.
I will probably never know how much my new brakes, lines, and brace change the braking dynamics. Ive only drove this car 100 miles since I bought it lol. I will not be reviewing for this reason.
I'm working on my bumper now, so ill be doing the air ducts soon!
I will probably never know how much my new brakes, lines, and brace change the braking dynamics. Ive only drove this car 100 miles since I bought it lol. I will not be reviewing for this reason.
I'm working on my bumper now, so ill be doing the air ducts soon!
Brake ducts? Those are fairly straight forward with a bit of creativity.
My weekend project is to repaint my Z1 2pc. front rotors with extreme high temperature paint to see if it holds up better during a track day. It should be pretty straight forward, but I am a little concerned about baking them in the oven for 30 min 3 times at 3 different temps so the paint cures properly. I really hope my house does not smell like paint.
The prep work is easily the most time consuming part. Trying to tape off a round surface with straight tape is a real pain. Too many sections of 1" green tape. This is after sanding the rust and using brake clean to prep the surface.
If you look closely at the caliper you can see that only the outside is turning slightly gold due to the heat from a track day. Probably because that is the only part with normal paint. The inner part of the caliper does not appear to be changing color at all. Strange.
I knew these chairs would finally come in handy for something.
This morning I spent way too much time prepping the rotors, but it was necessary as the rust was on a lot thicker than I imagined.
Here are both rotors after a significant amount of sanding and before and after masking. Quite time consuming, but necessary.
After about another 45 min + per rotor with a dremel and more sanding. If you look closely at the center of the rotor on the right you can see the dremel bit that so bravely gave its life to the cause. It was worn down to a nub by the end, but it saved a lot of sanding.
Here are the rotors after their 1st or 2nd coat of ultra high temp paint and my super advanced rotor drying system. In about an hour I can start cooking them in the oven to cure the paint. I really hope this doesn't stink up the house.
That was a very time consuming project with strange results. The part I painted turned out great and I hope it holds up to track temps as advertised. The strange part is that that aluminum hats changed color. They got lighter, almost bronze. It is hard to tell in this picture, but with the anthracite wheels and gold-ish calipers it almost has a steampunk vibe to it. Interesting.


 I still look to your build for inspiration. You should tag along to some of our local gatherings (if you're on FB or not).