When you click on links to various merchants on this site and make a purchase, this can result in this site earning a commission. Affiliate programs and affiliations include, but are not limited to, the eBay Partner Network.
I wouldn't really say I'm taking orders. The button I did for jroyalty7 was the first time I ever modded someone else's button outside of my own.
OK If you think you might be in the mood to do another one pm me a price so we can make it happen if not I understand things like this a time consuming.
If it's your first time taking your button out, it is going to put up a good fight, but after you get it out once it will be a piece of cake afterwards. You have to put some muscle into it. I know that kinda of hard to do with the fear of breaking something, but you won't. Just be patient and you will get it.
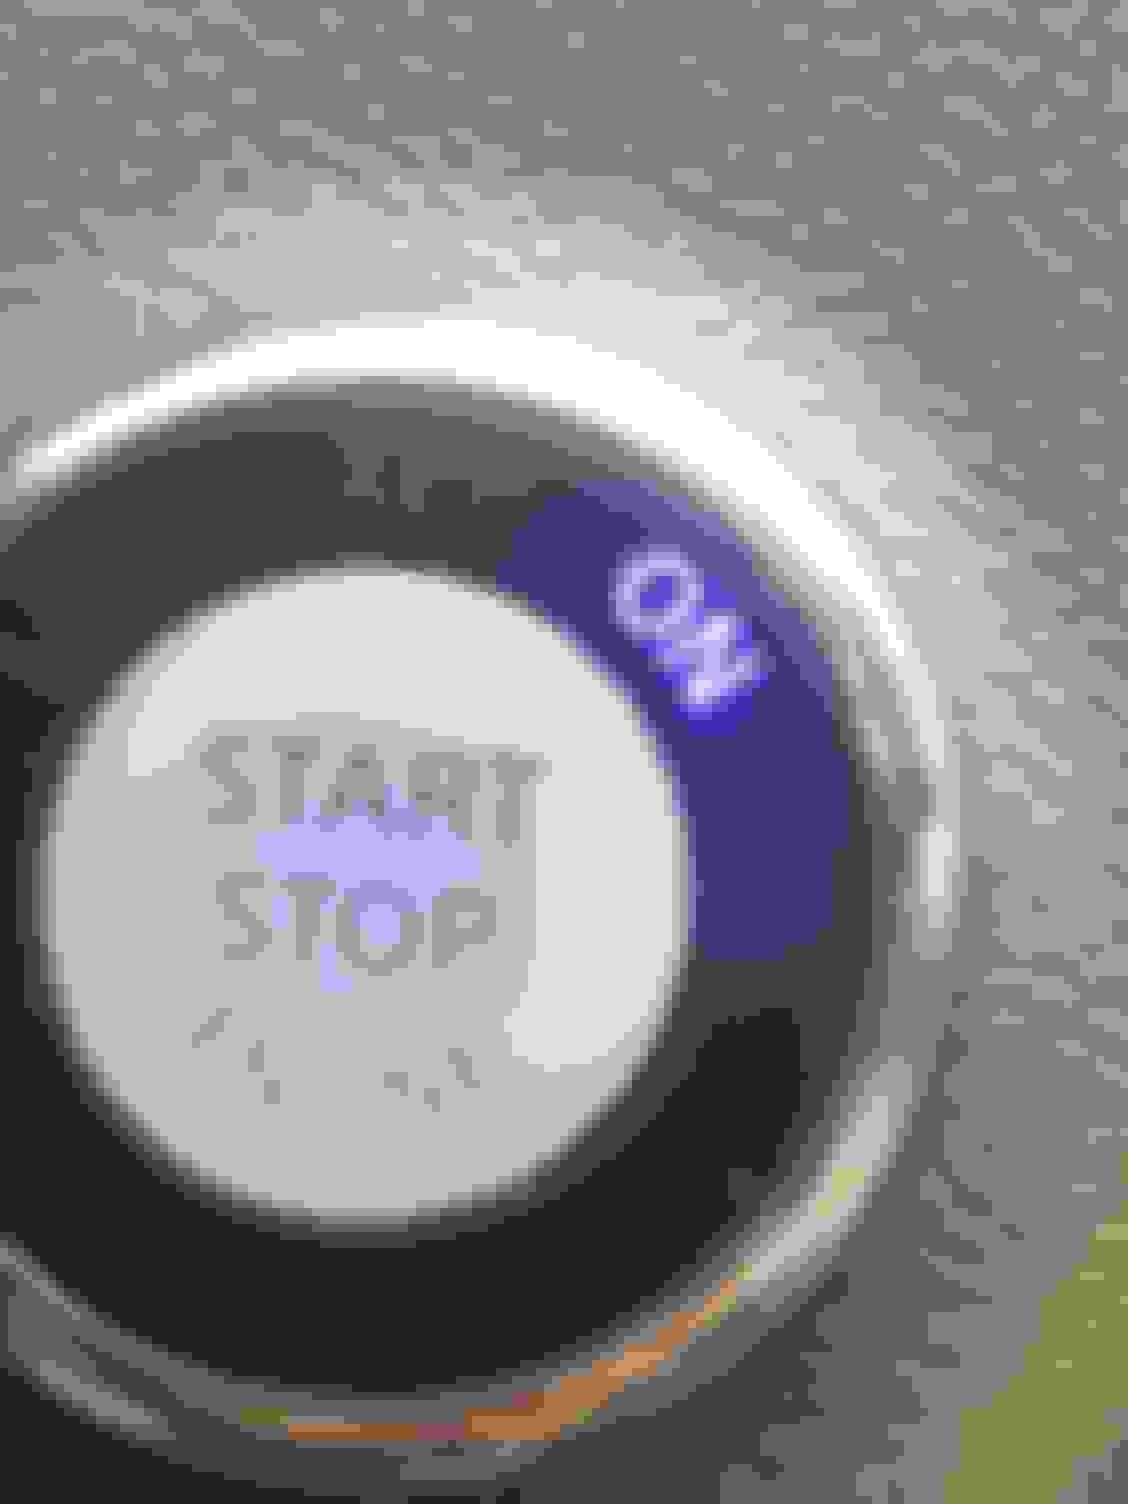
This was a really good write-up. I couldn't stand that amber light while I was driving. I took my time and did it in about 30 minutes. Looks great. I decided to stick with the stock Infiniti button and pull that cover off the start stop and keep the interior color blue. Looks awesome.
This was a really good write-up. I couldn't stand that amber light while I was driving. I took my time and did it in about 30 minutes. Looks great. I decided to stick with the stock Infiniti button and pull that cover off the start stop and keep the interior color blue. Looks awesome.
Dudes, that was dumb *** easy. So I put my wheel up and out as far as it would go, stock a probe up there and pushed the tiny tab (took a second to see it, but its facing downward) pressed the tab and pushed it away from the plug. Stuck my finger in and pulled straight down on the back of the start button, it popped itself out of dash. Used a small screwdriver to pry the tabs that hold the board in place and bam. Out. Then I saw the center led with a cube shaped tan cover. Use your fingernail to scrape it, comes right off. Popped the board back in, slid 2 fingers behind the dash to hold the plug as I pushed the button back through the dash. Popped the bottom footwell trim back in its home and all done. Blueeeeeee.
Dudes, that was dumb *** easy. So I put my wheel up and out as far as it would go, stock a probe up there and pushed the tiny tab (took a second to see it, but its facing downward) pressed the tab and pushed it away from the plug. Stuck my finger in and pulled straight down on the back of the start button, it popped itself out of dash. Used a small screwdriver to pry the tabs that hold the board in place and bam. Out. Then I saw the center led with a cube shaped tan cover. Use your fingernail to scrape it, comes right off. Popped the board back in, slid 2 fingers behind the dash to hold the plug as I pushed the button back through the dash. Popped the bottom footwell trim back in its home and all done. Blueeeeeee.
Easy as ****.
Thanks for the write up.💪👍
You�re welcome! I�m glad this write up could still help someone after all those years.
Once you go to the link above it is listed as 1/8 Watt 0805 Resistors with 5% Tolerance.Yes, there are a lot of them, but the one that you want to order is the 1k ohm resistor. It is the last one listed.
Just a quick tip...make sure you order a few just in case.
In one of the photos someone posted there is a picture of a resistor with "102" on it, located next to the ENGINE led. If I have another circuit board from a push start button can I just take the resistor labeled 102 off of it and use it on mine custom one??
In one of the photos someone posted there is a picture of a resistor with "102" on it, located next to the ENGINE led. If I have another circuit board from a push start button can I just take the resistor labeled 102 off of it and use it on mine custom one??
I don�t see why not, as long as the internal resistance is truly the same. If you can find out how much resistance the G one is and the one you have is the same resistance then give it a shot