

Stat/Stop button LED MOD


Thread Starter
Registered Member
Joined: May 2015
Posts: 46
Likes: 9
From: Upper Marlboro, MD
Stat/Stop button LED MOD
I have searched all over the forums to find all the answers on how to switch out and mod my start/stop button. I have found a lot of different information, so I decided to just try the mod out myself and help anyone out who were thinking about doing this mod. I know there are other thread out there, but everyone leaves out information, so hopefully I can compile everything together in this one post. I must say that it was a fairly easy mod to do, and you do not need a lot of expertise. Just a tad bit of soldering skills (I soldered everyday in the Navy, but anyone can do it). Any who, just like with everything else you must (and I mean MUST) have a lot of patience and pay close attention to what you are doing so you will only have to do it once. One thing that you want to pay close attention to is that you place the LEDs on the board the right way.
Things you need:
- LEDs (of course): The Lock, ACC, and ON LEDs are PLCC-2 LEDs. The Start/Stop LED and ENGINE LED (if you choose to do it) are 0805 LEDs
- Resistor (only if you decide to do the Engine LED) - I ended up going with a 162 resistor, which is 1.6K Ohm
- A fine tipped soldering iron tip
- Solder
- A helping hand really comes in handy with holding and magnifying the piece (the LEDs are very small)
Links
Here are the links to the LEDs. I purchased mine from lighthouseleds.com and they were fairly cheap. The PLCC-2 were 24 cents a piece, 0805 20 cents a piece, and resistors 10 cents a piece.
PLCC-2
Search results for: 'plcc-2'
0805 & resistor
Search results for: '0805'
Misconceptions
I changed out my stock Infiniti Start button with the red GT-R button, which looks amazing, but I have read several posts that said that if you want the Engine to light up you must have the GT-R button. That is not true at all. The Engine on both the Infiniti and GT-R button are both transparent.
***NOTE*** The led for the Start/Stop on the stock Infiniti button is really blue. It has a little cover over it that you can remove if you want it to shine blue instead of the white.
Here is a picture of my work area set up

Here is the board guts from inside the button
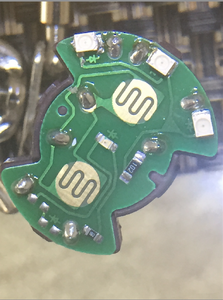
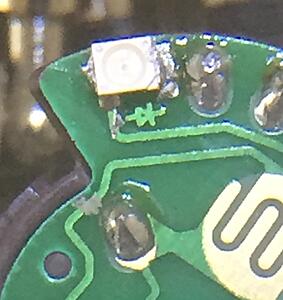
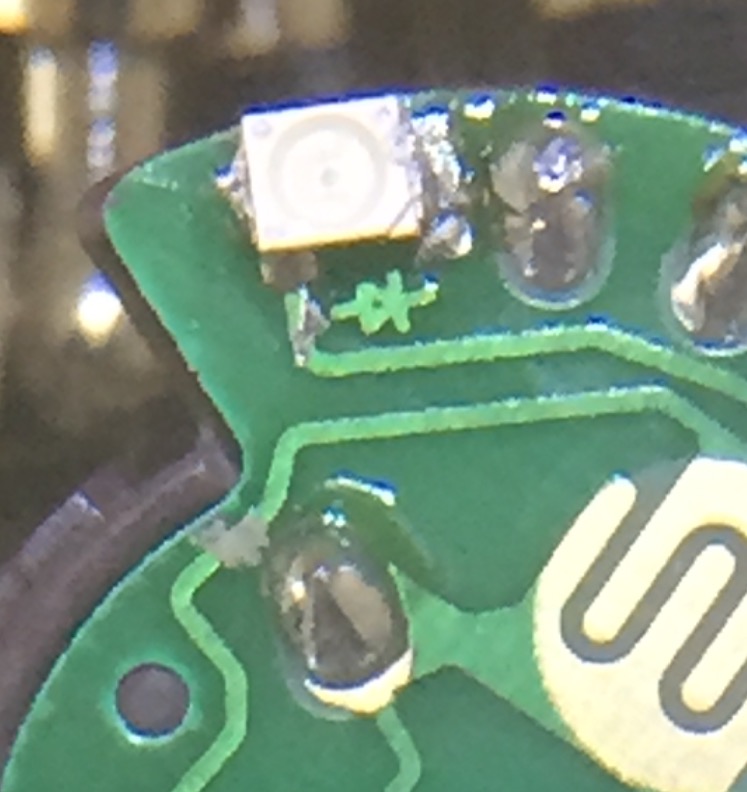
Here is a close up of the LED on the board. As stated before you have to make sure that you out the LEDs on the board correctly. As you can see in this picture there is a angle cut on one side of the LED, which indicated the negative side of the LED. If you order your LEDs for lighthouseled they are exactly the same. If you order your LEDs from somewhere else you always want to make sure that the negative side of the LED is on the cathode side, or the pointy side of the arrow with the line in front of it, and the positive side of the LED is on the anode side, or the flat side of the arrow.

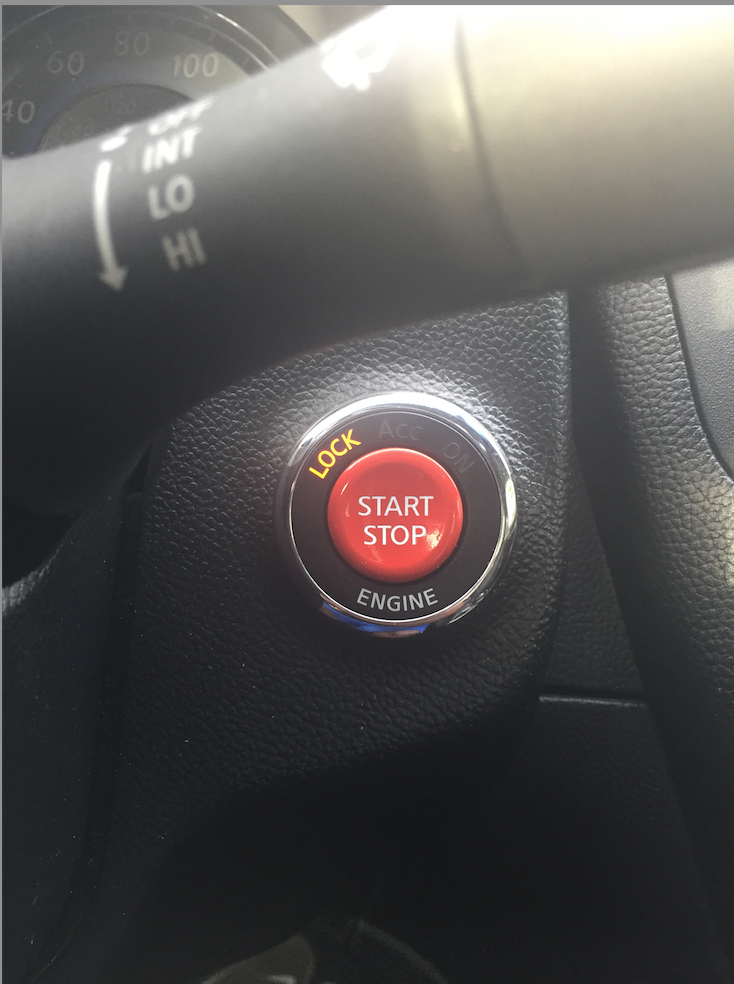
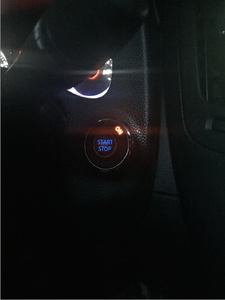
The button before LED switched out


TIP
Once you have soldered the new LED onto the board, I used a 9v battery with some wire on the terminals just to make sure that I did not burn out the LEDs in the process of soldering them on. On the Start LED, if you choose to test it, do not do it for long because you will burn it out very quickly Do not ask me how I know
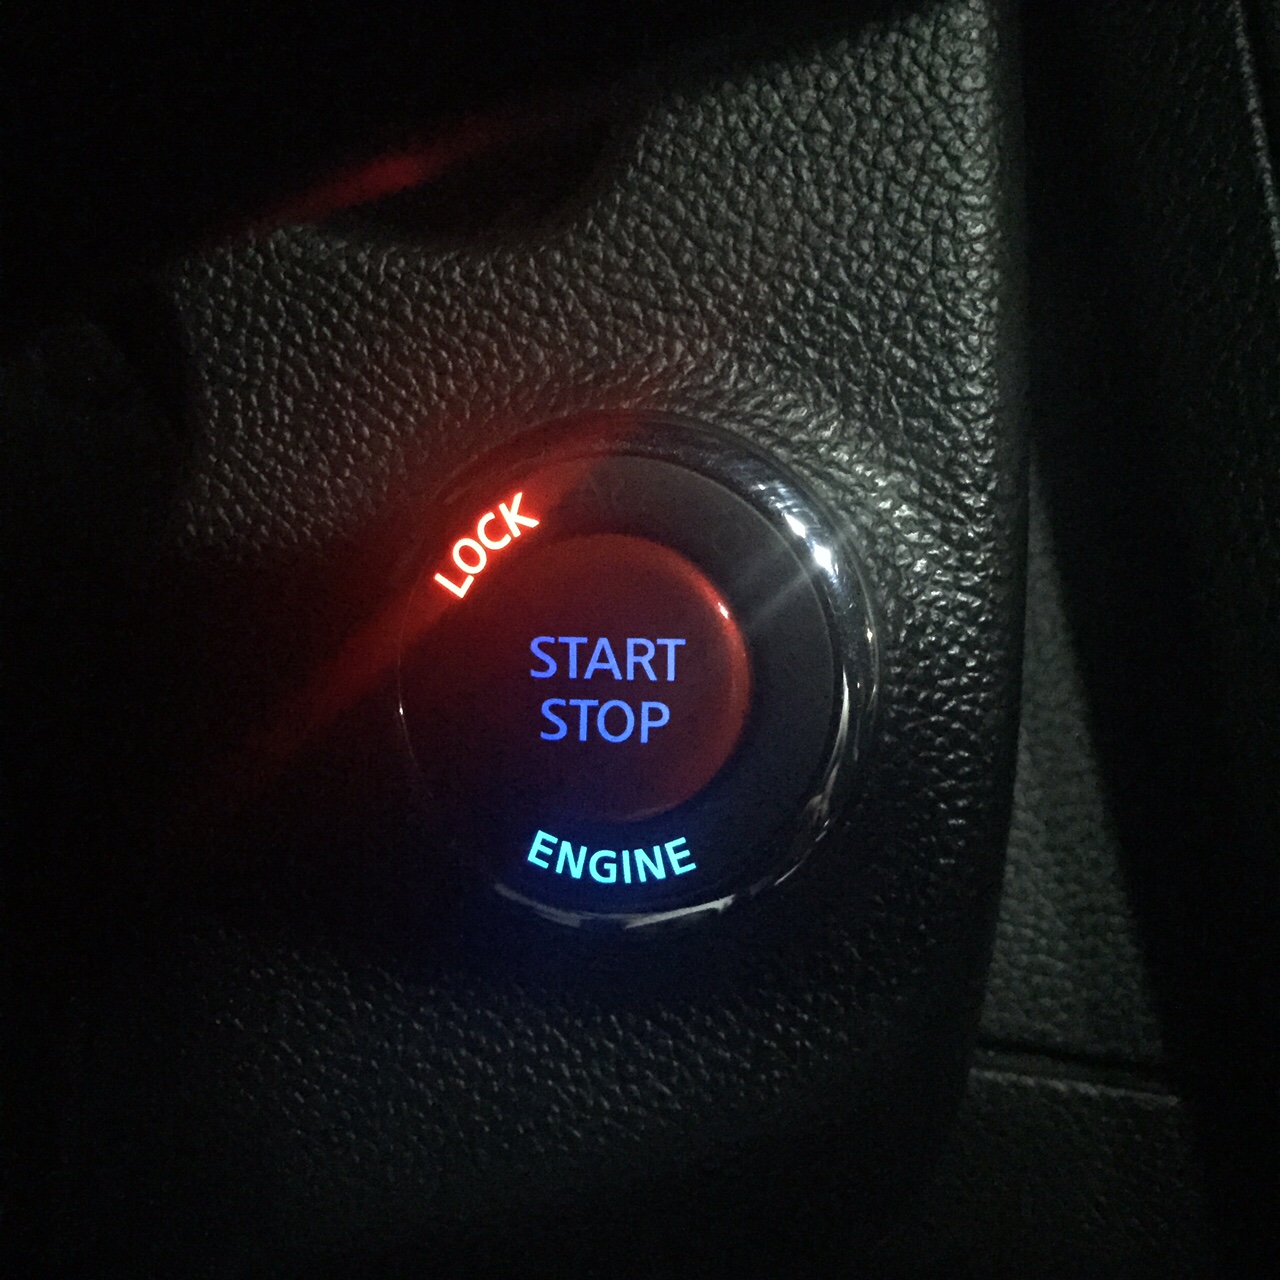
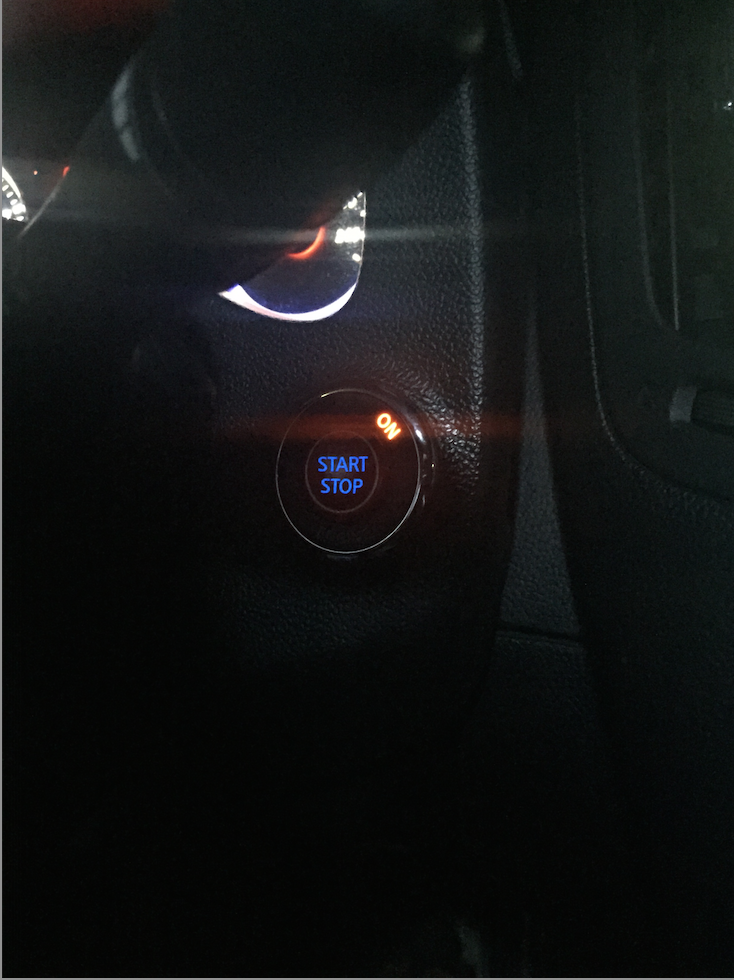
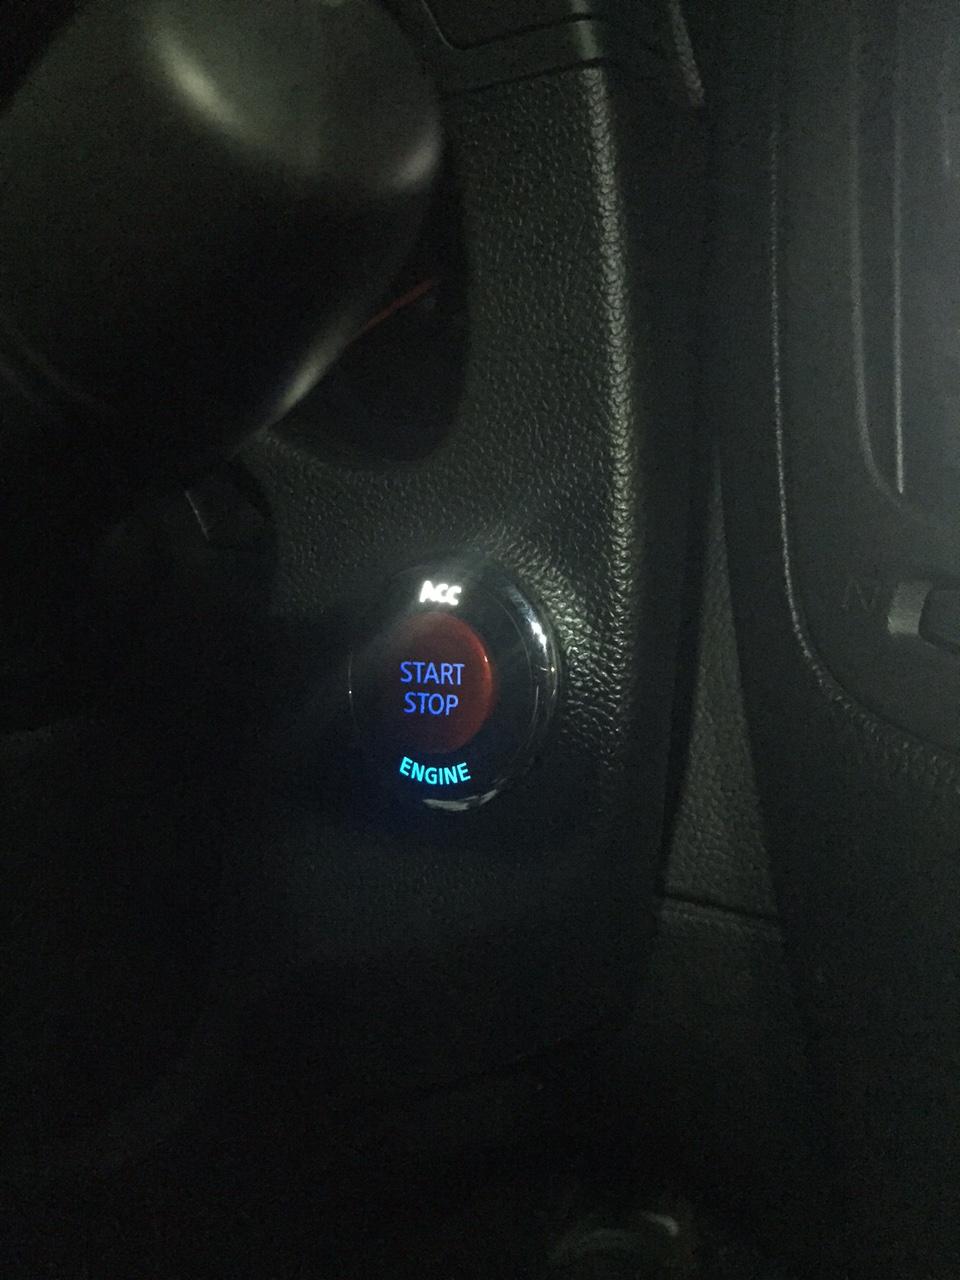
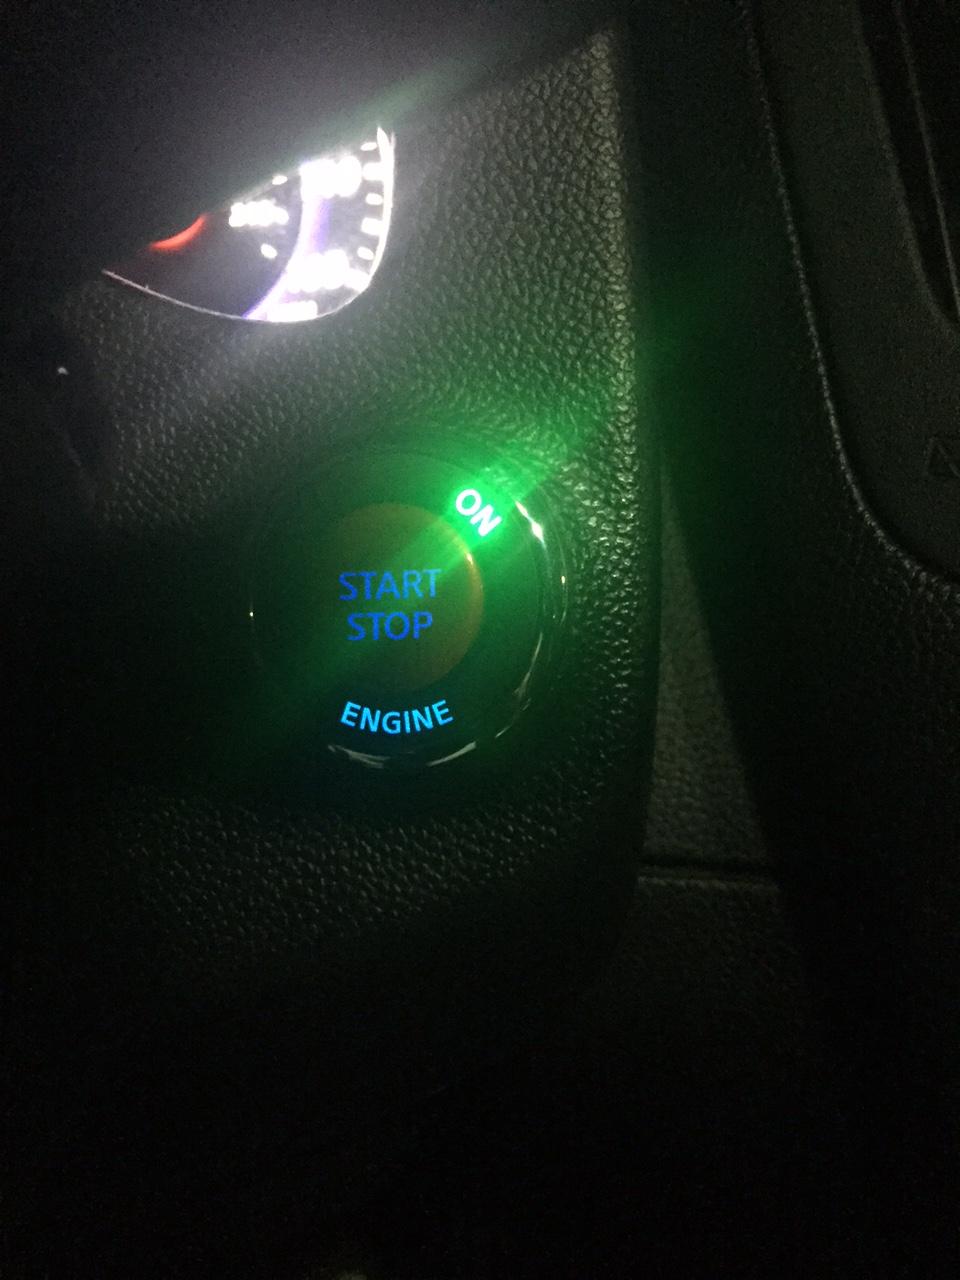
The button after - I went with red Lock, White ACC, Green On, and Blue Engine


Things you need:
- LEDs (of course): The Lock, ACC, and ON LEDs are PLCC-2 LEDs. The Start/Stop LED and ENGINE LED (if you choose to do it) are 0805 LEDs
- Resistor (only if you decide to do the Engine LED) - I ended up going with a 162 resistor, which is 1.6K Ohm
- A fine tipped soldering iron tip
- Solder
- A helping hand really comes in handy with holding and magnifying the piece (the LEDs are very small)
Links
Here are the links to the LEDs. I purchased mine from lighthouseleds.com and they were fairly cheap. The PLCC-2 were 24 cents a piece, 0805 20 cents a piece, and resistors 10 cents a piece.
PLCC-2
Search results for: 'plcc-2'
0805 & resistor
Search results for: '0805'
Misconceptions
I changed out my stock Infiniti Start button with the red GT-R button, which looks amazing, but I have read several posts that said that if you want the Engine to light up you must have the GT-R button. That is not true at all. The Engine on both the Infiniti and GT-R button are both transparent.
***NOTE*** The led for the Start/Stop on the stock Infiniti button is really blue. It has a little cover over it that you can remove if you want it to shine blue instead of the white.
Here is a picture of my work area set up

Here is the board guts from inside the button

Here is a close up of the LED on the board. As stated before you have to make sure that you out the LEDs on the board correctly. As you can see in this picture there is a angle cut on one side of the LED, which indicated the negative side of the LED. If you order your LEDs for lighthouseled they are exactly the same. If you order your LEDs from somewhere else you always want to make sure that the negative side of the LED is on the cathode side, or the pointy side of the arrow with the line in front of it, and the positive side of the LED is on the anode side, or the flat side of the arrow.

The button before LED switched out

TIP
Once you have soldered the new LED onto the board, I used a 9v battery with some wire on the terminals just to make sure that I did not burn out the LEDs in the process of soldering them on. On the Start LED, if you choose to test it, do not do it for long because you will burn it out very quickly Do not ask me how I know
The button after - I went with red Lock, White ACC, Green On, and Blue Engine


Thread Starter
Registered Member
Joined: May 2015
Posts: 46
Likes: 9
From: Upper Marlboro, MD
Mine is a 08 as well. I promise you they are exactly the same. The Infiniti stock button doesn't look transparent at all, but it is. I held them both side by side in the light and they look exactly the same. I still have my stock button. I will see if I could get a good picture to show you.

Premier Member
Joined: Jul 2013
Posts: 224
Likes: 18
I assume you read my other posts on this, the 2008 and before look transparent and you have confirmed it. From what i have seen 2009+ have them painted on, i would confirm this but i don't want to pull out the button right now.
Thread Starter
Registered Member
Joined: May 2015
Posts: 46
Likes: 9
From: Upper Marlboro, MD
Okay, I see what you are saying, and thanks for that info. I'm actually about to do a 09. I can plan accordingly now.
Trending Topics


Registered User
Joined: Mar 2015
Posts: 212
Likes: 3
[QUOTE=mrperfect229;3908073]I have searched all over the forums to find all the answers on how to switch out and mod my start/stop button. I have found a lot of different information, so I decided to just try the mod out myself and help anyone out who were thinking about doing this mod. I know there are other thread out there, but everyone leaves out information, so hopefully I can compile everything together in this one post. I must say that it was a fairly easy mod to do, and you do not need a lot of expertise. Just a tad bit of soldering skills (I soldered everyday in the Navy, but anyone can do it). Any who, just like with everything else you must (and I mean MUST) have a lot of patience and pay close attention to what you are doing so you will only have to do it once. One thing that you want to pay close attention to is that you place the LEDs on the board the right way.
Things you need:
- LEDs (of course): The Lock, ACC, and ON LEDs are PLCC-2 LEDs. The Start/Stop LED and ENGINE LED (if you choose to do it) are 0805 LEDs
- Resistor (only if you decide to do the Engine LED) - I ended up going with a 162 resistor, which is 1.6K Ohm
- A fine tipped soldering iron tip
- Solder
- A helping hand really comes in handy with holding and magnifying the piece (the LEDs are very small)
Links
Here are the links to the LEDs. I purchased mine from lighthouseleds.com and they were fairly cheap. The PLCC-2 were 24 cents a piece, 0805 20 cents a piece, and resistors 10 cents a piece.
PLCC-2
Search results for: 'plcc-2'
0805 & resistor
Search results for: '0805'
Misconceptions
I changed out my stock Infiniti Start button with the red GT-R button, which looks amazing, but I have read several posts that said that if you want the Engine to light up you must have the GT-R button. That is not true at all. The Engine on both the Infiniti and GT-R button are both transparent.
***NOTE*** The led for the Start/Stop on the stock Infiniti button is really blue. It has a little cover over it that you can remove if you want it to shine blue instead of the white.
Here is a picture of my work area set up

Here is the board guts from inside the button

Here is a close up of the LED on the board. As stated before you have to make sure that you out the LEDs on the board correctly. As you can see in this picture there is a angle cut on one side of the LED, which indicated the negative side of the LED. If you order your LEDs for lighthouseled they are exactly the same. If you order your LEDs from somewhere else you always want to make sure that the negative side of the LED is on the cathode side, or the pointy side of the arrow with the line in front of it, and the positive side of the LED is on the anode side, or the flat side of the arrow.
The button before LED switched out

TIP
Once you have soldered the new LED onto the board, I used a 9v battery with some wire on the terminals just to make sure that I did not burn out the LEDs in the process of soldering them on. On the Start LED, if you choose to test it, do not do it for long because you will burn it out very quickly Do not ask me how I know
The button after - I went with red Lock, White ACC, Green On, and Blue Engine


 [/QUOTE
How do you get the button out? Do you just pry it out. How do you unhook and re hook up??
Things you need:
- LEDs (of course): The Lock, ACC, and ON LEDs are PLCC-2 LEDs. The Start/Stop LED and ENGINE LED (if you choose to do it) are 0805 LEDs
- Resistor (only if you decide to do the Engine LED) - I ended up going with a 162 resistor, which is 1.6K Ohm
- A fine tipped soldering iron tip
- Solder
- A helping hand really comes in handy with holding and magnifying the piece (the LEDs are very small)
Links
Here are the links to the LEDs. I purchased mine from lighthouseleds.com and they were fairly cheap. The PLCC-2 were 24 cents a piece, 0805 20 cents a piece, and resistors 10 cents a piece.
PLCC-2
Search results for: 'plcc-2'
0805 & resistor
Search results for: '0805'
Misconceptions
I changed out my stock Infiniti Start button with the red GT-R button, which looks amazing, but I have read several posts that said that if you want the Engine to light up you must have the GT-R button. That is not true at all. The Engine on both the Infiniti and GT-R button are both transparent.
***NOTE*** The led for the Start/Stop on the stock Infiniti button is really blue. It has a little cover over it that you can remove if you want it to shine blue instead of the white.
Here is a picture of my work area set up

Here is the board guts from inside the button

Here is a close up of the LED on the board. As stated before you have to make sure that you out the LEDs on the board correctly. As you can see in this picture there is a angle cut on one side of the LED, which indicated the negative side of the LED. If you order your LEDs for lighthouseled they are exactly the same. If you order your LEDs from somewhere else you always want to make sure that the negative side of the LED is on the cathode side, or the pointy side of the arrow with the line in front of it, and the positive side of the LED is on the anode side, or the flat side of the arrow.
The button before LED switched out

TIP
Once you have soldered the new LED onto the board, I used a 9v battery with some wire on the terminals just to make sure that I did not burn out the LEDs in the process of soldering them on. On the Start LED, if you choose to test it, do not do it for long because you will burn it out very quickly Do not ask me how I know
The button after - I went with red Lock, White ACC, Green On, and Blue Engine

 [/QUOTE
How do you get the button out? Do you just pry it out. How do you unhook and re hook up??
Thread Starter
Registered Member
Joined: May 2015
Posts: 46
Likes: 9
From: Upper Marlboro, MD
I guess I left that out huh? Any who, it is very easy. All you have to due is tilt the steering wheel all the way up and extend it all the way out. You will need to lay on your back and look up through the crack and you will be able to see the back of the button. The hardest part of this is now (which is not hard). As you look up through the crack and see the button you will see a little black tab. You will have to stick a screwdriver up in there, push the tab in, and pull back to take out the plug (it's just like any other plug). After that, just pop the button out with the screwdriver from behind. I have very large hands and I was able to get my fingers in there to pop it out. Reinstallation is the opposite, which the hardest part is getting that plug back in. It's super easy...Good luck
Oh yeah.... Do not pull the switch out without undoing the plug. The plug wire is very very short. If you break it...I can't think of how tragic that would be. Just be patient and you can do it.
Oh yeah.... Do not pull the switch out without undoing the plug. The plug wire is very very short. If you break it...I can't think of how tragic that would be. Just be patient and you can do it.
Registered User
Joined: Mar 2015
Posts: 212
Likes: 3
I guess I left that out huh? Any who, it is very easy. All you have to due is tilt the steering wheel all the way up and extend it all the way out. You will need to lay on your back and look up through the crack and you will be able to see the back of the button. The hardest part of this is now (which is not hard). As you look up through the crack and see the button you will see a little black tab. You will have to stick a screwdriver up in there, push the tab in, and pull back to take out the plug (it's just like any other plug). After that, just pop the button out with the screwdriver from behind. I have very large hands and I was able to get my fingers in there to pop it out. Reinstallation is the opposite, which the hardest part is getting that plug back in. It's super easy...Good luck
Oh yeah.... Do not pull the switch out without undoing the plug. The plug wire is very very short. If you break it...I can't think of how tragic that would be. Just be patient and you can do it.
Oh yeah.... Do not pull the switch out without undoing the plug. The plug wire is very very short. If you break it...I can't think of how tragic that would be. Just be patient and you can do it.
Thread Starter
Registered Member
Joined: May 2015
Posts: 46
Likes: 9
From: Upper Marlboro, MD
I purchased my button from eBay. It was from an actual Nissan dealership on there. I wouldn't recommend going straight to the dealership because it's overpriced, of course. I think I only paid around 34, with free shipping.
The 9v battery is to test for sure which side is the positive and negative side of the LED. Many of the LEDs come with a corner cut to indicate the sides, the 9v battery is just to reassure. It will really come in handy with the 0805 LEDs because they are very small. The ones I purchased came with a green stripe on one side to indicate the negative side, but they were so small the stripe was pointless. Also, I used the 9v batter to test the LEDs after I solder them on to the switch, just to make sure they didn't get burned out or damaged in the process of putting them on. It's a measure twice cut one type of thing. I promise it will come in handy. One thing that will really make you mad and discouraged is putting the LED on perfect just to find out it's on wrong. Don't ask me how I know. Lol
The 9v battery is to test for sure which side is the positive and negative side of the LED. Many of the LEDs come with a corner cut to indicate the sides, the 9v battery is just to reassure. It will really come in handy with the 0805 LEDs because they are very small. The ones I purchased came with a green stripe on one side to indicate the negative side, but they were so small the stripe was pointless. Also, I used the 9v batter to test the LEDs after I solder them on to the switch, just to make sure they didn't get burned out or damaged in the process of putting them on. It's a measure twice cut one type of thing. I promise it will come in handy. One thing that will really make you mad and discouraged is putting the LED on perfect just to find out it's on wrong. Don't ask me how I know. Lol
Stat/Stop button LED MOD
I have to thank mrperfect229 (Roy) for the amazing work he did modding a gtr button for me! A truly and genuinely nice guy that does amazing quality work!!! Thank you again sir, looks absolutely perfect!!
