

JP Vizage Lip Installation


Thread Starter
Registered User
Joined: Oct 2006
Posts: 108
Likes: 0
JP Vizage Lip Installation
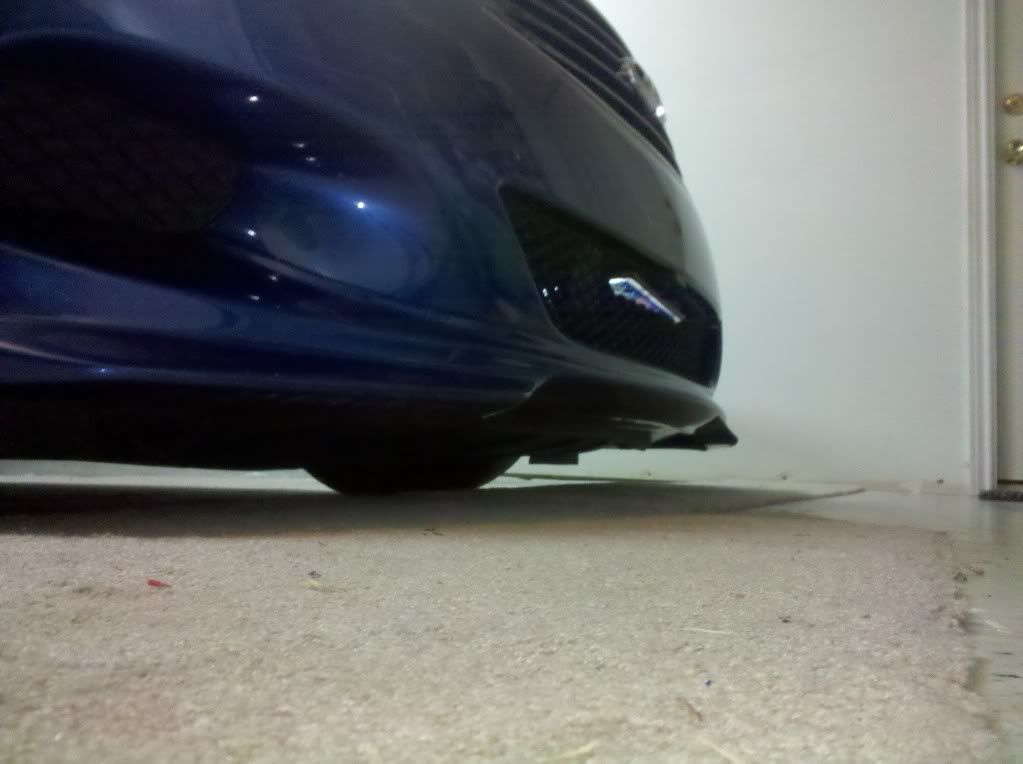
Does anyone know what the installation of the JP Vizage entails. I know I can use double sided tape and screws. Mine is warped and on the inside fender its doesnt seem to follow the fender line. I can get one screw on the top, but the bottom of the lip hangs off the bumper. Is that normal? Any pictures and pointers would be appreciated, thanx. Also, is there any hardware needed for installation?

my driver side is a little off on the faux vent comparing to my passenger. Passenger line move right into the faux vent making it look clean, but driver side, it looks like a piece is broken and the line is not parallel to the driver side faux vent
Thread Starter
Registered User
Joined: Oct 2006
Posts: 108
Likes: 0
how is the fitment on the inside fender well where u screw it in? Does it follow the curve of the bottom of the fender, or does the lip go straight down, with the bottom hanging off the car? Any pics?


Registered Member
iTrader: (2)
Joined: Jun 2008
Posts: 1,445
Likes: 2
From: ft hood texas, Middletown,CT
Does anyone know what the installation of the JP Vizage entails. I know I can use double sided tape and screws. Mine is warped and on the inside fender its doesnt seem to follow the fender line. I can get one screw on the top, but the bottom of the lip hangs off the bumper. Is that normal? Any pictures and pointers would be appreciated, thanx. Also, is there any hardware needed for installation?
Trending Topics
Thread Starter
Registered User
Joined: Oct 2006
Posts: 108
Likes: 0
I have the same fitment issues and I am still fighting to get my side skirts replaced becuase they do not even fit at all. I bought the kit back in MARCH and LOU from AMP MOTORSPORTS CANT GET IT FIXED YET. Im really unhappy with the whole kit. I left the lip on the car and put one screw in on each side at the top and left the bottom hanging off like you had said. Other than that the lip fits fine.

Registered User
Joined: Sep 2010
Posts: 12
Likes: 0
From: Manassas, VA
I have the same kit on my G37 and all I had to do to attached the entails was to use one screw on each side. I also used some double sided tape. Email me if you need any pictures my kit turned out perfect. Dan222000@aol.com
Registered User
Joined: Sep 2010
Posts: 12
Likes: 0
From: Manassas, VA


Registered User
Joined: Sep 2010
Posts: 12
Likes: 0
From: Manassas, VA


