When you click on links to various merchants on this site and make a purchase, this can result in this site earning a commission. Affiliate programs and affiliations include, but are not limited to, the eBay Partner Network.
I know there have been several threads on the flickering light surrounding the analog clock and how it eventually fades to off.
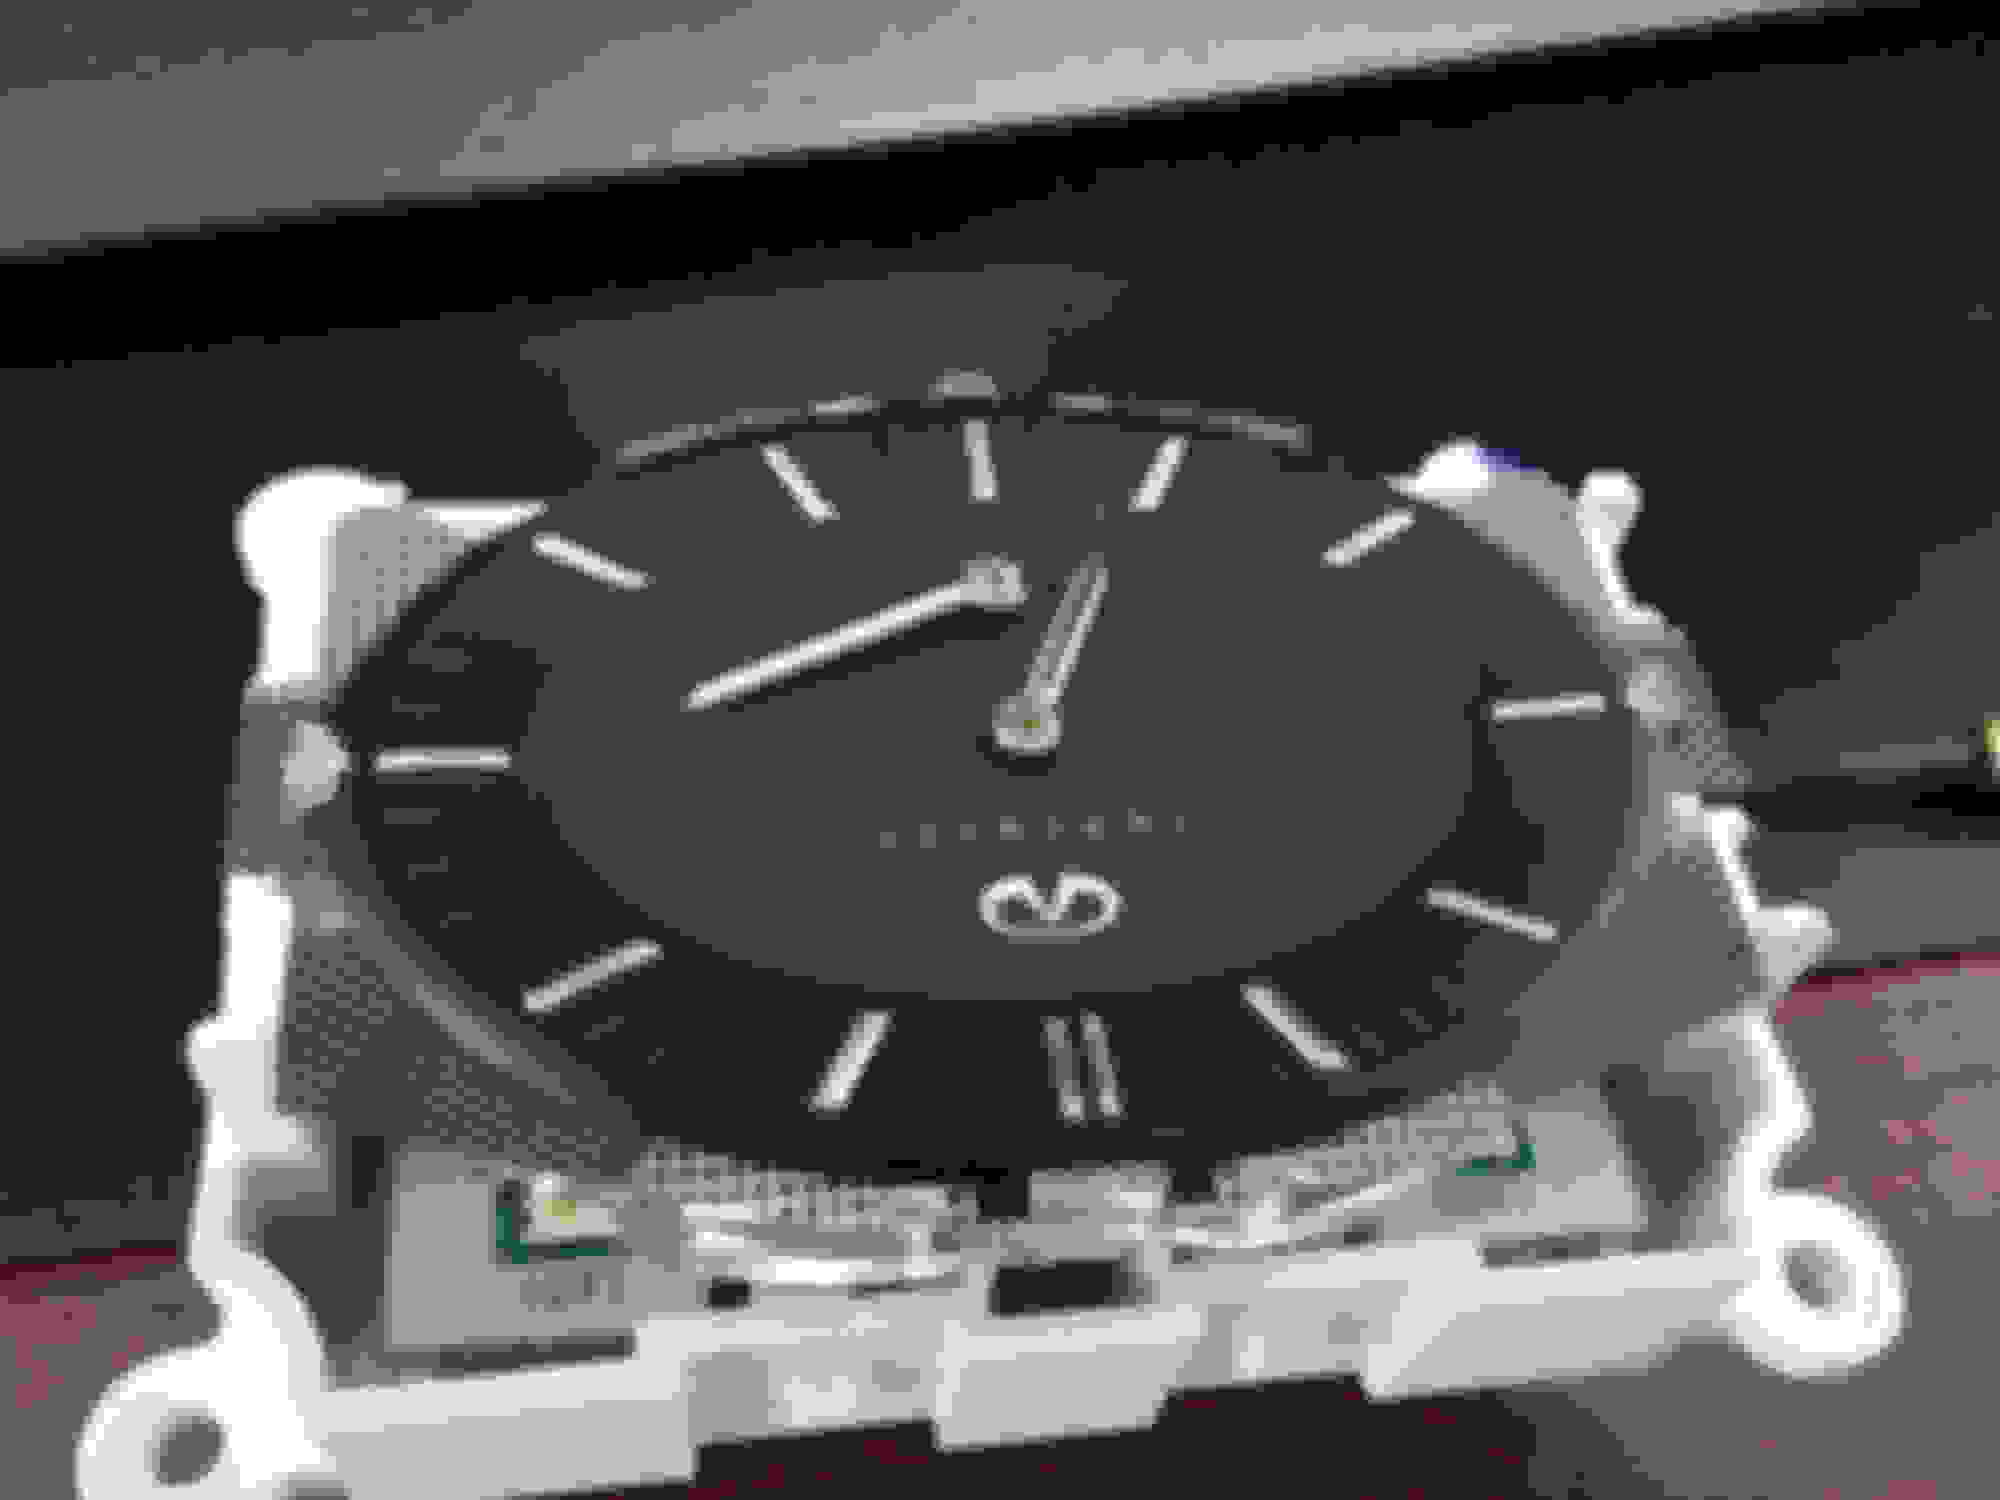
This happened to me the other day, and it has been driving me crazy. Everything I read said that the clock (about $300 or more, depending...) had to be replaced and that it wasn't repairable. That didn't make sense to me, so I took the plunge and disassembled the whole thing.
I don't have a "write-up", per se, but I took photos along the way and I have a video showing the before as well as one showing the after.
There are already a couple of videos demonstrating how to remove the center console and gain access to the clock, so I will forego that explanation and just move on to the photos and video links.
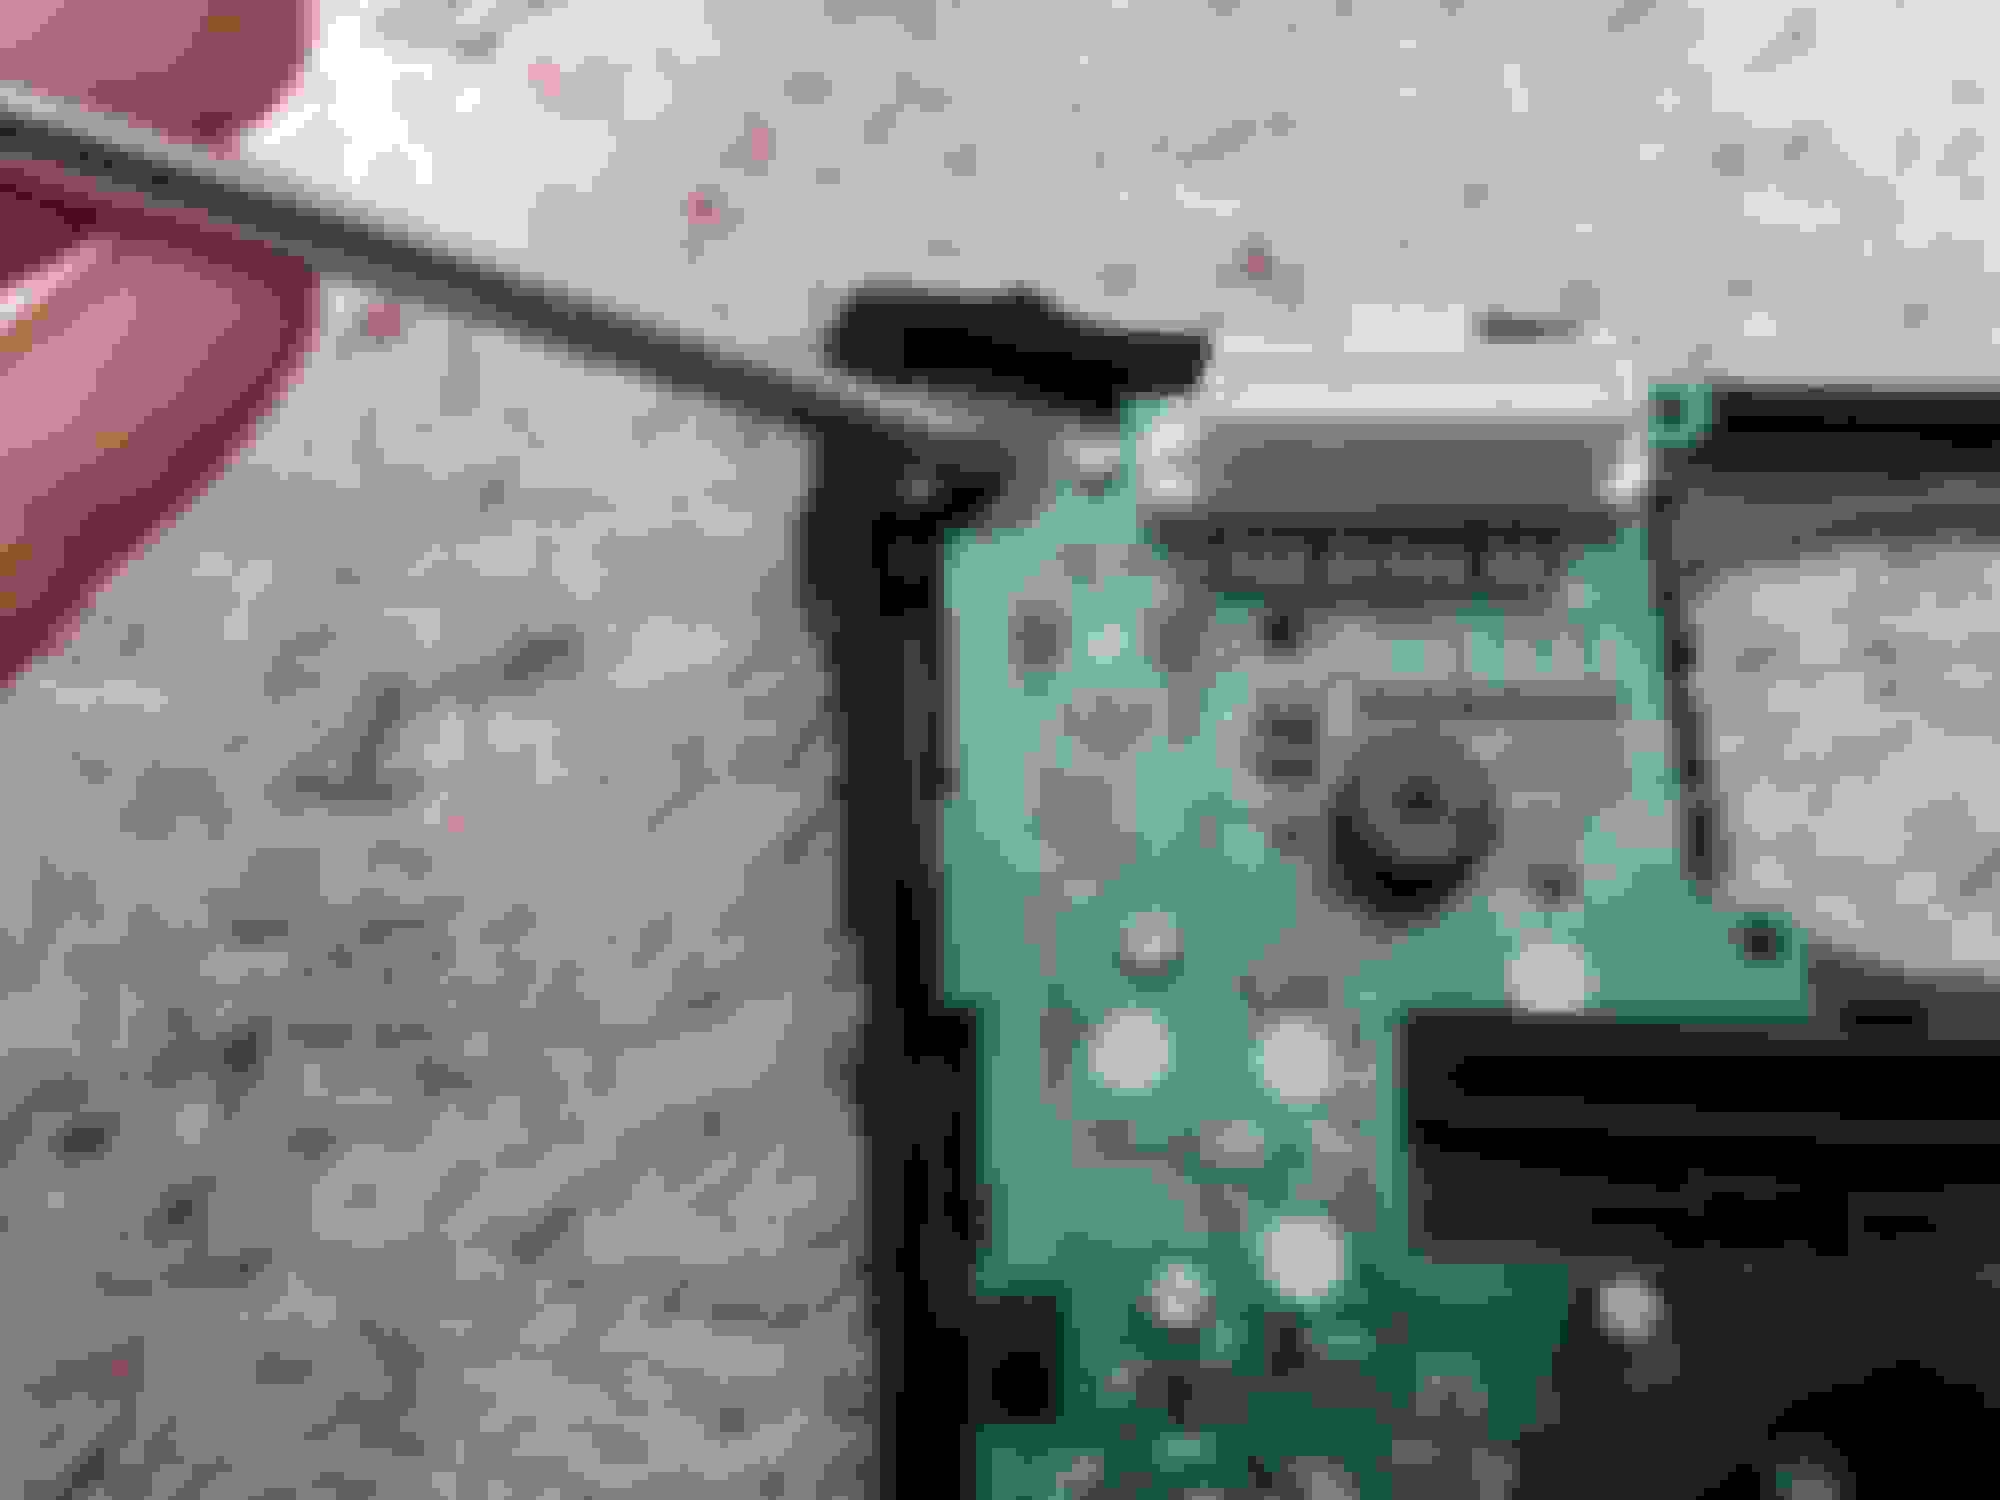
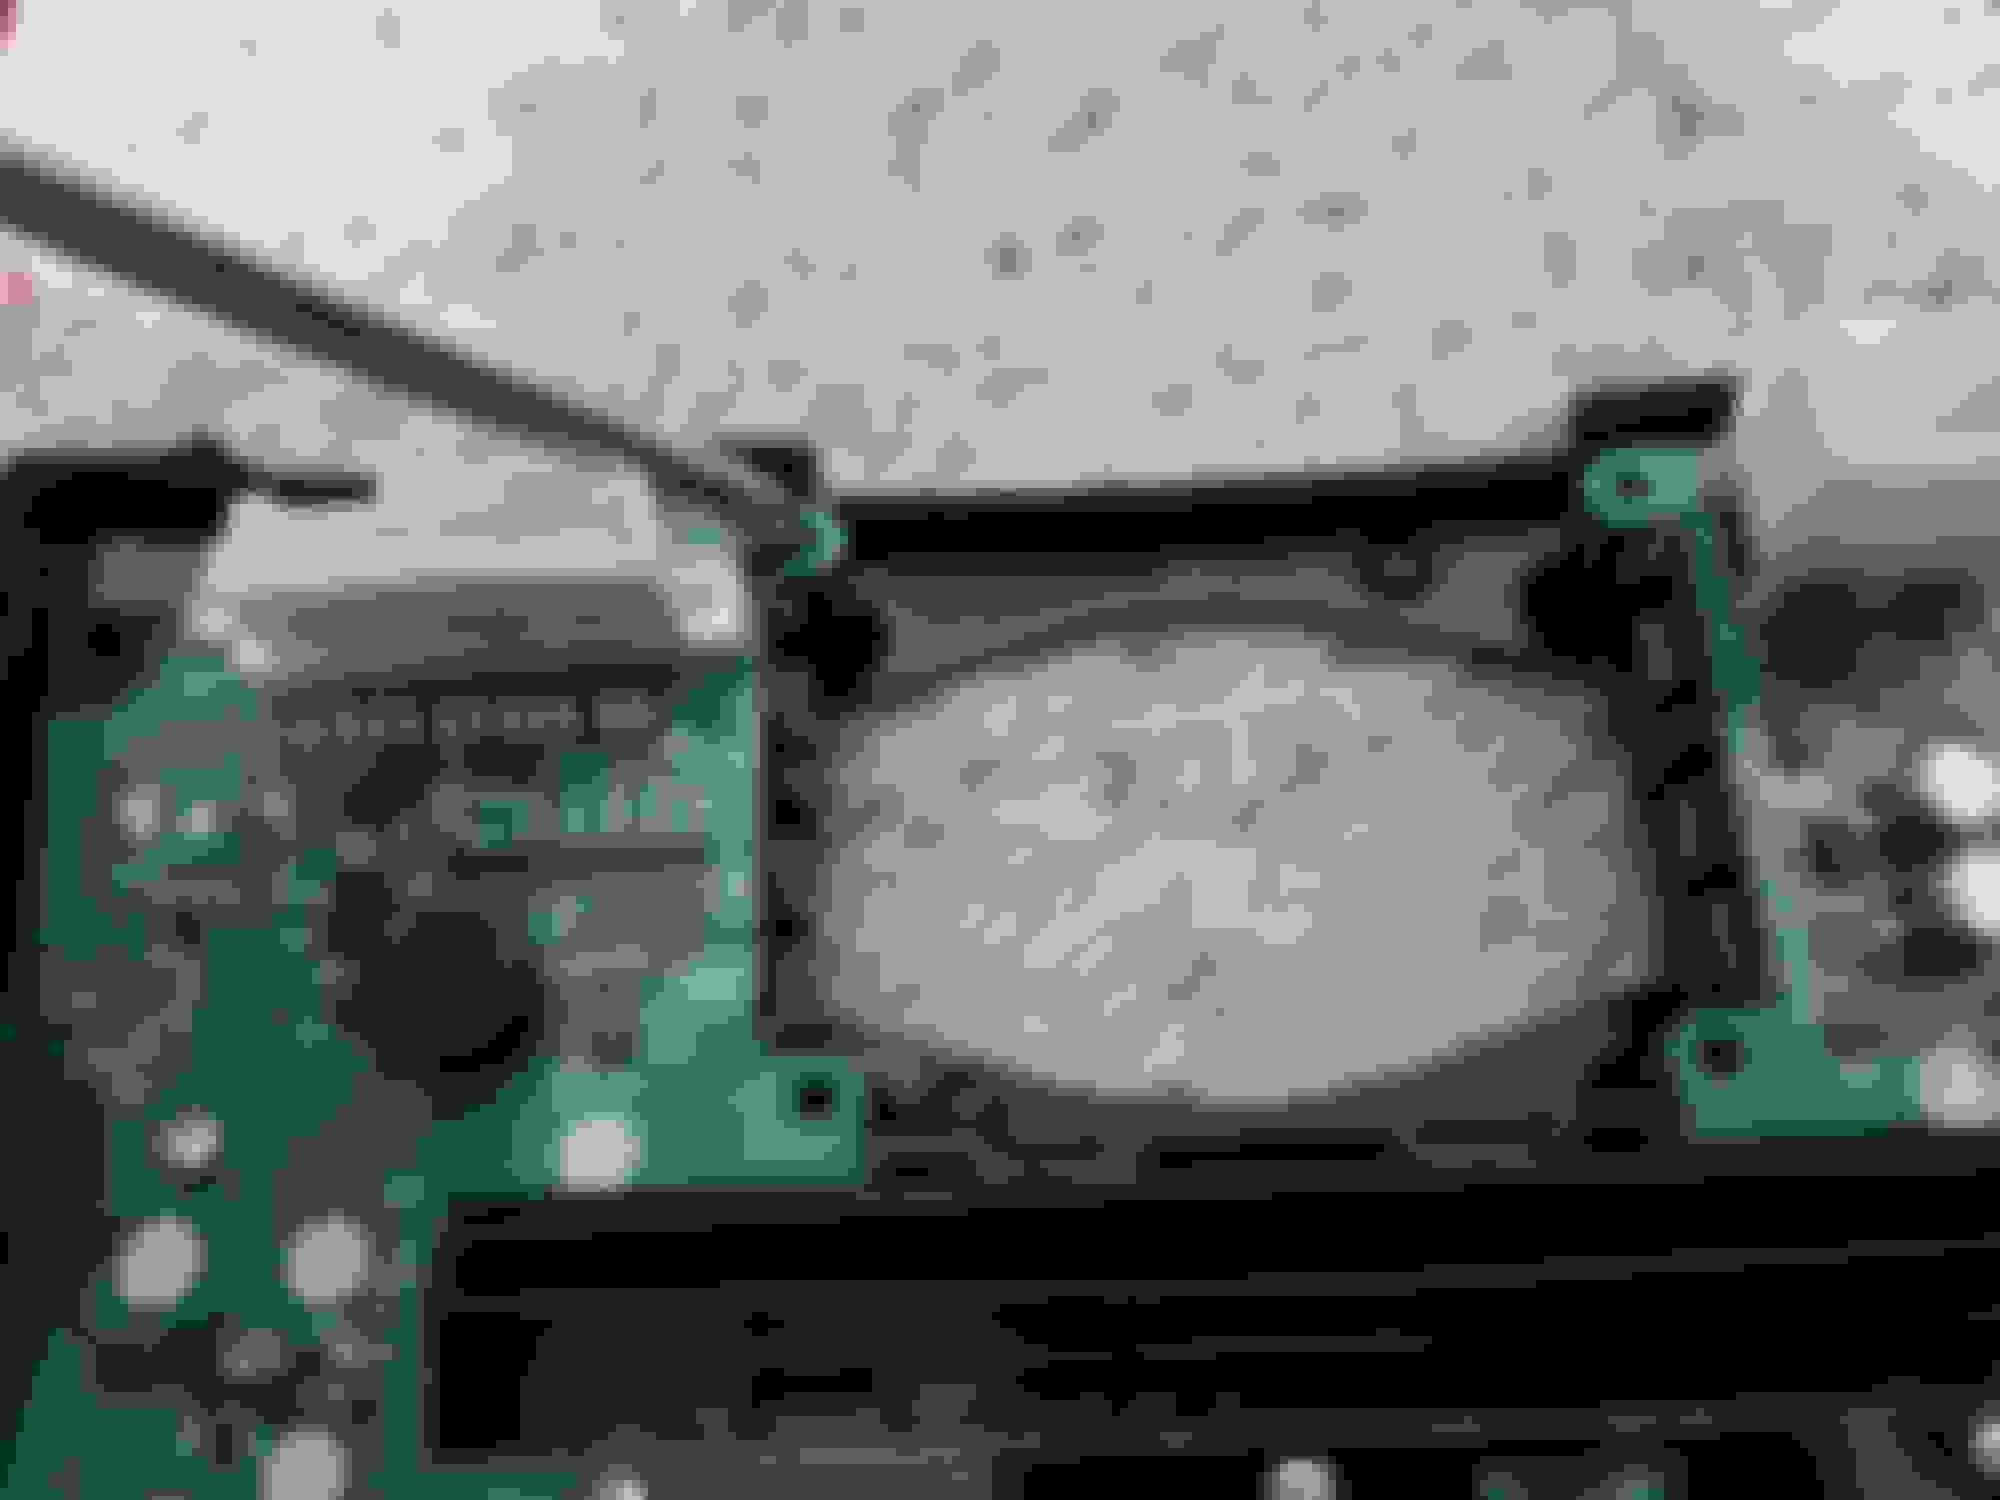
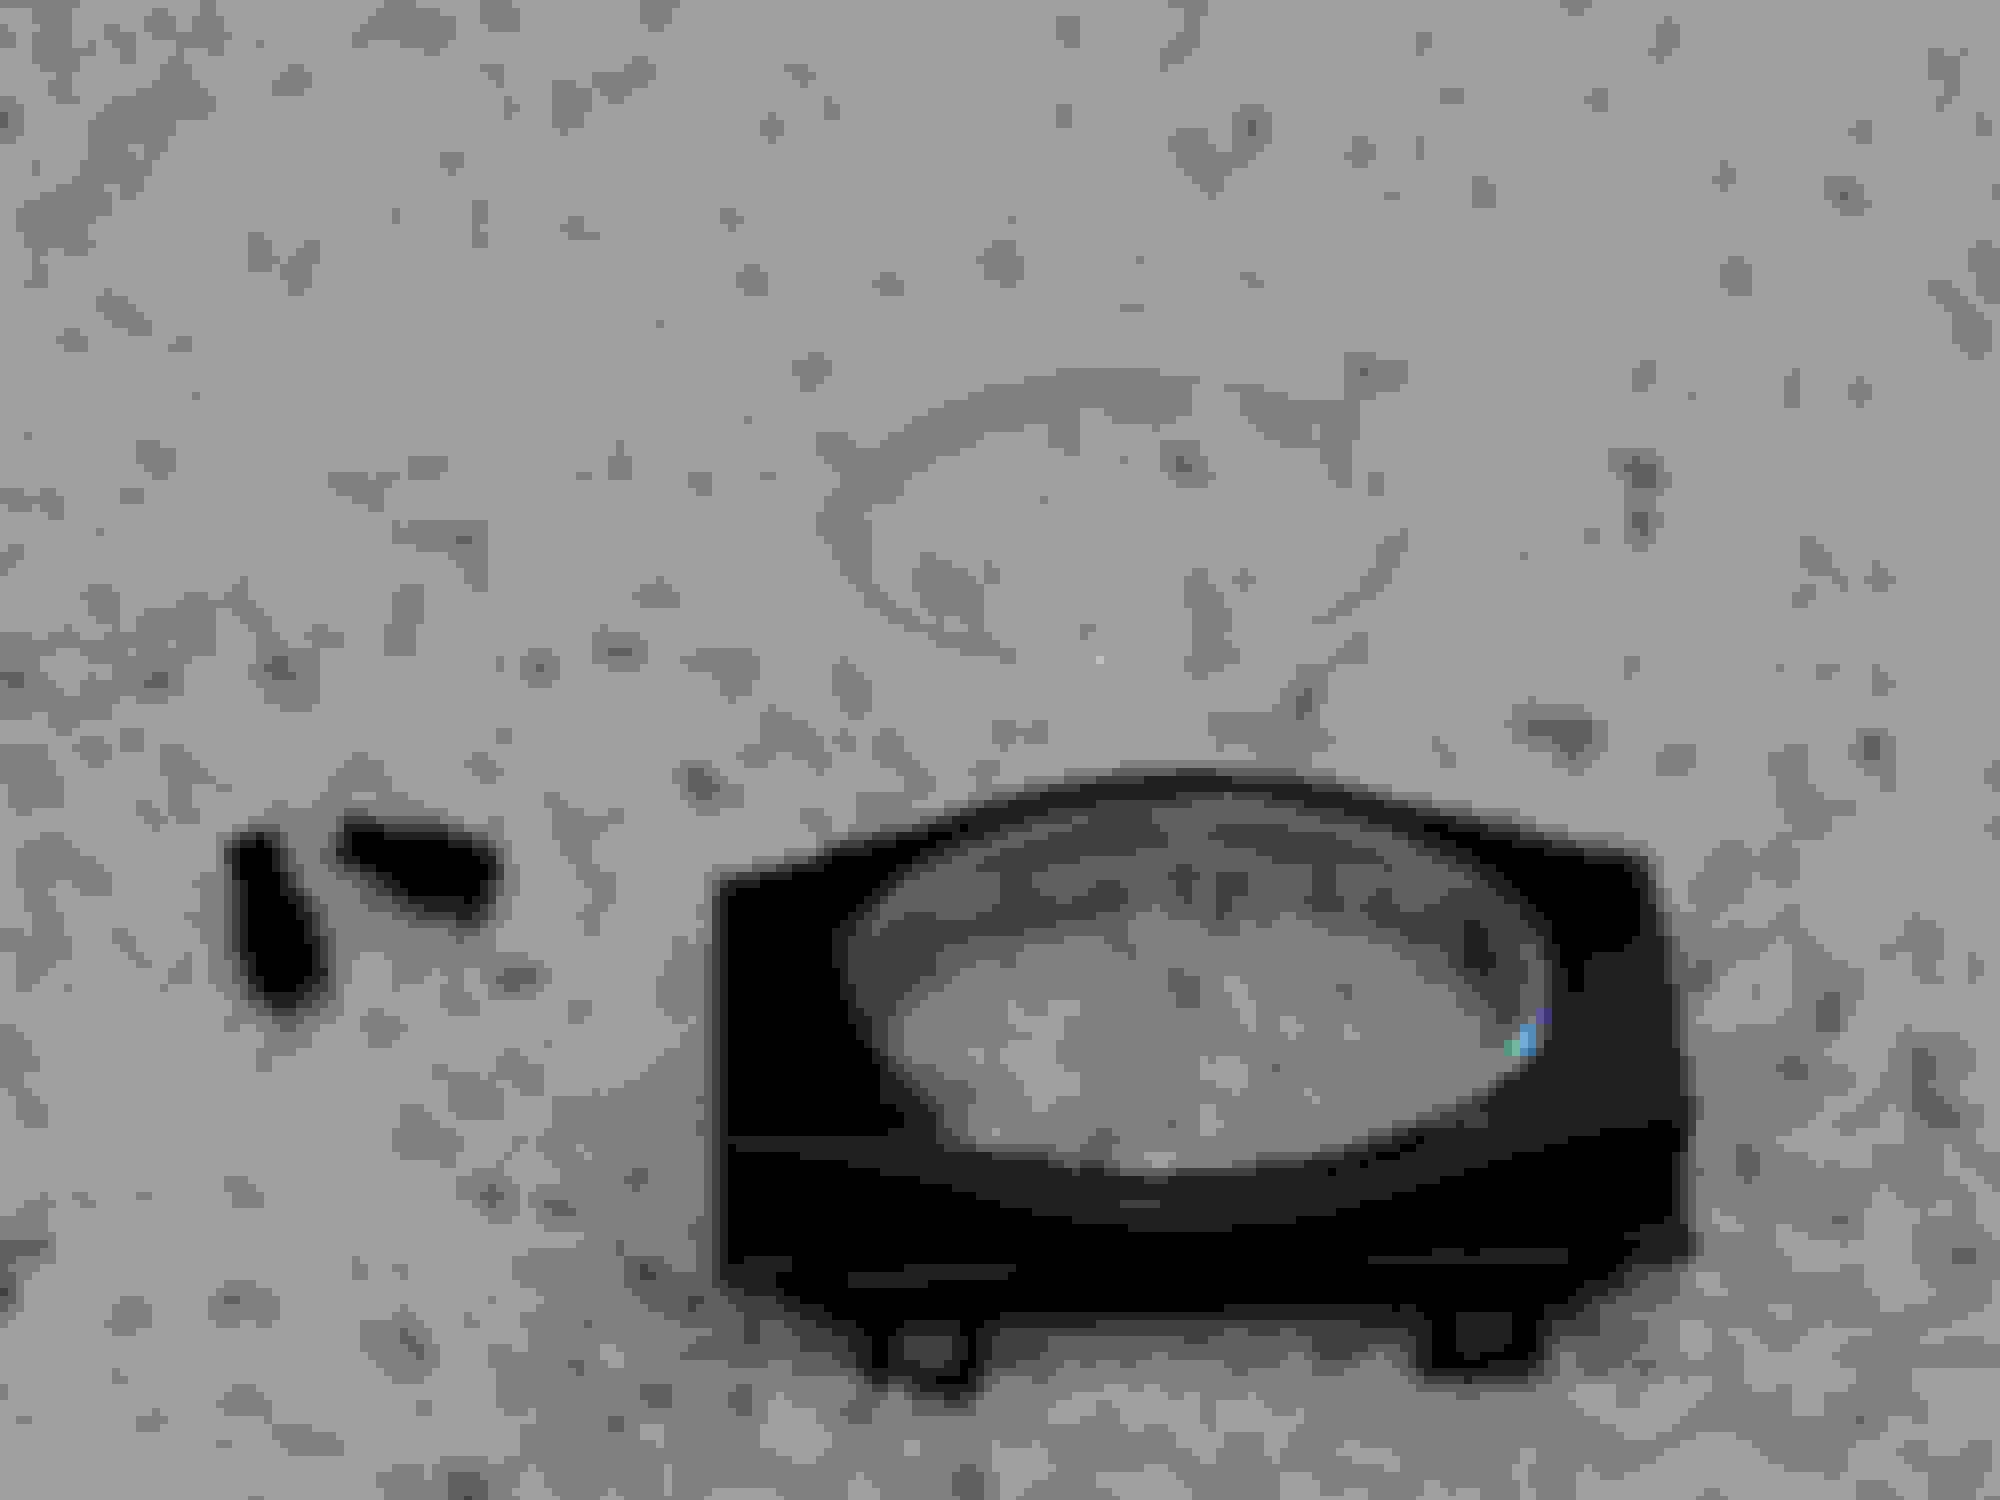
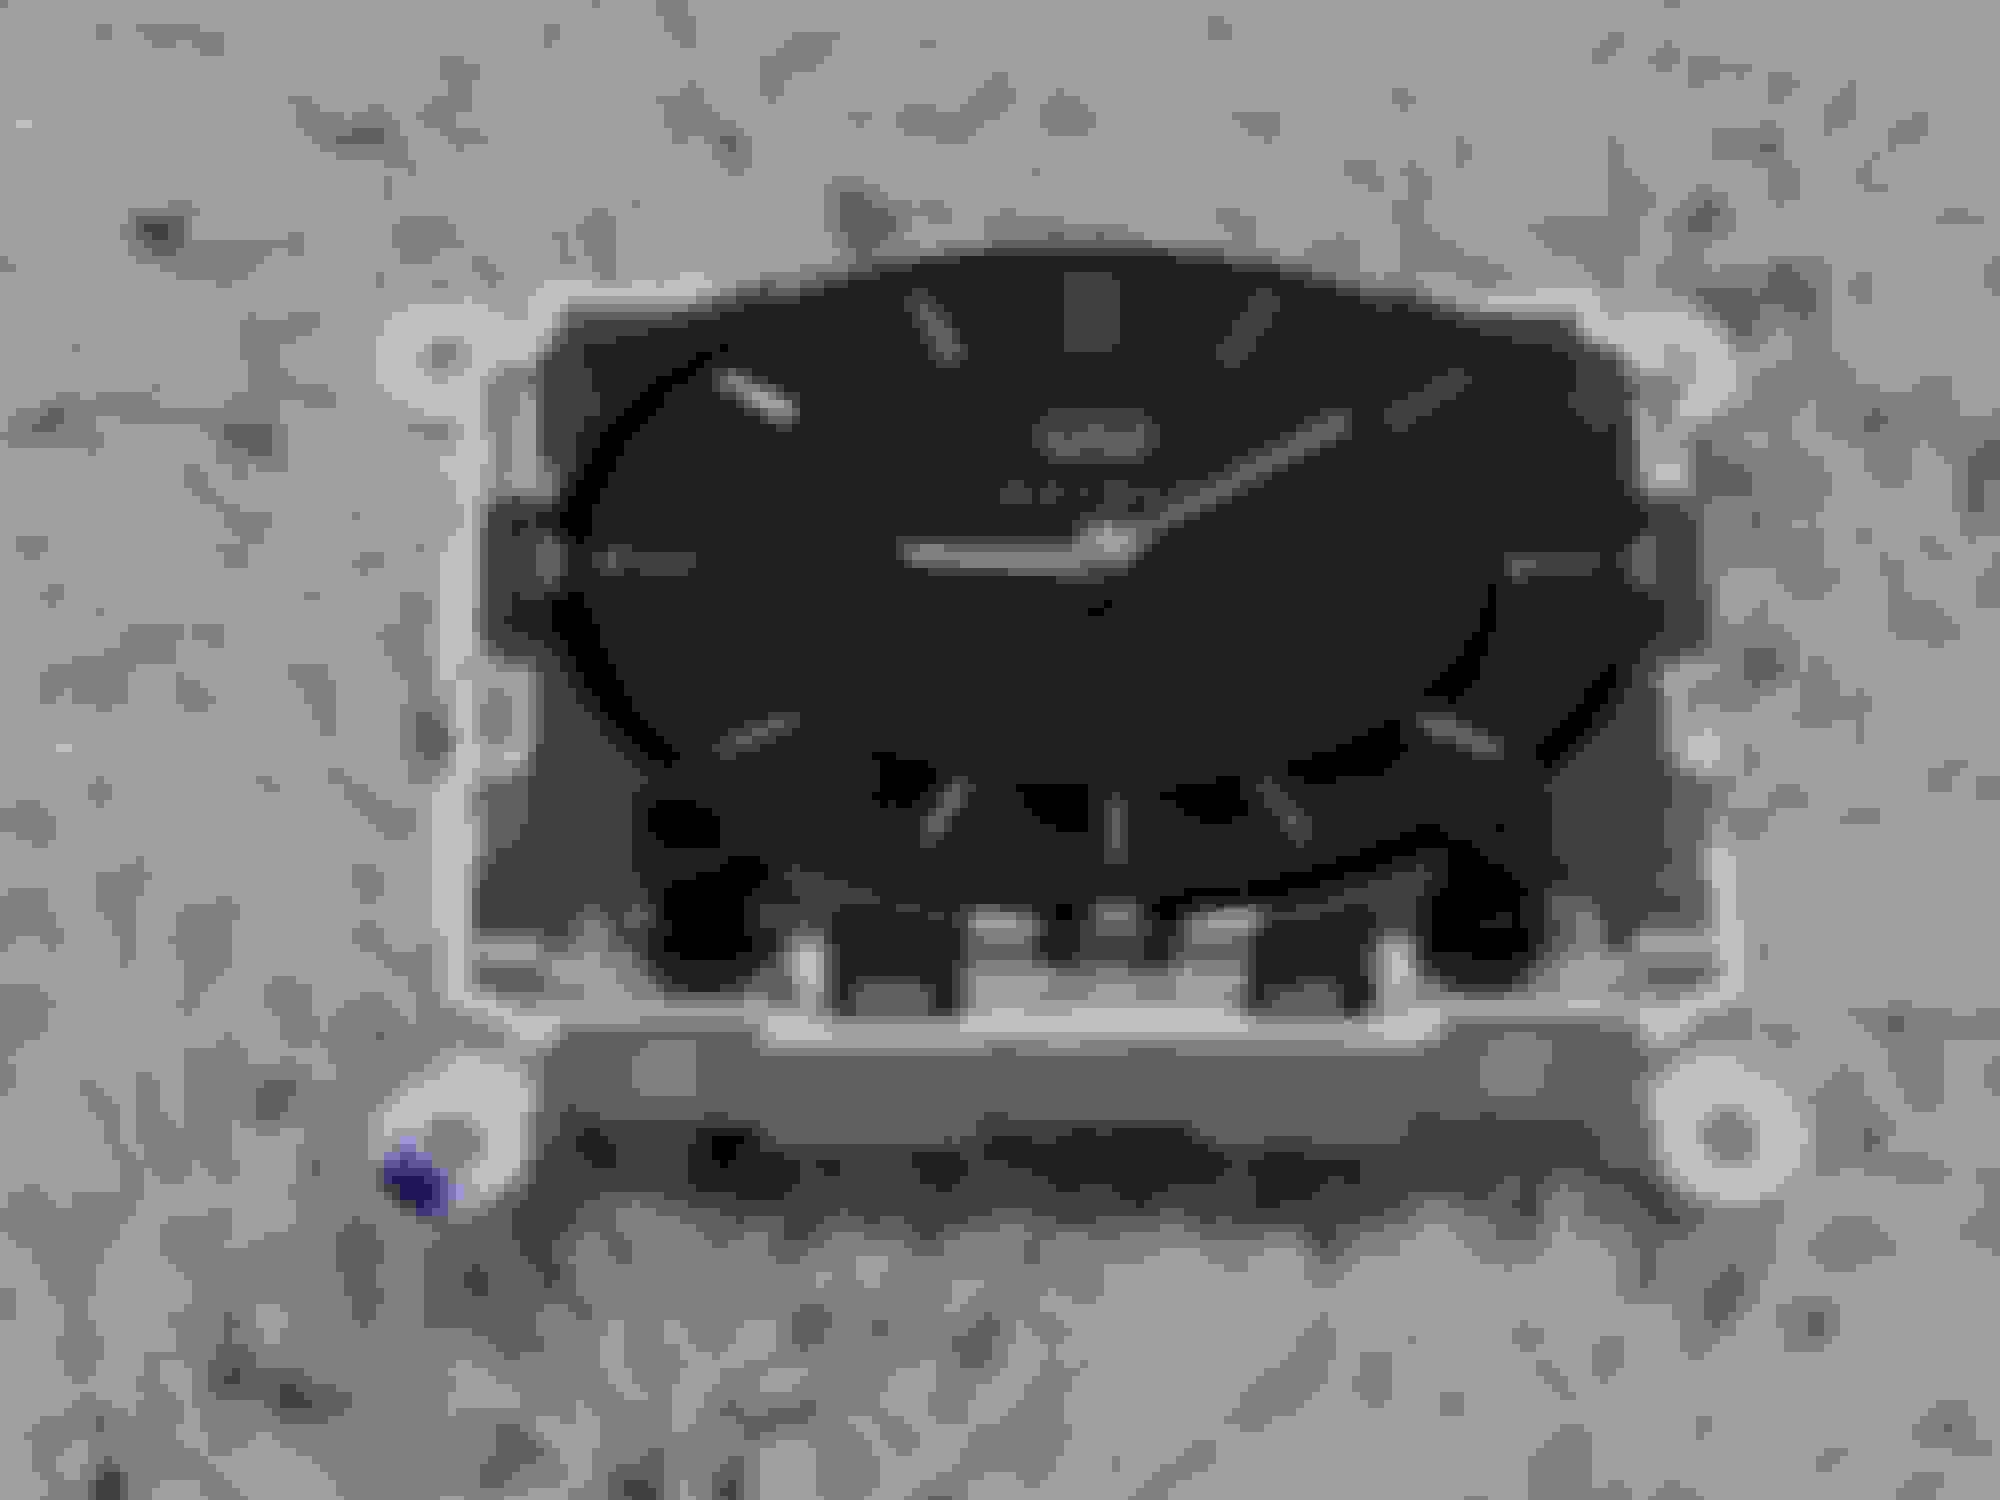
Once the console has been removed, you will need to remove the clock itself from the console. In order to remove the clock you must first remove the four screws in the corners that attach the circuit board backer to the console. Remove these four screws as well... And finally this one and the one attaching the white portion of the platform of the Passenger Airbag light. These screws are longer than all the rest and attach the backer board through to the front part of the console. Once the clock unit is out, remove the bezel, buttons, and clear plastic clock protector and set them aside. Here is what you have left... You must gently remove the big, then little hand by prying upwards. The clock hands are attached only by friction. Here, the minute hand has been removed while the hour hand has not. Pry here to remove the clock face and face housing (clear plastic) after removing the hands. Here is what you have now... Gently pry the white tabs that secure the TOP half of the circuit board away from the board, then you cam pull the board up and out, wiggling it a bit to free it from the four spring-loaded pins in the housing.
On the circuit board, you can see LED1 and LED2. Chances are that one of the solder joints has been compromised and is no longer making a good connection. I recommend adding a touch of solder to each of the connections and seeing if that does the trick.
LEDs are diodes, which means they allow electricity to flow in only one direction. These LEDs are connected IN SERIES, so if one of them is bad then the other one CANNOT light up either, since the circuit will be interrupted. Using another surface mount LED, I was able to touch the contacts of LED2 and complete the circuit, which is how I discovered that the LEDs were NOT actually burnt out. I immediately added a touch of solder to each contact and the repair was complete.
Great post. Same exact issue with mine. Soldered the right side of LED2 and all was fine. I went a bridge too far, though and preemptively went to do LED 1 and damaged the LED....I'd not make a good brain surgeon. Will need to cough up $300 for a new clock now. Lesson: quit while you are ahead, lol.
Great post. Same exact issue with mine. Soldered the right side of LED2 and all was fine. I went a bridge too far, though and preemptively went to do LED 1 and damaged the LED....I'd not make a good brain surgeon. Will need to cough up $300 for a new clock now. Lesson: quit while you are ahead, lol.
Great post. Same exact issue with mine. Soldered the right side of LED2 and all was fine. I went a bridge too far, though and preemptively went to do LED 1 and damaged the LED....I'd not make a good brain surgeon. Will need to cough up $300 for a new clock now. Lesson: quit while you are ahead, lol.
Ebay like the other person said, or if you can find a G in a wrecker I don't imagine they'd charge much for the clock.
Thank so much for the info, I just fixed my flickering clock in the exact same way! I didn't even take the clock hands or face off, as I was able to angle-in from the side to reach LED2's legs. THANK YOU!
Mine issue was the LED1, not LED2. After I soldered it, the light completely stopped working. Is it also right side of LED1?
Must to say, not working LEDs are much better than flickering ones
Mine issue was the LED1, not LED2. After I soldered it, the light completely stopped working. Is it also right side of LED1?
Must to say, not working LEDs are much better than flickering ones
Same thing happened to me.
I bridged the grounds on LED1 and now dont have lights at all. I tried to reverse it using copper wick, but still no lights.
Oh well, at least i dont have to cover up the flickering clock with gas coupons anymore.
Hey everyone, this is a useful thread, I disassembled the clock, but I have no soldering skills, took it to an experte.. determined 1 LED was bad, so I tried to search locally for a LED (Panama) with no luck. I ended up ordering this in EBAY: "LED PLCC4 1210 3528 Cool Clear White". Cost only 5 bucks, so if this corrects my issue, it definitely better than buying a new one
Well, that happened to me - blink blinkity blinkerson. I'll be pulling the clock out probably next week to fix the same issue. It's getting covered by electrical tape meanwhile, 'cause the blinking is annoying as hell!
Thank you very much for posting this. I was afraid removing the clock was hella hard, but it looks super easy. The only sticky part I can see is taking the clock apart. And putting it back together mind ya. Oh well, thanks Infiniti for not even putting some glue on these LEDs to avoid vibration. And jees, 2 LEDs in sequence?!...
Fixed it. Took like 4 hours and about 10 trips to the garage.
The reason is that I think one of the actual legs on my left LED have failed. No matter how many times I've resoldered it, it still blinked. I even replicated the connections on the PCB via tiny wires.
Once I realized it's the LED itself, I dug up a white 3mm LED from my ample supplies and soldered it on instead. Works perfectly, and you can't even tell that it's not stock.
More details on the LEFT LED: bottom left is POSITIVE, top left/right and bottom right are all interconnected and NEGATIVE.
I measured about 1V when both LEDs are working, so any low-voltage 3mm LED will work. I used a Hosfelt 3mm 3.2V white LED, around 3000 mcd - at 1V, its brightness and color is very close to the stock LED.
Soldering it on was fiddly work, but quite doable - just surface-mounted and bent the legs to make it fit.
Going to try it myself. Engine replaced this summer. Transmission last. 7 and 8 years old with 230000KM And 270000 respectively. Shop that did the engine blew a few fuses on the way. I must have pulled the ESS fuse by accident troubleshooting and just fixed that. Lights on clock went 6 months after buying the car and I refused to pay $300 for new one. Off I go to check the solder joints! Thanks.