When you click on links to various merchants on this site and make a purchase, this can result in this site earning a commission. Affiliate programs and affiliations include, but are not limited to, the eBay Partner Network.
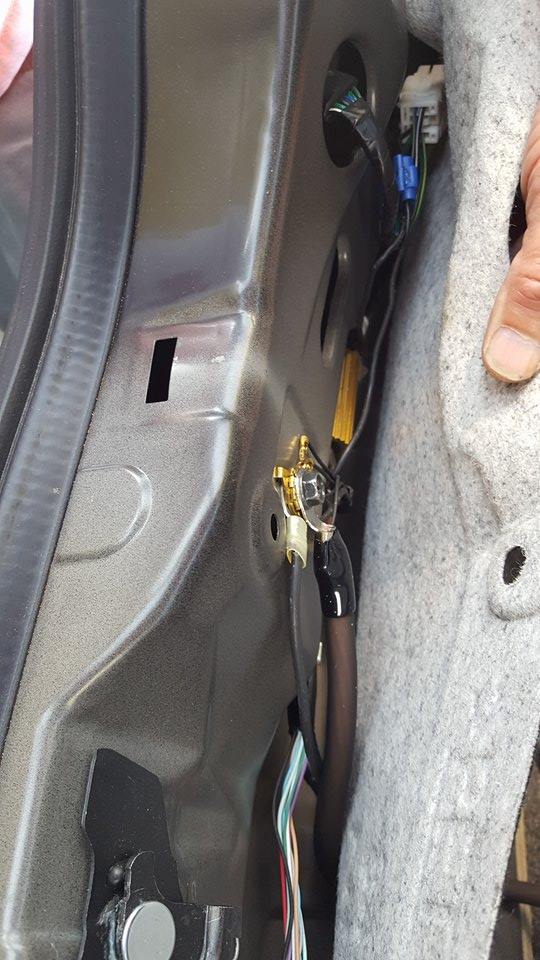
Speaker wire is typically 18 gauge and look how much thicker it looks compared to the wiring on the harness. After seeing the pic above, I'm thinking those harness wires are more on the order of 22 gauge. An 18-22 gauge connector like this one is probably correct:
They don't appear to offer the Posi-Tap style at this gauge, but a Posi-Twist. Trying to figure out how those work now....it appears that this version requires you to cut and strip the wire, which if you are doing anyway, you minus well tackle it old school with some twists, solder and electrical tape.
This one looks like the tap used in one of the photos you attached:
Speaker wire is typically 18 gauge and look how much thicker it looks compared to the wiring on the harness. After seeing the pic above, I'm thinking those harness wires are more on the order of 22 gauge. An 18-22 gauge connector like this one is probably correct: Amazon.com: Posi-Twist� Wire Connectors 14-24 gauge: Automotive
They don't appear to offer the Posi-Tap style at this gauge, but a Posi-Twist. Trying to figure out how those work now....it appears that this version requires you to cut and strip the wire, which if you are doing anyway, you minus well tackle it old school with some twists, solder and electrical tape.
The radio shack ones that you've posted look like they should do the trick. The ones that I tried were from Advance auto parts. I'm not really sure why I had no luck with them, because most of the other installs have used the taps without issue - maybe it was just a bad set. And you're right regarding the gauge - they are quite a bit thinner than speaker wire.
The guy I spoke to on the phone (Nafez/Bill(Co-Owner)) were extremely friendly and said that they were familiar with my sub/amp combo and running low level connections off of the stock Bose amp. They said they would mount my speaker in the box, amp in the car (prefer under the front seat, but I don't think it will fit), run both the low levels and power/GND, then test for $100. All while I wait in their lobby and work using their Wi-Fi. Now I'm wondering if it even makes sense as a DIY? Thinking I may give them a shot as I need a good car stereo/electronics resource in San Diego.
Last edited by socketz67; Jun 2, 2015 at 08:49 PM.
These are what I used to tap in the RCA wires. They are designed to tap speaker wires and they specify 18 gauge as the target wire size. Regardless, they worked fine for me.
For any of you located in San Diego, adding a sub only to the factory Bose and looking for professional install as described here in this thread where you bring the RCAs directly off the harness going into the Bose Amp.
Ask for Bill or Nafez (Father/Son owners) and tell them that you want a similar RCA/Amp setup/connection as what they did for Mike with the Silver G37 sedan.
Print the pic out that I posted here (post #100) when you go in.
These guys turned out to be a hidden gem (surprised at how nice and organized their shop was inside), so I wanted to share with everyone just in case many of you are like me and a little too chicken yourself to splice into delicate 22 gauge wire. I brought all of my own gear, but surprisingly enough, they were not much more expensive than the prices I paid online (also an authorized JL dealer, so their warranty is better). In fact, the JL Speaker grill I purchased on amazon was wrong and they had one in stock (same exact part number, but theirs worked) that fit and cost exactly the same price.
The install cost $100. They prefer to do the "bring your own gear" installs during the week as weekends get real busy. If I had it to do over, I would have probably purchased the sub and housing from them. The JX250/1 amp online for $107 was just tough to beat (cost 2x that at Crutchfield, which is closer to the prices I saw at this shop)...
Anyway, as it is getting tougher to find quality small shops any more, I thought it would make sense to post some details here so perhaps others can leverage my experience as well.
Last edited by socketz67; Jun 5, 2015 at 04:15 PM.
Finished my install yesterday. I screwed some small pieces of MDF I cut to shape into the back of the seat with some self tapping metal screws. Then I mounted the amp to that through the liner that goes over the back of the seat. It's a little tight for my JX500/1 but it works. I have a big 120mm fan on it as well that just runs at low speed when the car is on. I used those 3m taps like seen above. I have to get a better ground, still getting some grounding noise but other than that it's awesome!
^^ Looks pretty clean, thanks for posting. I like the fan idea, never seen that done before in a car audio application. Is it a LED fan? I remember back in my days of PC building, LED fans were the coolest thing around when they just came out.
What did you choose for a grounding location? I used the rear deck as one of my ground points; there was actually a preexisting bolt hole there that worked perfectly.
Thanks man. Yea I sweat my *** off yesterday getting it all in. I originally went in with one piece of MDF but as soon as I got that cover off the seat back there are two raised pieces of the seat back where the clips go through which made it impossible to mount a single MDF board. I ended up cutting a triangle piece for the top and a flat piece to go across the bottom. I wish took some pics.
Yup that's an LED fan but I disconnected the leds. It was left over from a project. Nice and quiet and pushes a decent amount of air. I have it hooked up to my remote wire for power.
For grounding location I used the seatbelt bolt which even after sanding and cleaning still isn't giving me the best ground 😬. Do you have a pic of the bolt on the deck you used?
Unfortunately I didn't take a picture of that, but it was a pre-threaded hole. If I remember correctly, it was near the middle of the deck. I removed the bose amp and system completely, so I used one of the bolts that was holding the amp on, and it fit. I have another amp grounded to one of the bolts that secures the tail light. That may be a bit of a stretch for you, though, due to the current location of your amp. I suppose it wouldn't hurt to shift the ground cable around to see if you can find a location that eliminates the noise.
Sorry to bring back a dead thread, but there is a LOT of good info here and I wish I had come across it earlier.
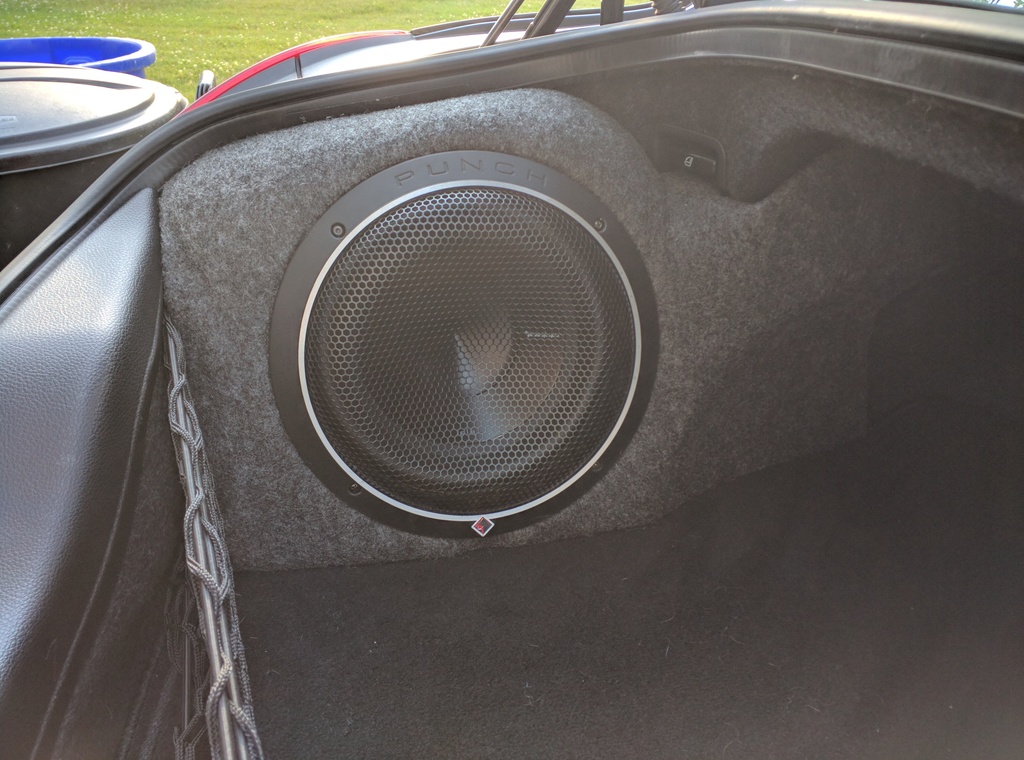
I just installed my 10" Rockford Fosgate sub in a 4080 enclosure I bought used. I chose the Rockford Fosgate R500X1D 500W amplifier + wiring kit for less than $150 on Amazon. https://www.amazon.com/gp/product/B0...?ie=UTF8&psc=1 to power it.
I just set it up last weekend and I used an LOC on the low level connections (B41, wires 22-26) and I have the low sound level issues reported by others who used a LOC. I will be going in this weekend and ripping out the LOC and direct wiring it.
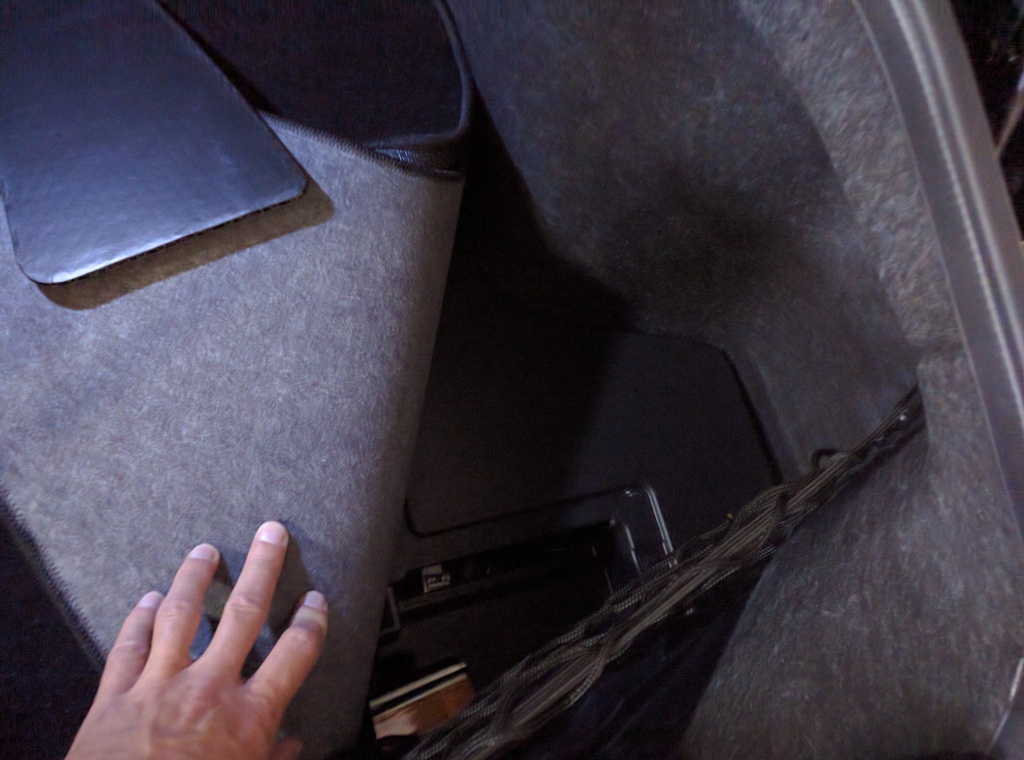
I wanted a stealth install and chose to mount the amp underneath the tray plastics on the passenger side. Because I wanted to install the amp under the trunk tray plastics, I chose a different ground than mentioned in the post above. I used the OEM ground at the rear of the trunk:
I can still get to the amp settings through the pass through, but I will likely go back in and turn the unit around for better access.
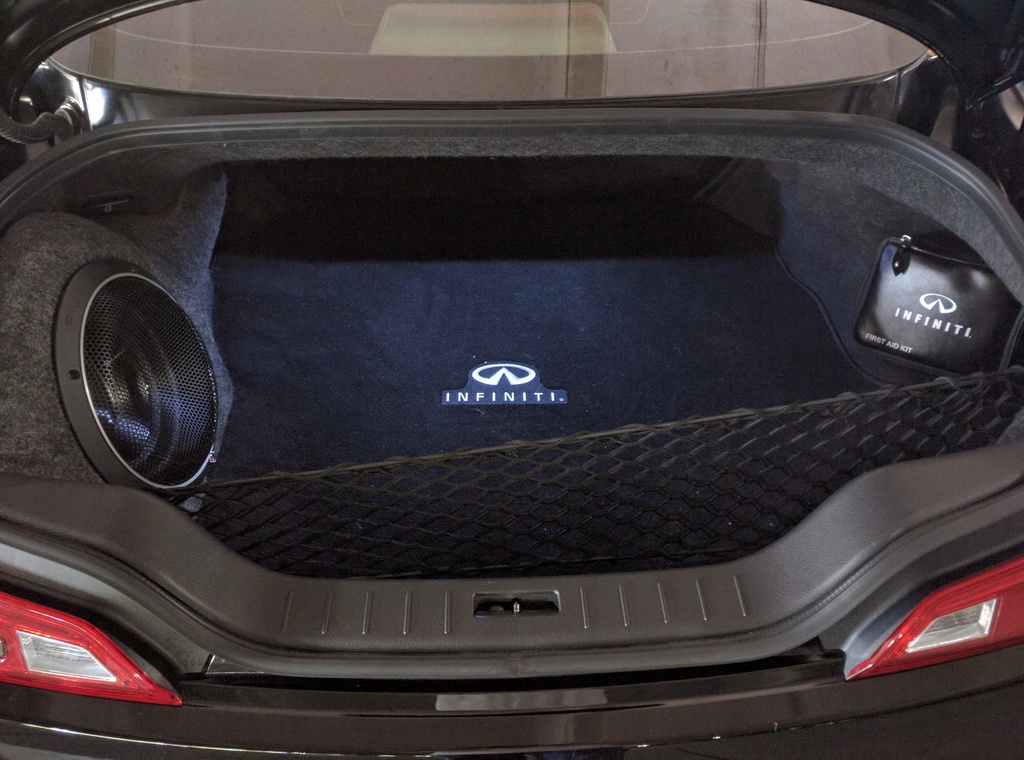
Nice, stealthy look:
I will update with my results from removing the LOC.
Sorry to bring back a dead thread, but there is a LOT of good info here and I wish I had come across it earlier.
I just installed my 10" Rockford Fosgate sub in a 4080 enclosure I bought used. I chose the Rockford Fosgate R500X1D 500W amplifier + wiring kit for less than $150 on Amazon. https://www.amazon.com/gp/product/B0...?ie=UTF8&psc=1 to power it.
I just set it up last weekend and I used an LOC on the low level connections (B41, wires 22-26) and I have the low sound level issues reported by others who used a LOC. I will be going in this weekend and ripping out the LOC and direct wiring it.
I wanted a stealth install and chose to mount the amp underneath the tray plastics on the passenger side. Because I wanted to install the amp under the trunk tray plastics, I chose a different ground than mentioned in the post above. I used the OEM ground at the rear of the trunk:
I can still get to the amp settings through the pass through, but I will likely go back in and turn the unit around for better access.
Nice, stealthy look:
I will update with my results from removing the LOC.
I have an issue I have no bosee no subs or just a coffee if I want to hook up 2 subs and an amp I don't know where to hook the RCA's and the remote up to
UPDATE: When I removed the LOC from my system, everything worked beautifully.
Jim Bob--not sure I understand what you are asking, but if you need to know what wires to tap, you can get the FSM for your particular model and look it up.
I just wanted to add how I installed my amp as I think it turned it out really clean.
So I mounted it in the spare tire, removing the foam thing in there and making a custom steal plate to mount my amp. I ran the wires under the tire and store everything in the left plastic compartment, I had to cut a little notch in the plastic to run the wires through. I also had to grind the plastic screw thing down that holds down the spare tire so it would fit under my amp.
Yaya I know it doesn't get any airflow under there and was strongly recommended not to install my amp there or install a fan, but I have not had any troubles with my amp located under the trunk liner with no fan installed for 1 year.
Did this last year using a LOC, and always thought it was not working as good as in my previous vehicle. After reading all these forums, I ripped my trunk apart and am going to wire my RCA's directly to wires 23-26.
Amp sits relatively flush with the spare tire, maybe slightly higher but the trunk liner just sits on it.
small gap underneath for air flow ahaha
Bottom of this plate is steel, custom made with screw holes in the sides so I could screw wood to it, and one hole in the middle so the spare tire is still held down.
shaved off the lip, so it would screw flush and fit under my amp
notched out a small slot for all the wires and hid everything beside the factory amp.