When you click on links to various merchants on this site and make a purchase, this can result in this site earning a commission. Affiliate programs and affiliations include, but are not limited to, the eBay Partner Network.
Before I start, yes, I know the VQ37VHR is port injected and yes, I know N/A setups won't see too much oil buildup compared to forced induction setups. This is for more track-oriented builds or people who want to use OCCs just as a safe guard. Just wanted to share this if anyone else feels like giving these OCC's a try. This isn't a review- might post one in a month or two after I get my OCC's installed and put some mileage on them. I'll have another dual catch can setup made by Saikou Michi when I go forced induction soon enough and will share that also.
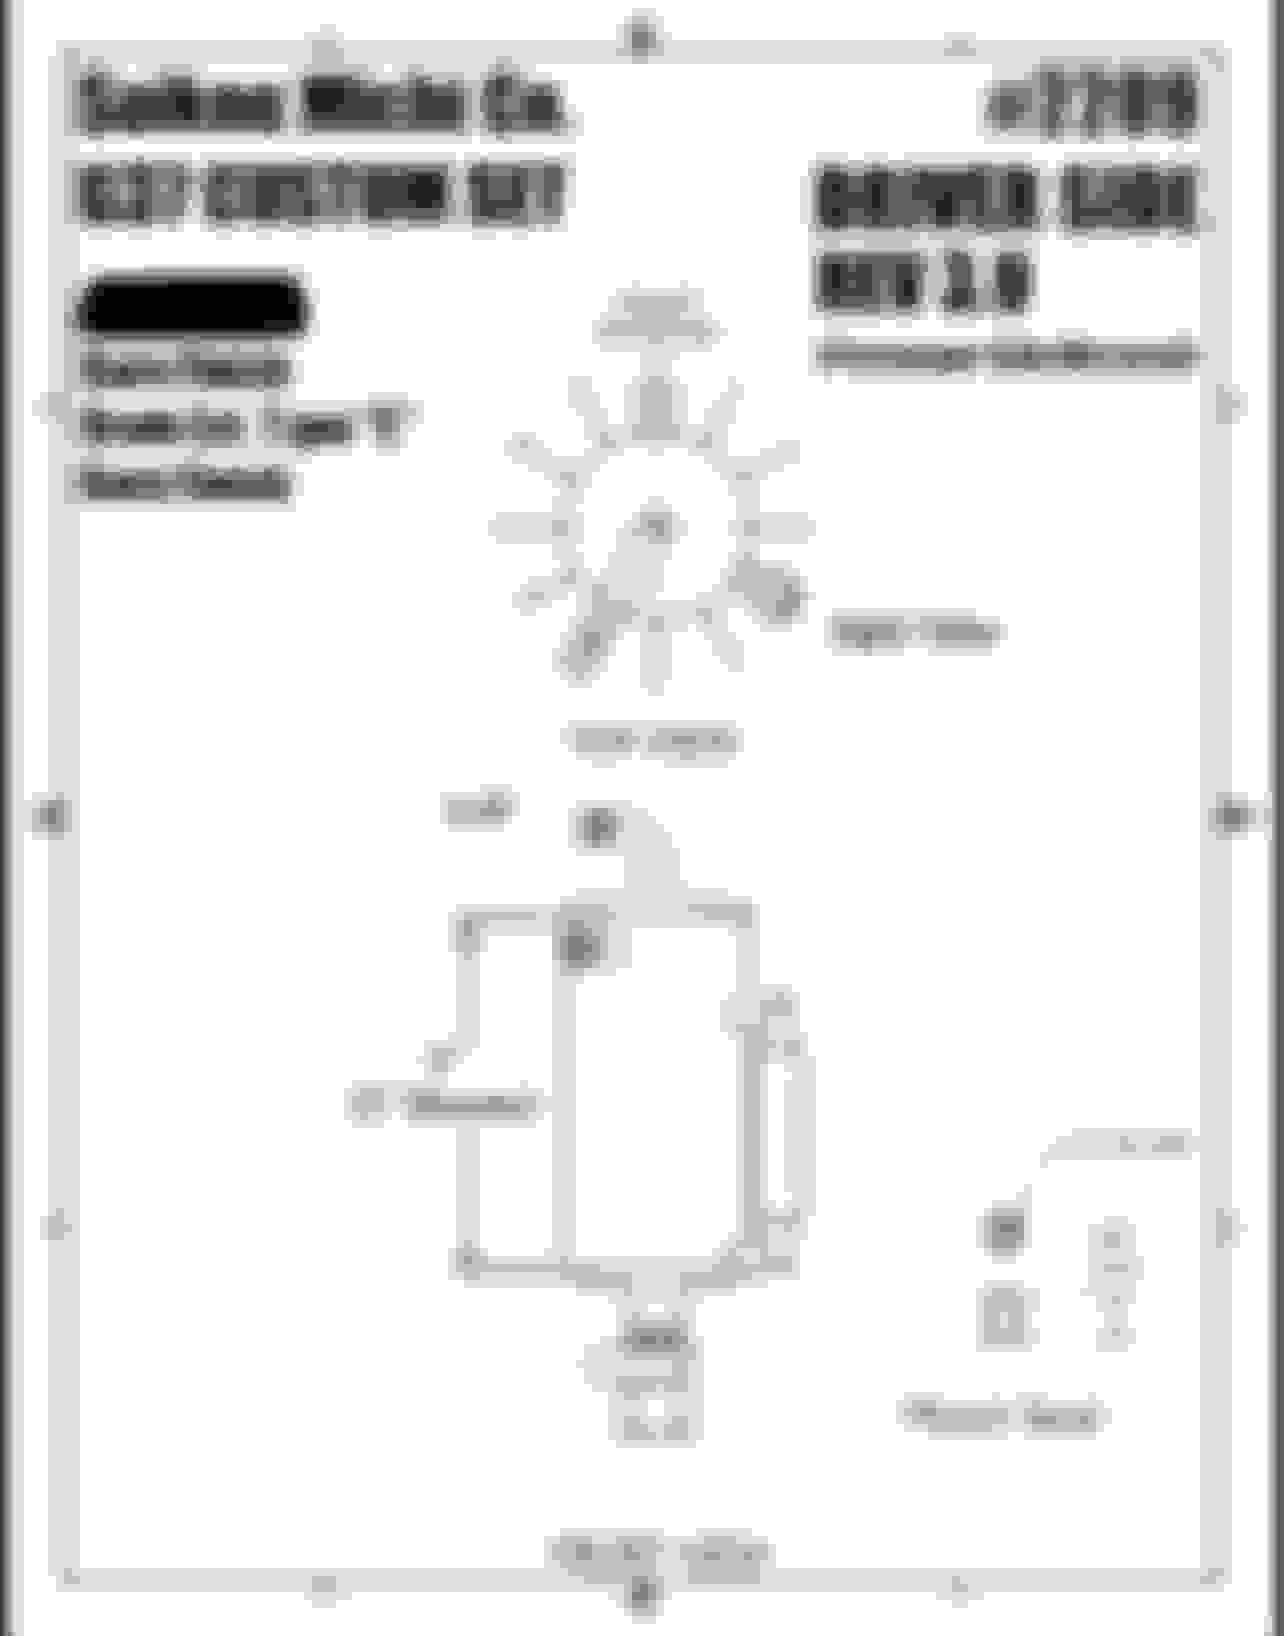
I was inspired by some posts and great feedback on the370z forum to try a new dual catch can setup for the G37. After hearing a lot of great reviews about Saikou Michi baffled oil catch cans (OCC's), I decided to send Mr. Saikou an email to get a dual OCC setup made for the G37 (NA coupes and sedans). First thing I want to say that many others before me have said, his customer service is top-notch and he works with you one-on-one in great detail to come up with any setup needed. I started by taking the standard 370Z kit he offers, and worked with him to modify it for our engine bay as we actually have a slightly different layout than the 370Z. The layout will look VERY similar to the pictures in the first link below. Due to a sensor on the driver side, and the windshield washer fluid reservoir on the passenger side, the rotations and size of the OCC's had to be modified slightly to fit in our bay safely while still allowing access to the turn-ball valves or petcock drains under the OCC's (the fender liner is a limiting factor also). As a result, the OCC's are only 1" shorter compared to the standard 6" size OCC Saikou Michi offers. There will be no difference at all in the functionality of the internal baffle system, just a slightly smaller capacity. I opted to have sight tubes installed also since that's a no-brainer. His product is also extremely reasonably priced for a custom, handmade OCC.
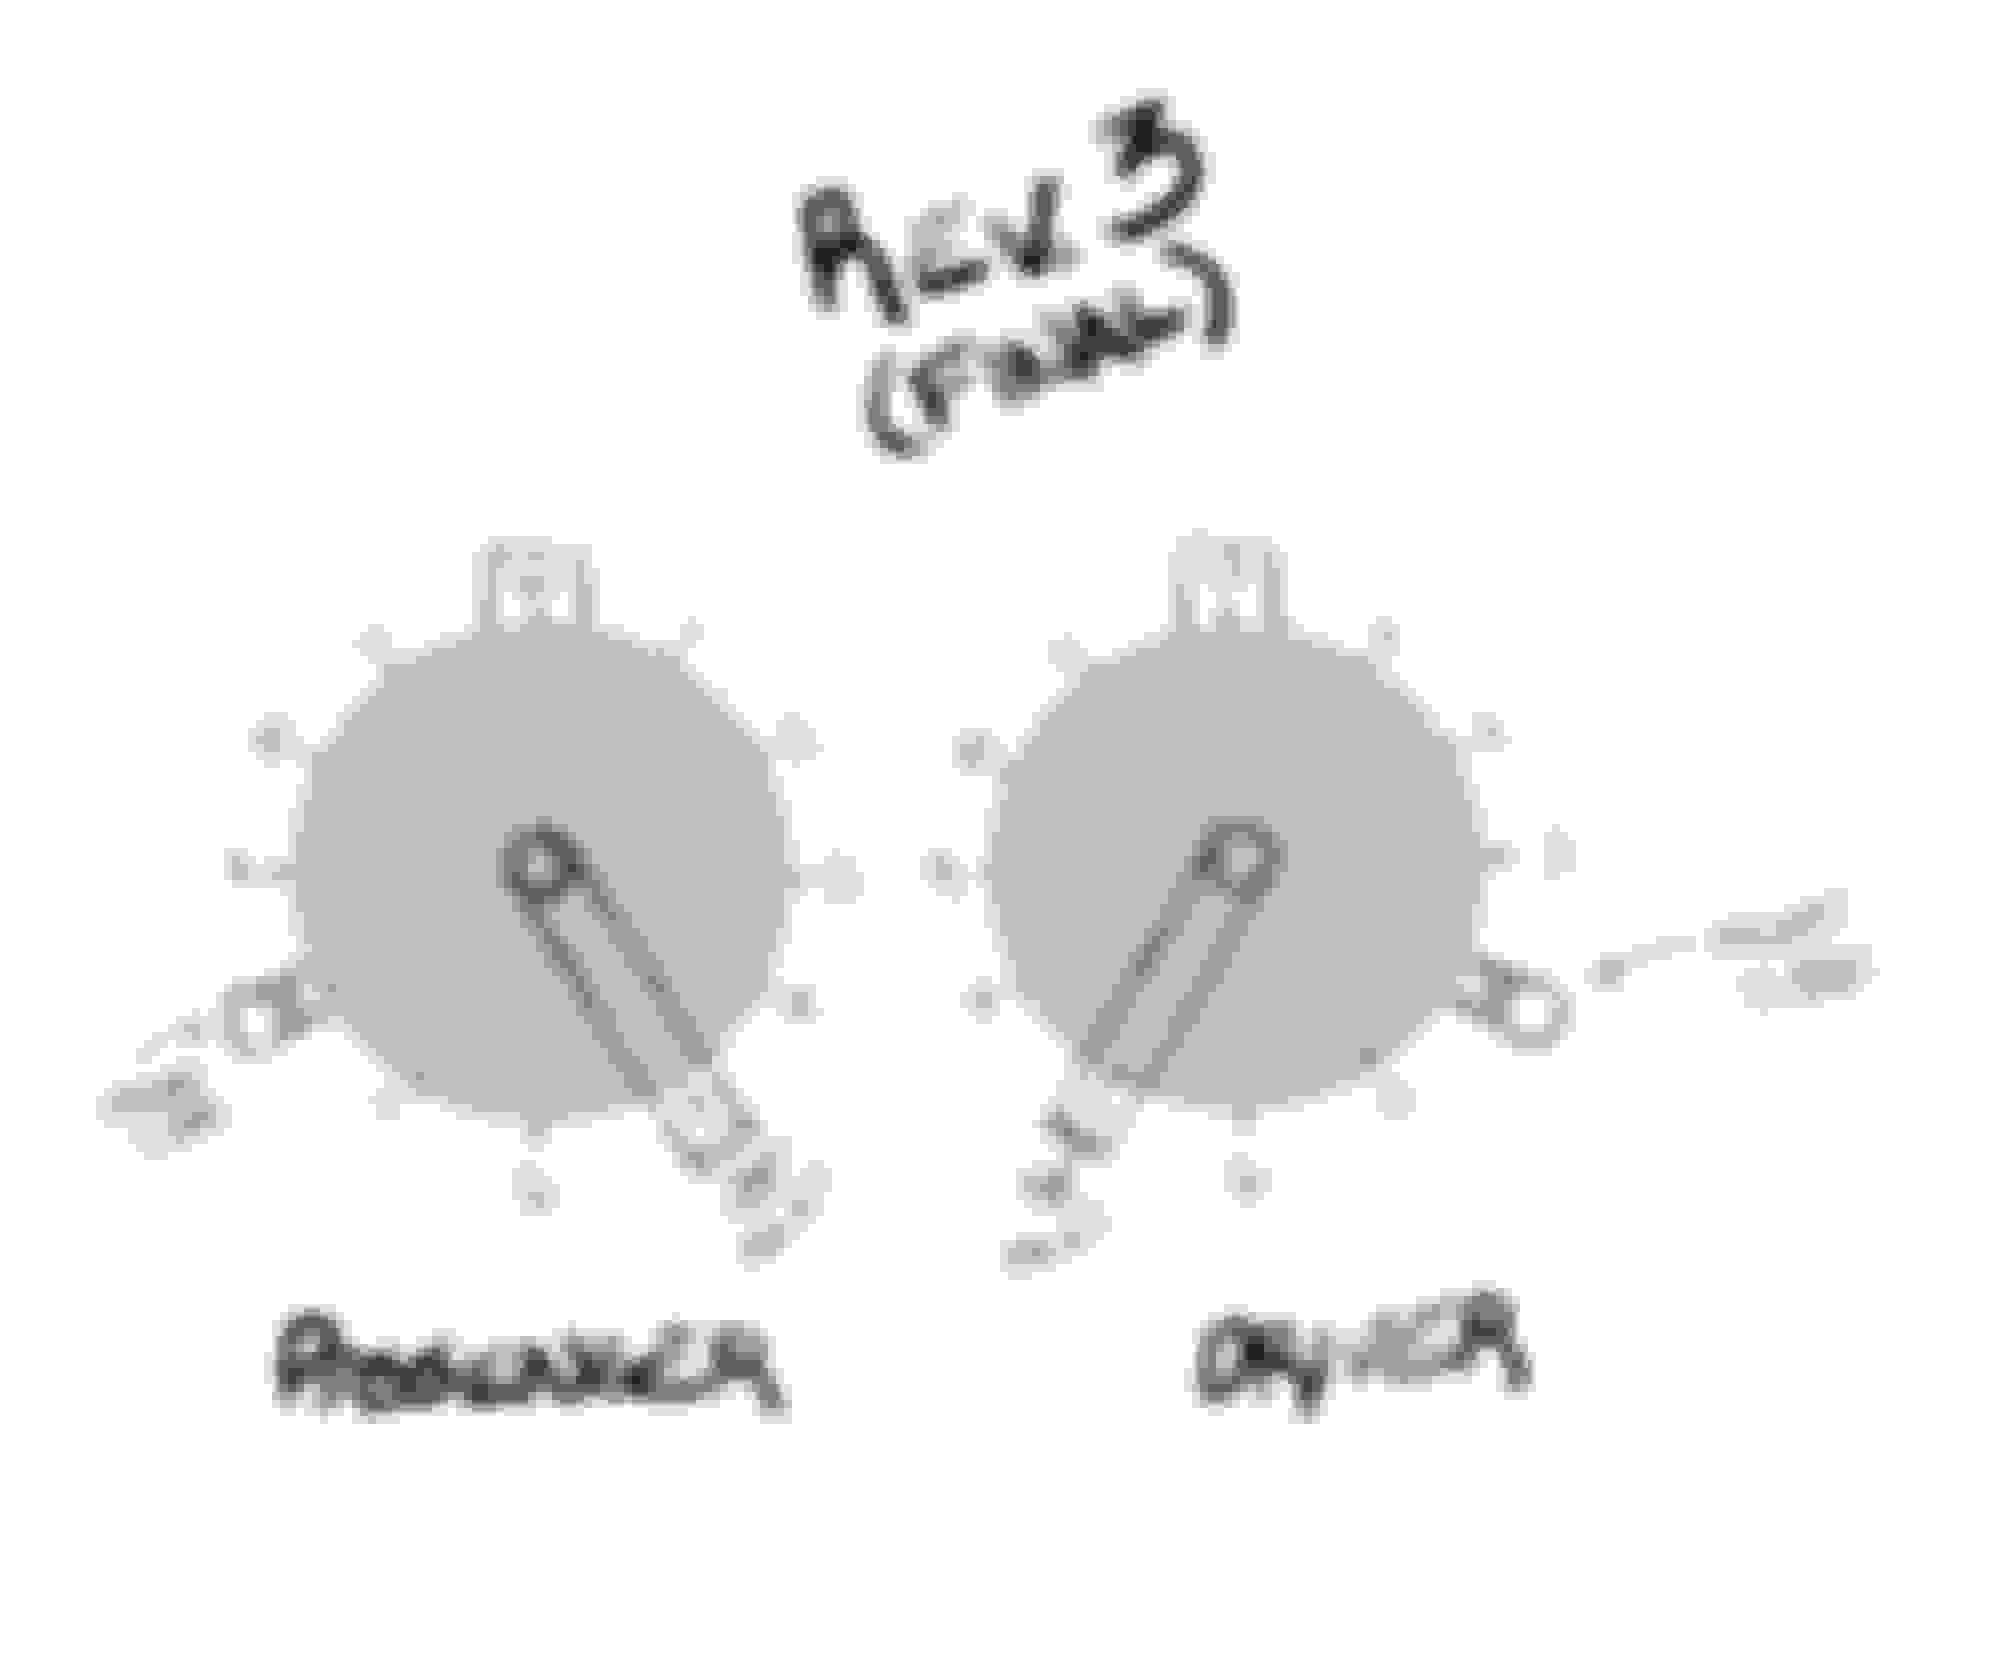
The kit I had him draw up for the G37 will fit any N/A G37 with aftermarket long-tube intakes. The positions of the inlets might not work for OEM or short ram intake setups, but are mirrored from driver to passenger side for visual consistency and his mounts will attach to the two OEM intake hangars on each side. This setup will not fit most aftermarket superchargers- the placement and rotation would have to be modified further. I attached one of his shop drawings below to show the general size and setup of the OCCs. Excuse my very rough drawing- I was in a hurry and drew it in a few seconds to send just to show how I wanted the OCC's mirrored. He started fabrication on my setup today, so I should have the OCC's within a couple weeks and will post updates. I did buy the Spectre SS braided hoses mentioned in that thread first, but the braiding was garbage quality so I swapped them for some Mr. Gasket SS braided 3/8" hoses which look 10x better so I definitely recommend those hoses if you opt for standard 3/8" inlets on the OCC's. Mr. Saikou does offer -AN threading options as well.
The OEM engine cover will also either need to be trimmed or completely removed to allow room for the 3/8” PCV hoses and clamps. I decided to completely remove my cover and replace the center plenum/engine cover screw with a smaller titanium M6x10mm bolt. This safely fixes the vacuum issues some experience if your center plenum/engine cover screw has poked through from being screwed in too far (causes a vacuum leak to form when it’s not screwed in, in that case). The OEM bolt is around 25-26mm in length, and the 10mm length I used to replace it is short enough to completely sit flush while not risking poking through. Link to the titanium bolts on Amazon-
For reference, here's the thread from the370z I went off of: 370Z Dual OCC DIY
And here is a link to the hoses from Summit Racing (you can find them at advanced or autozone also). You will need 3x 3 foot sections at least; I bought 4 to be safe, and they include the end clamps- 3/8" hoses
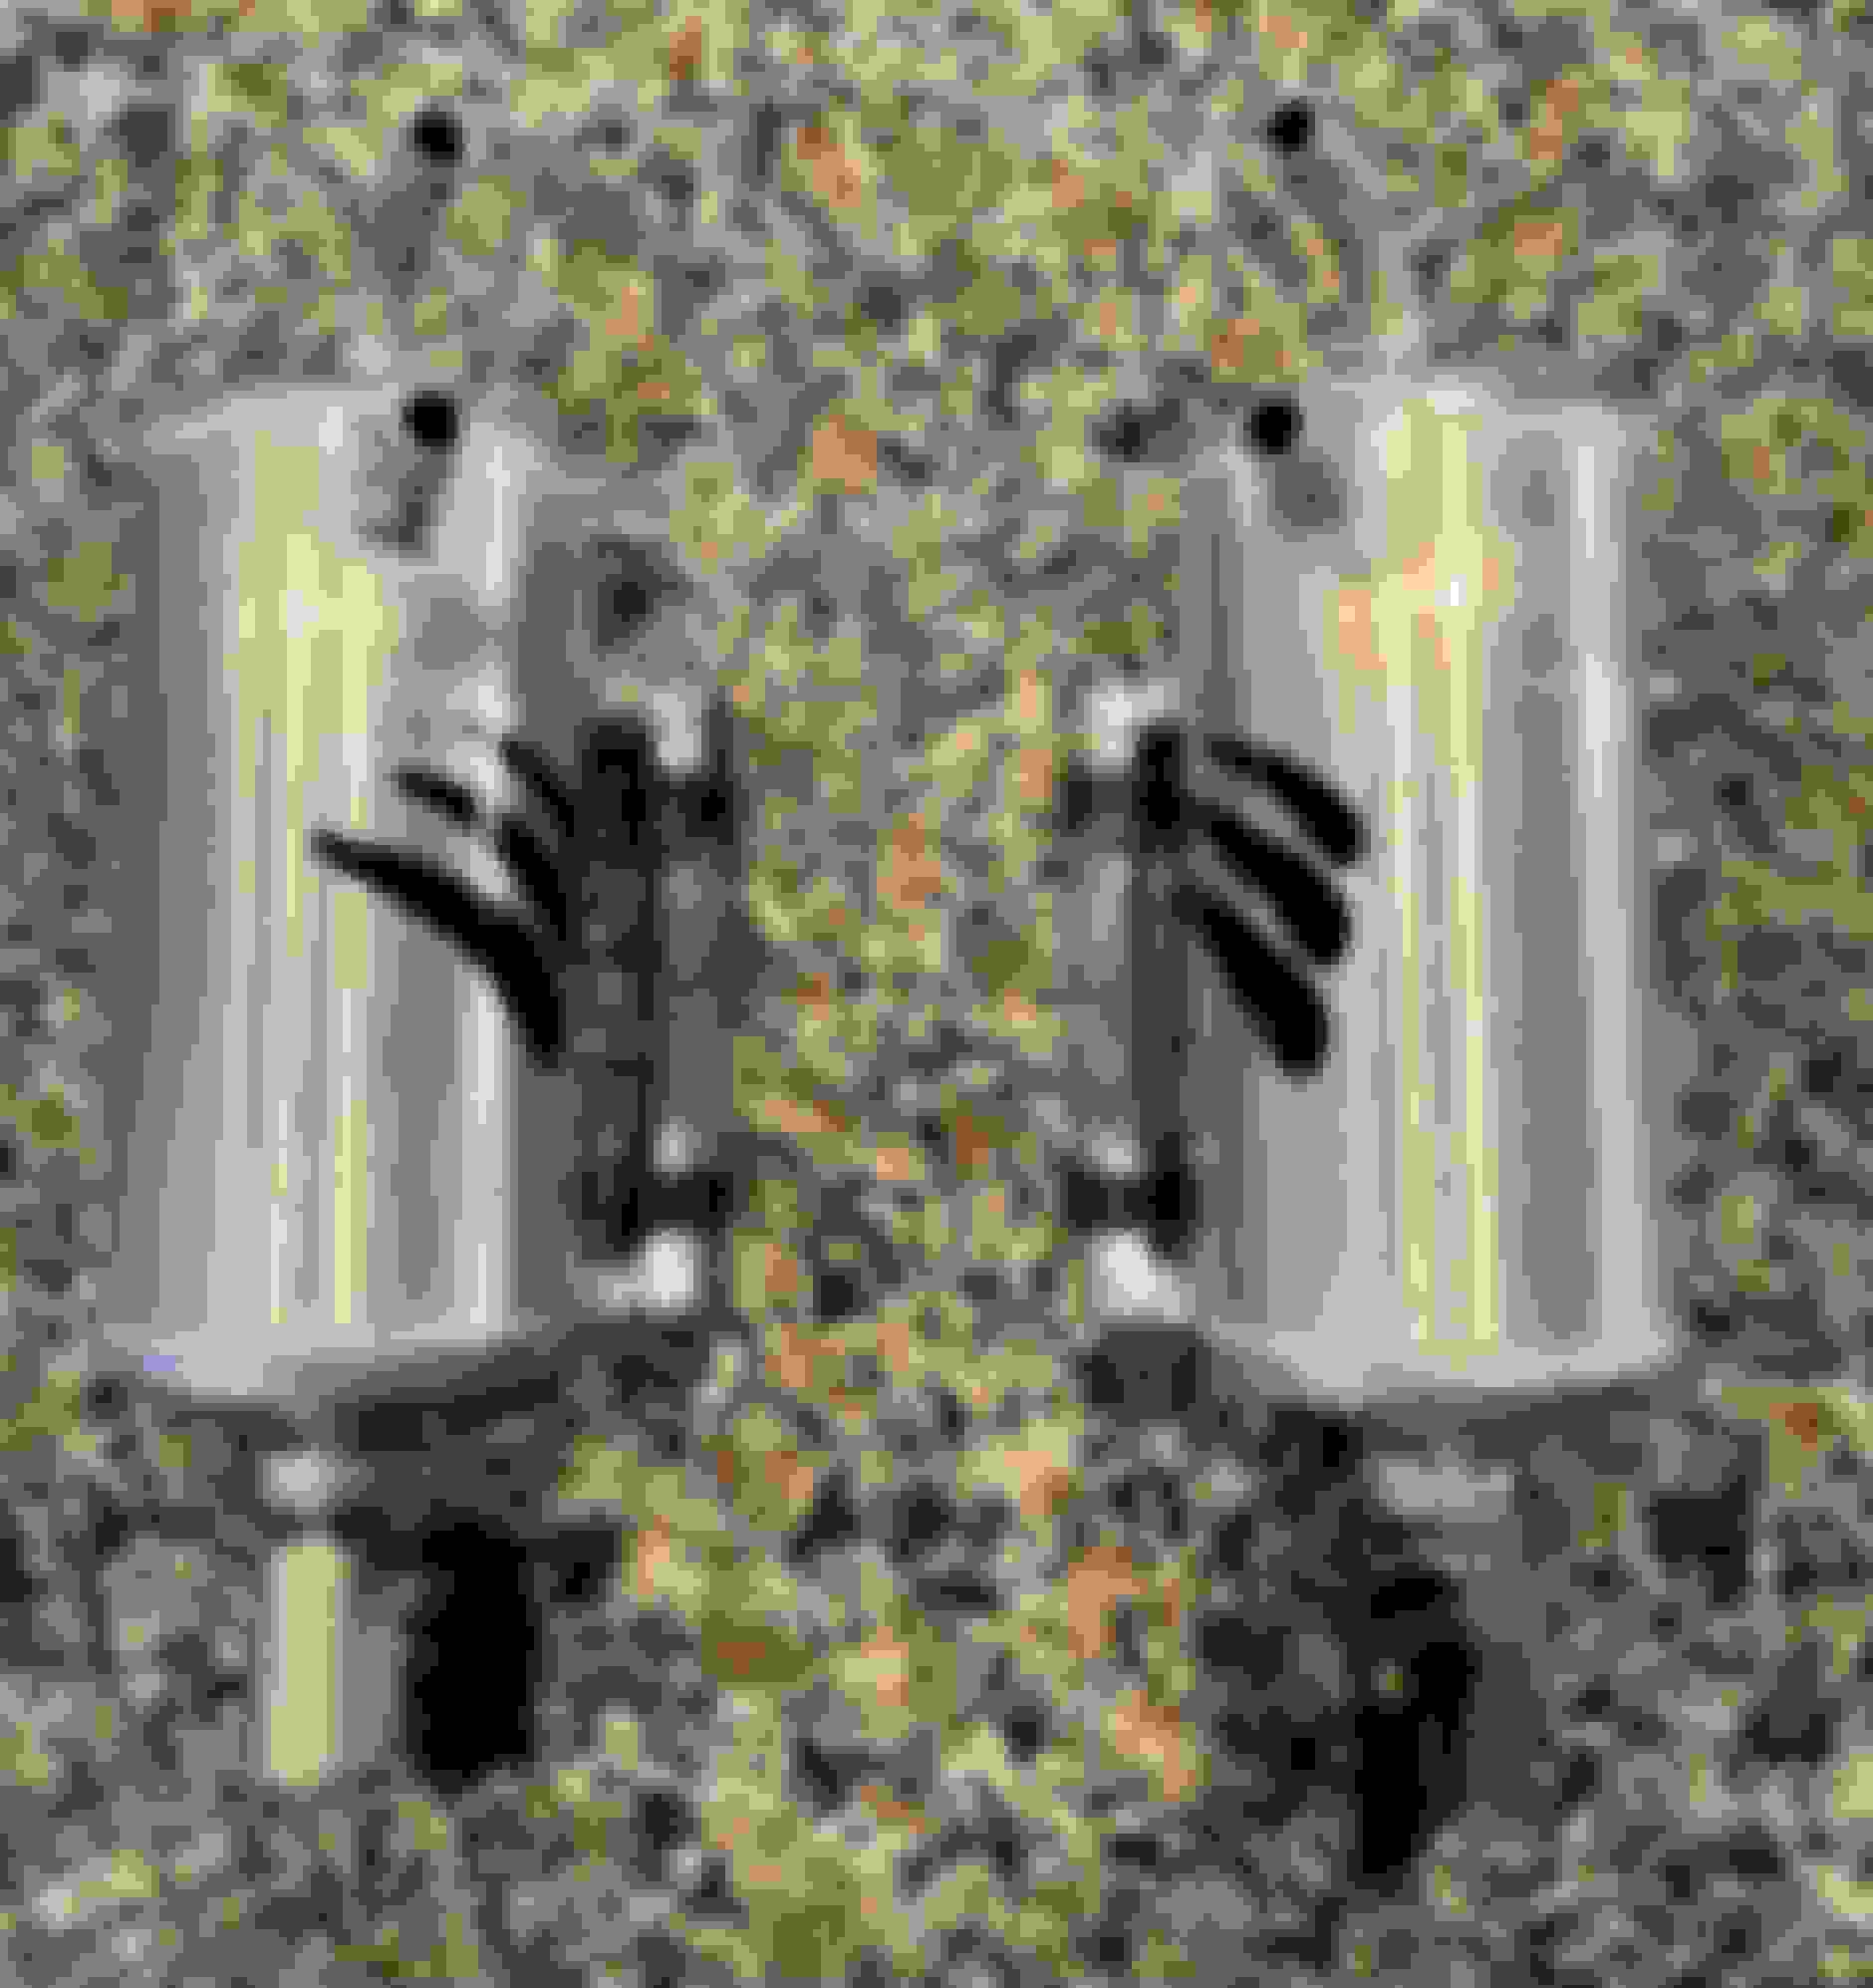
The OCC�s came in the mail and look amazing. Very detailed info packet included with them. Fitment is pretty spot on, which I was pleased to discover (I was a little nervous my layout I had drawn up wouldn�t turn out as good as I�d imagined). The brackets included are designed for the 370z and are a hair short/need to be pushed out about 1/2�, so I will find some or fabricate some brackets and share the final result. Here�s a picture of the catch cans and a test fit using the brackets that were included.
It seems like I might have been able to fit the standard 6� sized cans, but it�s still a really close call test fitting it, so for now the 5� cans are perfect. They barely clear the Z1 silicone power steering hoses, and barely clear the fender liner with the turnball valve. There is probably a finger of room in between the turnball valve and fender liner, at least from my quick test fit.
Update- For now, the 5” cans seem like the right choice due to our fender liners. I’m working with Saikou Michi to have new brackets made specifically for the G37 that should fit perfectly without needing to bend/move anything. They are literally just 1/2” too short on both ends for our cars. I was able to get the driver side OCC and bracket to fit without rubbing anything after bending the OEM horn/beep bracket though, but will be happier when it’s pushed out that extra half inch for clearance. You could also just relocate that electronic horn. There’s only a few mm in between the OCC, fuse box, and horn as of now.
The OCCs also sit slightly high, so it’s a very close call right now with regard to hood clearance. I used some playdough and chalk to replicate the added height of the 3/8” end clamps, and they barely touched, so moving the OCC’s down half an inch will safely accommodate the hoses and clamps.
Small update, the new brackets are in the mail and on the way. As soon as they arrive I should be able to bolt them in and finally attach the SS braided hoses I pre-cut. I made a few changes to the lengths of the hoses to better route everything without risking breaking one of the plenum PCV nipples since they are plastic and are known to break off if too much pressure is applied - so I'll post the lengths of all hoses once I get it fully installed. Don't want to share measurements that aren't perfected.
The braided hoses I purchased work fantastically but sadly the worm clamp ends that are included are a little too finnicky and don't want to properly seat over the hoses and clamp evenly. Since these aren't even actual fuel lines anyways, I'm just removing the red & blue caps and using a clamp on the ends of the hoses. Won't look as pretty but I'm for function over form. I might consider using different hoses in the future when I go FI and have to redo this setup. I used my Dremel with a cutting wheel to cut the hoses but would recommend using a chop-saw if you have one. Be sure to use painters tape (preferred) or electrical tape wrapped around the hoses where you are making a cut. Painters tape is just as effective at holding the ends together and doesn't leave the sticky residue that electrical tape does.
Brackets arrived, and the fitment is absolutely perfect now. No modifications should need to be done for anyone in the future going this route. If anything, the bracket holding the electronic "horn" might need to be bent or it can just be relocated entirely. I have to order a new hose since I went a little too short with one of them, and the end got frayed because of the not-so-great worm clamp covers included with the hoses. I'll be using some 3/4" constant tension spring clamps instead of the worm gears- they are a little too difficult for me to get my hands behind the intake manifold and tighten the worm gear clamps. As soon as I get the hoses installed I'll get a few pictures of the final result.
I also purchased a petcock drain kit from Saiku Michi which runs drain tubes from the bottom of the can to a mounted location in the bottom of the car to make draining easy. He has 2 options for the petcock drains- I chose the option that keeps the turnball valve attached to the OCC's instead of at the bottom of the drain hose. This prevents fluid from sitting in the drain hose, which I want to avoid. In the other configuration the turnball valve is placed at the bottom of the drain hoses, not at the bottom of the OCC's, hence fluid would be sitting in the actual drain tube. You could use 2x turnball valves per OCC to have 2x valves to open (one at the OCC and one mounted to the end of the drain tube) which would keep fluid out of the drain tube, but that just seems like overkill for something very simple. In all honesty I will probably not even end up using the drain kit - it is so easy to remove the 1x bolt where the OCC brackets attach then simply lift them and drain them. I also don't have to crawl under my car this way, which is nice especially if you are aggressively lowered on coilovers (or bags) like myself.
I'll post pics of the finished product later this week after my new clamps and hoses arrive, and I'll be sure to post the final hose lengths I used.
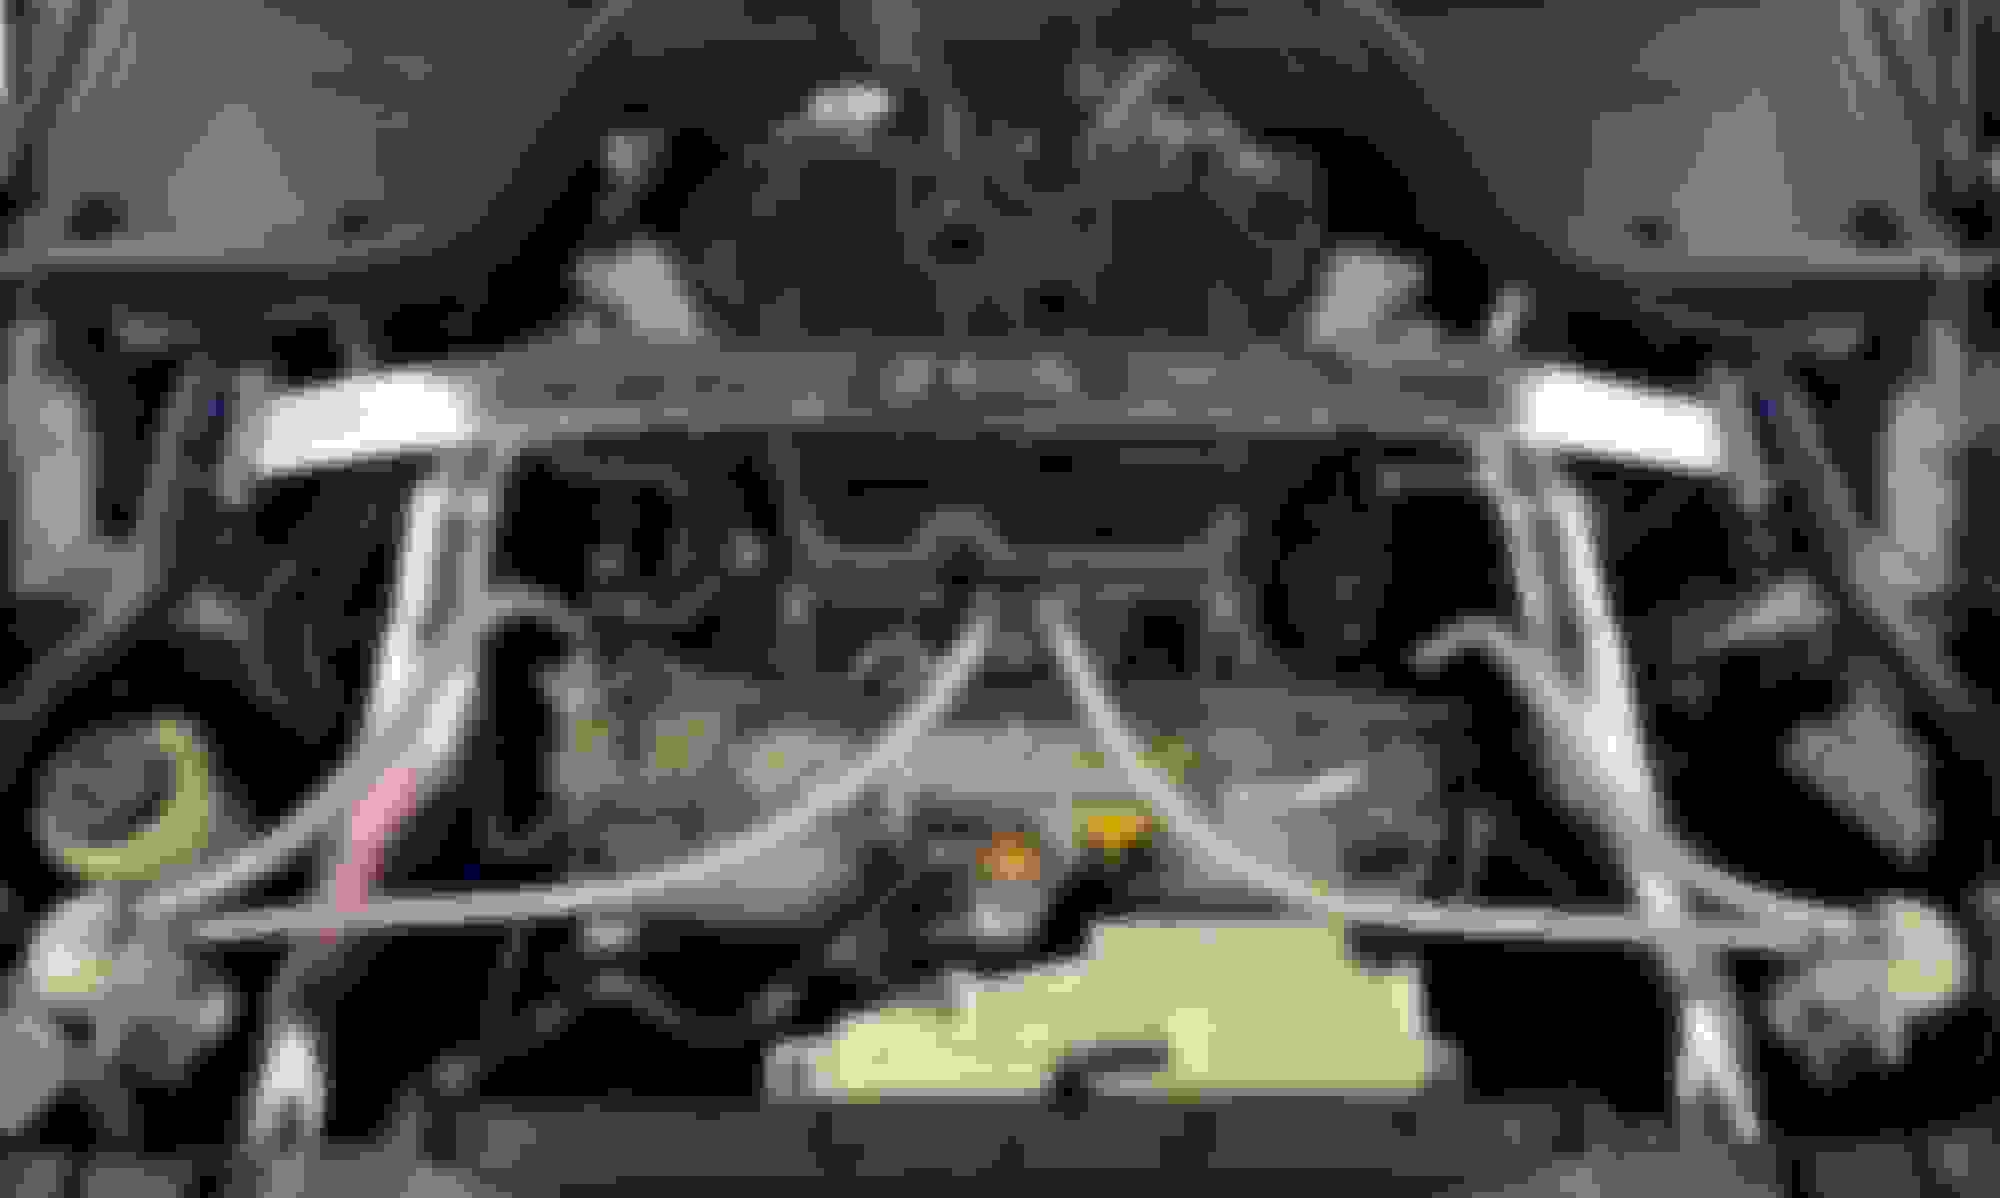
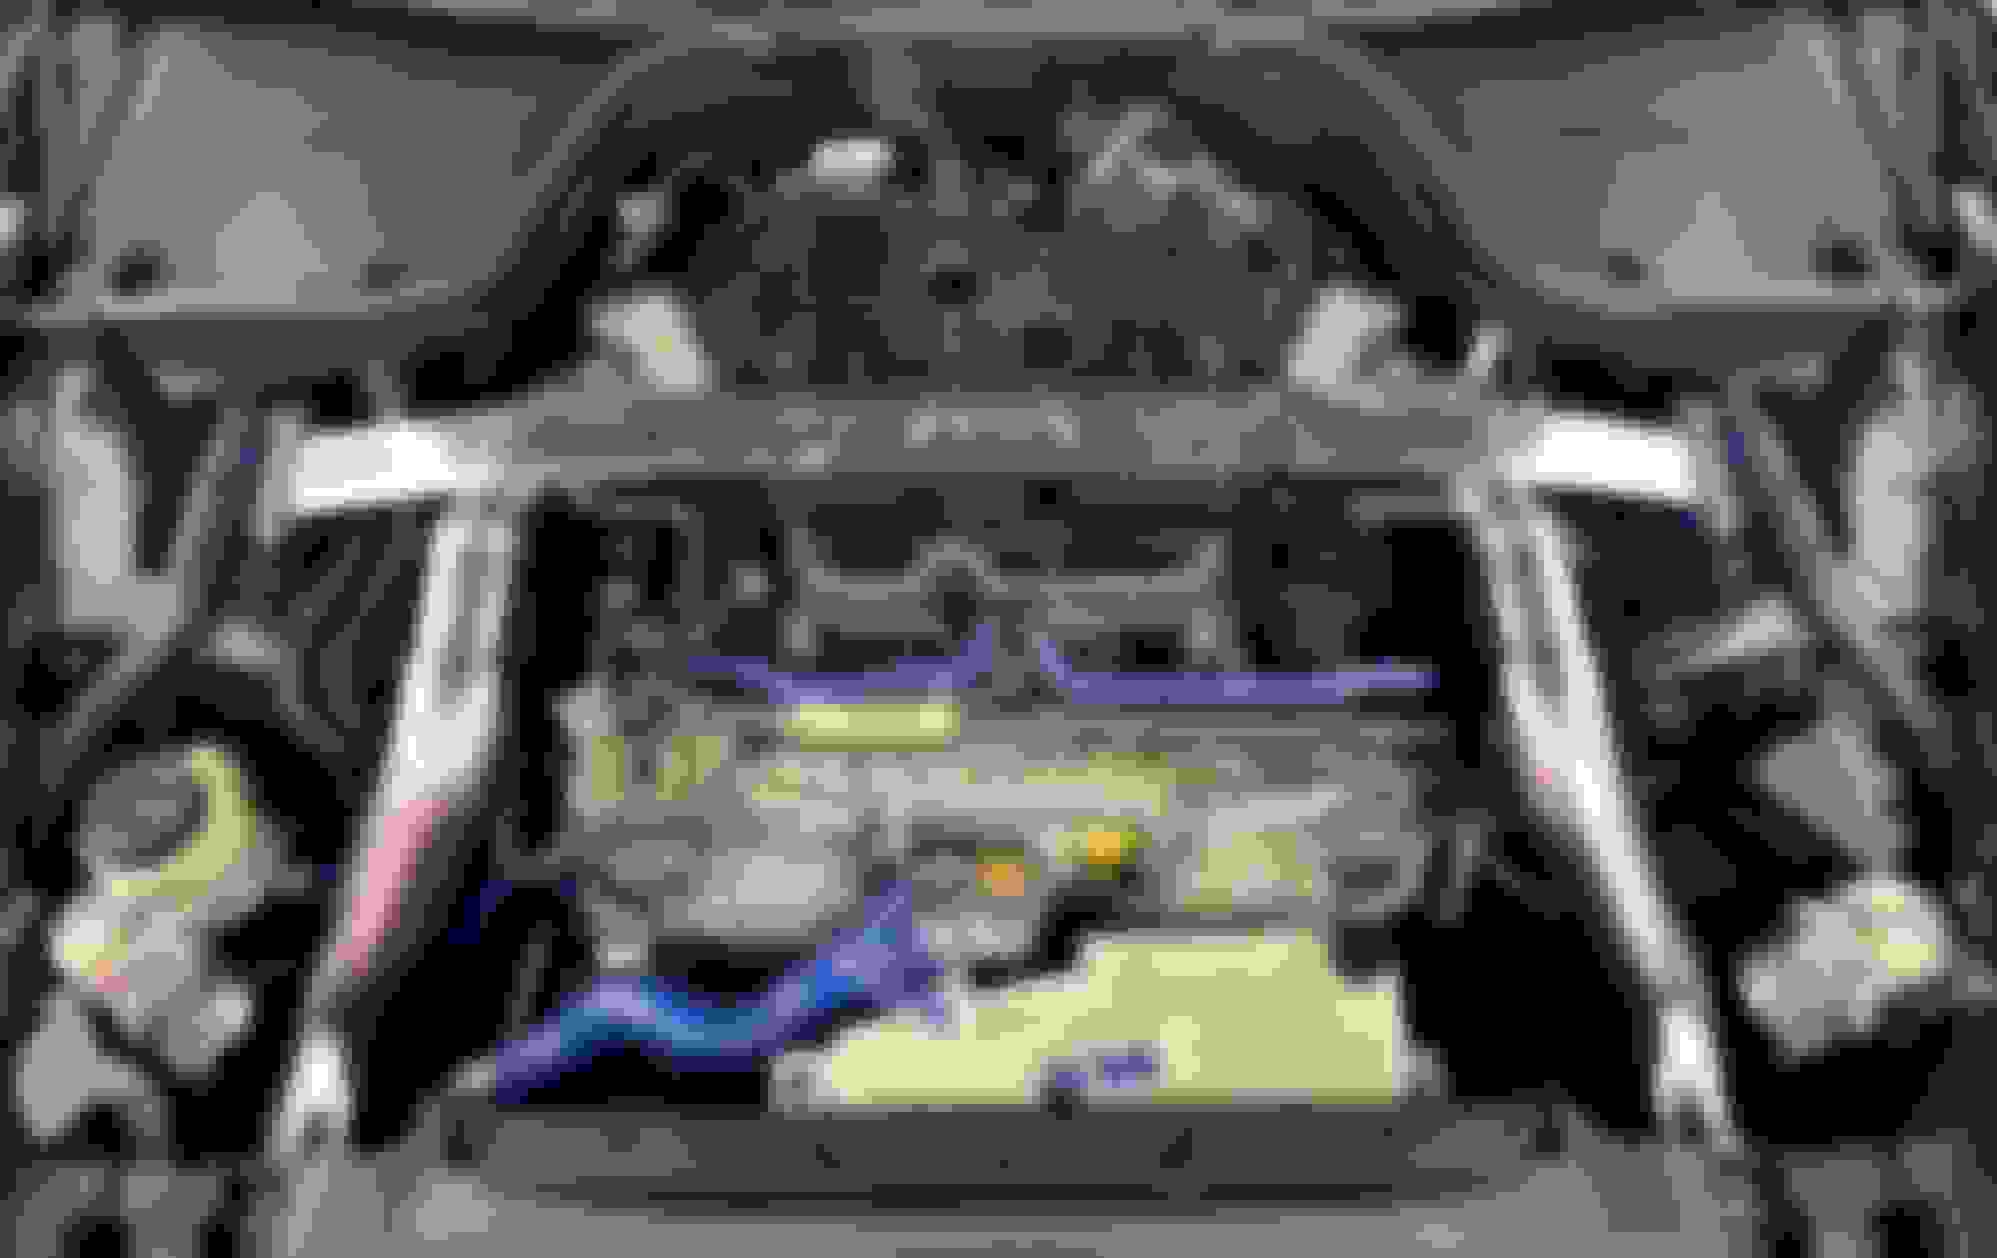
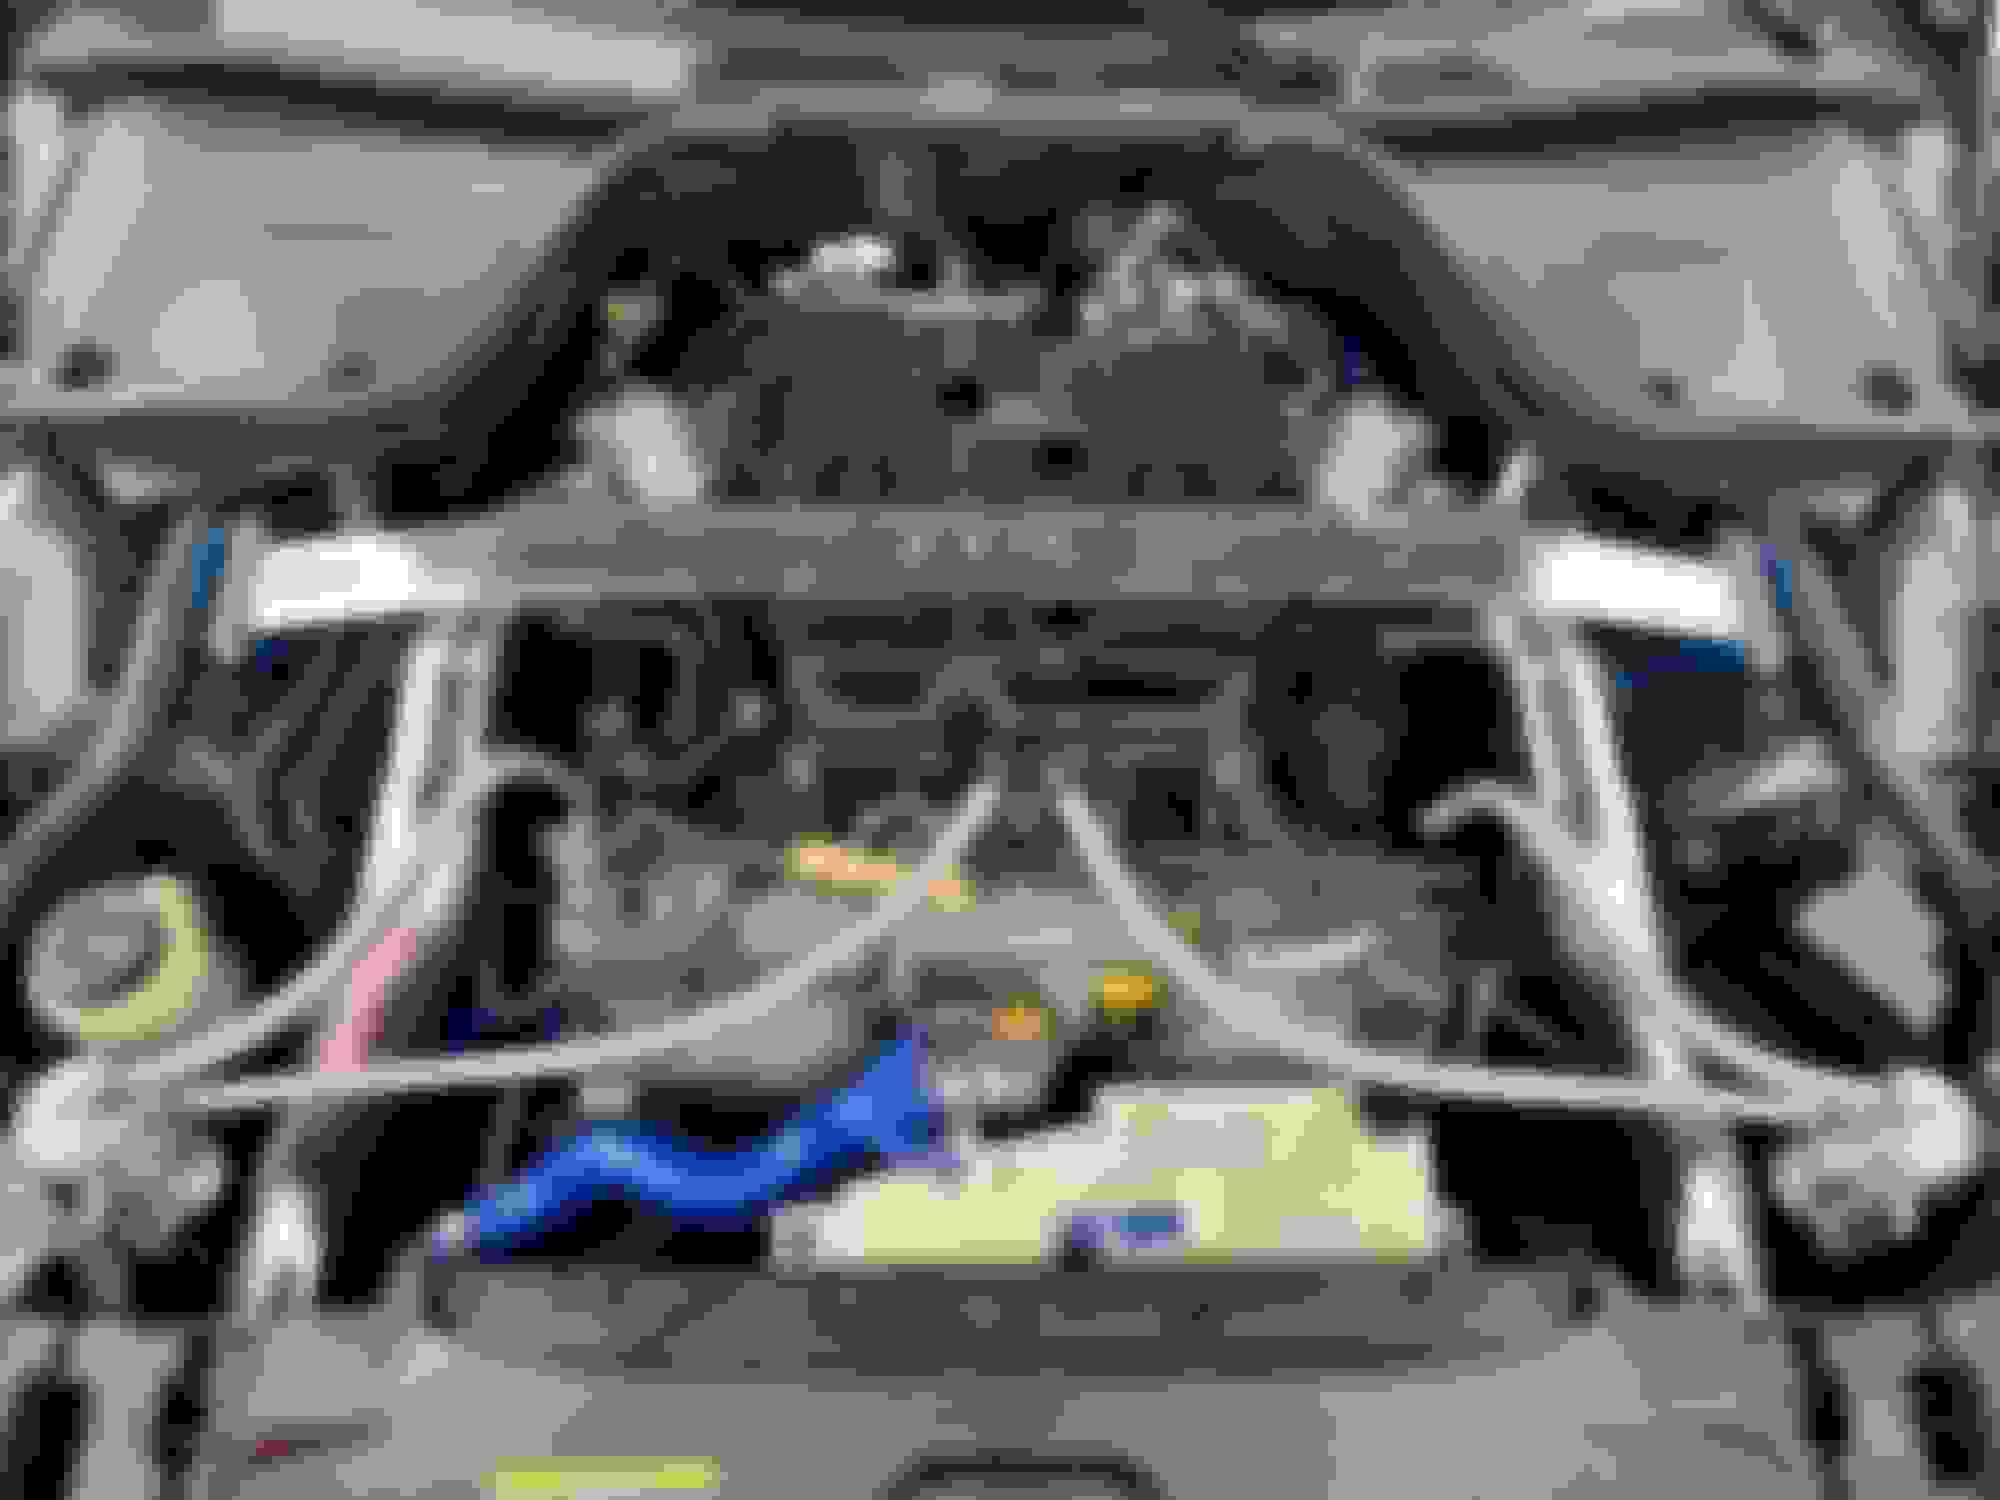
Finished product. I said F-it waiting for the spring clamps, and just ended up using the worm gears included with the hoses I bought. The hoses are stainless steel braided anyways so I don�t need to worry as much about the worm gear tearing through. Got everything tightened down and couldn�t be happier with how it turned out. Be sure to run high-temp Tesa tape around the ends of the hoses before using the clamps- provides a better grip and seal for the the clamps.
The final hose lengths I used are 2x 16� sections from the OCCs to manifold, and 2x 21� sections from the OCCs to the plenum. This seemed like the best length and the routing worked out amazingly. No over-bends anywhere, and the symmetry of it is gorgeous IMO. I�ll be using a simple hose separator clamp on both sides near the OCCs to keep everything extra tidy. I originally had the passenger side plenum hose routed under the wiring harness but was worried it was putting too much tension on the harness, so I removed the one bolt and clip holding in the harness, and just pushed it down and out of the way. Hope this helps anyone else out wanting to give these a try.
Lots of work and planning but the end result is fantastic. The lines and cans match the rest of the components. Great execution on placement and line length, you sure took the time to measure/cut/route everything properly.
Now that that is done, monitoring of what it catches. Great job Bread!
Lots of work and planning but the end result is fantastic. The lines and cans match the rest of the components. Great execution on placement and line length, you sure took the time to measure/cut/route everything properly.
Now that that is done, monitoring of what it catches. Great job Bread!
Thank you BULL, appreciate the good word
I did waste 2 lengths of hose test fitting everything, but that was an expected sunk cost. Once I get some mileage in on the catch cans I will post a review up in the reviews section but so far so good. Might change this thread to a DIY with a few more pictures since that's essentially what this thread is.
Small update to the finished product, I’m wrapping the wiring harness with a Design Engineering Cool-Tube Extreme Heat Reflective Sleeve since I can cut it length-wise down the middle and wrap it around the harness without having to unplug anything. I’ll also wrap that in Tesa’s high heat tape in the 2x spots where the harness lays directly under the plenum hoses for an extra layer of protection against rubbing. Link is below; I’m trying the .75” diameter x 3’ section first, hopefully it fits perfectly but if it’s too small I’ll get the 1” diameter model and will update this post.
I also decided to remove the anodized finish and sand the included braided hose clamp covers, so I’ll post another picture once those are done and put on the hoses. They came red&blue like a traditional fuel line, and I want a sanded finish/raw aluminum finish to cover the electrical tape. I thought I wouldn’t mind it but my OCD kicks in looking at it. Figured it’d be easier to do this than risk running clamps/clamp covers not designed for that hose (and waste money). Removing anodizing and painting a clear coat after is a no-brainer.
Small update to the finished product, I�m wrapping the wiring harness with a Design Engineering Cool-Tube Extreme Heat Reflective Sleeve since I can cut it length-wise down the middle and wrap it around the harness without having to unplug anything. I�ll also wrap that in Tesa�s high heat tape in the 2x spots where the harness lays directly under the plenum hoses for an extra layer of protection against rubbing. Link is below; I�m trying the .75� diameter x 3� section first, hopefully it fits perfectly but if it�s too small I�ll get the 1� diameter model and will update this post.
I also decided to remove the anodized finish and sand the included braided hose clamp covers, so I�ll post another picture once those are done and put on the hoses. They came red&blue like a traditional fuel line, and I want a sanded finish/raw aluminum finish. to cover the electrical tape. I though I wouldn�t mind it but my OCD kicks in looking at it. Figured it�d be easier to do this than risk running clamps/clamp covers not designed for that hose (and waste money). Removing anodizing and painting a clear coat after is a no-brainer.
Before you waste your time and money sanding fittings. Use Easy Off heavy duty cleaner, leave it on then wash and repeat until they're aluminum.
Sanding the coating will sand the fitting as well. This method saves about an hour of work and plenty in materials.
Good luck!
Before you waste your time and money sanding fittings. Use Easy Off heavy duty cleaner, leave it on then wash and repeat until they're aluminum.
Sanding the coating will sand the fitting as well. This method saves about an hour of work and plenty in materials.
Good luck!
Great minds think alike, I actually used a tub of Greased Lightning and after letting them sit for 12 hours almost all of the anodized finish is gone. I'll only sand them with a fine Brillo pad to get off any of the finish left on them, hoping they end up looking decent!
Ok so, I completely got distracted while letting the hose clamp covers sit in the easy off bath, and forgot about them entirely for a few hours. As you can probably guess, they were half-dissolved by the point I remembered, and beyond repair so I’ll take that loss at my own fault I only intended to leave them in for 15 minutes at the most. The clamp covers aren’t even needed so it’s no big deal at all, just a little side project I was trying to have fun with.
For anyone else considering trying this for removing anodizing off of aluminum, please know that this chemical reaction (aluminum and lye, common ingredient in these degreasers) is thermal/produces heat in addition to hydrogen. So please, please, do not in any situation cover or seal the solution with aluminum parts inside. It will not be pretty. Also, use your brain and wear gloves and goggles if you handle any of this stuff, a little splash in the eye wouldn’t be a fun time.
I did try to wrap the wire harness in the DEI aluminum heat tube I purchased, but it made the harness a little too thick to get the braided hose over on the passenger side so I removed it and just wrapped the harness in Tesa tape. I went ahead and re-did the hose ends also with Tesa tape and think the worm clamps are grabbing much better now, and looks a tiny bit cleaner than the electrical tape.


 I only intended to leave them in for 15 minutes at the most. The clamp covers aren’t even needed so it’s no big deal at all, just a little side project I was trying to have fun with.