G37 Sedan

What did you do to your Sedan today?

Thread Tools
 
Search this Thread
 
Old 07-25-2018, 01:22 PM
  #5671  
hexotic
DIY Cheapskate/Mod
 
hexotic's Avatar
 
Join Date: Oct 2015
Location: Richmond Hill, ON
Posts: 1,772
Received 587 Likes on 392 Posts
Originally Posted by BeeW
What year, model, etc?
Check his sig
Old 07-25-2018, 01:22 PM
  #5672  
Nico-derm
Premier Member

 
Nico-derm's Avatar
 
Join Date: Nov 2015
Location: Ottawa, ON
Posts: 500
Received 75 Likes on 59 Posts
Aftermarket seats, wheel etc... not to mention about every other piece on that car will have that effect.

2008
Old 07-25-2018, 10:10 PM
  #5673  
obsidiansamurai
Registered Member
 
obsidiansamurai's Avatar
 
Join Date: Aug 2017
Location: Ozark, MO
Posts: 227
Received 25 Likes on 21 Posts
Originally Posted by BeeW
Edit: cant see sigs on Chrome mobile... Weird?
Click on your Chrome menu bar (three vertical dots at the top right) then check 'Desktop Site'. Wait for the page to refresh and you should be able to see sigs after.
Old 07-26-2018, 10:19 PM
  #5674  
Ma3oxuct
Registered User
 
Ma3oxuct's Avatar
 
Join Date: Jul 2010
Posts: 5
Likes: 0
Received 0 Likes on 0 Posts
I got new front rotors: StopTech High Carbon Cryo Treated Rotor 125.42080CRY
I had to get the hardware kit adjusted because squealing didn't go away after the change.
The great news is that the steering wheel doesn't vibrate when I brake!
Old 07-27-2018, 07:53 AM
  #5675  
llebcire
Registered Member
 
llebcire's Avatar
 
Join Date: Aug 2017
Location: Iowa
Posts: 425
Received 52 Likes on 42 Posts
Saturday I gave my car and my wife's MINI their weekly wash which is fast (60 minutes per car/1.5 hours together) but thorough with rims cleaned, wheel wells, door jambs, fuel door, etc. This week I also cleaned both engines as well and I don't treat the engine bays with any protectant - just clean with Simple Green.

Sunday I spent time detailing my interior using Lexol leather cleaner and conditioner along with Lexol vinyl treatment. I also did the sunroof opening and sunroof seal. Next on my list is all the rubber seals on the car.

-Eric


Old 07-27-2018, 08:55 AM
  #5676  
blnewt
Movin On!
iTrader: (13)
 
blnewt's Avatar
 
Join Date: Nov 2009
Posts: 24,877
Received 4,941 Likes on 4,174 Posts
llebcire, great job keeping that light interior clean, engine bay looks really nice too!
Old 07-27-2018, 02:04 PM
  #5677  
llebcire
Registered Member
 
llebcire's Avatar
 
Join Date: Aug 2017
Location: Iowa
Posts: 425
Received 52 Likes on 42 Posts
Originally Posted by blnewt
llebcire, great job keeping that light interior clean, engine bay looks really nice too!
Thank you!

I really think the color combination is classy but certainly a chore to keep clean! And - I’m finding it to be cooler than all black 😃.

-Eric
Old 07-27-2018, 02:07 PM
  #5678  
Rochester
Administrator
iTrader: (9)
 
Rochester's Avatar
 
Join Date: Nov 2010
Location: Rochester, NY
Posts: 18,934
Received 4,604 Likes on 3,448 Posts
Looks professionally prepped for dealership resale on the showroom.
Old 07-27-2018, 02:10 PM
  #5679  
llebcire
Registered Member
 
llebcire's Avatar
 
Join Date: Aug 2017
Location: Iowa
Posts: 425
Received 52 Likes on 42 Posts
Originally Posted by Rochester
Looks professionally prepped for dealership resale on the showroom.
I have a slight bit of OCD. My interior often looks like this, however my wife has different priorities...

Actually, I’ve found that when my cars always feel “new” I don’t seem to get tired of them. And I believe that people are more respectful of a car they think is either new or just purchased as I’ve been fairly lucky with dings/scratches in life (and I watch where I park).

-Eric

Last edited by llebcire; 07-27-2018 at 02:22 PM.
Old 07-28-2018, 06:53 PM
  #5680  
Entcee
Premier Member

iTrader: (3)
 
Entcee's Avatar
 
Join Date: Oct 2016
Location: Mooresville, NC
Posts: 580
Received 123 Likes on 80 Posts
Turned the overflow tank black. Masked off the level indicator so it can still be seen.

Old 07-28-2018, 07:00 PM
  #5681  
Rochester
Administrator
iTrader: (9)
 
Rochester's Avatar
 
Join Date: Nov 2010
Location: Rochester, NY
Posts: 18,934
Received 4,604 Likes on 3,448 Posts
I like it.

Want to spruce up the black plastic on your engine cover to match better? Try using Maquier's Tire Gel. Honest... tire gel.
Old 07-28-2018, 07:05 PM
  #5682  
Entcee
Premier Member

iTrader: (3)
 
Entcee's Avatar
 
Join Date: Oct 2016
Location: Mooresville, NC
Posts: 580
Received 123 Likes on 80 Posts
Originally Posted by Rochester
I like it.

Want to spruce up the black plastic on your engine cover to match better? Try using Maquier's Tire Gel. Honest... tire gel.
I haven't cleaned it (the entire engine bay) in a while.... The missing emblem kinda put me off of caring lol. I have a solution for that missing emblem. More updates later, but the cover will look much better then
Old 07-29-2018, 04:25 PM
  #5683  
hexotic
DIY Cheapskate/Mod
 
hexotic's Avatar
 
Join Date: Oct 2015
Location: Richmond Hill, ON
Posts: 1,772
Received 587 Likes on 392 Posts
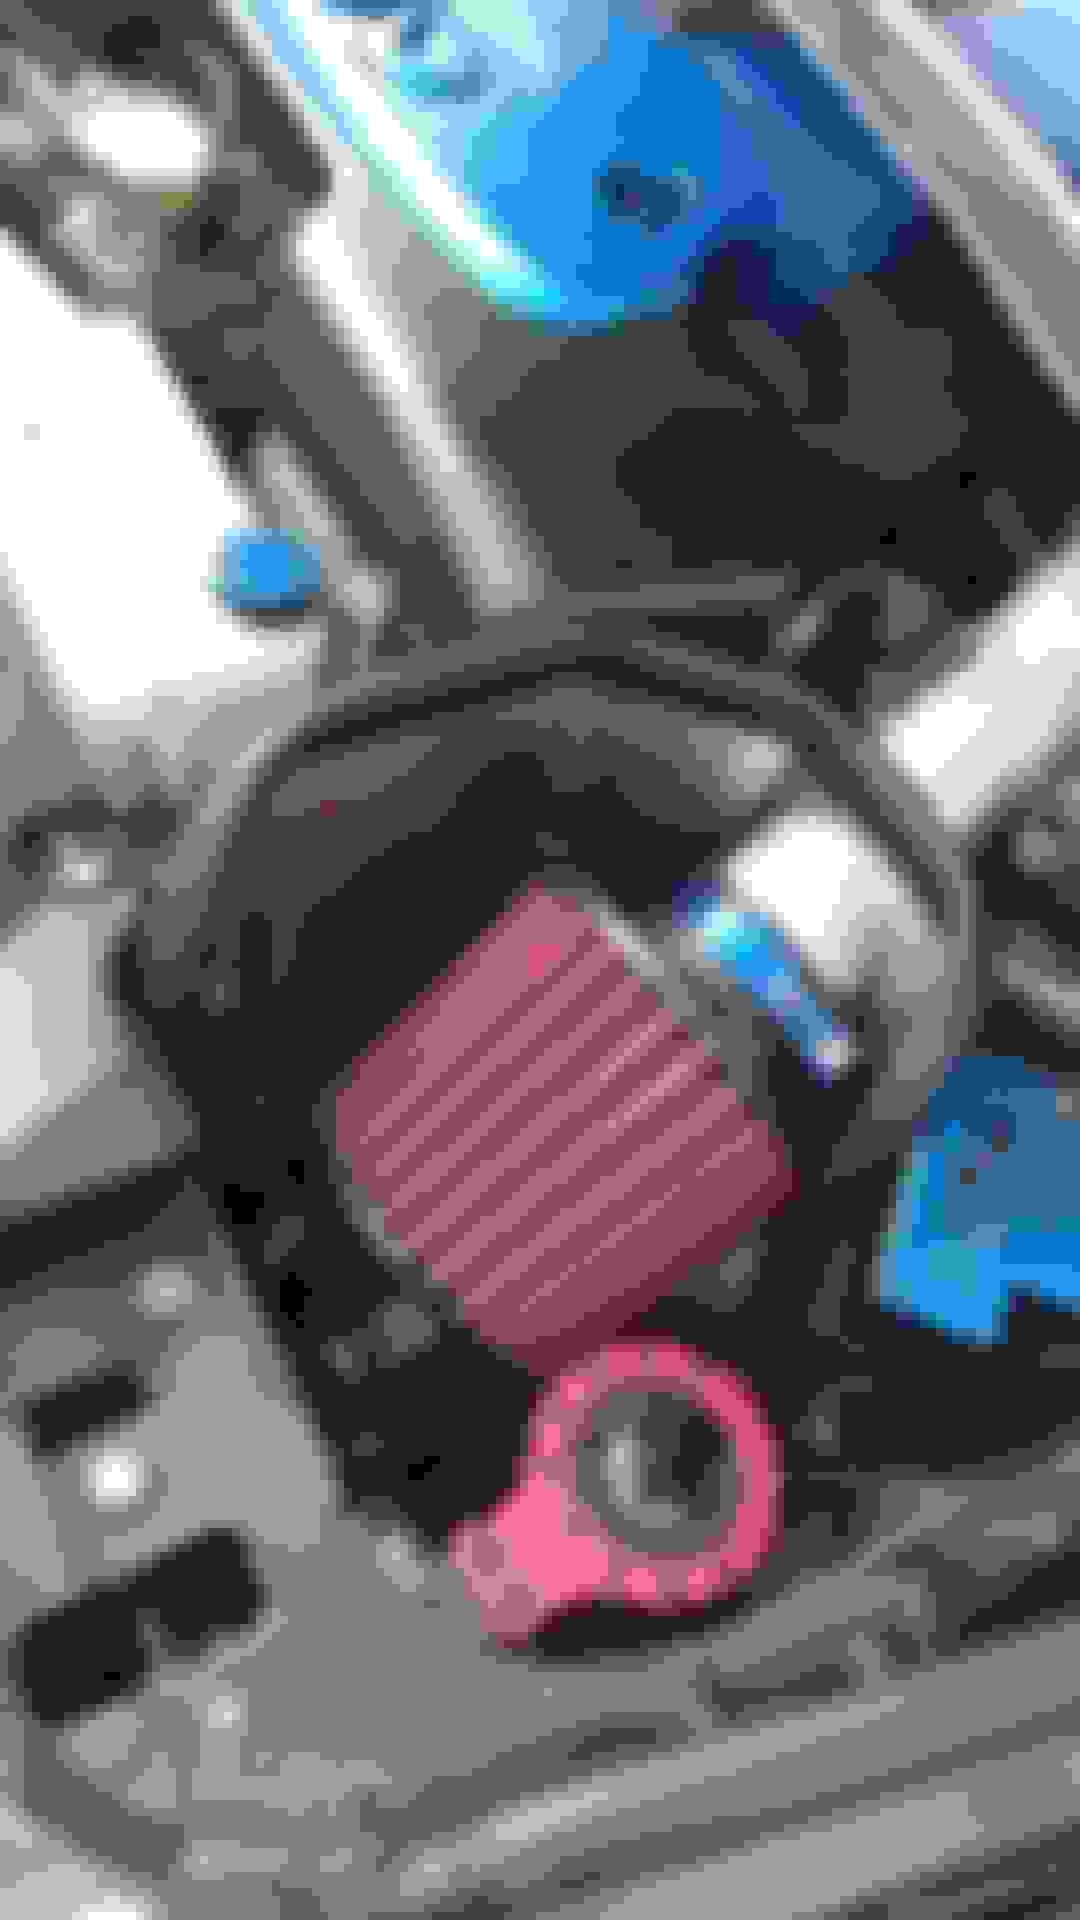
Alright, another weekend post lol. Part 1. Apologies for blurry photos in advance. Phone is still broken.
So I continued on my adventure to improve the air going into my engine, but first, since last weekend I finished building the wall in the garage for the workshop, had to finish the workshop.


Old 07-29-2018, 04:31 PM
  #5684  
hexotic
DIY Cheapskate/Mod
 
hexotic's Avatar
 
Join Date: Oct 2015
Location: Richmond Hill, ON
Posts: 1,772
Received 587 Likes on 392 Posts
And part 2, onto the blurry diy shots. I still have a gap that is just over an inch from the top of those to the hood. I ordered some 1 inch stripping that I will attach to the hood, forming complete airboxes. Now, just need 2 barbed tees to come in the mail so I can install the M370 manifold and connect that catch can. Then, I can finally get to fixing all that peeling blue paint on the plastics. Learned my lesson, got some plastic adhesion promoter, and flex paint made for plastics. Going to look mint


This shot was version 1. I didnt like the holes at the bottom, so remade the left piece and riveted it into place, to the other piece. Made a hole in the steering fluid mount, and bolted the shield there.


Old 07-29-2018, 04:55 PM
  #5685  
Rochester
Administrator
iTrader: (9)
 
Rochester's Avatar
 
Join Date: Nov 2010
Location: Rochester, NY
Posts: 18,934
Received 4,604 Likes on 3,448 Posts
What, no header wrap lining those heat shields? Amateur.


Quick Reply: What did you do to your Sedan today?


All times are GMT -4. The time now is 08:45 PM.