When you click on links to various merchants on this site and make a purchase, this can result in this site earning a commission. Affiliate programs and affiliations include, but are not limited to, the eBay Partner Network.
This is a DIY Article on how to install the eBay Carbon Fiber Duckbill Spoiler for the G37 Coupe.
- Difficulty 2/10
-Time: 1 Hour
Spoiler Review:
-Fitment: 97%
-Craftsmanship: 9/10
- Notes: Great packaging, bubble wrapped and protected as if the Mona Lisa was being shipped
- The supplied 3M double sided tape sucks. Pick up some permanent 3M double sided mounting tape that's about 1" wide to supplement
The product:
How it looks in person:
1. Remove the trunk liner. This can be done by pulling out the small round black clips and grab handle.
2. Unscrew the chrome finisher from the bottom. There are 4, 10mm nuts that can be loosened with a ratchet. Make sure not to drop the nuts into the trunk lid crevices. After these nuts have been loosened, unplug the rear camera. Note** You can see the pre-wired plug for OEM Spoiler's rear brake light.
3. Remove the finisher from the trunk lid
4. Unscrew the camera from the chrome finisher. There is no mounting location to screw in this camera mount into the carbon fiber spoiler. I secured the camera mount into the spoiler using Gorilla Glue and Gorilla Tape. The camera will not sit flush into the spoiler's provided camera hole. If you have a dremel, the hole can be enlarged. I just left it as is, recessed.
5. Apply the double sided tape. I recommend buying additional 1" wide 3M permanent double sided mounting tape to properly secure the spoiler. Install the camera back into the deck lid, and mount the spoiler. Reinstall the trunk liner, and enjoy!
I used dish soap to wash the trunk (where the lip will go) AFTER the chrome strip removal.
Then I took some wax/grease remover and wiped the inside of the lip before I put down the 1inch wide 3m RED double sided tape.
Then I pulled up the corners of the red tape, set the spoiler on the car and align it to where you want it. Pre set it with painters masking tape.
The red tape should be sticking through the bottom, pull it and the red portion will peel off. Then apply pressure to that area. Continue to do so around the spoiler (it works better if you use one continous strip on double sided tape.
Make sure you apply pressure after you strip the red tape off. And do so a few times after it.
Side note: I used .5 aluminum strip to mount my camera and used small screws to mount inside the carbon spoiler. There is enough room between the bottom portion and the outside carbon for (iirc) .5 inch screws.
As OP and myself used different mounting options. You want to make sure you mount it as to where that camera won't peel off.
Side note +2: I used a fine tooth flat file to open up the camera hole as I wanted a flush fitment.
I can attest to the wrapping and shipping of the spoiler. They make sure nothing is going to break as its intense wrapping.
Also, I believe you can get the spoiler without the camera but it's paintable and shipping from China/japan.
I have had mine on for 2+ months and speed tested it to 120+ in Mexico using double sided tape. Since it's technically winter and if it's cold in your area, warm up the trunk and spoiler before mounting. It help..
Side note: I used .5 aluminum strip to mount my camera and used small screws to mount inside the carbon spoiler. There is enough room between the bottom portion and the outside carbon for (iirc) .5 inch screws.
As OP and myself used different mounting options. You want to make sure you mount it as to where that camera won't peel off.
Side note +2: I used a fine tooth flat file to open up the camera hole as I wanted a flush fitment.
I am sorry but I am confused on these steps. Can you elaborate, please? When you say 0.5 aluminum, do you mean 0.5"? And you affixed this aluminum to the inside using small screws and the camera to the aluminum using more screws or double sided tape?
Yes .5" or 1/2 inch aluminum strip I bought from home depot. I also purchased .5" screws to tighten down the aluminum strip to the inside of the spoiler itself, then fastened the strip to the camera using stock screws and screw locations.
I only used double sided tape on the spoiler mounting
I ended up picking up one of these JC Sportline carbon fiber spoilers and doing some custom fabrication to install the OEM camera on the spoiler. I figured I would share in the event it might be helpful to someone.
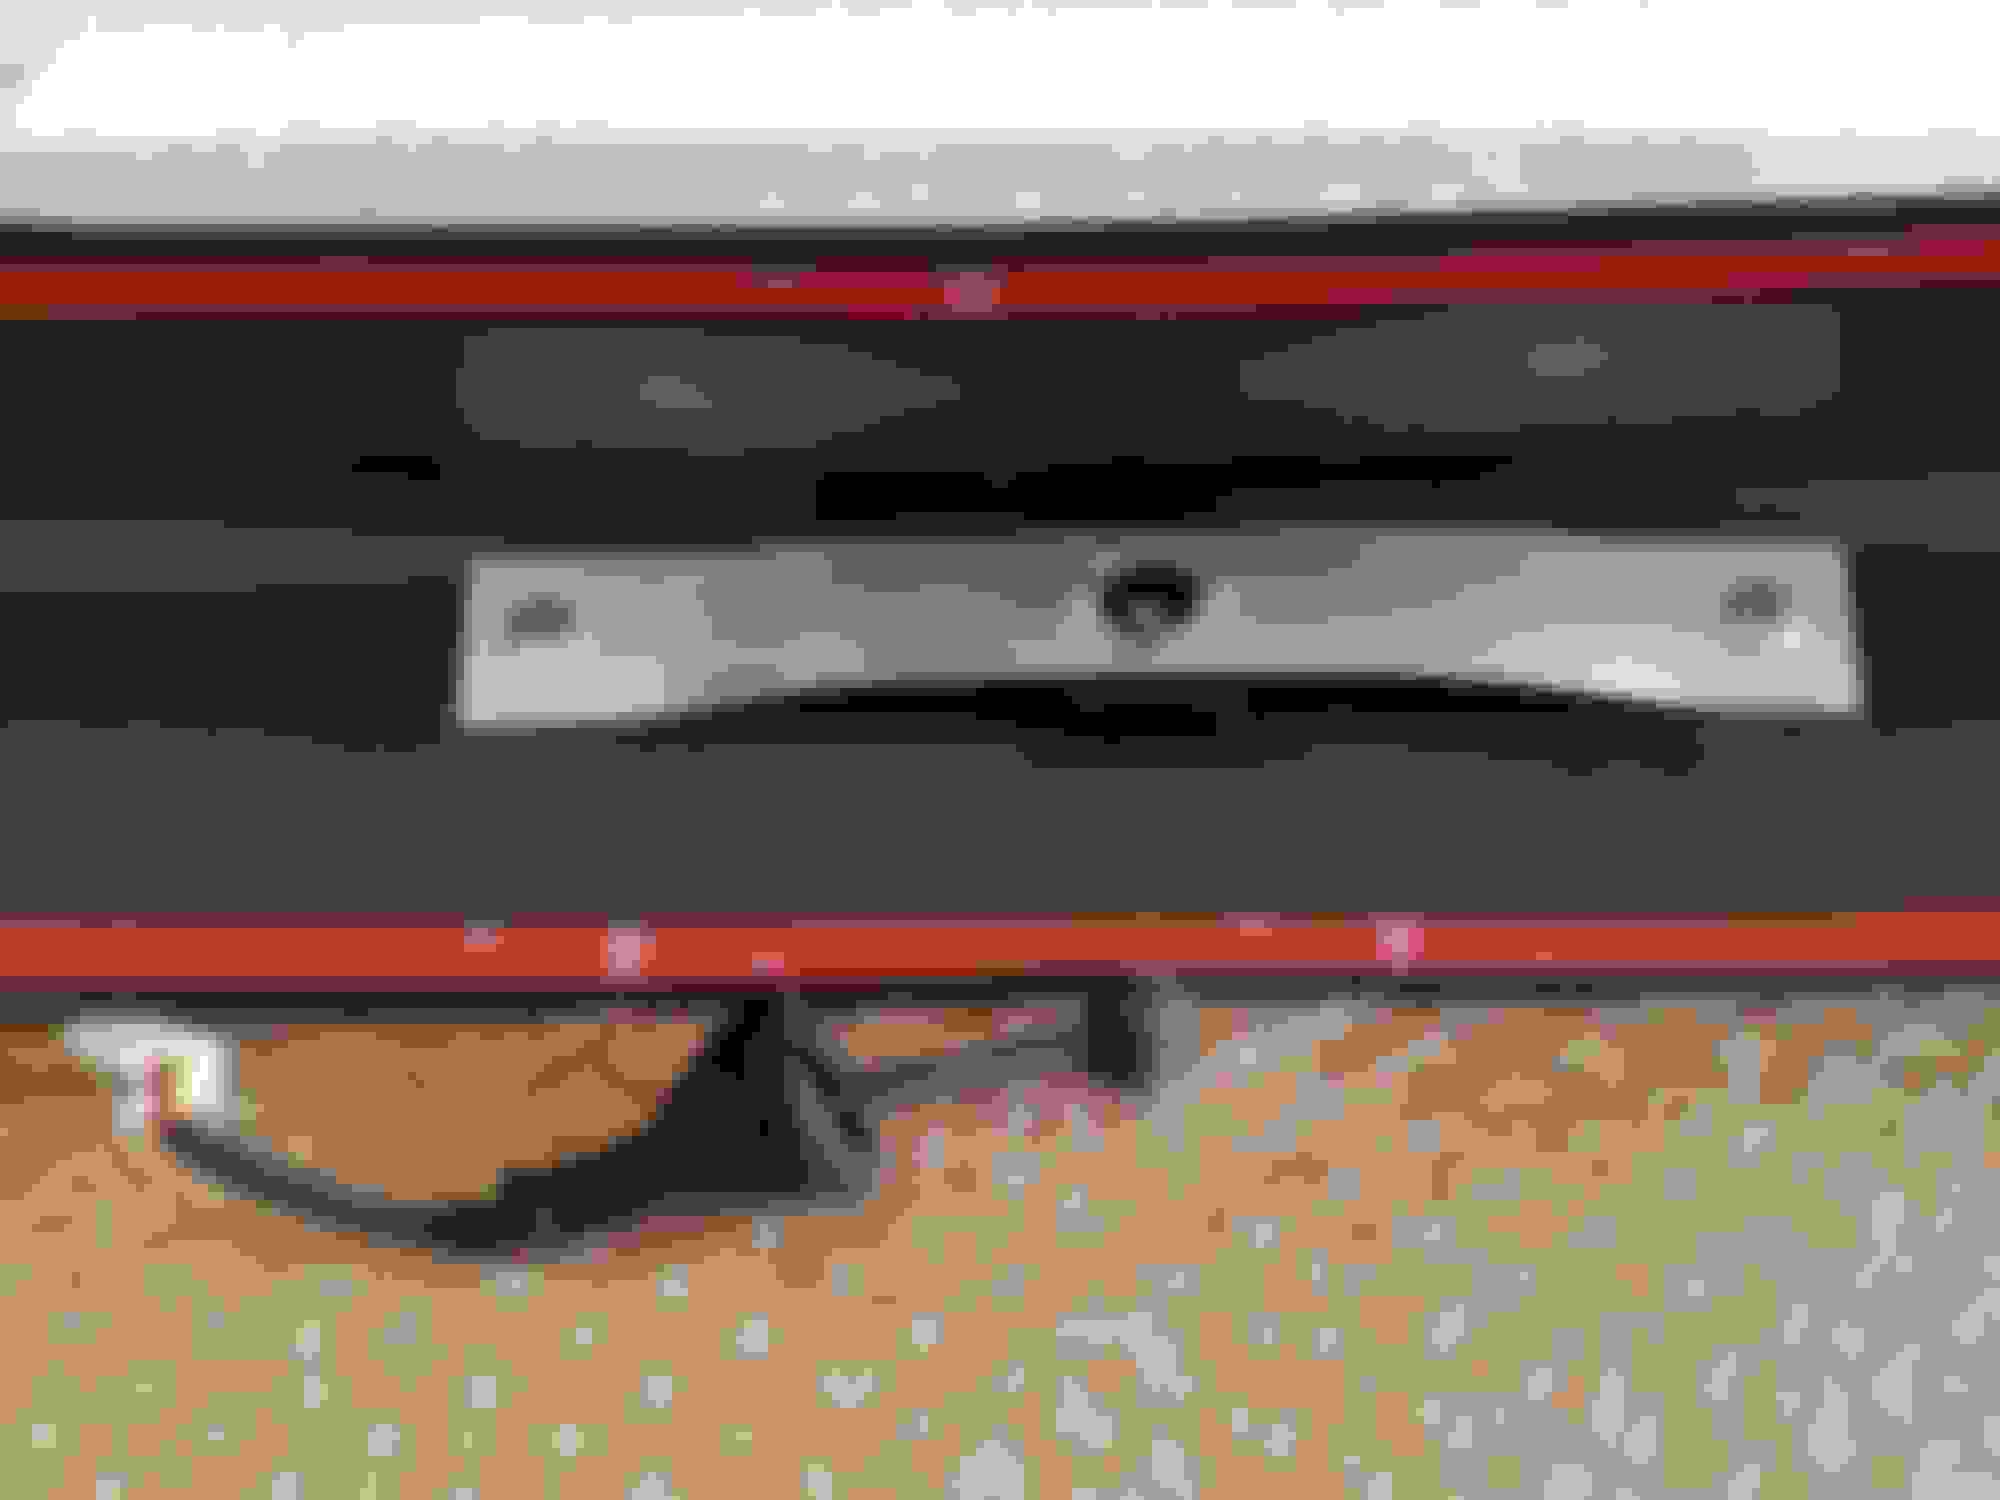
Fabricated bracket from aluminum drilled/notched to match factory camera bracket cutout/key and holes.
OEM Camera Installed Angled Down as it is in the factory spoiler.
Fabricated bracket from aluminum shaped to position the OEM camera angled down as it is on the factory spoiler and to the spoiler surface itself. It is secured with two coarse thread pan head screws.
OEM Camera Installed Angled Down as it is in the factory spoiler, and the air-gap around the camera has been sealed with black silicone.
 01-31-2017, 08:46 AM