
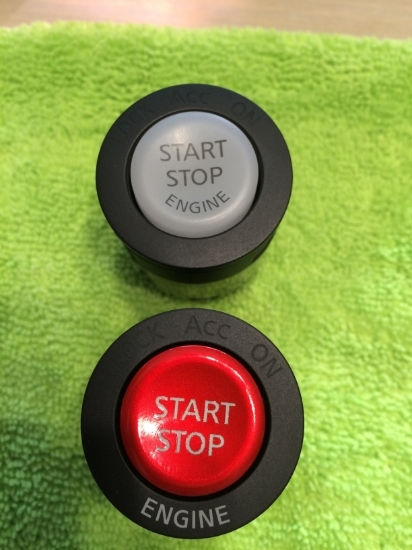
DIY: GT-R Start Button Installation


I just installed mine...took less than 5 minutes.
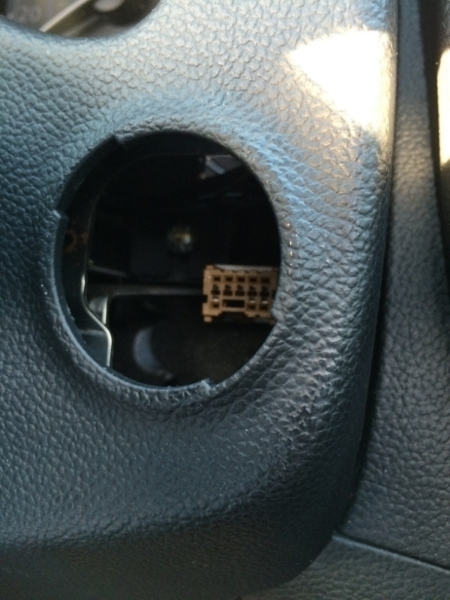
Get a small flat head screw driver...gently slide the tip between the chrome trim and the dash and twist. There are tabs that hold the botton in place...this will release them without having to force it from behind. Pull the button out as much as u can so that there is tension in the wire. Use the tip of the screw driver to push in the tab that connects the wire to the button. Since there is tension in the wire, the connector simply pops out. Take the new button and slide it into the hole. Hold the connector with a needle nose plier. Push the button until you hear a click. All done.
Get a small flat head screw driver...gently slide the tip between the chrome trim and the dash and twist. There are tabs that hold the botton in place...this will release them without having to force it from behind. Pull the button out as much as u can so that there is tension in the wire. Use the tip of the screw driver to push in the tab that connects the wire to the button. Since there is tension in the wire, the connector simply pops out. Take the new button and slide it into the hole. Hold the connector with a needle nose plier. Push the button until you hear a click. All done.


Registered User
Joined: Jun 2014
Posts: 21
Likes: 3
From: Philadelphia, PA
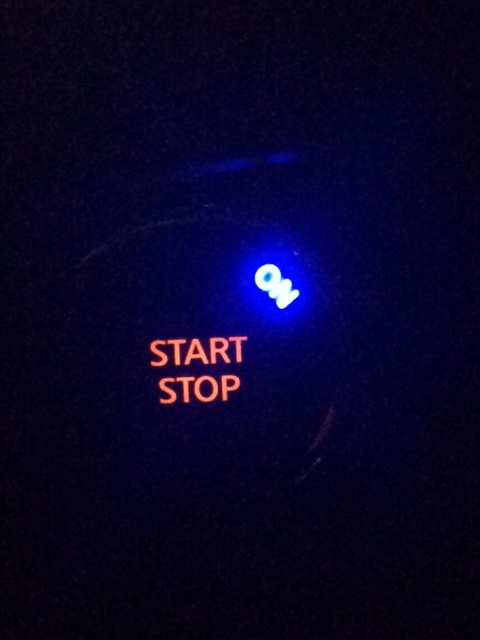
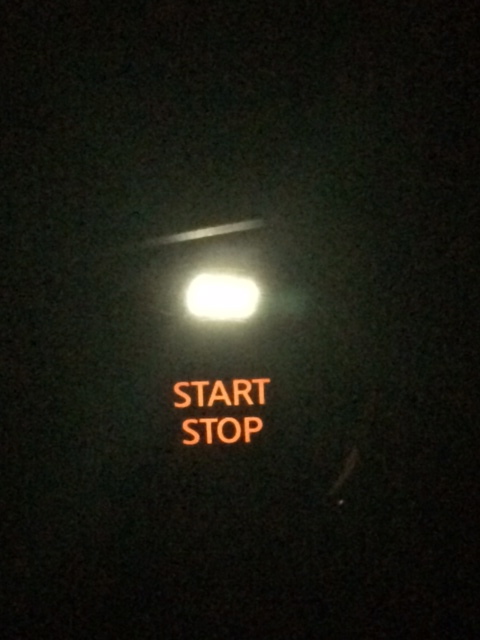
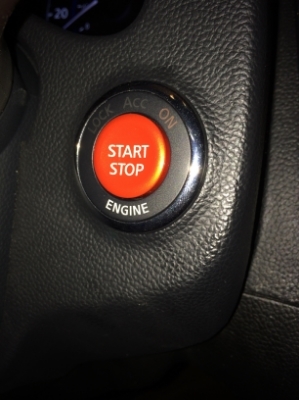
So I finally received the LEDs to make the swap on the start button. It was not that hard if you are good with electronics and have a 15w soldering iron and a small vice to hold the board (I recently just ordered them). I used the original board from the GT-R button as a test case I didnt want to mess with the button that was working in my car. The changes took all about 30 minutes once you figure out the polarity on the LEDs to swap out. But here is the finished product . When I get the new iron and vice I will post a step by step. Here are my pics:
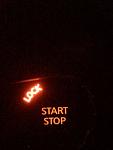
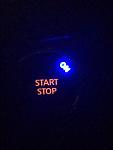
I know this pic is hard to see the "ACC" light up seeing it is white.


I know this pic is hard to see the "ACC" light up seeing it is white.

Premier Member


Joined: Dec 2012
Posts: 773
Likes: 50
From: Ontario canada
So I finally received the LEDs to make the swap on the start button. It was not that hard if you are good with electronics and have a 15w soldering iron and a small vice to hold the board (I recently just ordered them). I used the original board from the GT-R button as a test case I didnt want to mess with the button that was working in my car. The changes took all about 30 minutes once you figure out the polarity on the LEDs to swap out. But here is the finished product . When I get the new iron and vice I will post a step by step. Here are my pics:
Attachment 105323
Attachment 105324
I know this pic is hard to see the "ACC" light up seeing it is white.
Attachment 105325
Attachment 105323
Attachment 105324
I know this pic is hard to see the "ACC" light up seeing it is white.
Attachment 105325


not sure how, took me longer to get the old chrome trim off the old button than it did to get the button out. complete time was 5 mins maybe. makes things ALOT easier if you slide off the bottom plastic cover at the bottom middle of the steering wheel. its a straight shot then.

Registered User
Joined: Jun 2014
Posts: 53
Likes: 4
From: MN
Can someone show me how to get the plastic cover removed from under the steering wheel? My hands are bruised and swollen from trying to get the button to pop out. It won't even budge.
I'm hoping my door will open after how hard I slammed it in frustration.
Any help is appreciated.
I'm hoping my door will open after how hard I slammed it in frustration.
Any help is appreciated.
Thanks for the DIY.
Getting the button out and swapping the guts was a piece of cake. Getting the button back in was a BITCH. Had a buddy of mine stop by and he was able to pop the harness back in. Gotta use a lot of force to pop it in.
Anyway snapped a couple photos:
Getting the button out and swapping the guts was a piece of cake. Getting the button back in was a BITCH. Had a buddy of mine stop by and he was able to pop the harness back in. Gotta use a lot of force to pop it in.
Anyway snapped a couple photos:


Registered Member
Joined: Jun 2015
Posts: 34
Likes: 3
From: The Creek (Walnut that is)
holy cow, worst part is getting harness back on.
Ok, went through the right side of the console and popped the button out and disconnected the harness. Swapped the guts, but re-installing the harness seems insurmountable. Tried attacking from a couple different angles but just can't the harness snap in. Wondering if I cut a zip tie just to get a little more slack in the harness. What a pain in the butt.
I've replaced all the lights w/leds, installed a cat back ARK exhaust and this is what has stopped me???
I've replaced all the lights w/leds, installed a cat back ARK exhaust and this is what has stopped me???