When you click on links to various merchants on this site and make a purchase, this can result in this site earning a commission. Affiliate programs and affiliations include, but are not limited to, the eBay Partner Network.
I am by no means affiliated with these guys, but my paddles need some sorting out as well. I've been thinking of picking up a pair of these and thought i'd pass this along to you as well since it's an easy cover up. https://www.shiftkoncepts.com/collec...addle-shifters
I am by no means affiliated with these guys, but my paddles need some sorting out as well. I've been thinking of picking up a pair of these and thought i'd pass this along to you as well since it's an easy cover up. https://www.shiftkoncepts.com/collec...addle-shifters
I have seen variations of these while I was looking for paddles. Love the idea of them but I�m not too much of a fan of the look of them. If I can�t handle that little tear I think my next step would be looking into getting the carbon fiber extended ones from Z1 but the price of those are TOUGH.
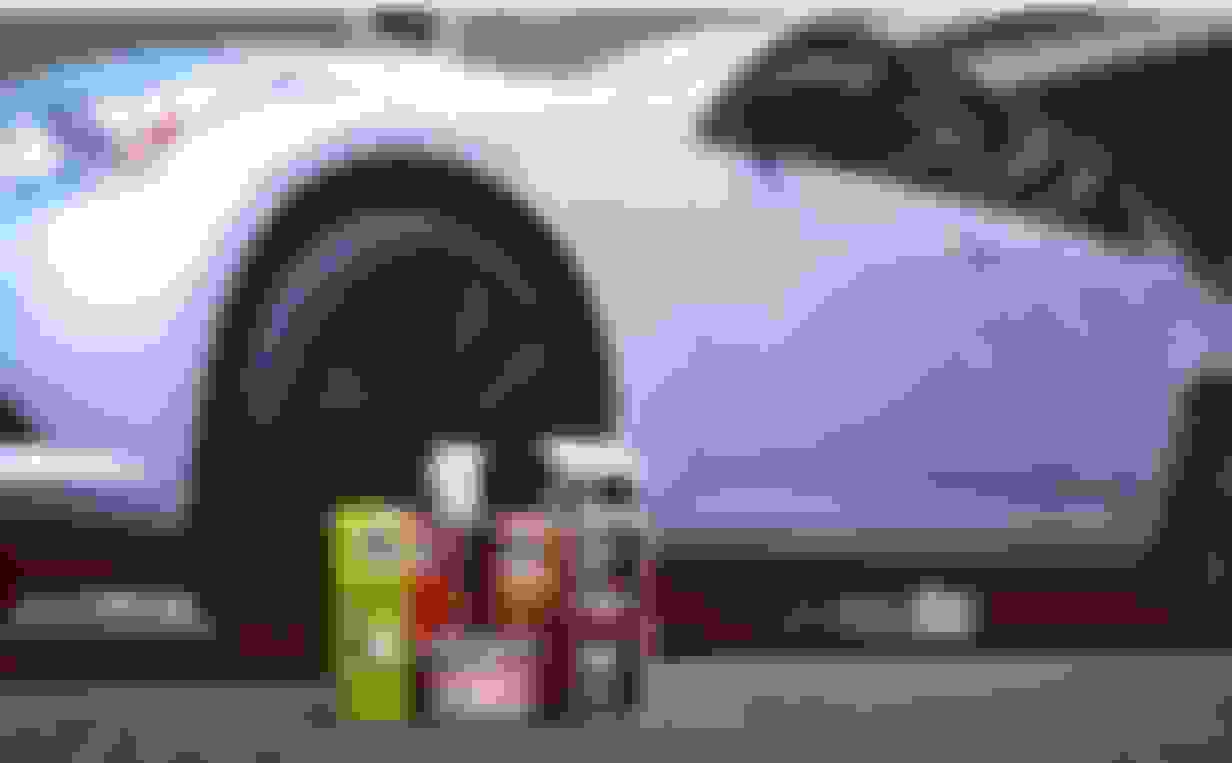
I wanted to save everything for one big photo before I started but hey gotta share. With the new promotion things are coming in left and right and I cannot wait for the warmer weather to come around to start the work.
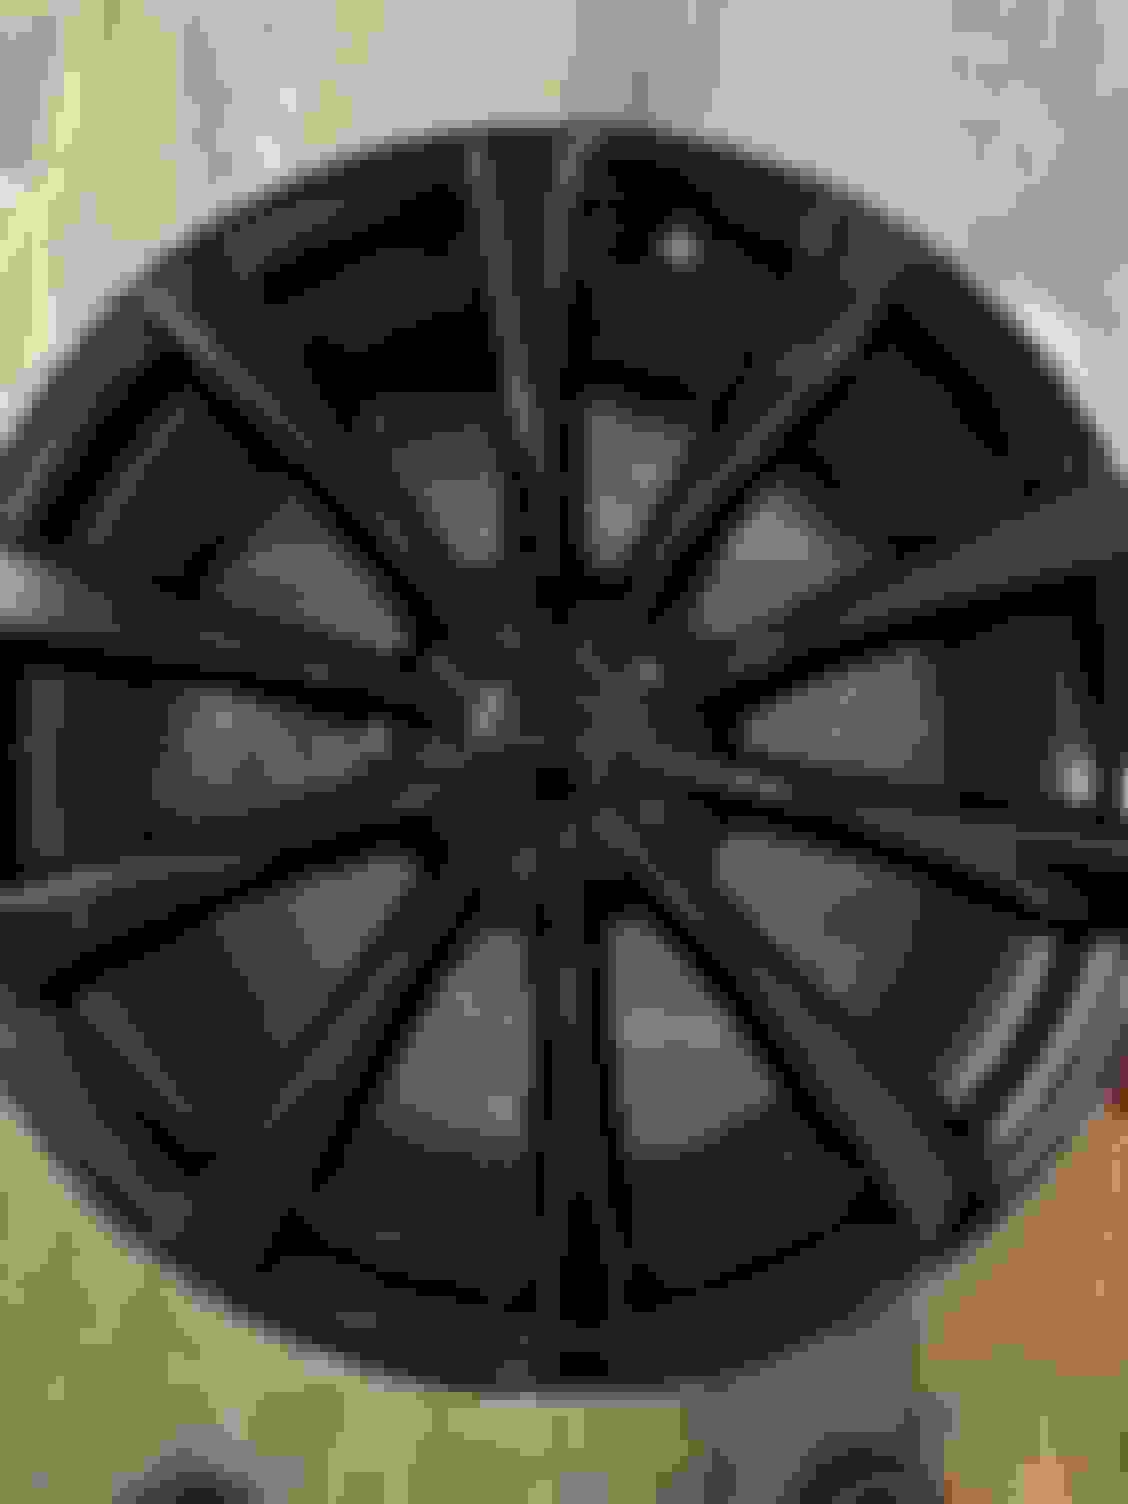
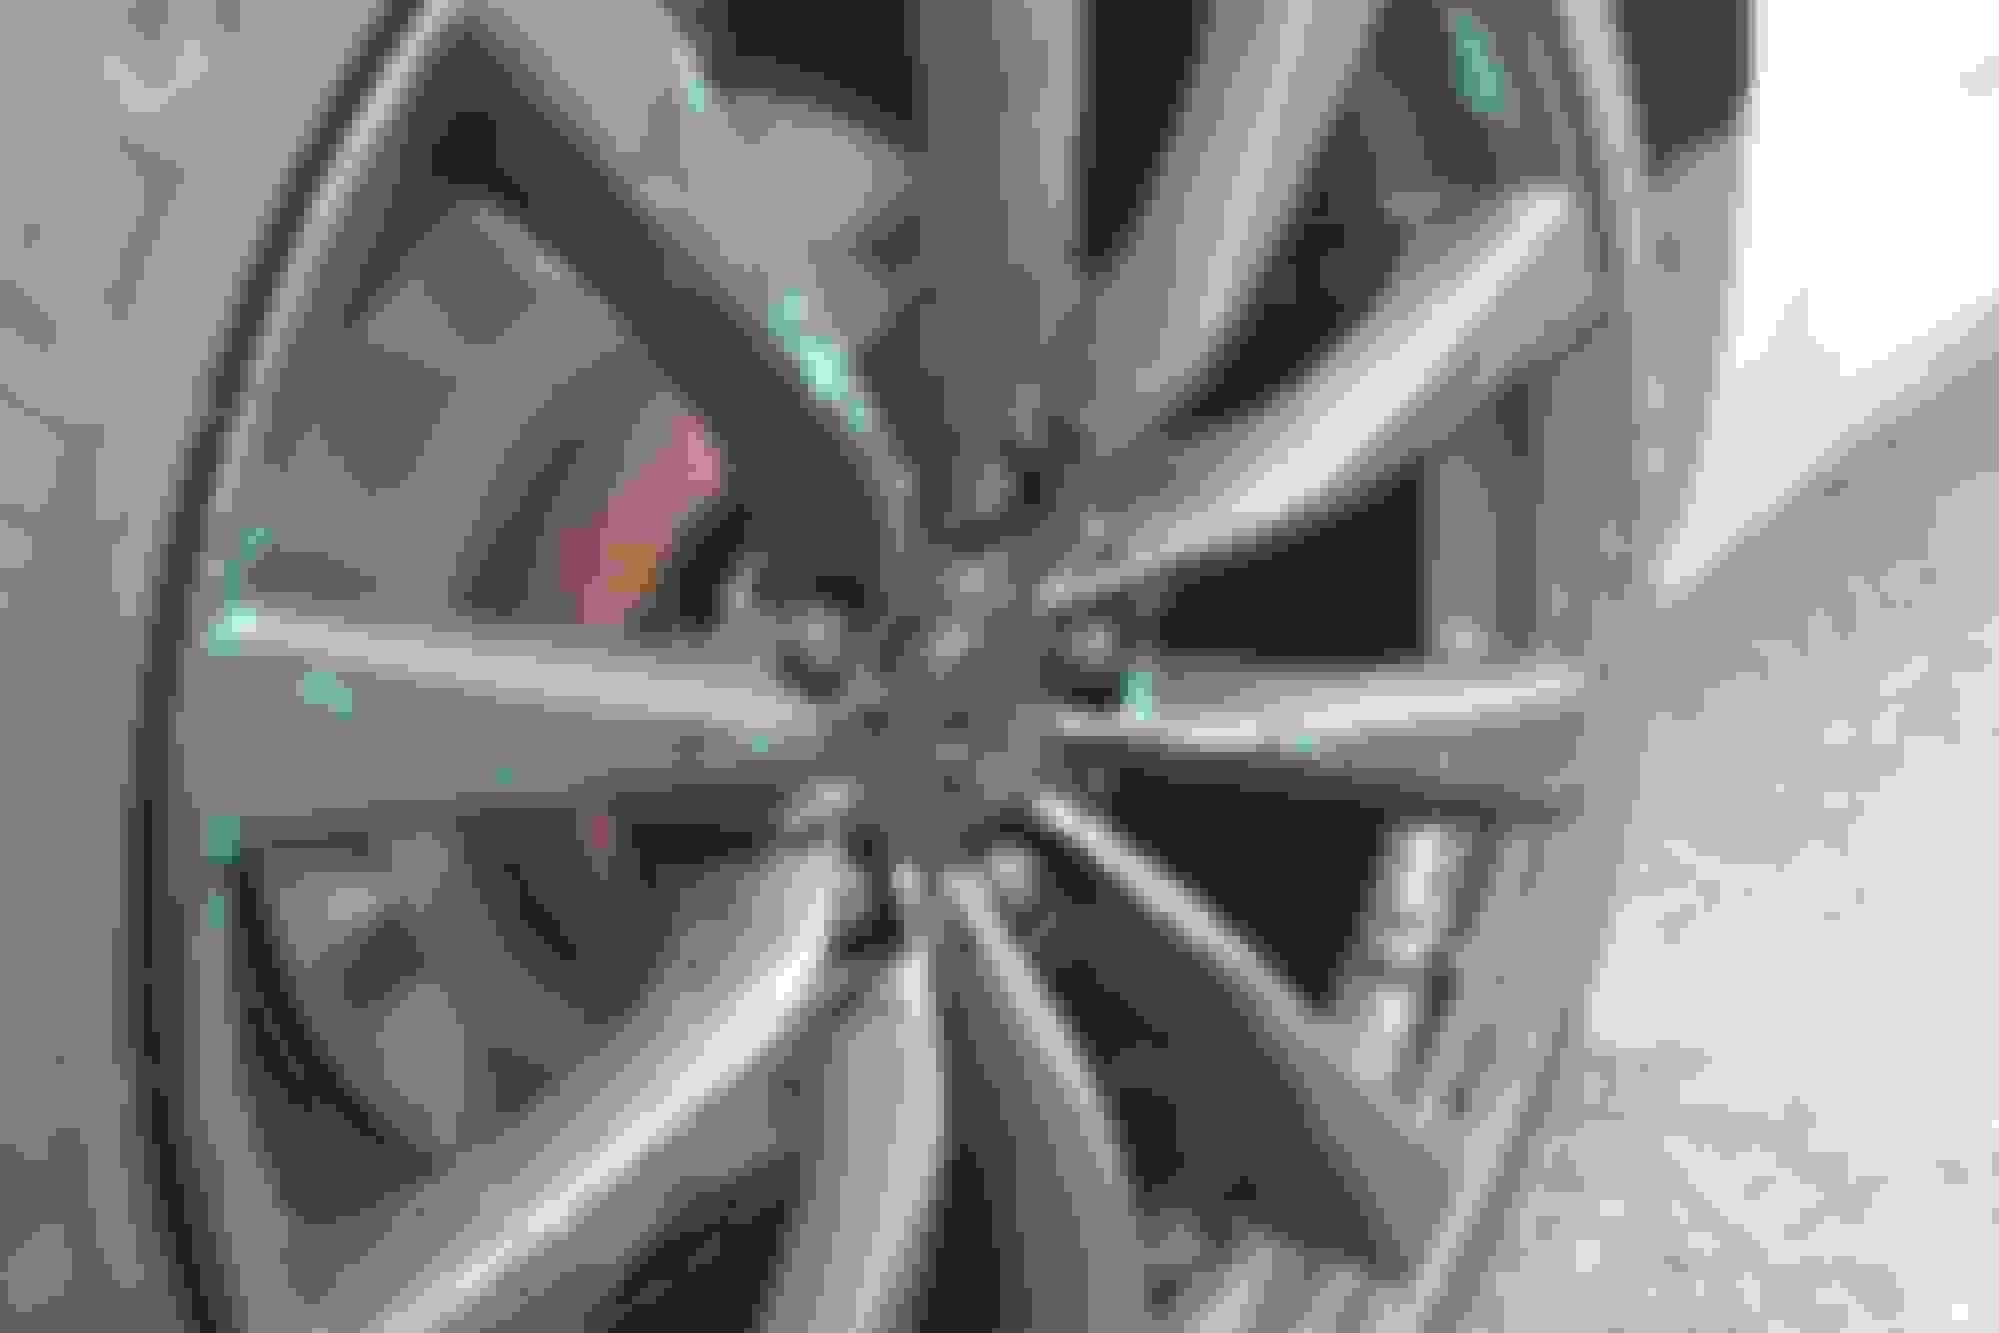
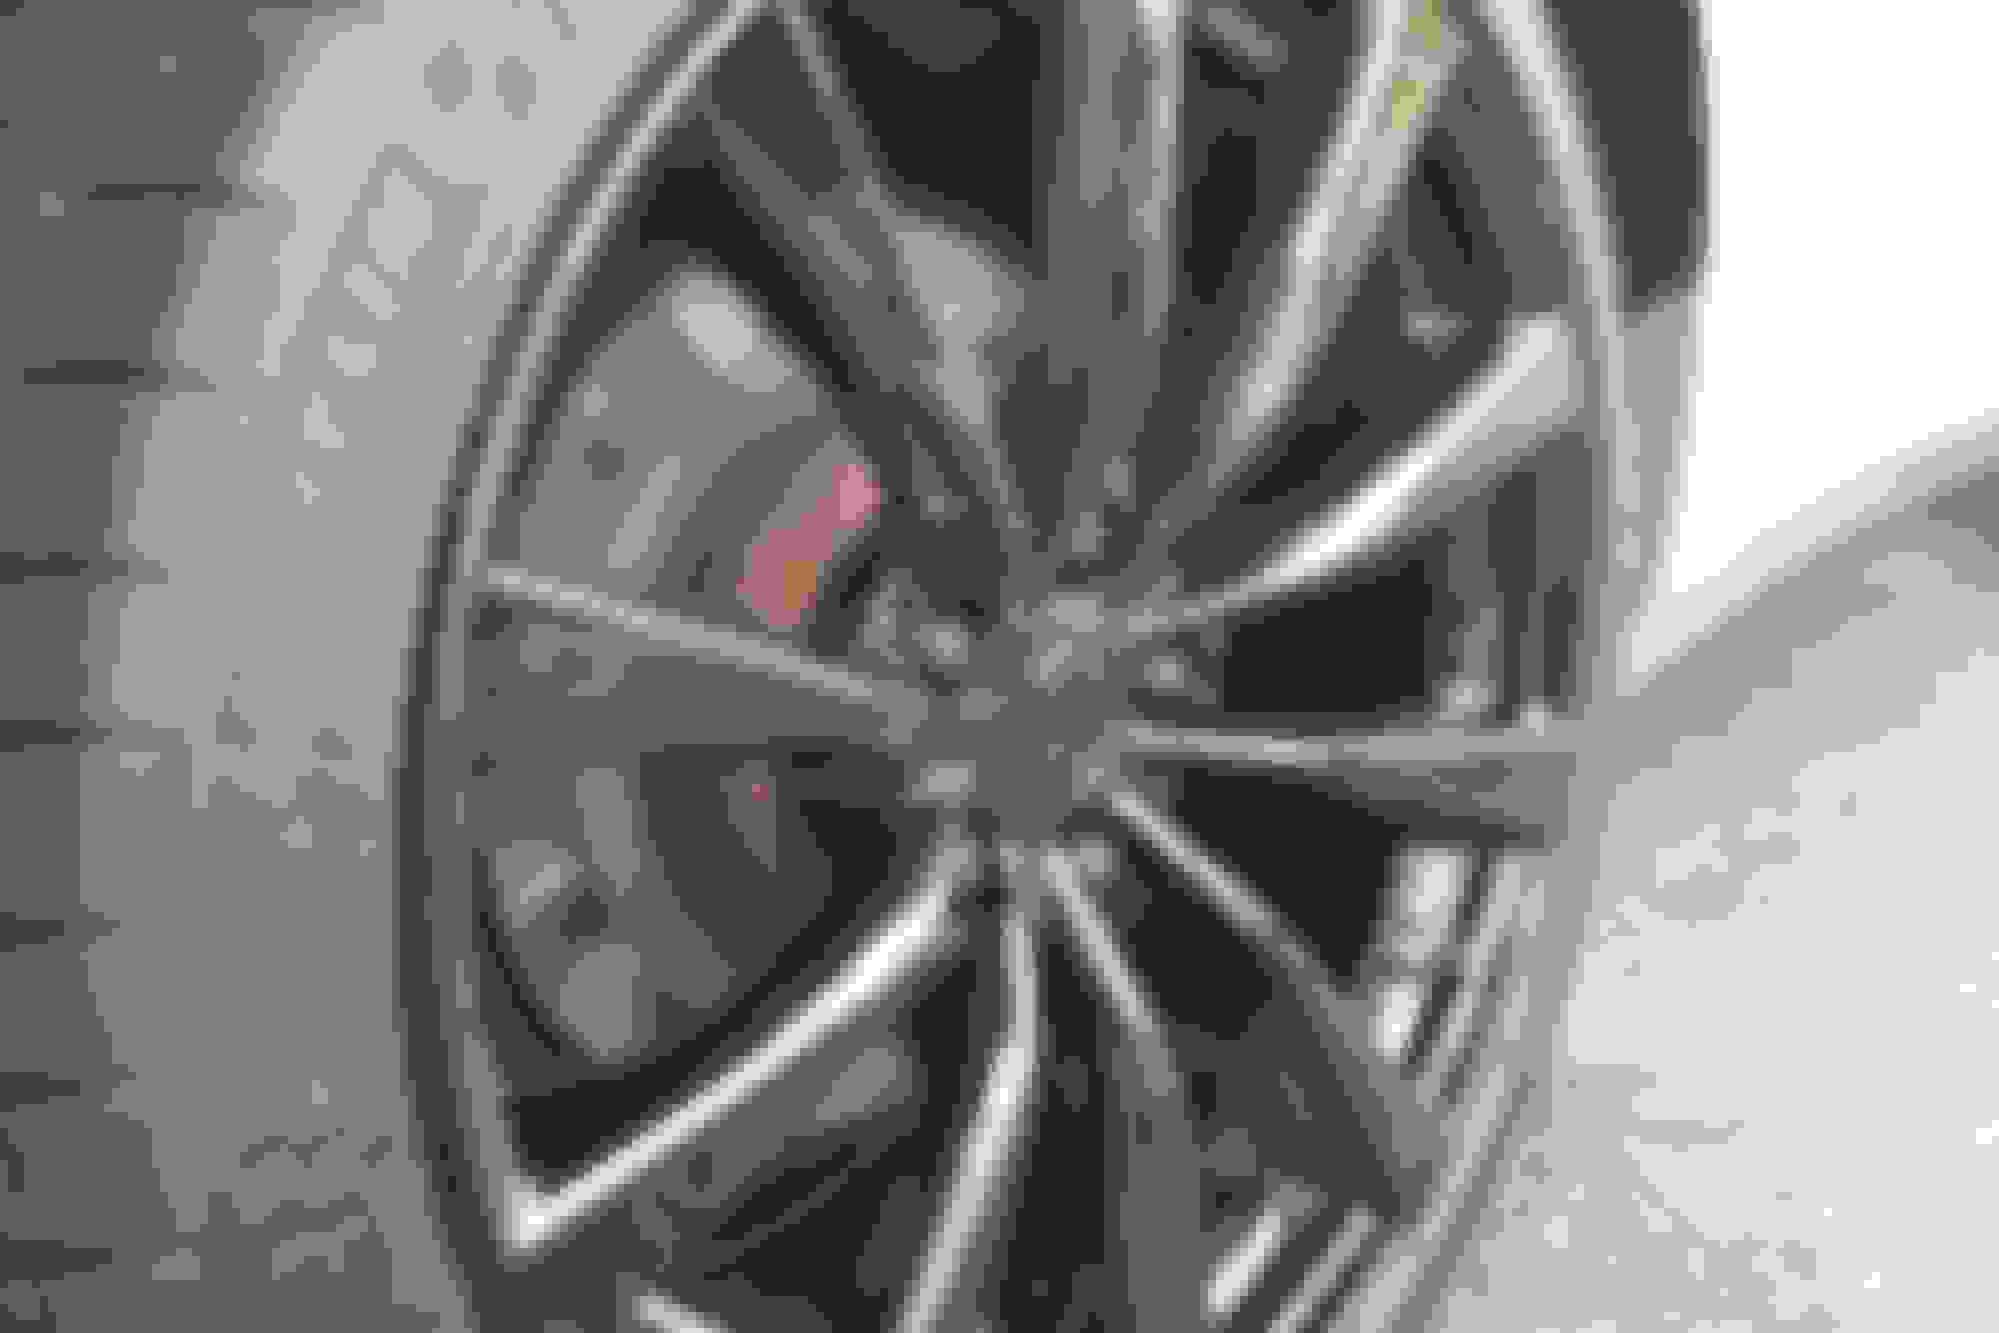
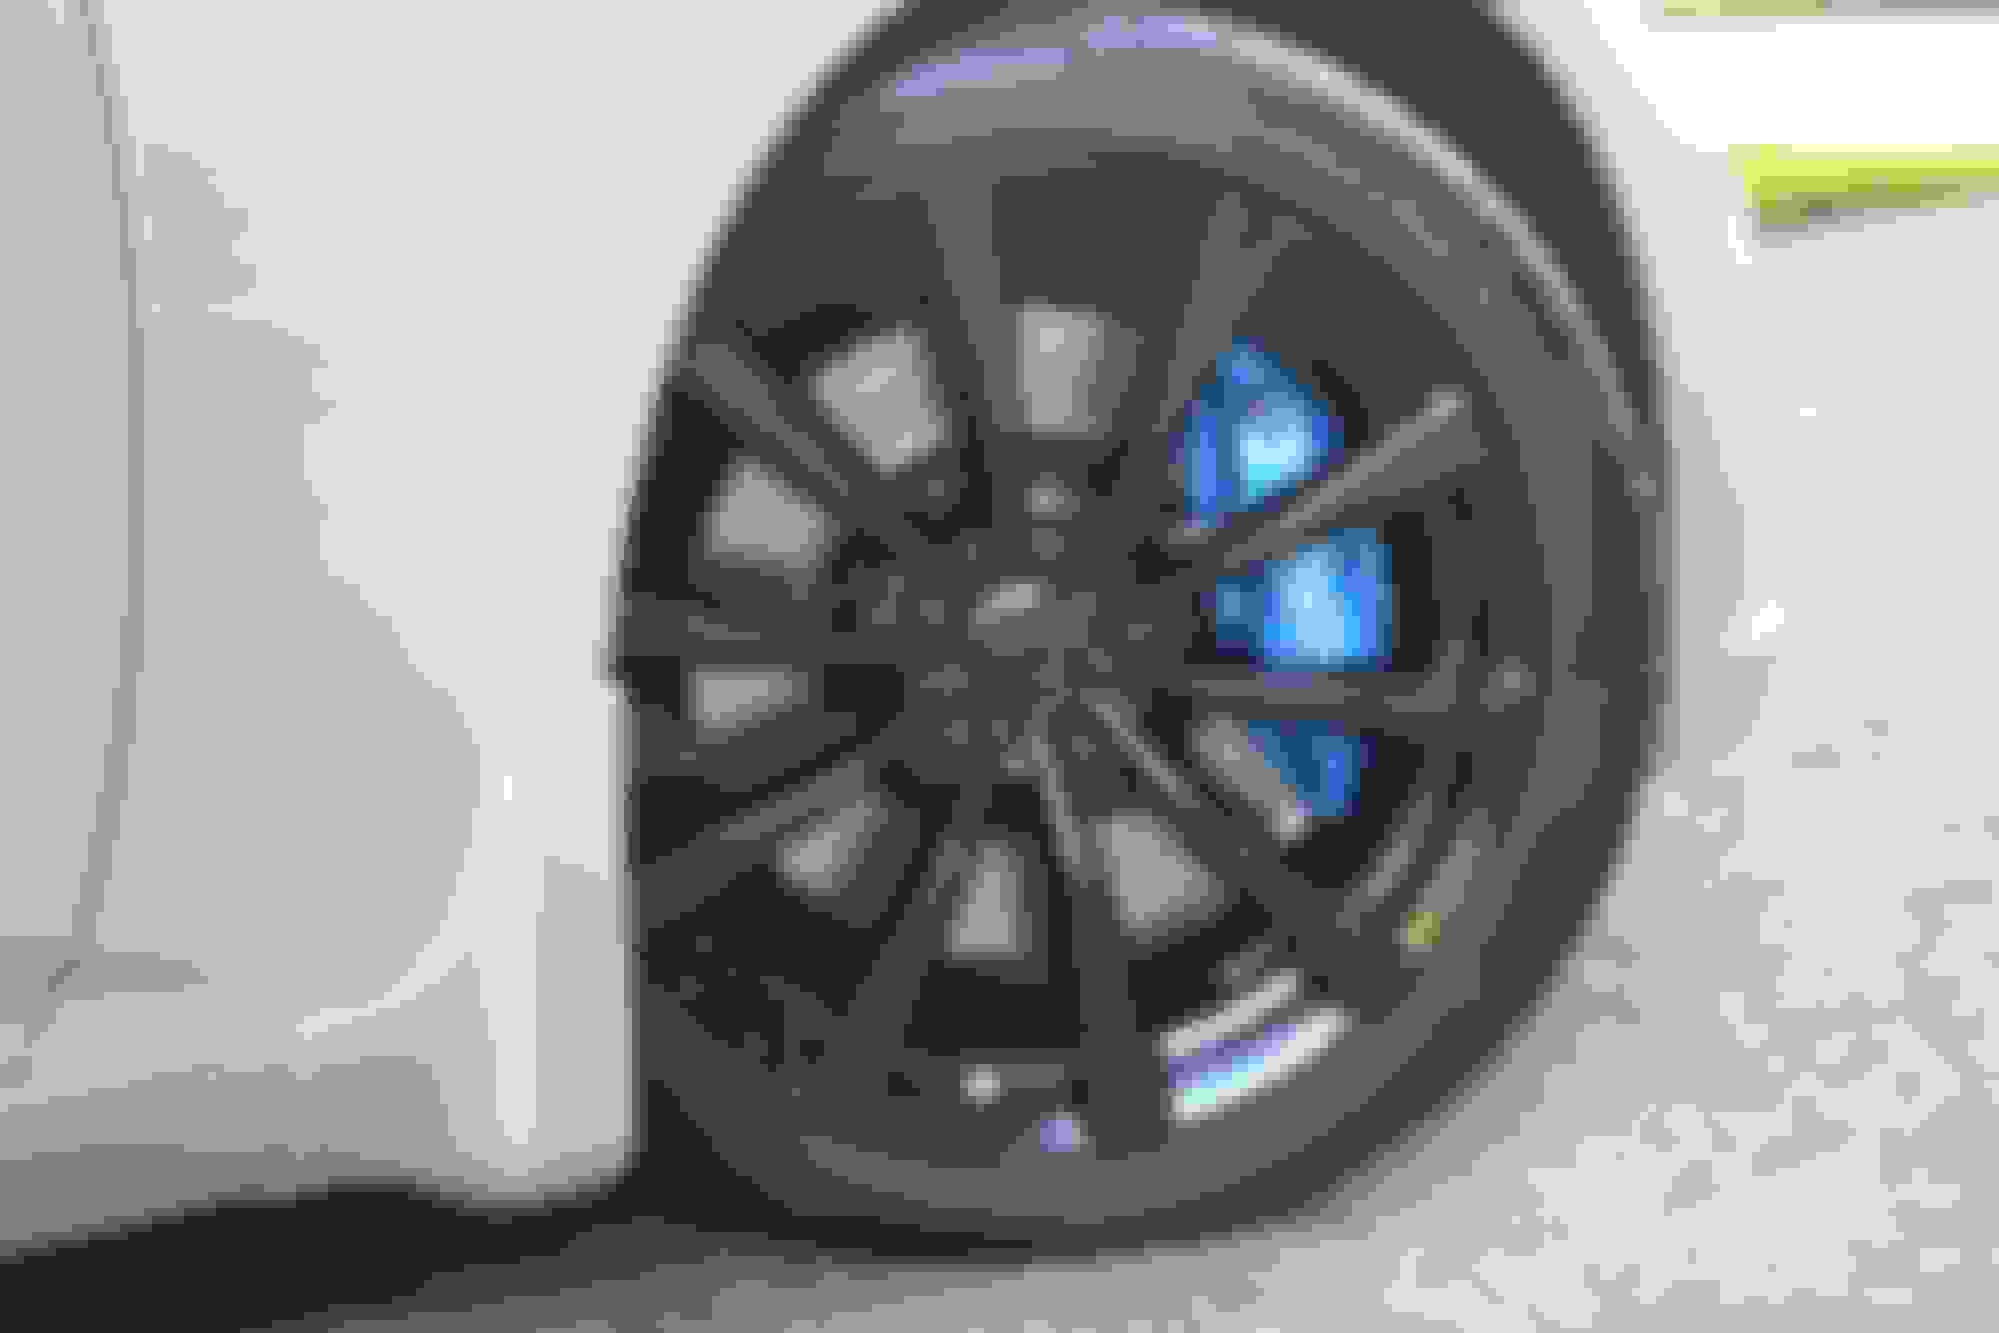
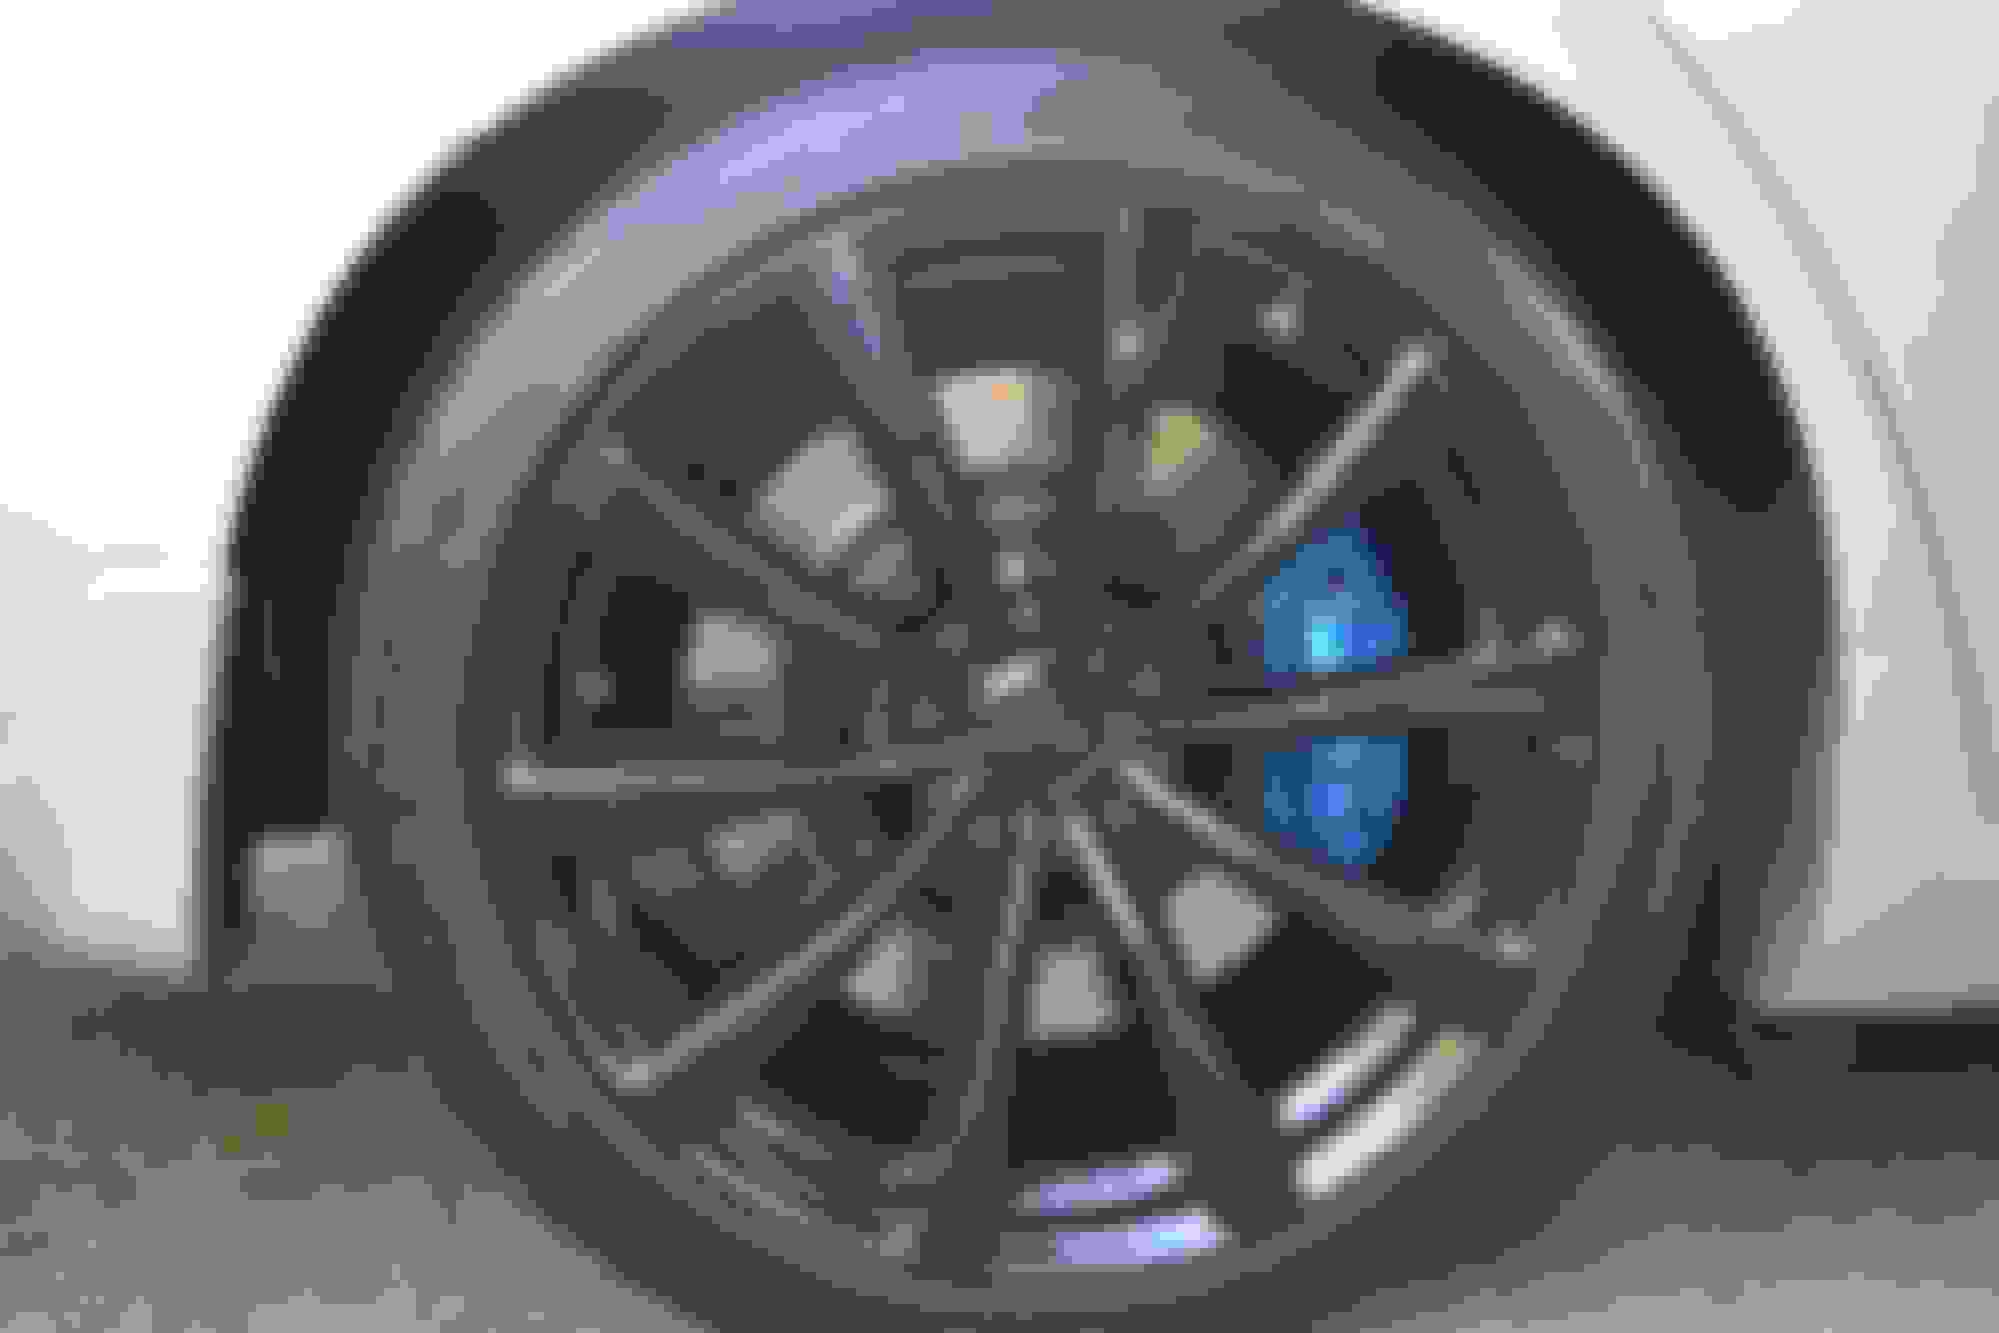
Ive been going back and forth on what wheels to get between aftermarket or Oem. After seeing some nice sedans coming in with the OEM sport look I knew that was kind of the road I wanted to go down. I pulled the trigger on a set of staggered coupe 19s with a nice fresh powder coat of gloss black. Love that the center cap came black as well. Will be running 245/40/19 BF Goodrich G-Force Comp 2 on all four. Black lugs are on their way to complete the look.
Can’t wait to get them mounted.
The reman Big brakes also came in and finalizing the color with the powder coater. Stop tech rotors brake pads and SS lines are being ordered in the next week or so.
Blurry pic but there are a bunch of them on the site for the remans.
I originally bought a CF spoiler off eBay but something just was not sitting well with me about it so I took a look and got an OEM sport spoiler already painted in K23. Pics of them both test fitted over chrome piece. Would sit a little higher Test fit over chrome trunk piece
Oem one just looks right. Also received painted mud flaps to install with the spoiler. Hoping to get the brakes and wheels on at the same time. After seeing a lot of pics of the X on some 19s I will see if I can live with the 4x4 look or ill buy swifts in the near future to be put on regardless. Also have a big package coming (I hope) soon for another upgrade ill wait to post till it gets here. Headlights are on the list as well to do soon.
Last edited by cmckenzie15; Mar 13, 2019 at 04:37 PM.
As the weather starts to make a turn it was time to start getting stuff on the car.
First up was the OEM Sport Spoiler which I originally got quoted $150 for install and said screw it I’ll do it myself since I was going to an event the following day I wanted it on. Also debadged the trunk and the fuji is currently getting painted gloss black to get rid of the plastidip look. Install was easier then I thought with all the templates.
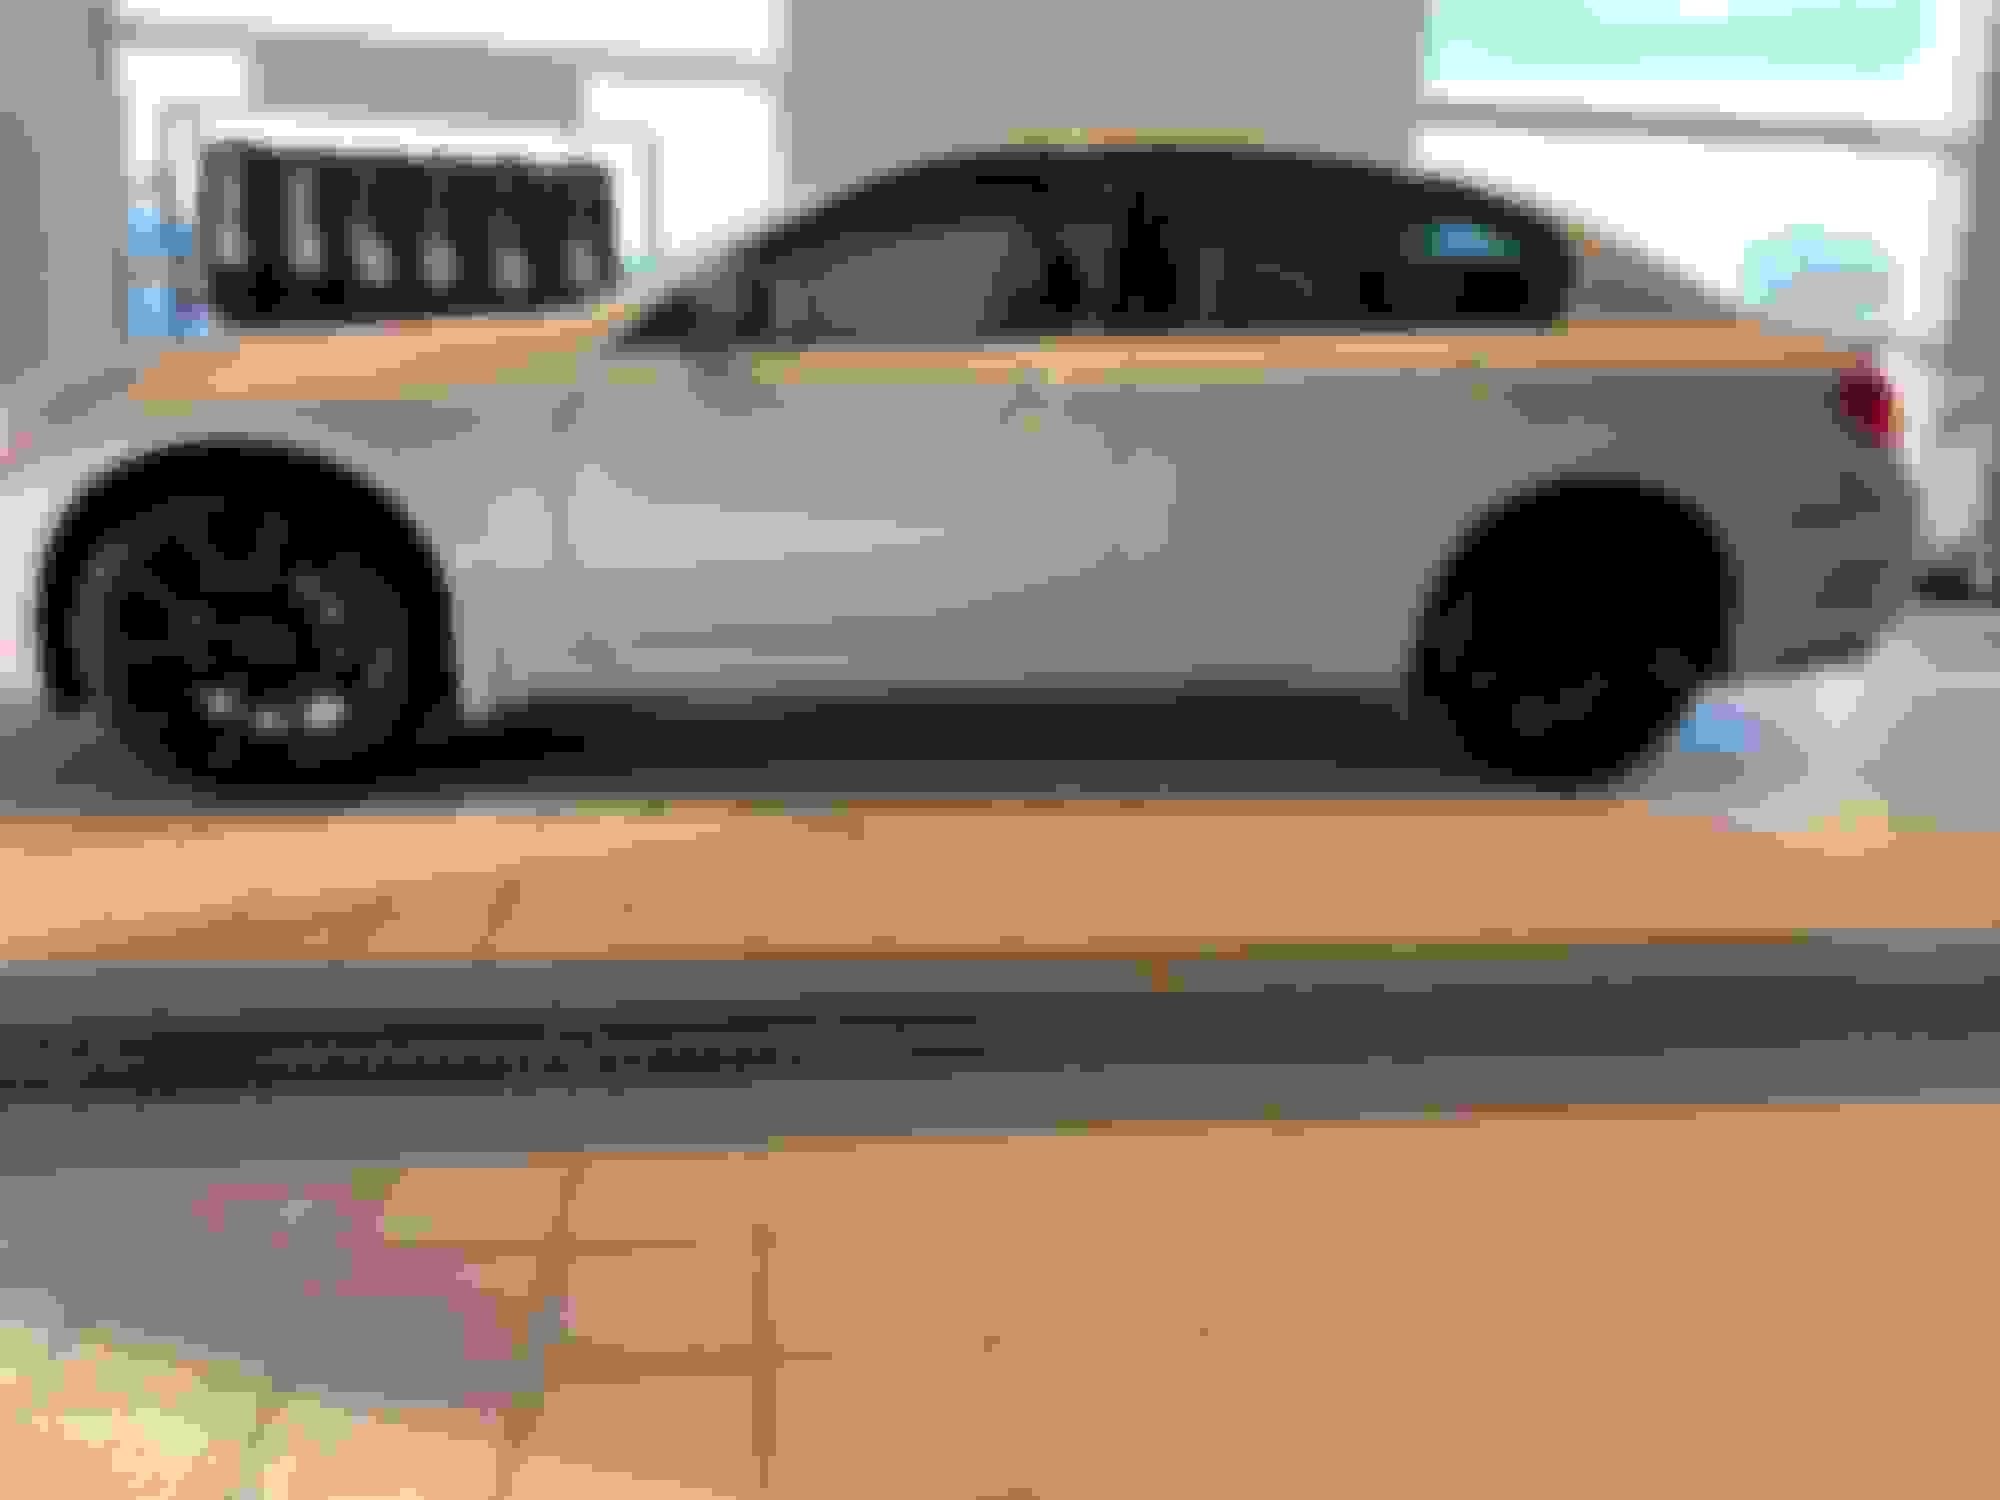
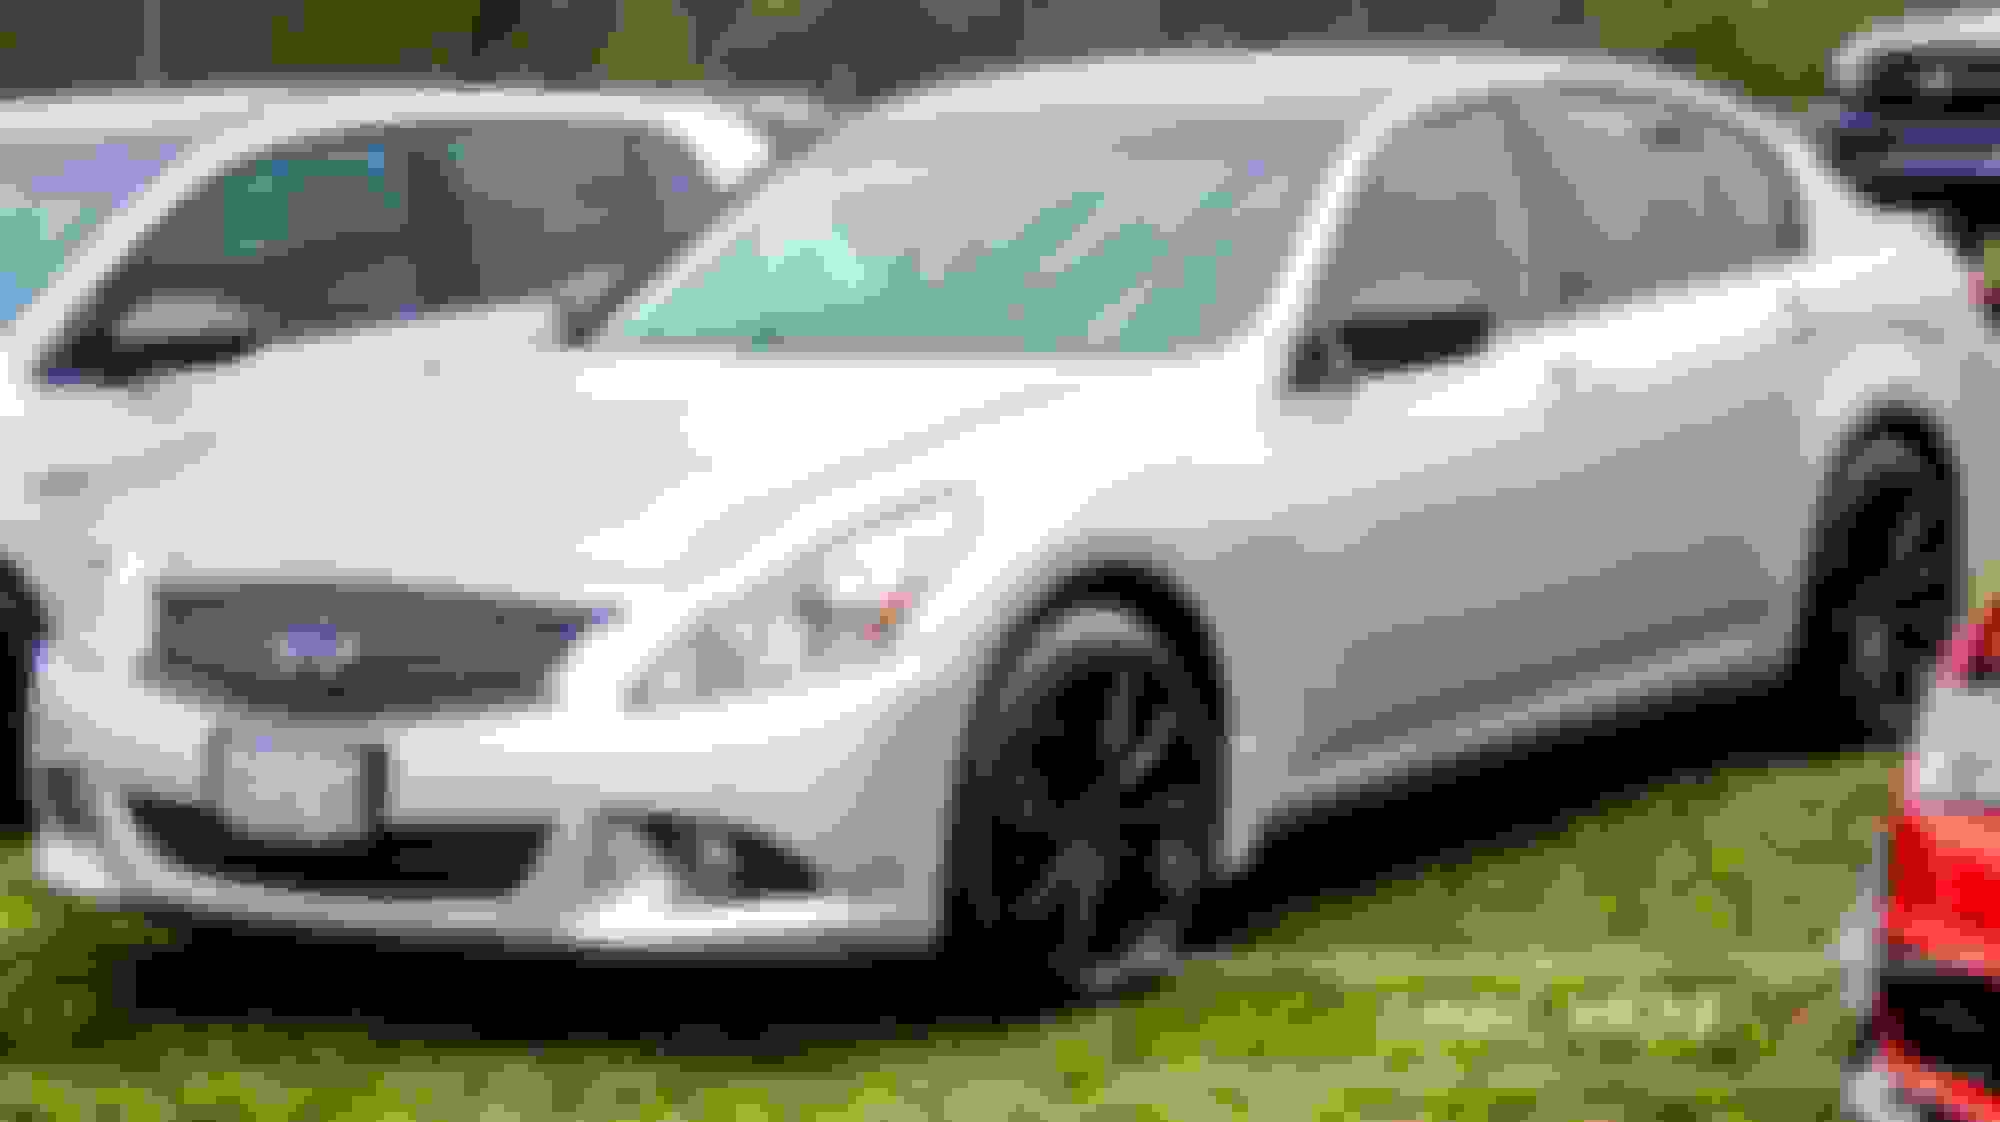
Next I had to bring the car in for service but also when scheduling my appointment I found a deal I couldn’t pass up. I was originally thinking of going with the BF Goodrich comp 2 tires but when I saw my Infiniti dealer was running a promo buy 3 get the 4th tire for $1 I had to take a look. They were offering the Pilot Super Sports on this deal and I couldn’t pass up getting them for the price. I booked my service and bought the tires, tried going staggered but they unfortunately didnt have the sizes I needed so I went with the standard 245/40/19 square setup all around. While the car was getting the wheels done they also installed my mud guards for me for $30 since it was already on the lift. I dont have any ramps or jack stands so install of the mudguards would have been a little bit tricky so $30 for those was an easy done deal.
Here she is after picking her up yesterday. Wheel gap is killing me so swifts are going on next the brakes are going to have to wait. Ideally I would love to the swifts and brakes at the same time but I still cant come to a final color for the brakes. Hasn’t been the best weather lately but tomorrow is supposed to be nice so I can get some more pictures of her tomorrow.
As for the package I was waiting for finally arrived and will be done after the brakes and headlights are finished.
Spent the weekend with a good cleaning and getting ready for UC3 on Sunday. Also got some new camera battlers in finally so I was able to get the DSLR back out and have some fun shooting small things this weekend.
First was able to finally get the interior vacuumed up and cleaned. This allowed me to finally put on my knock off sport pedals. The gas pedal slips over the current gas pedal. Brake pedal has to be removed then put back on and the dead pedal is switched too.
does your deadpedal just glue onto the factory one? or do oyu have to drill it or something? I got a similar set a while ago but I never got around to installing the dead pedal cause it just guess on and I wasn't confident in it staying put...mind you my footwell has never been nearly as clean as yours
does your deadpedal just glue onto the factory one? or do oyu have to drill it or something? I got a similar set a while ago but I never got around to installing the dead pedal cause it just guess on and I wasn't confident in it staying put...mind you my footwell has never been nearly as clean as yours
haha my footwell only stayed this clean until I went to a show the following day. Luckily I have weather tech mats so they catch a lot but still stuff gets underneath. The instructions told me it was a direct swap but it also came with double sided tape on the whole back so instead of taking off some door trim to get access to taking the oem one off I cleaned it rubbed some rubbing alcohol on it to prep and then just stuck the sport one on top. Holding pretty well so far over the last couple days.
haha my footwell only stayed this clean until I went to a show the following day. Luckily I have weather tech mats so they catch a lot but still stuff gets underneath. The instructions told me it was a direct swap but it also came with double sided tape on the whole back so instead of taking off some door trim to get access to taking the oem one off I cleaned it rubbed some rubbing alcohol on it to prep and then just stuck the sport one on top. Holding pretty well so far over the last couple days.
Oh that sounds exactly like the one I got, I guess i'll get out the rubbing alcohol and give it a shot
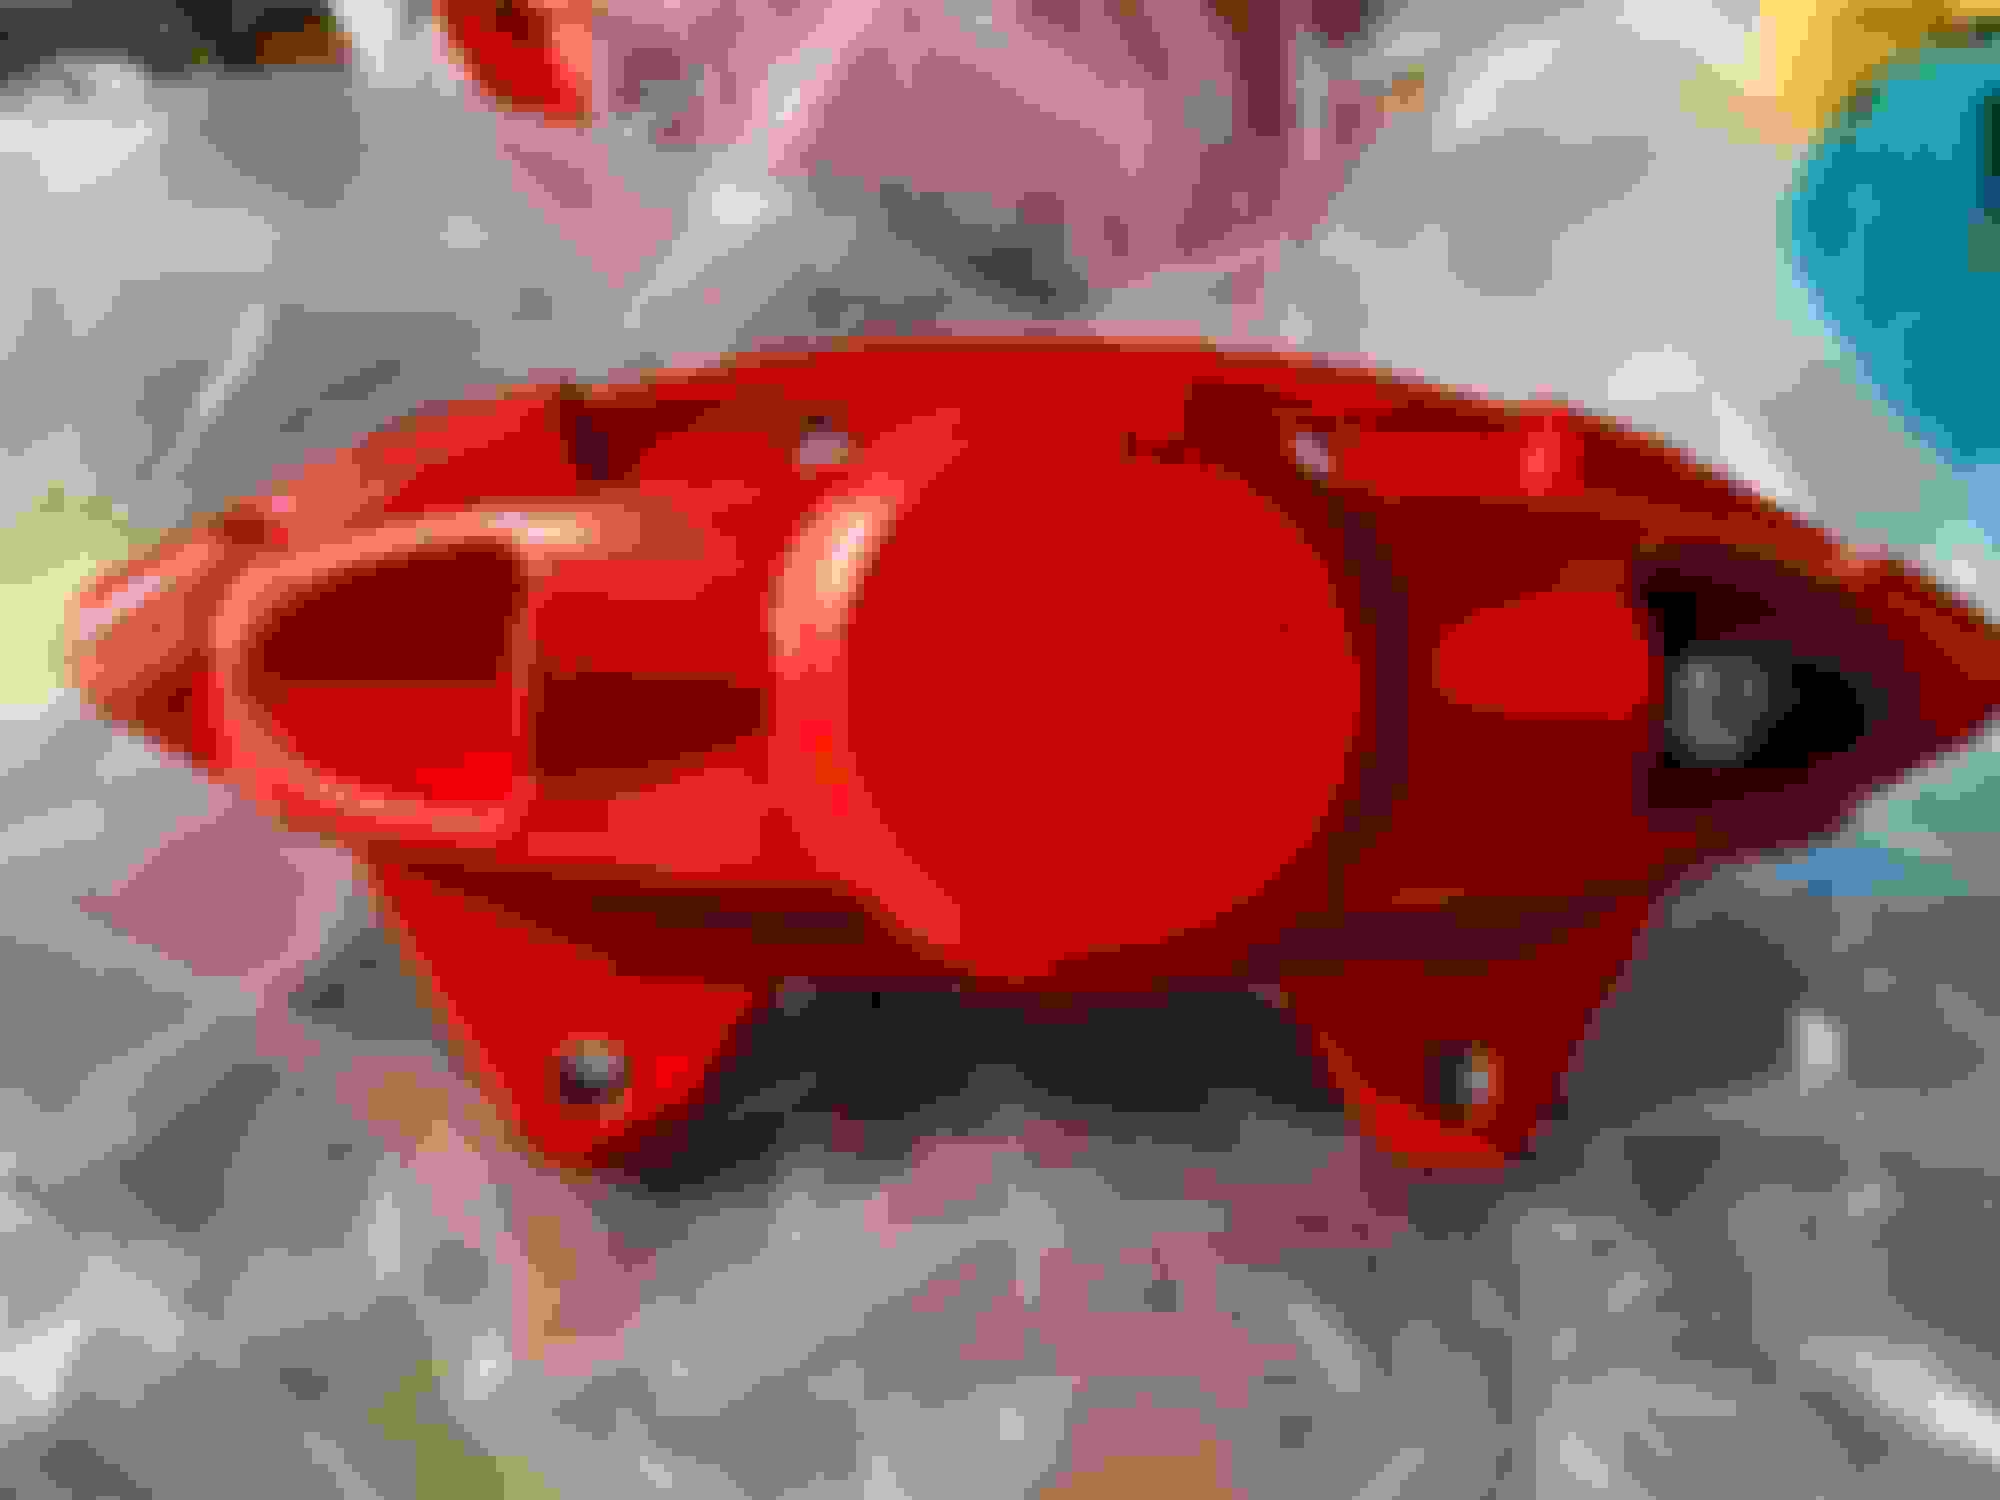
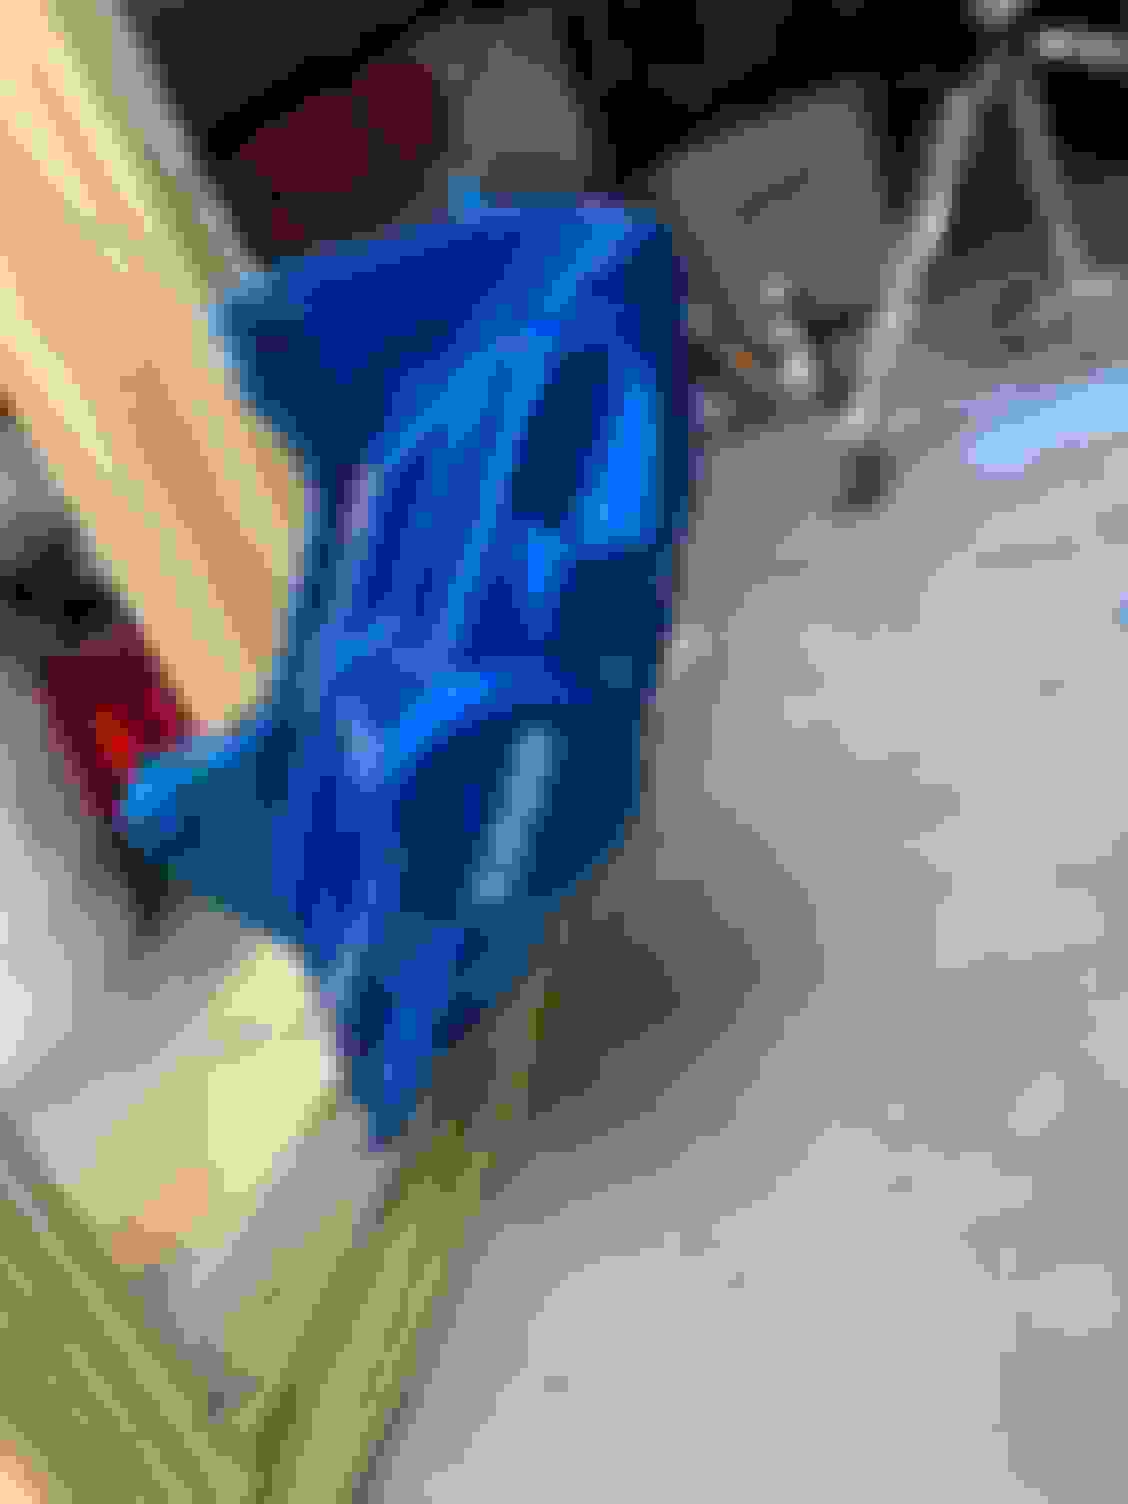
Decided to tackle my calipers today. Bought the red powder coated remand and knew I wanted to change the color. Was originally going to have them re powder coated but just recently got a puppy and decided to do some more DIY stuff. Did some research and found a rattle can paint that would give me the same look and had at it today. Only got the rear ones done today as the weight of the fronts were and issue hanging and one fell on the last color coat so I gave up out of frustration. Will return next weekend probably.
Been a long couple of weekends to get everything finished but its finally done. So I painted the rear calipers and then got frustrated and started on the front after some time to cool off. As I was painting I noticed that one of the front calipers the tape actually came off a little bit (I blame the powder coat that it came with being so slick). Unfortunately after looking at them paint got on some of the pistons which sucked and added another thing to the list but what are you gonna do. You can see in the pic the opened caliper has primer and base coat all over it.
So a caliper rebuild kit was added to the list. Moving forward I finally set a date to do the install and was 8/17 I was going to attempt the install. I called around and got some quotes for the install and they were way above what I was willing to pay for the job so I decided to DIY them. Finally having a date set I also wanted to get springs in while I had the car up on stands and was doing the brakes so I looked into some swifts. Big shoutout to the user on the classifieds! Such an easy transaction. Went and picked up the springs so those were all set. Next up I had to identify rotors and pads. I was originally going to go with the full Z1 kit with slotted rotors but after some looking around I settled on the Centric Premium Blanks with the Posi-Quiet pads. I dont track the car or anything just drive a little over a mile to work and back and then some cruises on the weekends so nothing too serious. I decided to keep my stock brake lines too since I didnt want to deal with changing the lines and did not see a reason too since I’m not tracking. I ordered the rotors, pads, shorter banjo bolts, and the caliper rebuild kit. I also ordered new pistons just in case to be on the safe side. The hardest thing I had to find was red piston grease for the rebuild. No store carries it an amazon itself didnt have it listed as prime so I just prayed it got here in time. It did as well as everything else before the 17th so I was looking good. The rebuild was A LOT easier then I thought and wonder why people are so hesitant about it. Caliper was rebuilt Friday night hoping for a good and easy install on Saturday.
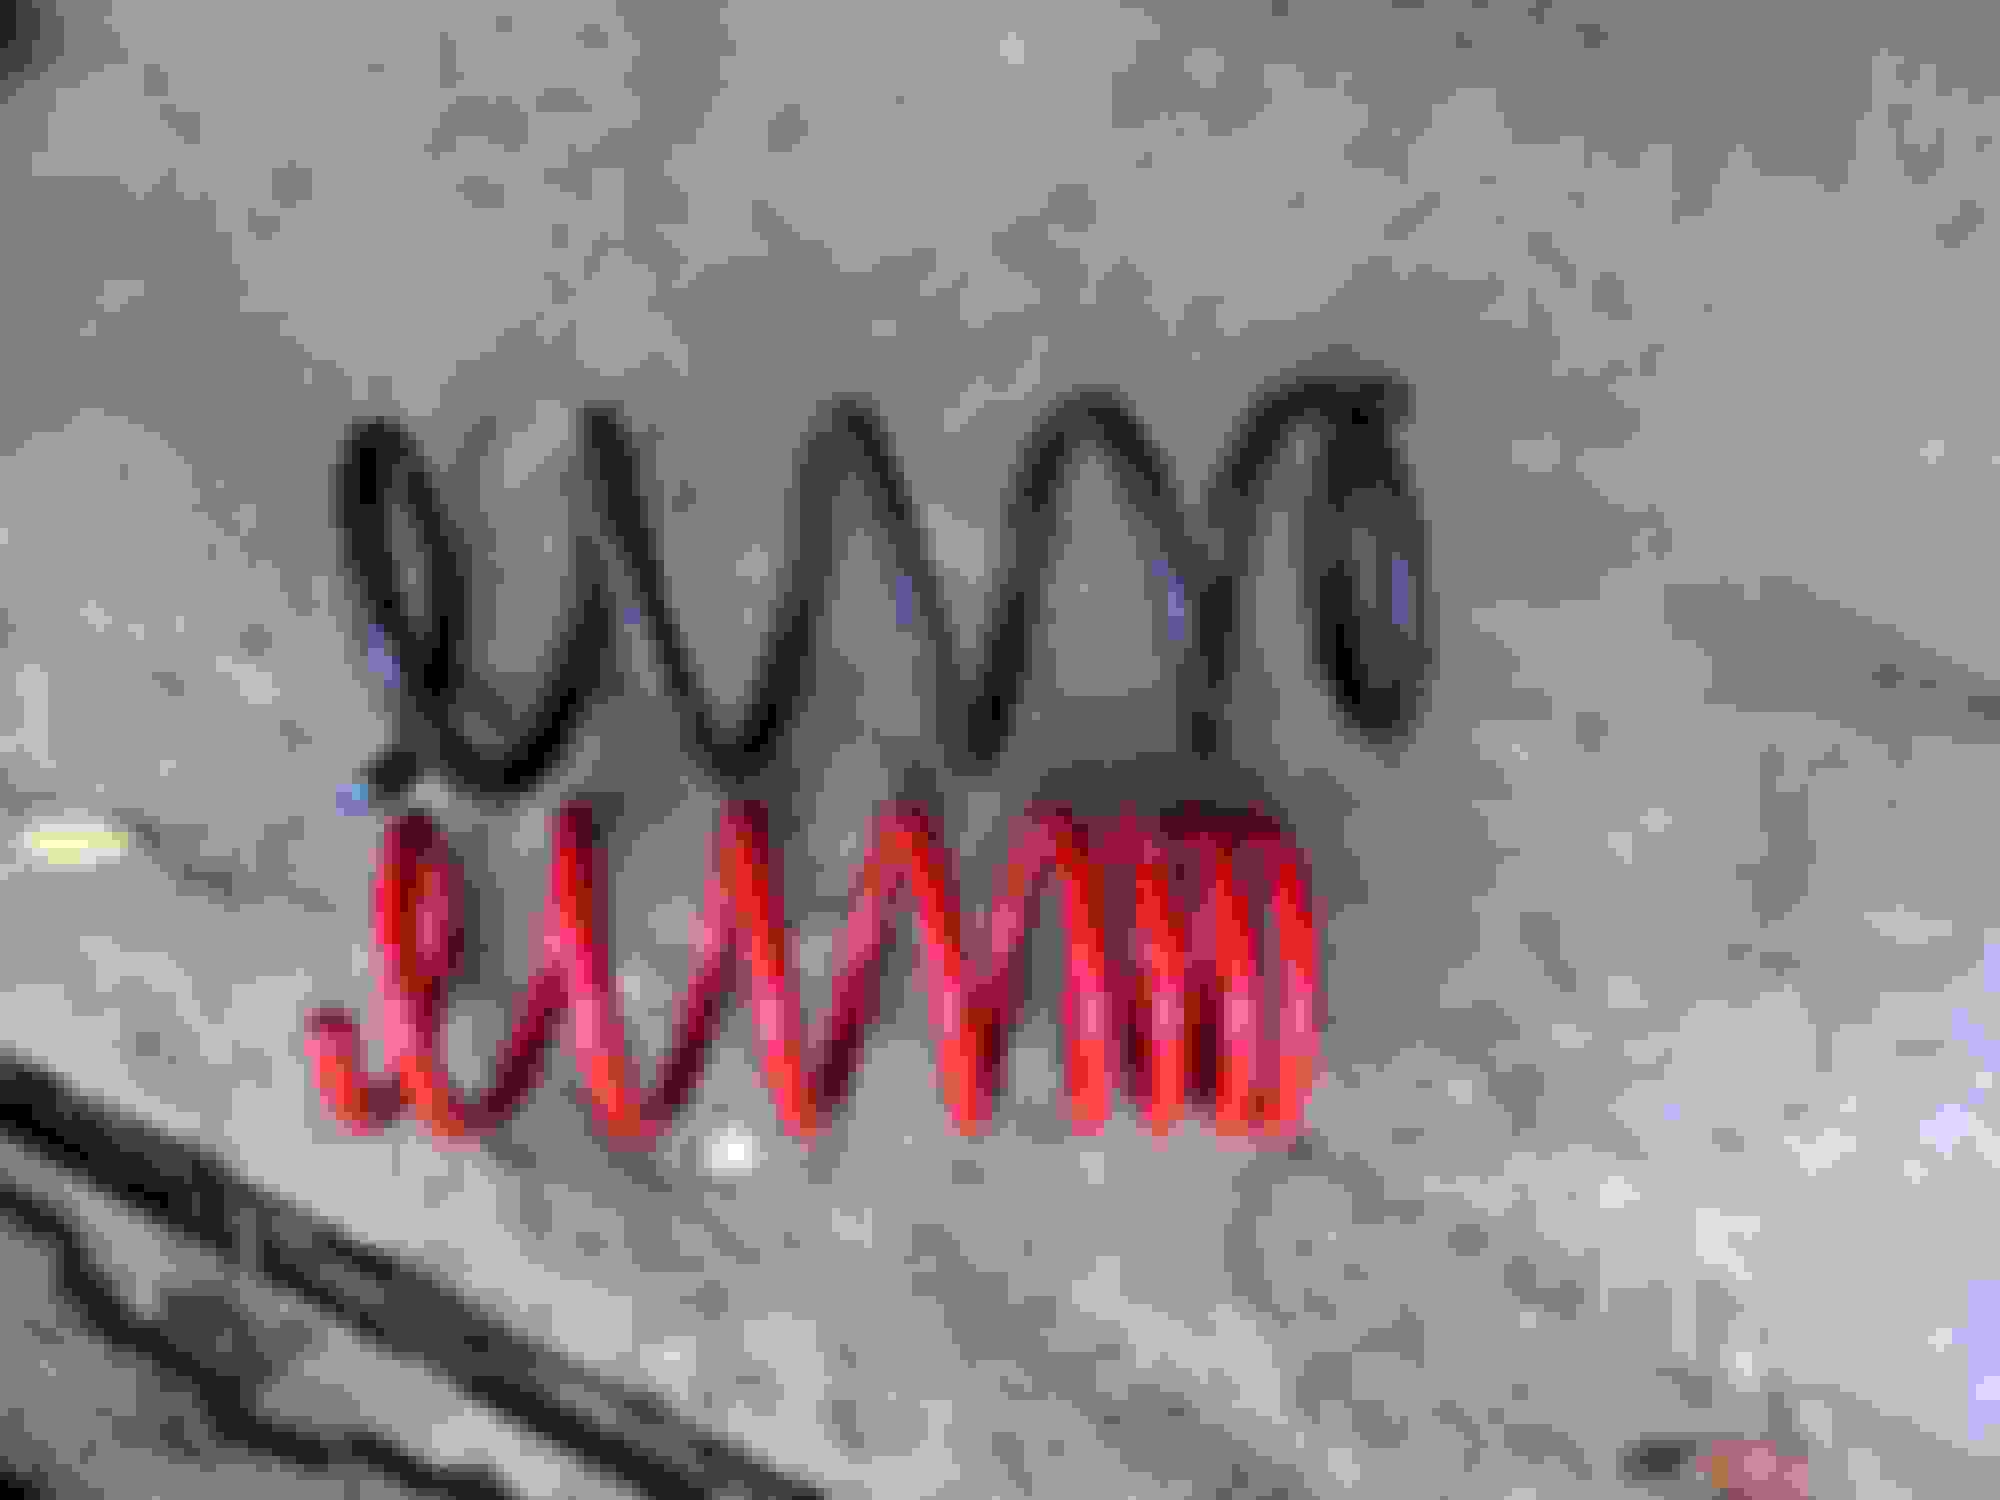
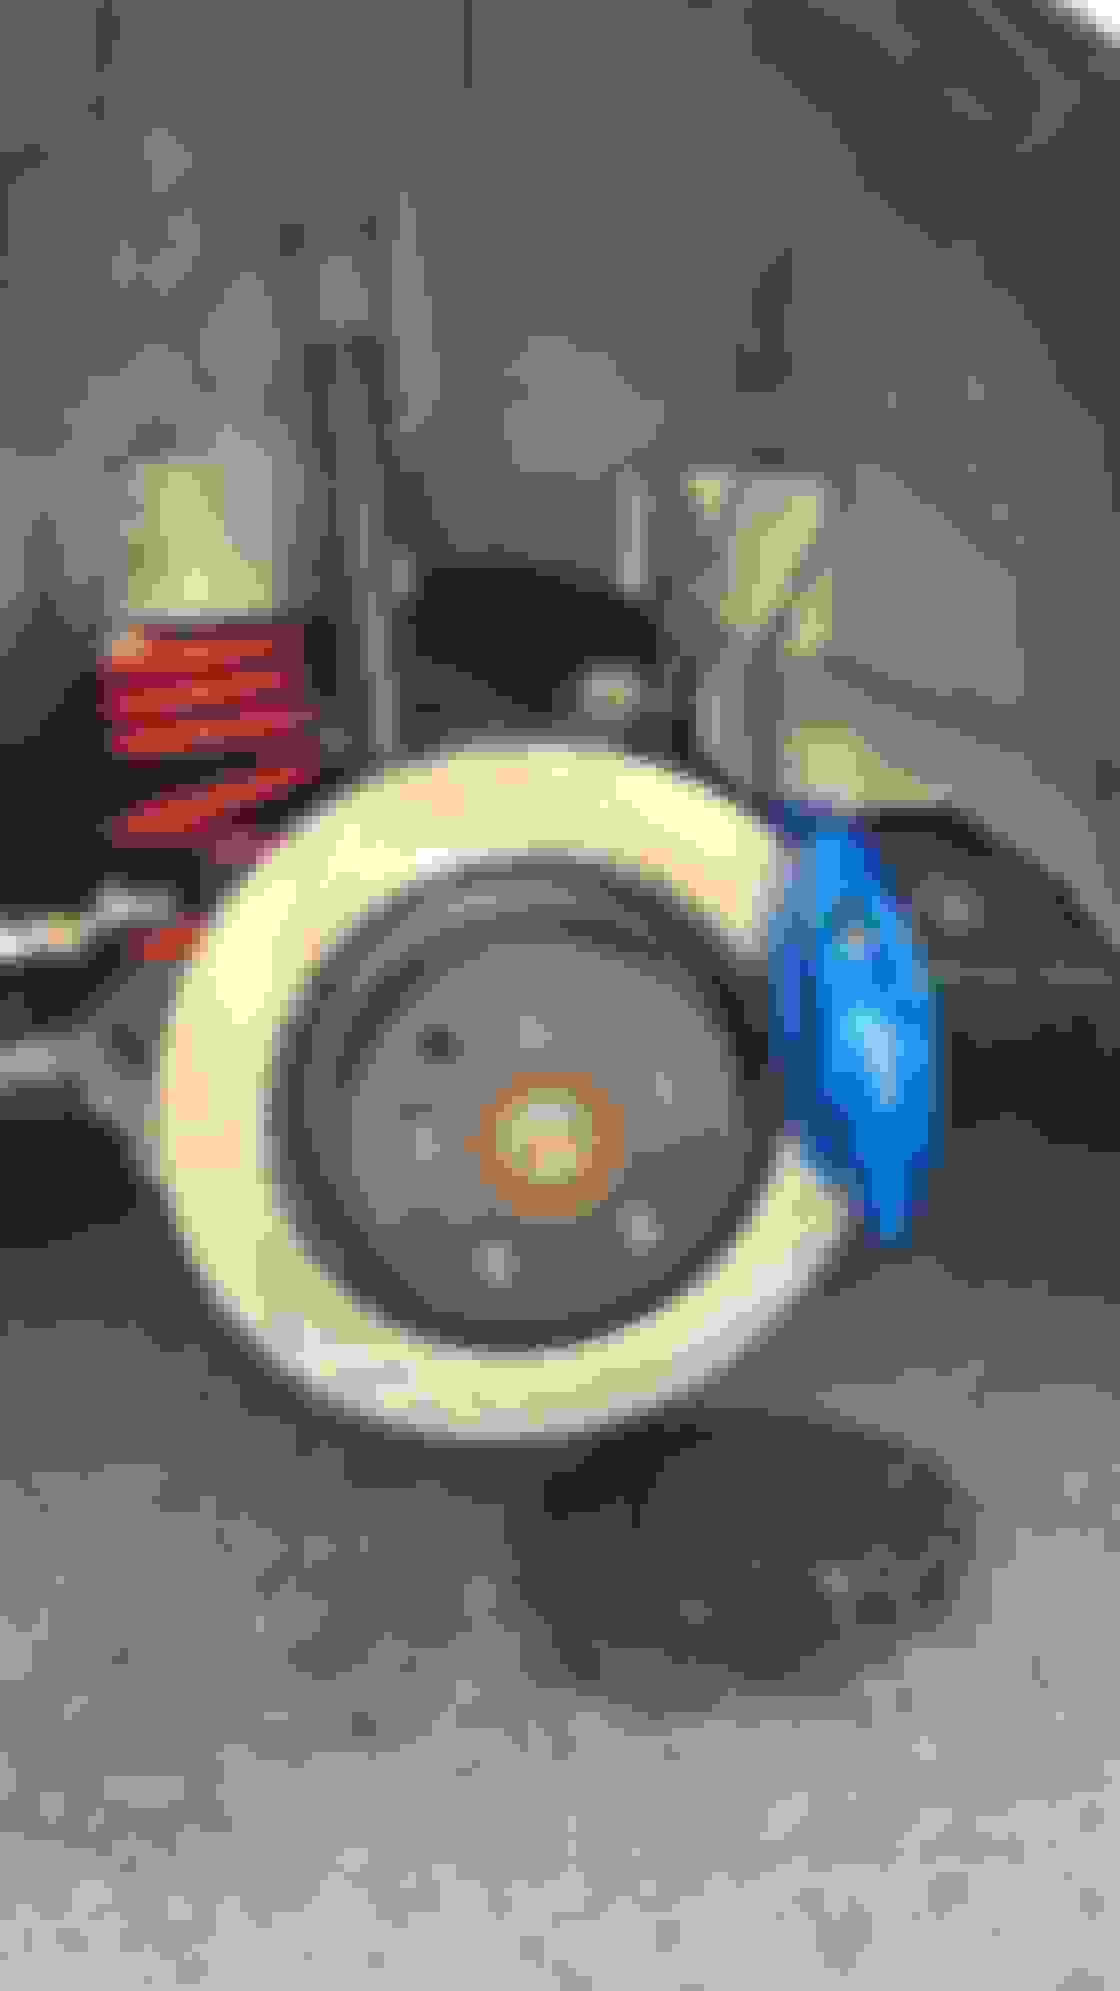
Saturday started out and we first started with the rear springs, pretty simple. Took us a little while on the first rear spring trying to get the bucket to align again but after some tinkering not a big deal and made the second one easier. This was my first time working on suspension, I helped my buddy install springs on his bimmer but only for a little while so didnt get that much experience. Now the fronts were a different story. I started on the passenger front and the damn 17mm bolt would not move no matter what. I PB Blasted the damn thing the night before and still nothing. I was doing everything by hand and didnt have impact gun and was brutal. I gave up and moved to the driver side front. We got that all squared away but took us so long to get the strut out we started to lose daylight on Saturday. Luckily my neighbor was talking to me as I finished up on Saturday and he said he had an impact gun at his house that he would drop of in the morning to use. MAJOR help second day we got the front driver strut back together with the death compressors but still with the gun couldn’t get the bolt to move. On top of that another bolt got rounded off so I gave up on the strut and was gonna have a shop take care of it. Next were the calipers, Install was an absolute breeze with these. Longest part was cutting the dust shield but the tin snips did amazing except for some hand cramping. I ended up buying the motive bleeder which was AMAZING. If you have thoughts about it just send it, its worth its weight in time saved or make your own. Total bleeding process of the brakes was maybe 30 minutes total. I ended up going with some Motul 5.1 as some brake fluid and bled the system. Put the car down and let it sit till Monday morning where one of my shops took care of me and installed the last spring. My brake pedal was a little mushy so I knew I would have to bleed the system again. I took care of that this past weekend and the pedal is great now. It may just be new pads and rotors but the brake pedal just feels so much better now with the BBK on. Alignment was done on Monday as well and it looks like ill be getting some camber kits which I was hoping to avoid but I’m not trying to let my PSS get killed that quickly. I love the look of the swifts definitely the perfect ride height and as everyone says should have came from the factory like this. The ride quality is perfectly fine. I had no expectations of a “better” ride after I was lowered but I feel as if my 19in wheels make more of a difference then the swifts do. Car handles a lot better and stays flatter in the corners love it. Definitely wanting to upgrade my sway bars soon too to really get her handling nice. Overall after some set backs I’m definitely happy with how everything turned out. Big shoutout to Hex on here, his calipers gave me some inspiration for sure and wanted to be different then the usual red. Now I’m done with my rant and here are some pics of everything that I took. Sorry not pics of rebuild since I was zoned in but if anyone has any questions let me know. Spring Difference Front Driver side installed Rear caliper Installed
Nice work. how did you go about popping the pistons out of the front calipers when you did the rebuild?
Not the OP, but I used my air compressor. Reduced PSI to 20-25 and blew air through the rear hole (). A couple wood shims were placed between the pistons to prevent them from slamming together.
Nice work. how did you go about popping the pistons out of the front calipers when you did the rebuild?
Originally Posted by RMB5190
Not the OP, but I used my air compressor. Reduced PSI to 20-25 and blew air through the rear hole (). A couple wood shims were placed between the pistons to prevent them from slamming together.
First method I went with what RMB said. A lot of its going to depend if you’re opening the caliper into two halves or if you’re keeping it whole. I opted to split it in two so for the back part of the caliper I put the air nozzle into where the brake line goes and then covered the hole that lets fluid pass to the front part with my thumb and started pumping air. If you do it quick the piston will FIRE out once it gets past inner seal. Once one piston is out you now need to cover that piston hole with something. There is a video floating on the forums a guy used a cue ball but I opted for a lacrosse ball since it was hard rubber and would seal and then clamped it in and shot air again and it popped right out. The front part you have to unscrew the bleeder screw and shoot air in from there and its the same procedure.
Second method you can use as well is really only if your calipers are split apart but you can use both thumbs and put them on either side of the inside of the piston and push outwards to get some friction with your thumbs and slowly pull up. I had to do this a couple times since one of the larger pistons wasn’t seating correctly in the dust shield.
Last edited by cmckenzie15; Mar 28, 2020 at 04:53 PM.


 ). A couple wood shims were placed between the pistons to prevent them from slamming together.