Droopy Bum Fix for the G Sedan - Version 2.0
 07-28-2016, 11:13 AM
#76

Originally Posted by Rochester
And that's just it... it *appears* lower because of the different design of the two fender arches. When you establish an identical floor-to-fender height, and you actually introduce a 1/2" rake to the car. Personally, I think a 1/2" rake is imperceptible, and doesn't matter at all for a DD.Probably not on the lower seat, but yes... I can visualize how this works now. And even though I've no regrets getting the coilovers, I would have tried this first had I known about it.
(It's fun to see my calculations hit the mark within 1/16
 )
)I'll let resettle for another week and go rake the rear even.
I'd love to keep the back where it is just over the tire, but to match that zero gap up front is not practical for my DD.
Coilovers do ease experimenting.
Roch, if you find the rake imperceptible, it must be damned near invisible.

 07-28-2016, 11:41 AM
#77
Administrator

Thread Starter
iTrader: (9)
26 3/8" should look totally normal, IMO. Assuming camber isn't crazy and the setup is flush. Good job.
Dude, if you can see a 1/2" rake... you're a better man than I.
Dude, if you can see a 1/2" rake... you're a better man than I.
07-28-2016, 12:42 PM
#78
Originally Posted by Rochester
26 3/8" should look totally normal, IMO. Assuming camber isn't crazy and the setup is flush. Good job.
26-3/8" square:
And flush:
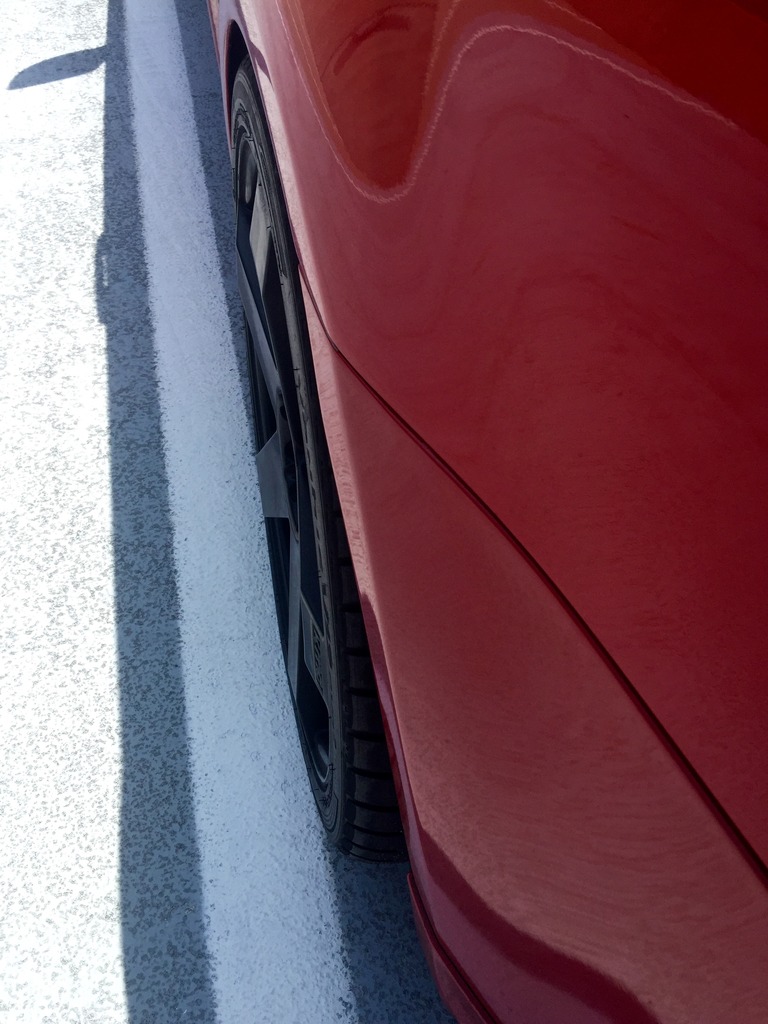
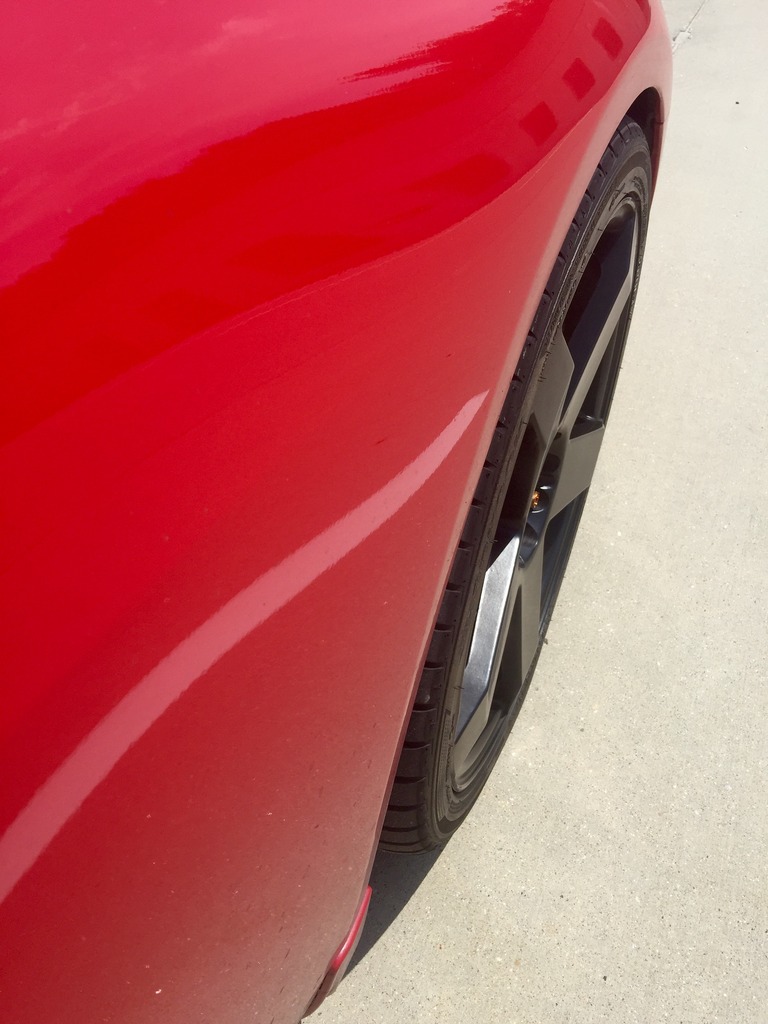
Next is to lift the back to match the gap.
Dude, if you can see a 1/2" rake... you're a better man than I.
The following users liked this post:
bikezilla (07-29-2016)
07-28-2016, 11:38 PM
#80

Somewhat, in that stanchua is using a rubber/poly spacer at the end of his rear spring. But this device he found here is contoured to the shape of the coil, and he installed it at the bottom.
stanchua... you put this in the bucket? How's that work if the underside of that ring is flat? So I'm trying to refresh my memory on how the bottom of the spring seats into the bucket, and according to pics on the net, the half-circle shape and ledge isn't a perfectly contoured design for the coil... it's actually kind of crude. So I suppose this works.
Good luck with this. I think you should bump the thread with feedback in a couple thousand miles.
stanchua... you put this in the bucket?
How's that work if the underside of that ring is flat? So I'm trying to refresh my memory on how the bottom of the spring seats into the bucket, and according to pics on the net, the half-circle shape and ledge isn't a perfectly contoured design for the coil... it's actually kind of crude. So I suppose this works.Good luck with this. I think you should bump the thread with feedback in a couple thousand miles.
This is an interesting thread.
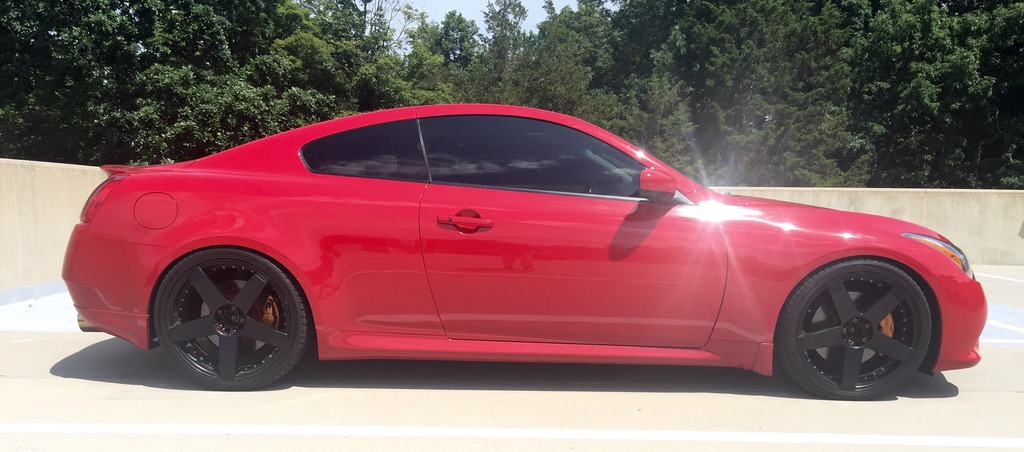
I've noticed from many photos the rear fender on the G appears lower.
I measured my G, and then I put OEM style coilovers and carefully adjusted the height square all around and for sure, the rear fender gap is lower even when the fender arch height is the same as the front. It might be a body design thing such that the shape of the arch is simply different. IDK
As far as the spring adapter stanchua used, I'm curious as well regarding how it was installed and seated
If it is at the bottom of the rear spring, the Bucket has a stepped seat, and a stepped rubber pad (#18 "rubber seat") to level out the spring perch.
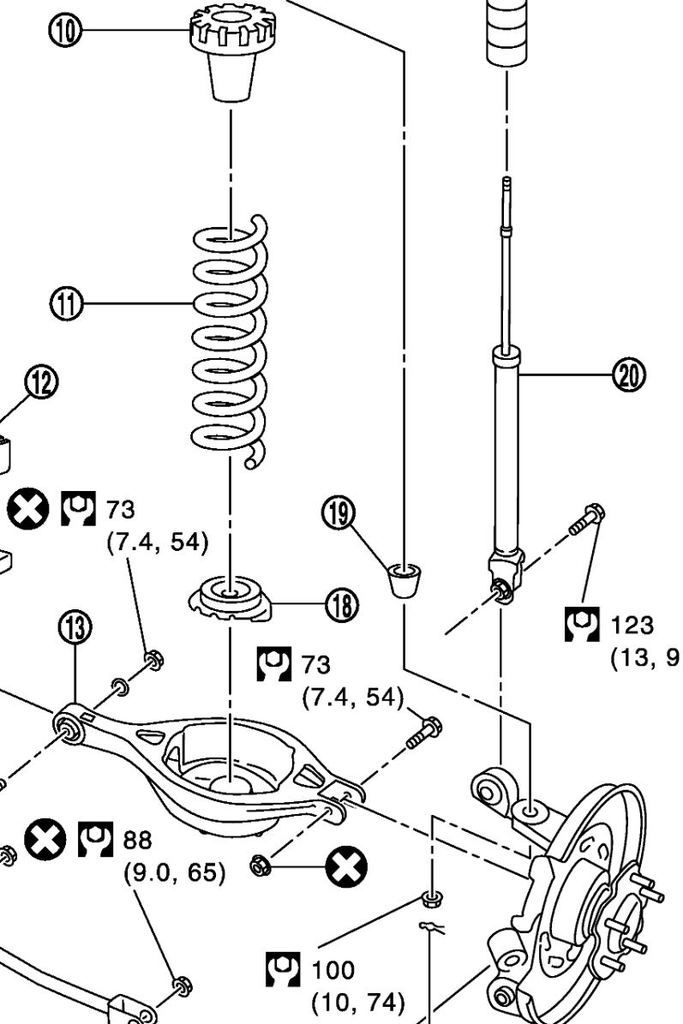
I could imagine how the split could sit directly over the stepped ridge in the spring bucket, perhaps directly on the rubber seat. That might be a bit much to sit neatly.
Stanchua, did you reuse the rubber seat?
Having OEM-style coilovers I can easily eliminate this differential but for now I think having the designed stance (at a lowered height) is the way I'll go. I'm not opposed to a slight rake but I'm not big on the idea the skirt would rake as well.
I may get bored or OCD and change that eventually.
Meanwhile I'll be looking carefully at everyone's stance, especially Rochester's super tidy setup.
I've noticed from many photos the rear fender on the G appears lower.
I measured my G, and then I put OEM style coilovers and carefully adjusted the height square all around and for sure, the rear fender gap is lower even when the fender arch height is the same as the front. It might be a body design thing such that the shape of the arch is simply different. IDK
As far as the spring adapter stanchua used, I'm curious as well regarding how it was installed and seated
If it is at the bottom of the rear spring, the Bucket has a stepped seat, and a stepped rubber pad (#18 "rubber seat") to level out the spring perch.
I could imagine how the split could sit directly over the stepped ridge in the spring bucket, perhaps directly on the rubber seat. That might be a bit much to sit neatly.
Stanchua, did you reuse the rubber seat?
Having OEM-style coilovers I can easily eliminate this differential but for now I think having the designed stance (at a lowered height) is the way I'll go. I'm not opposed to a slight rake but I'm not big on the idea the skirt would rake as well.
I may get bored or OCD and change that eventually.
Meanwhile I'll be looking carefully at everyone's stance, especially Rochester's super tidy setup.
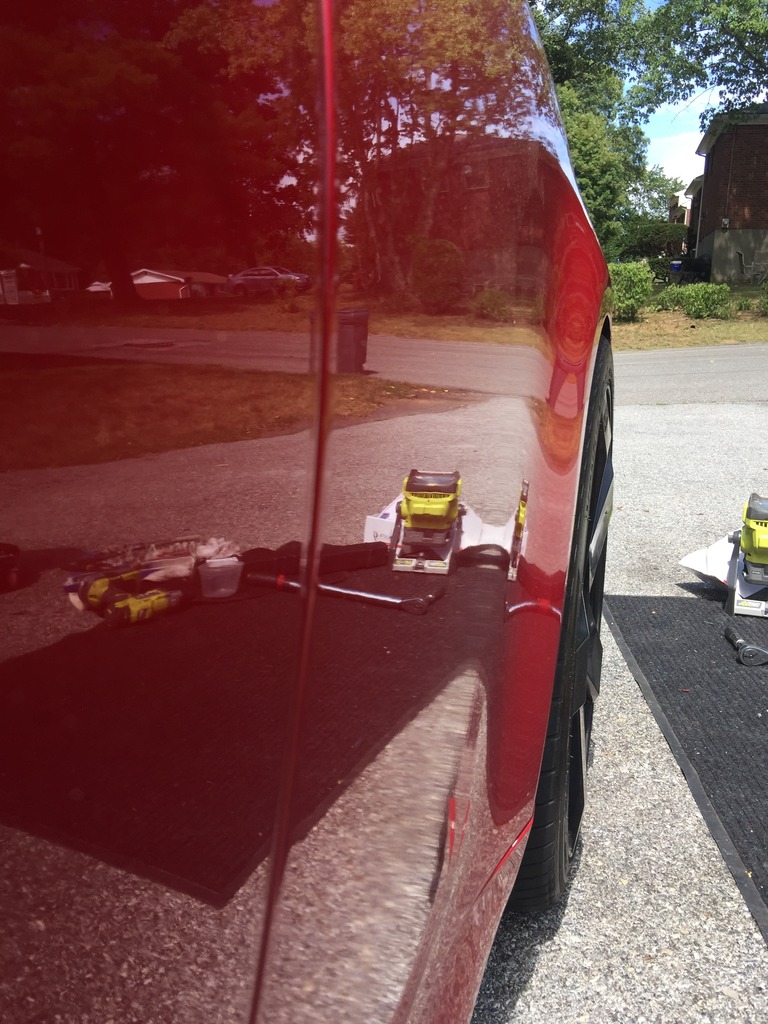
I tried getting a good picture but unfortunately this is as far as I can get without the car jacked up

Last edited by stanchua; 07-28-2016 at 11:45 PM.
 05-10-2017, 09:42 AM
#82
Administrator
Thread Starter
iTrader: (9)
I'm curious, too. I recall the moment when I realized my second attempt at spring spacers had failed, and failed spectacularly, with the spacer squeezed out of place like too much batter in a waffle maker. Truly a shame, because for a few weeks it was at the absolutely perfect height.
Last edited by Rochester; 05-10-2017 at 09:48 AM.
 05-11-2017, 06:19 PM
#85
Administrator
Thread Starter
iTrader: (9)
And I'm satisfied with the fronts on Swifts, for now. Point in fact, I'm not planning on installing the front Tein's until next year.
 05-12-2017, 04:04 PM
#87
Administrator
Thread Starter
iTrader: (9)
Exactly. That's the same half glass full attitude I try to adopt every winter, waiting to put my summer wheels and tires back on the car. My winter/summer shift **** too, for that matter.
06-26-2017, 01:17 PM
#88
Update on fix...
So I purchased the Mr gasket coil spring spacers, 1" height. You have to purchase 2 they are individually packaged.
You install these under the spring. You reuse the oem bumpstop but remove the OEM rubber piece that sits in the bucket. The new coil spring spacer replaces it.
For it to fit properly you have to cut off approx 1" from one of the ends of the spring spacer. I will supply pictures of it installed either today or tomorrow along with the model number for the Mr gasket part.
So far I have 3k miles clocked and they look like when I first installed them. No moving, no squishing, no sliding. They are still exactly how I installed them 3k miles ago. It seems this solution works.
EDIT: part number 1287 Mr gasket coil spring spacer
There is a 1285 model also I don't know the difference but they appear identical.
Last edited by 4doorfury; 06-26-2017 at 04:53 PM.


